Hello and welcome back to Maja Designs. Tina with you today to share my next instalment. I have to tell you a little secret that probably isn’t a secret because I do share it quite often with my friends but I hate to say it out loud. I really don’t do Christmas layouts……. there I said it. Over the years I have been known to avoid doing them at all. So today I decided to put my big girl pants on and give it a go.
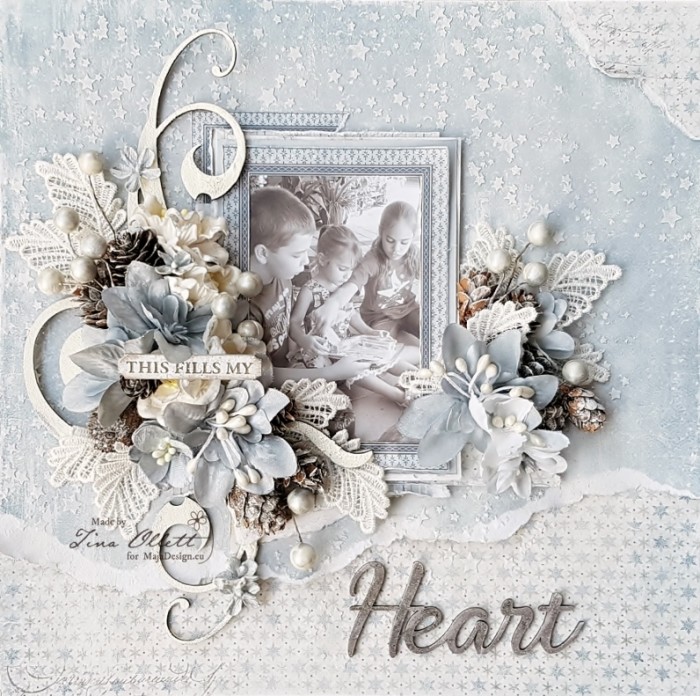
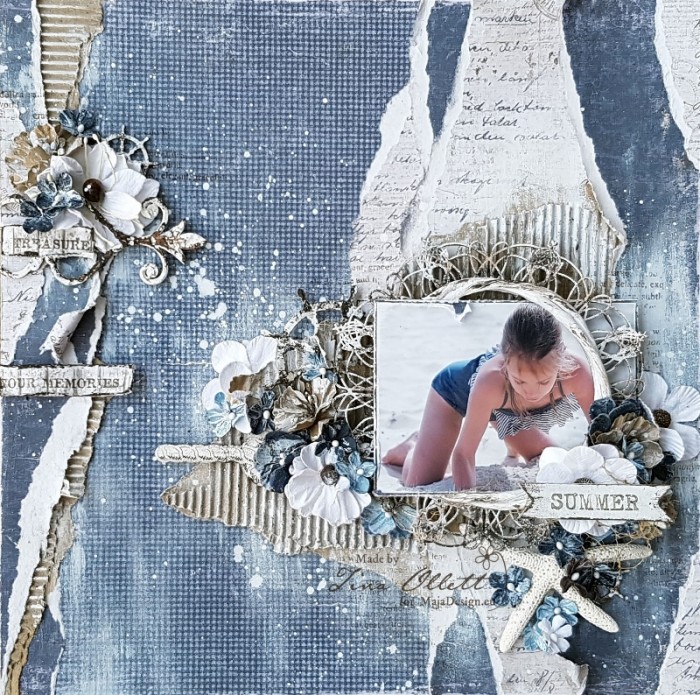
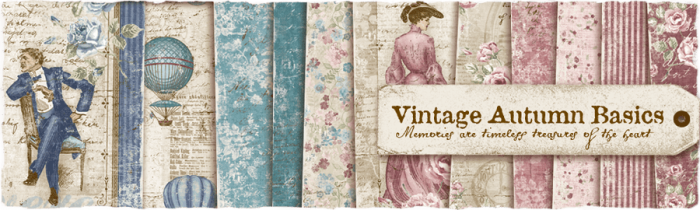
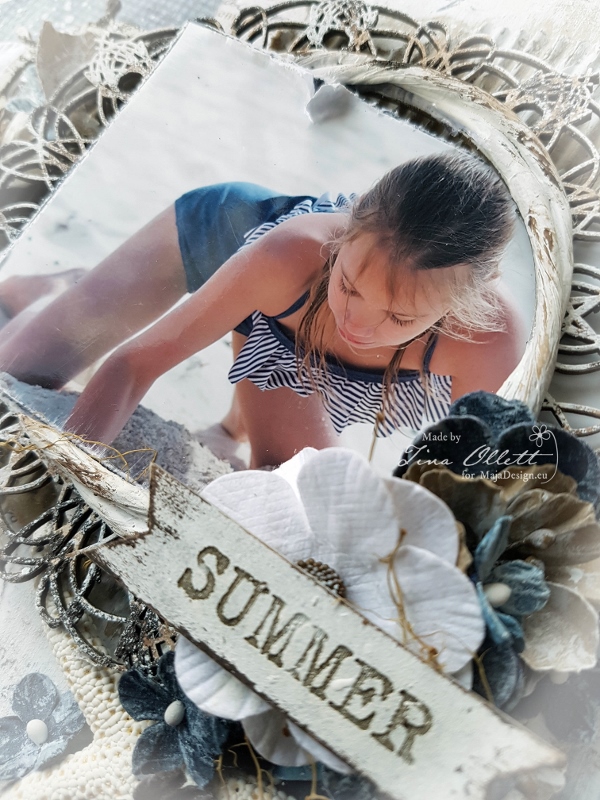
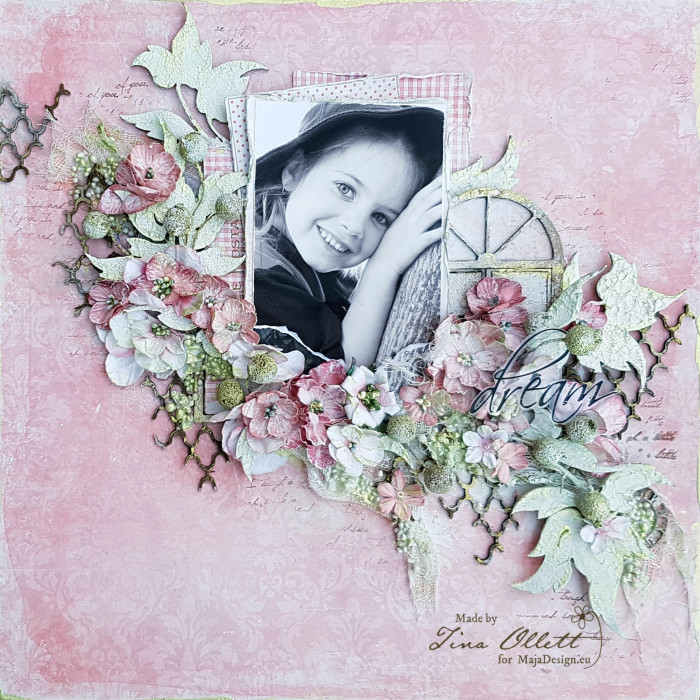
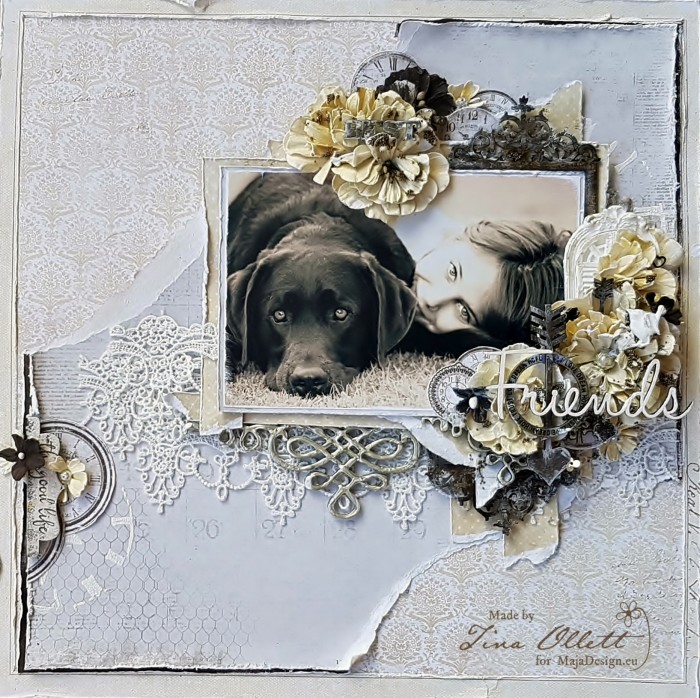
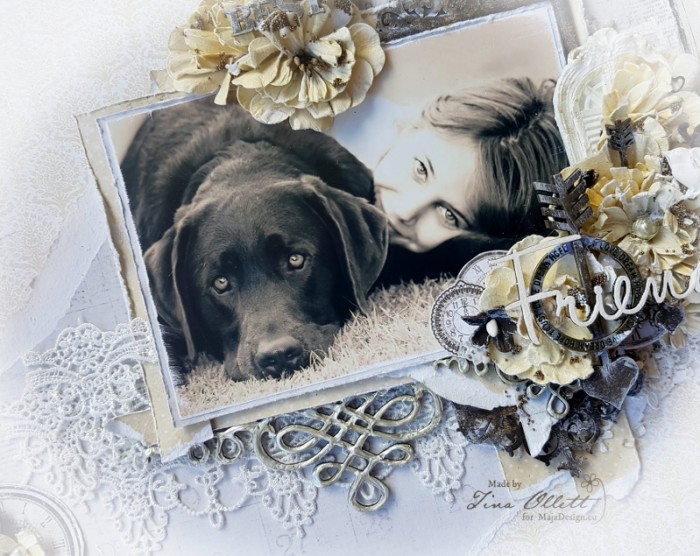
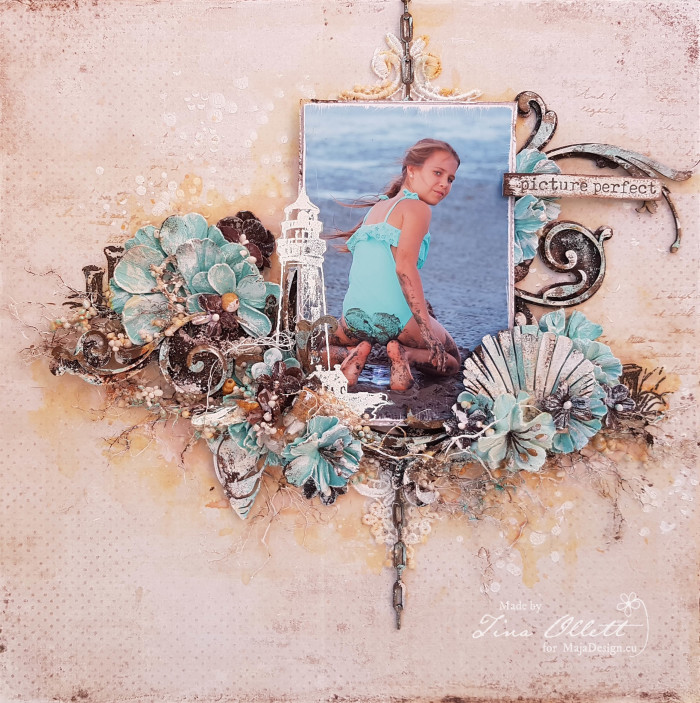
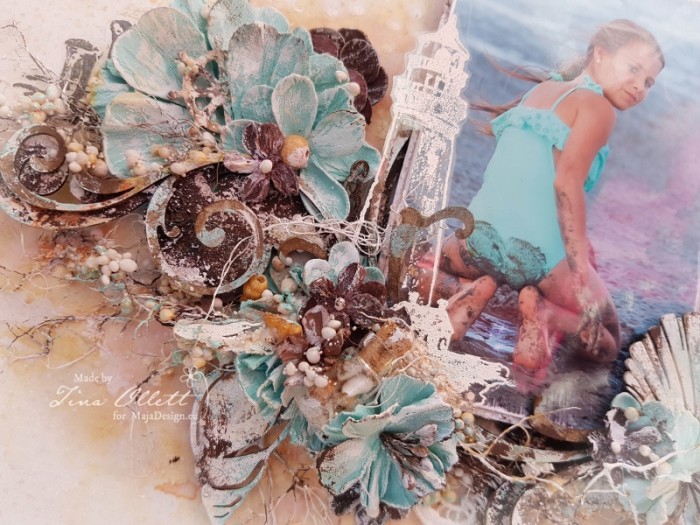
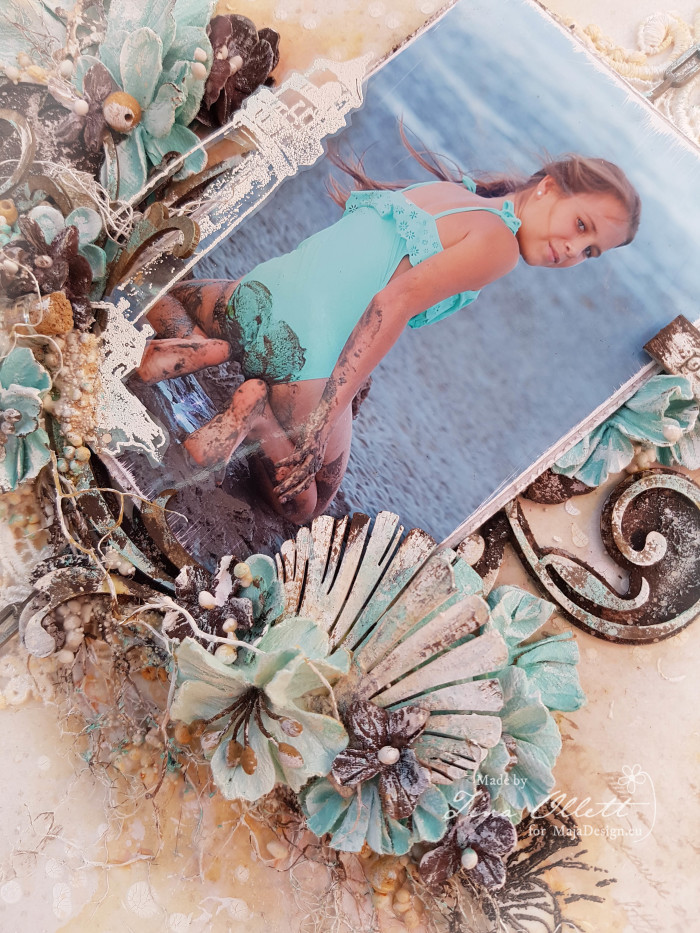
I have used Maja Designs new release collection Joyous Winterdays to create my Christmas layout with. And I have to tell you I am in love with it. It is no secret that I love blue and so that is what I went with along with a very old photo I dug up of my 3 sweet kids at a much younger age. I felt it really told a story and this is what I wanted to start the layout with.

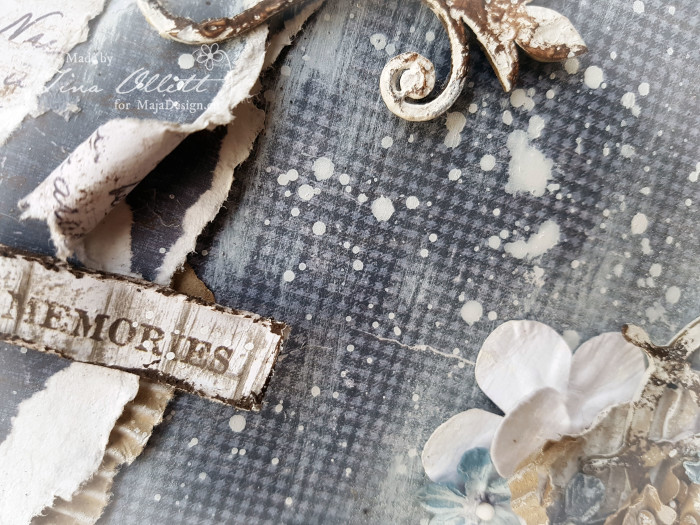
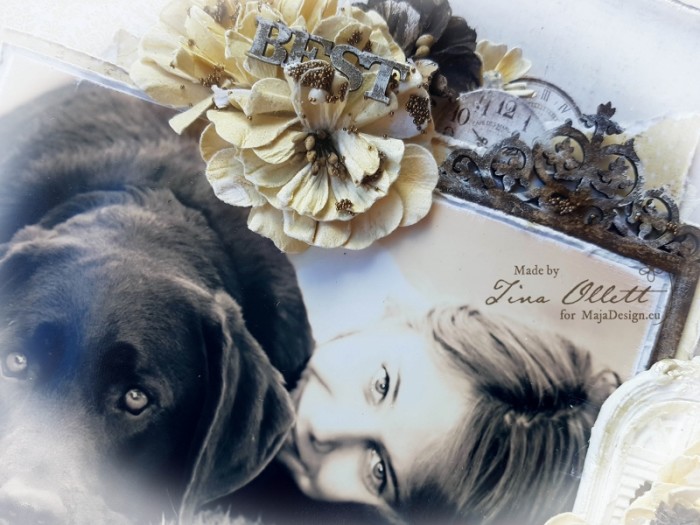
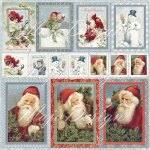
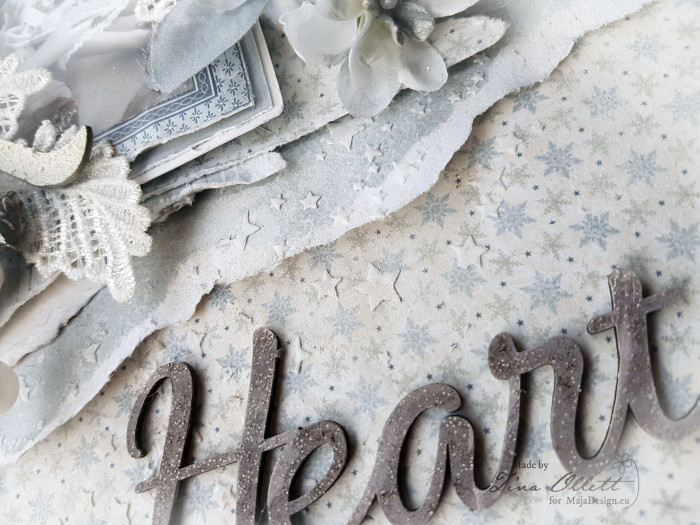
My first sheet that I used is called Santa Claus and it is simply stunning to say the least. But as you well know living here in sunny Queensland in Australia doesn’t bring us snow at Christmas time ever! We swelter in the highest of temperatures most Christmas’s. That is why we always sit by the pool.So anyway getting a little side tracked…….. I tore the snow section from Santa Claus and backed it with Sparkle which I also very much love. So from there I did a little stenciling using a Star stencil from Dusty Attic and some texture paste. Whilst it was still wet I sprinkled over some Dress My Craft Sparkling Dust. and allowed it to dry.
Ephemera
Ephemera bs
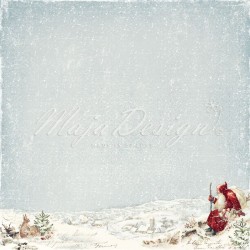
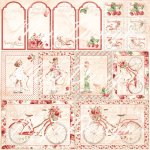
Santa Claus
Santa Claus bs
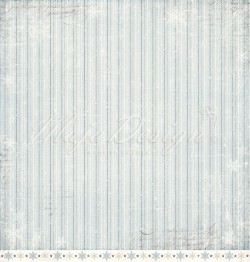
Sparkle
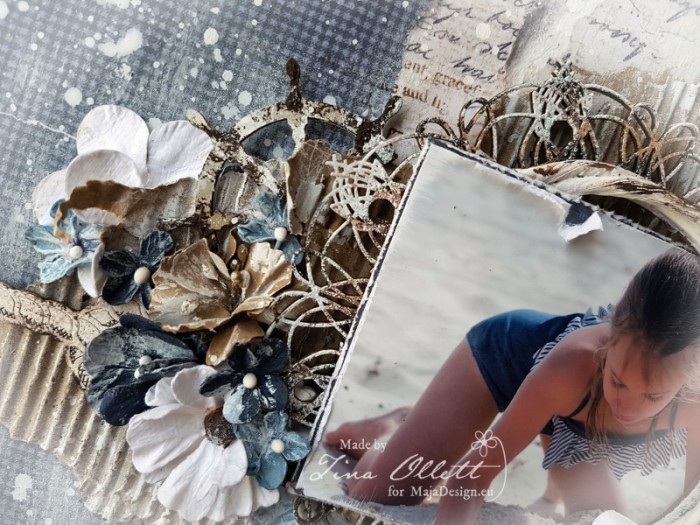
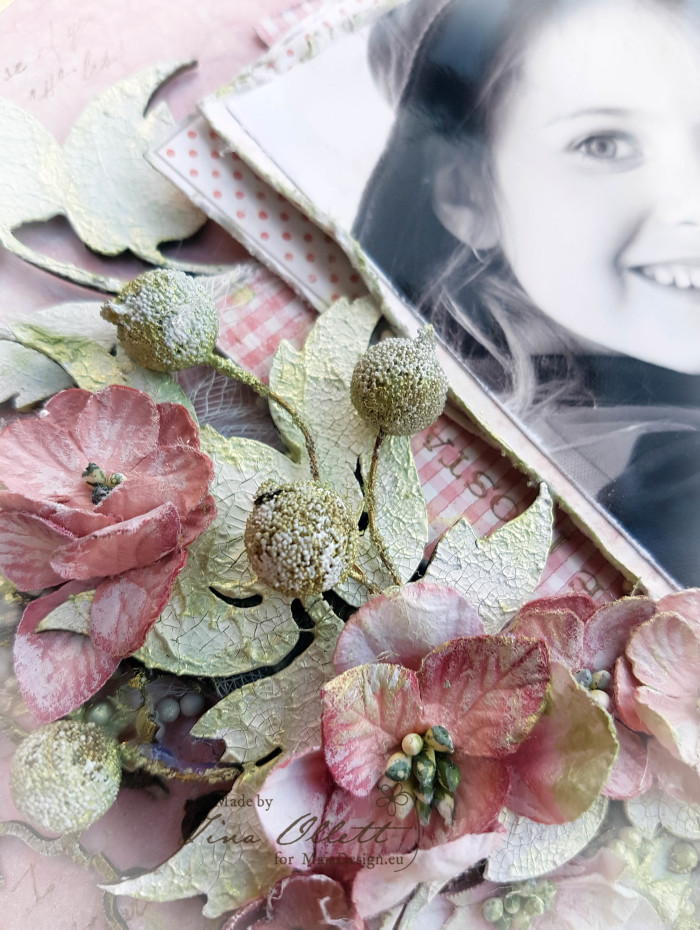
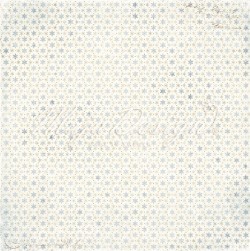
With the other papers above I created a matting for my photo.
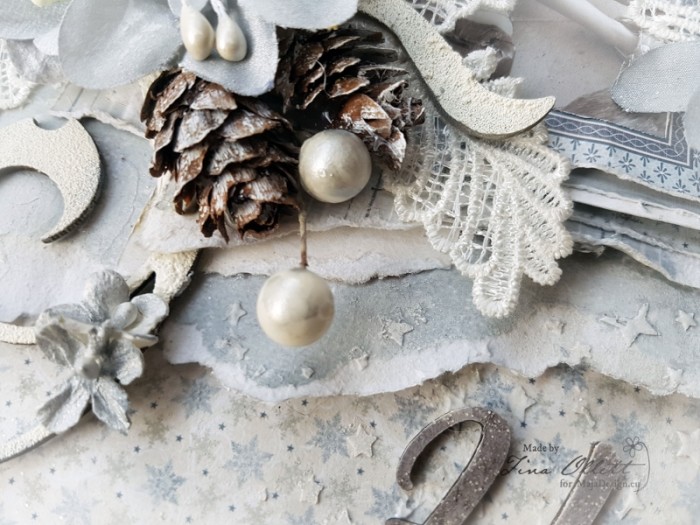
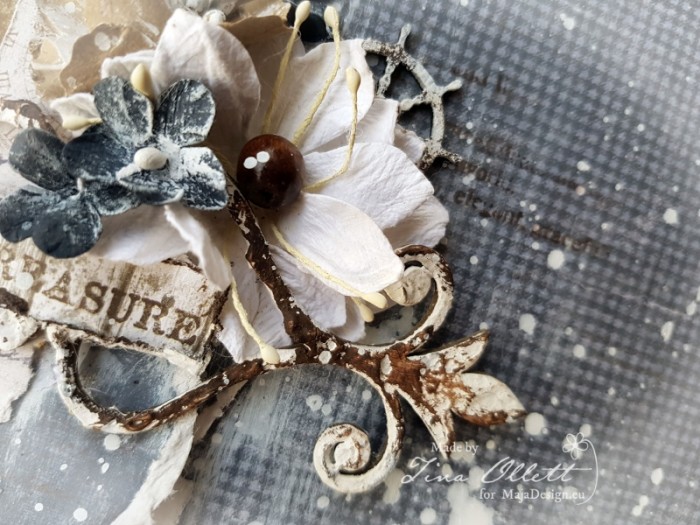
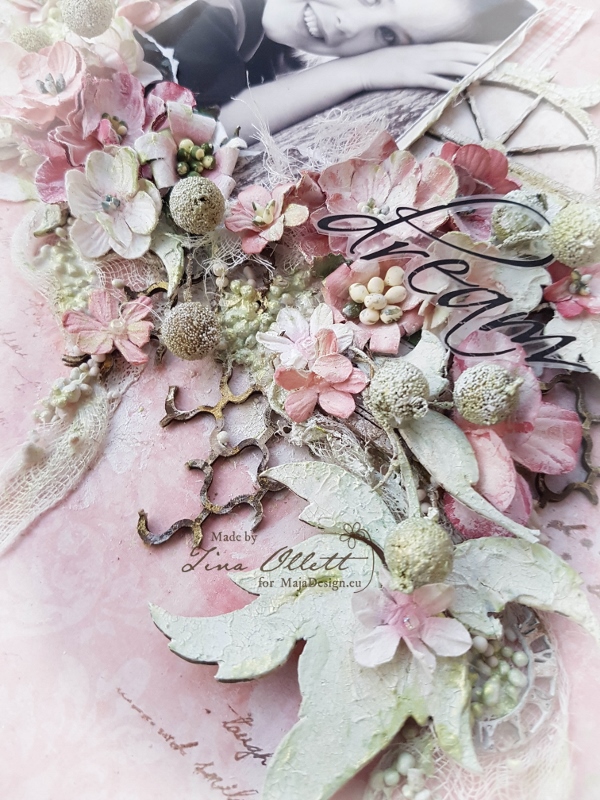
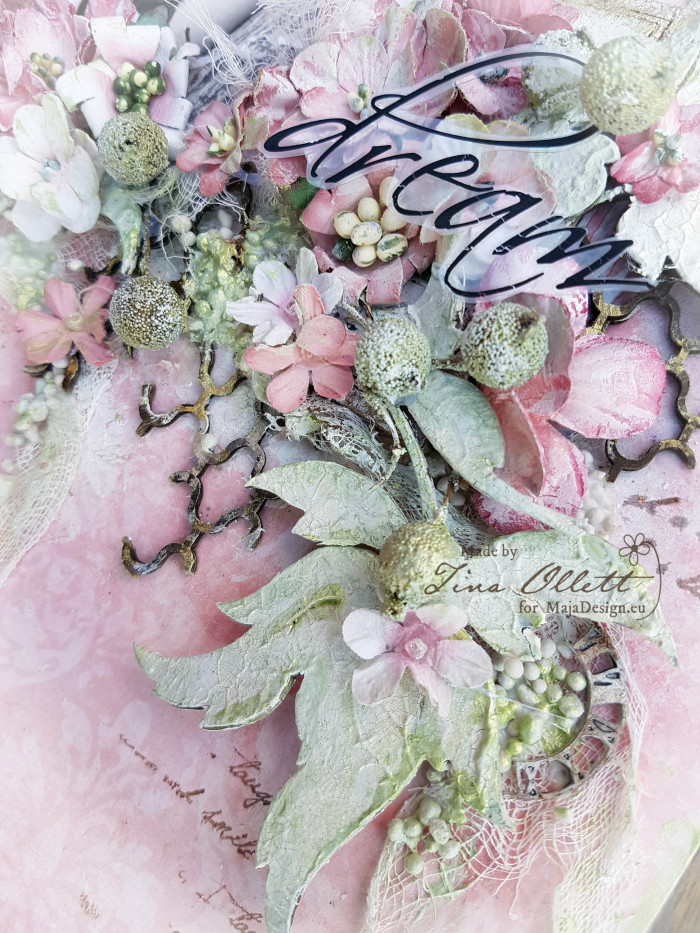
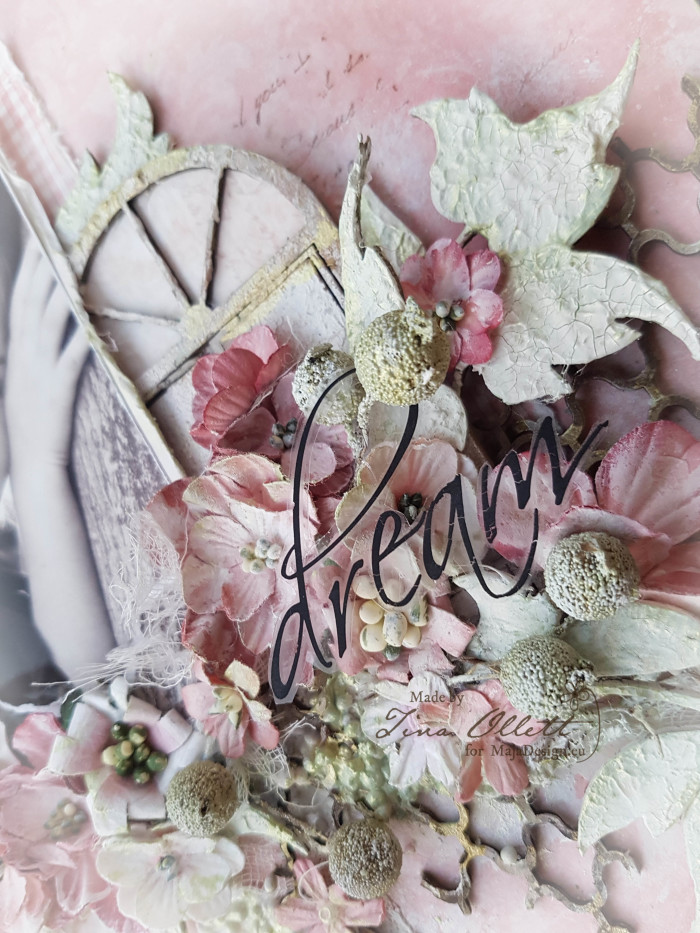
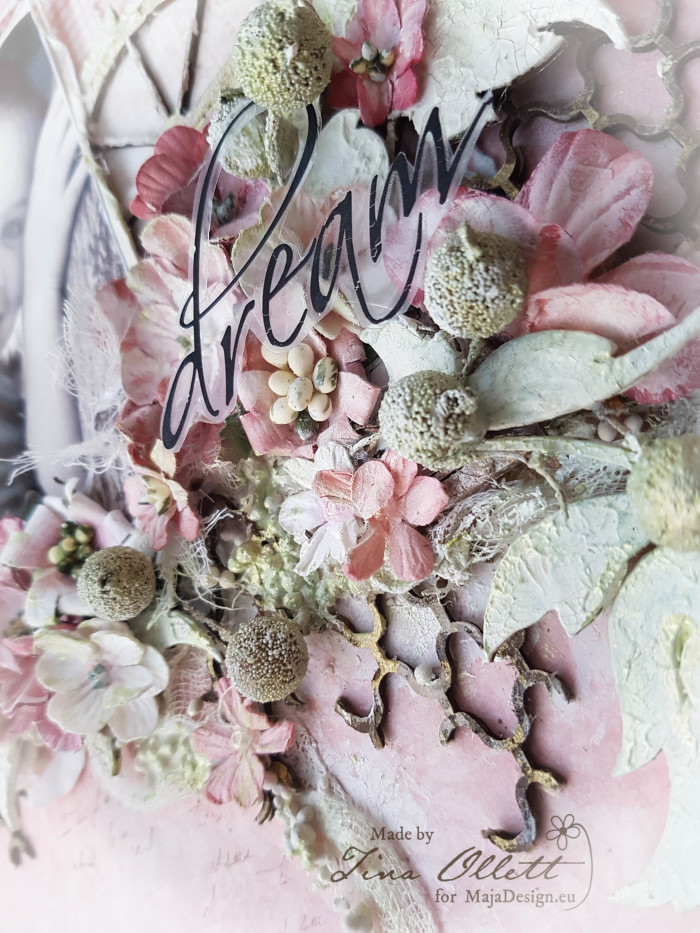
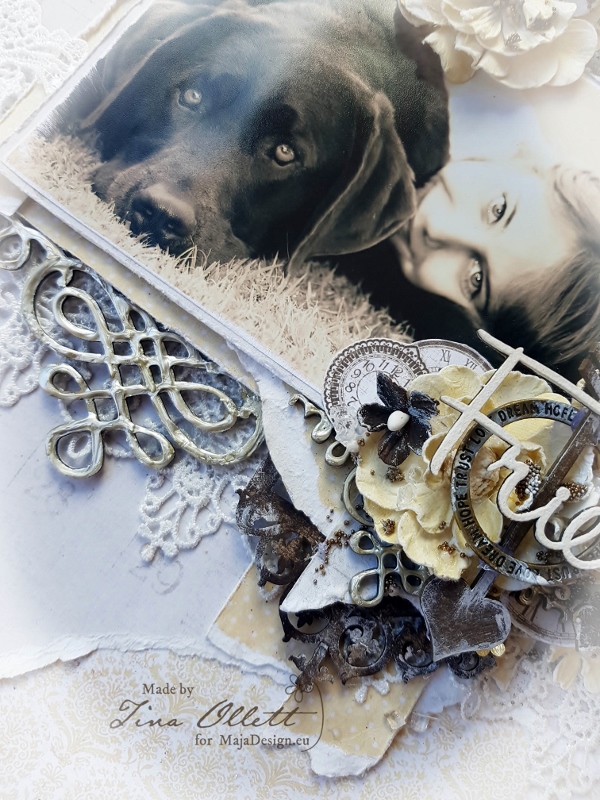
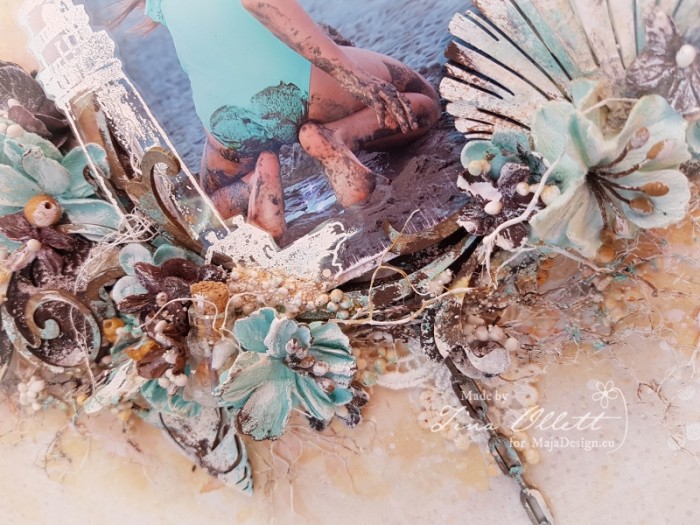
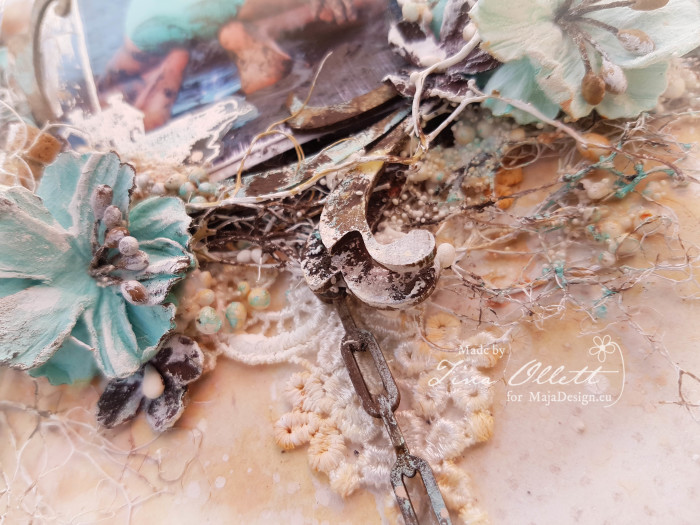
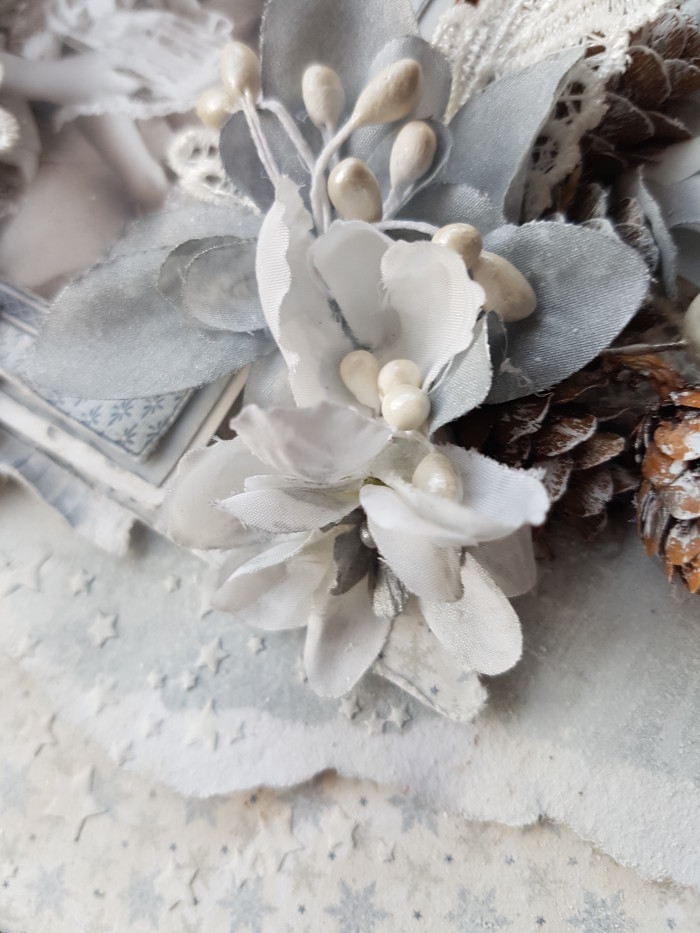
I have added in some gorgeous little pine cones along with lace leaves and beads baubles.
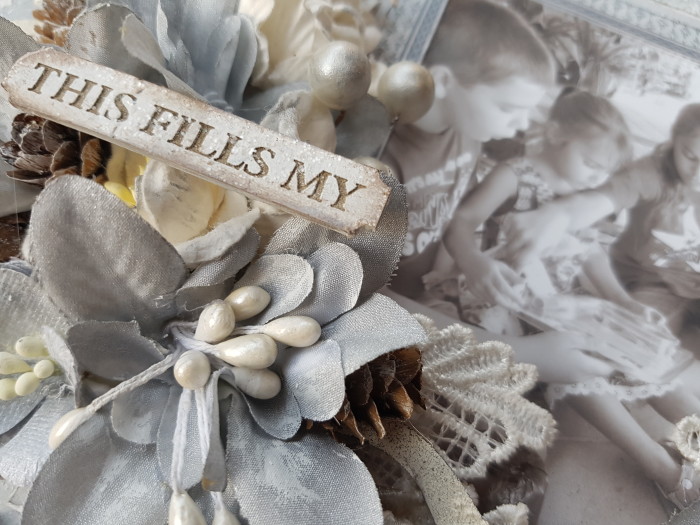
I have also added in some beautiful chipboards that were embossed with seafoam and inked with Walnut Stain.

I made some flowers using materials and coloured them with Ranger Distress Stain.
Above and below you can see the layering of papers that I used along with the textures made with the stencil and texture pastes. Unfortunately you can’t see all the sparkly effect made with the sparkling dust but rest assured it is definitely there.
Well that is all from me today with my lastest project. I do hope you enjoyed it.
Until next time take care and happy scrapping.