“Believe” by Tina Ollett

1

Posted by Tina Ollett

21 December, 2018 -

Write a comment

Welcome and hello Maja Design friends. Tina Ollett here with you today to share a Christmas creation using not the new release collection but the Denim and Friends Collection. Well it is that time of the year when I get behind on absolutely everything including my Design Team work. And if I can use the quote “to kill two birds with one stone” that is exactly what I have done to ease my workload for this week. I have combined my Design Team work for Maja with the Dusty Attic Design Team work and used their Moodboard for this month. And to do this I had to use a different collection. So therefore the use of Denim and Friends.

Streetwear

Streetwear b side

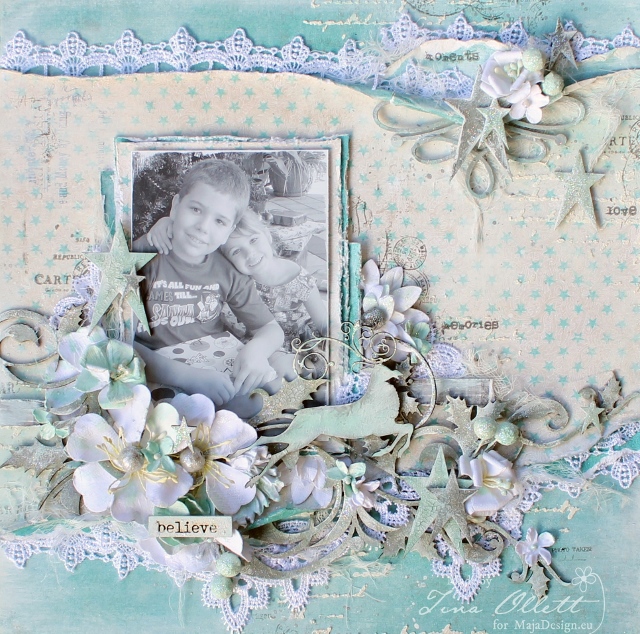
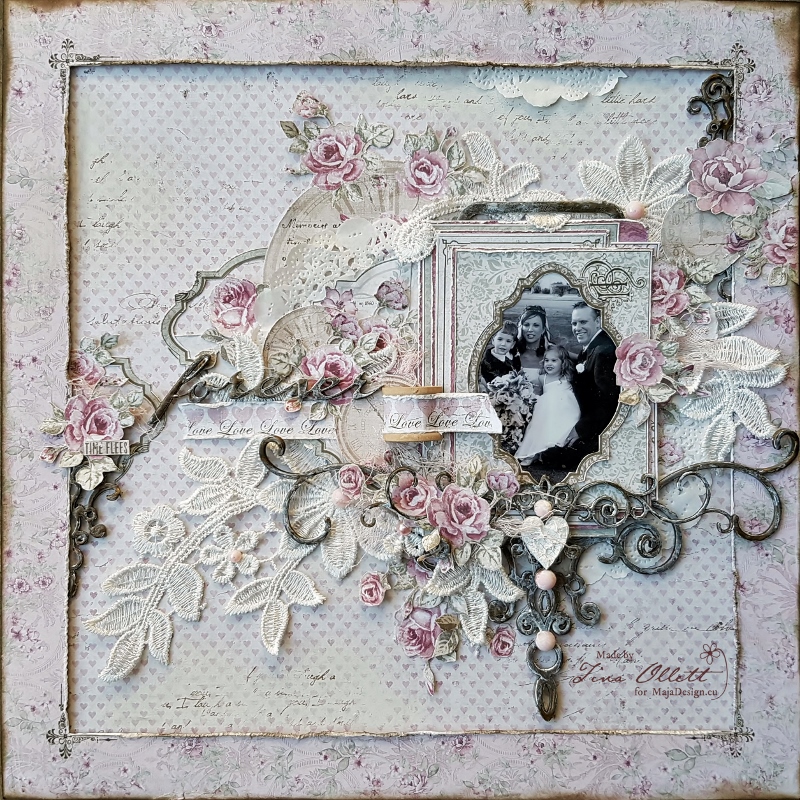
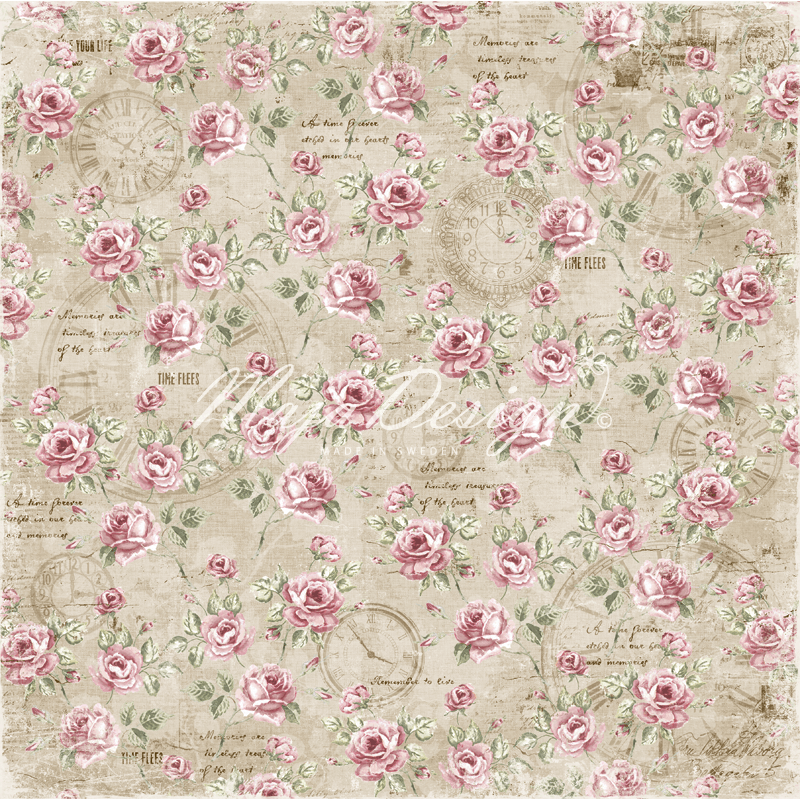
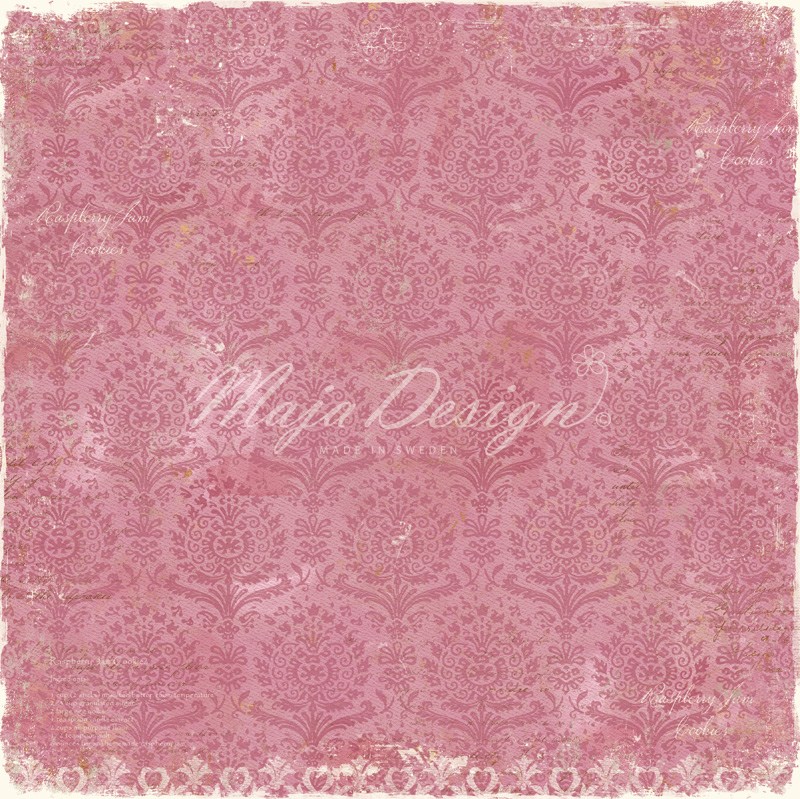
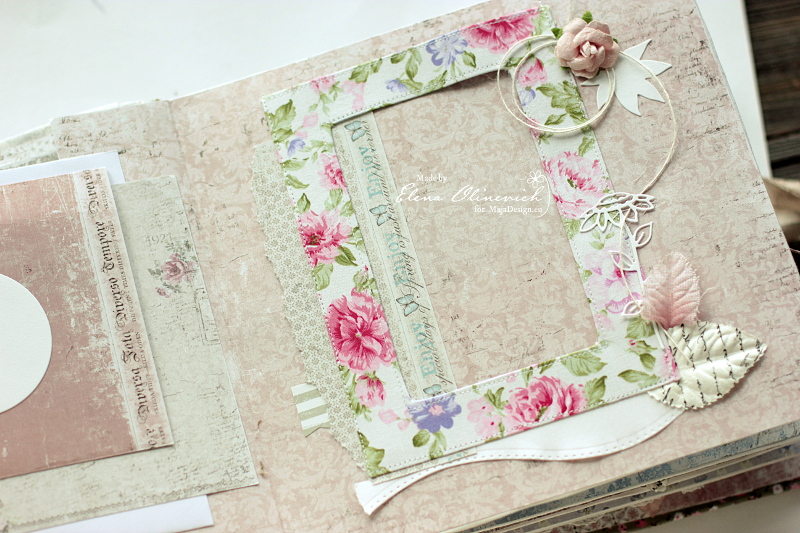
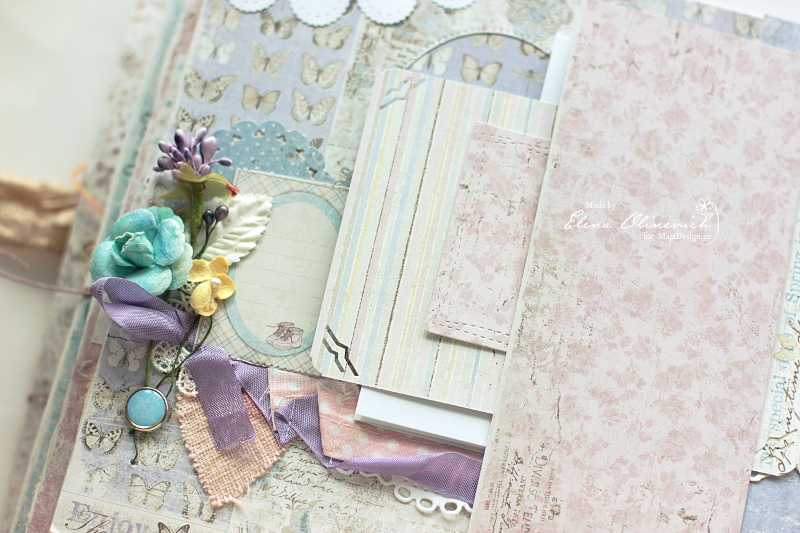
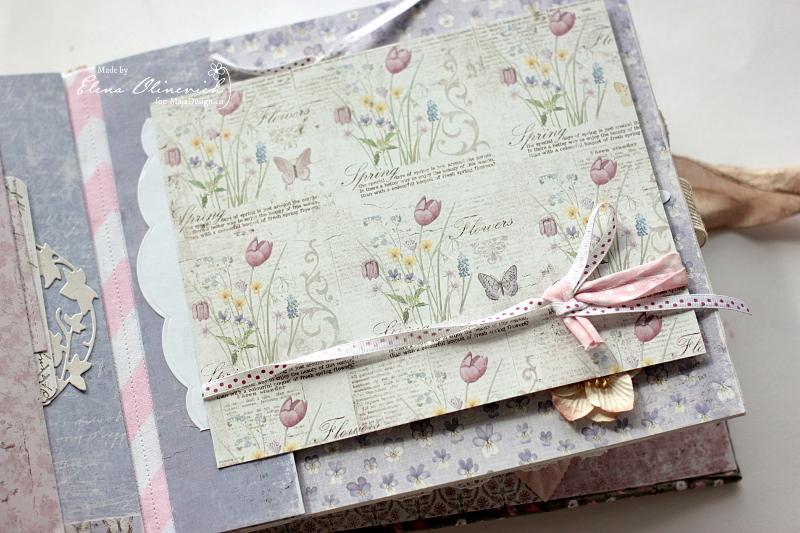
My layout started with just three pieces of Streetwear from the Denim and Friends collection. I used the teal green for the base and tore the second piece using the opposite side with stars. I simply tore a section top and bottom and then roll sections after distressing and sanding my papers.

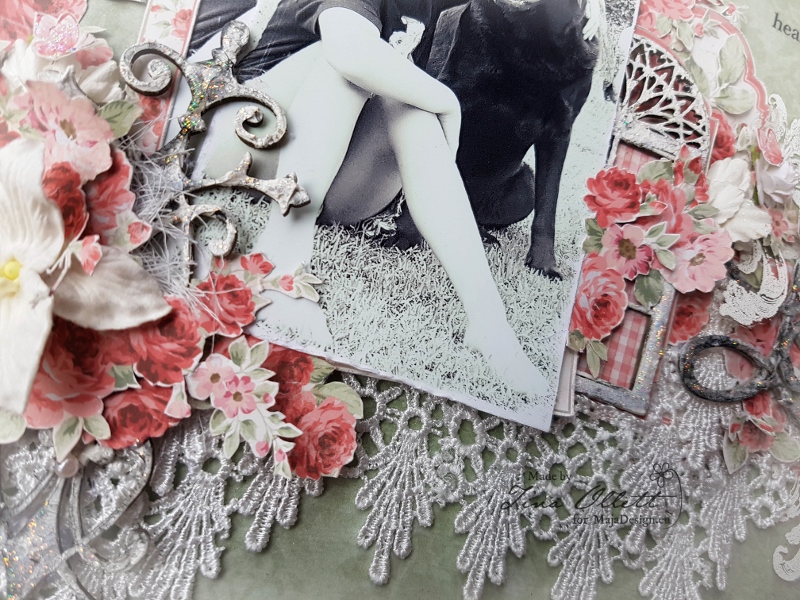
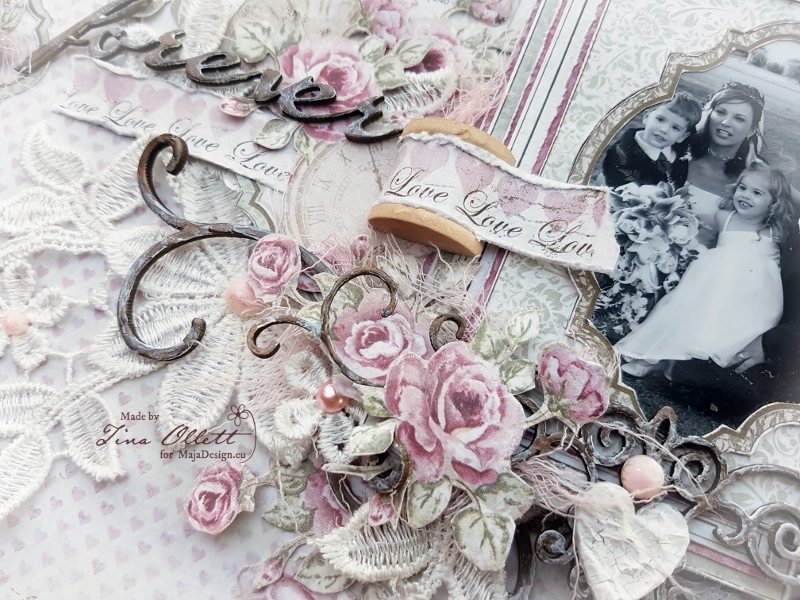
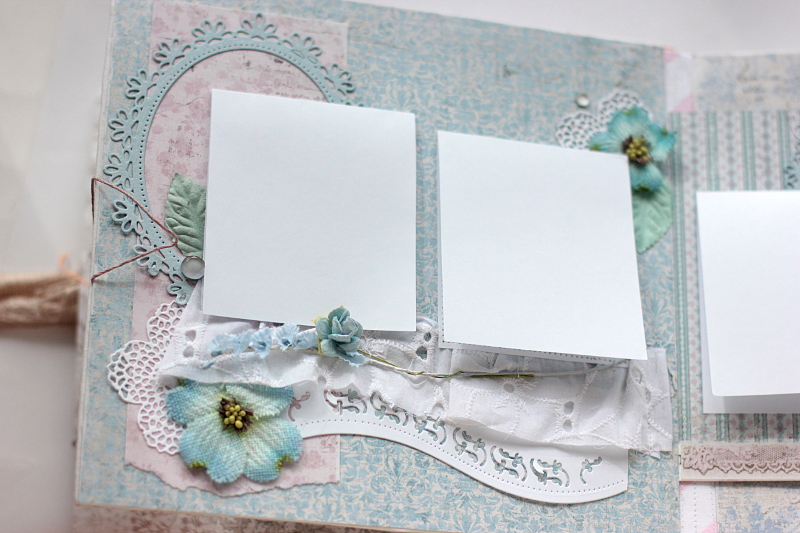
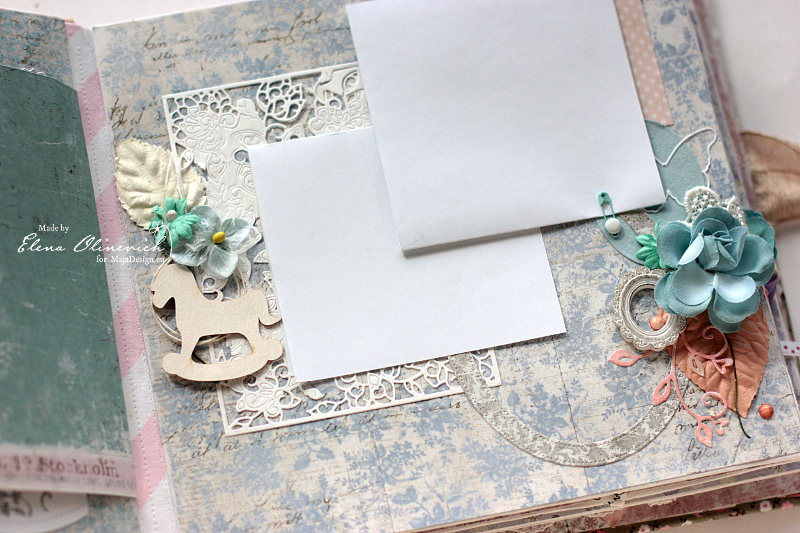
Once my background was finished I then used the leftover papers to create some matting base for my 4 x 6 portrait black and white photo. You can see above the layers of Streetwear used to do this above.

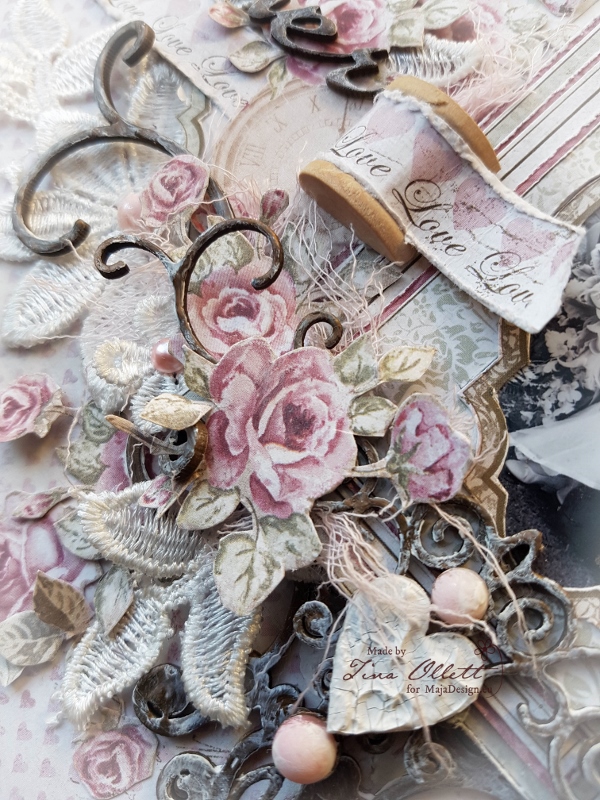
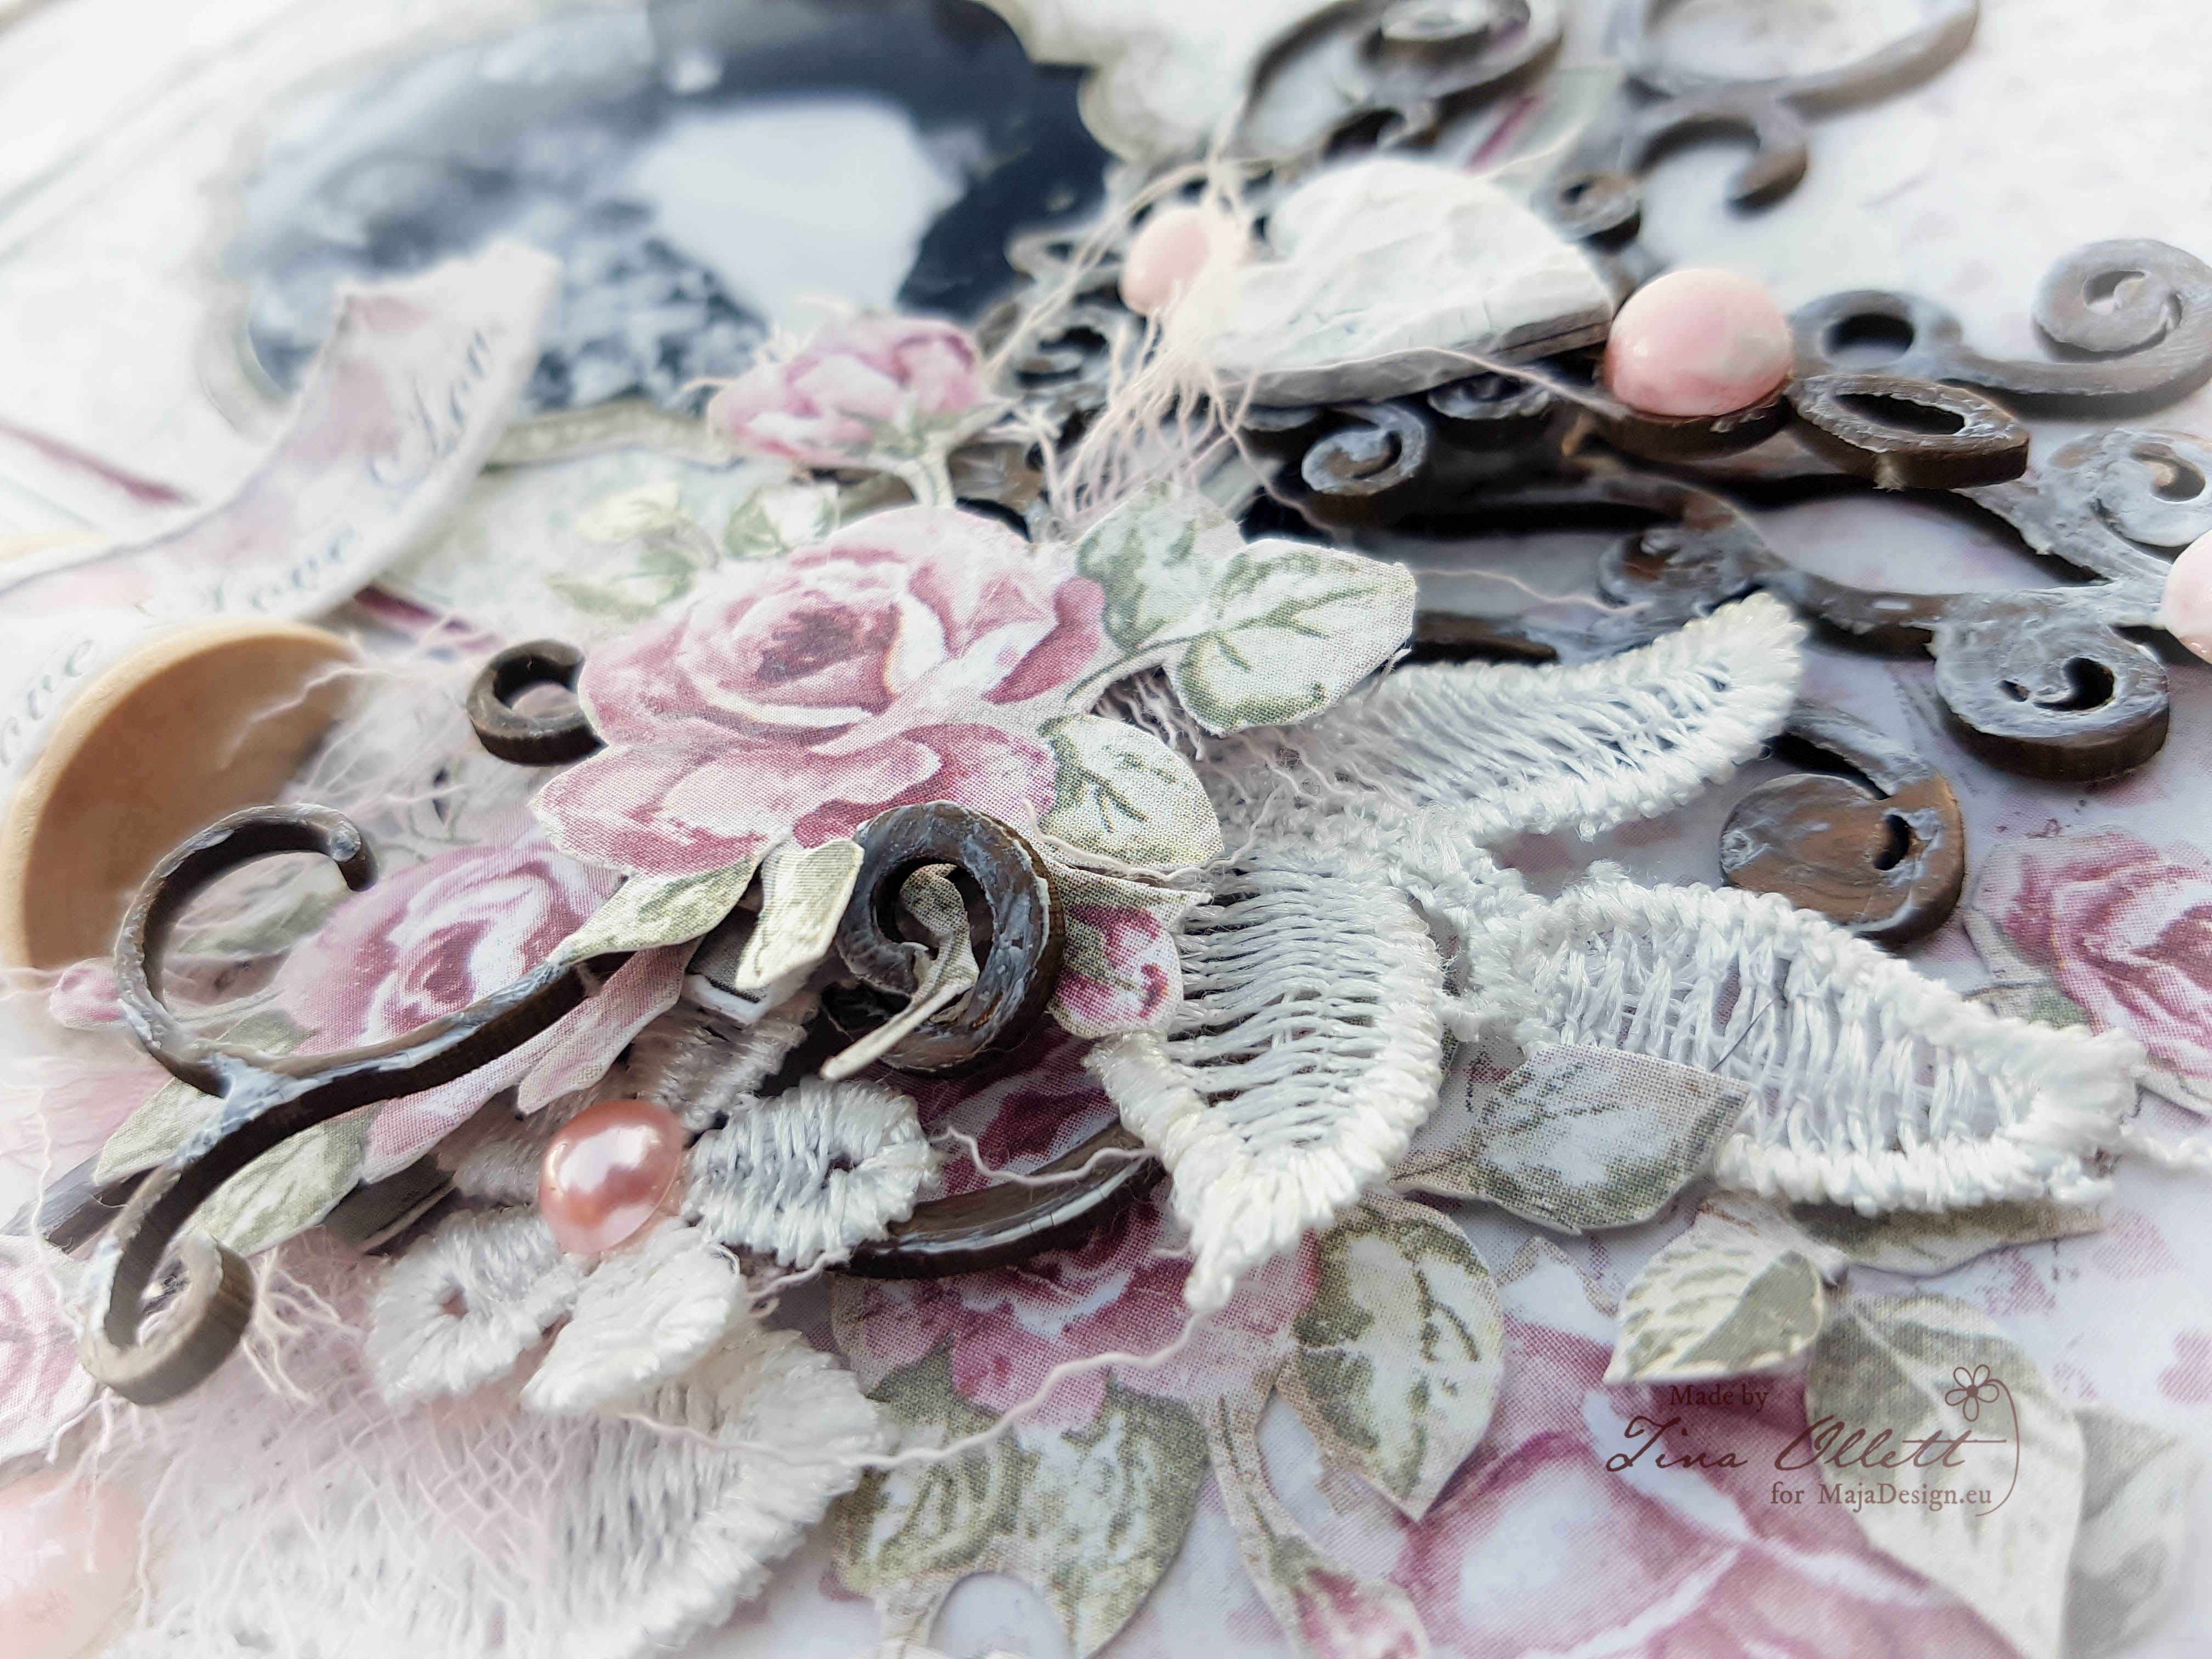
I also added in a little stamping on my project and some textures with Sand Texture paste through a stencil and also splatters of acrylic white paint.

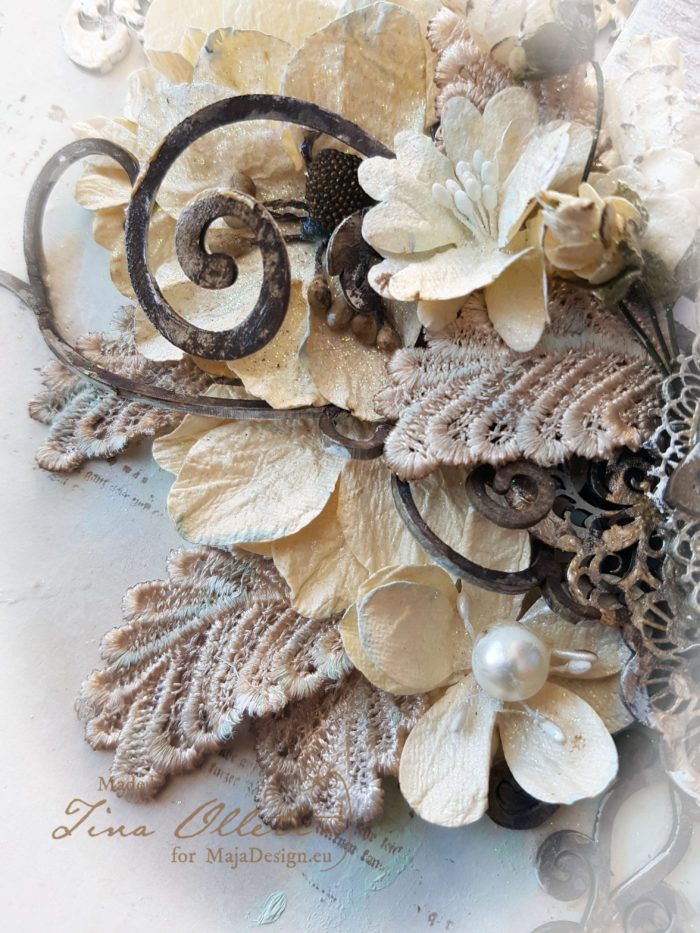
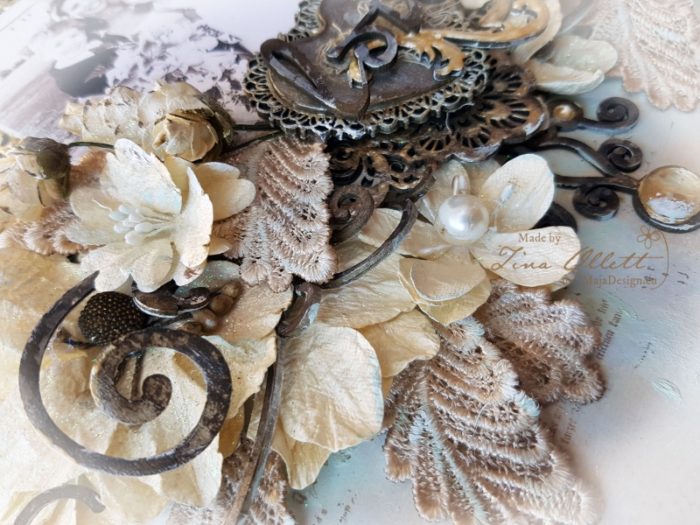
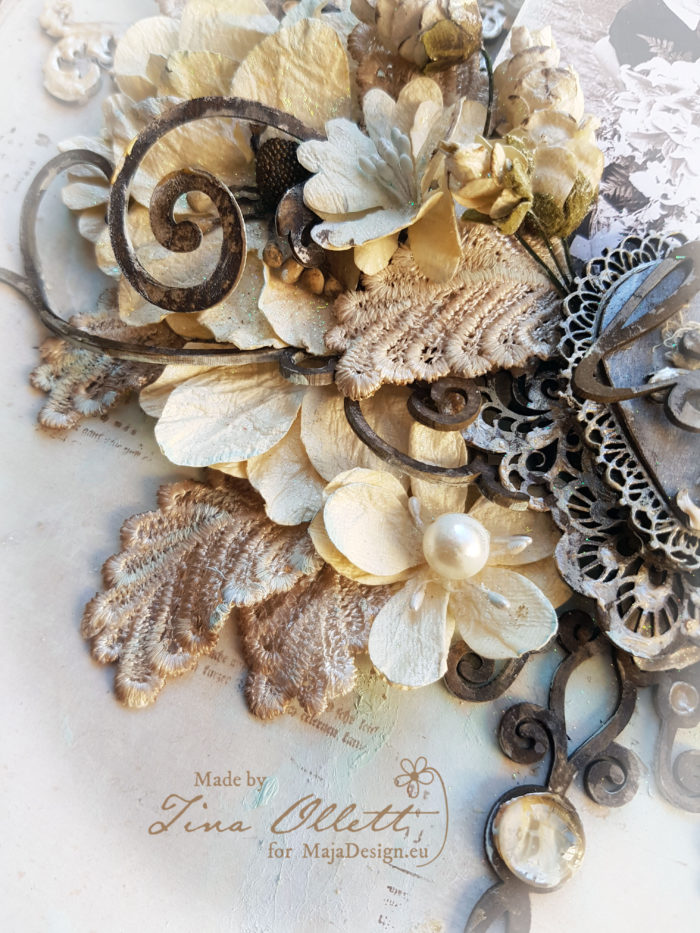
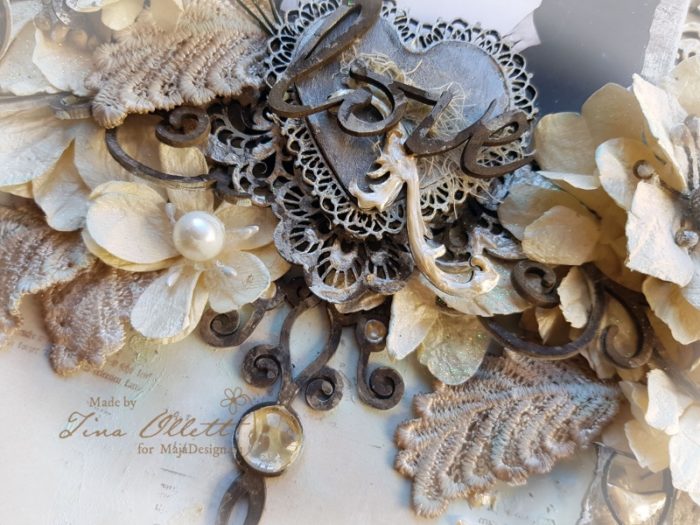
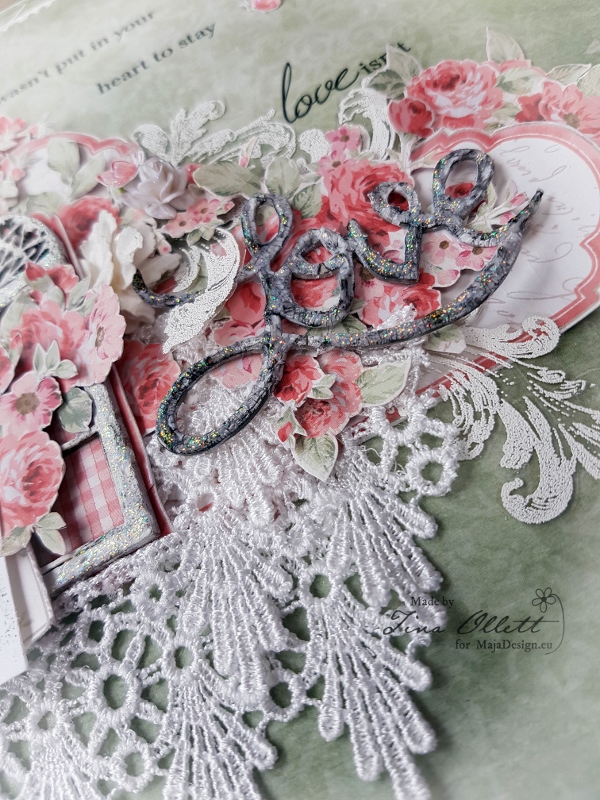
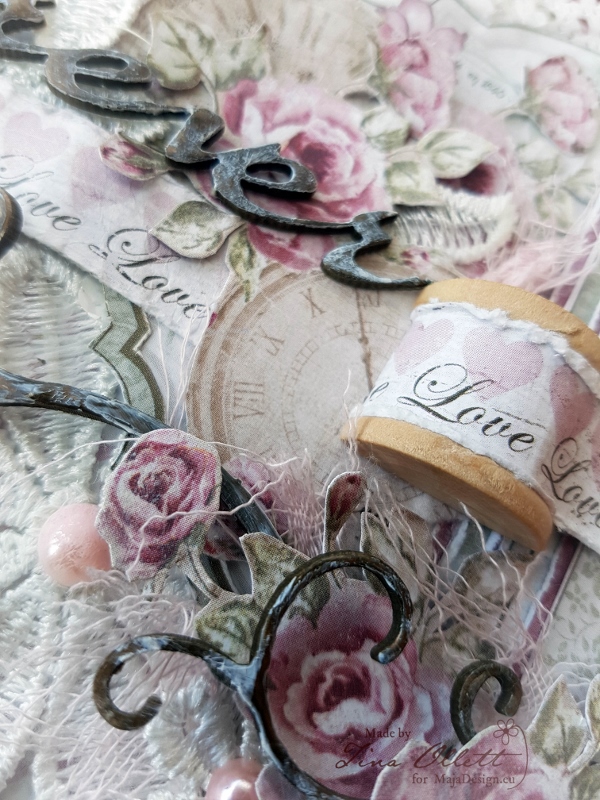
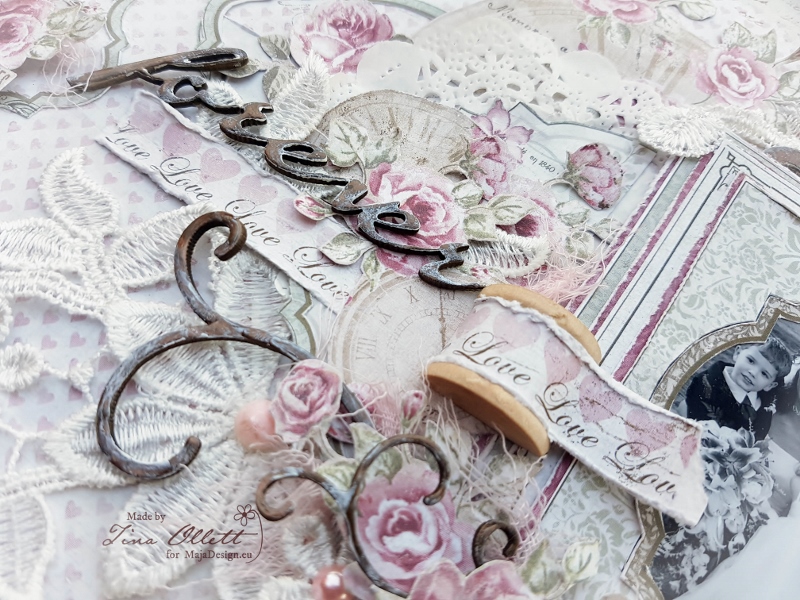
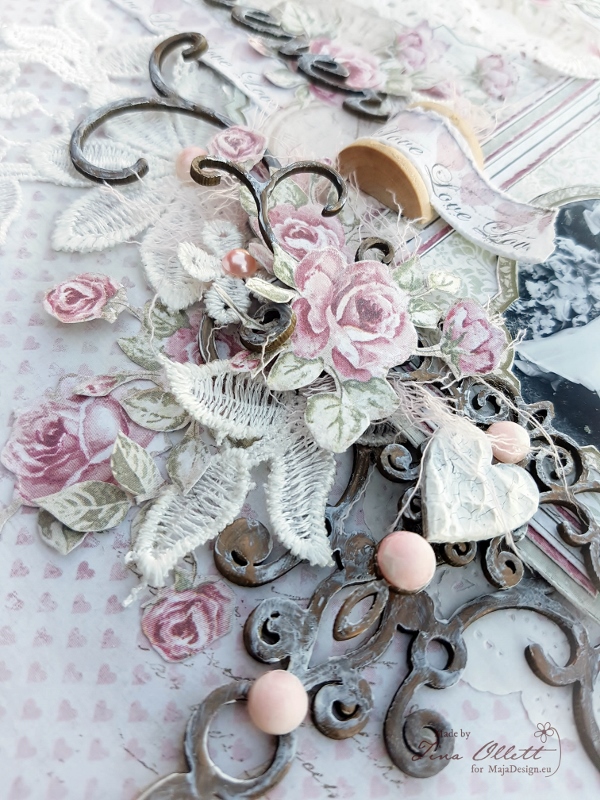
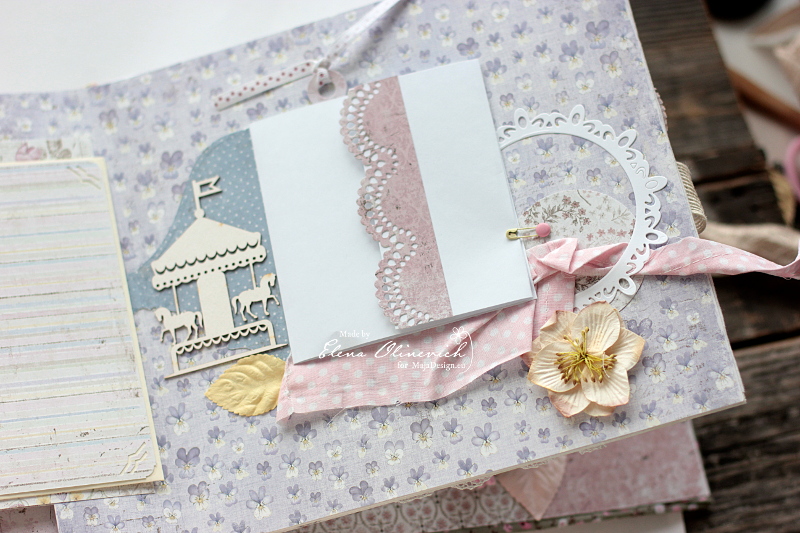
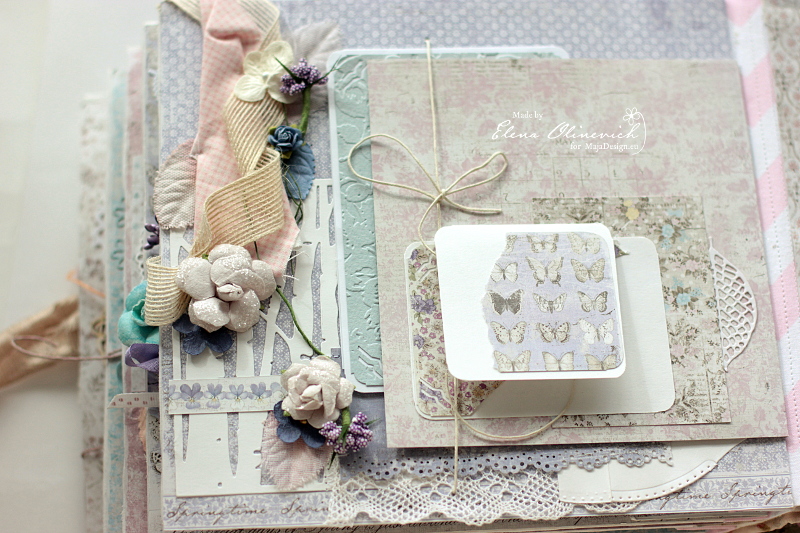
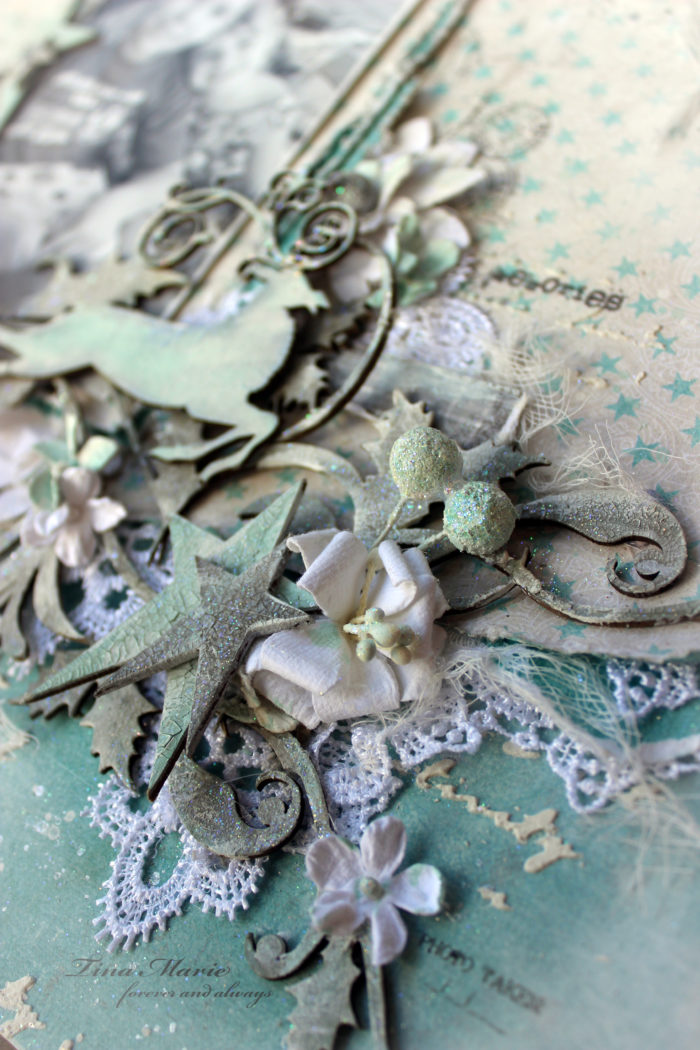
I used distress inks mixed with gesso to colour my flowers and also some of the Dusty Attic chipboards that I selected to use for this project.

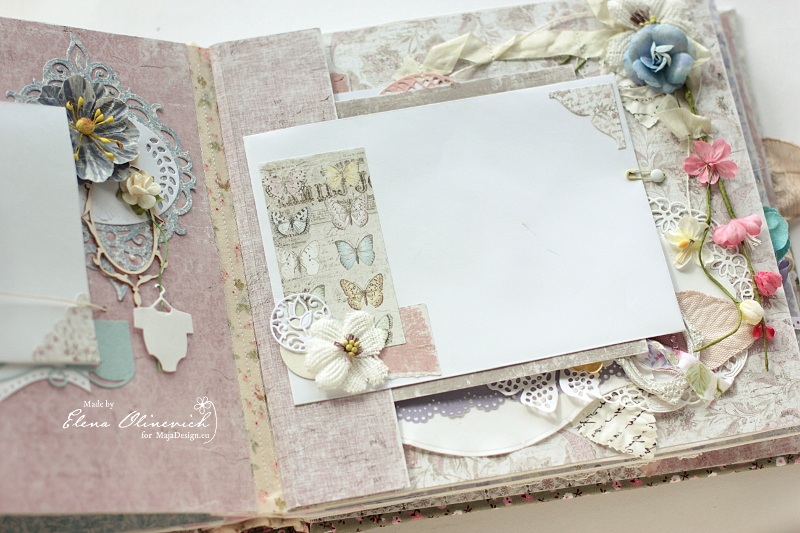
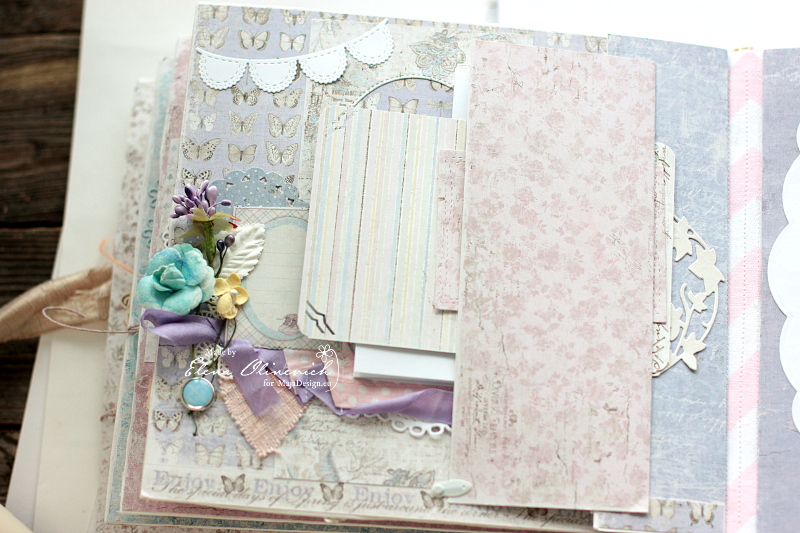
I decided at the very end of my project to add in some gorgeous laces. It just seemed a little empty without pops of white. I also added in a little distressed muslin.

Well that is all from me today. I do hope you enjoyed my post. I would like to take this opportunity to wish you all a very safe and merry Christmas. I hope Christmas brings all the special things your heart desires.

Until next year take care.


“Love” by Tina Ollett

10

Posted by Tina Ollett

13 January, 2018 - , ,

Write a comment


 Welcome and a very happy New Year to you. Tina with you today to share my project for January.

This layout was inspired by the Dusty Attic Moodboard for the month. I saw it and immediately thought Maja and stylish elegance. And what better way to display all of these than with a wedding photo. A very special photo of my little family from quite a few years ago. But this photo I feel captures all that our day was…..pure happiness and love.

I hope you enjoy this!

“Love”

Every now and then I come across a patterned paper that really projects gorgeousness in itself. And this piece I selected from the Walking in the forest collection is one of those that I am talking of. It was really all I needed to create this project with …….and em

Flannel Shirt bs

538-FlanellskjortaW-bs

This piece which I find just gorgeous with the suttle foliage at the side I find really elegant. My background was stencilled with some hearts and accentuated using paints and texture paste. I also added a very small amount of stamping.

You can see above the minty colour paint I used to help the photo pop from the page.

I did some layering of chipboards to create a base for my photo to sit upon. I then clustered flowers and lace leaves around this to bring the photo to attention.

Here you can see more layering upon the gorgeous piece of Flannel Shirt bs.

And a few more photos from different views…………..

Above you can see the background hearts which have been dressed and heat set to create dimension.


Here you can see the gorgeous 49andMarket flowers. These have been layered and clustered around the chipboards.

I have also added some hand dyed soft leaf lace to help soften my project.

Well that is all from me today. I hope you have enjoyed your visit. See you again next time and happy scrapping.

“Love isn’t love until it’s given away” by Tina Ollett

6

Posted by Tina Ollett

14 February, 2017 -

Write a comment

Welcome and a very happy Valentine’s Day to you wherever you live in the world.

May your day be filled with love, flowers and chocolate, lots and lots of chocolate………..!

Tina O with you here today to share my next Maja Design creation. The title for this layout was taken from a beautiful beautiful quote I found in a big box of rub-ons this morning, one I had not heard of before. But it will be one that I use again one day soon. It goes……

“Love wasn’t put in your heart to stay, love isn’t love until it’s given away”

2017-02-14 Valentines Day 039 (796x800)

For my scrapbook layout project here today I kept everything very clean indeed. I did a simple stamped border with embossing powders. Again as always I have added in some fussy cut elements from the Summertime (In the Garden) – Smell the roses patterned paper.

2017-02-14 Valentines Day 047 (800x600)

I had the photo printed of twice in two differing sizes and then layered them one on top of the other. I framed one photo with the Summertime (In the Garden) Die Cut frames. The centre was cut from this and then used behind the back of my chipboard window. So cute!!

Summertime-P1

2017-02-14 Valentines Day 048 (800x600)

I have added in some gorgeous lace that has been cut up and layered sometimes 4 times over itself. Some of the lace was left a little distressed to keep with a shabby feel.

2017-02-14 Valentines Day 051 (600x800)

I have used lots of yummy Dusty Attic chipboards for this project. They were simply covered with Crackle Paste and coloured with China Black H2O’s, and a little distress crackle and some Star Dust Stickles.

2017-02-14 Valentines Day 053 (600x800)

I used a Sizzix Die-Cut for my title “Love”. I layered it up a couple of times and dressed similarly to the other chipboards but I left it a little darker so it could stand out on the page. I also added in some handmade accetates to add to the layout another layer.

Well that is all from me today. I hope you have enjoyed your time here. Stay tuned there will be more again tomorrow. Until then happy scrapping.Tina-sign


“Forever Love” by Tina Ollett

4

Posted by Tina Ollett

17 January, 2017 - , , ,

Write a comment

A huge welcome to you! It’s Tina with you today to share my next Design Team creation.

This project for January, I have titled

…..”Forever Love”….

2017-01-17 2017-01-17 001 015 (800x800)

This, for me, was a layout of love. Scrapbooking for me is about the memories and sometimes the photos from the most special days of all, aren’t of the best quality but I always insist on using them no matter what. On our special day a professinal photographer was hired, but it was very unfortunate that during the development of our photos that something went horribly wrong. Due to the developing error we we did not receive a great deal of photo’s that were of a good quality or worthy of using to hang on our walls. We depended on our family and friends to help us with photo’s they had taken and this photo is one of them. We were so fortunate to have our two eldest attend our wedding. They were so excited the whole day through. My son walked me down the aisle with my Dad, something I will never forget and treasure always.

2017-01-17 2017-01-17 001 012 (600x800)

I am mad for anything at present that I can fussy cut from papers. And I found this in the Vintage Autumn Basics No. II sheet that was in my gorgeous Maja stash. I have cut at least a half of this sheet up and layered it in and around the page.

2017-01-17 Maja January 2017 031 (600x800)

You can see above in the bottom of the photo the layering of journalling cards that I cut from Vintage Spring Basics “Days to Remember” and also from the Vintage Romance collections “Love Notes”. Amongst the several layers of journal cards I have alternated mats of “Raspberry Jam Cookies” from the Coffee in the Arbour collection. Yes I have mixed a lot of collections this time around . I find the beauty of Maja Designs ranges is that they just blend together so beautifully.
2017-01-17 Maja January 2017 032 (600x800)

I have layered the  project with paper doilies, lace motifs, Dusty Attic’s gorgeous chipboards cut up, muslin and even a sewing spool. The sewing spool was wrapped with the bar strip from Vintage Romance’s bside of “Passion”. Passion was used as my background piece with the frame cut from Vintage Romance’s “She’s my Lady”.

2017-01-17 2017-01-17 001 060

This here, is the side on view of the base of the photo. The lace motif I have used here has been cut into many many pieces and divided throughout the layout to help give it movement.

2017-01-17 2017-01-17 001 036 (800x600)

I have tucked a few doilies around to help break up the pink from the flowers and the background.

2017-01-17 2017-01-17 001 041 (800x600)

I just loved these clocks found on the Vintage Spring Basics sheet. I have used the largest of the clocks and cut it to sit behind the photo so it did not overtake the whole layout. I cut some of the smaller clocks with the roses to sit on top of the large one layered.

2017-01-17 2017-01-17 001 058 (600x800)

From another view…….

2017-01-17 2017-01-17 001 059 (800x600)

and another…..

Maja Designs Papers used for this project were:

625-Vintage-Autumn-Basics-no.II_

Maja Designs – Vintage Autumn Basics No.II

679-Raspberry-jam-cookies

  • Maja Designs – Coffee in the Arbour – Raspberry Jam Cookies

821-Passion-bs

Maja Designs – Vintage Romance – Passion -bs

822-Shes-my-Lady

Maja Desings – Vintage Romance – She’s My Lady

839-Love-notes

Maja Designs – Vintage Romance – Love Notes

Other Materials Used

Dusty Attic Ornamental Trim Set

Dusty Attic “Forever”

Wendy Vecchi Crackle Texture Paste

Art Basics Heavy Gesso

Liquid Pearls Chocolate

Ranger Distress Ink Walnut Stain, Ground Espresso, Victorian Velvet

E Line Pearl Crystal Prima Marketing Inc – Pearls and Crystals Item# 300470

A Place To Create’s Lace Motif (large)

Muslin, Wood Sewing Spool, Miscellaneous Wood Heart and Bracket

Acrylic Stamp Set Script

I so hope that you have enjoyed your time here today. If you have pieces of different Maja collections lying around in your stash, why not try combining them together like I have here today. Would love to see what you do!

Until next time take care and happy scrapping.Tina-sign

Baby Floral Album

1

Posted by Elena Olinevich

16 September, 2016 - , , ,

Write a comment

Hello Maja Friends, it’s Elena here with you today.

You know that I enjoy creating albums and other stuff for the babies. However I do like when it doesn’t look too baby,that is why I am searching for dig=fferent ways how to add other embellishments , flowers ,lace and so on, so that it can be used for the baby at the same time.

sneak

It’s really fun and you don’t need speacial baby papers.

cover sneak

This time I combined some of my favorite papers form different collections. and I guess that still look simple and match each other perfectly.

Baby Album, by Elena Olinevich, Maja Design_01a

I made many flaps, envelops and tags – I do like when the album is like a Lego, you know)))

Baby Album, by Elena Olinevich, Maja Design_02

Baby Album, by Elena Olinevich, Maja Design_02a

There are many pages and details in it, I don’t want to bother you with all of them, I will show only a few.

Baby Album, by Elena Olinevich, Maja Design_03a

Even if you make something for the girls you don’t need to keep it absolutely pink. I like adding teal and blue too.

Baby Album, by Elena Olinevich, Maja Design_04a

However few flowers is a good adition

Baby Album, by Elena Olinevich, Maja Design_04b

Baby Album, by Elena Olinevich, Maja Design_06

Baby Album, by Elena Olinevich, Maja Design_06a

Don’t throw you negative die cuts, they can be an awesome embellishment.

Baby Album, by Elena Olinevich, Maja Design_06b

img_1338

too accents that this album is devoted to a baby

Baby Album, by Elena Olinevich, Maja Design_07

Baby Album, by Elena Olinevich, Maja Design_07a

Baby Album, by Elena Olinevich, Maja Design_07b

Baby Album, by Elena Olinevich, Maja Design_08

Purple is still my favorite color, I can not miss it.

Baby Album, by Elena Olinevich, Maja Design_08a

Baby Album, by Elena Olinevich, Maja Design_09

I hope you have enjoyed my album as I had such an excitement to create it.


You can also take a video tour

http://https://youtu.be/ibWfwze0sss

Elena-sign

Save