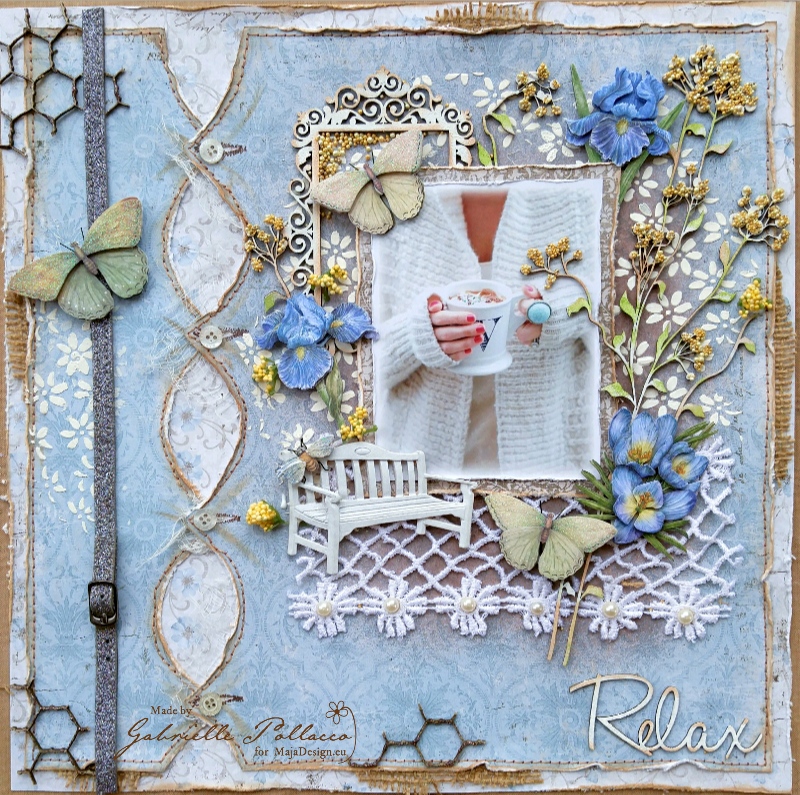
Vintage Romance Layout & Video Tutorial

1

Posted by Gabrielle Pollacco

16 May, 2016 - , ,

Write a comment

Relax_main photo_withwatermark

Hello everyone, Gabrielle here with you today!  Yup, I’m back for a little guest spot!  When I received the gorgeous Vintage Romance collection in the mail a couple weeks ago, I felt compelled to make up a layout & video tutorial with these stunning papers!

Vintage-Romance-P

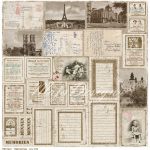
I used ‘Happily Ever After’, ‘Together Forever’ and ‘Words of Love’ for my page design.  I was going for a fabricky (is that a word? LOL) look on this layout, so I added a little machine stitching on the background design, this is optional, I think it can look equally as nice if you leave that off (if you are not a sewer).

So grab your favorite beverage, take a little break and enjoy!….
[youtube http://www.youtube.com/watch?v=wU7IfCNV9LA?rel=0]

I hope you enjoyed my little tutorial!  Here are a few close-ups you all can enjoy at your leisure….
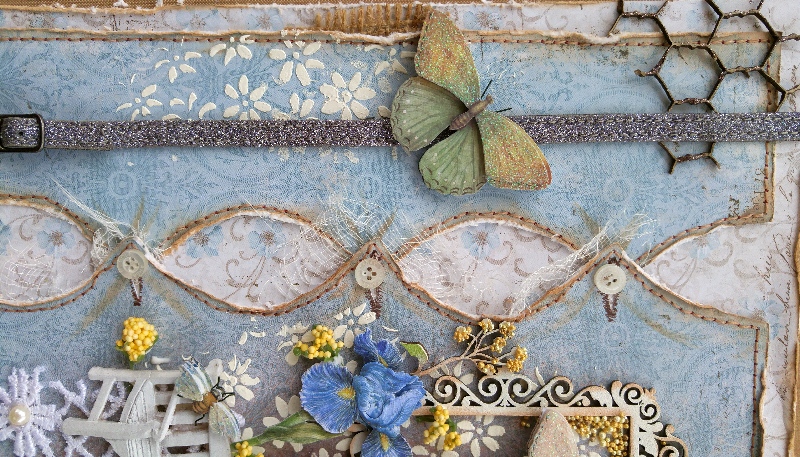
Closeup1

I have this close-up turned on it’s side just so you can get a more close-up and personal look at it.  I simply followed the pattern in the paper to create my button hole design…makes it easy to space out the design.
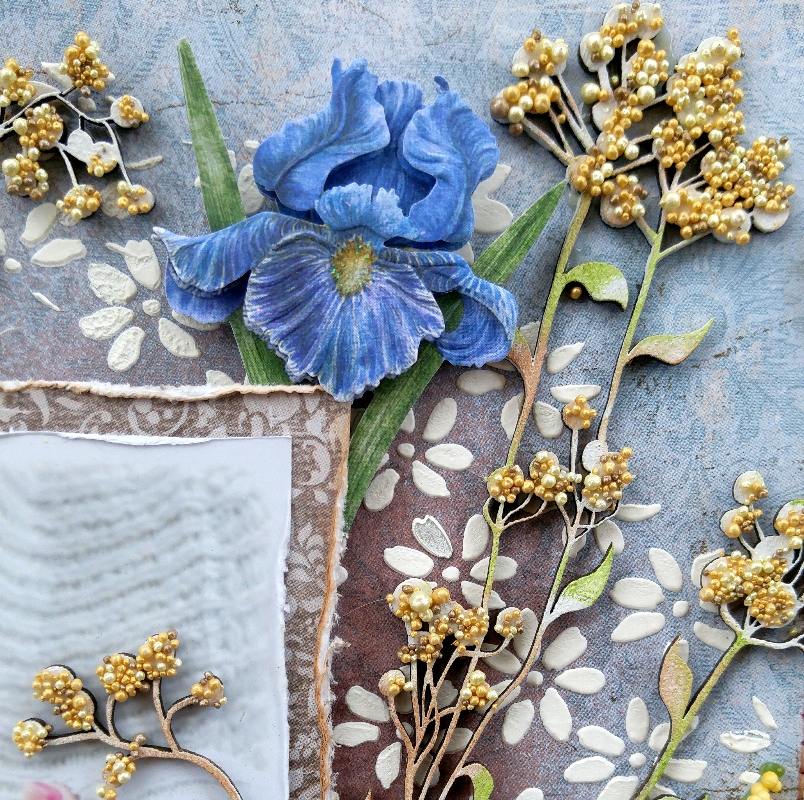
Closeup6

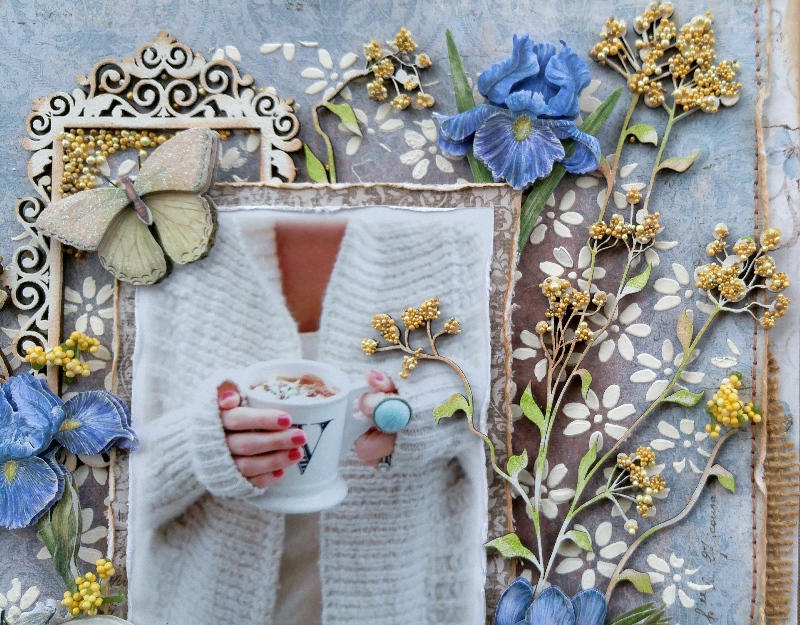
The next step was to add a little color just directly behind the photo area using some Shimmerz spray called ‘See Ya Latte’ Spritz….then I applied some home-made texture paste through a Dusty Attic stencil called Flower Power.  I was going for a kind of Bohemian-chic look and I thought this daisy design would work well with it.  I also matted my photo with the backside of the ‘Words of Love’ paper, I do love browns with blues!
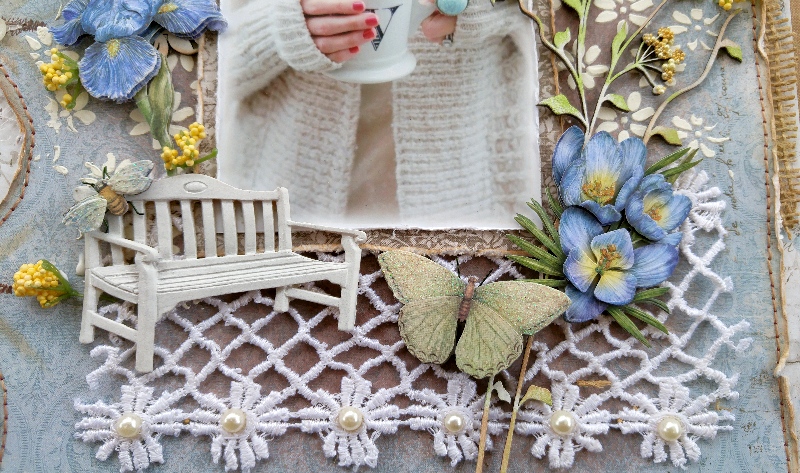
Closeup5

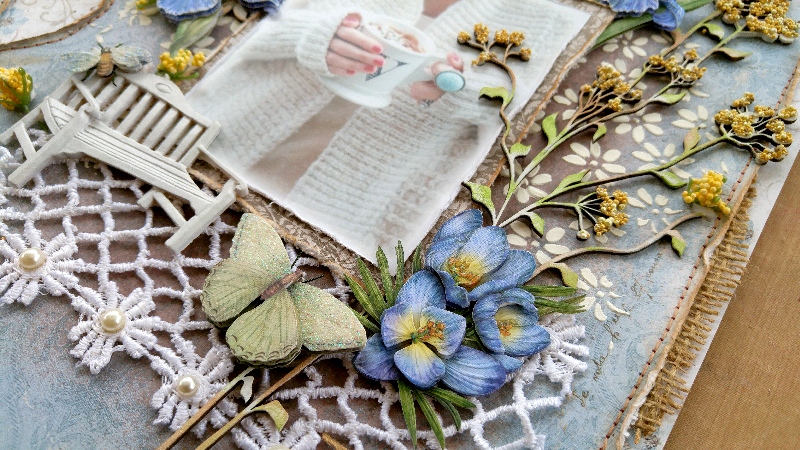
To continue the fabric idea of my page I also included a pretty strip of lace that I got from Tresor’s de Luxe, which I adhered with Tombow liquid adhesive.  I prefer this glue as it allows you to readjust your placement if need be without making a big mess on the paper (let the glue sit for a few minutes to set up before you apply your embellishment to the page.
Closeup3

I had a little fun with my embellishments on this one….I tried a new product (at least to me) called Prills, they are these little balls that come in different colors. Here I using the color called A-maized. I just applied a little glue to the tops of the blossoms of the Wild-Flowers #4 chippie by Dusty Attic and poured the little pebbles onto it…..I really love the effect!
Closeup2

I finished my design by adding some layered floral and butterfly stickers by K&Company in a few strategic areas of my photo area.  Added a small shabby-chic bench embellishment by Prima and a few adhesive pearls on the lace panel.  Done!

I hope you enjoyed my tutorial today and hope you feel inspired to try your hand with the gorgeous new Vintage Romance collection, I know I’m going to keep playing (I’ve got me some of those pretty pink papers ear-marked for another layout)!  Thanks for stopping by the Maja Design blog today, we appreciate and read all the lovely comments and feedback! xo

Gabrielle-sign


Memories

1

Posted by Bec Genet

26 April, 2016 - , ,

Write a comment
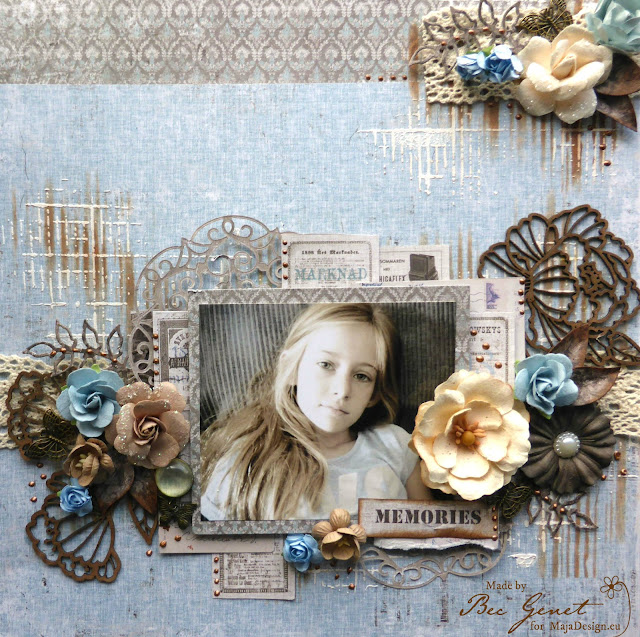
Hi, today I have a video tutorial to share with you on a layout using the Maja Design Vintage Summer Basics Collection. I hope you enjoy it.
Here is my video:

Vintage Sumner Basis Collection. 1936, 1944, 1903, and Minnen
 Vintage-Summer-Basics-P
Bec-sign

Greatful For You

1

Posted by Bec Genet

2 February, 2016 - ,

Write a comment


Hi, today I have a layout to share using the gorgeous Maja Designs Vintage Spring Basics Collection. I also made a video tutorial to go with this layout so I hope you enjoy it


Here is my video:


I used the 6th of March paper as my background paper, then to the 8th of April paper I ripped a diagonal piece from the bottom and distressed the top.


I cut a strip of the 4th of April paper to layer on top. I used pieces of the 4th of April and 9th of April to make a mat for my photo. I cut two strips of lace to layer under the paper strip in the middle, plus a couple of lace flowers to stick out from under my paper layers


I added colour using Gelatos in metallic blueberry and metallic grape through a stencil, plus some splashes of pale purple and blue mists.


Next I mixed heavy white gesso with light texture paste and put that through two different stencils. I mix the gesso and paste together because I want a whiter finish in the paste.


Blue fern chipboard coloured with Gelatos in metallic blueberry, metallic grape, boysenberry and elderberry
I added embellishments using flowers, chipboard, a resin frame, lace flowers and some white cheesecloth
To finish off I added some vellum butterflies and pearls
I Used:
Maja Designs Vintage spring Basics Collection
6th of March
8th of April
4th of April
9th of April
Vintage-Spring-Basics-P


Bec-sign


Marie-Louise – Art Journal + tutorial

1

Posted by Pascale B

9 December, 2015 - , ,

Write a comment

Hello Sweeties

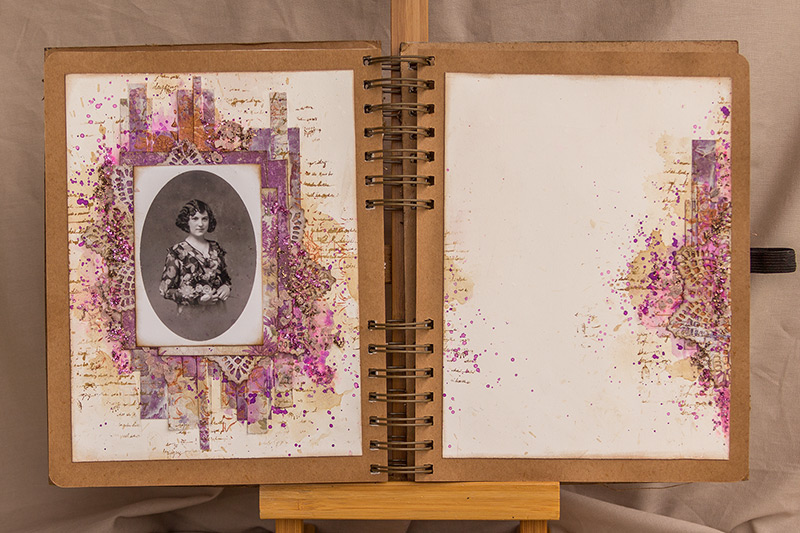
Today I’m up on Maja Design blog with a page from my “Family Journal”. I started this journal during the “Frozen in Time” class with Anna Dabrowska aka Finnabair, I decided that it will be a genealogical journal. And today it’s my maternal grand-mother’s turn.

MLTuto_PB

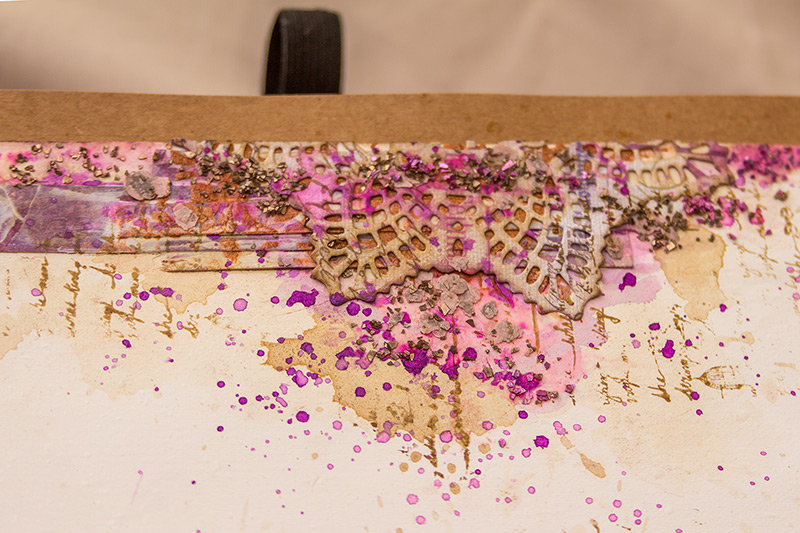
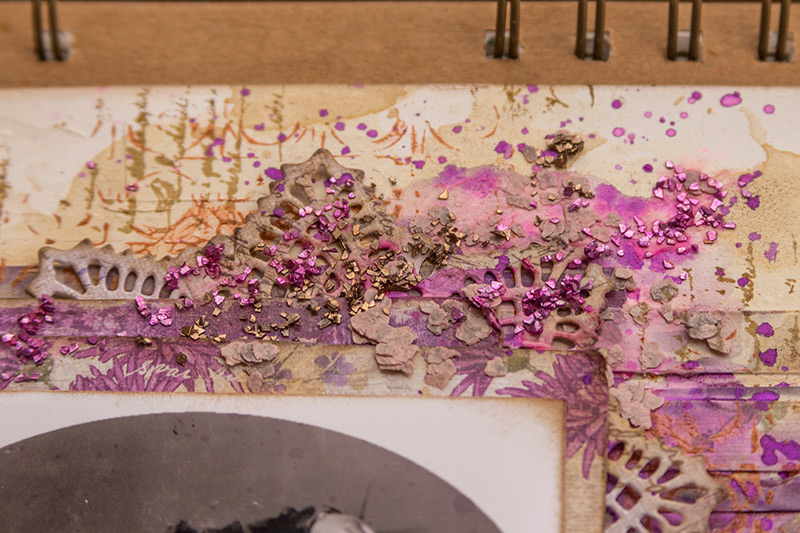
I realized a video showing how I made this page. But first some close-ups:

MLTuto_detail1_PB

MLTuto_detail2_PB

And here is the video:

[youtube http://www.youtube.com/watch?v=9hRiH5NcwC4]

Maja Design papers used:

Enjoying Outdoors collection
Autumn picnic Colourful Time for reflection

Beauty Mixed Media Canvas and Video Tutorial

0

Posted by Gabrielle Pollacco

18 November, 2015 - , , , , , ,

Write a comment

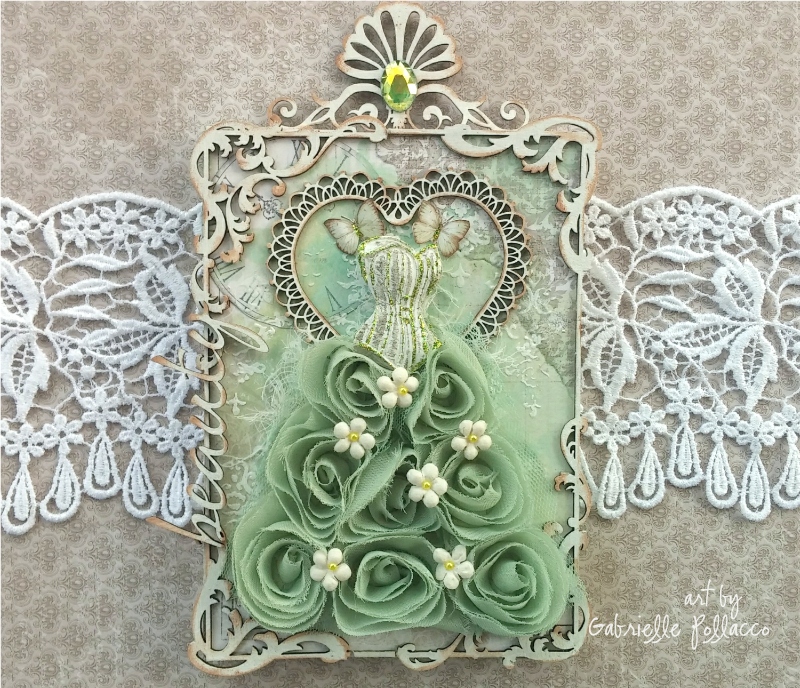
Beauty view2resized

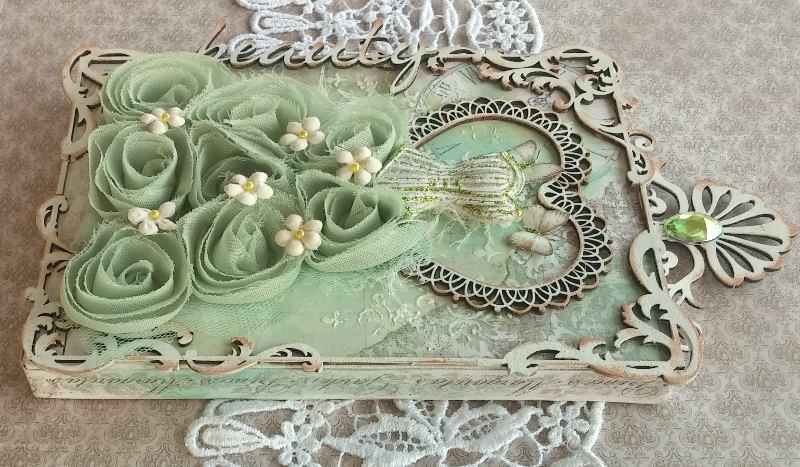
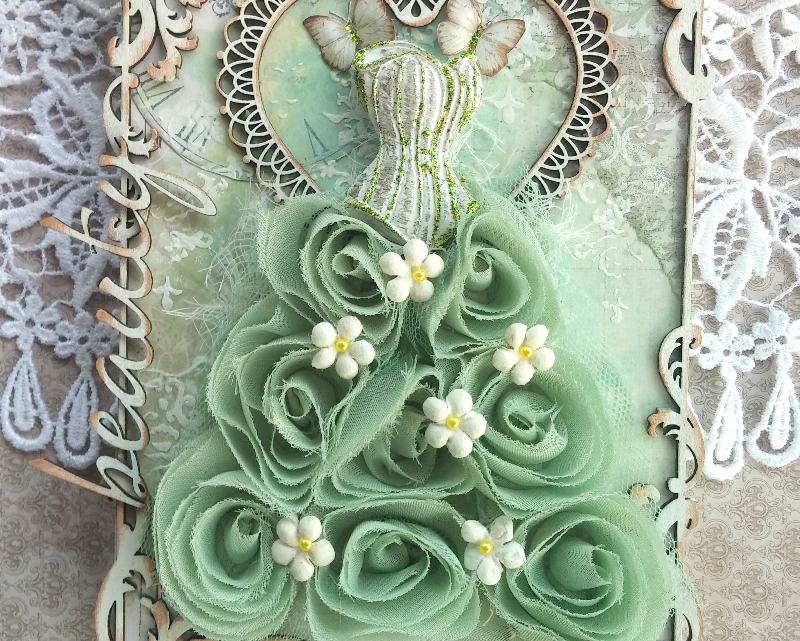
Hello Maja fans, Gabrielle here with you today to share a canvas I made recently.  I had this cute soft green rose ribbon in my stash which made me think of those pretty couture gowns I sometimes see on Pinterest.  So I gathered some of my favorite Maja Design papers some Dusty Attic chipboard pieces and some Shimmerz Paints and got started.

Vintage-Spring-Basics-P

The majority of papers I used on this  project came from the Vintage Spring Basics collection with a couple of papers from Crea Diem, Vintage Summer Basics and Sofiero collection.  I used the following papers for this project:  Vintage Spring Basics (1st of April, 6th of May), Crea Diem (Den oersättliga tiden), Vintage Summer Basics (1903), Sofiero (Princess Margareta’s Garden).

I thought it would be fun to create a video tutorial to share with you all to show step by step how this little canvas was created….so grab your favorite beverage, take a little break and enjoy!….

[youtube http://www.youtube.com/watch?v=9RlzgpnfLUY?rel=0]
I hope you enjoyed my little tutorial! I thought I would share some of the close-ups below so you can view them at you leisure…

Beauty View4

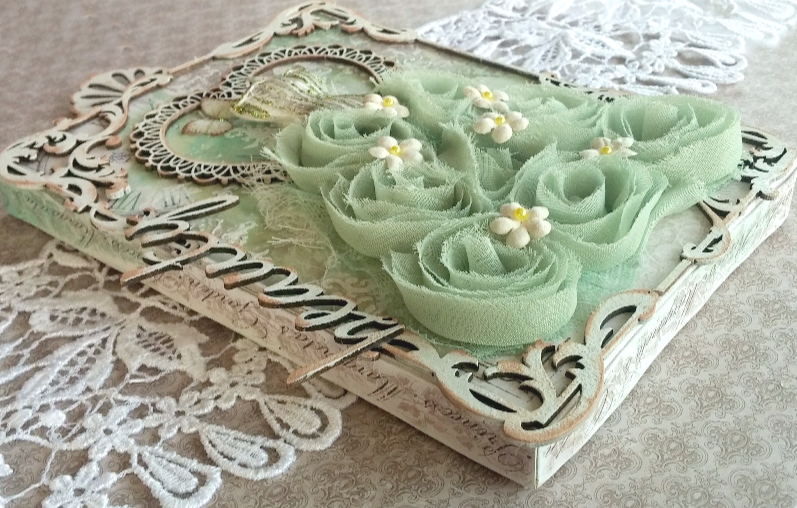
I like to save all my title strips from my Maja Design papers for my projects and one of my favorite uses for them is to use as borders on my canvas’s.  They are a perfect fit width-wise and for a 4×6″ canvas, they fit perfectly  all around as well. Here I used the paper strips from the Sofiero ‘Princess Margareta’s Garden’ paper for this (although you can use any border that suits your fancy for this.

Beauty closeup1

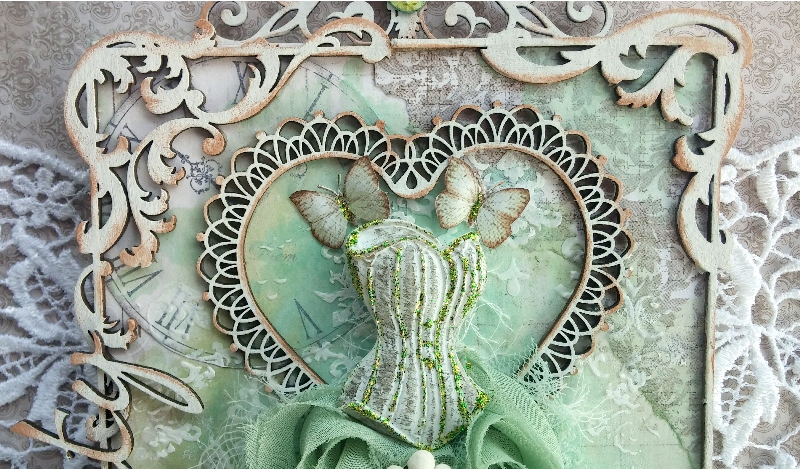
I found the perfect little frame for this in the Dusty Attic Baroque (Square) Frames ….using the smaller of the two frames in the set I just gave it a little snip here and there to make it fit my 6″x 4″ canvas.  Prima’s Shabby Chic treasures had just the right size corset in it to suit my project.  And then I found a lovely little heart frame in the Dusty Attic Lacey Heart Frames.

Beauty closeup2

I chose my mixed media paint colors from the Kaisercraft rose ribbon a friend had sent me a little while back. I picked Shimmerz Paint’s ‘Ride the Tide’ and ‘Sage It Isn’t So’ Creameez to add a soft hint of color to the background of my design.  I added a little texture with some texture paste and TCW’s ”Mini Brocade” 6 inch stencil.  And finally I added a scripty title by using the chipboard word ‘Beauty’ from Dusty Attic’s Wordpack #20.

Beauty View3

I hope you enjoyed today’s project and hope you feel inspired to create your own shabby-chic wall art using Maja Design papers! xo

Gabrielle-sign