Rennes Street

1

Posted by Pascale B

17 April, 2016 - , ,

Write a comment

Hello Sweeties,

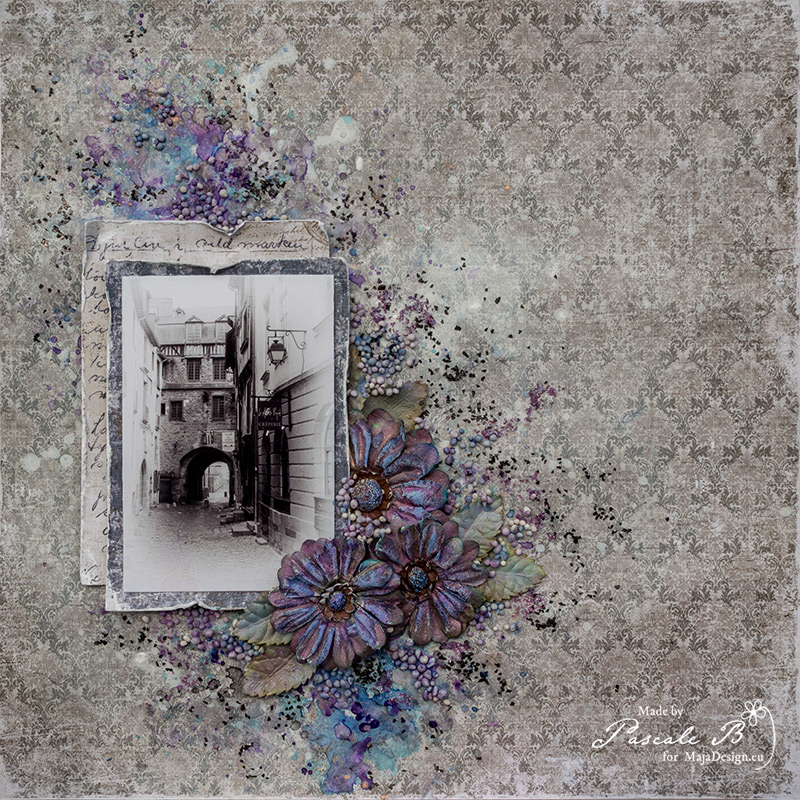
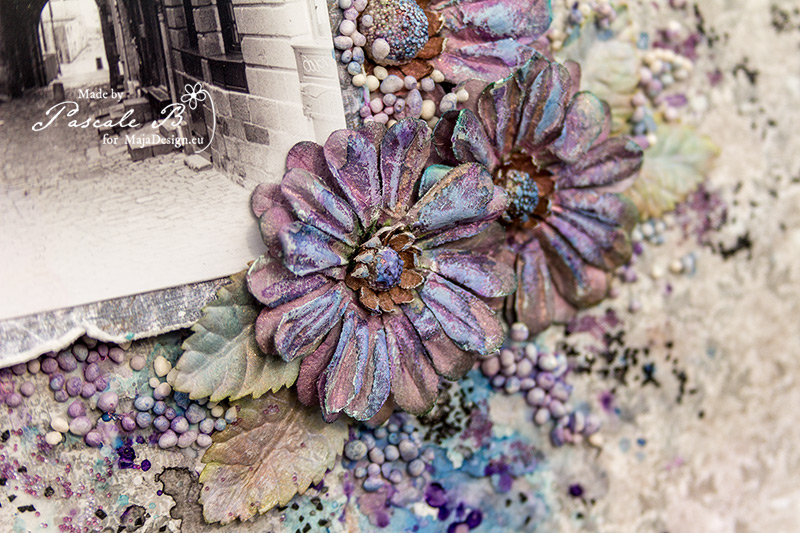
Today I’m up on Maja Design blog with a layout that showcase a photo I’ve taken in Rennes (France). It’s a simple street in the old town, but I like the way the photo turns out.

Rennes Street by Pascale B

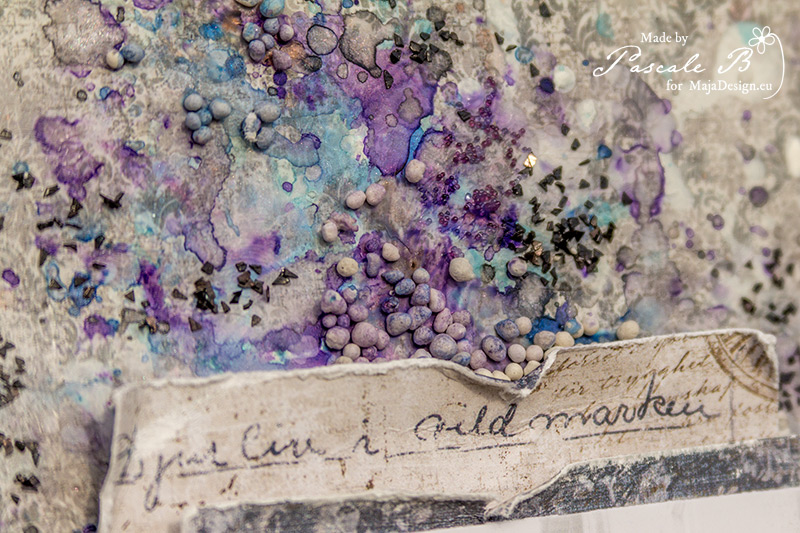
I kept the design of the layout quite simple. I started to add a thin layer of white gesso where I want to put the photo. When dry, I splattered watered gesso too and dried. Then I added a first color and dried. I continued to add different colors and dry before adding the next color until I was happy with the result.

Rennes Street by Pascale B

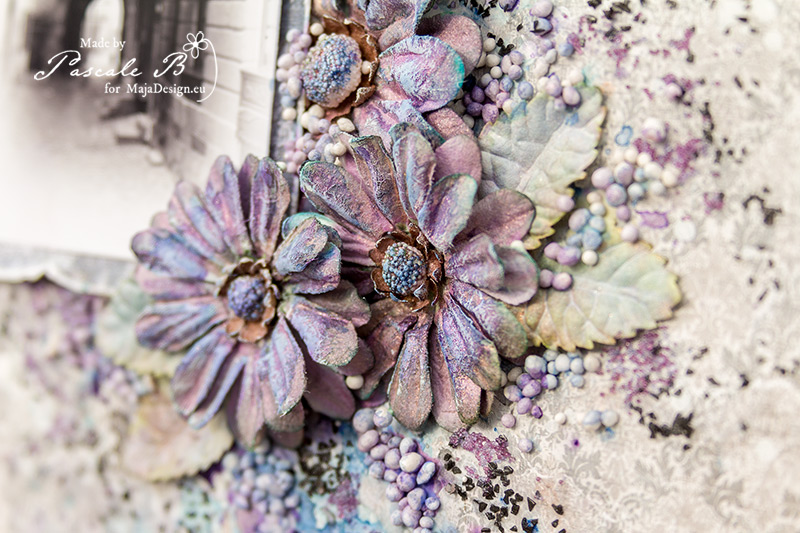
I used the same colors to colored the flowers and the leaves.

Rennes Street by Pascale B

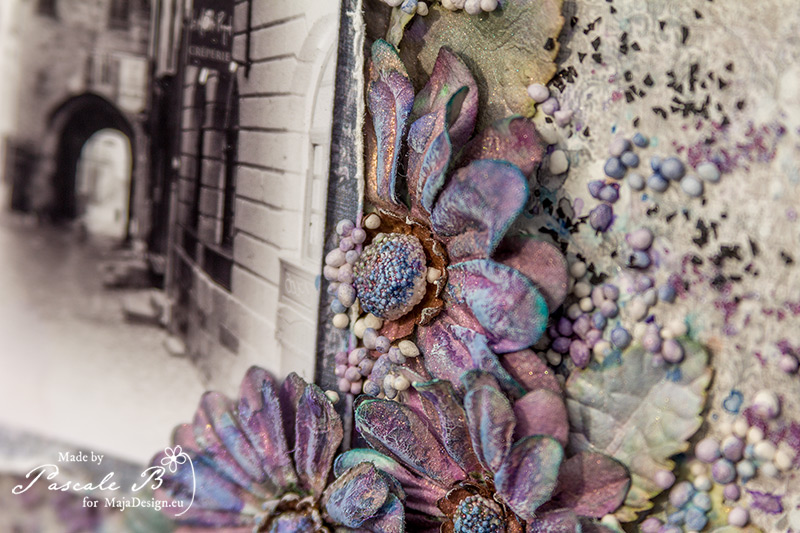
After I’ve glued the flowers, papers and photo, I added some Art Stones. I used the same colors to colored them too.

Rennes Street by Pascale B

To finished the layout, I added some glass glitters and microbeads.

Rennes Street by Pascale B

Maja Design papers:

 1926 bs  no.XXI  no.XX
Vintage Summer Basics
1926 bs
Vintage Autumn Basics
n°XX                                          n°XXI

Pascale-sign

“A Moment Captured” By Di Garling

8

Posted by Di Garling

14 April, 2016 - , ,

Write a comment

A Moment Captured..-001

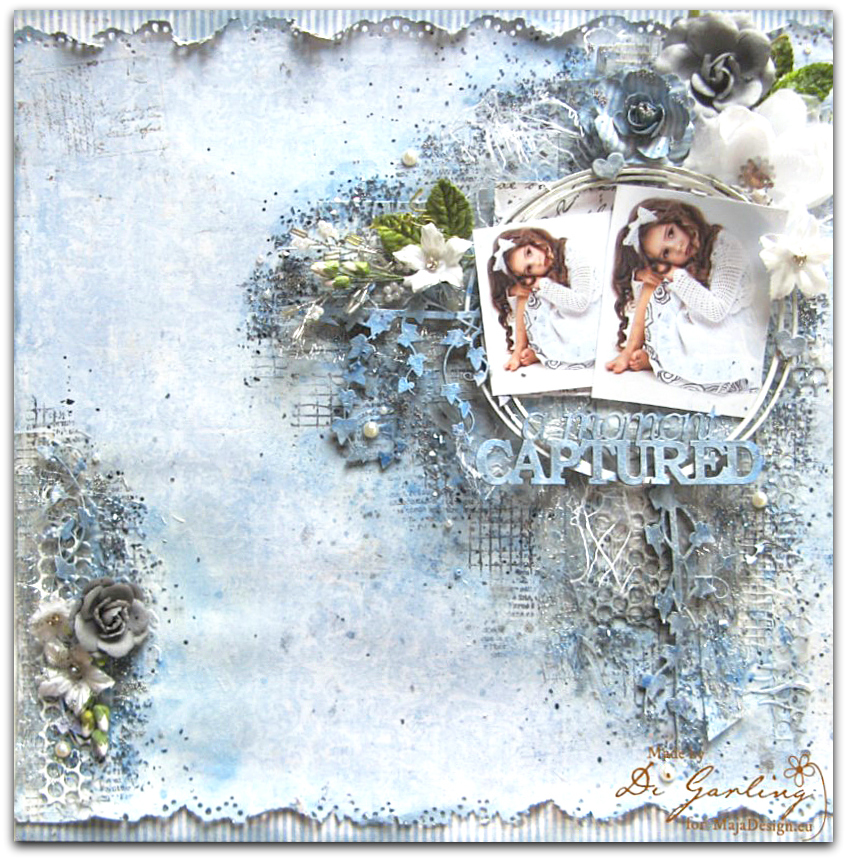
Hello Maja fans, thanks so much for dropping by. Today I have another new layout to share with you using some papers from the Vintage Summer Basics collection. I used the “1914” paper for my background & then added this delightful striped one from the Vintage Spring Basics called, “4th April” to both the top & bottom edges. Even though it is a different collection, I think it works great.

a moment captured 2-001

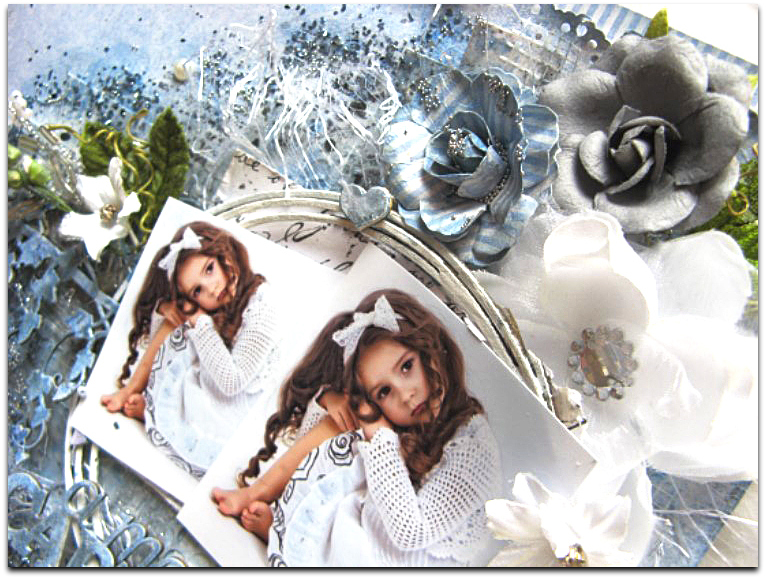
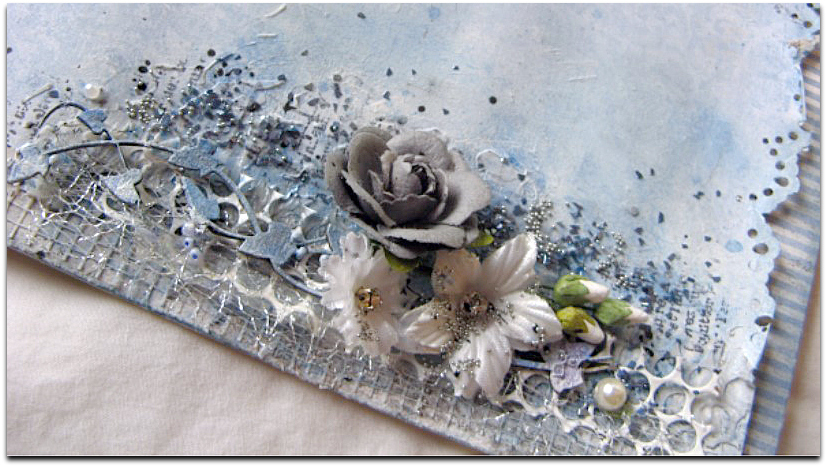
I have also made a handmade flower to add to my flower cluster above the photo, using the same stripe “4th April” paper. I really like adding some handmade flowers in the same papers as my layout to add extra accents to the page, plus it gives it a more custom made look I think.

a moment captured 6-001

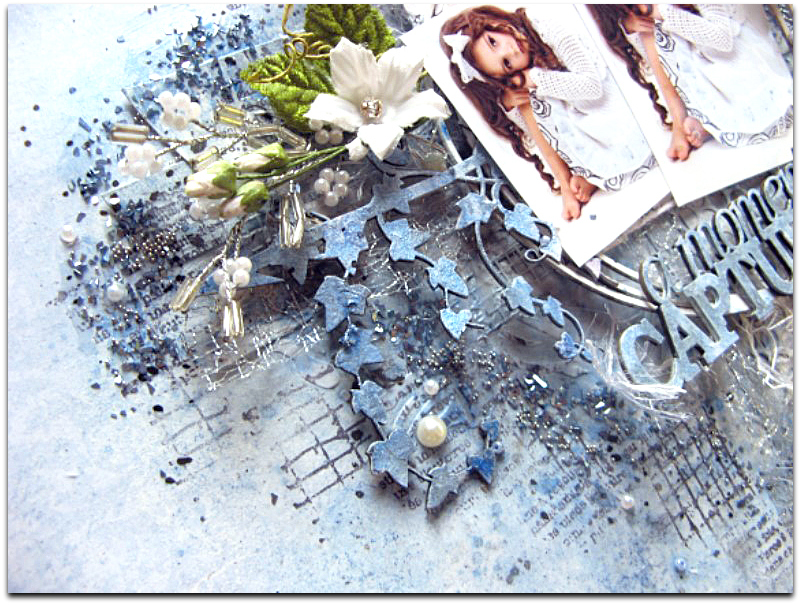
I have created a mixed media background & the Maja papers are just perfect for this because they are so beautifully thick & they handle it so well without warping etc.

a moment captured 4-001

I have layered strips of both the “1902” & the “1904” papers underneath my photos, but unfortunately after adding lots of gesso & mists, it is a little hard to see them in the photos, but little bits of their colours & patterns peek out here & there.

a moment captured 3-001

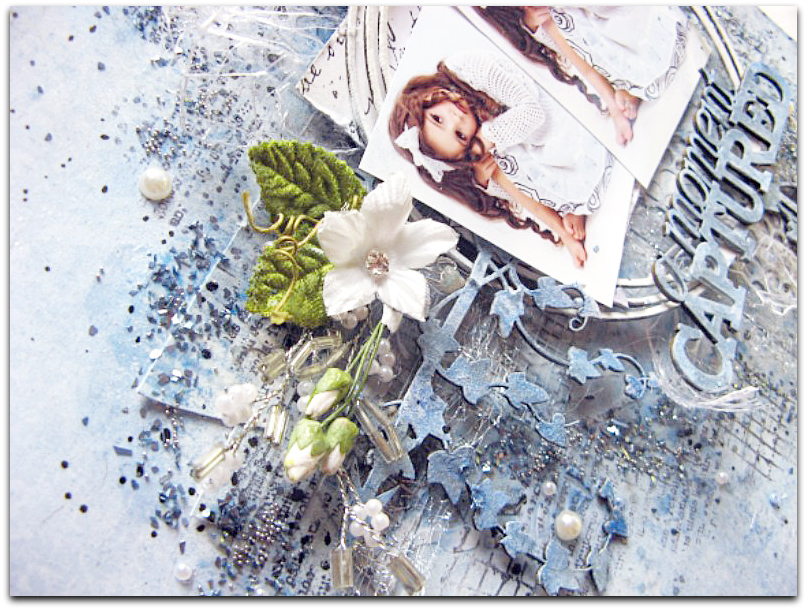
All of the chipboard I have used is from 2Crafty Chipboard.

On my background I have also added lots of stamping, fibers, micro beads in both blues & silver, pearls, pearl sprays & finished of with lots of flowers.

a moment captured 7-001

These are the four papers I have used. Well thats all for today. I will see you back here again in two weeks time.

Papers-001Vintage-Summer-Basics-P

Di-sign

Cherish

2

Posted by Bec Genet

29 March, 2016 - , ,

Write a comment
Hi everyone, I hope you all had a wonderful Easter. I definitely enjoyed my long weekend filled with lots of crafting and relaxing.
Today I have a new layout to share with you using the gorgeous pastel colours in the Vintage Spring Basics and Vintage Summer Basics collections
On this layout I have used the papers:  9th of April from the Vintage Spring Basics Collection, plus 1904  1934, and  1924  from the Vintage Summer Basics Collection. I cut the paper into strips and used all four pieces as my background then I used the left over pieces to layer under my photo.
On my background I used Gelato’s in Snow Cone,  Fig and Strawberry through a stencil, and then  I used a word stencil with modeling paste.  Next I used a brick stamp with embossing ink and teal embossing powder.  I also used this same embossing powder on the Mesh chipboard which I tucked in behind my layers,  then a pale purple embossing powder on the chipboard word Cherish.
I embellished my layout with lace, resin, gems and of course loads of flowers.
Maja Design Papers Used:
   Vintage Spring Basics Collection:9th of April
 Vintage Summer Basics Collection: 1904  1934, and  1924
Bec-sign

What Can I Say? I Love My Buttons

1

Posted by Silje Kristin Aunan

27 March, 2016 - ,

Write a comment

Hello again everyone.

It’s Sunday, and it is my turn, Silje Kristin which will inspire you with a new project for Maja Design <3

I feel so rich, not rich on money but rich on what I have and the opportunities I have and the opportunities I have in the future. I have a lovely man that I will soon move in with, I get to be a step mom for a wonderful little boy and this Easter I get the chance to share out 96 Easter Egg to the elderly in my home town and the kids at the Hospital. All these nice things make me feel rich and it is amazing <3

But the day today is all about todays project I whant to inspire you with. This time I have a box made in Vintage style full of details that I love so much, Buttons <3

The truth is that I have worke with this box for a while, several weeks, but I’ve never quite figured out how to decorate it after I put on the pattern sheets. But then a few days ago I decided that it should represent what is on the inside of the box and me. Not to decorate it with buttons, but using flowers in my favorite color, the pattern sheets with the furniture and a vintage images of a lady. If you use your imagination, cud this lady easily be a seamstress.

The sheets that you see on this box were two kinds of collections from Maja Design. One is called The Vintage Summer Basics and THe Vintage Autumn Basics.

The sheets I have chosen to use are in brown tones, with different patterns that fit together. The sheets I have used is:

no.XVIII – Heritage – 1909 – 1905

Vintage-Summer-Basics-P

Autumn-Basics-P

I have built up the sheets with 3D foam pads in the corners and double sided tape on the middle of the layers. This is a way to build up layer by layer, to create a special effect, as you can see in the picture.

The box stands on four large feet in bronze, around the edge I fastened a silver chain with ligth brown diamonds and on the front of the box there is a special lock. All these details are there to create a special contrast between what is old and modern.

On the back of the box are the details very neutral, since the hinges on the box on the inside and the only thing you mostly see is the inking. All the pattern sheets are inked with Distress Ink Ground Espresso.

Atop of the lid on the box I have a lady who is taken from a patterned paper called Heritage and around her I have used several different flowers in several shades.

The flowers I have used, I have taken from Wild Orchids and Papirdesign. The white flowers are inked with Ground Espresso, the same color as the paper in the box and under the flowers you will find smal straw which is also inked in the same color.

Also the images on the box is build up with several layers, like the pattern sheets below.

If you open up the box you will find my buttons in all sizes and colors <3

The reason why I decided to put all my buttons in this box, was because I love buttons and when I came across this box here, it was just absolutely perfect for my buttons <3

And in this way all of my buttons are easily accessible, hide in a lovely box 🙂

SiljeKristin-sign


A Heart Box with Secrets

2

Posted by Silje Kristin Aunan

24 March, 2016 - ,

Write a comment

Hello Everyone 🙂

Today it is me, Silje Kristin who stop by with some new inspiration for you 🙂

Today I thought I would show you a Heart Box, made with some lovely paper from Maja Design <3

This box that you see in the picture, was a large red box that I got in a Christmas present. I am very found of recycle or upcycle diferent boxes that I received or may have been a old packaging for something. And this project here is no exeption.

I have used pattern sheets from Vintage summer Basics and Vintage Spring Basics.

Vintage-Summer-Basics-P

Vintage-Spring-Basics-P

I have decorated the bottom and the lid with two different patterned paper, where the patterned paper on the bottom is the darkest, while the lid is in a lighter color.

All the edges are inked with Distress Ink – Ground Espress, before I used a silver chain with shiny diamonds. This chain is very easy to attach with glue.

The heart that is on the top is made based on the shape of the box itself.

Here i have selected one pattern sheets that have both colors of the pattern sheets I’ve used on the box.

On the tof of the heart i have used several different flowers, most of the flowers are from Wild Orchids, while some of the flowers are from Papirdesign.

In between the flowers are a large button with a bow, pearls and two large silver leaf.

I have tried to place the flowers and the other details, as a heart on the top of the box <3

If you open the box and turn the bottom of the box up,  you can see that I have used a pearl string, now thw box have something to stand on.

Know you have seen my new project for Maja Design <3 A Heart Box with secrets <3

SiljeKristin-sign