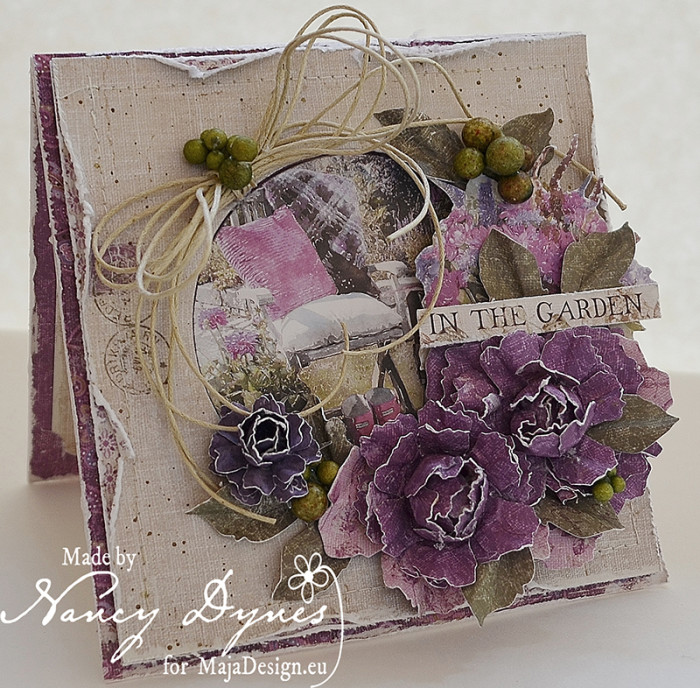
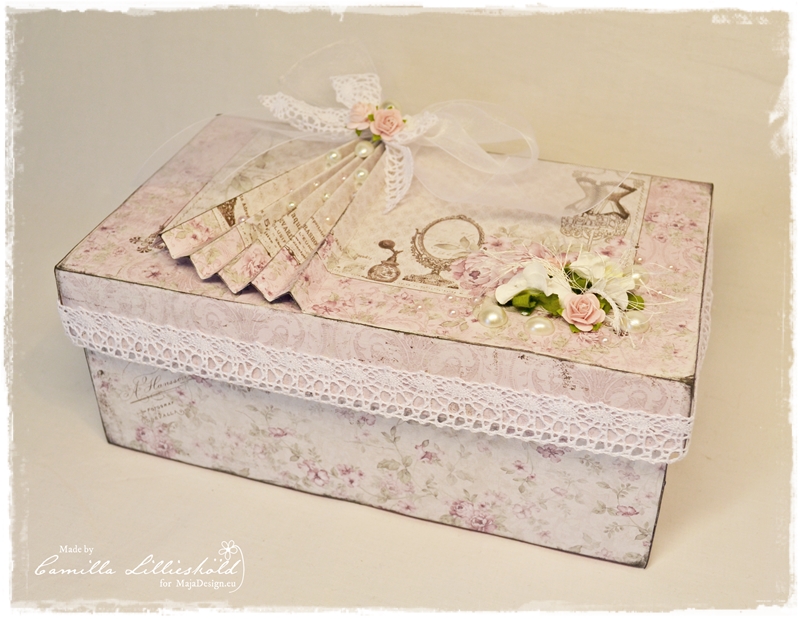
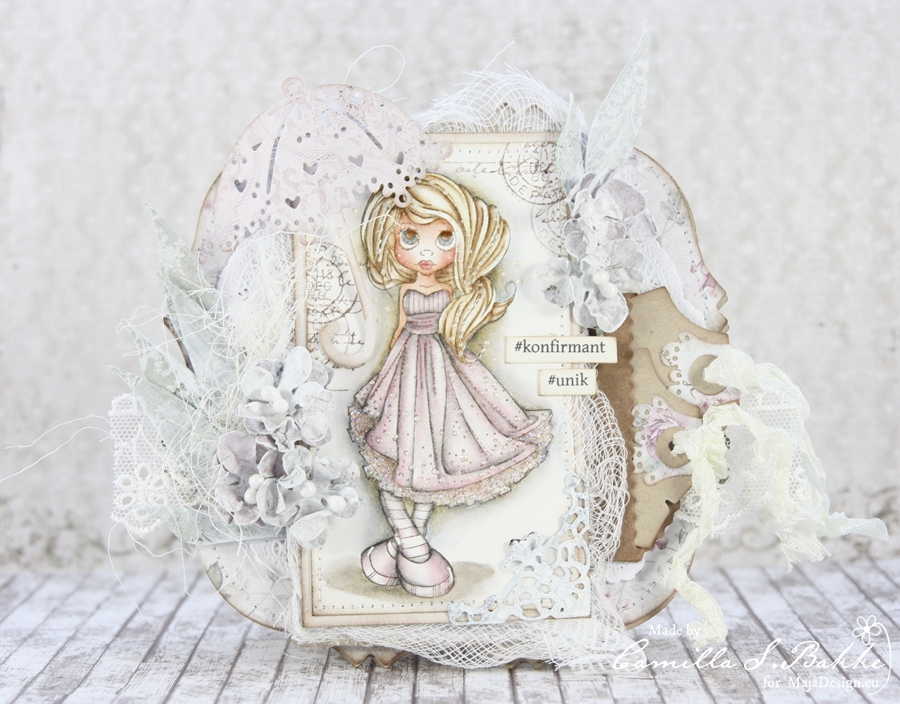
Hello! Hope you are fine. Last week I got the most wonderful papers in my mail!! And since it is time for confirmations here in Norway, I have made a confirmand card and a box to put it in.
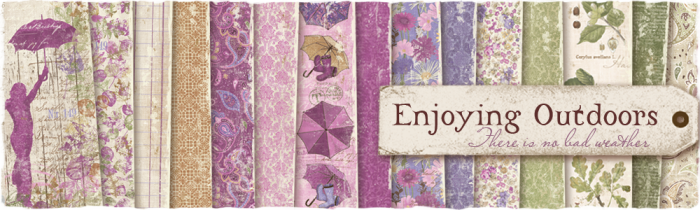
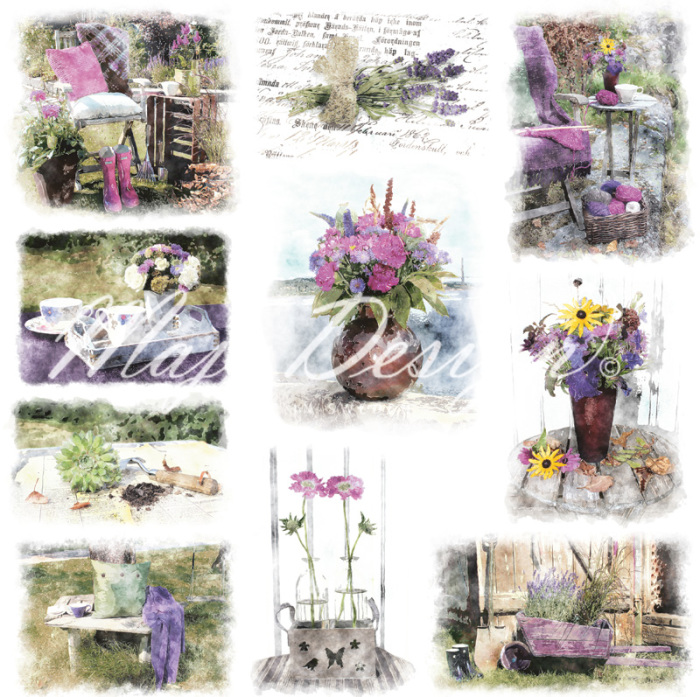
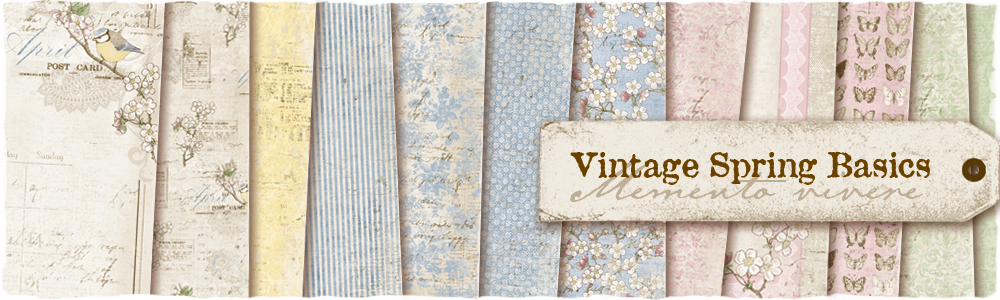
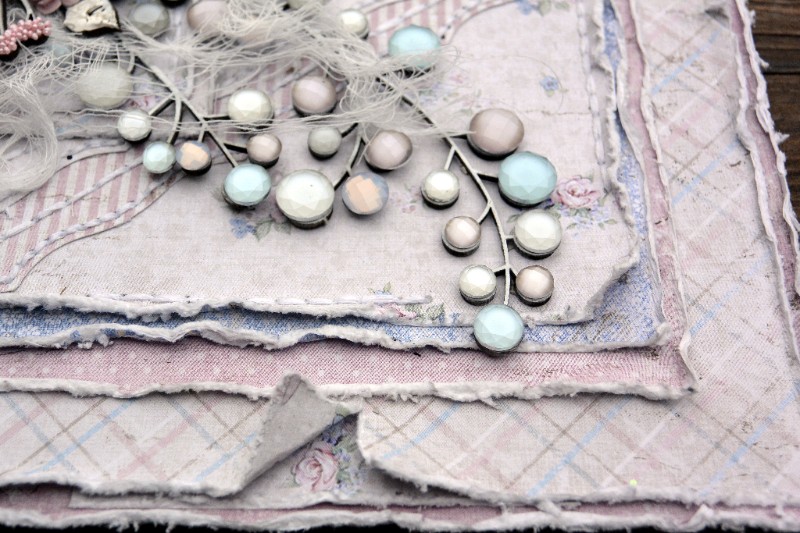
Yes the papers are from the beautiful collection called Vintage Romance. I will show you the sheets I have used on my project further down in my posting. But here you see a glimpse of all the sheets ♥♥♥

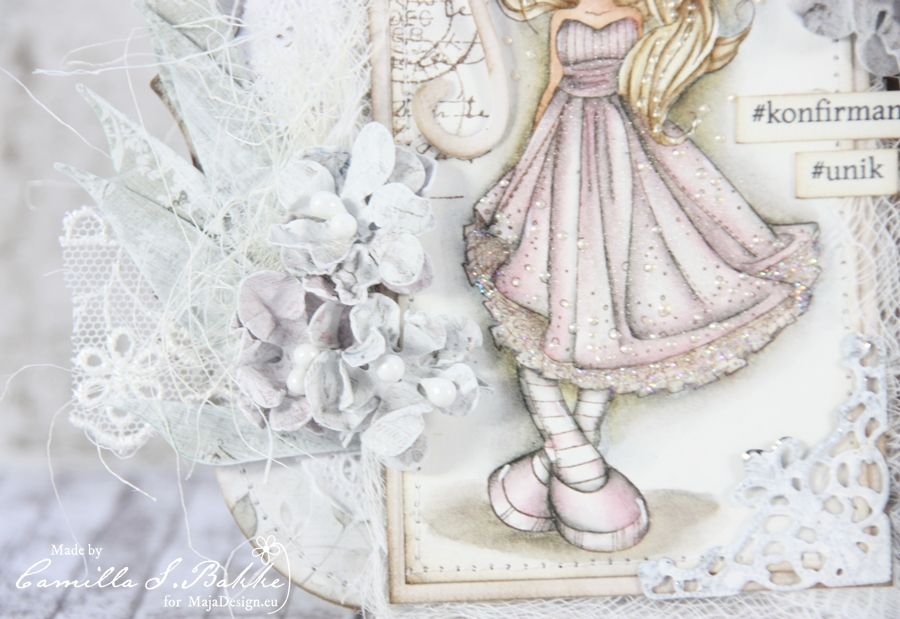
The image is from Saturated Canary, and is called Nevaeh. I have coloured her with Distress Ink, reinkers and Markers.
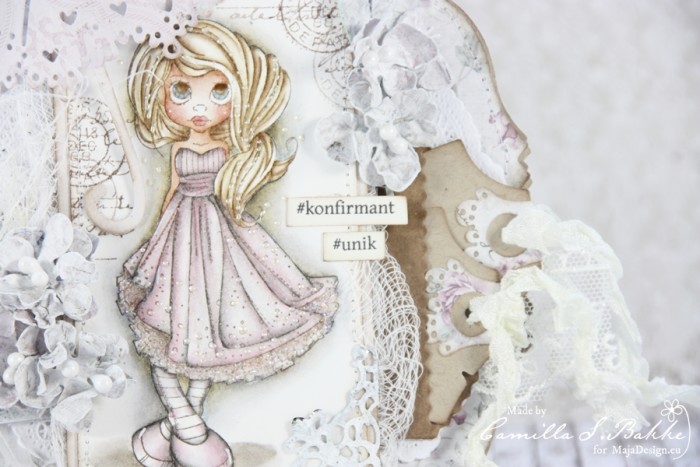
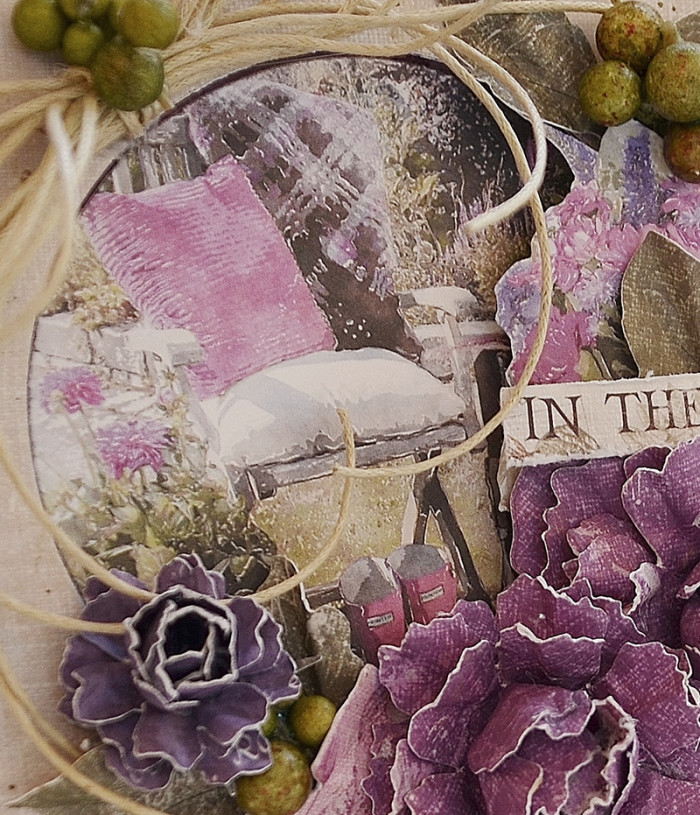
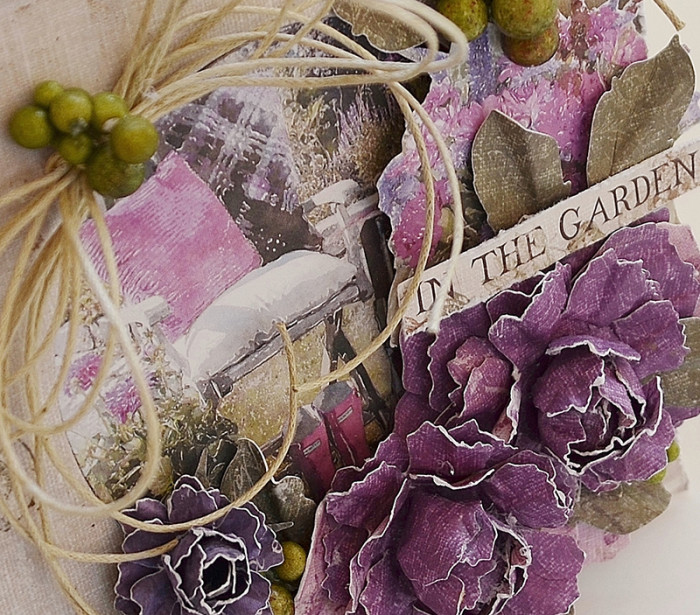
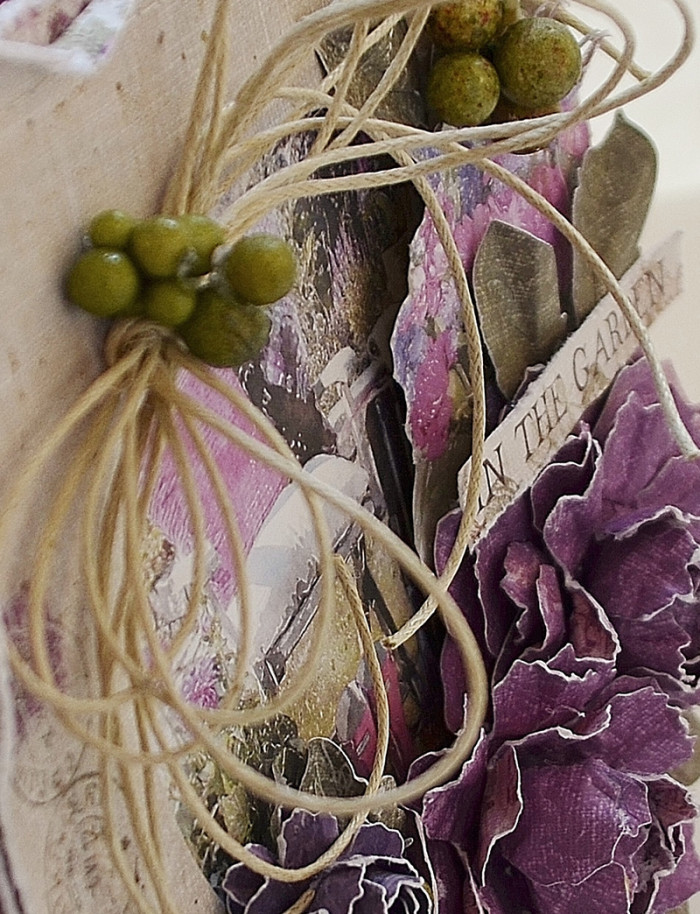
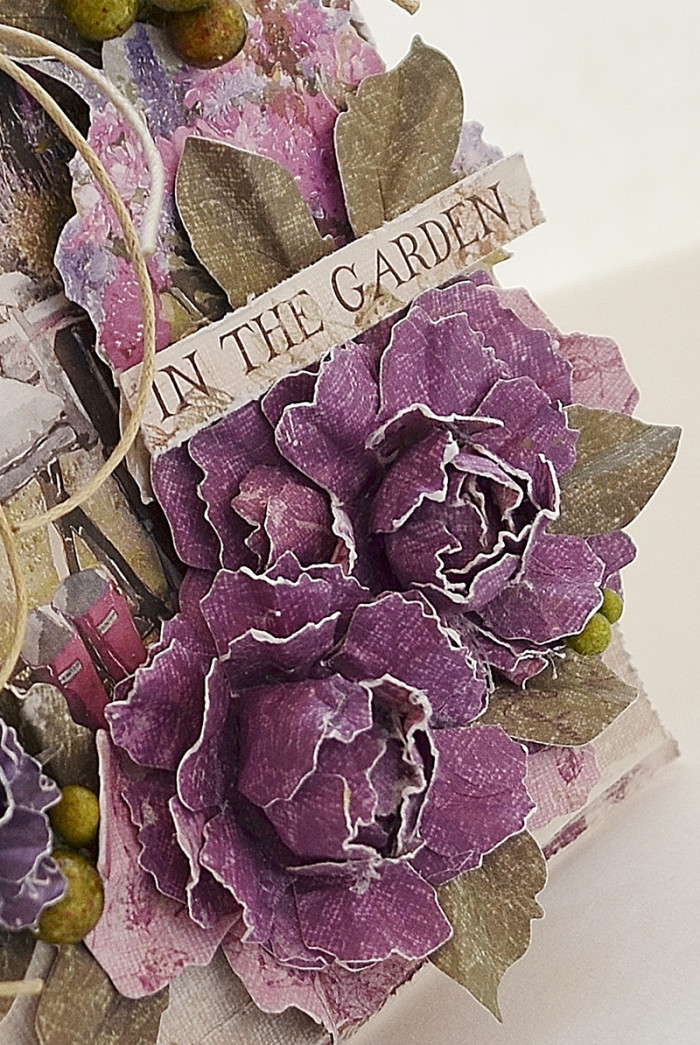
I have made the flowers myself. I have used a flower die from the DooHickey Club Magazine vol 4. Sprayed them with water, then curled them up. Leting them dry, before I painted them briefly with White Gesso.
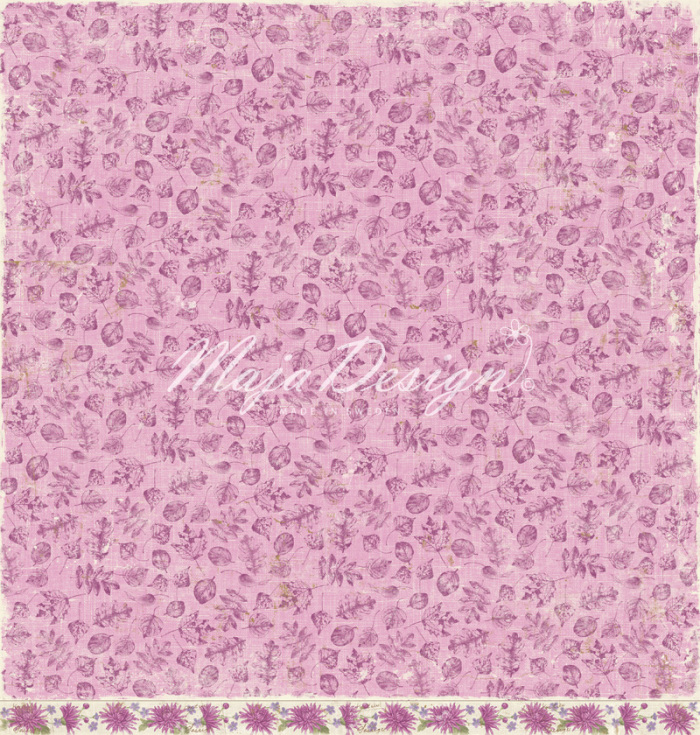
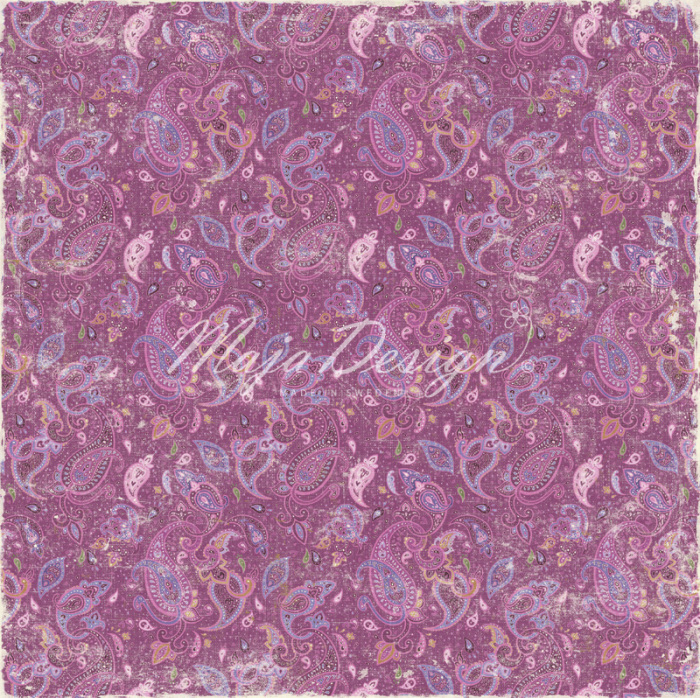
I used these three lovely shees for my flowers.
-
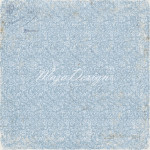
- Wedding Day
-
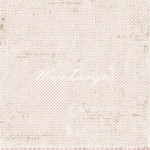
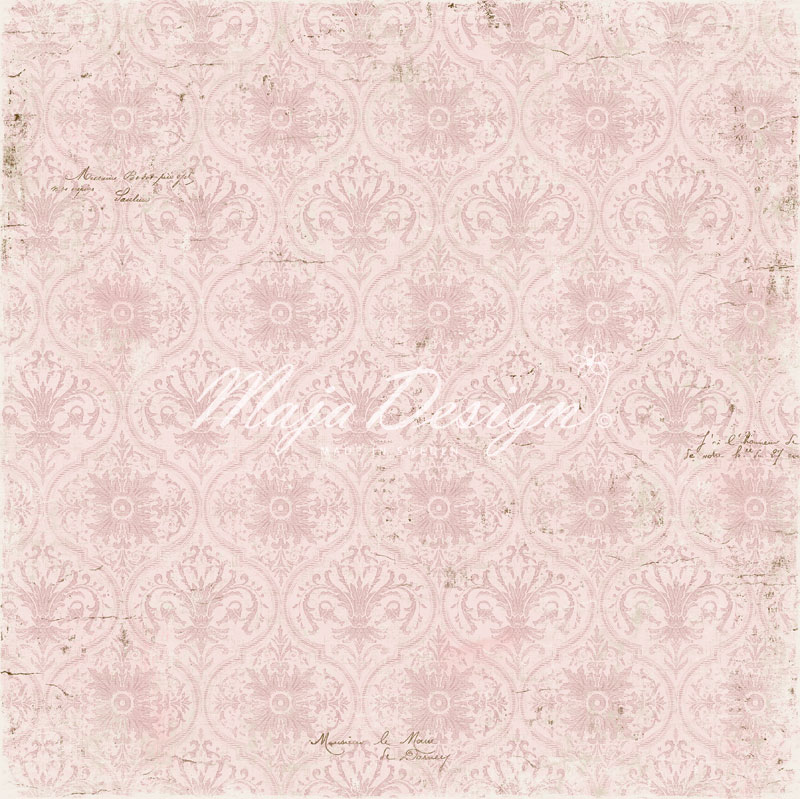
- Passion bs
-

- Champagne
Here you see a closeup of three of them. I have used white pearl stamens from WOC to put in the middle of the flowers.
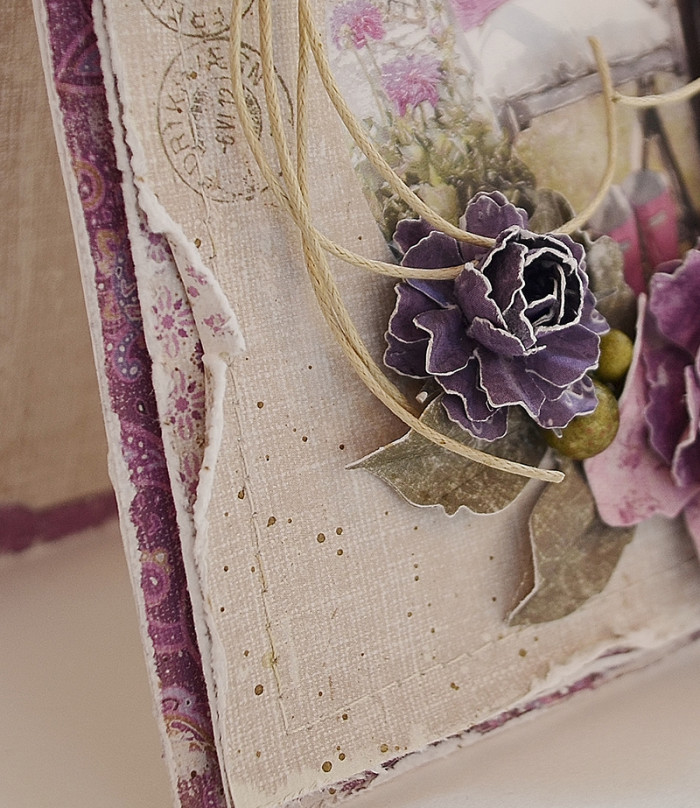
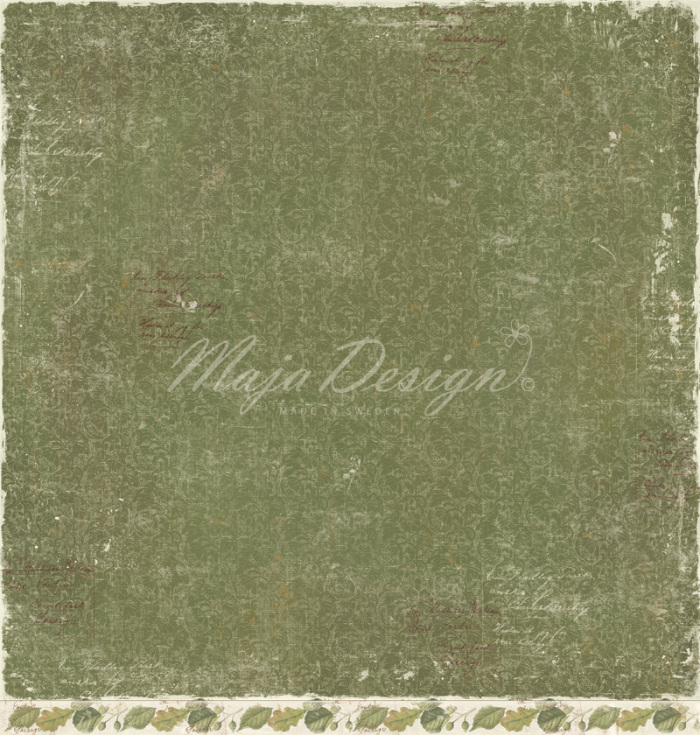
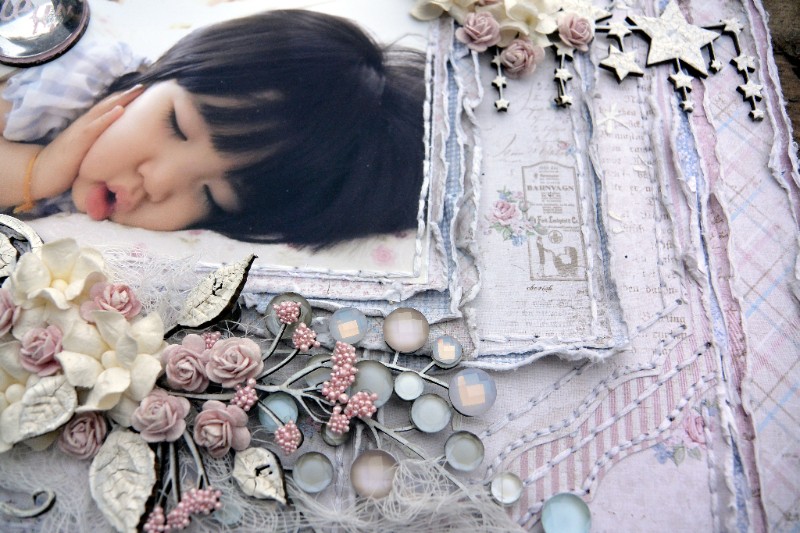
For the leaves I have used the sheet To be with you. The greenish colour on the paper is perfect for any leaves and grass.
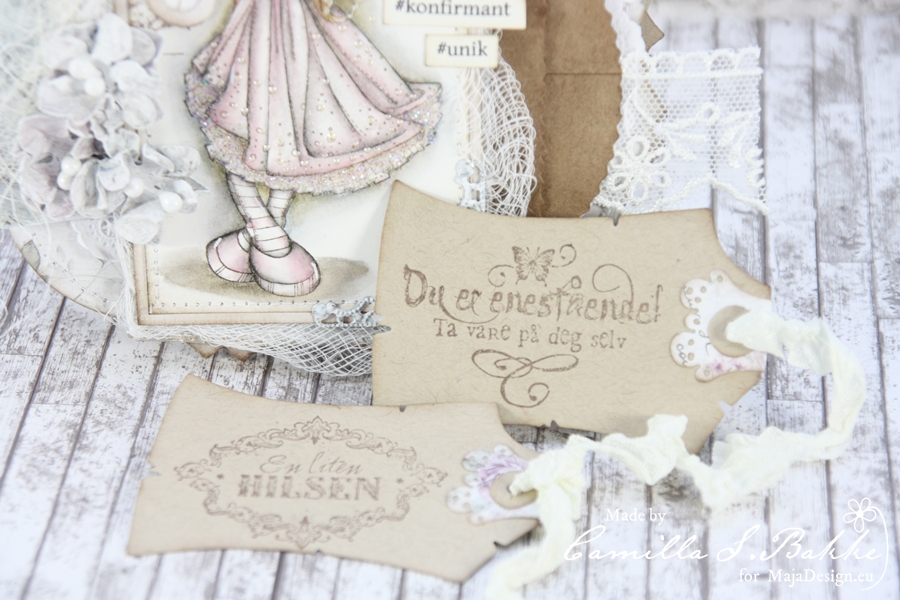
The tags are cut out with the Magnolia die called Tilda Tag. I have used Kraft paper and the paper “Walk with me“. The text is from Stempelglede (Just a note). The ribbon is Vintage Seam binding from WOC, sprayed with water, curled and let to dry.
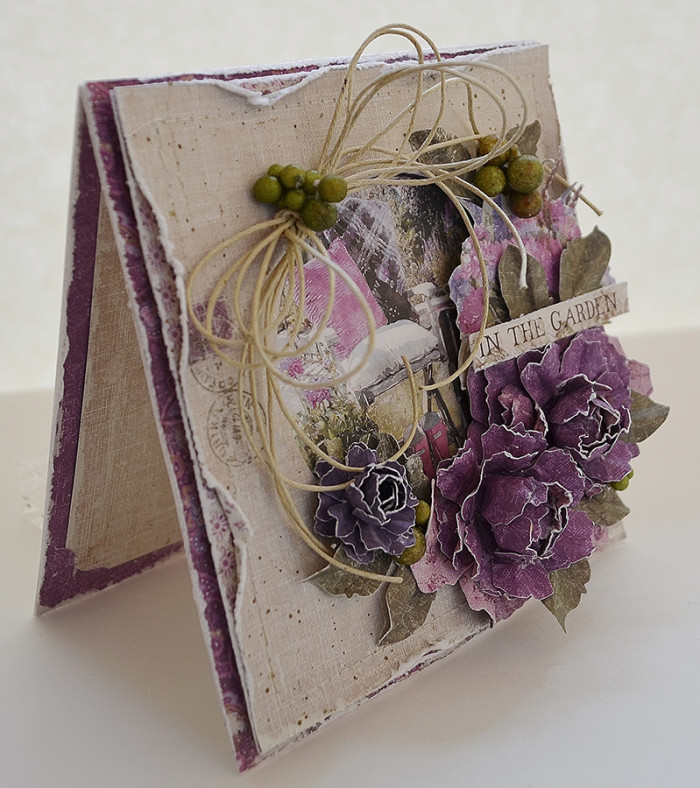
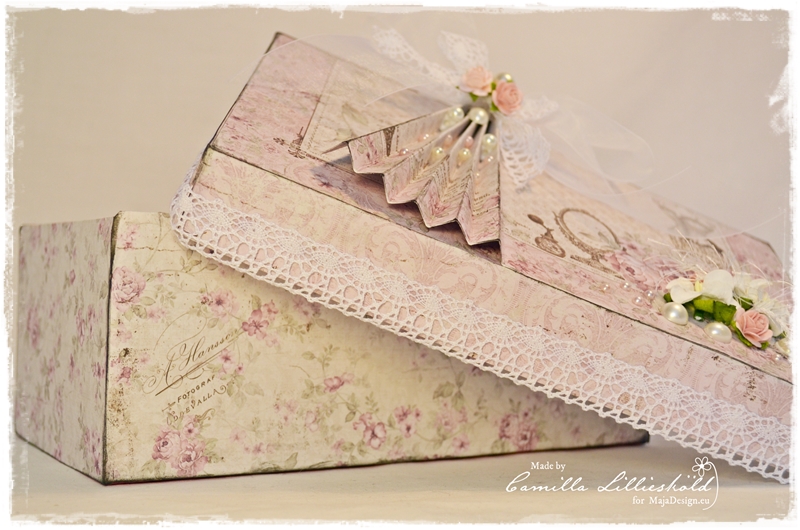
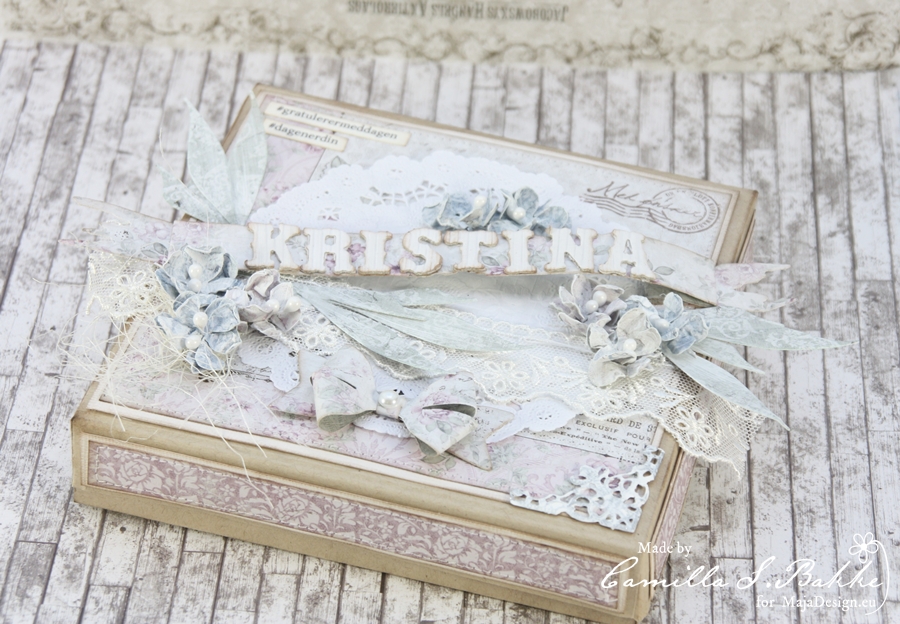
The box measures 16 x 16 cm.
I have used the same flowers on both projects. The letters on the box are made with a Sizzix die on white corrugated paper. Also the paper ribbon is made with a sizzix die.
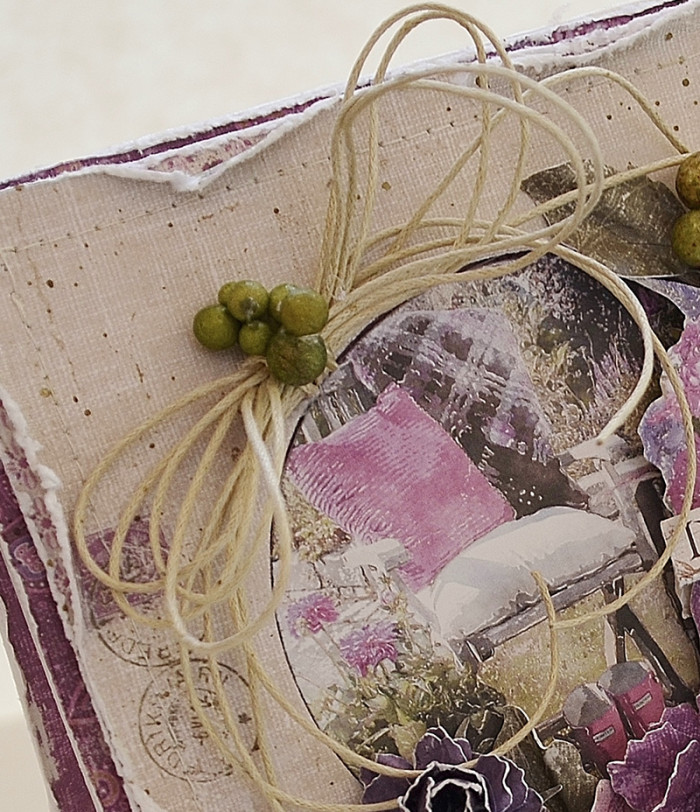
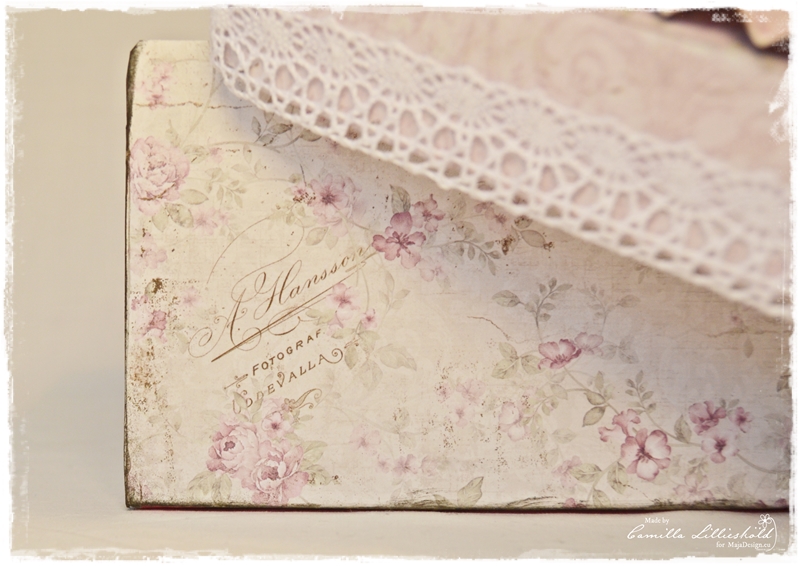
Here is a closer look on the box. I have also decorated the sides. All papers are inked with Distress Ink – Walnut Stain, and sewed with my sewing machine.
A closeup, and you might see lots of glitter on her dress; and Liquid pearls in her hair and on the dress. The texts are written on my computer and printed out on Canson water colour paper 200g.

And here are the other beautiful papers used on my projets:
-
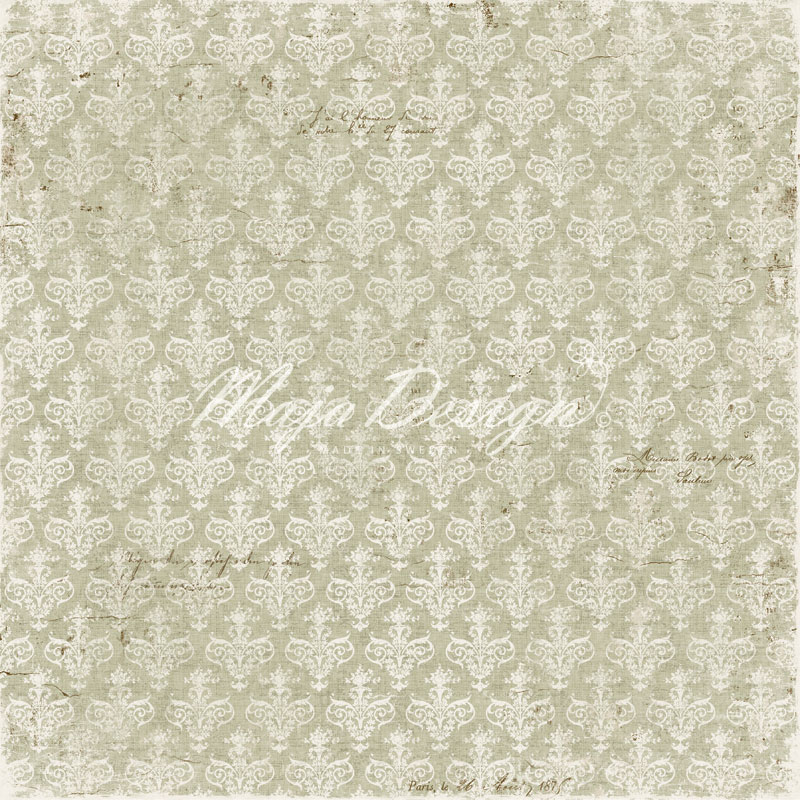
- Walk with me
-
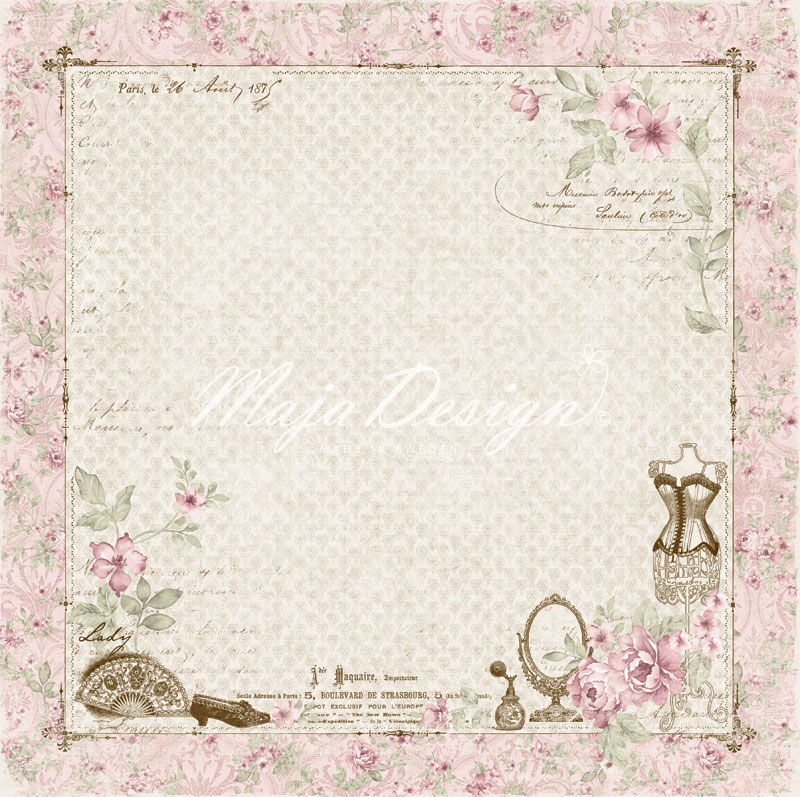
- She’s my Lady
-
- She’s my Lady bs
Thank you so much for visiting! Wish you a lovely day ♥
Hugs,