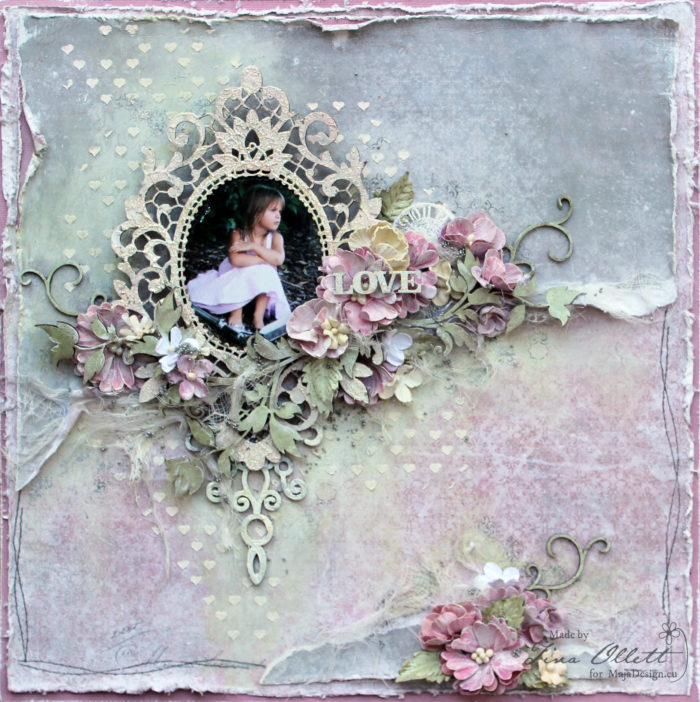
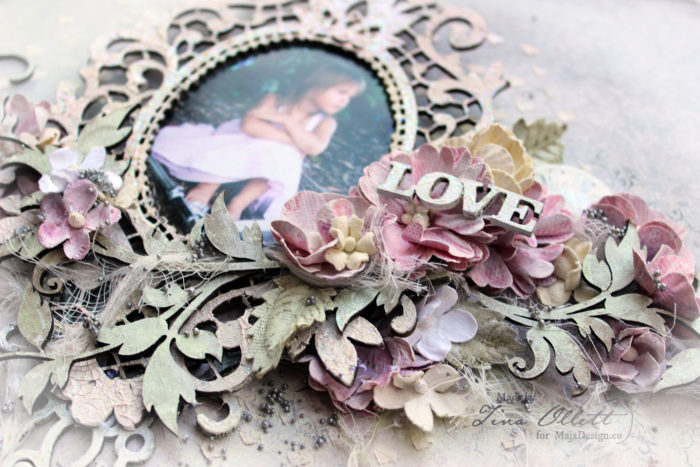
“LOVE” – March Moodboard inspired project with video tutorial by Tina Ollett

1

Posted by Tina Ollett

20 March, 2019 -

Write a comment

Hello and welcome Maja friends.

Tina Ollett with you today to share my inspired Maja Designs Moodboard project for March.

This is “Remember”…..

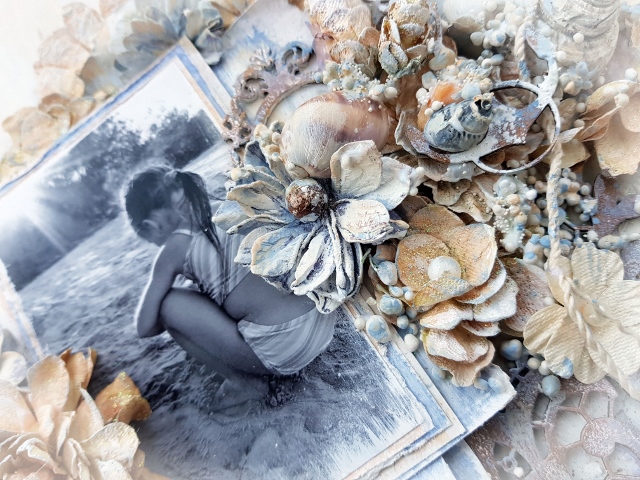
I have used this photo on many occassions but never in the coloured form. For some unkown reason to myself I never ever knew my daughter was actually wearing a pink dress in this pic until I come across the original cleaning out my photo stash last week. Well I think I can be forgiven because this little girl in the photo is about to turn 14. So it was a while ago that the photo was taken. On this day she had been riding up and down on her scooter when she had a fall from the scooter. She was not impressed that it has happened at all and sat and sulked for some time. I don’t know what made me take the photo but it is a huge favourite of mine.

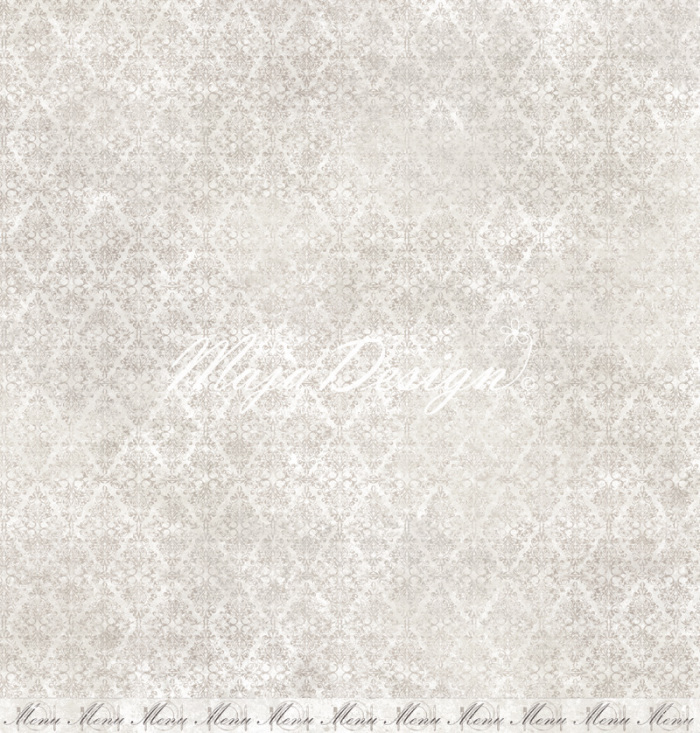
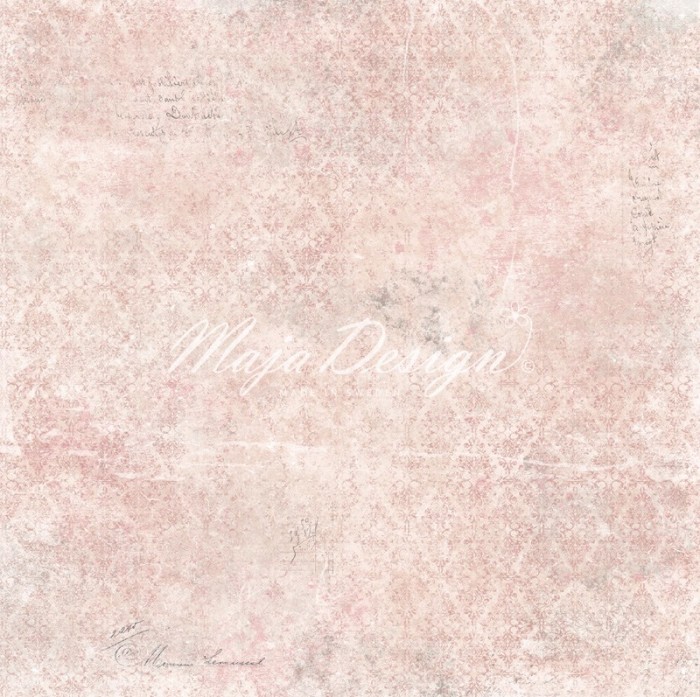
For my project I have used the papers from the Nyhaven collection. I would have to say that this is my number one on my Maja Design list of collections. I also believe I have made more layouts from this collection than any other in my time on the team.

Eating Out


Strolling along the canal

I have to say that I love to distress my Maja papers. They come up a treat when distressed heavily. And they give a great effect to shabby chic projects. So I did a little tearing and distressing of my photos.

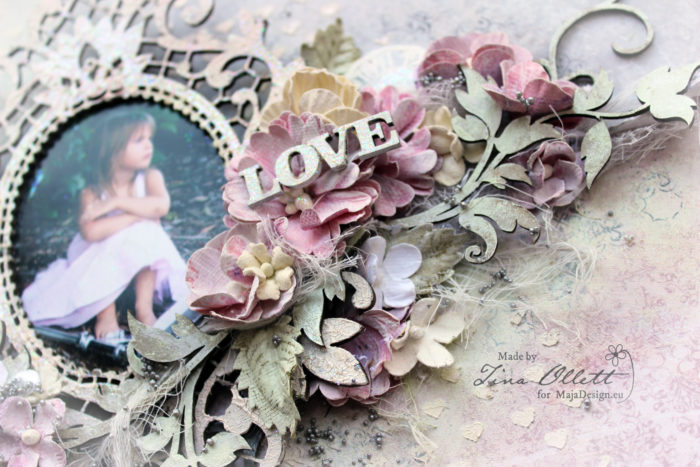
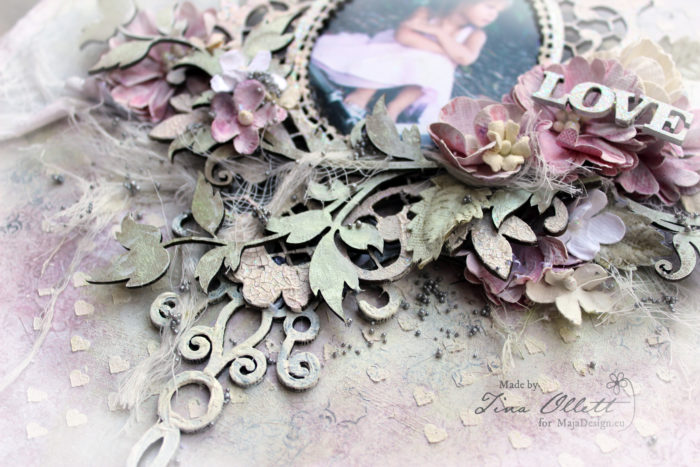
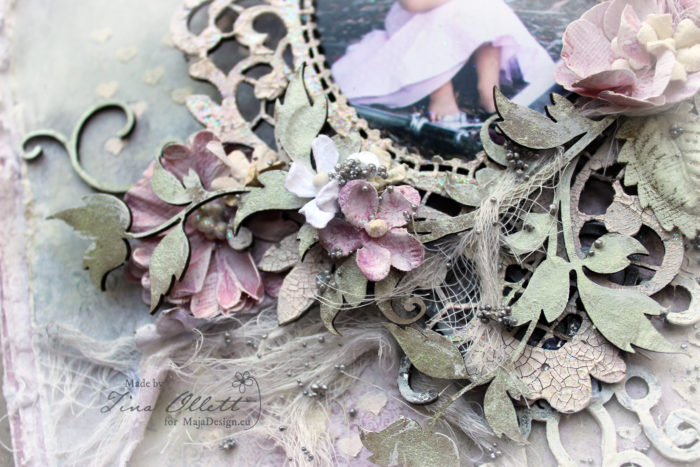
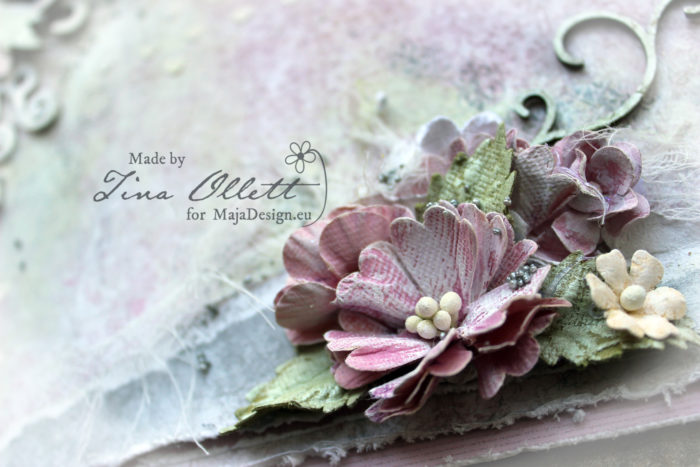
I have added in lots of Dusty Attic chipboards, 49andMarket flowers, muslin, prills and I also added texture to my background page using the mini hearts stencil from Dusty Attic.

You can see the heart stencil above here. They are just so cute.


The crackle effect can be seen above. Leaving your chipboards to dry on their own has a better outcome than heatsetting. It is often hard to wait but I think the wait is well worth it.


And for you, a little video of my creating time during my project “LOVE”. I hope you enjoy it.

That is all from me tonight. I hope you have enjoyed popping by. Thankyou for doing so. And until next time take care and happy scrapping.

Tina x


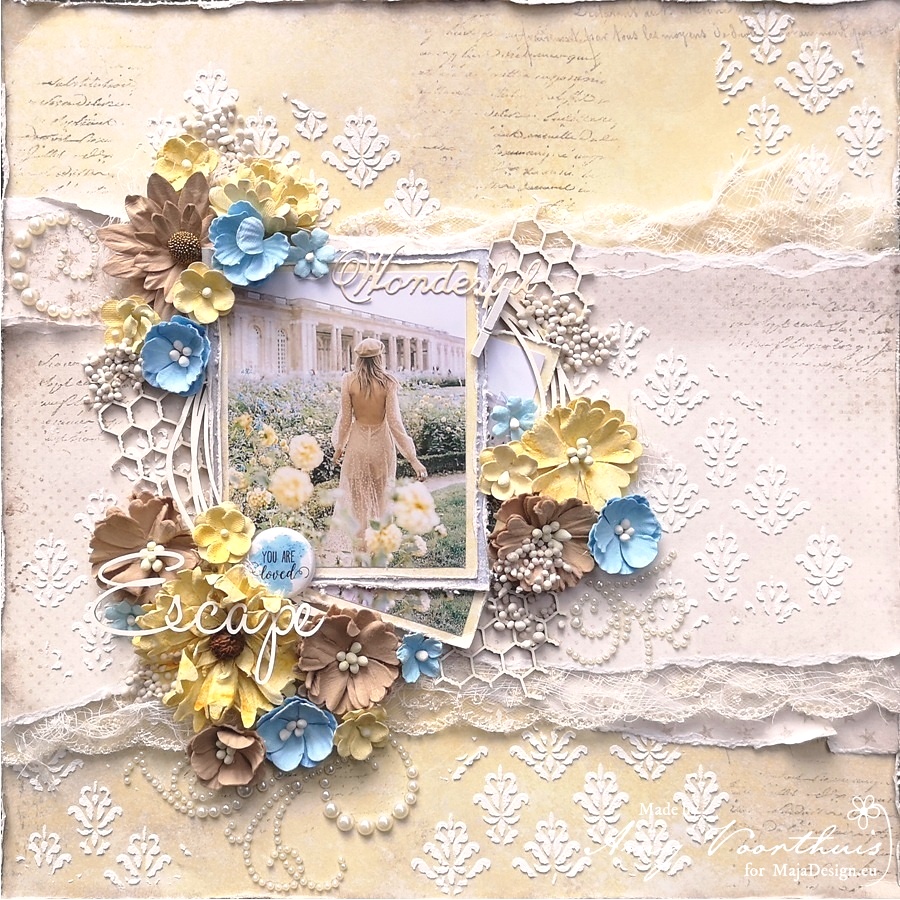
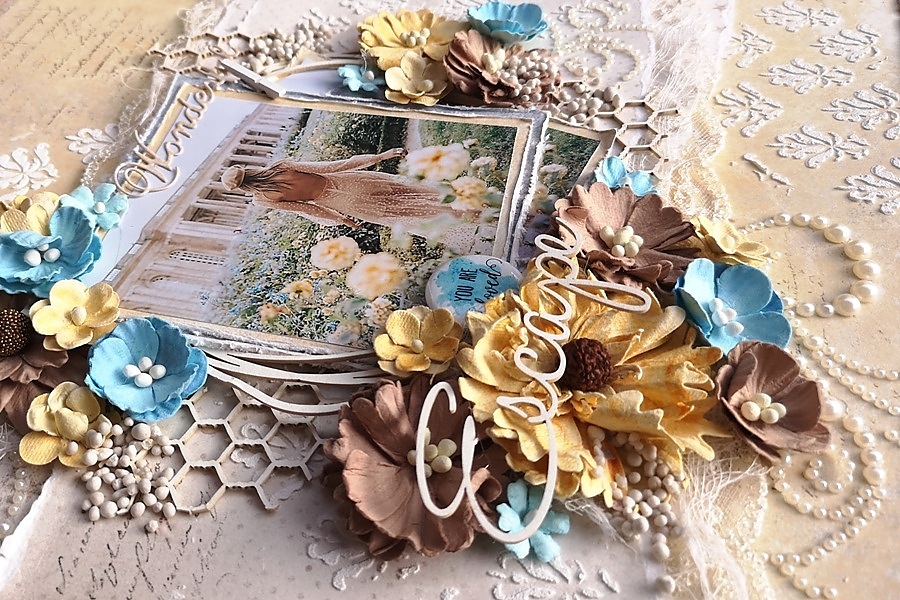
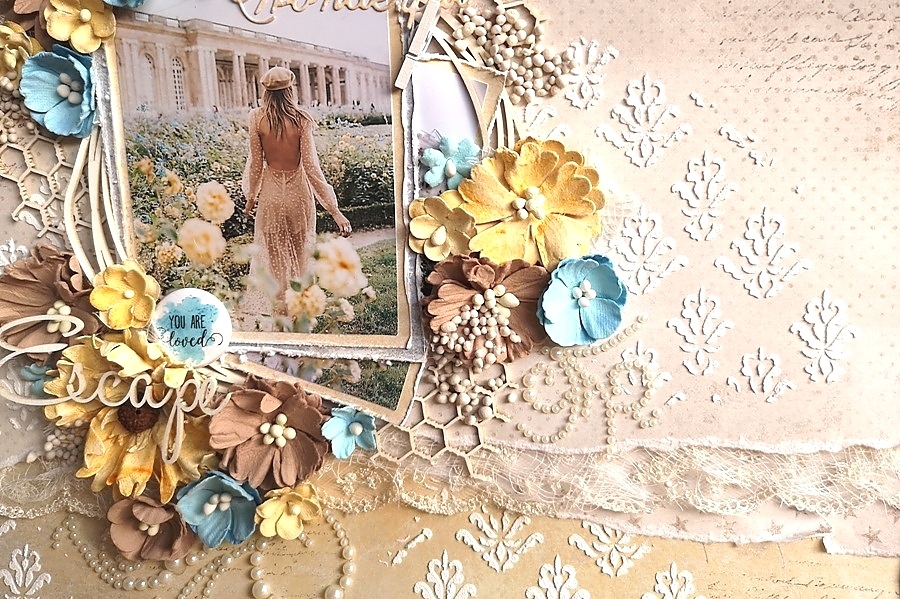
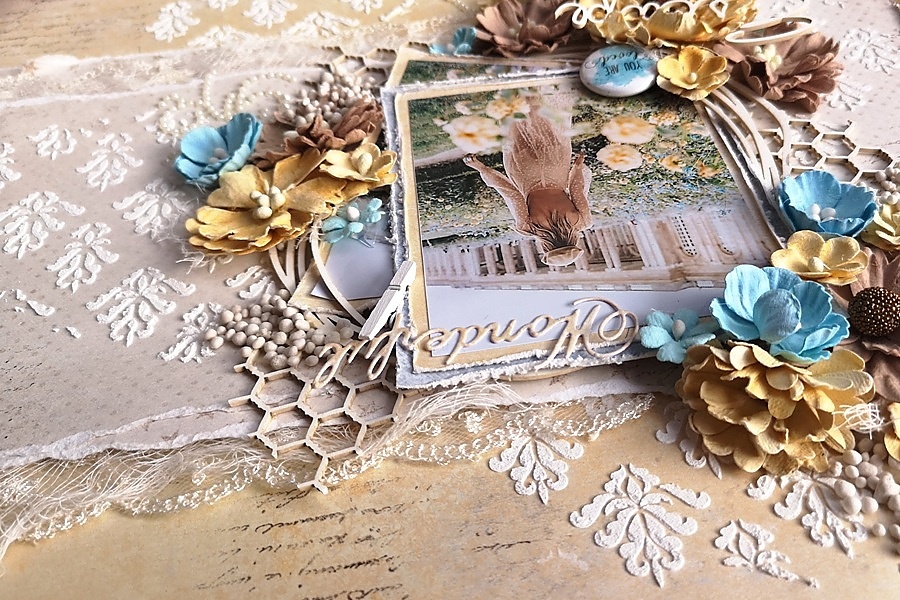
Wonderful Escape

0

Posted by Amy Voorthuis

12 July, 2018 - , , ,

Write a comment

Goodmorning Maja Design Fans,

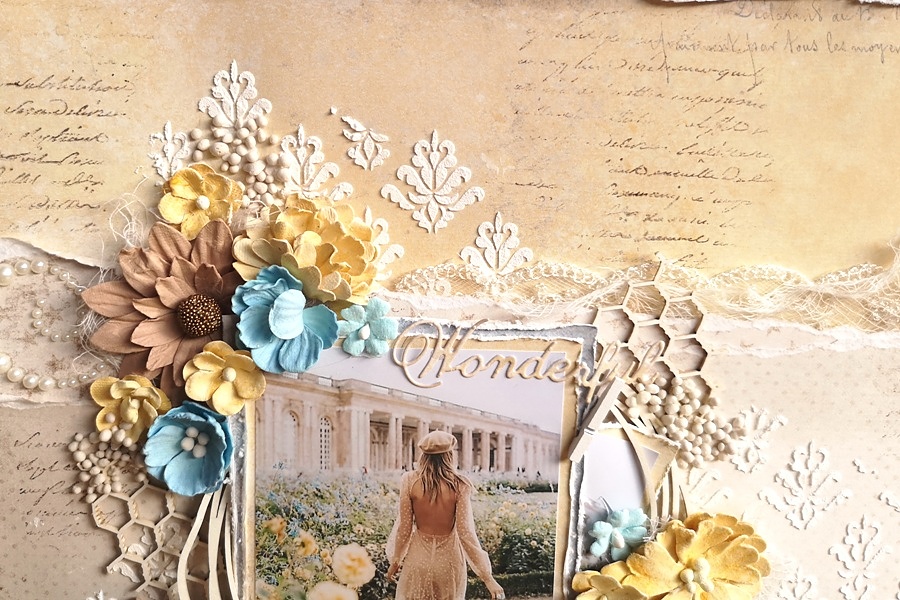
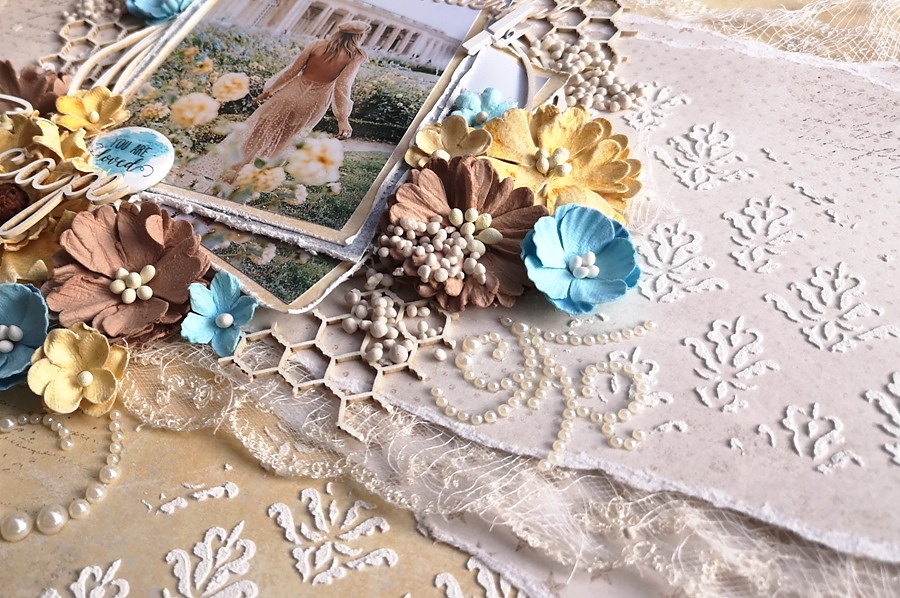
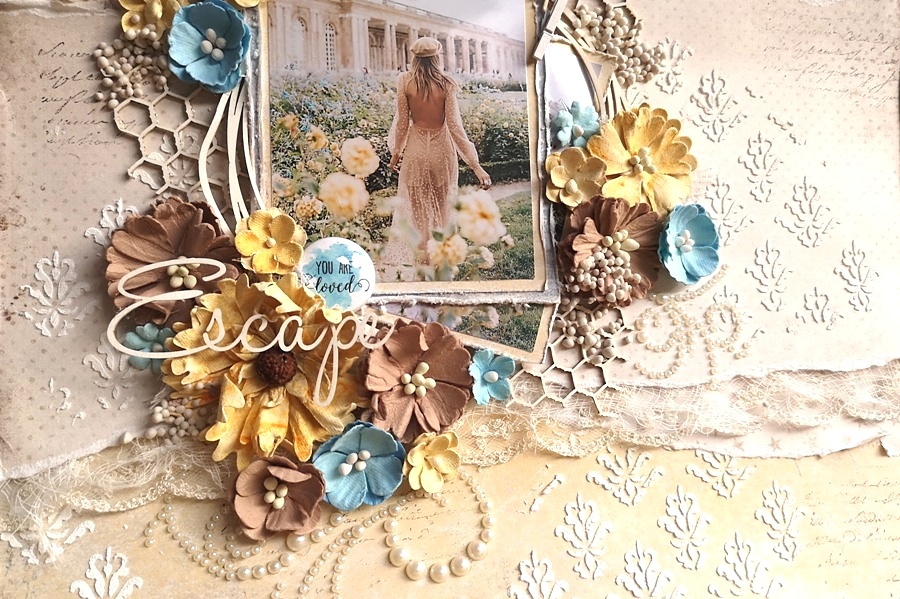
So nice of you to visit the Maja Design blog today, it’s been a long time since I last created something about three months I think. Not that I didn’t want to but my little family was struggeling with some issues and now we are all on the mend again with me having more time to get creative yeahh…. For today I would like to show you a layout that has been on my desk for that last three months {in pieces tho…}. I used two of my favorite collections Nyhavn & Denim and Friends.

On this layout I used some pretty lace from Tresors de Luxe, I also added a stencil with some paste and ink with a script stamp by our very own Pascale. The picture I got from pinterest. My uncle from Florida brought me some pearl bling when he visited last May that I used one this layout aswell.

I got myself a new phone and I am still figuring out how I can make my pictures look like the actual colors as my layouts are. So some of the close ups look a bit yellow sorry for that.

Maja Design papers used: Denim & Friends: Fashion & Sunbleached, Nyhavn: a dockside in bloom.


Thank you very much for your visit, I hope I have inspired you to go and create something beautiful with your Maja papers. Have a wonderful & sunny day!

Love xoxo

4

“Sun Kissed” by Tina Ollett

1

Posted by Tina Ollett

13 March, 2018 - ,

Write a comment

Hello and welcome Maja fans. It is Tina with you today to share my next Maja project with you.
As you are all aware I am sure, I love anything to do with the beach. My heart skips a beat when I think sunshine and sand. And yesterday while I was clearing away my desk of the Nyhavn collection from another Maja creation I came across 3 pieces that I had not noticed before. The colours of these papers instantaneously sent mind mind thinking ……. aha a beach layout that will be perfect.

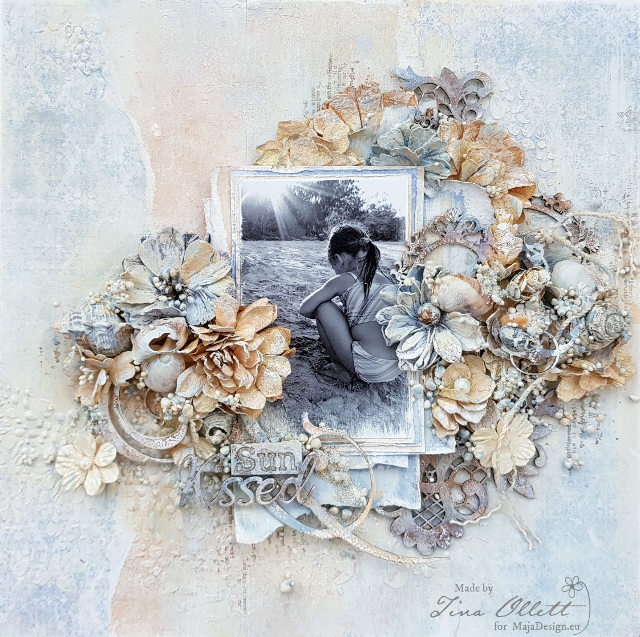
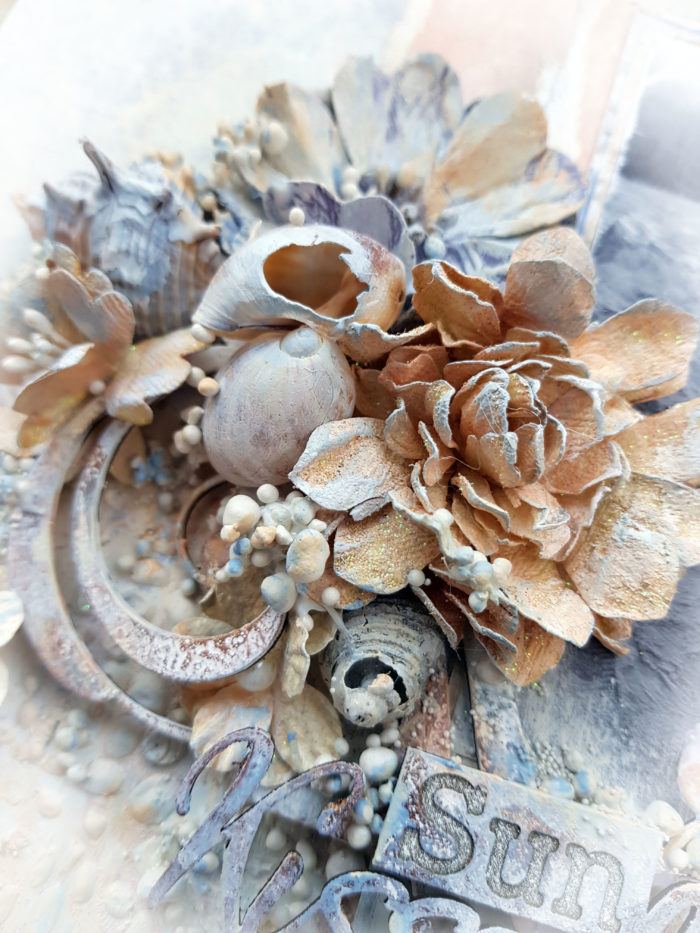
This is “Sun Kissed”

And below are the 3 sheets of papers from the Nyhavn Collection that I have used to start my project.

I used Historical Atmosphere as my background piece. I then did some tearing of the Sunnyside. I have to say that this piece is just magical in my eyes. I could not go without using this piece. I adhered pieces of Sunnyside throught the centre of my layout running vertically. I then did some matting of my black and white portrait photo. These pieces of matting were distressed and sanded a little to give that worn look that you often see with beach layouts.

Once everything was glued in place including my photo, I primed the papers using some clear gesso.

I also added in some stencilling using the “Cobblestones” stencil from Dusty Attic. I then painted some white gesso over my papers to lighten certain areas and to highlight others. I then went on to give my page more colours using some Dusty Attic Acrylic paints in Bisque and Faded Denim.

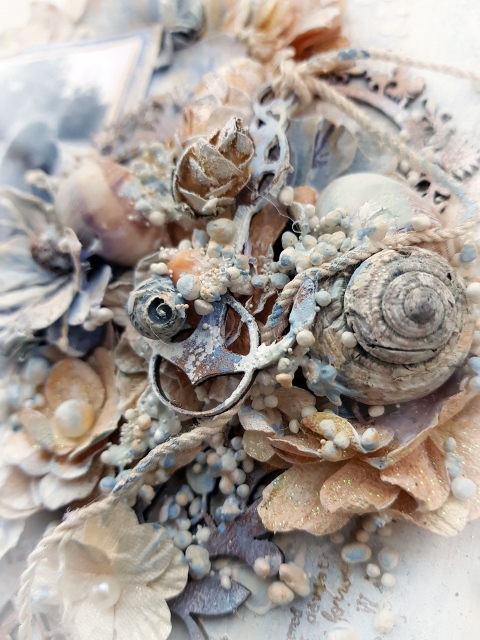
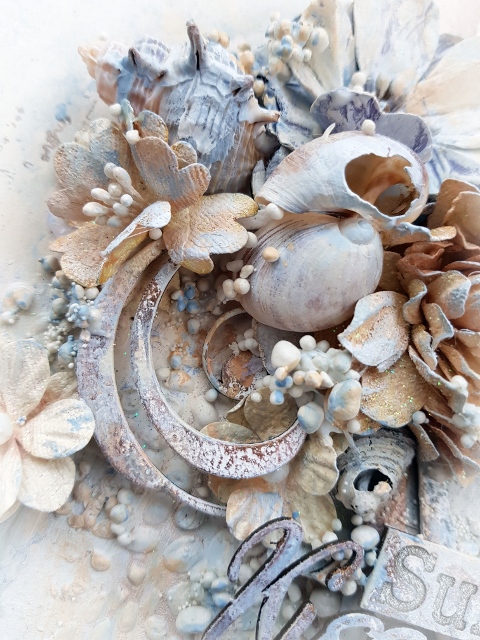
I then went on to change up the colours of my 49andMarket flowers from older collections to co-ordinate with my page. Some of these flowers were a bluebell colour which looked beautiful with the faded denim over the top. I also added in some beautiful Dusty Attic chipboard frames and flourishes and an anchor to help embellish my page.

And lastly I adhered all my coloured embellishments along with some extra seashells found at our last trip to the beach. some of these were quite bulky so I had to cut the backs away to fit them where they needed to sit.

Well that is all from me today. Thank you for taking the time to visit and have a look at my project.

Until next time happy crafting.

Hugs

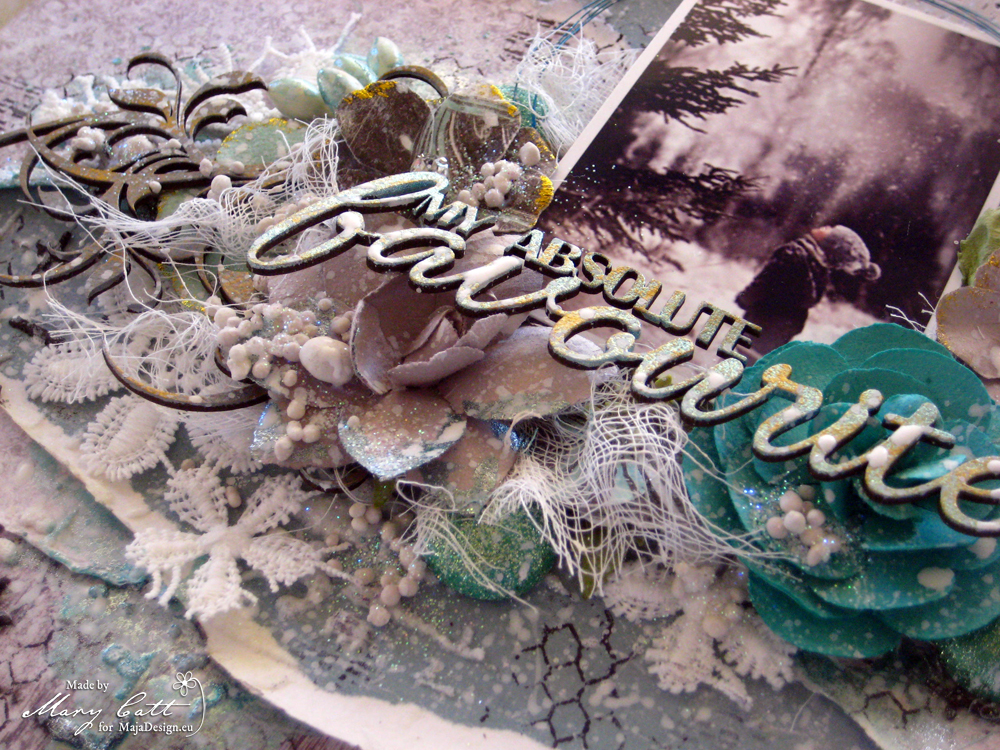
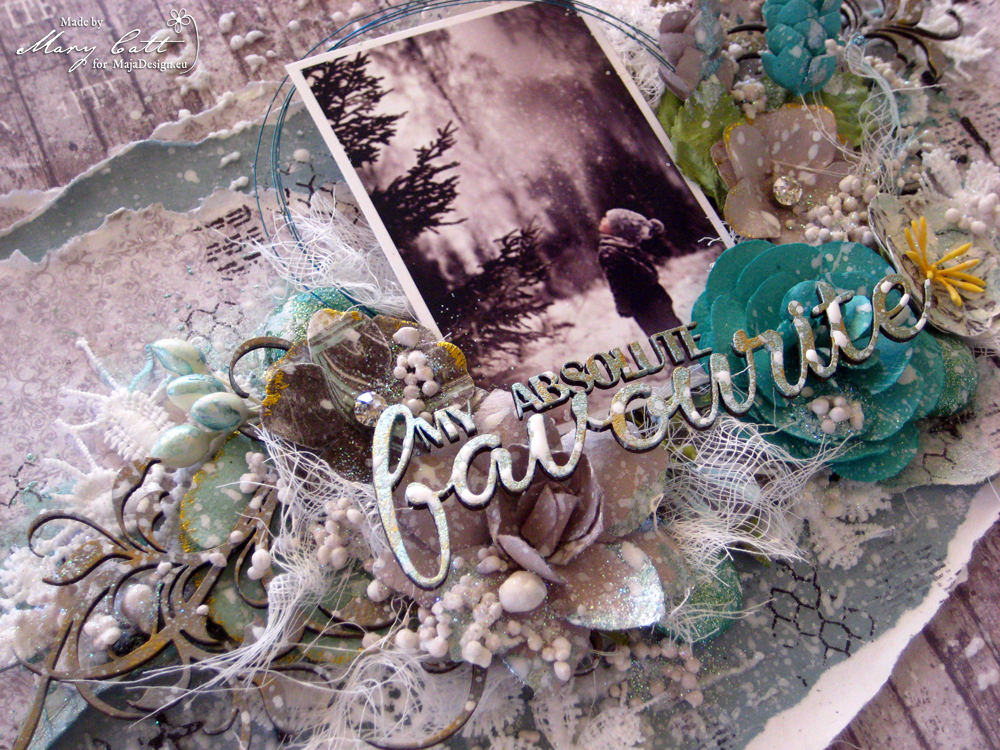
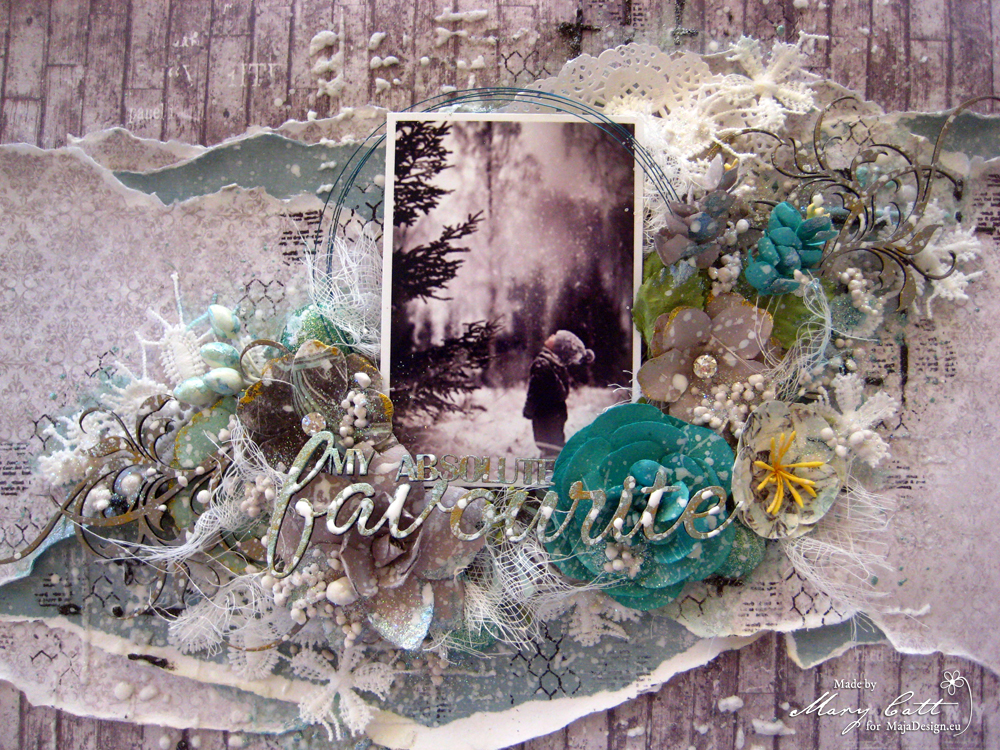
My Absolute Favourite

2

Posted by Mary Tzalla

16 January, 2018 - , ,

Write a comment

Hello Maja fans!

I wish you all a very happy New Year full of health, love and hapiness. Mary with you today to share my inspiration for January.

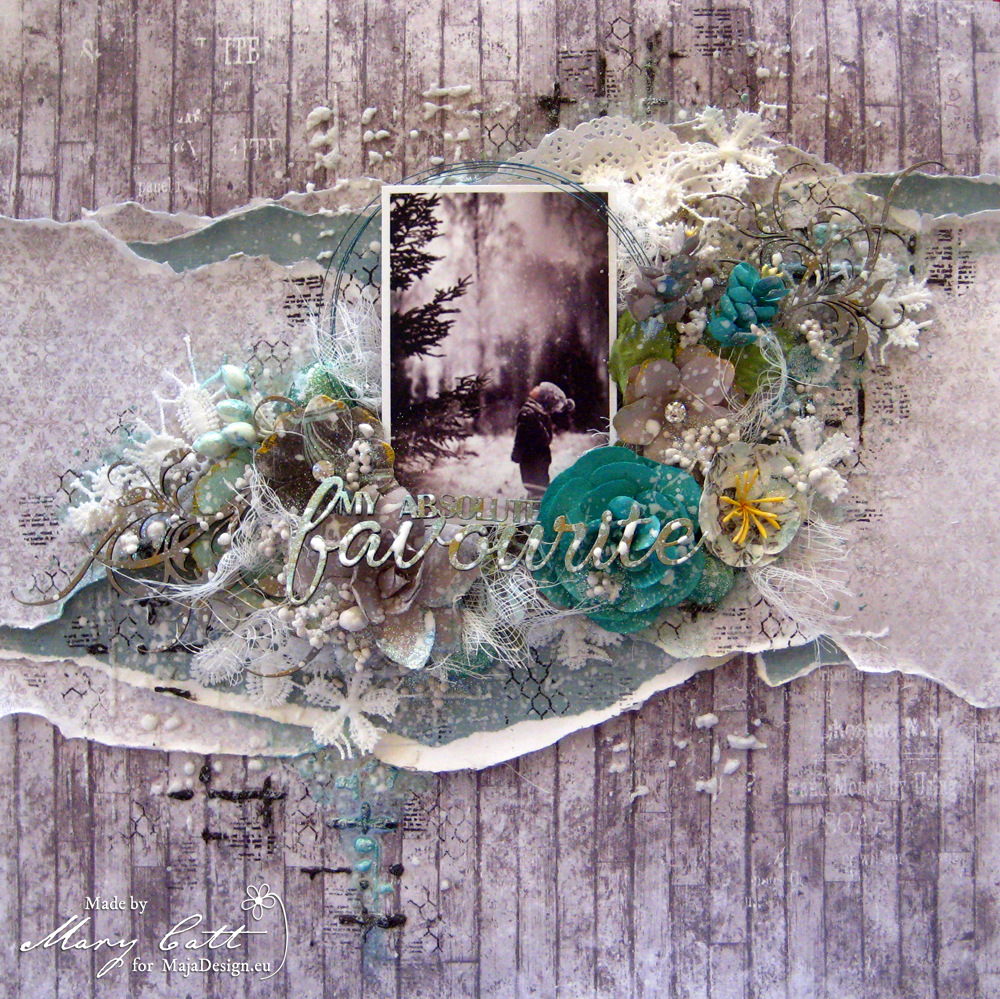
When I found that beautiful photo on Pinterest, I wanted to scrap it and finally I made a soft wintery layout in grey and teal colors, with lots of flowers, laces and chipboards. But, before I continue more I want to give all the proper credits to the ”unknown” photographer.

I combined two paper collections, the ”Nyhavn” and the ”Vintage Summer Basics”. I choose the ”Sitting at the Dock” paper from the ”Nyhavn” collection for my background paper. Then, I added some layers with the ”Eating Out” paper from the same collection and the ”1934” from the ”Vintage Summer Basics”.

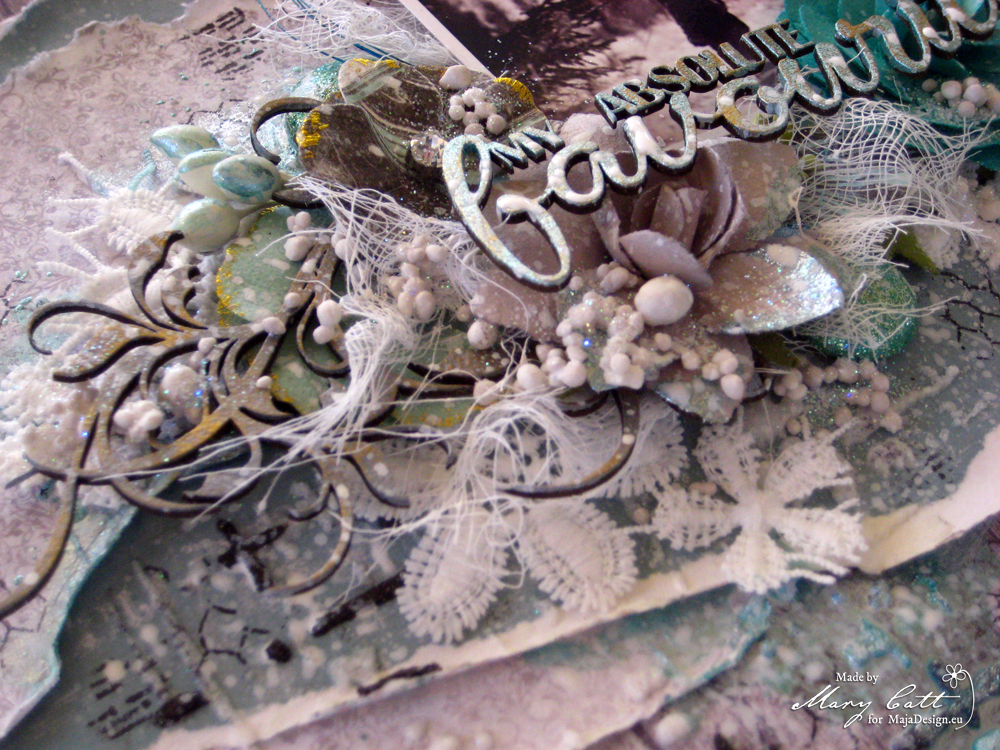
First, I gave my background a coat of clear gesso. When it was dried, I added some texture with snowflake paste and a stencil and then I used graphite paste with a second stencil to give more contrast on my page. I also made some stamping here and there. I continued by coloring my page with the sparks ”Mermaid Sparkle” acrylic paint. 

I painted the flourish chipboards with the metallique ”Silver Spoon” acrylic paint and the chipboard title with the sparks ”Mermaid Sparkle” acrylic paint. Then, I gently rubbed them with the ”Vintage Gold” wax. The chipboards I used, are from Dusty Attic.

When everything was glued down, I added some art stones and glitter. I also made some splatters with white gesso diluted with some water.

Papers used:


That’s all for today, my friends!

Thank you for stopping by!


Masculine gift envelope

1

Posted by Evgenia Petzer

9 September, 2017 - ,

Write a comment

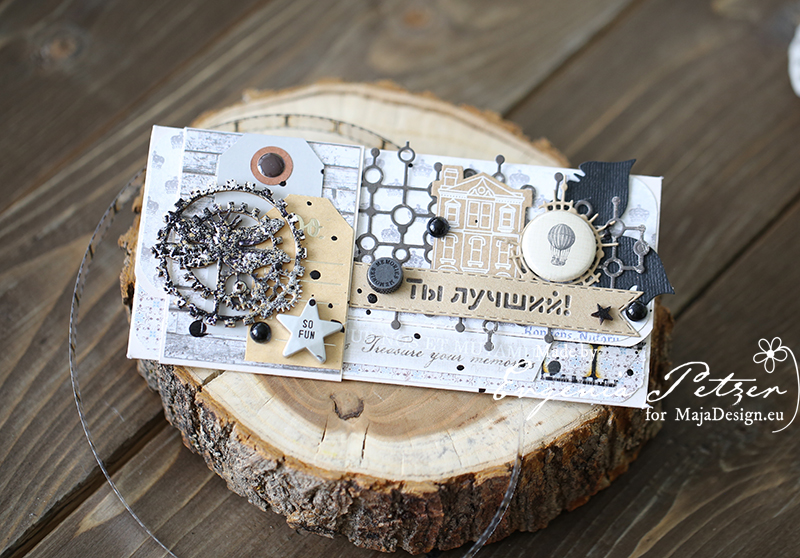
Hello dear friends, Evgenia Petzer with you today. I wanted to show you the masculine gift envelope that I made using the Nyhavn collection. The gift envelopes become more and more popular today as sometimes it is much more appropriate to give the gift card, especially if its a person you don’t know well enough. So here is my version of one for a Man…

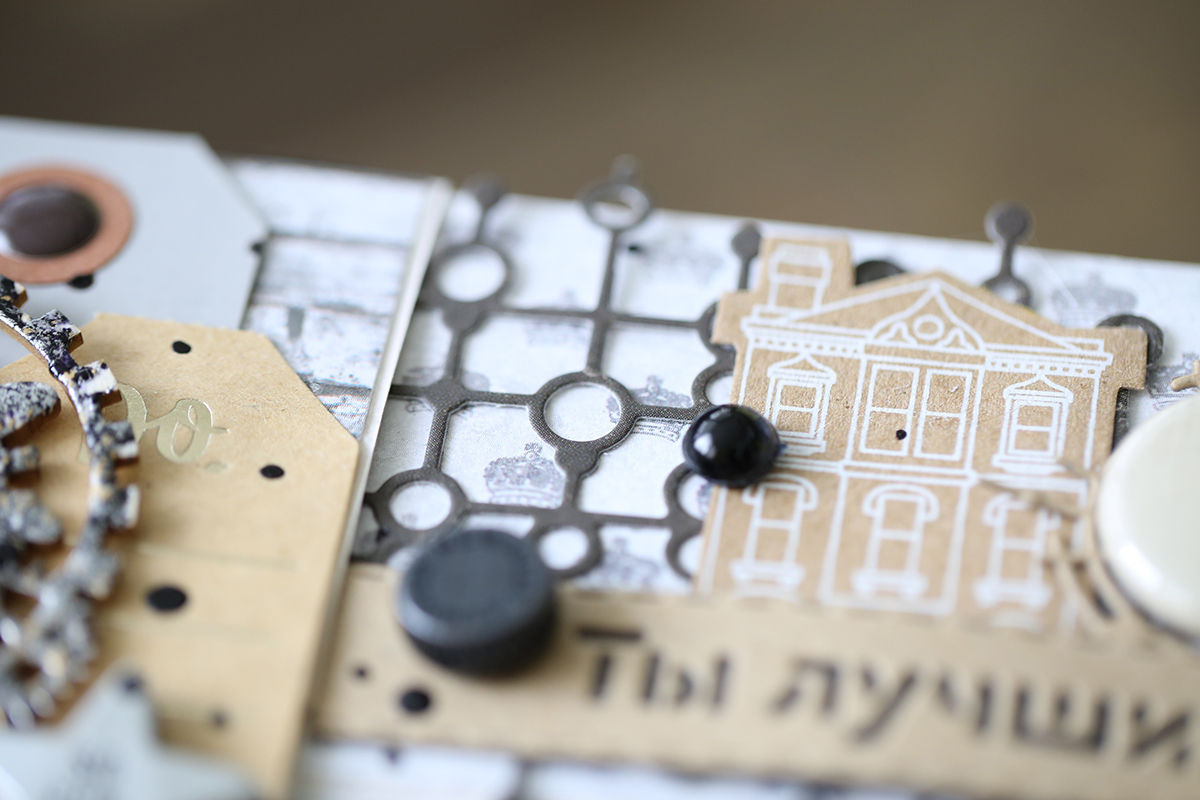
konv_muzhsk_maja_nyhavnwhen playing with this collections in a masculine style I always tend to add some black add ons, use lots of great shades and add sone kraft details.

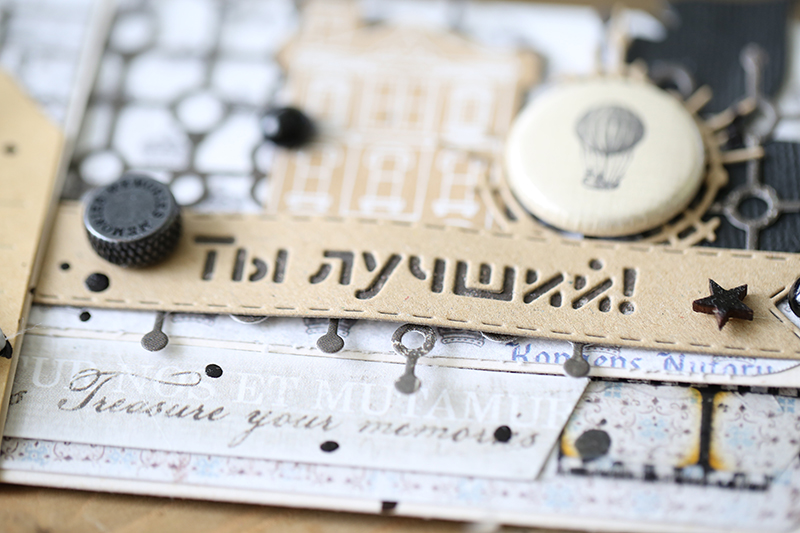
some close ups:konv_muzh_det1 konv_muzh_det2

the gorgeous Nyhavn collection.

Have a lovely weekend,