I Love You Lil’ Darlin

1

Posted by Amy Voorthuis

4 March, 2021 - , ,

Write a comment

 Goodmorning Lovely Maja Design Fans,

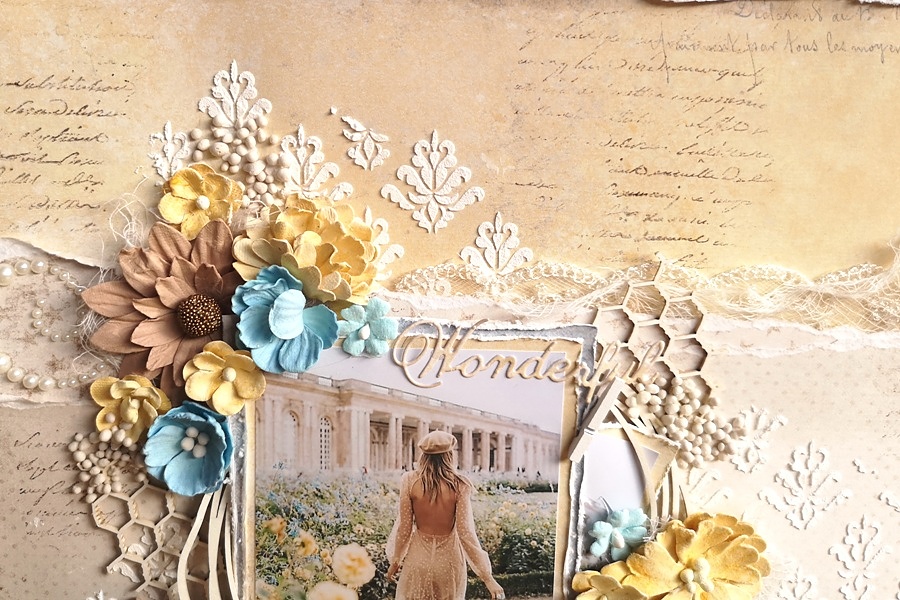
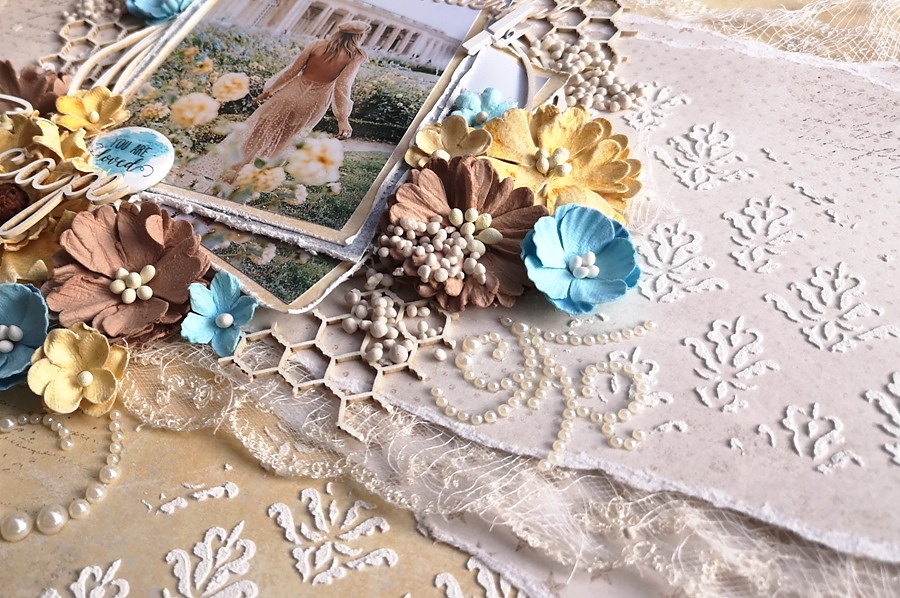
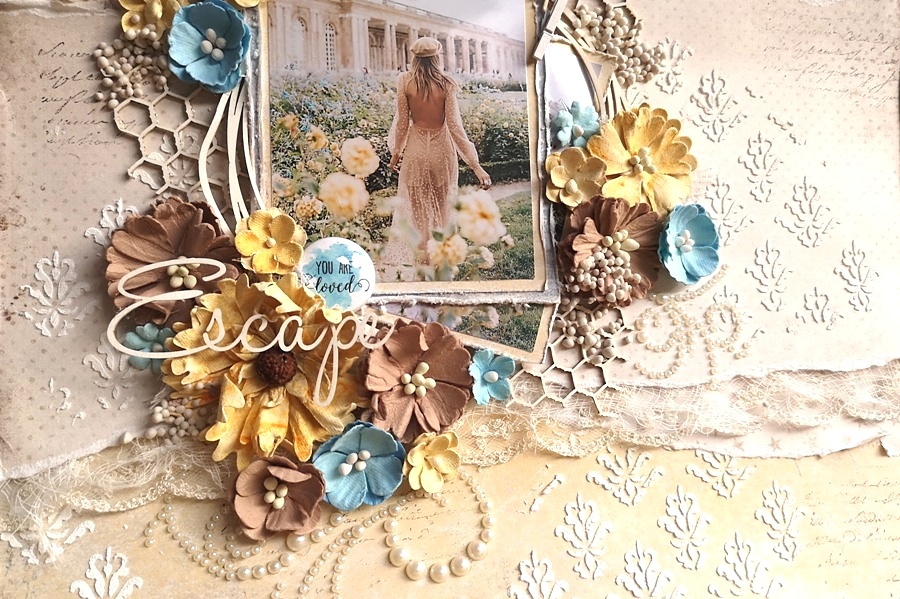
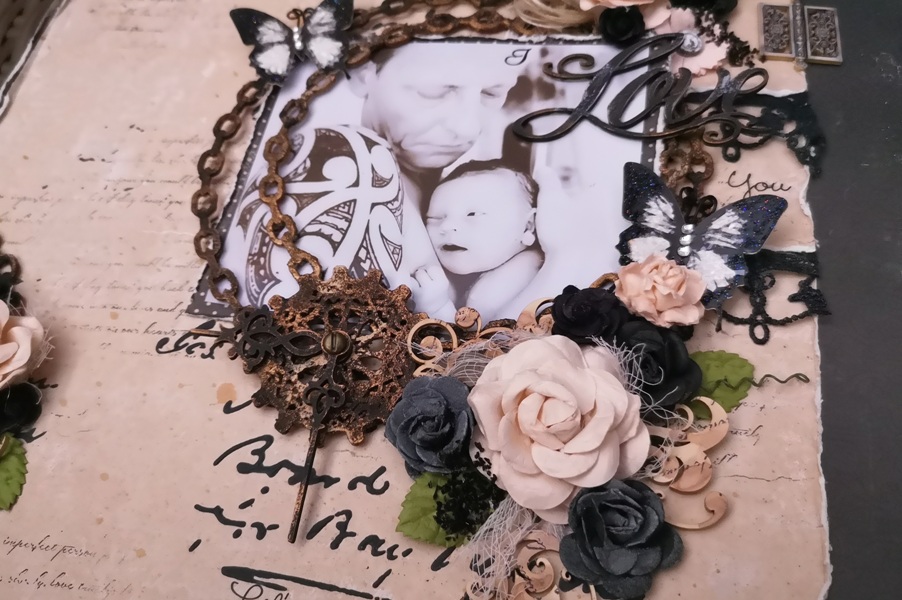
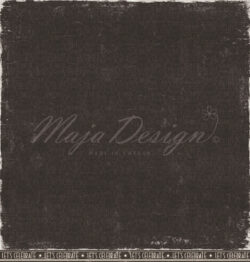
Today it’s my turn again on this lovely blog and this time I’d like to share a steampunk layout. On the picture you see  my handsome husband with our tiny little girly in the shower. I don’t know why I assosiate black with steampunk but I do, I used one of the darkest pages Maja Design offers to make this layout. The papers are distressed and I added a Finnabair stencil on it and a script stamp.

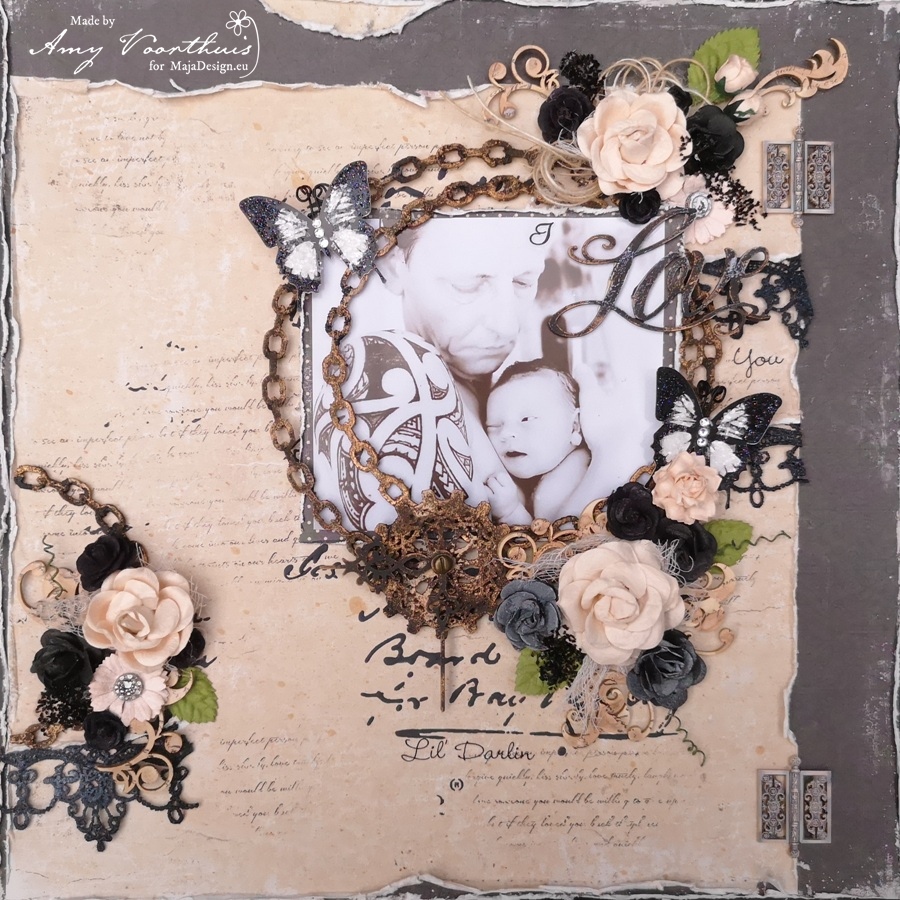
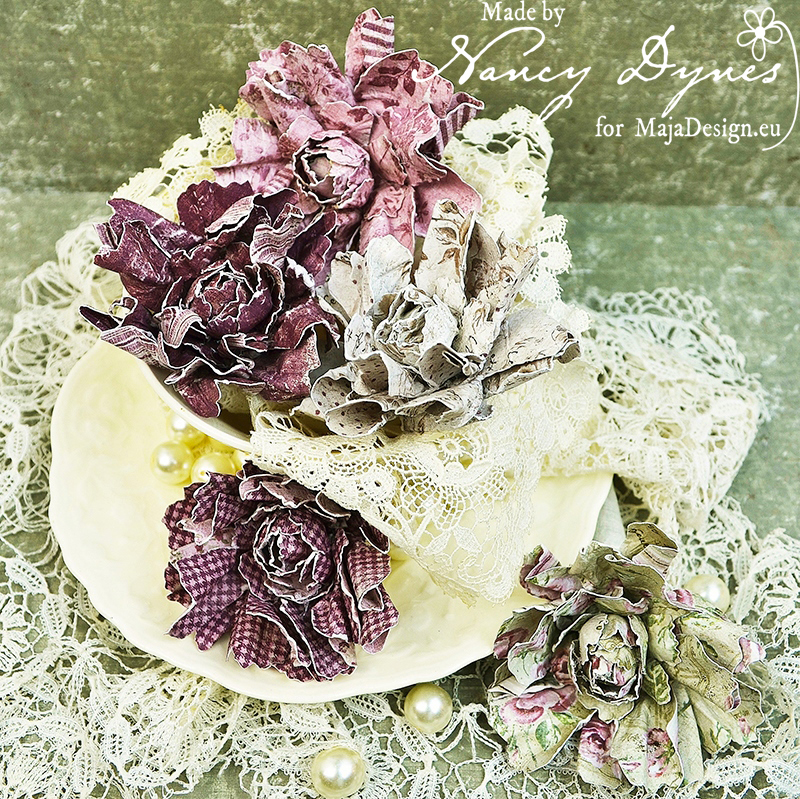
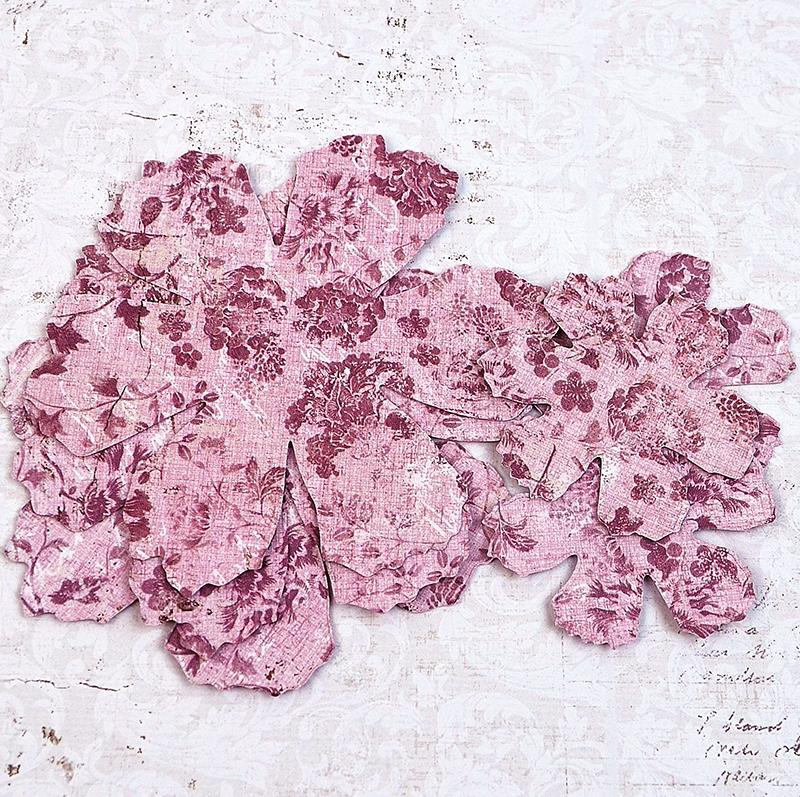
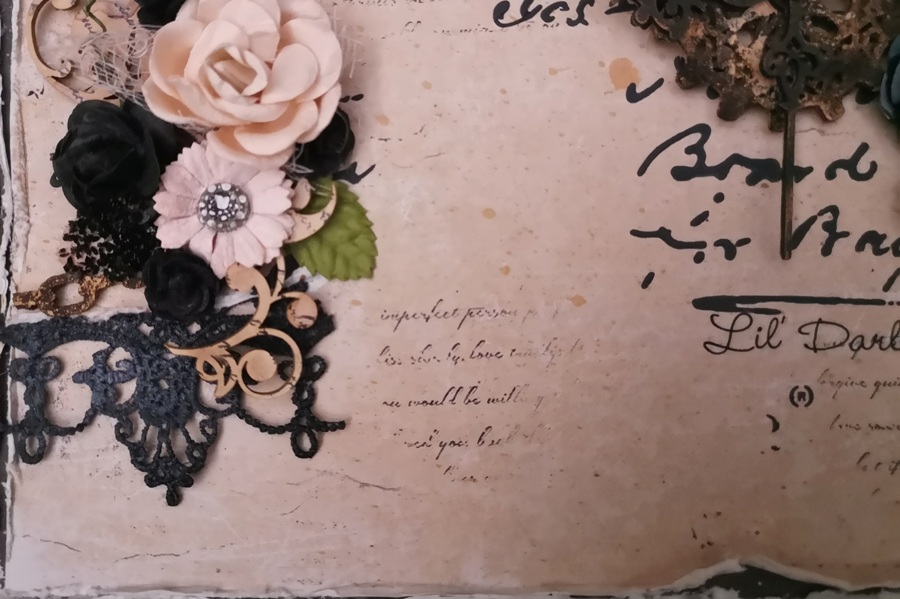
When I could choose my Guest Designer Package I was focussed on the black lace, flowers, butterflies and chunky glitter glass and went around that creating my layout. The beautiful boards are treated with some different mediums…I used Finnabair rust effect paste, waxes and black gesso on some of them and on the other pieces I used some lindy’s sprays and a script stamp.

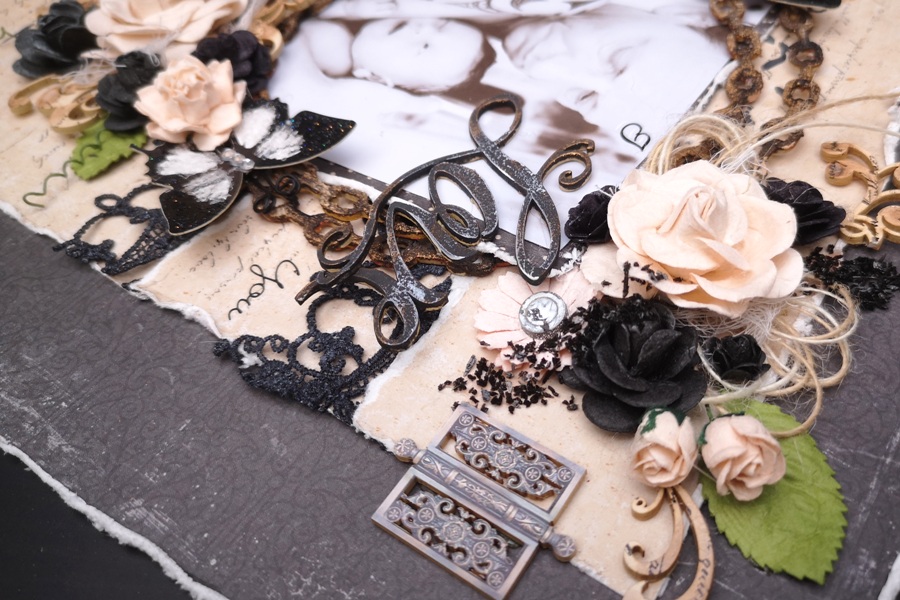
I think the pretty hinges are so cool to used they are very detailed and I have to tell you I am a sucker for chipboards like that kind of steampunk stylish. For me this layout is kind of clean and simple and that is sometimes nice to make as well if I had more flowers I would have added them all lol….

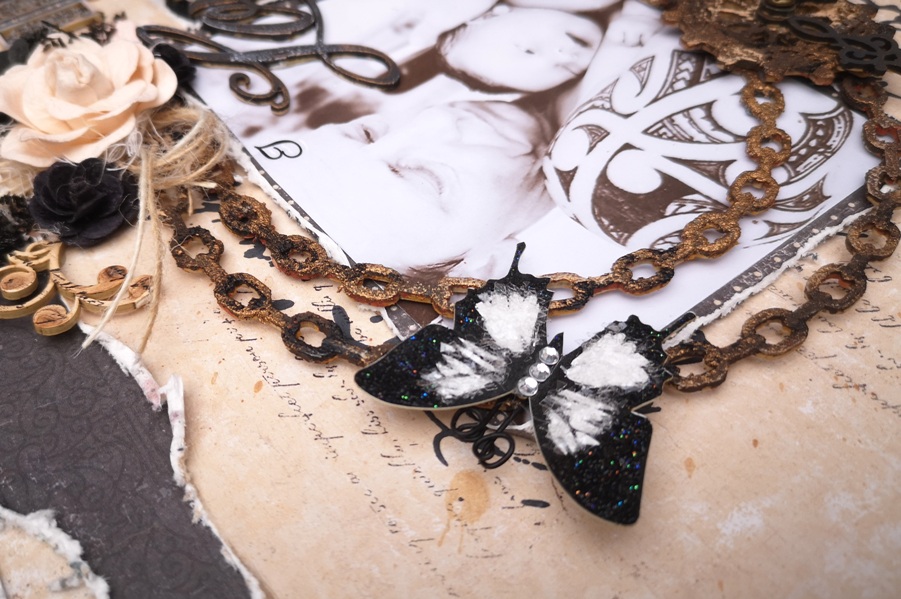
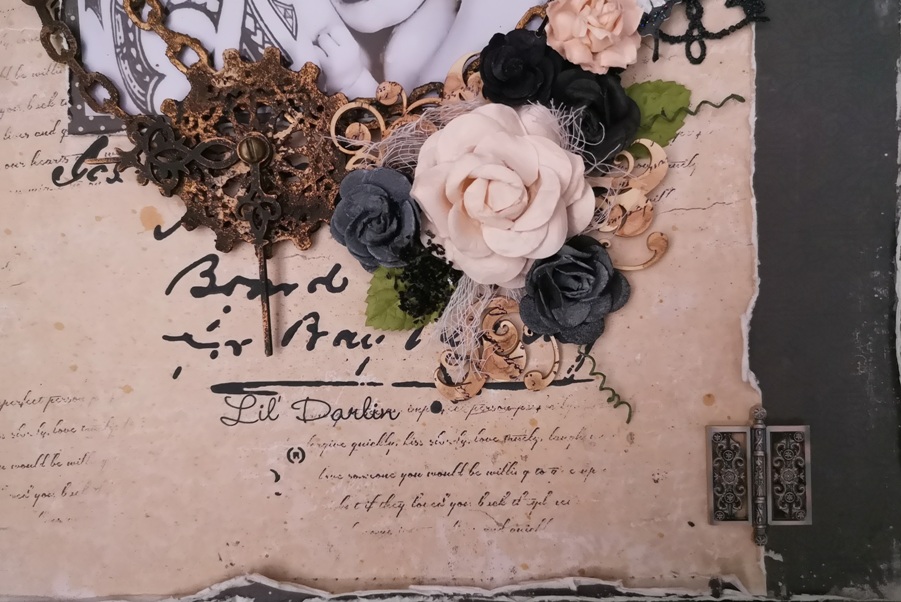
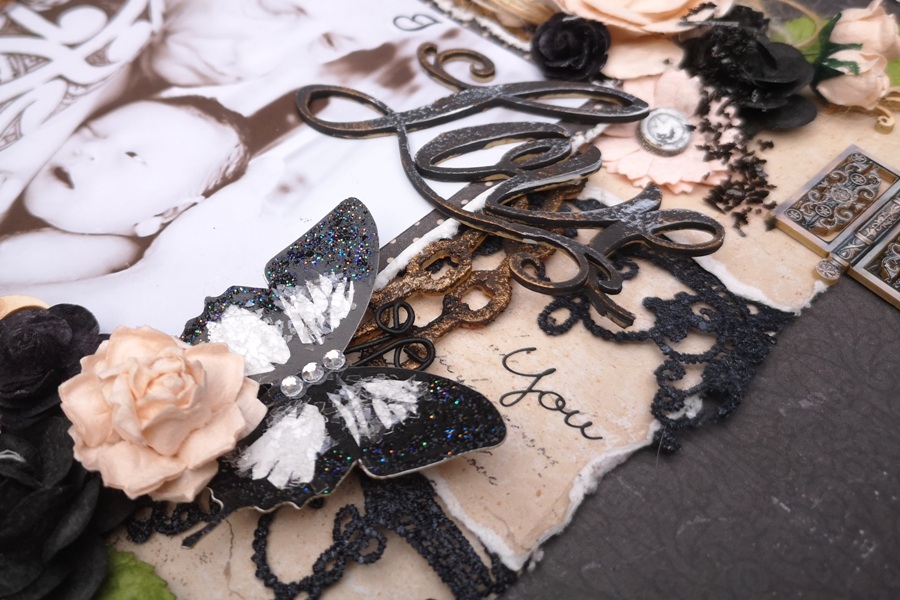
I have tucked the lace in the rips that I made in the papers I always wanted to try that but I never did…To finish my layout I added some amazing black chunky glitter glass and I also added some rub-on words.

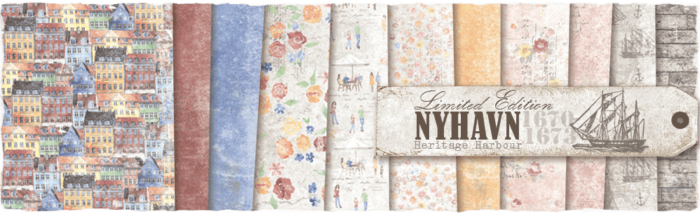
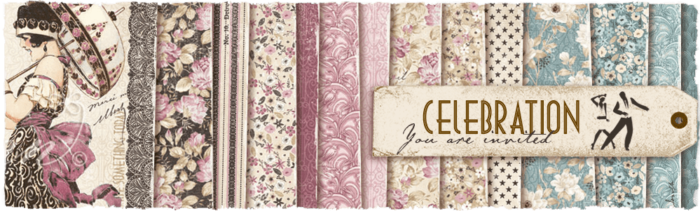
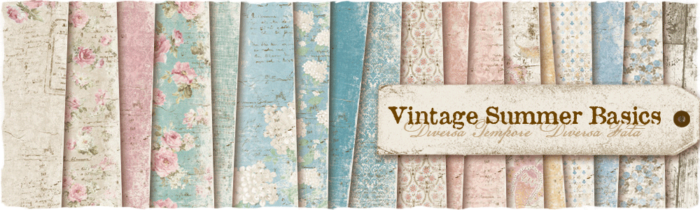
Maja Design papers used: Celebration: Ephemera bs & Vintage Summer Basics 1912 bs.


Thank you so much for visiting the blog today and I hope I have inspired you to create and show us your beautiful art you can always share your work here: Maja Design Facebook page and I if you like the products I worked with please visit here!

Have a wonderful day & stay safe hugs!


Wonderful Escape

0

Posted by Amy Voorthuis

12 July, 2018 - , , ,

Write a comment

Goodmorning Maja Design Fans,

So nice of you to visit the Maja Design blog today, it’s been a long time since I last created something about three months I think. Not that I didn’t want to but my little family was struggeling with some issues and now we are all on the mend again with me having more time to get creative yeahh…. For today I would like to show you a layout that has been on my desk for that last three months {in pieces tho…}. I used two of my favorite collections Nyhavn & Denim and Friends.

On this layout I used some pretty lace from Tresors de Luxe, I also added a stencil with some paste and ink with a script stamp by our very own Pascale. The picture I got from pinterest. My uncle from Florida brought me some pearl bling when he visited last May that I used one this layout aswell.

I got myself a new phone and I am still figuring out how I can make my pictures look like the actual colors as my layouts are. So some of the close ups look a bit yellow sorry for that.

Maja Design papers used: Denim & Friends: Fashion & Sunbleached, Nyhavn: a dockside in bloom.


Thank you very much for your visit, I hope I have inspired you to go and create something beautiful with your Maja papers. Have a wonderful & sunny day!

Love xoxo

4

From My Garden to Yours!

3

Posted by Nancy Dynes

24 January, 2017 - ,

Write a comment

B 3 a

Hello, friends! Welcome to the Maja Design Blog. It’s Nancy here, and I’m so very happy to be here with you. If you’ve seen any of my previous projects, you know I handcraft almost all of my flowers. Today I’m sharing a tutorial for one of my favorites, my ‘wild roses’.

All of my blossoms begin with Maja Design Papers. They are perfectly suited to flower making. The papers are double sided and they are nice and strong. They can hold up to just about anything you throw at them, which you are about to see.

A 1

Begin by die cutting 6 petals (3 large and 3 small). I used Tim Holtz Tattered Florals, but you can use anything you have on hand, or even hand cut your petals.

A 2

Punch a small hole in the center of each petal.

A 3

Spray or brush both sides of each petal with water. You don’t want them to be sopping wet. Just moist enough to make them pliable. As you make more flowers you’ll begin to get a feel for the level of moisture that works best for you.

A 3 a

Use a shaping tool to form two small petals that will become the center of the bud, as demonstrated below.

A 5

A 4

Use the shaping tool to form the third small petal as shown in the photos below.

A 7

A 8

When complete they will look like this:

A 9 a

Roll and squish the three large petals. You may have to spray a bit more water. Use care not to tear the petals as you roll them. Once all of your petals are prepped it’s time to bake them. Yes, bake them. My husband often comes home to find a batch of flowers in the oven instead of cookies. Preheat your oven to 250 degrees and bake for about 10 minutes, depending on how moist your petals are. Be certain to bake until they are completely dry as this will prevent tearing when you unfold them.

A 9

Always use care when baking paper. Never leave it unattended and check on it frequently. While your petals are baking it’s time to form a base for the bud.

A 10

I use a small wooden bead and floral wire. You can purchase the beads and wire at any craft store. Twist the floral wire around the bead.

A 11

Below is a batch of petals fresh from the oven. The shape is now baked into the paper.

A 12

Thread the first petal onto the bead.

A 14

Adhere two sides of the petal to cover the wooden bead.

A 15

Adhere the other petals gently to form a bud.

A 16

Adhere the second petal gently over the first. Stagger the petals for a more natural look.

A 17

The third small petal is adhered in the fashion shown below.

A 18

Finally, adhere all three large petals. Stagger each petal for a fuller bloom. You’ve done it! You have created a ‘wild rose’ in a few simple steps.

A 19

Below you’ll find a few additional blossoms I crafted to give you an idea just how beautiful Maja Design flowers can be. Each is unique and special. Each one will be a perfect match to whatever project you’re working on. It takes a little more time and effort to create your own flowers, but the result is 100% worth every moment you spend on them.

C 1

C 2

C 3

B 2 a

Vintage-Autumn-Basics

Other Supplies Used: Tim Holtz Tattered Florals Dies, Wooden Beads, Floral Wire, Adhesive, Mini Mister, Flower Shaping Tools. 

Thank you so much for stopping by the blog today! It’s been a great pleasure sharing these flowers with you. I hope you will enjoy them as much as I do. I send you wishes for all things good and wonderful!

Hugs,Nancy-sign