Hello Maja fans!
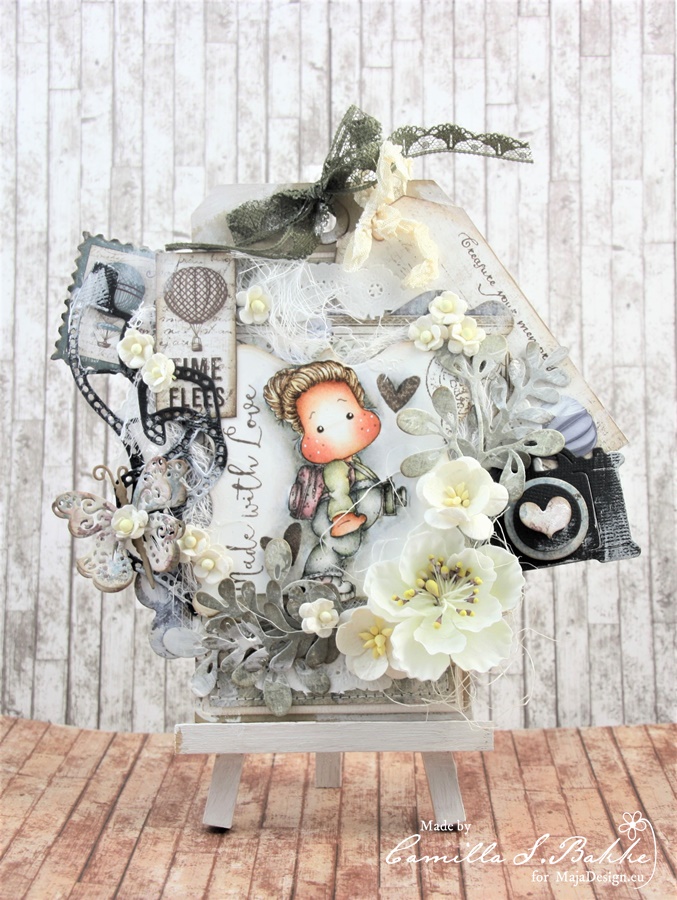
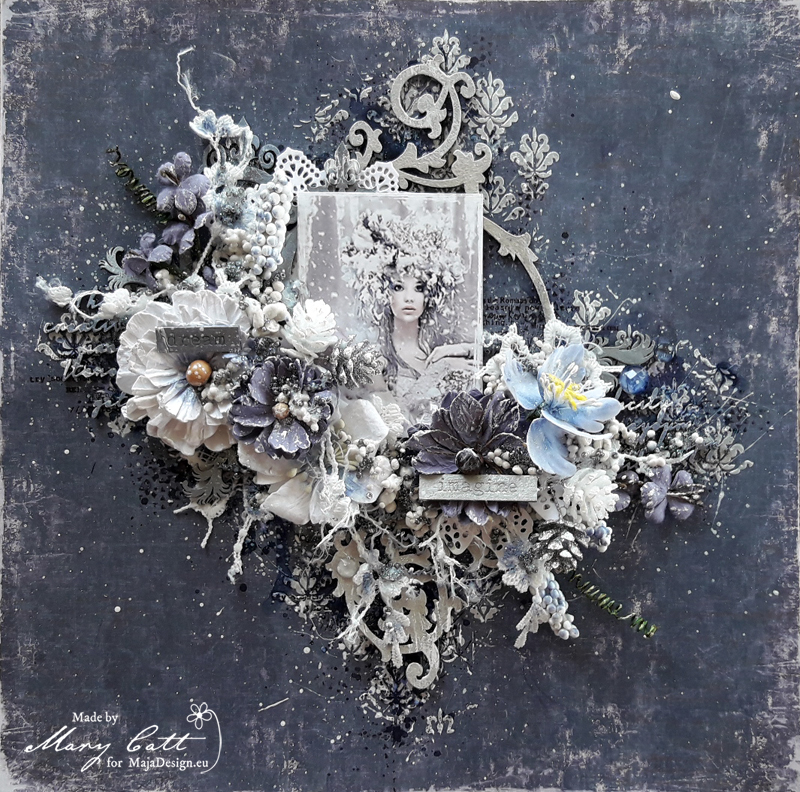
It’s Mary with you today and I have a new layout to share made for my November inspiration.
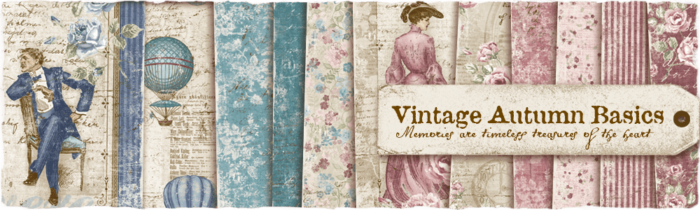
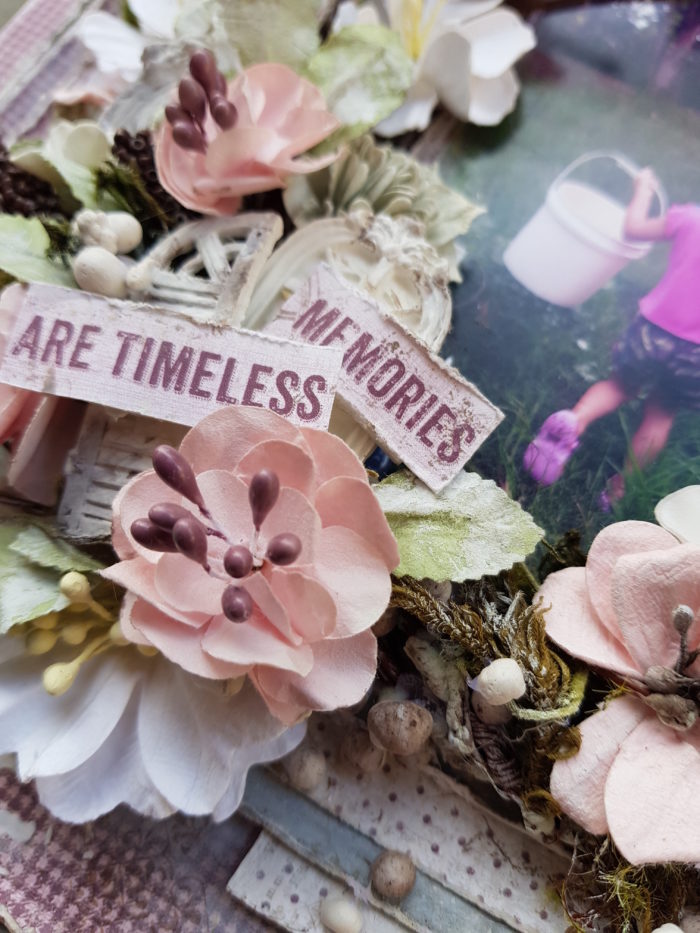
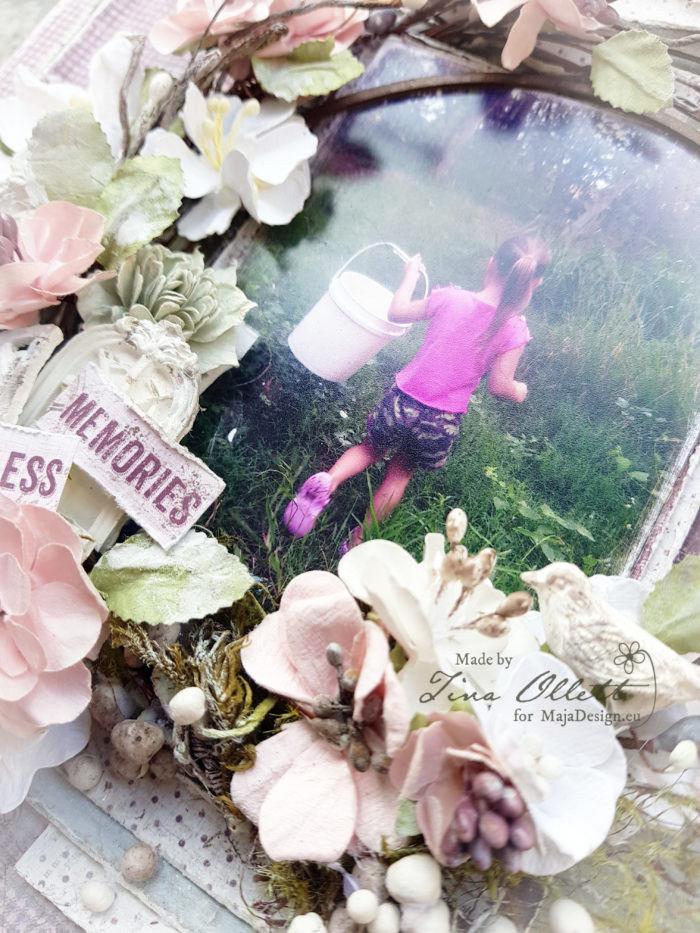
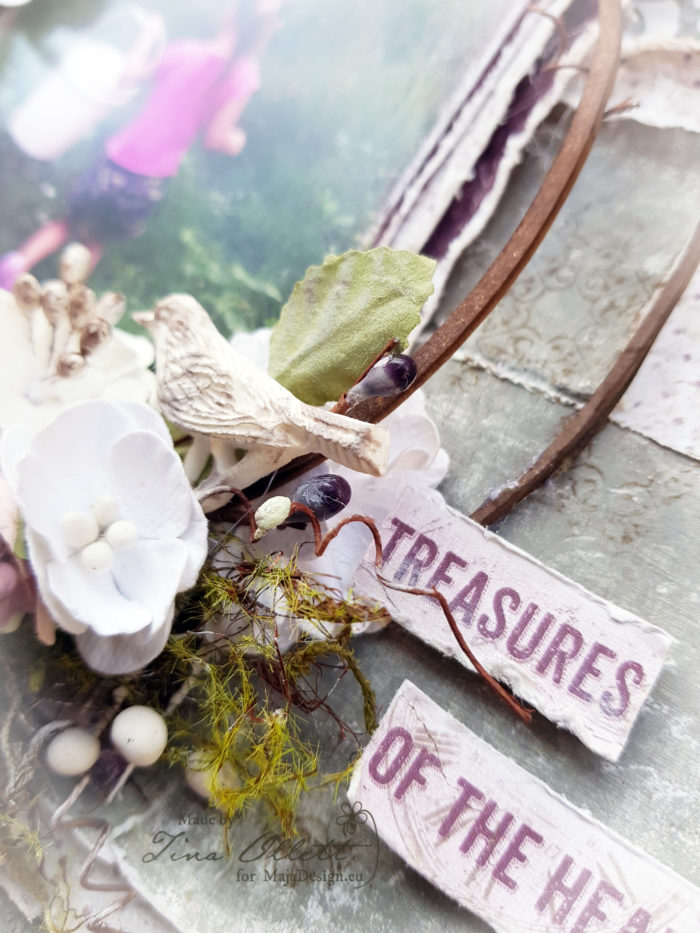
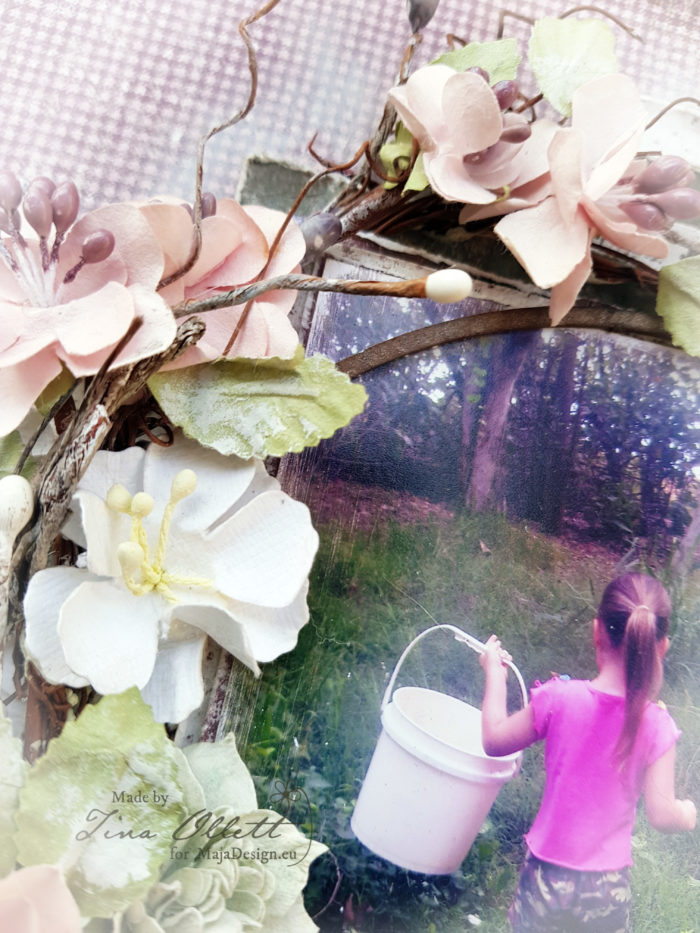
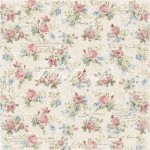
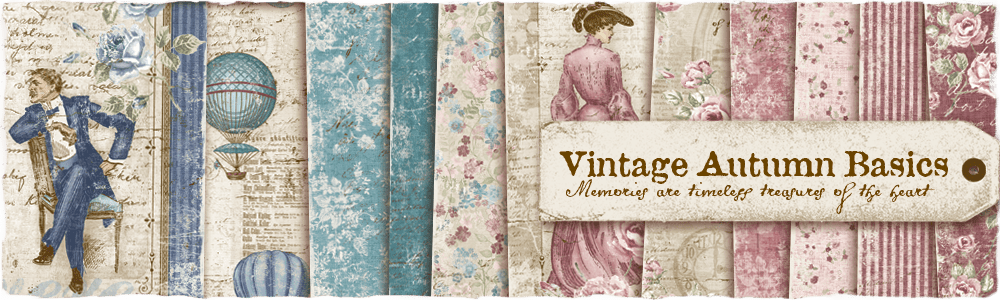
As you may already know, I love searching on Pinterest to find photos to scrap and this time I came across with that amazing photo. I picked a paper from the gorgeous ”Vintage Autumn Basics” collection that was just perfect for it. But, before I continue more I want to give all the proper credits to the ”unknown” photographer.
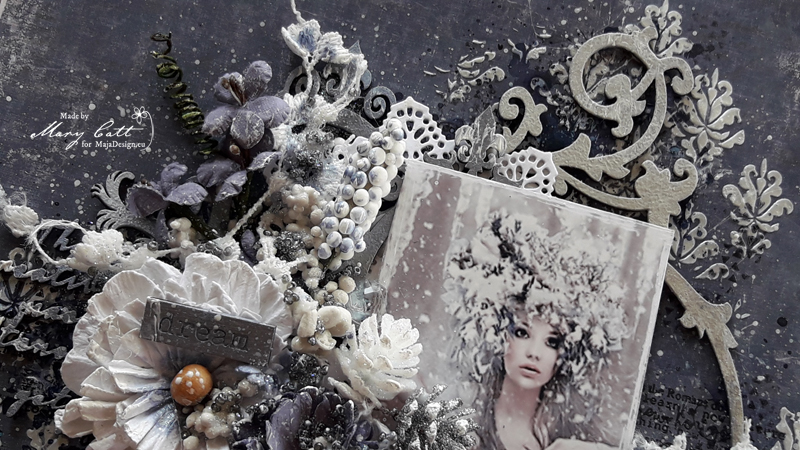
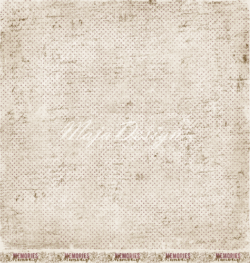
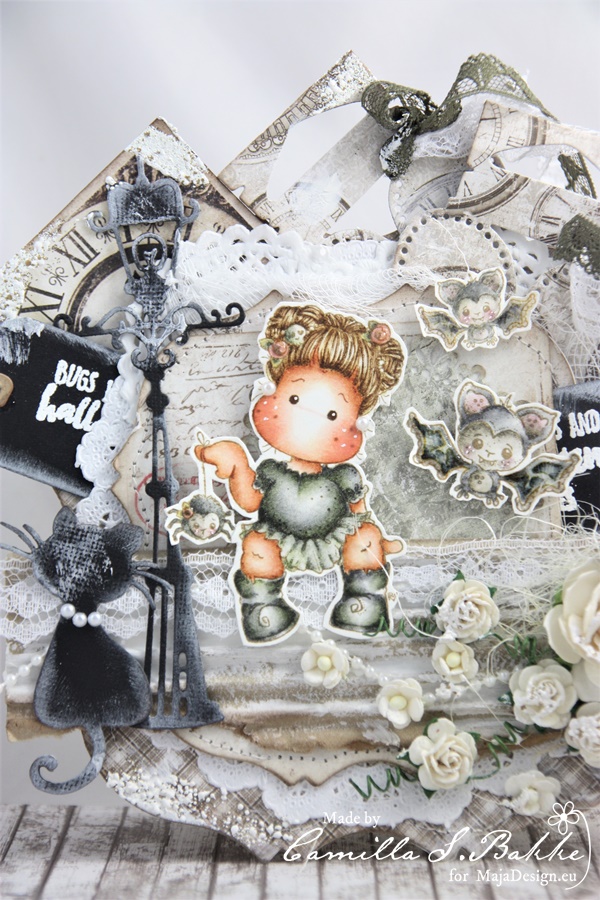
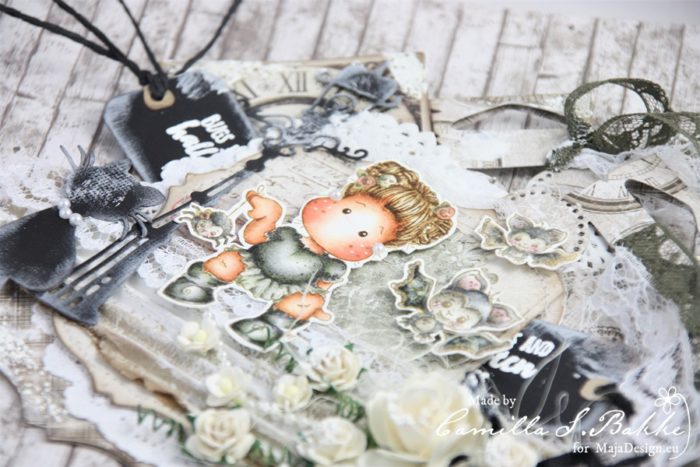
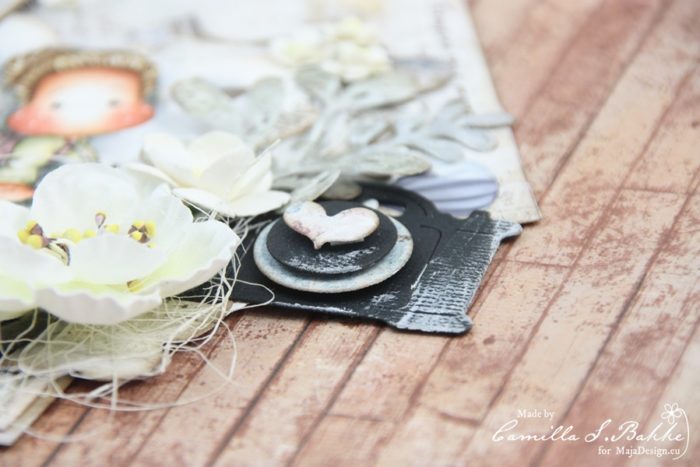
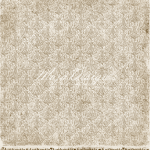
I choose to use the back side of the ”No XXI” paper. I started by applying a coat of clear gesso on the background and then I created texture with an icing paste and a Stencil.
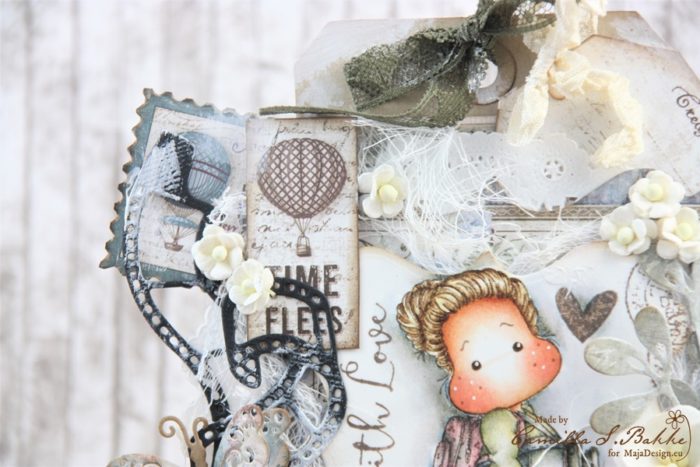
Made some stamping here and there and used a Lindy’s Gang spray to add color.

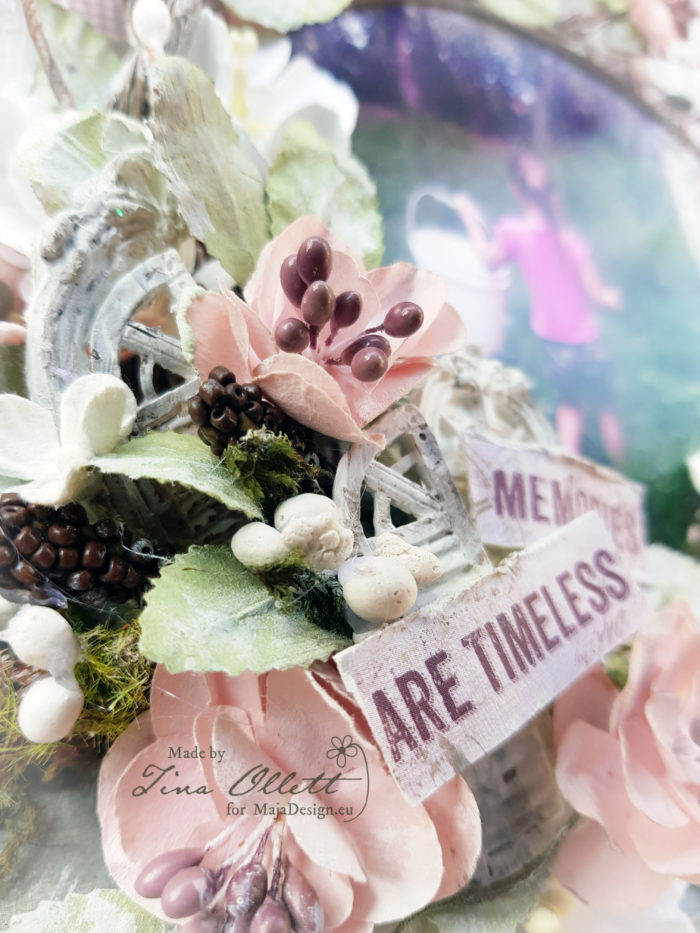
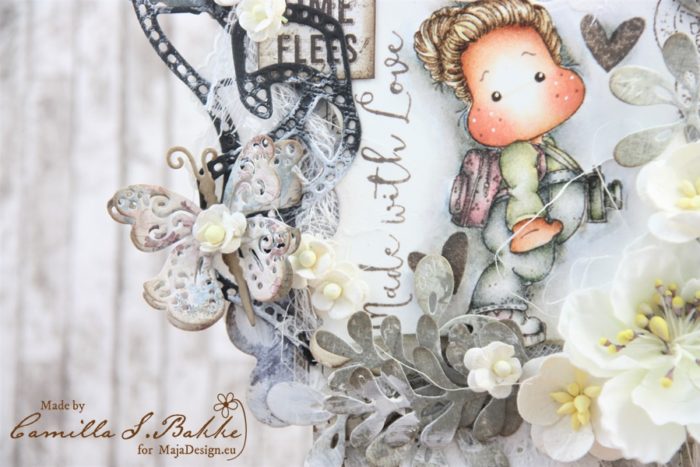
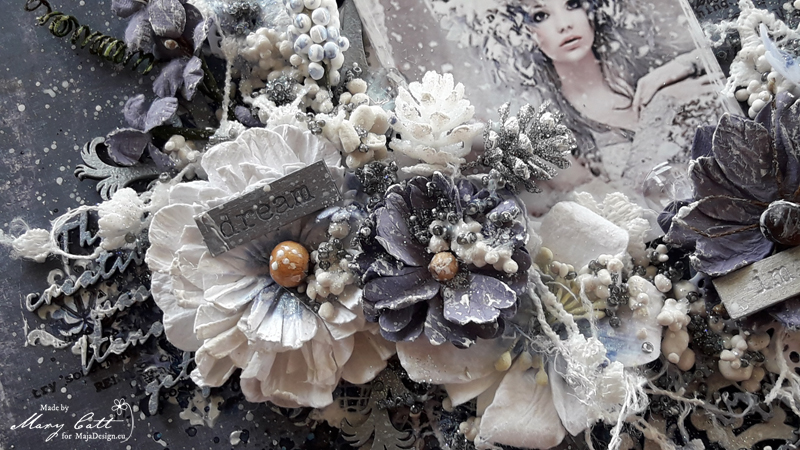
Next step was to paint all the Dusty Attic chipboards with the Finnabair acrylic paints.


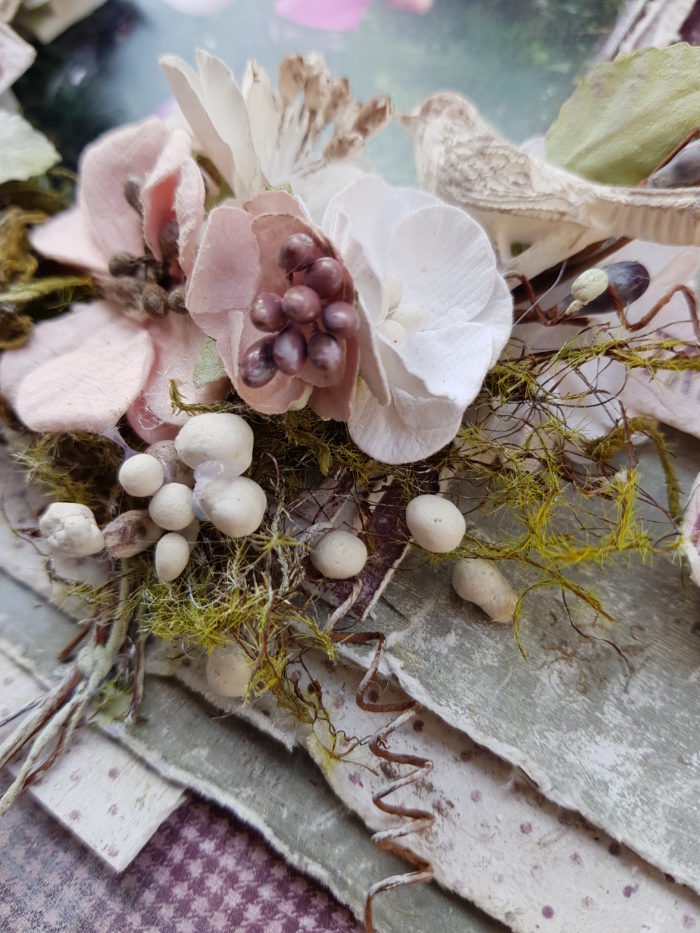
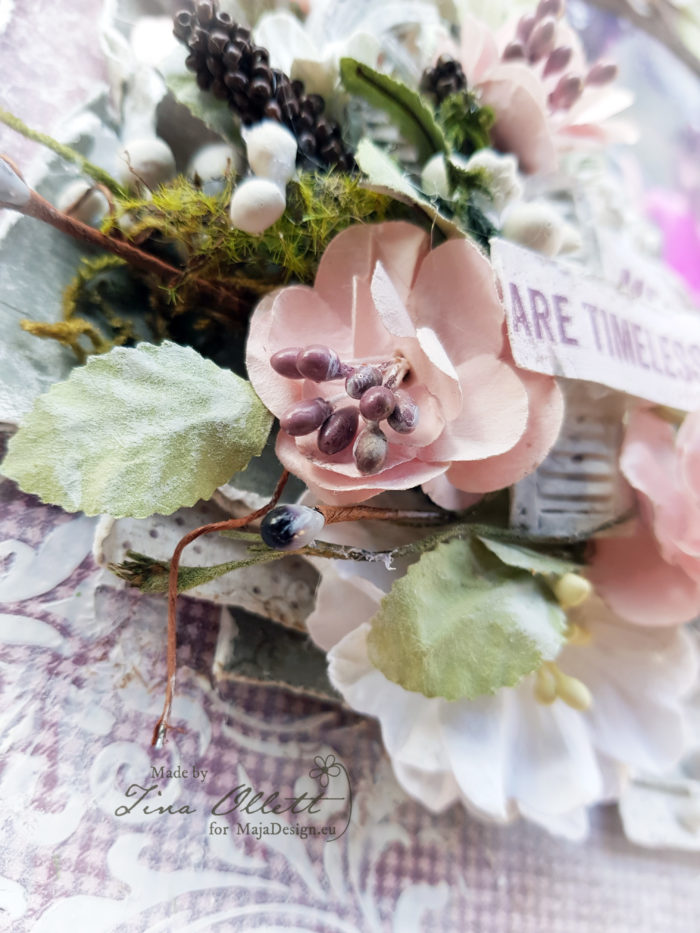
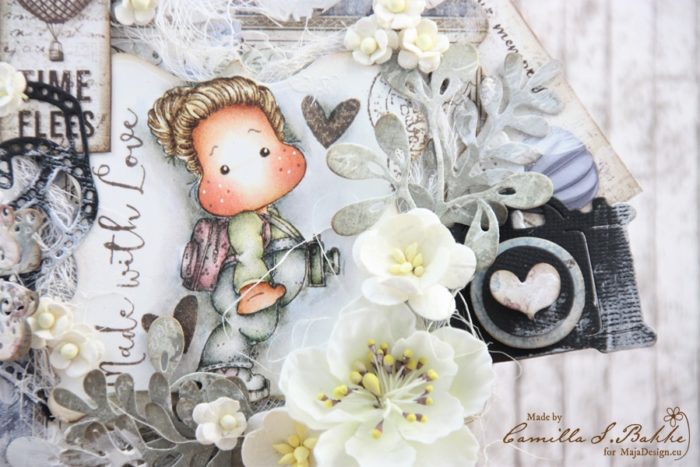
When everything was glued down I added some art stones and glass glitter and beads. The final touch was made with some splatters with white gesso.

Paper used:
-
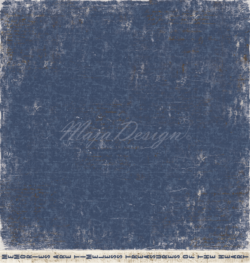
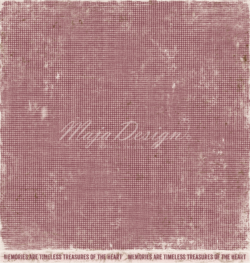
- no.XXI BS
I hope you enjoyed my project!
Thank you for stopping by!