Christmas Season Cards and a Video Tutorial with Elena

2

Posted by Elena Olinevich

16 November, 2018 - ,

Write a comment

Hello Maja Friends. Have you seen the new Christmas collection – Christmas Season? I think it is a good occasion to start Christmas preparations isn’t it?

I have already made a bunch of cards with it.

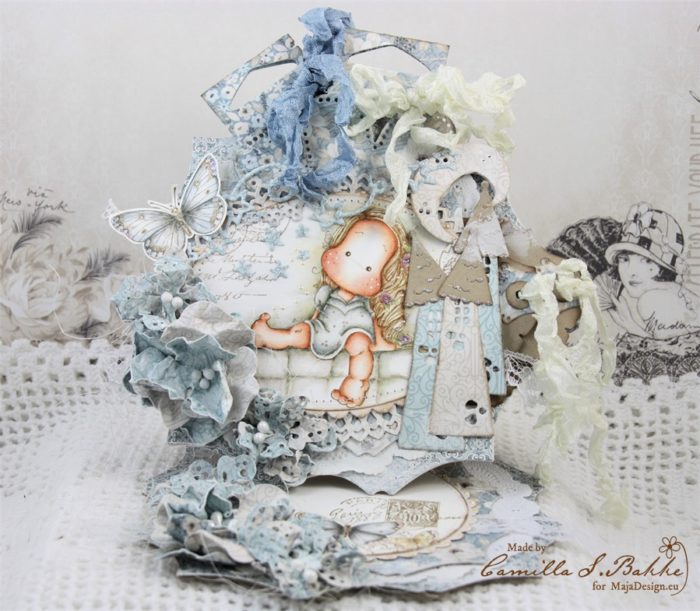
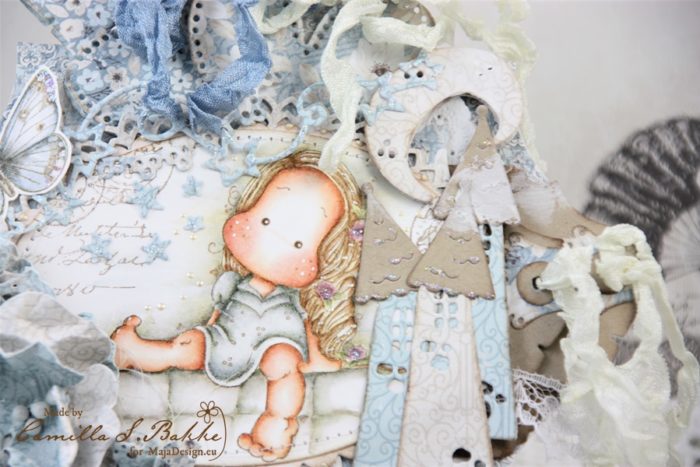
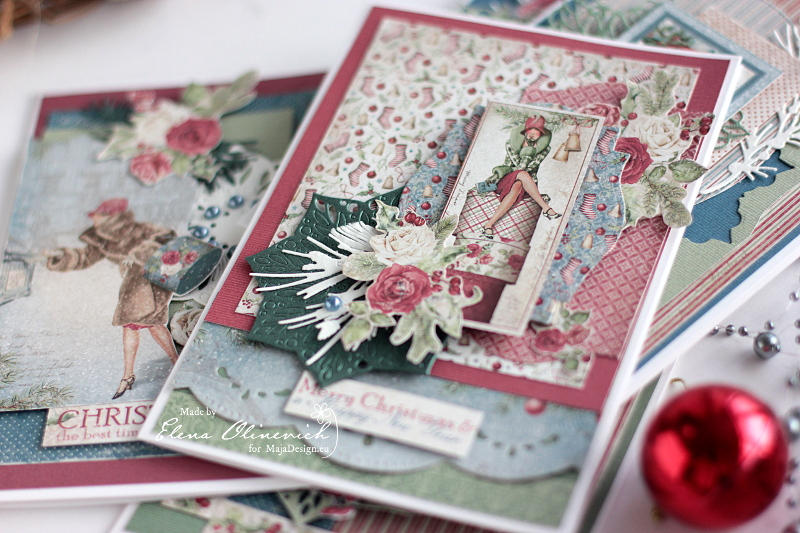
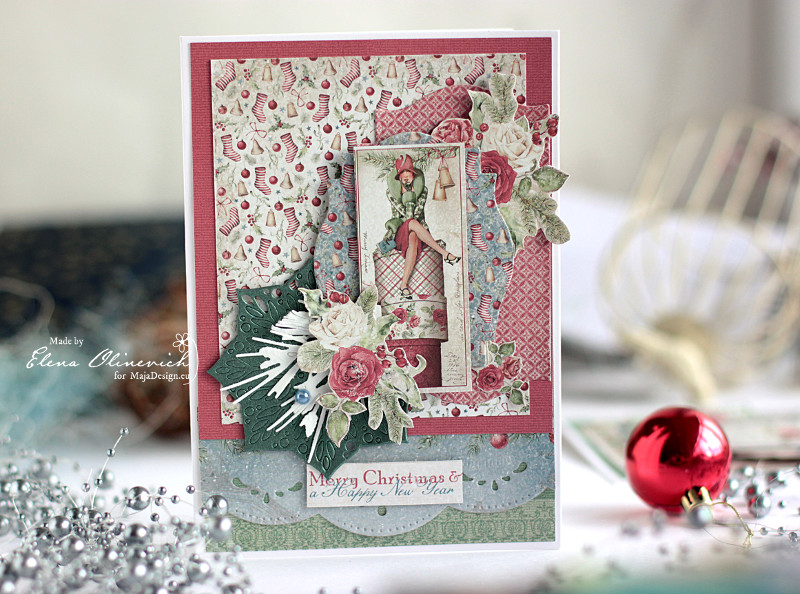
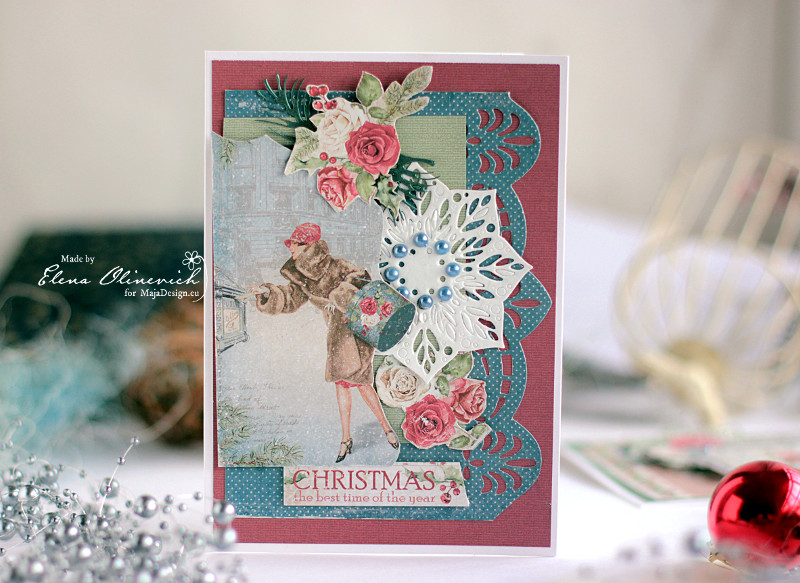
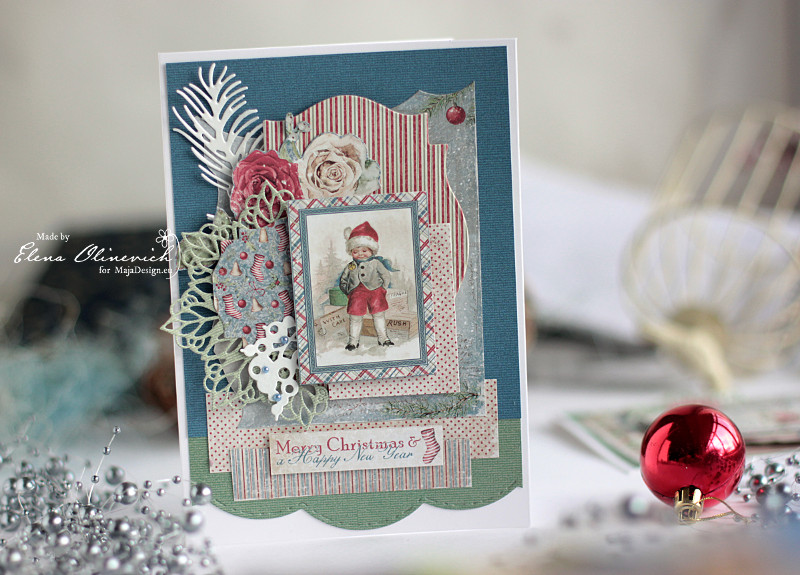
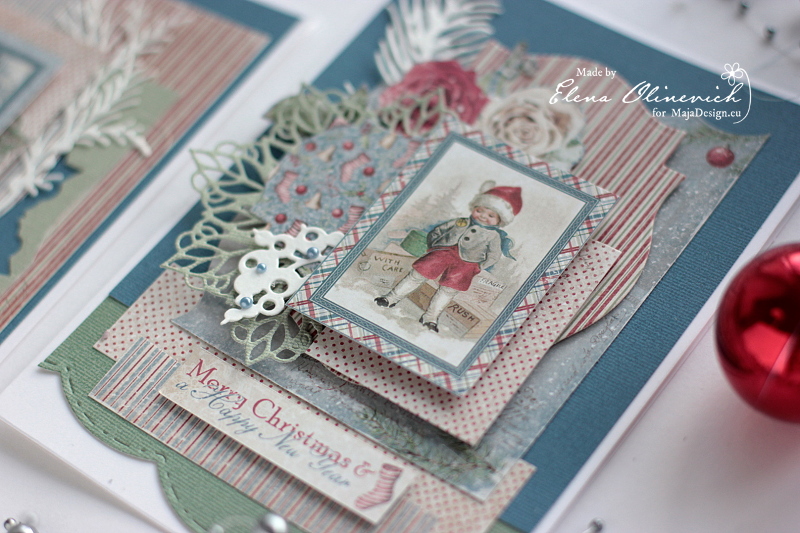
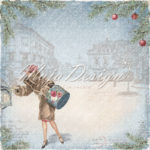
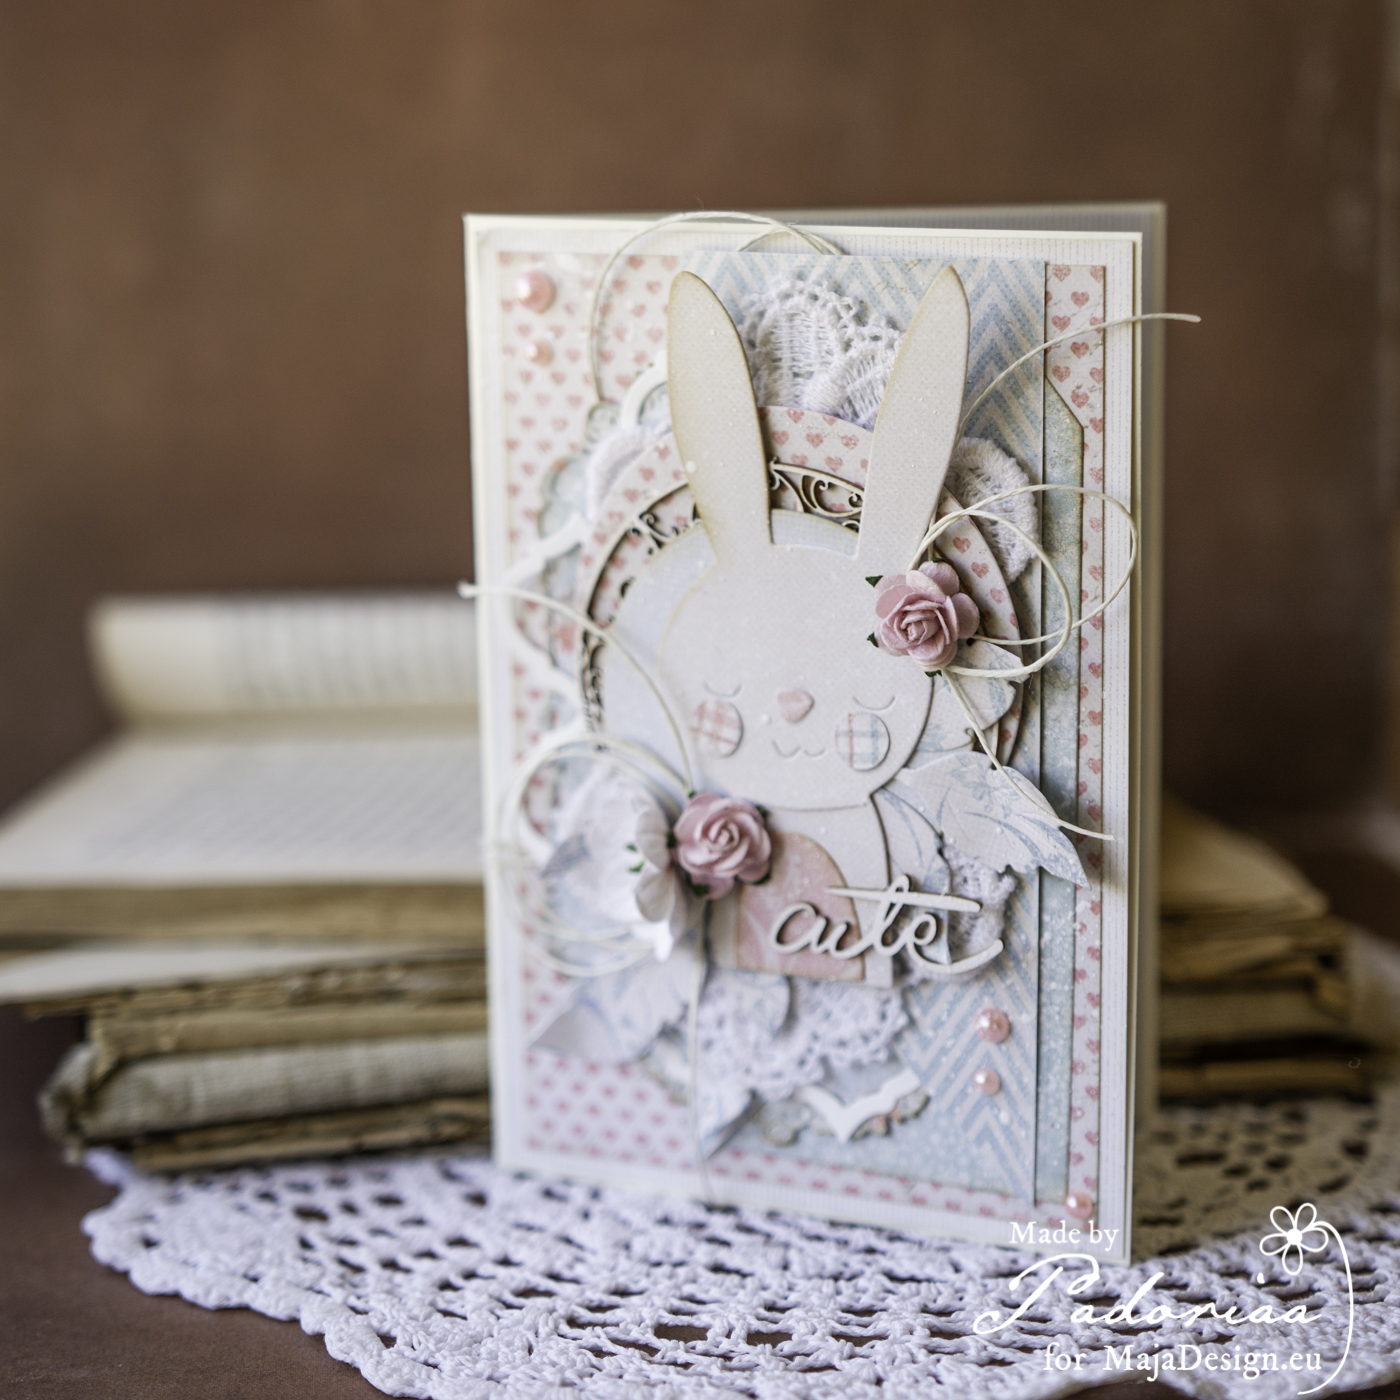
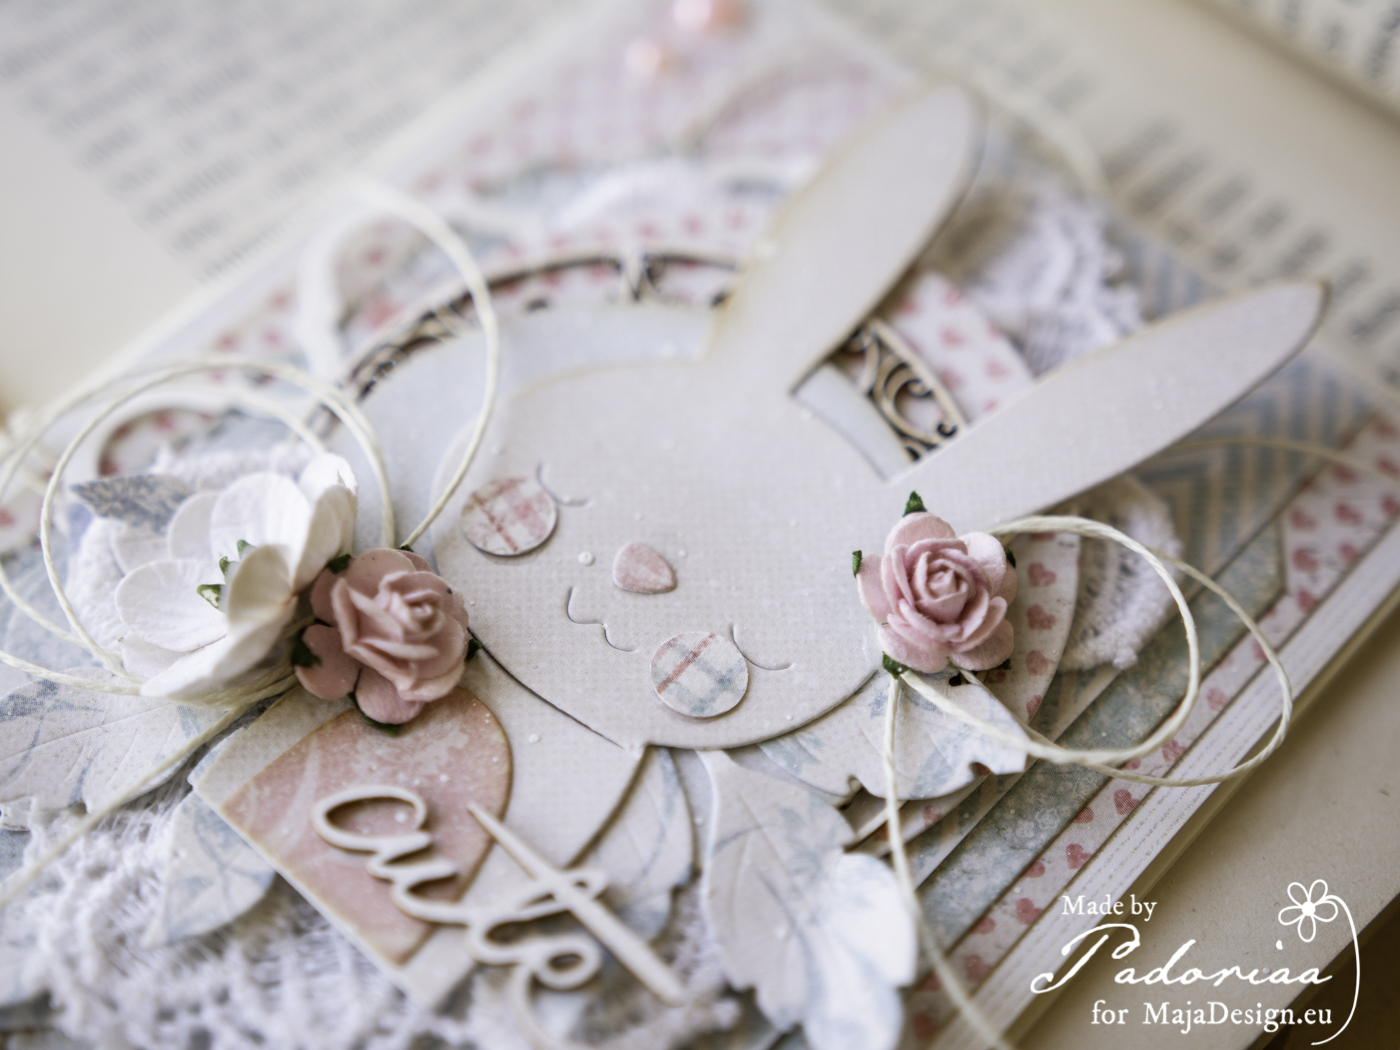
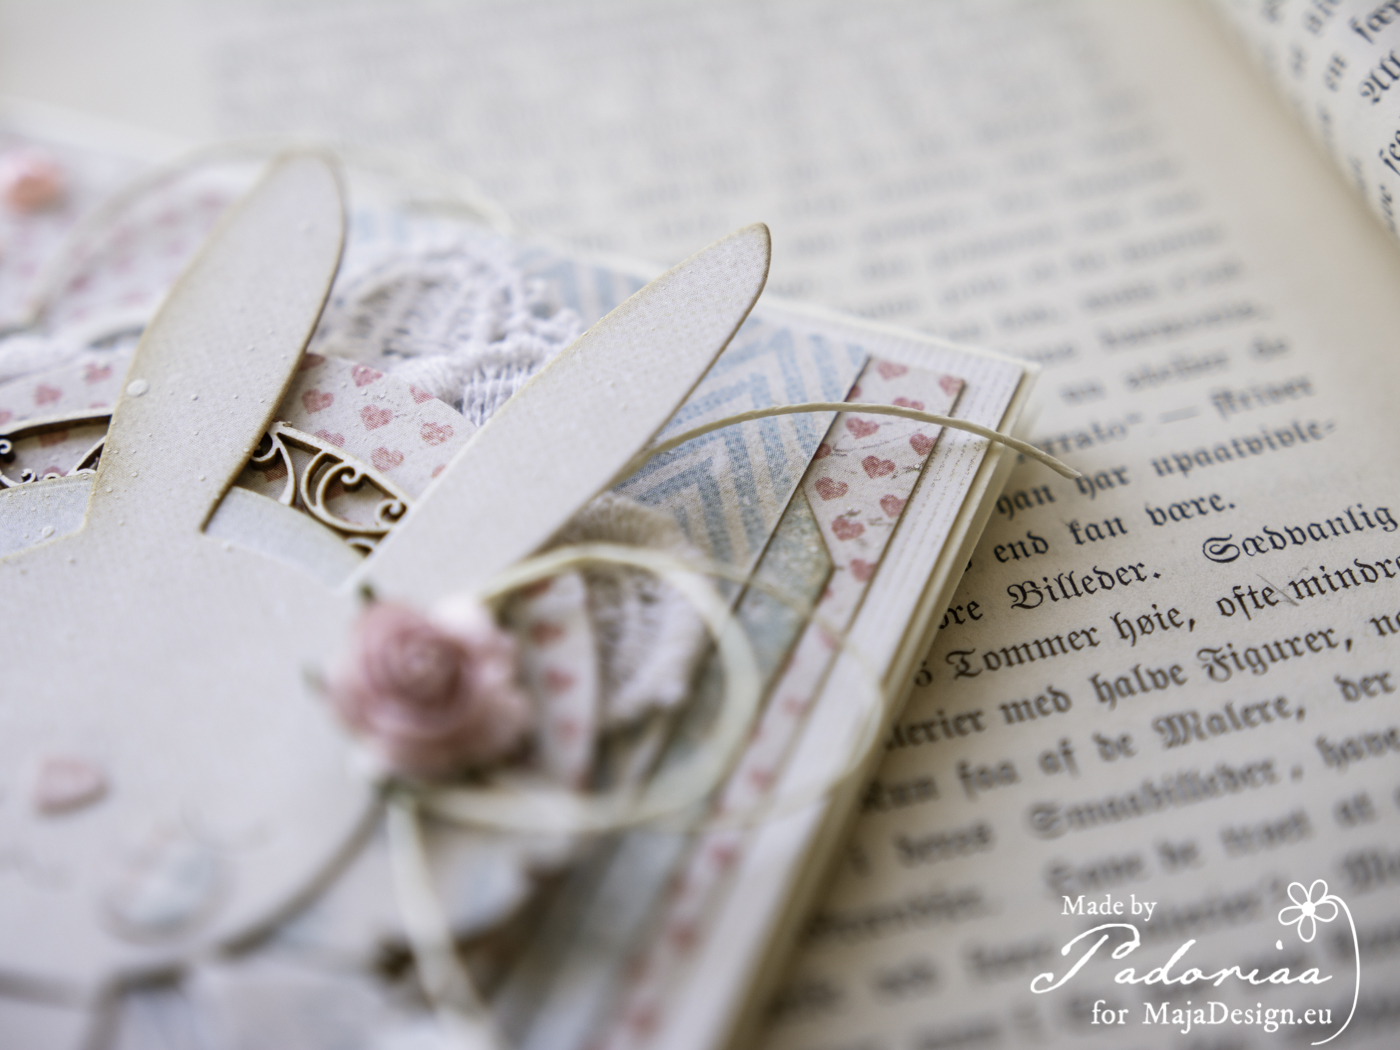
Well, no doubt I started making my cards with focusing on the beautiful ladies from this collection – really unusual for the Christmas theme and so feminine .

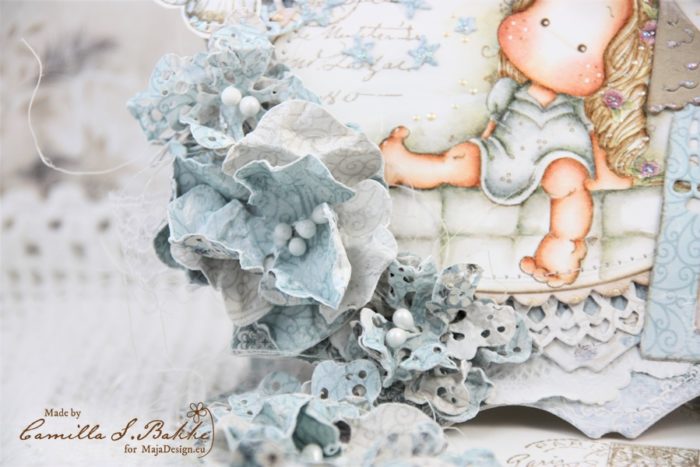
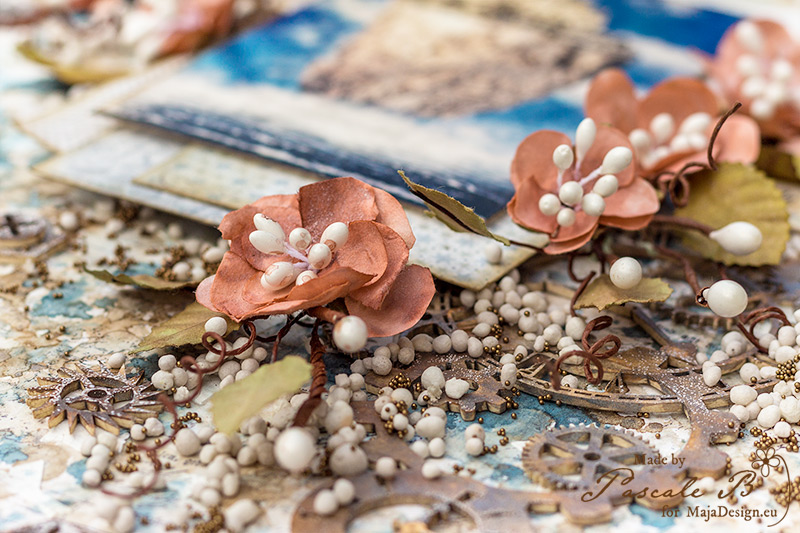
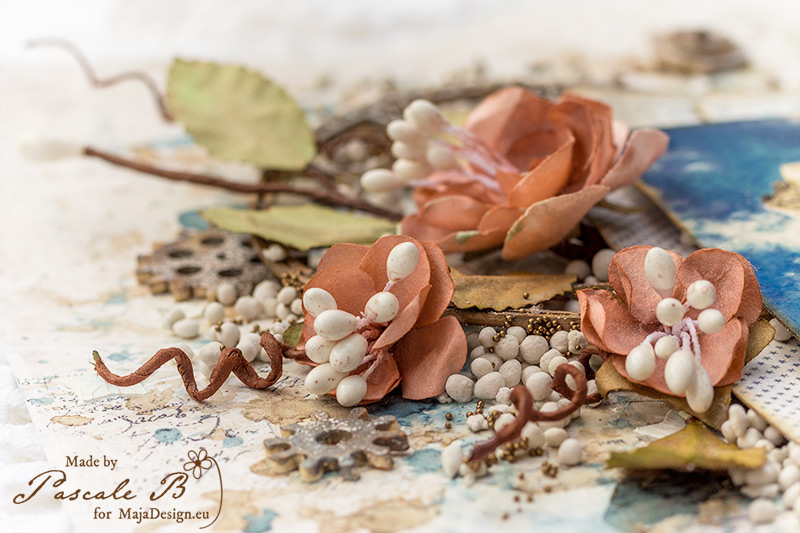
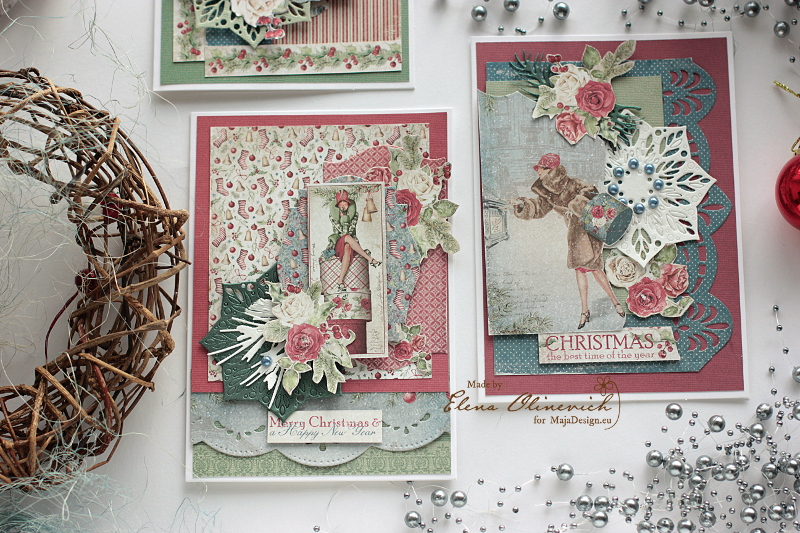
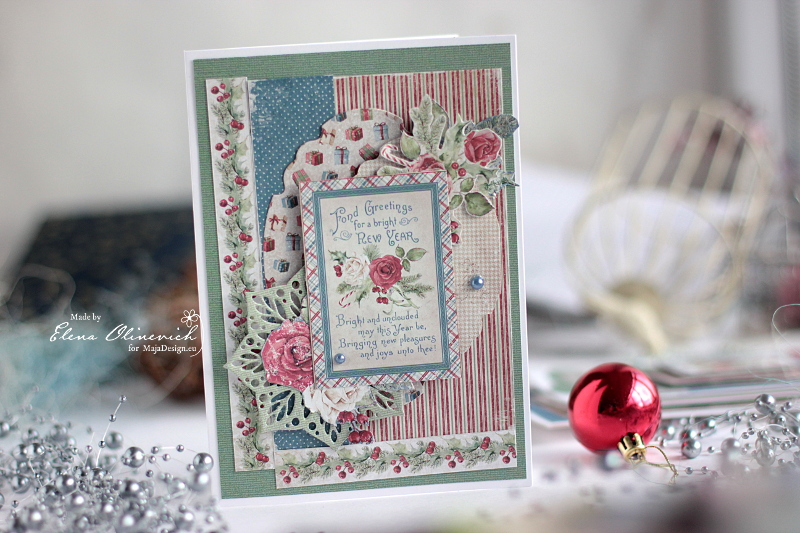
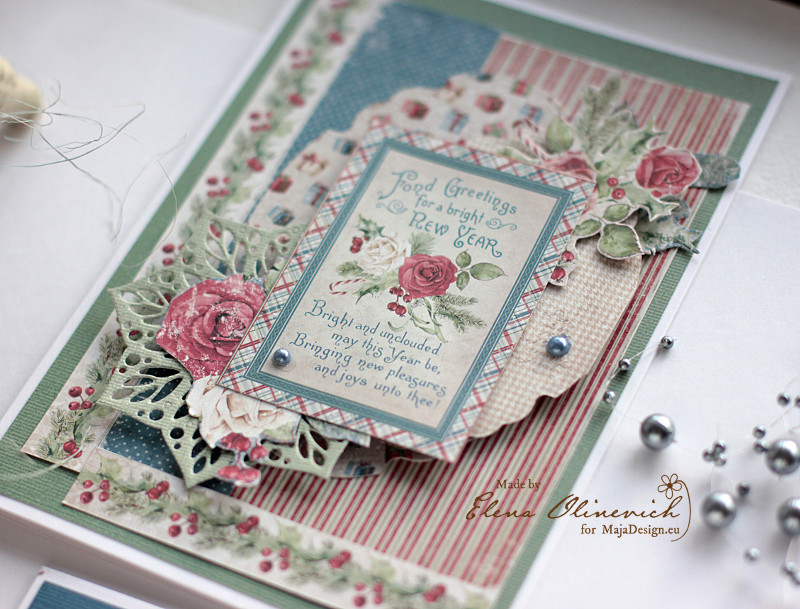
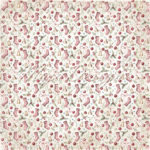
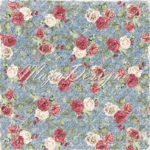
The florals – roses are also something nontraditional but look how it makes the cards to look wintery and festive at the same time

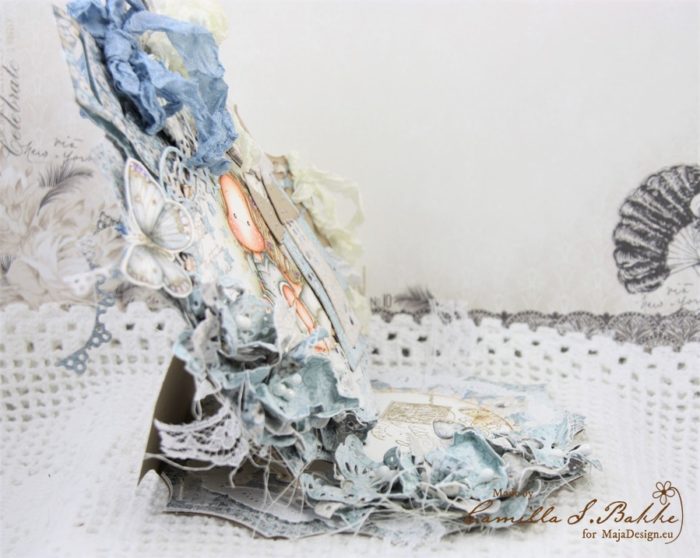
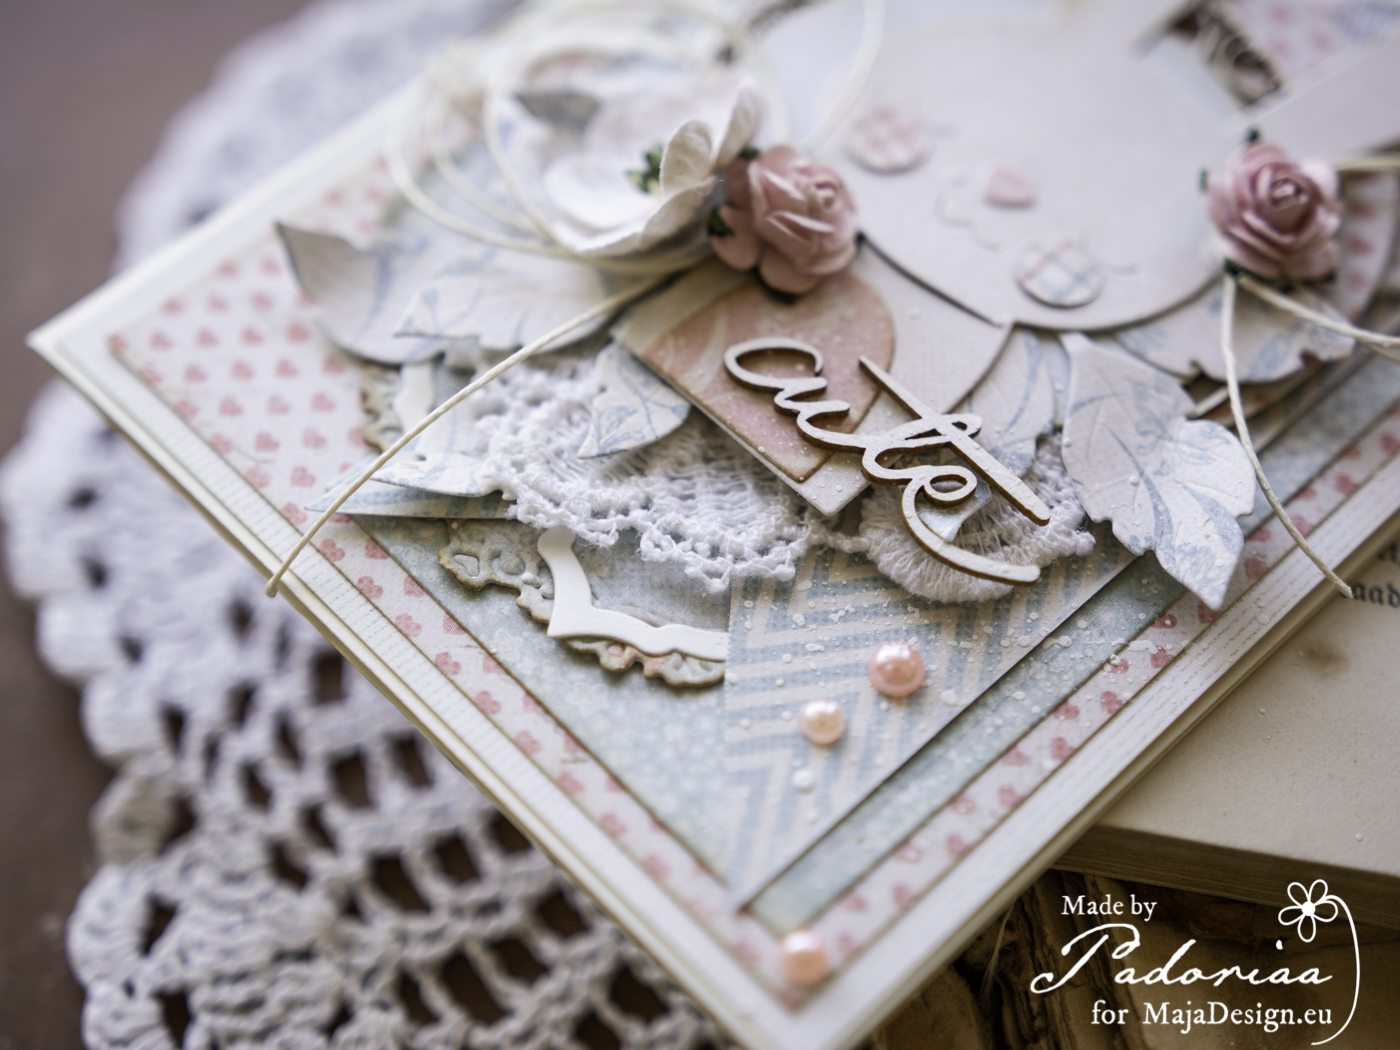
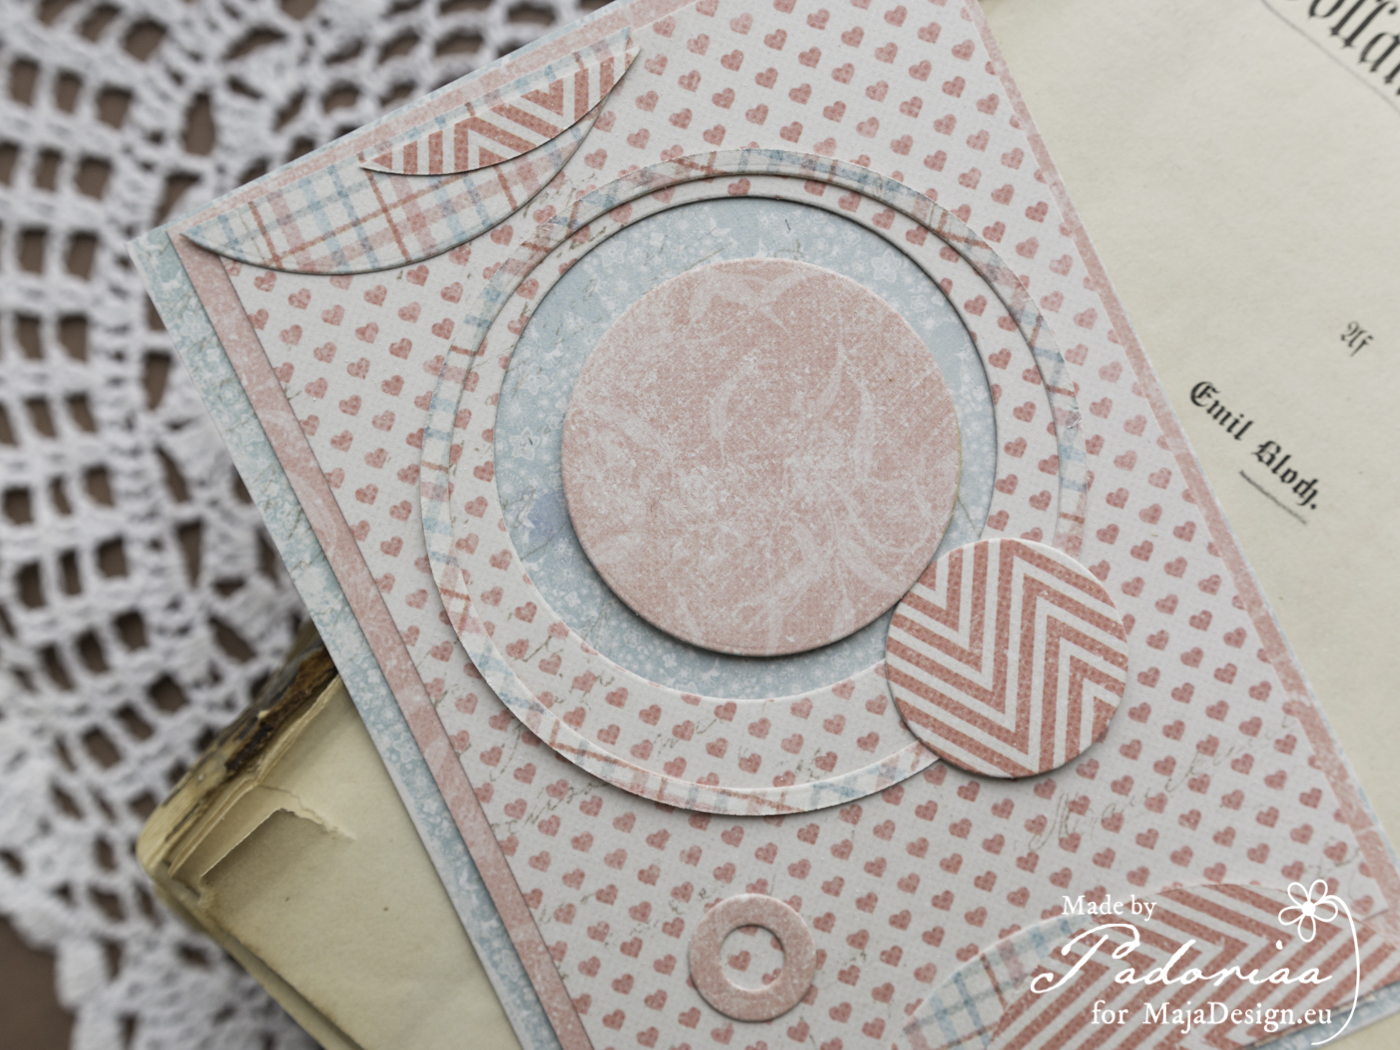
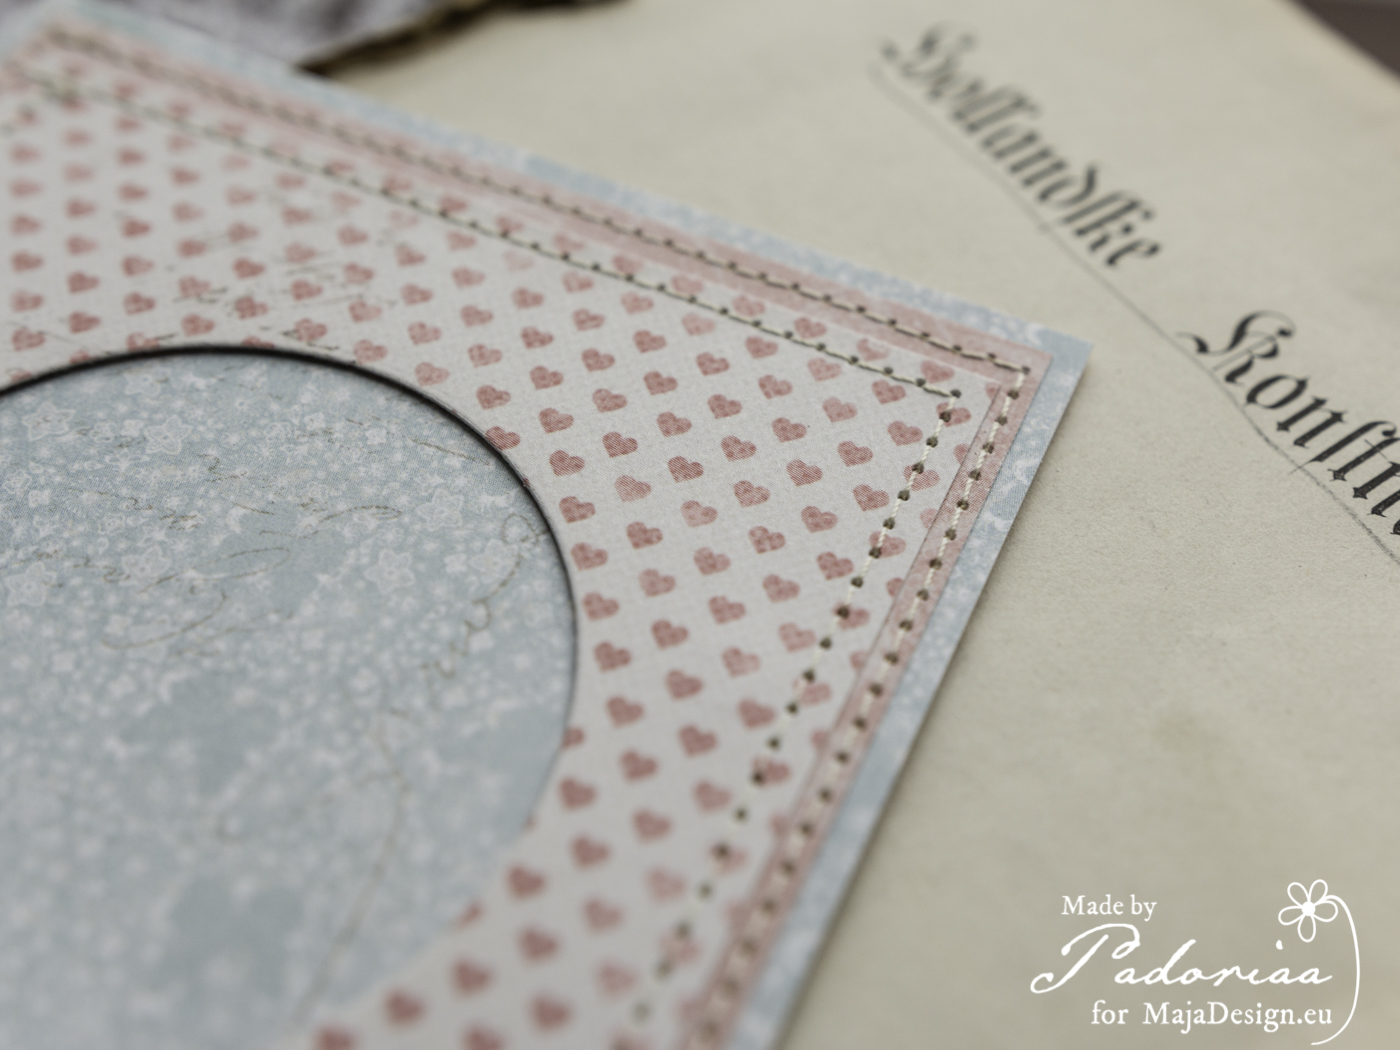
Except for the fussy cutting the roses and the Lady – this time I focused on creating the different background for my cards using almost the same papers I used fr the cards set as well as mixing the leftovers and negatives of the die cuts.

It was quite easy to do and you can check my video tutorial on how I made it here

http://https://youtu.be/vJuiEAmILCs

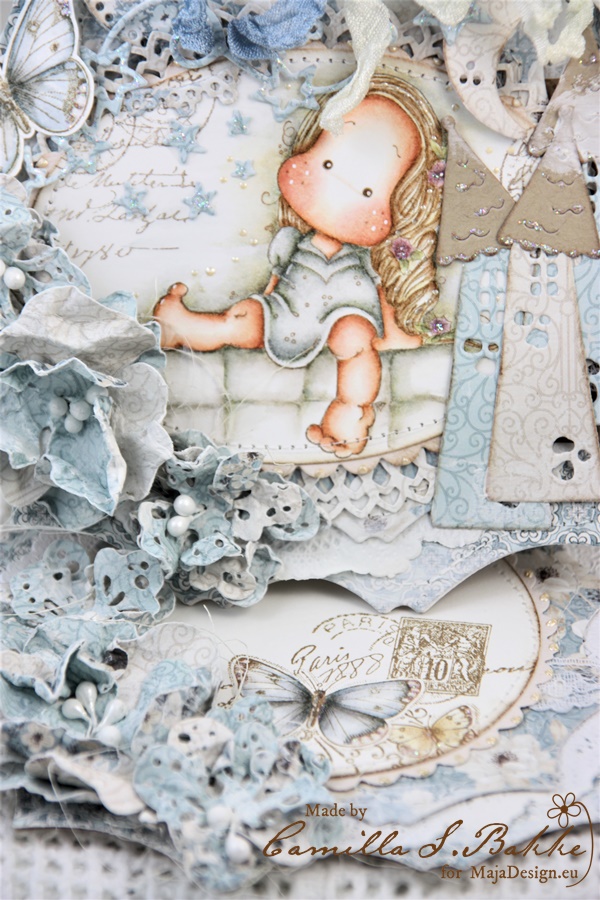
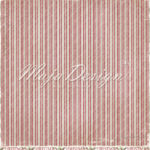
I used the papers from 12×12 and 6×6 paper pad, as well as added the Monochromes – Shades of Christmas, that match the patterned papers perfectly.

The images I used mostly from the smaller size of the paper, and for the fussy cutting I used the 12×12 paper sheets.

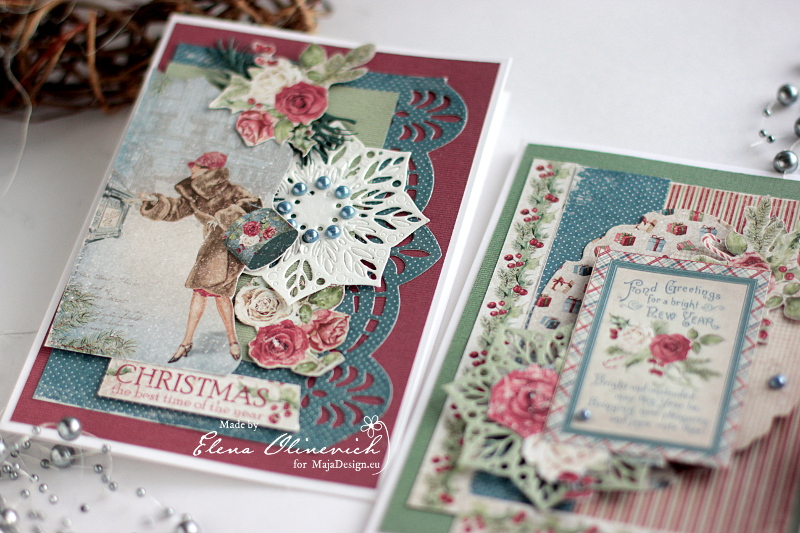
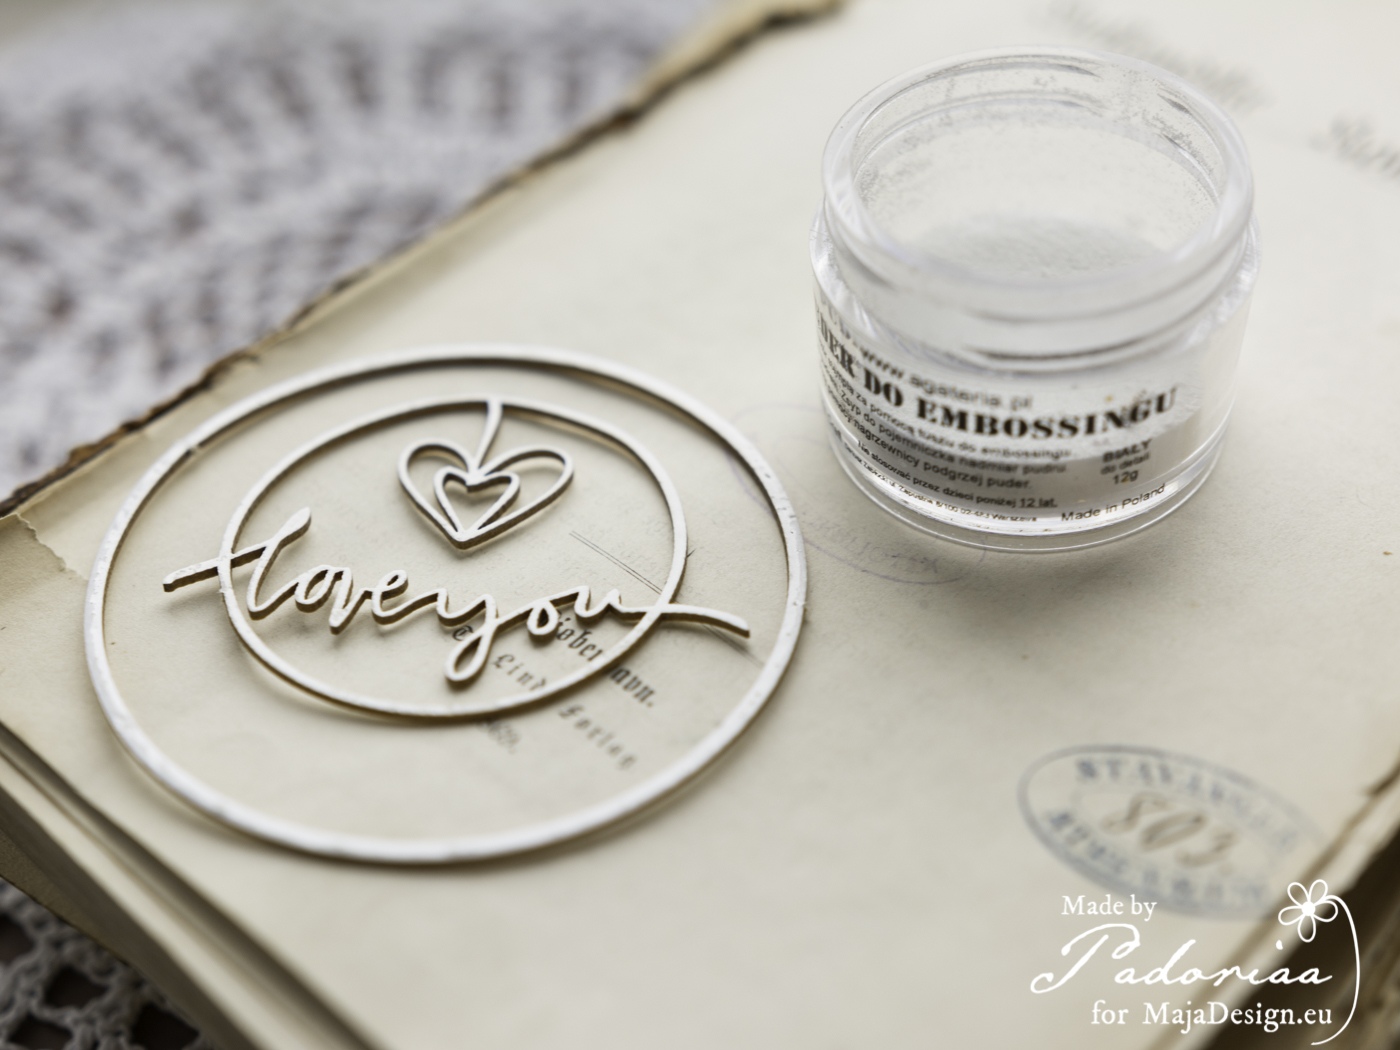
Recently I’ve started to use only paper embellishments for my cards  and it’s quite easy to make with Maja papers – all you need are the scissors and /or die cutting machine

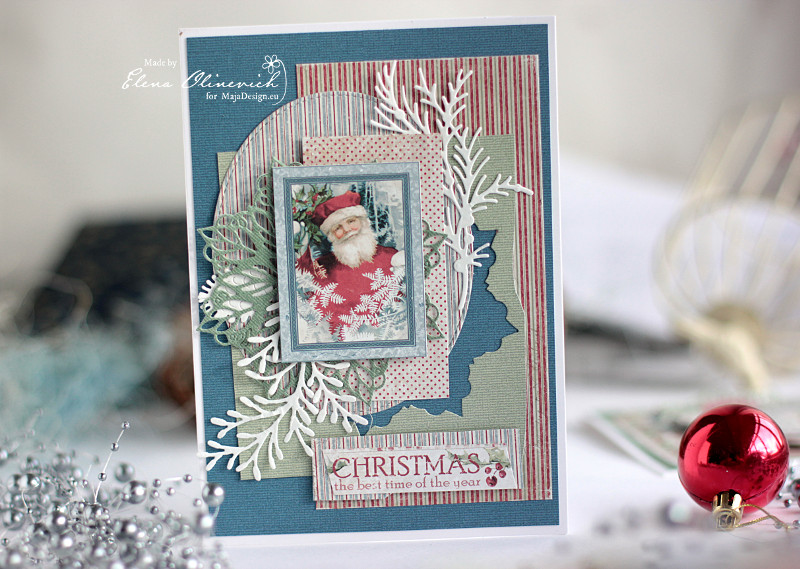
I also made “non-floral Christmas cards” too

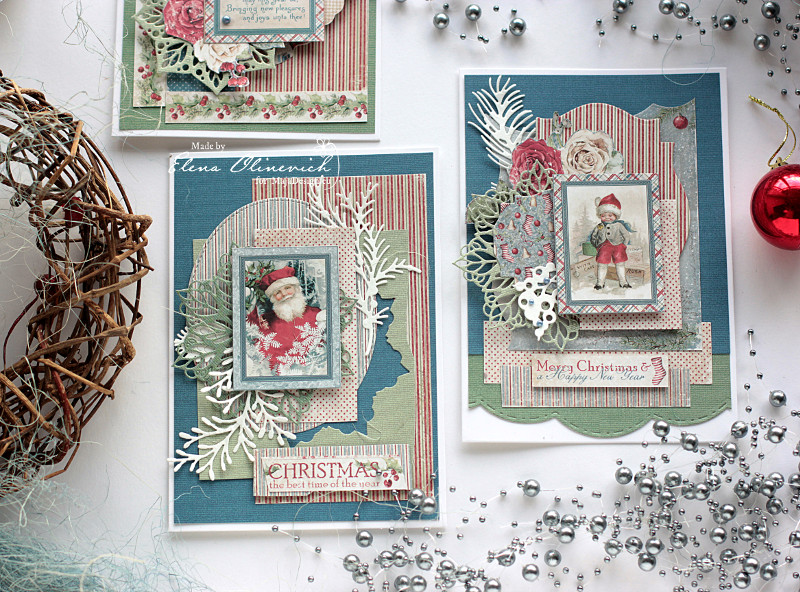
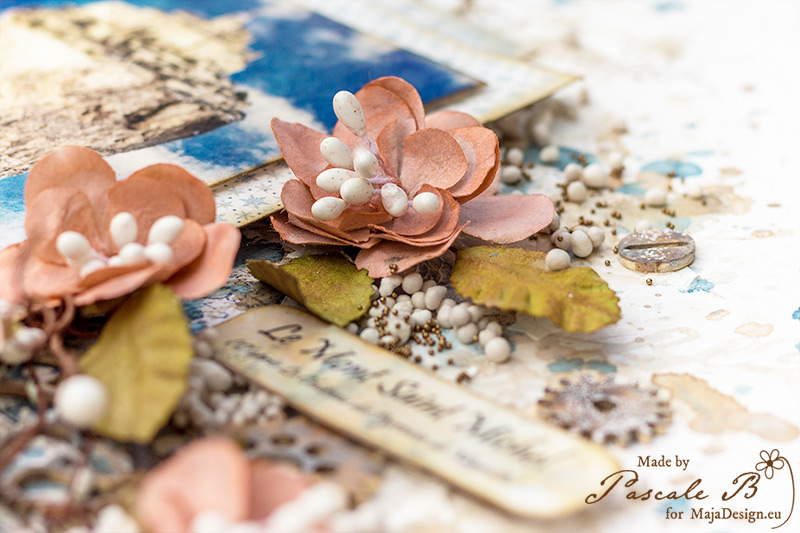
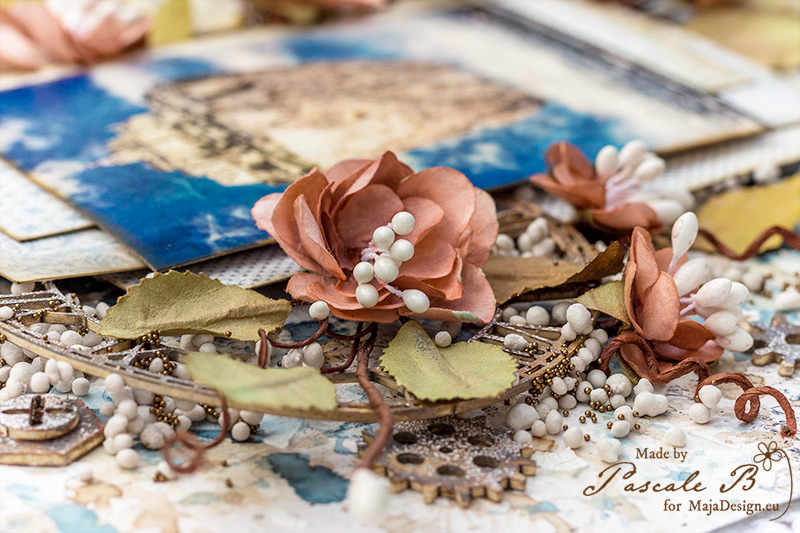
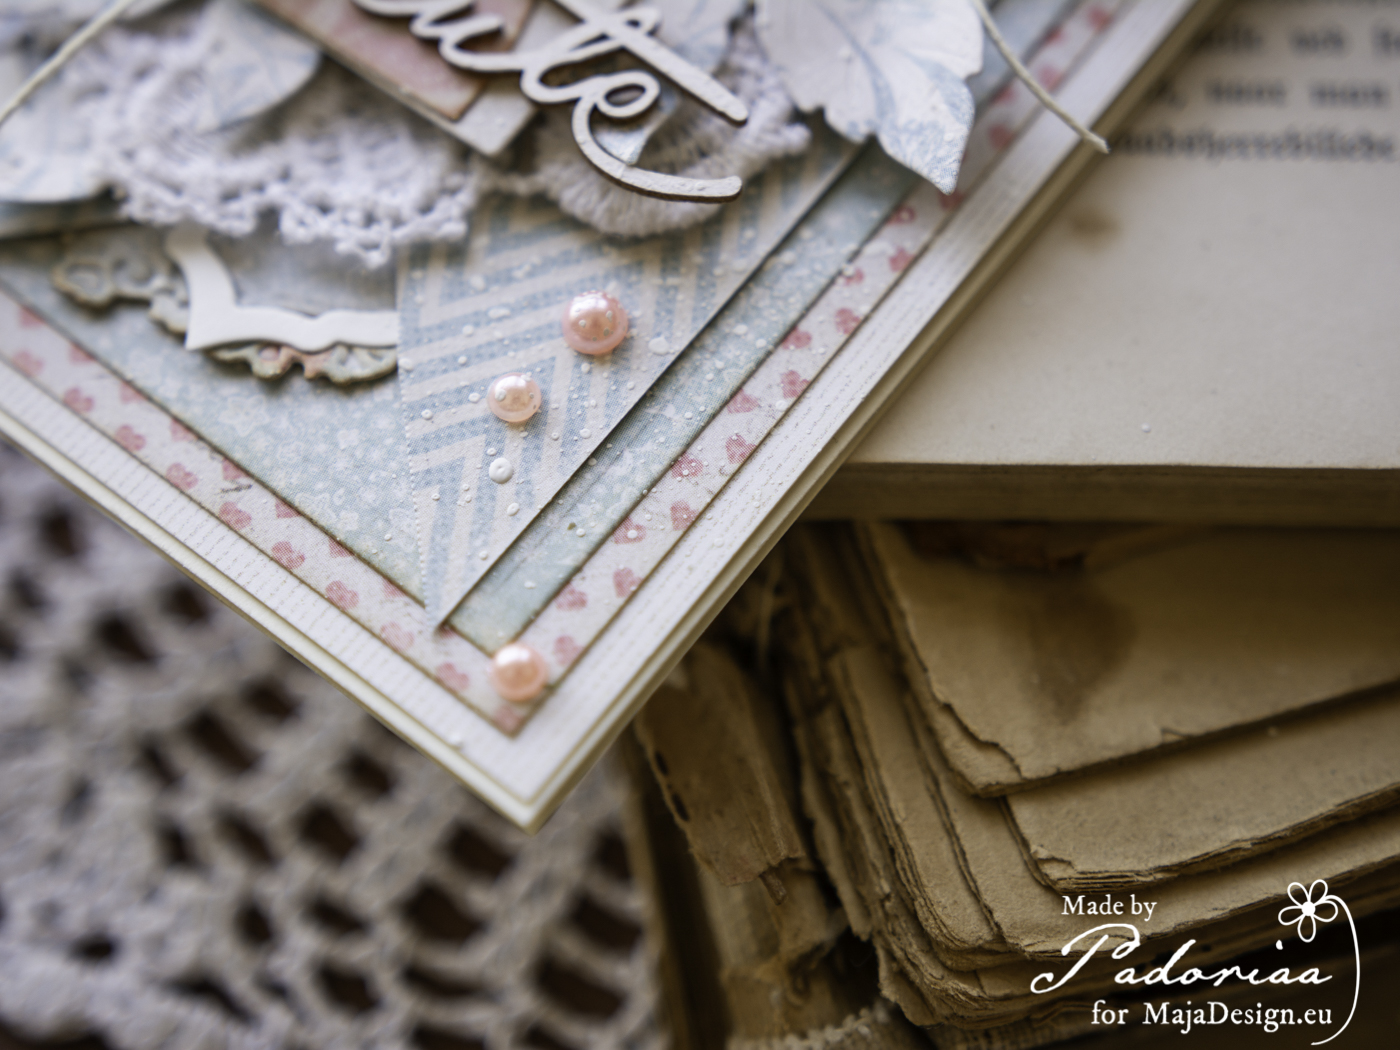
I always liked to used blue and white for my Christmas cards and I admit that traditional colors such as green, red are not boring for sure, but I like the cards to be of all colors . So what I love about Maja papers and their collections, especially for Christmas, is that everyone can find something of their own taste.

I’ve only added there a few cut out roses – but it still looks like for Christmas Season


Products used:

Christmas Season – 6×6 paper pad, Spellbinders dies, Fantasy Dies

Mini tutorial by Padoriaa

1

Posted by Paulina Monasterska-Tronina

27 May, 2018 - , ,

Write a comment


Hello our blog friends. Today I would like to show you my mini tutorial for a childish card. I bought one of the most popular metal dies from Sizzix (than’s Marta for you help ! ) and finally after a few weeks I managed to use it !

  1. I was looking for a pastel and sweet paper collection – Summer Crush was just perfect.
  2. I used some of my metal dies and cut the elements to use with my composition.
  3. Added some laces, flowers and created the base.
  4. Painted edges of the elements with Distress Vintage Photo ink.
  5. Put all elements together.
  6. Added flowers, chipboards, splashed my card with the white ink.

Hope you will like my inspiration. Hugs, Paulina

there is beauty in simplicity

1

Posted by Paulina Monasterska-Tronina

9 March, 2018 - , ,

Write a comment

Hello our blog fans. Today I would like to show totally different card. Easy to make and simple. Not all of us like to create projects full of layers, flowers etc. Some prefer simple projects. It doesn’t mean that they are boring – just take a look and let’s create something with me step by step.

  1. Find the chipboard and choose the papers – they need to fit together
  2. Use the white embossing powder to your chipboard
  3. Cut out all the elements from the paper, create the basic composition.
  4. Use the sewing machine and add a bit of elegance to your card.
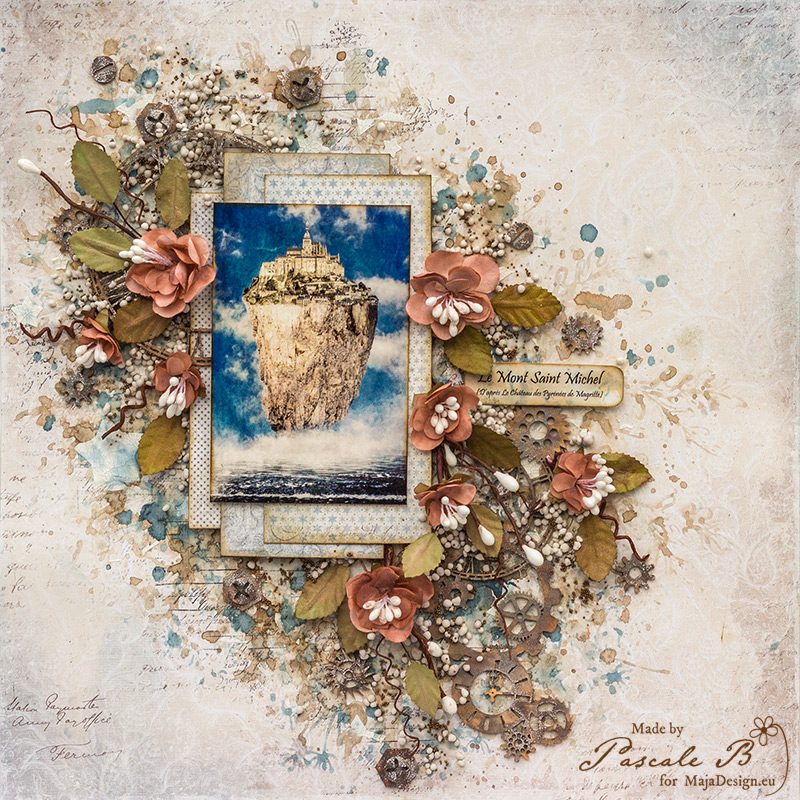
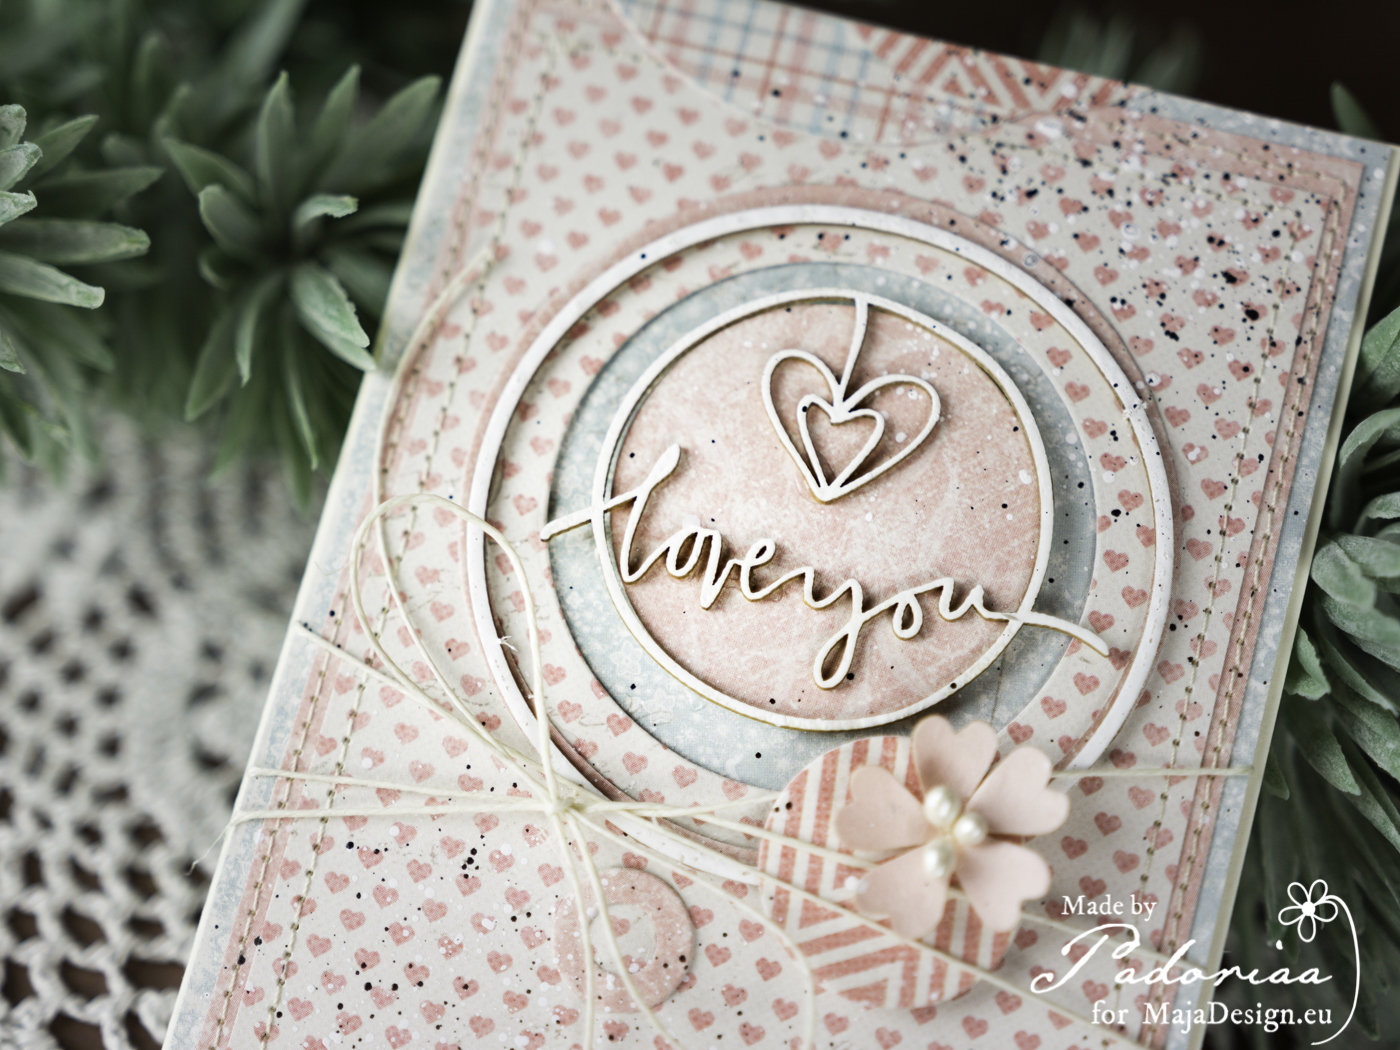
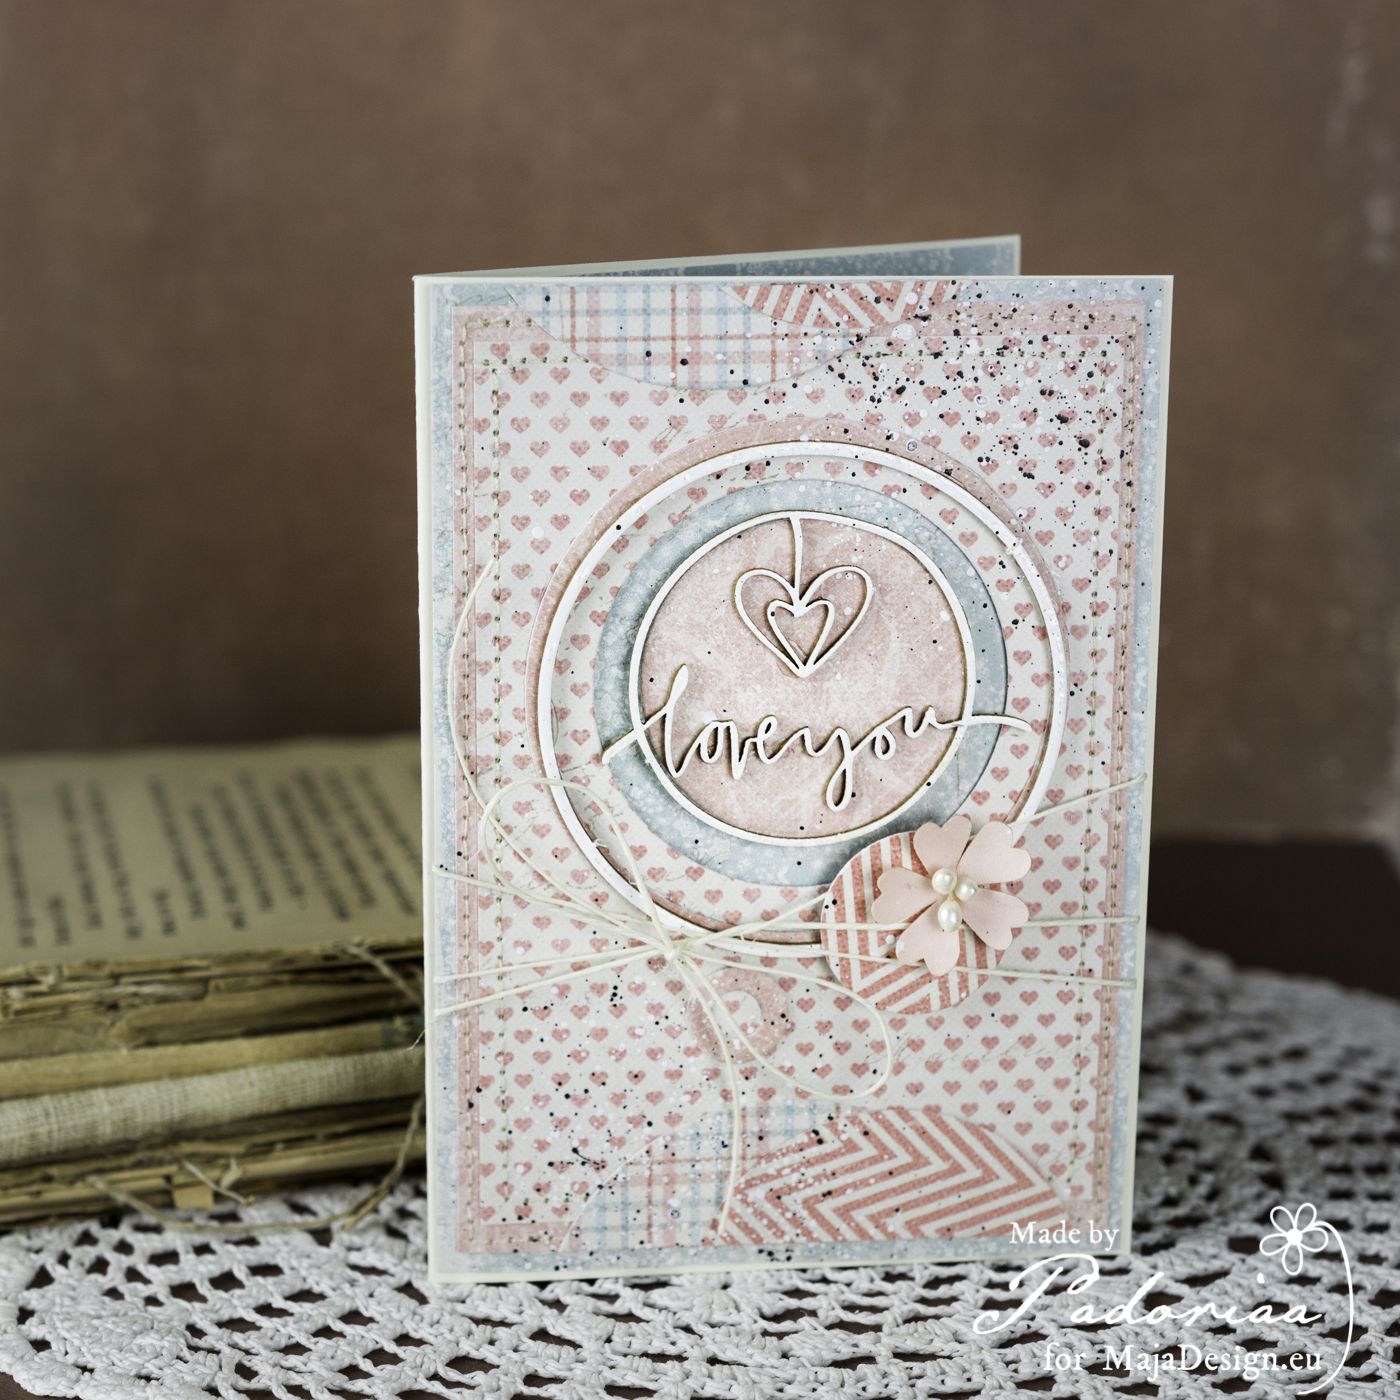
5. If you like – find a simple add ons. Glue everything together and then add some white and black splashes.
  5. You card is ready. Isn’t it lovely ? 
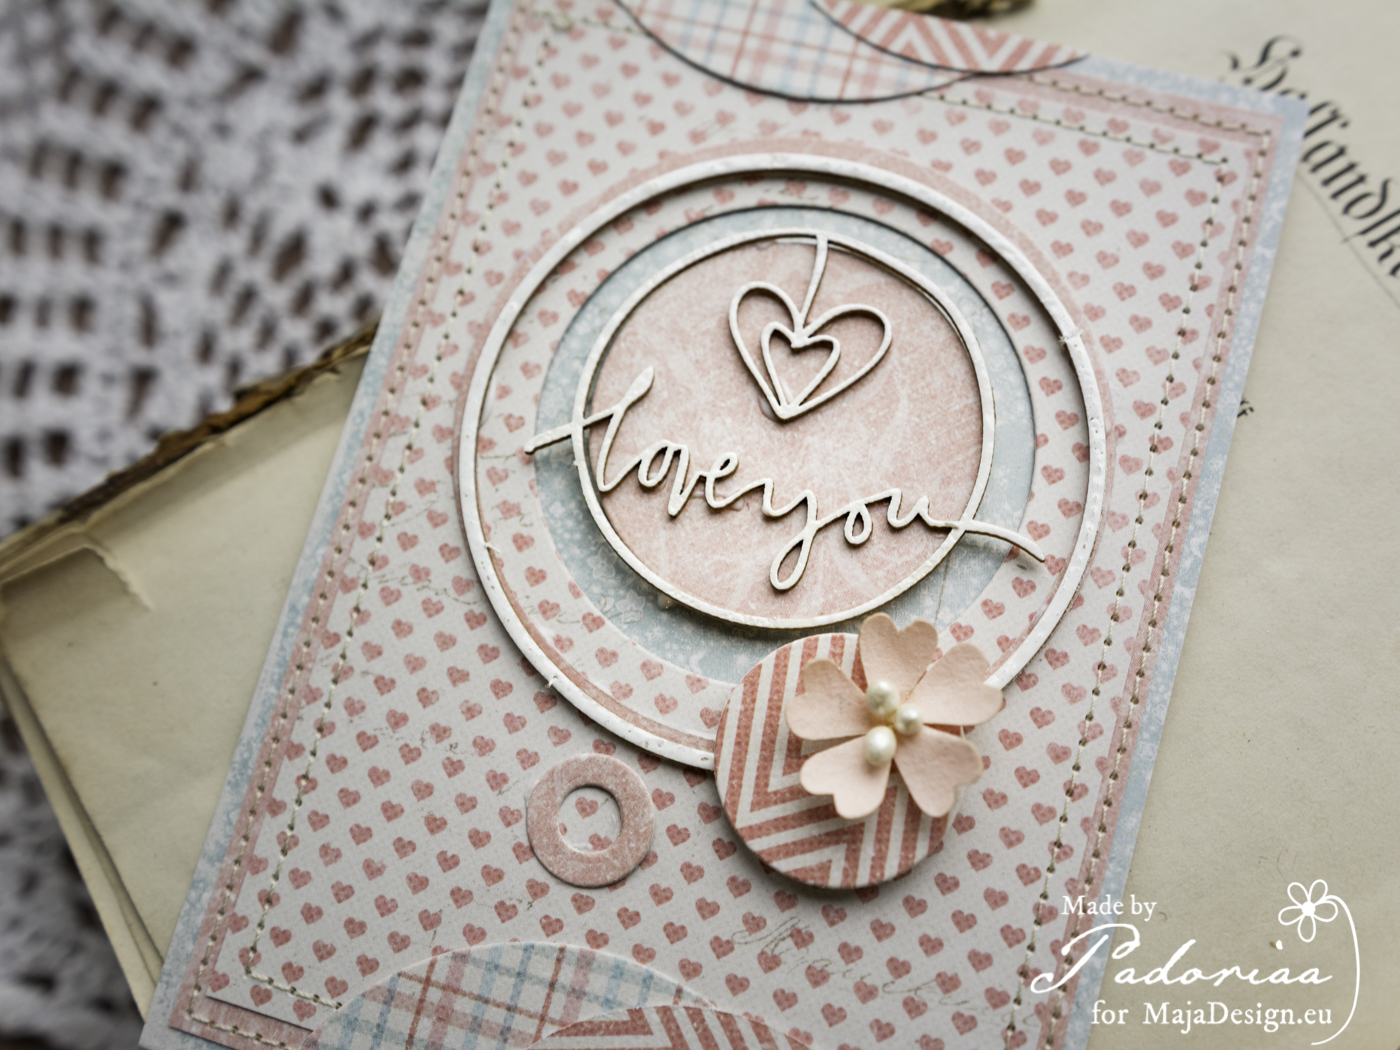
Hope you will like my today’s inspiration. If you have any question – do not hesitate ask. Used chipboard came from Scrapiniec . Have a lovely day, Paulina

New card with a step by step video!

3

Posted by Camilla Støen Bakke

4 February, 2018 - , ,

Write a comment

Hi there! Finally here is my post. I have often gotten the question of how I make my cards, and now I have made a video showing how I have made this. It is made with the gorgeous papers from the new Celebration collection.

Here is the video:

[youtube https://www.youtube.com/watch?v=0zcUrfFF16g?rel=0]

I have also taken some more picture of the card.

All the flowers are made with the Maja papers, I have shown you how in the video.

Another closeup. I just love the blue colours, together with the beige.

A cute moon and some castles under a starry sky. Perfect for a princess.

And it is an easel card, like this from the side.

The beautiful papers used:

Thank you so much for visiting the Maja blog!

With love,

Mont Saint Michel

2

Posted by Pascale B

26 January, 2018 - , ,

Write a comment

Hello Sweeties

Today I’m up on Maja Design blog with a new layout featuring the Joyous Winterdays collection. I chose to work with a photomontage I’ve made, inspired by The Castle of The Pyrénée by René Magritte. Oh, I forget to tell you that there is a step-by-step video showing you how I make this layout.

Mont Saint Michel by Pascale B.

I stamped randomly the background with two of my stamps Pascale’s Form and Pascale’s Grammar with a black Archival ink. Next, I primed the background with clear gesso.

Mont Saint Michel by Pascale B.

When dry, I used different stamps to add some color to the background with different inks. I finished with splatters of the same inks. When happy with the result, I added a design with a stencil and white crackle paste.

Mont Saint Michel by Pascale B.

While the paste was drying, I colored the Archival board with Magicals. Next, I sprinkled them with an embossing powder to add some interest.

Mont Saint Michel by Pascale B.

I colored the flowers with two inks: one peach, one vintage rose.

Mont Saint Michel by Pascale B.

I cut a few papers to add under the photo and I glue all the embellishments with a 3D gel. To finish the layout I added some Art Stone and microbeads.

Mont Saint Michel by Pascale B.

And here is the video link:

[youtube https://www.youtube.com/watch?v=2s-oy6QRhcQ]

Maja Design products:

Joyous Winterdays collection
Ephemera bs
Ephemera bs
Sparkle
Sparkle
Blizzard bs
Blizzard bs
949-Paper-pack-Joyous-Winterdays-w
6×6 pad

Pascale-sign