In the waiting room

1

Posted by Camilla Støen Bakke

16 October, 2019 -

Write a comment

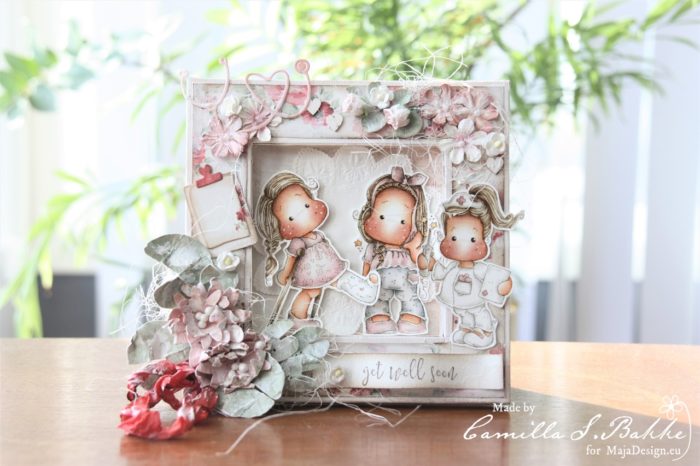
Hi everyone! I am back after some problems with my computer, but now it is fixed and as good as it gets. I made two cards with the gorgeous (and maybe my favorite collection) Summertime papers.  I just love the red and pink papers, so beautiful!

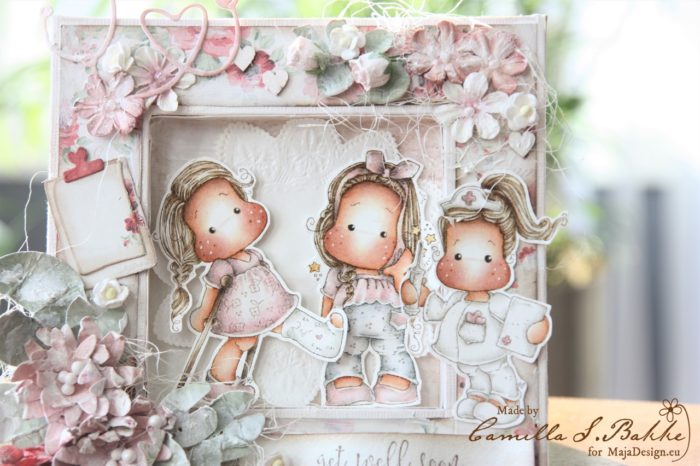
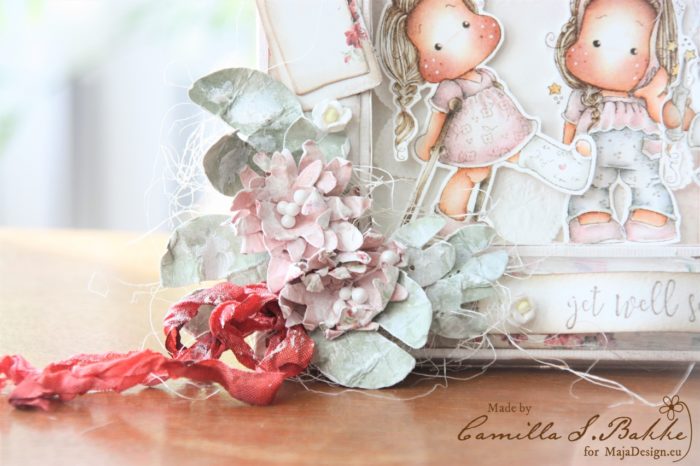
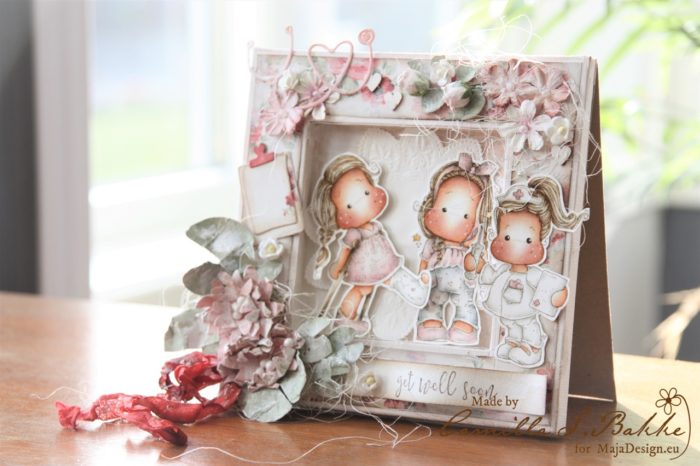
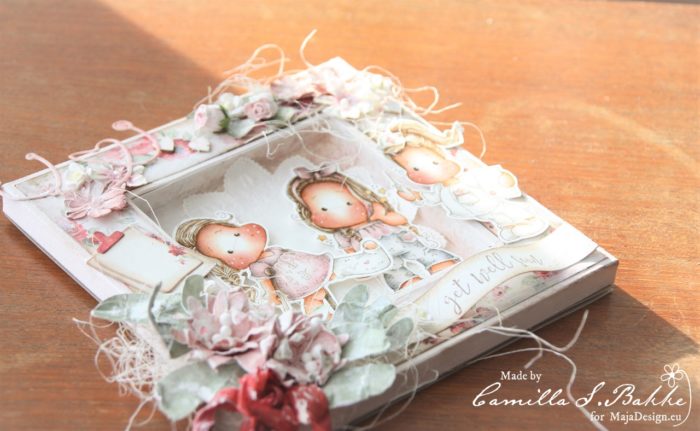
This card is a frame card, where I have made a frame, and put it on a card. I have used Malins tutorial. But I have started with a Bazzill Vanilla papers measuring 19 x 19 cm. Then scored it twice at one cm. The “frame” is measuring 3 cm. You will get this when you look at Malins tutorial 😉 The middle of the frame is measuring 9 x 9 cm.

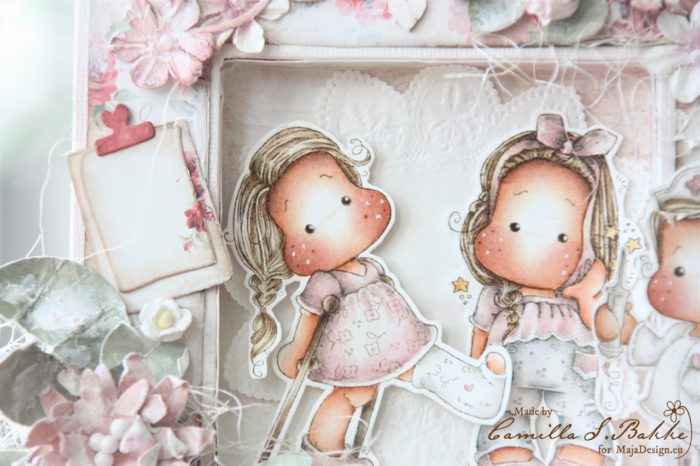
As you can see we are at the doctors waiting room. Maybe you have had a toothache so bad that you went to the doctor as Tilda here has? Or is it the hospital? Anyway the nurse is ready to help them both 🙂

The flowers (Waterlilies) are also made with the lovely papers from the Summertime Collection. The images, dies and text are from Magnolia.

I have coloured the images with Distress Ink, re-inkers and Markers.

Thank you so much for visiting the Maja blog today!

With love,

Autumn card

1

Posted by Kavi Tha

14 October, 2019 - ,

Write a comment

Hello Friends,

Kavitha here,today i  share a autumn card using gorgeous “Walking in the forest” collection.I love the warm tones of  this collection which is perfect for making fall theme projects.As always i used lots of elements like die cuts,chipboards,fussy cut elements and lots of flwoers to build my layers and added lots of details.

Paper used:

Walking-in-the-forest-P

Thank you for stopping by.

Happy crafting

Welcome Baby Shaker Card

3

Posted by Maja Nowak

10 October, 2019 - , , ,

Write a comment

Good morning, dear Maja Fans, welcome to the blog today 🙂

I really love the look of shaker box projects. They offer some dimension and fun elements and are simply interesting to look (and play!). But I seldom make shaker box cards. And when I decided to make a welcome baby shaker card, I was quickly reminded why.
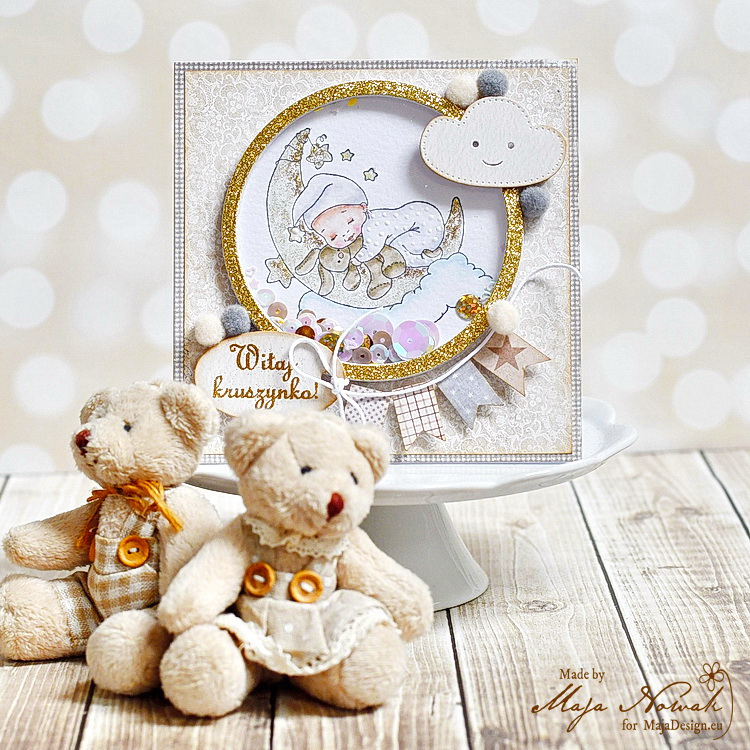
First of all, it’s easy to make shakers with square or rectangular shapes, but not so easy with other, even as basic as the circle. The capsule must be sealed tight so that the contents of the shaker do not fall out. I made many of shakers using adhesive foam squares, but with round shapes they might still leave tiny gaps, so I decided to die-cut round frames and stack them up to make the shaker box, thinking it would save me some time. Boy, was I wrong! To make a 0,5 cm high frame I had to die cut 8 pieces and then glue them one by one together. By the fourth layer the frame started to get crooked no matter how precise I tried to be! The frame is pretty thin, so that was the problem. But finally I managed to create a more or less even frame.
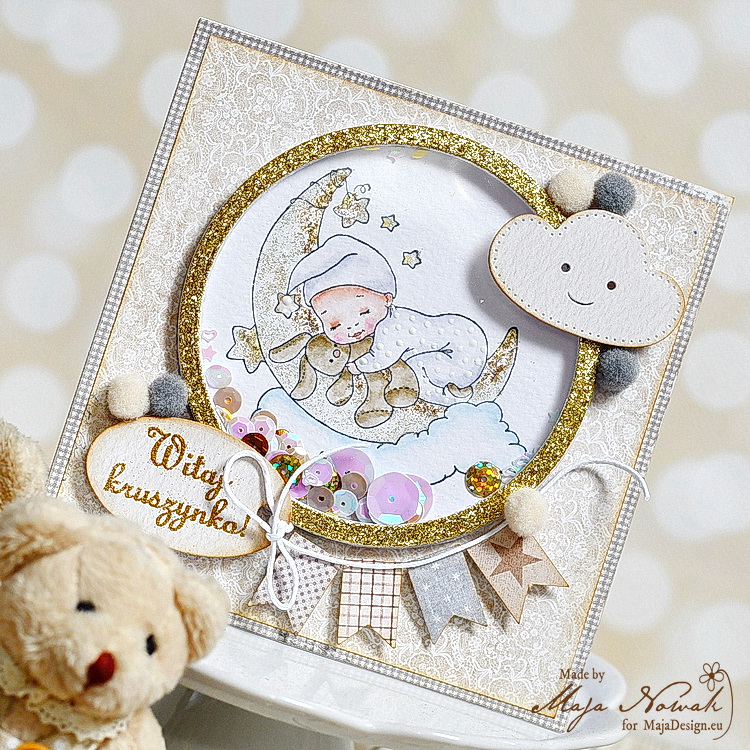
The next problem appeared with the window. I use thick laminating foil for my shakers and with smaller elements I never had any problems, but with this pretty large window the sequins I put in were jumping out or clinging to the foil due to the static electricity. I used soem anti-static spray to deal with it, some also use anti-static powders or pads that are designed for embossing. Finally I was able to assemble my card 🙂
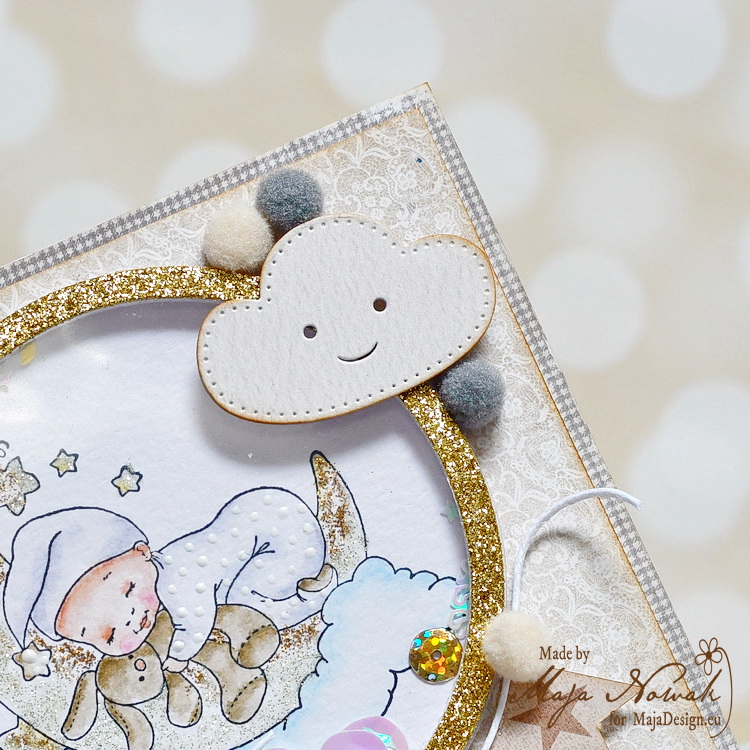
I kept the design very simple so that the shaker remains the main focus. I only added some more die-cuts and a couple of pom-poms to decorate the frame and added a stamped and embossed sentiment.
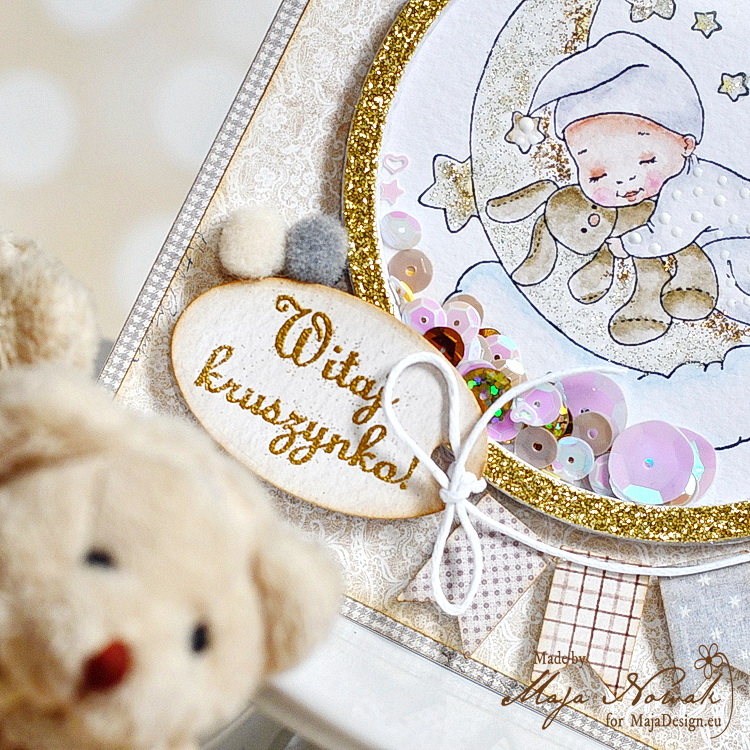
The image inside the shaker is coloured with Kuretake Twin markers. I accented the details with glitters to get an ombre effect on the moon:
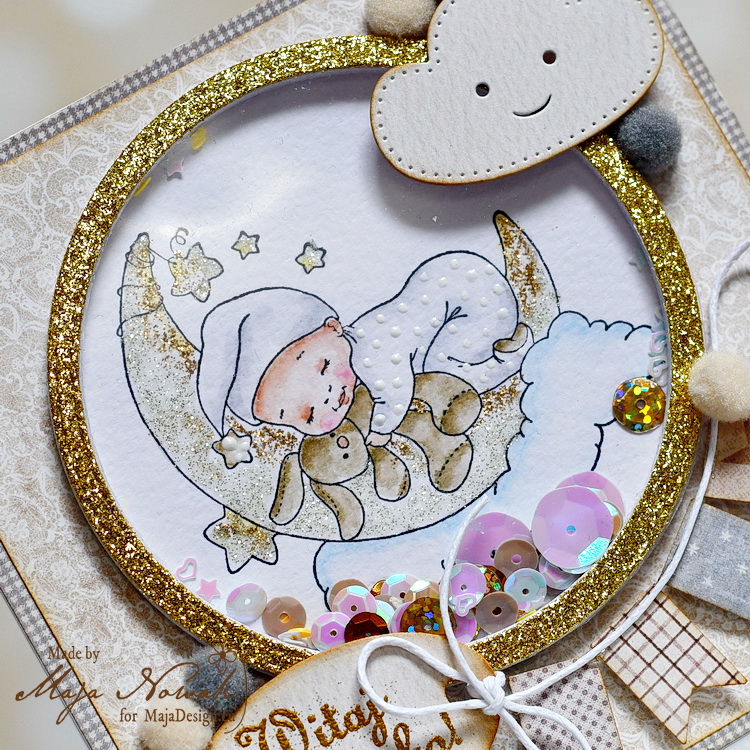
It wasn’t easy, it wasn’t quick, but I still like the result. Do you? 🙂

The list of supplies:

Maja Design papers:

Other: stamps: Whimsy Stamps, Lemonade; dies: CreaLies, ScrapMan; pom-poms, glitter cardstock: my stash.

Do you make shaker box projects?

That’s all for today, thank you for visiting and drop by tomorrow!

For The Boys

1

Posted by Maja Nowak

24 September, 2019 - , ,

Write a comment

Good morning, dear Maja Friends, welcome to the blog today 🙂

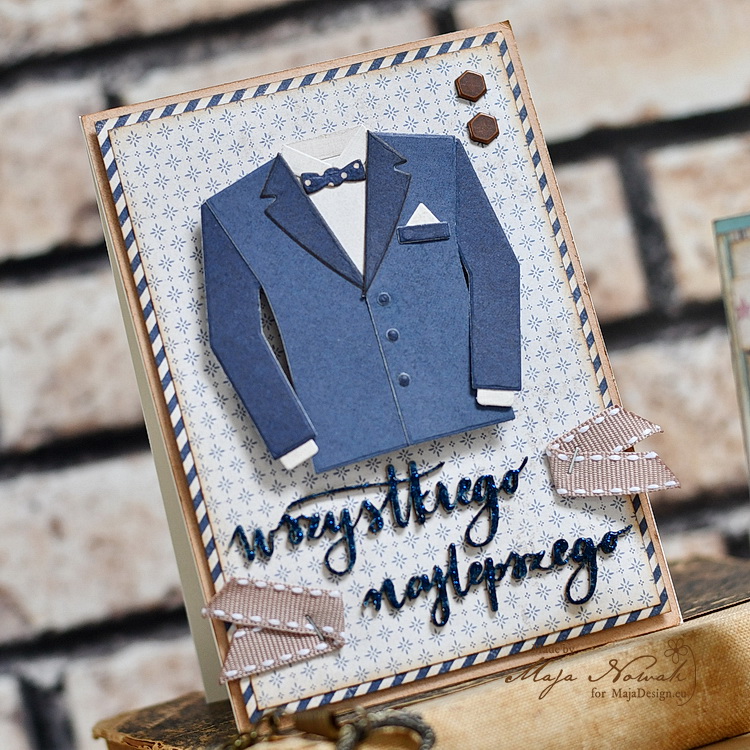
Ah, masculine projects! Who finds them easy to make? Even being the only woman in the house doesn’t make me any smarter. But luckily Maja Design has one of the best masculine papers and therefore Deim&Friends is my all-time favourite 🙂 And since we are going to celebrate Boy’s Day soon (in Poland it’s on September 30th), I decided to make some masculine cards.
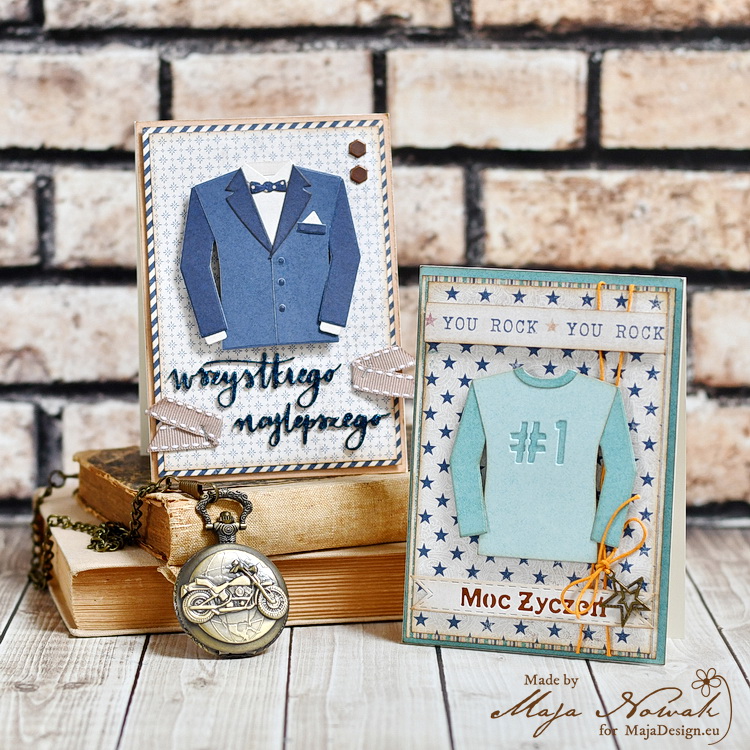
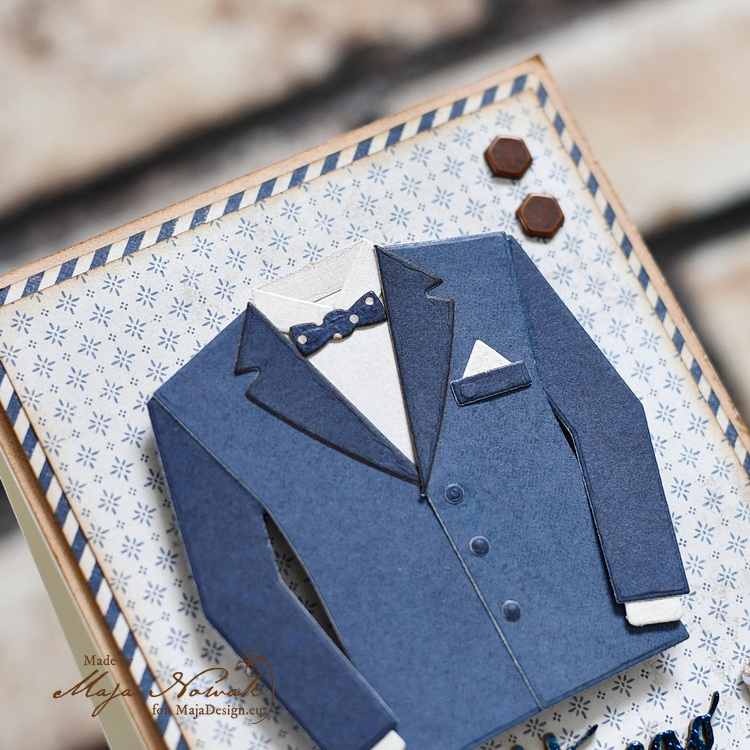
I was inspired by the Snapshots paper from the collection, in which you can see the torsos, but not the faces – and having a men’s outfits dies in my collection, I thought it would be fun to follow the pattern 🙂 And it was, really, a great fun to put pieces together like in the old days of making paper dolls!

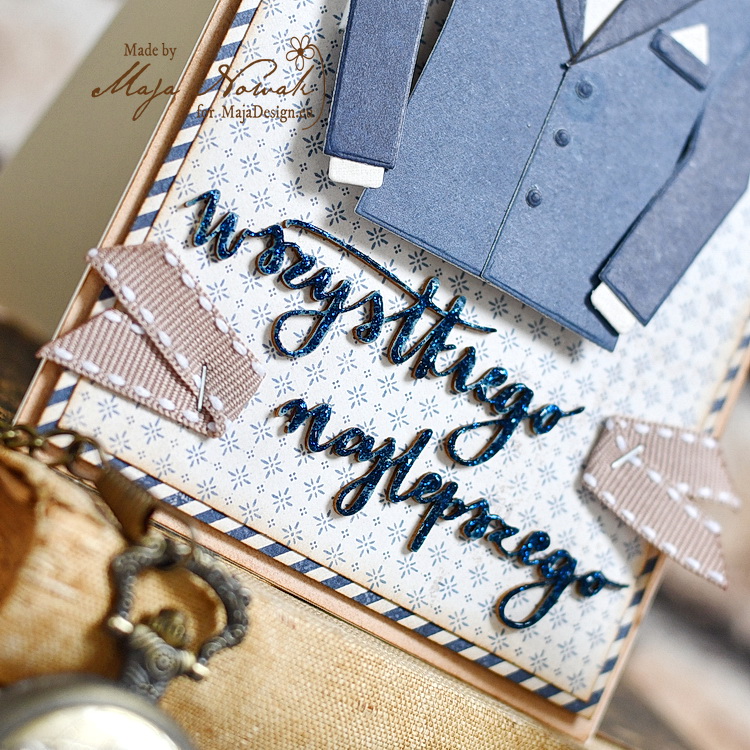
The first card is more elegant and would be perfect for birthday or graduation. I assembled a suit with a shirt and bowtie and placed it upon the background that reminds me of a pattern on my husband’s silk scarf. Then I added some glam with midnight blue glitter on the chipboard sentiment:

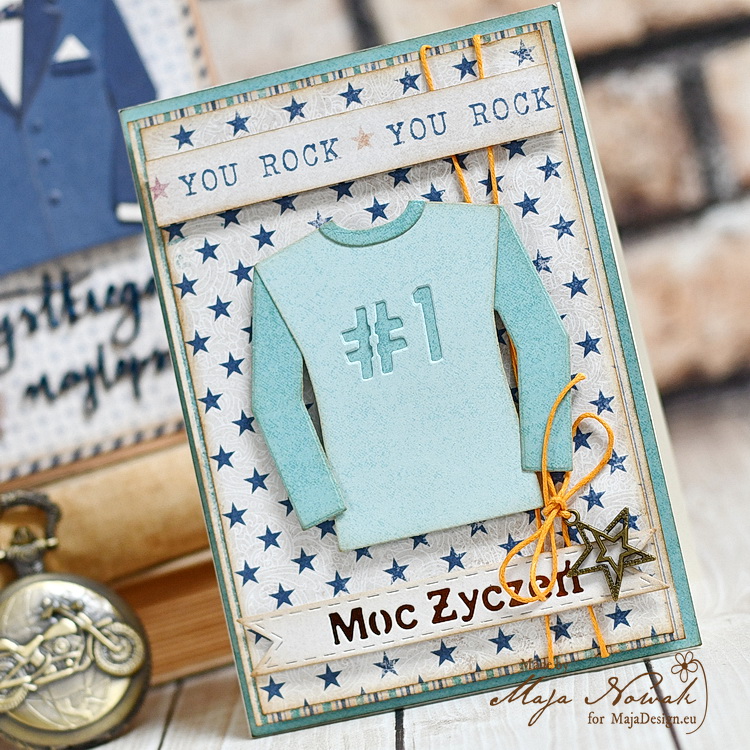
The other card would be great for a teenager, a birthday or congratulations card:

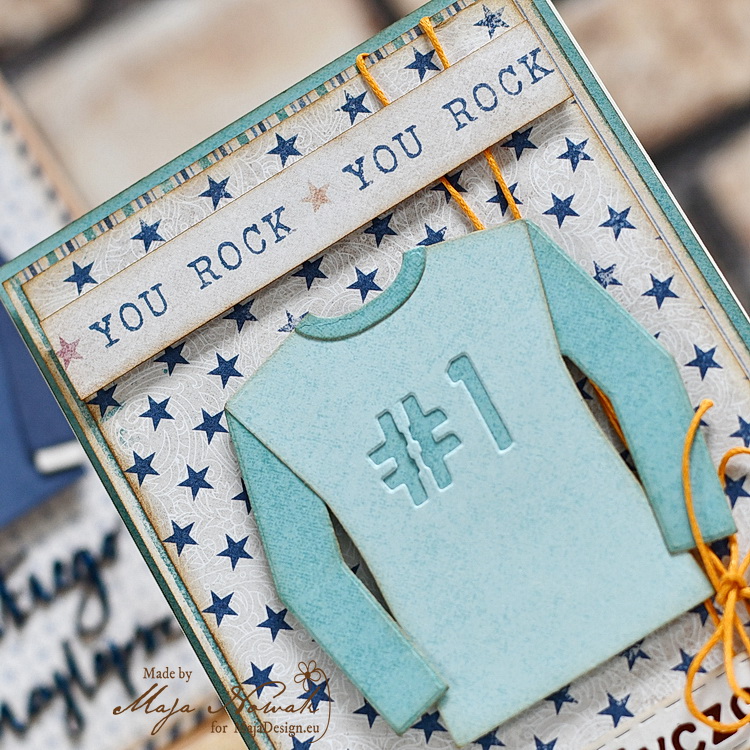
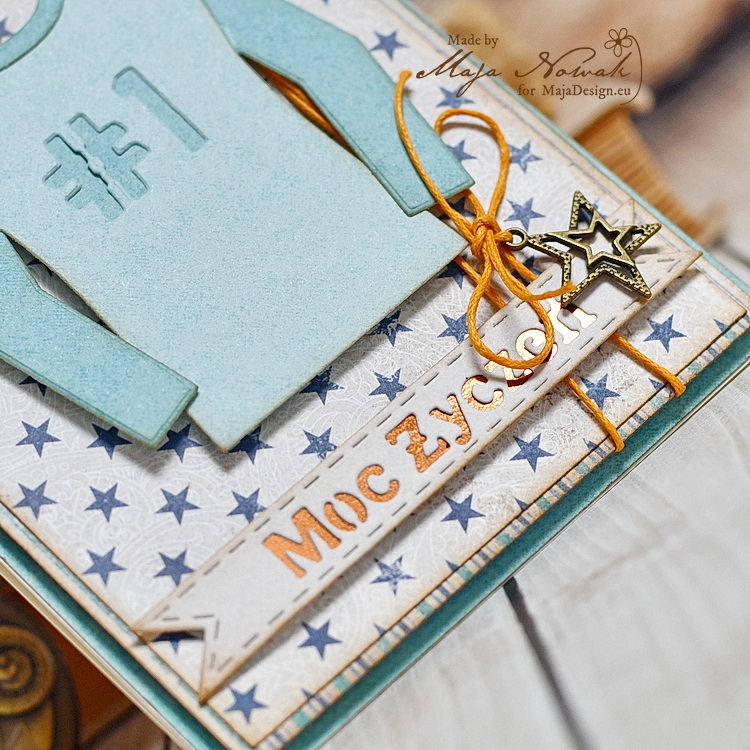
I die cut pieces to assemble a casual shirt and die-cut the number in it. Then I added a signature strip with the words “You rock”, a star charm and a sentiment matted with metallic copper cardstock:

And I really like the way the cards turned out – simple, but fun and with a touch of glam, as who likes to shine more than our men? 😉

Here’s what I used:

Maja Design papers:

Other: dies: Marianne Design, Sizzix, Rosy Owl; chipboard: Scrapiniec; string, charm: my stash.


What about you? Do you like making masculine projects or suffer if you have to make them?

See you soon!

Picking Apples

1

Posted by Camilla Støen Bakke

2 September, 2019 - ,

Write a comment

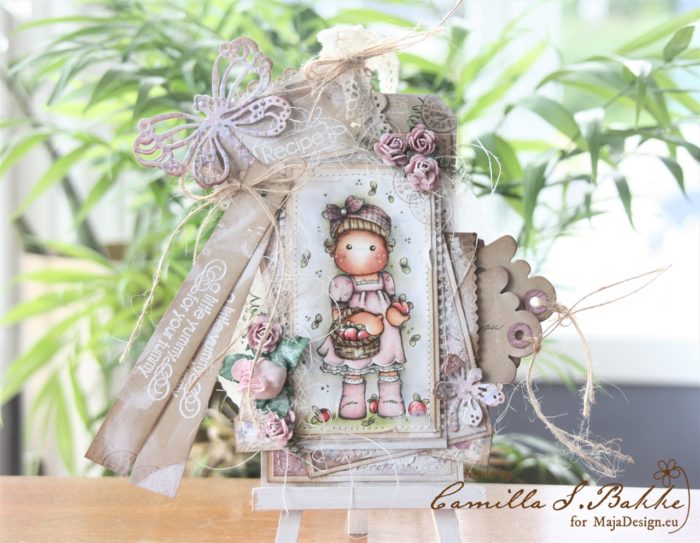
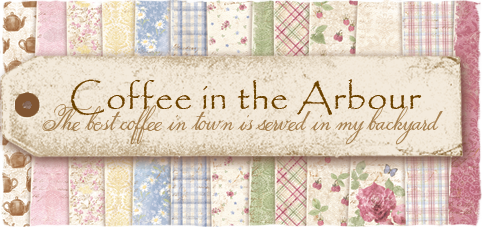
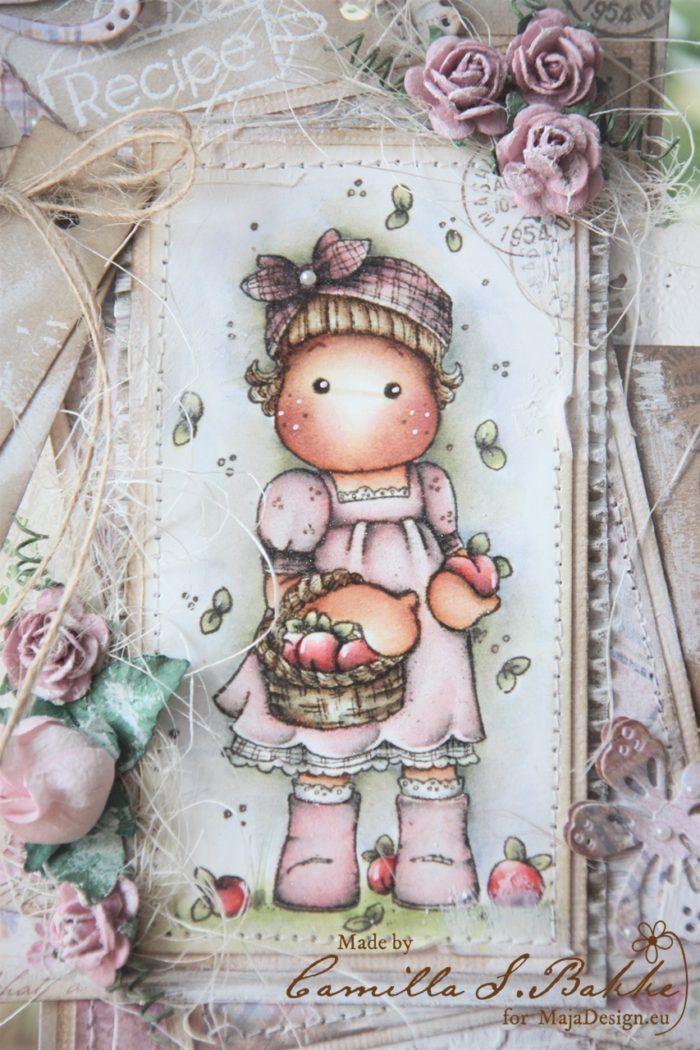
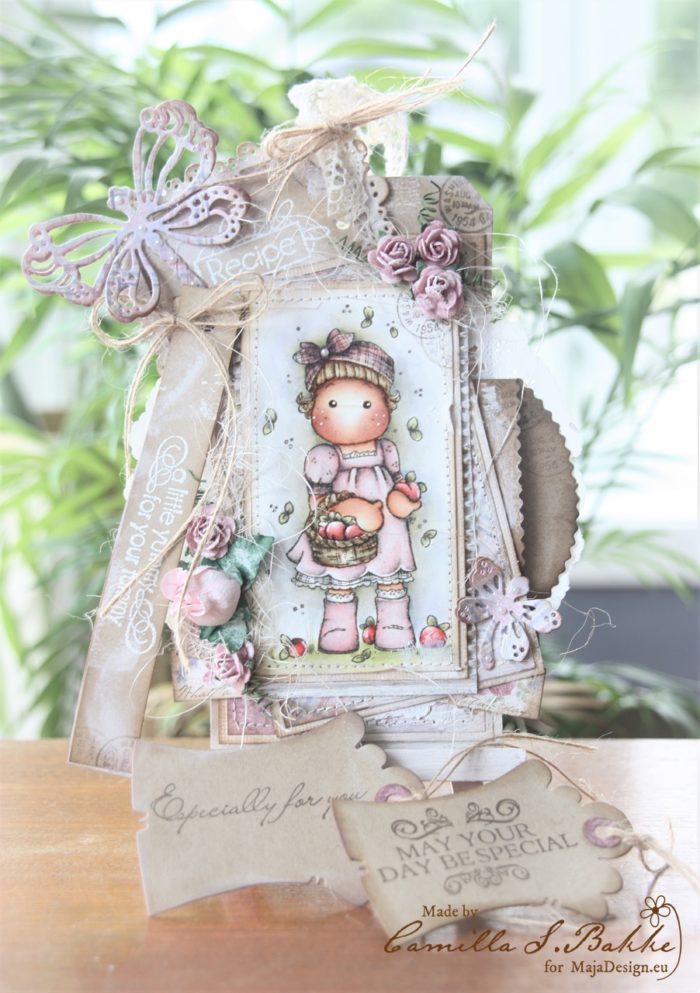
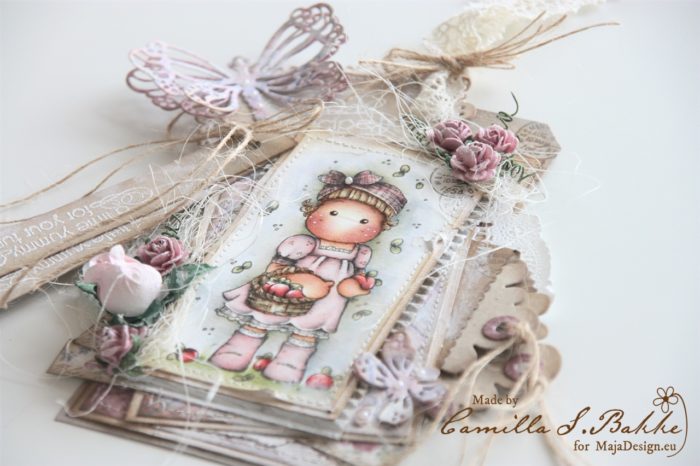
Hi everyone! I am back with a tag this time, using the lovely collection Coffee in the Arbour.

Lots of pink to match the pattern papers. The flowers are from Wild Orchid Crafts, and the image and dies used are from Magnolia.

The image is coloured with Distress Ink, reinkers and Markers.

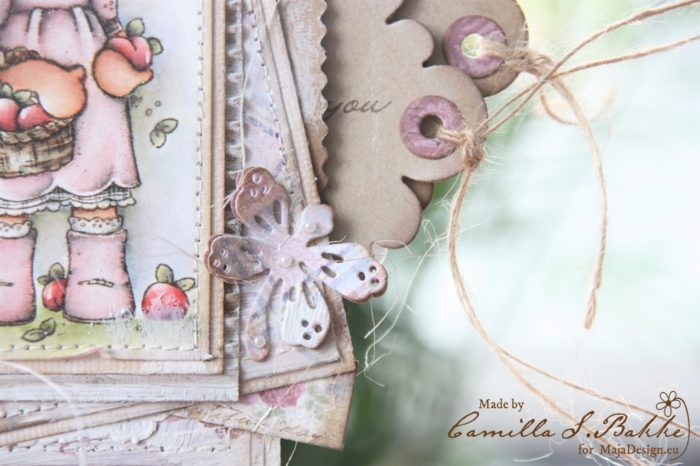
I have added some corrugated papers behind the image. And painted with white Gesso here and there.

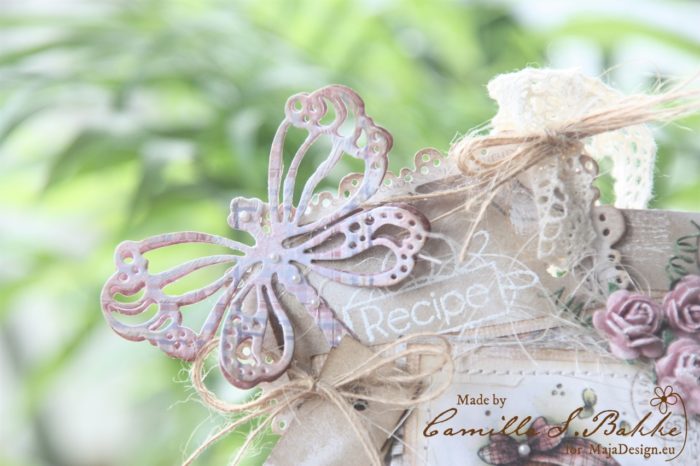
A beautiful butterfly cut out twice to make the double wings.

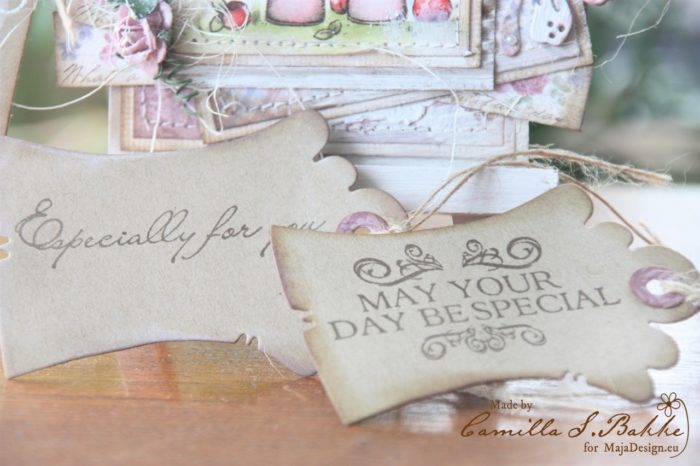
Some tags where I have used Bazzill paper, and added a pink ring made of Maja papers.


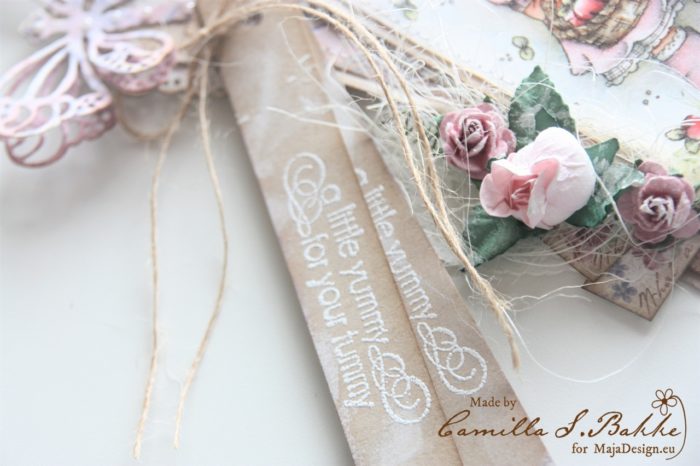
The text is embossed with white embossing powder and a heat gun. All the paper edges are sewed with a sewing machine.

Thank you so much for visiting the Maja design blog today. Have a wonderful September!

With love,