Good morning, dear Maja Fans, welcome to the blog today 🙂
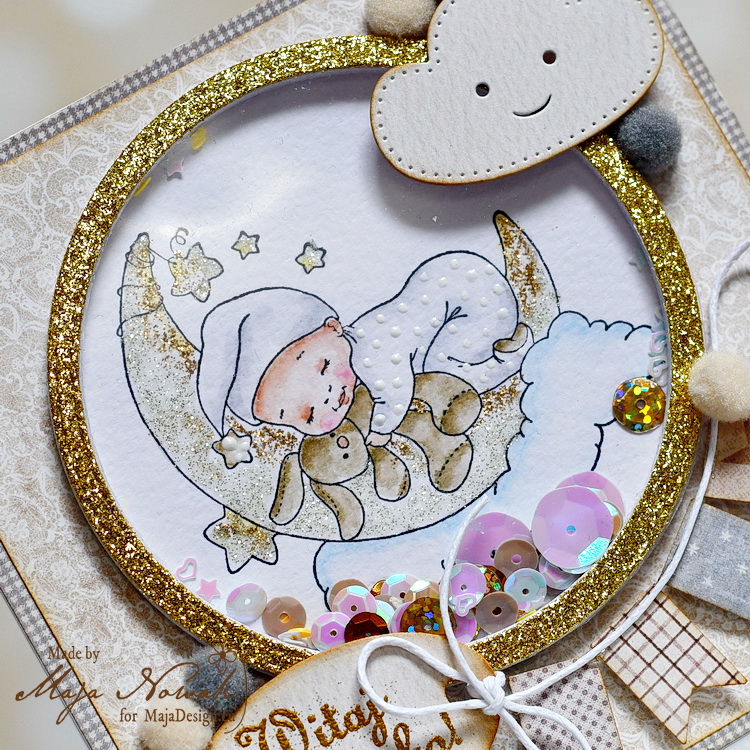
I really love the look of shaker box projects. They offer some dimension and fun elements and are simply interesting to look (and play!). But I seldom make shaker box cards. And when I decided to make a welcome baby shaker card, I was quickly reminded why.
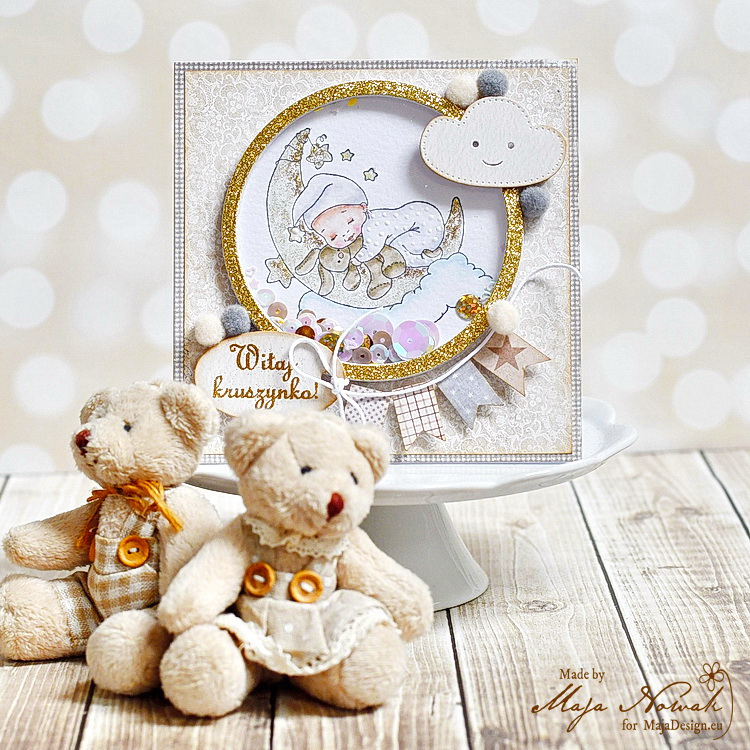
First of all, it’s easy to make shakers with square or rectangular shapes, but not so easy with other, even as basic as the circle. The capsule must be sealed tight so that the contents of the shaker do not fall out. I made many of shakers using adhesive foam squares, but with round shapes they might still leave tiny gaps, so I decided to die-cut round frames and stack them up to make the shaker box, thinking it would save me some time. Boy, was I wrong! To make a 0,5 cm high frame I had to die cut 8 pieces and then glue them one by one together. By the fourth layer the frame started to get crooked no matter how precise I tried to be! The frame is pretty thin, so that was the problem. But finally I managed to create a more or less even frame.
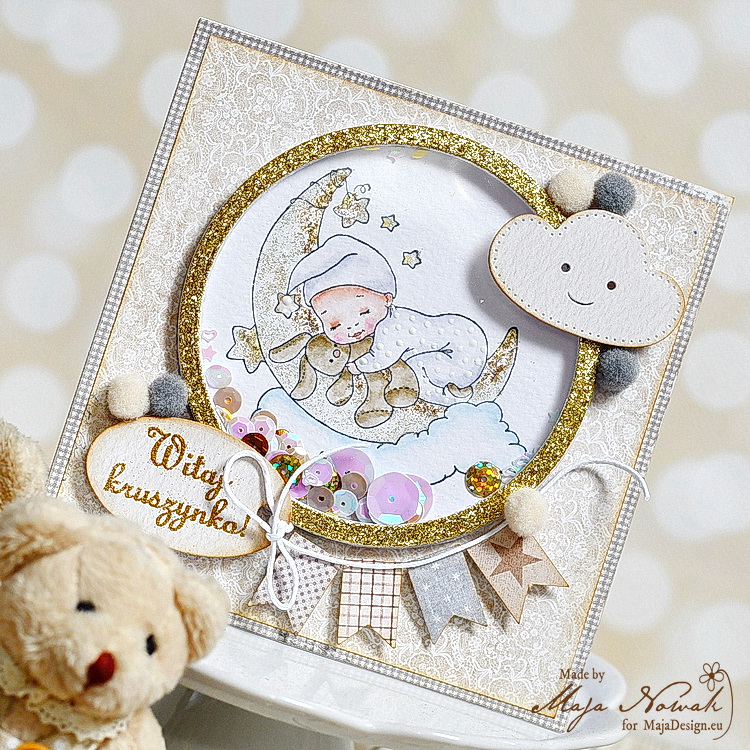
The next problem appeared with the window. I use thick laminating foil for my shakers and with smaller elements I never had any problems, but with this pretty large window the sequins I put in were jumping out or clinging to the foil due to the static electricity. I used soem anti-static spray to deal with it, some also use anti-static powders or pads that are designed for embossing. Finally I was able to assemble my card 🙂
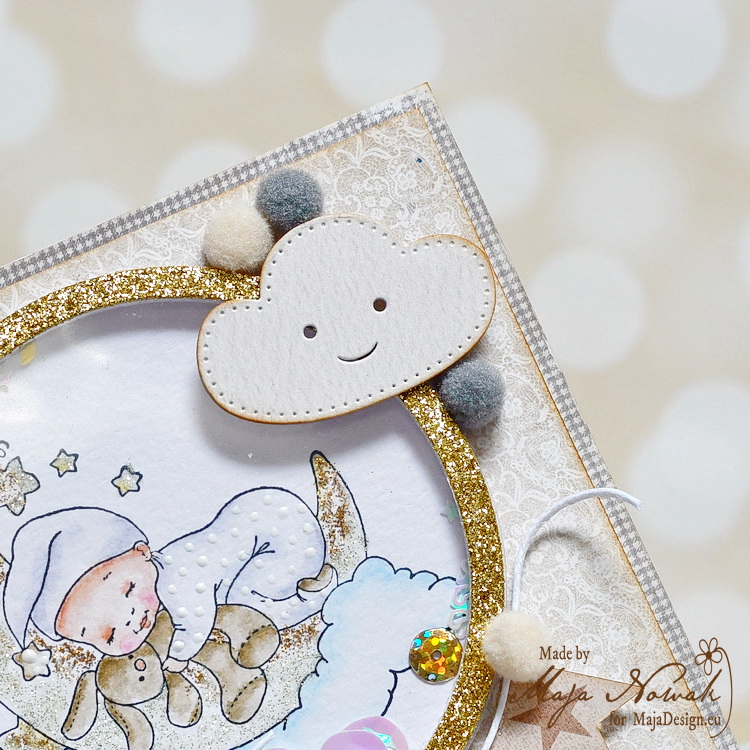
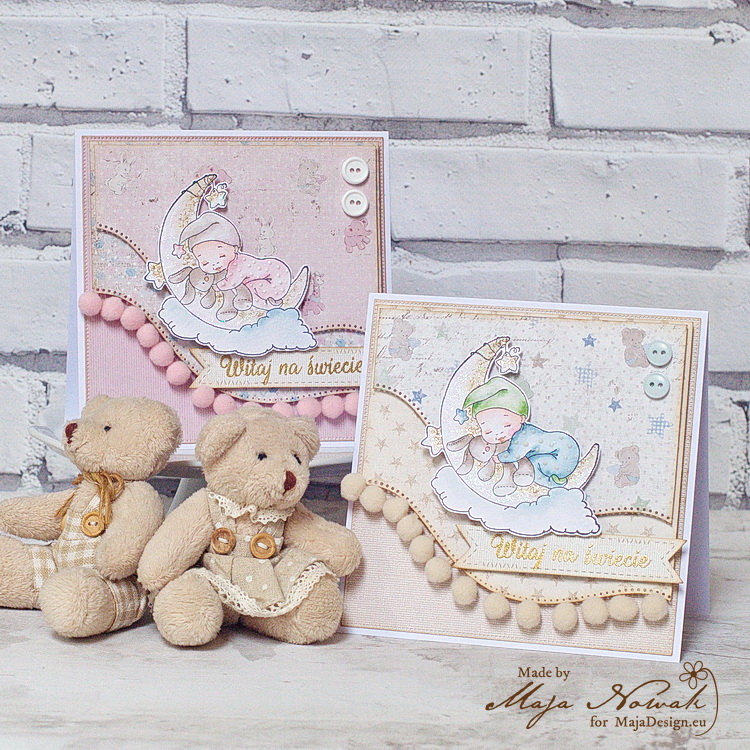
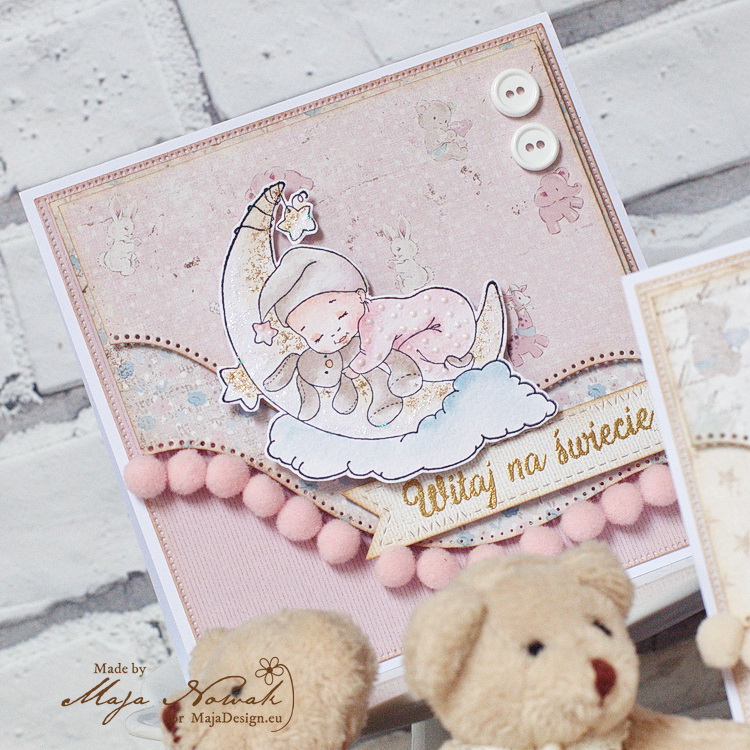
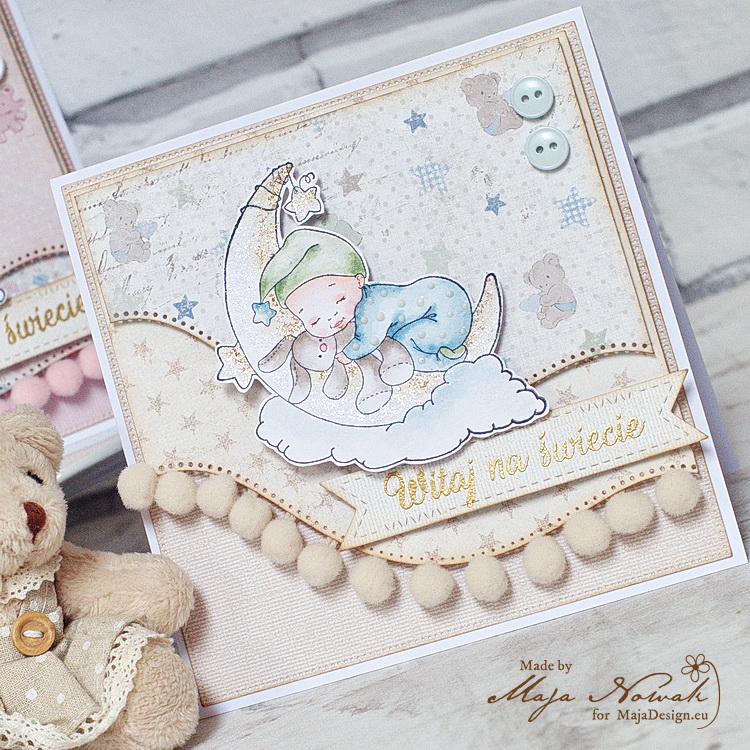
I kept the design very simple so that the shaker remains the main focus. I only added some more die-cuts and a couple of pom-poms to decorate the frame and added a stamped and embossed sentiment.
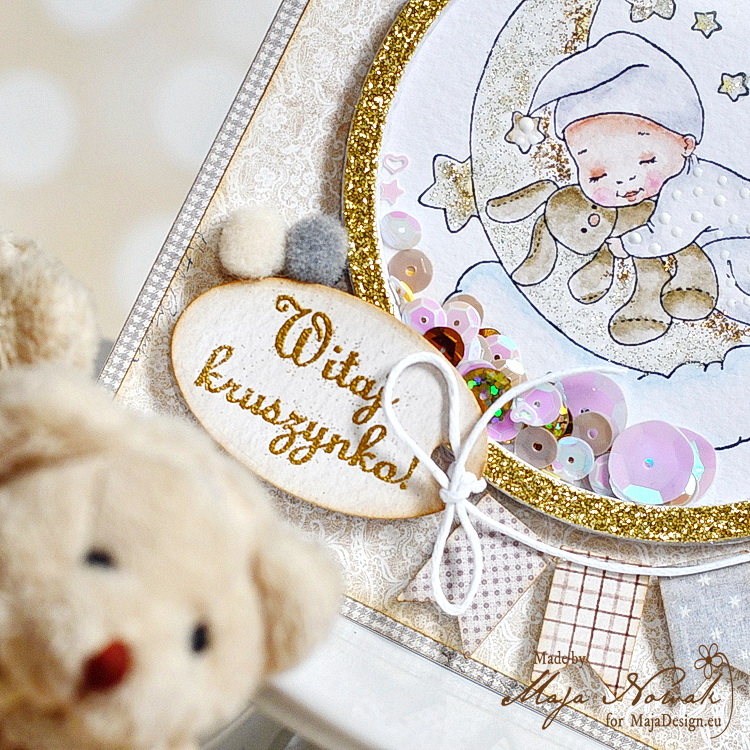
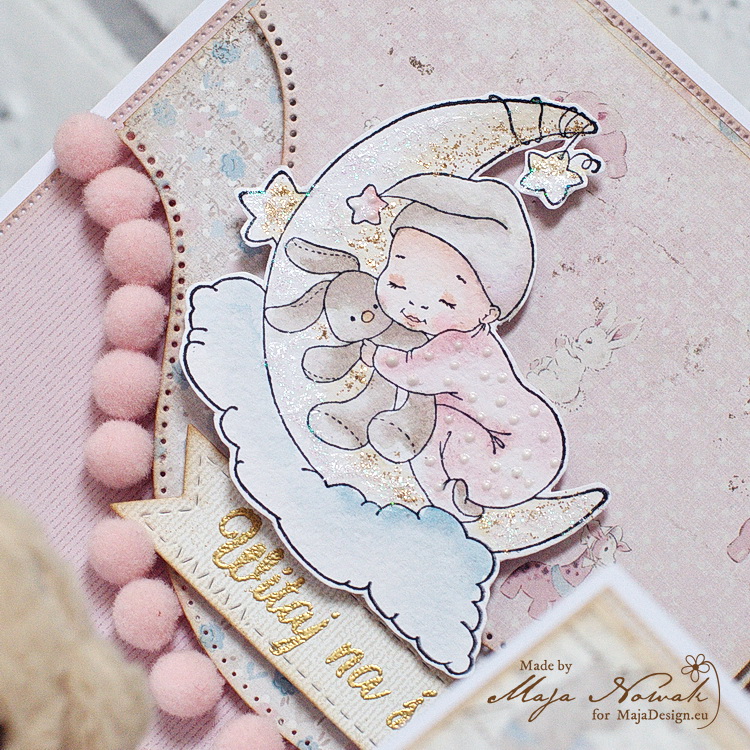
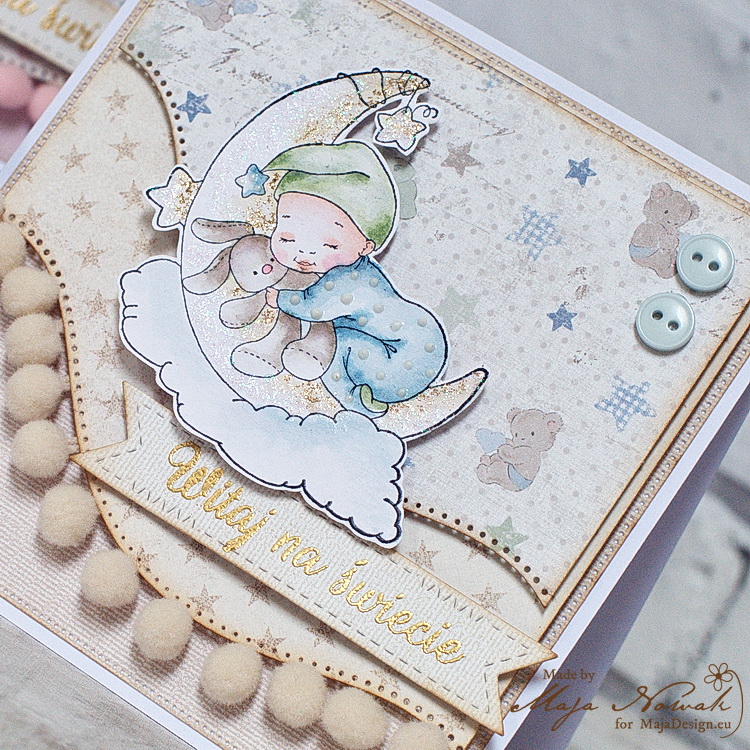
The image inside the shaker is coloured with Kuretake Twin markers. I accented the details with glitters to get an ombre effect on the moon:
It wasn’t easy, it wasn’t quick, but I still like the result. Do you? 🙂
The list of supplies:
Maja Design papers:
- My dear friend bs
- When the snow is falling bs
- Hope to see you soon bs
- I wish for lots of snow bs
- Lace
Other: stamps: Whimsy Stamps, Lemonade; dies: CreaLies, ScrapMan; pom-poms, glitter cardstock: my stash.
Do you make shaker box projects?
That’s all for today, thank you for visiting and drop by tomorrow!


