Hello Maja fans!
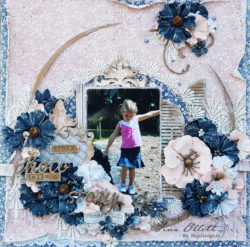
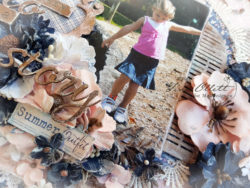
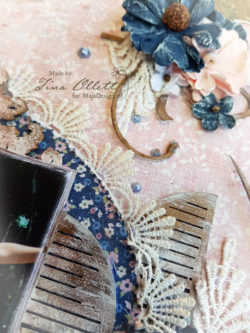
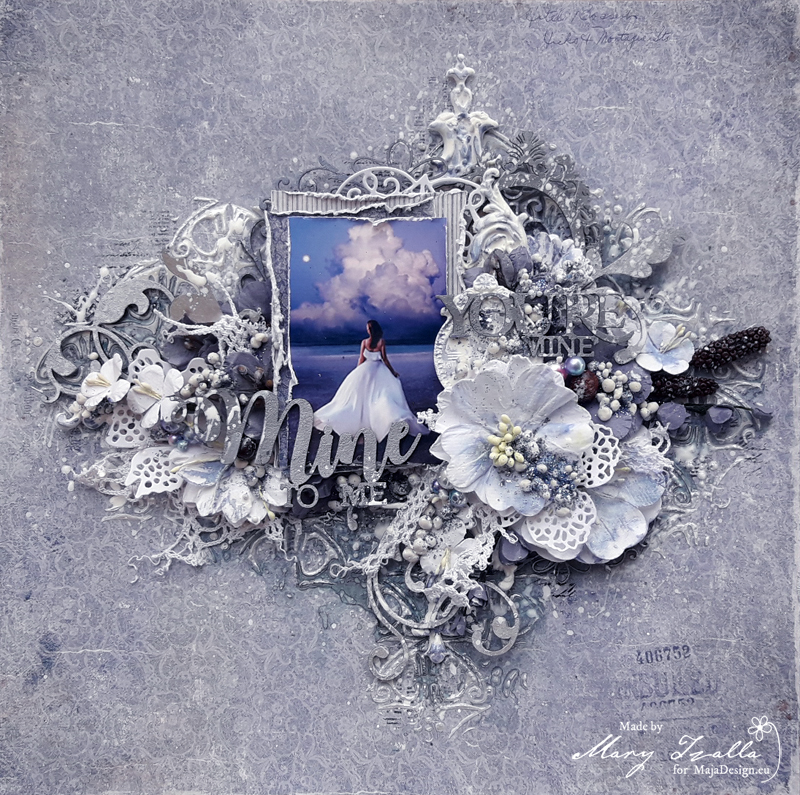
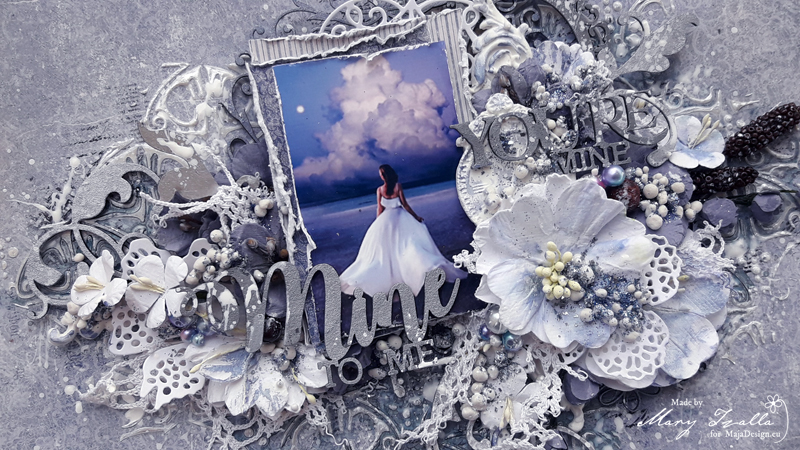
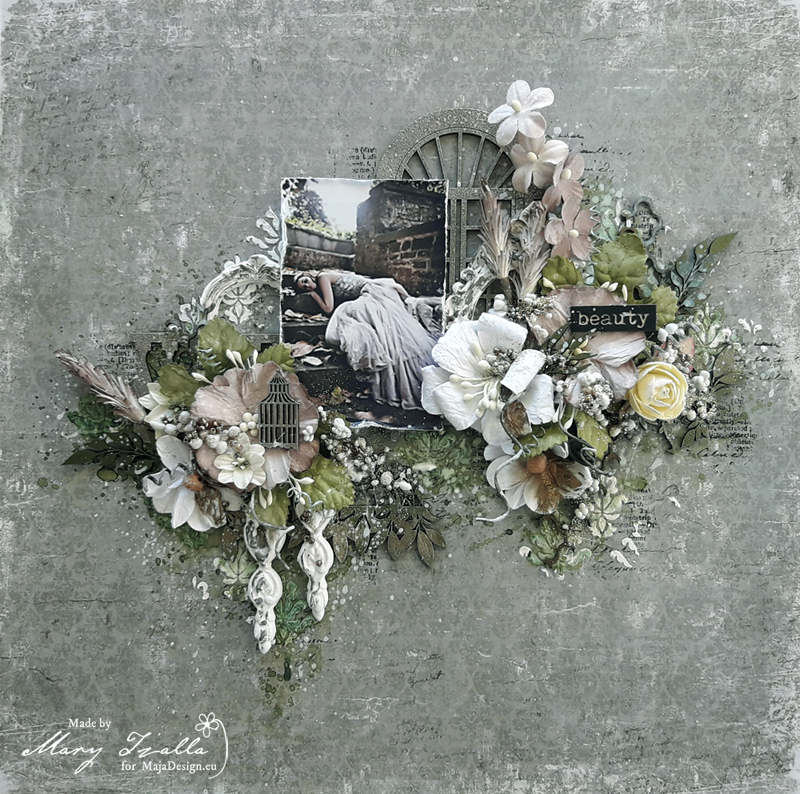
Mary with you today and I have a new layout with a video tutorial to share with you. As always I found my photo on Pinterest and this one inspired me to create a soft romantic page in green, white and brown tones.
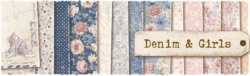
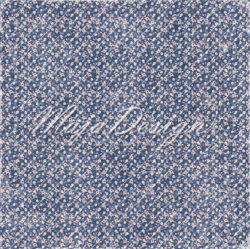
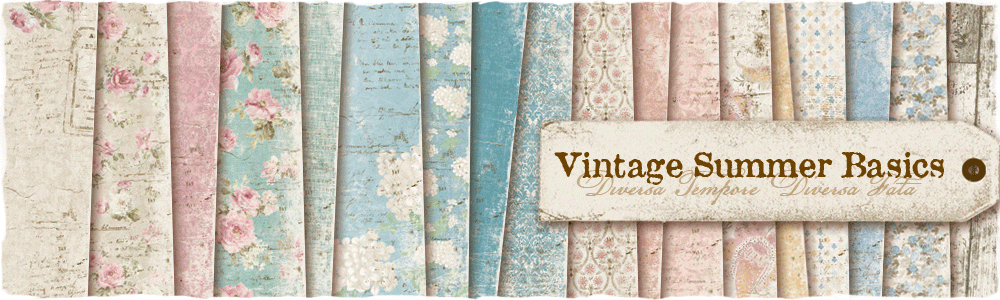
But, before I continue more I want to give all the proper credits to the ”unknown” photographer. To create my page I used Maja Design papers from the gorgeous ”Vintage Summer Basics” collection along with some gorgeous Dusty Attic chipboards and beautiful 49 and Market flowers.
You can watch all the procedure here…
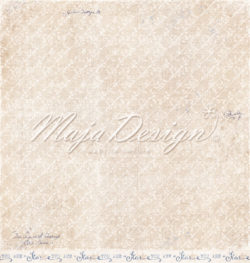
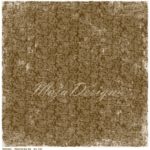
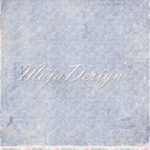
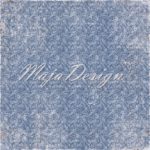
The paper I used is the ”1921” and I started by applying a coat of clear gesso. Then, I created texture with Finnabair paper texture paste and the Dusty Attic Damask #2 Stencil. When the paste dried, I randomly stamped using 49 and Market stamp sets. I added color with the Lindy’s Gang ”Greased Lightnin’ Green” spray.
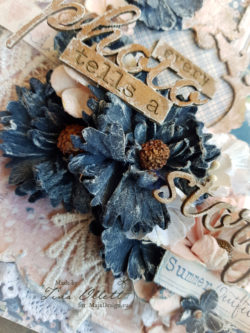
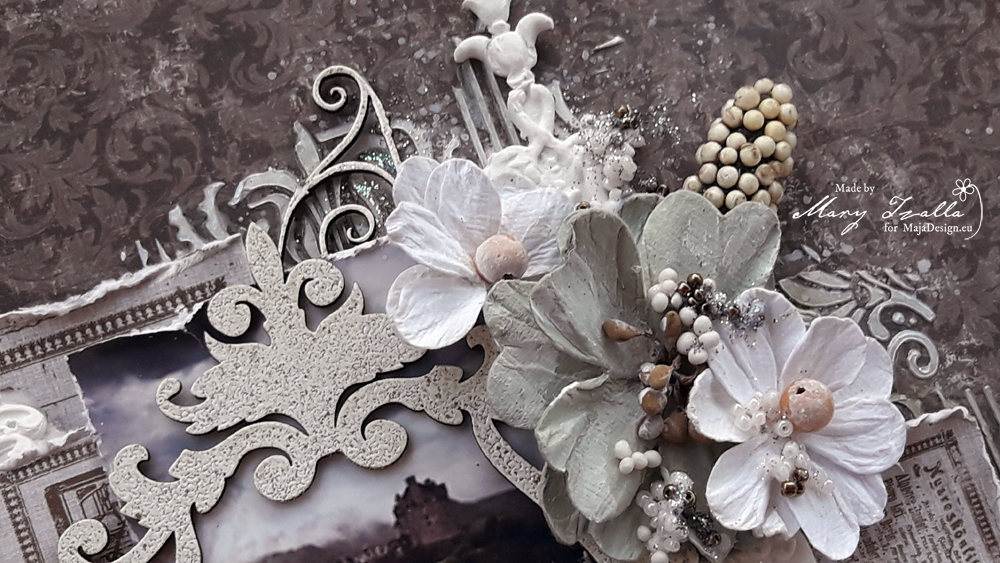
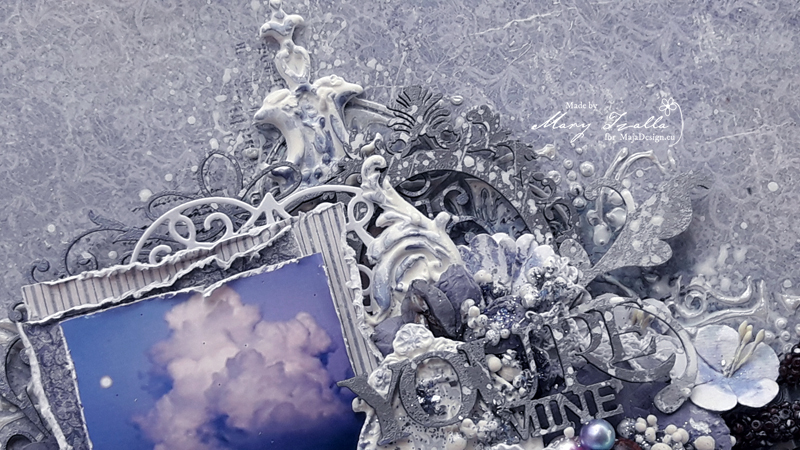
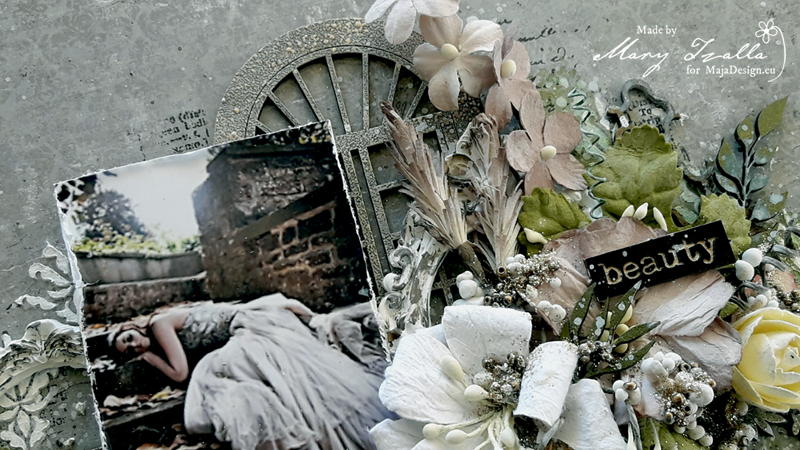
Next, I used different mixed media techniques to treat the Dusty Attic chipboards which you can watch on the video tutorial.
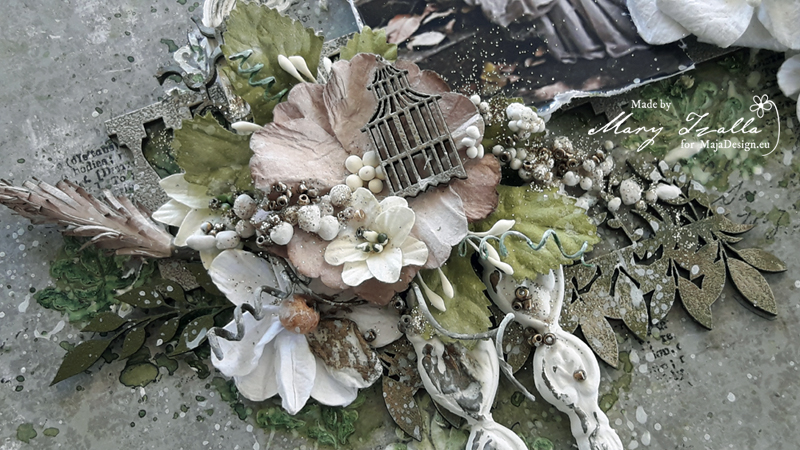
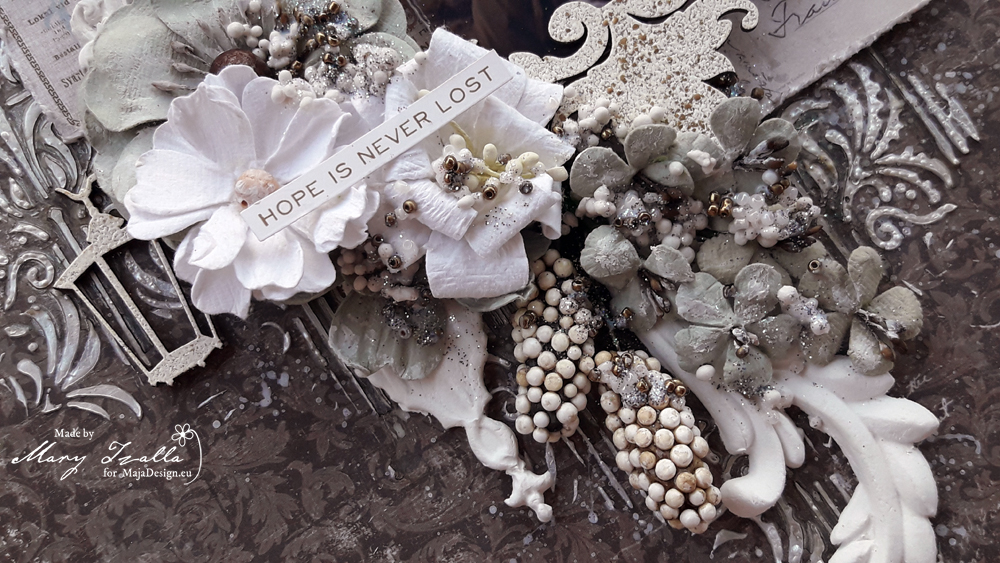
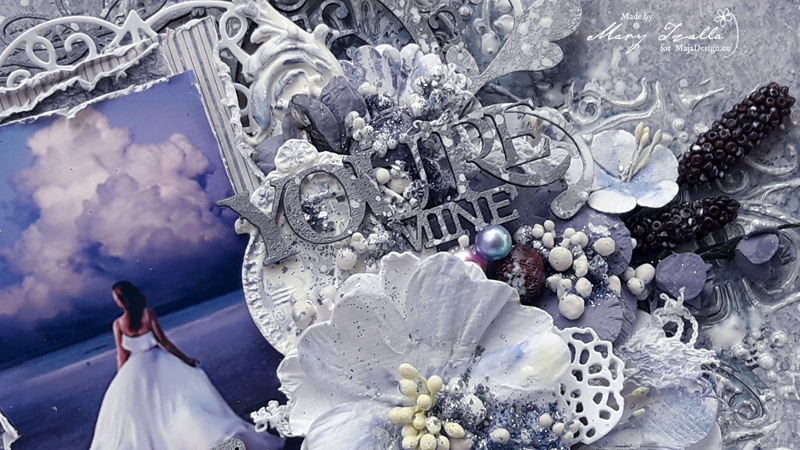
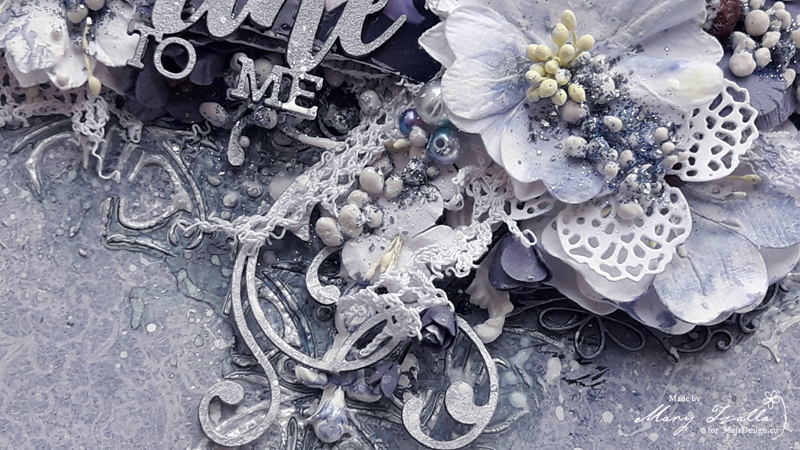
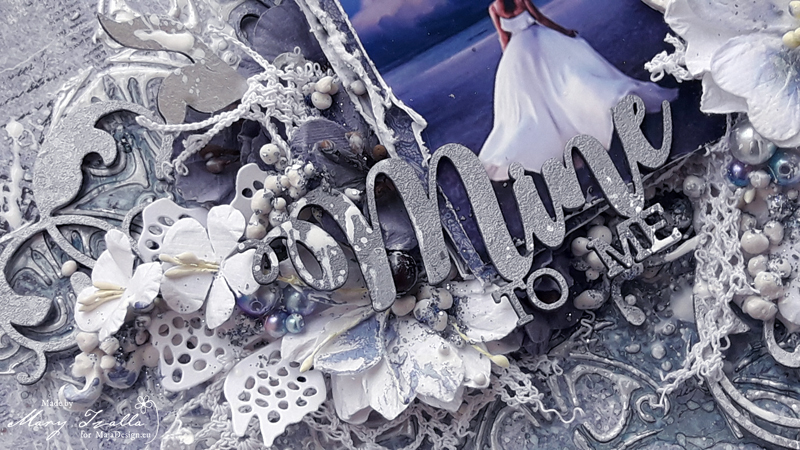
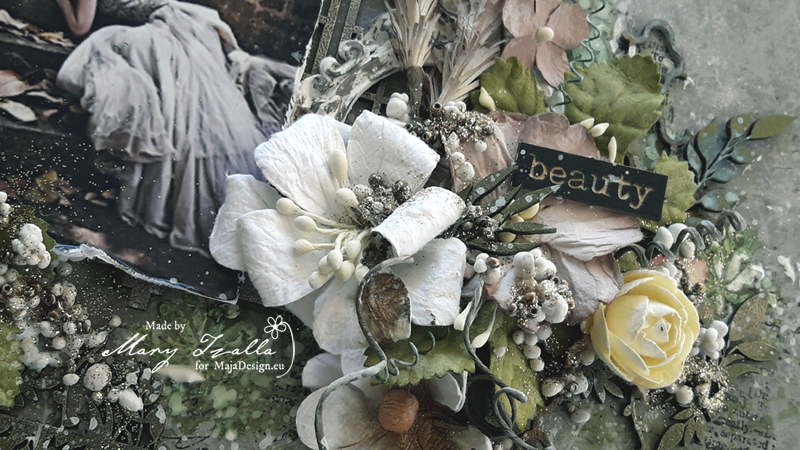
Then, I layered all the gorgeous elements around my photo and added in some 49 and Market flowers. At last, I added the Dusty Attic title word and finished it up with art stones, glass beads and glitter.

Paper used:
-
- 1921 bs

I hope you enjoyed my project!
Until next time happy crafting!