My Fabulous Boy

1

Posted by Maja Nowak

2 January, 2019 -

Write a comment

Hello there, Maja Friends, welcome to the blog today  🙂

I hope you had a wonderful Christmas time and your New Year’s Eve parties were a bang!

I’m happy to be back on the blog with the first layout this year 🙂 And as I wanted to enjoy the holiday collection a little bit more than just around Christmas, I used the Christmas Season papers to make it 🙂
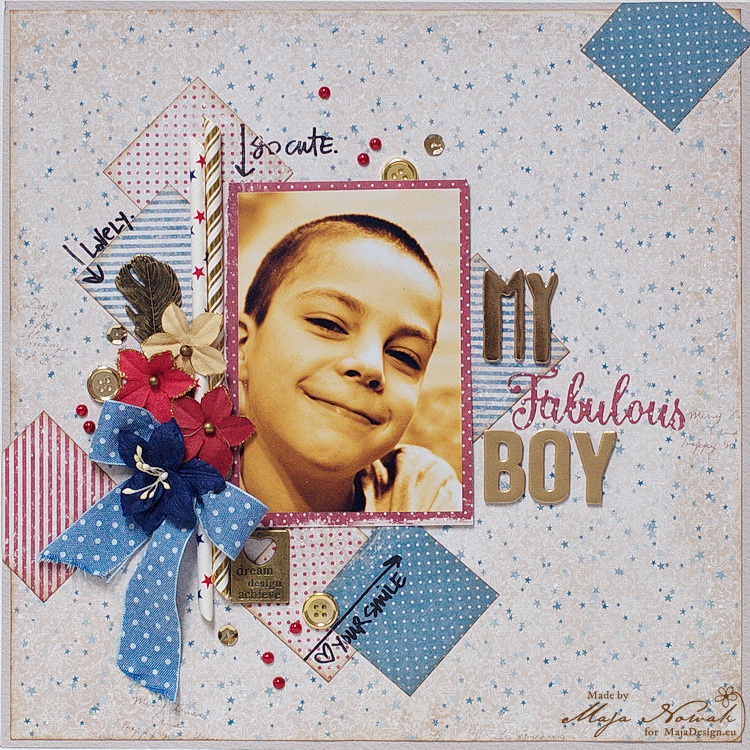
You wouldn’t tell it’s a Christmas collection, would you? That’s what I love about Maja papers, the diversity and universatility that allow you to use themed collections whenever you want! And so I layered some papers in the background and added some squares punched out from scraps to add some pattern:
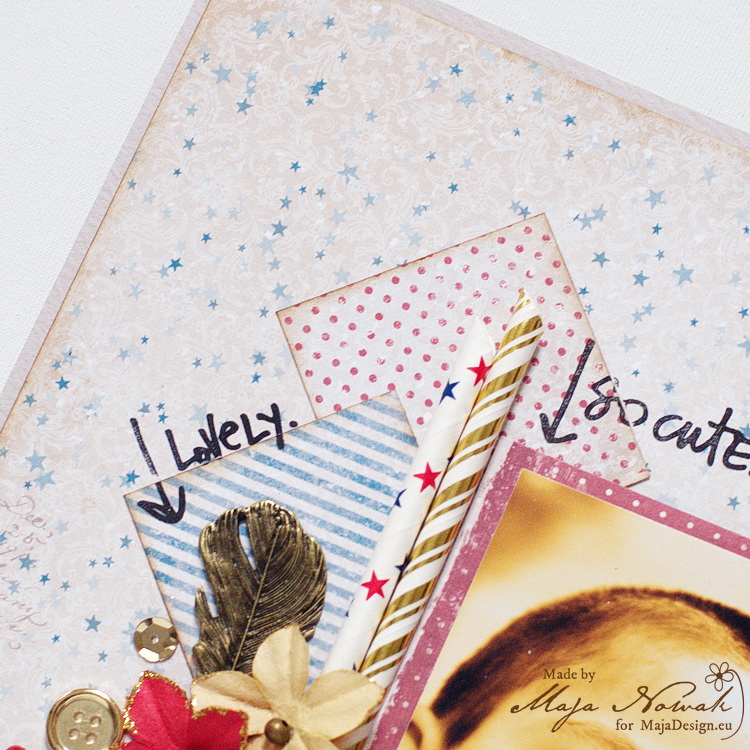
Since the time is still around the holidays and the carnival is just beginning, I wanted to add some glam and shine and therefore I opted for some gold accents: metal embellies, gold buttons, sequins and glitter:
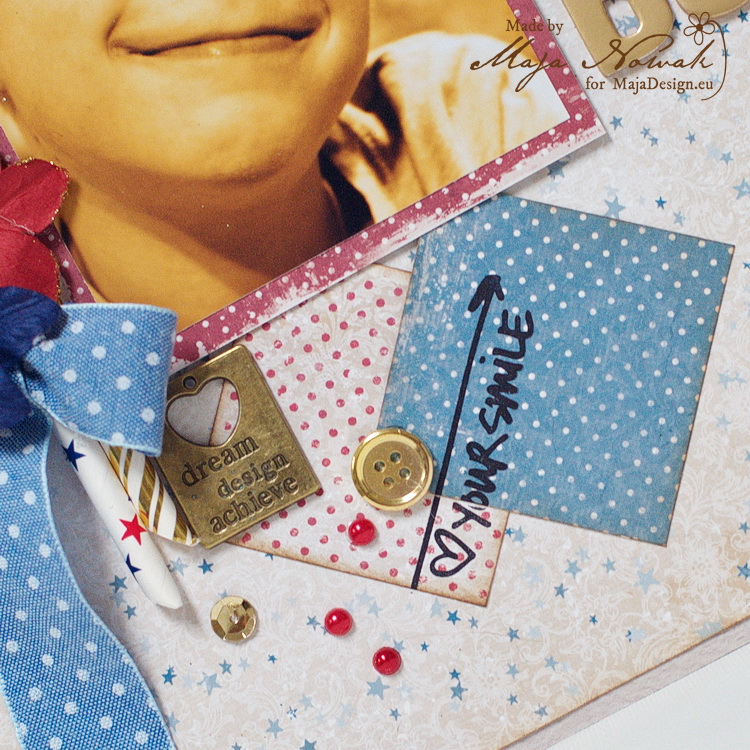
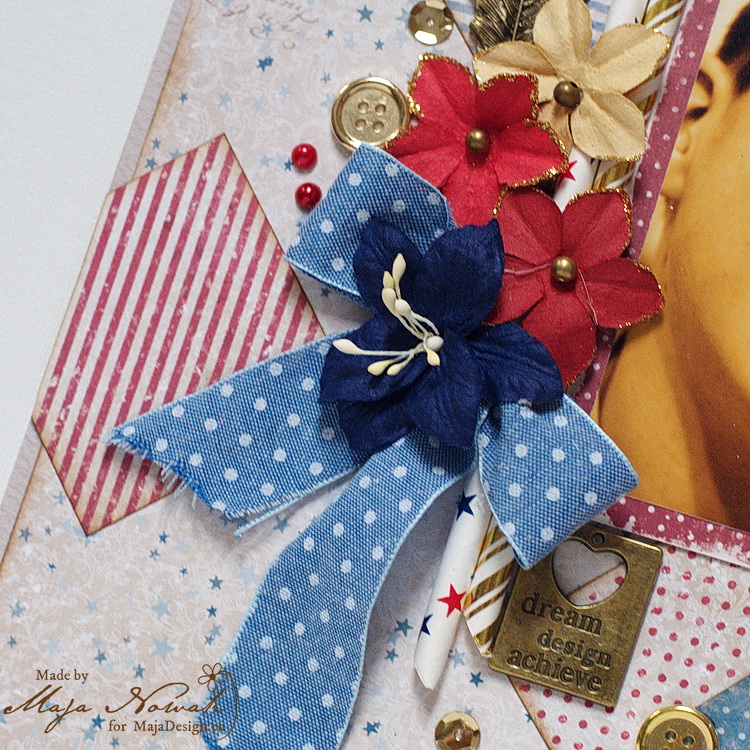
But at the same time I wanted to make the layout boyish-harsh, so I added denim ribbon and some black stamped “handwritten” sentiments:
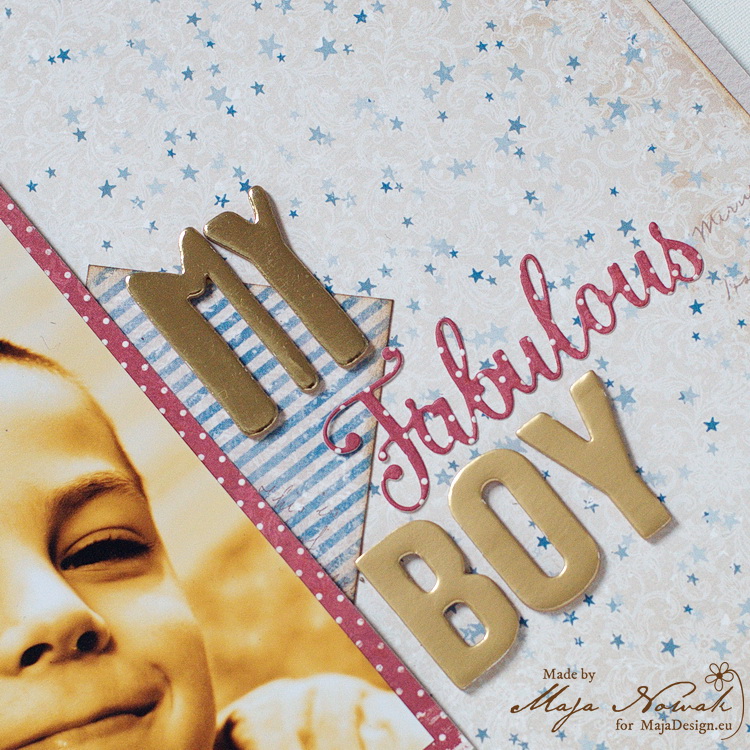
I made the title by combining gold foam letters with a die-cut word:
…and the title shines too 😉
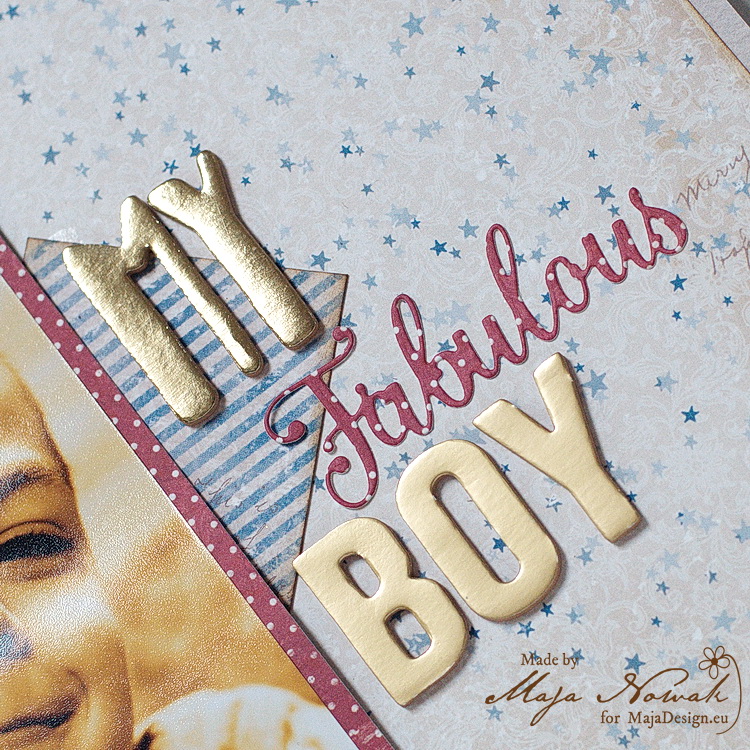
And I’m really glad it turned out light and almost clean&simple style (at least for my taste!). What do you think?

Here’s what I used:

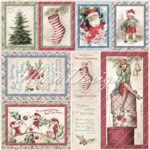
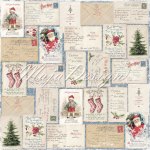
Maja Design papers:

Other: stamps: Heidi Swapp; flowers: Prima; letters: American Crafts; die: Creative Expressions; buttons, punch: Docrafts; sequins, ribbon, pearls: my stash.

Wishing you a very creative 2019! See you soon!


#adorable Layout with a Video Tutorial

1

Posted by Mary Tzalla

25 December, 2018 -

Write a comment

Merry Christmas my dear friends!!!

May all the sweet magic of Christmas conspire to gladden your heart and fill every desire you have!

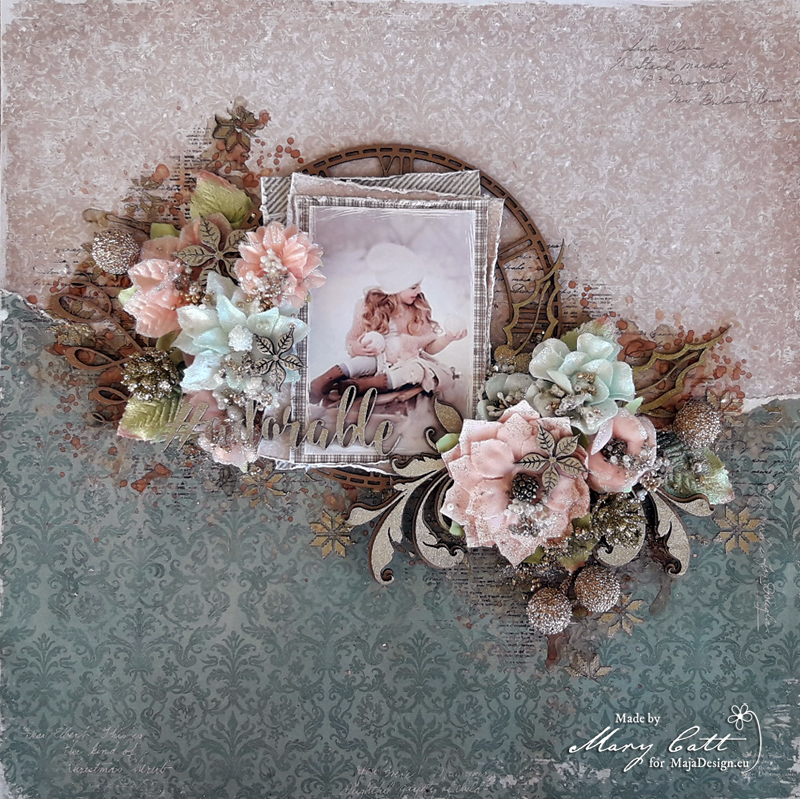
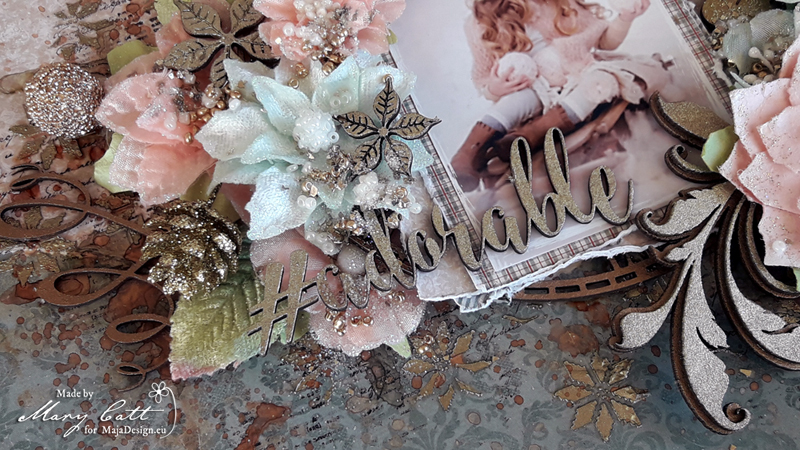
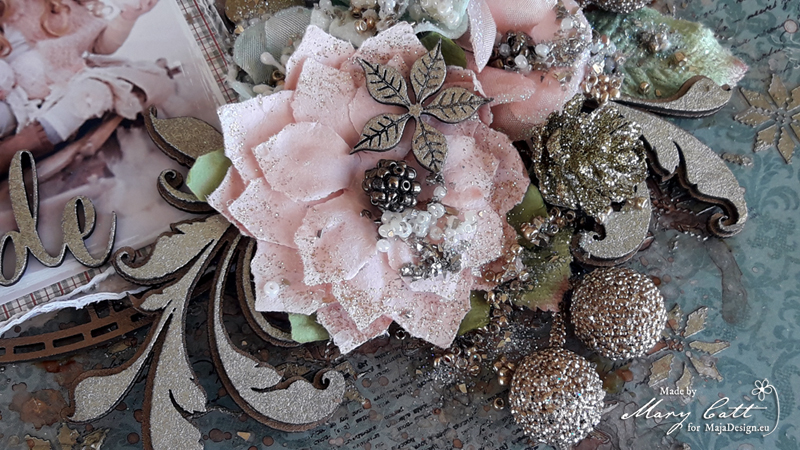
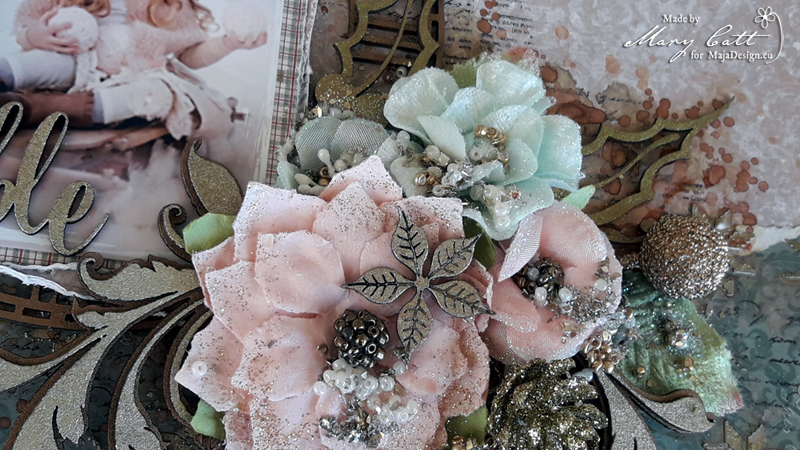
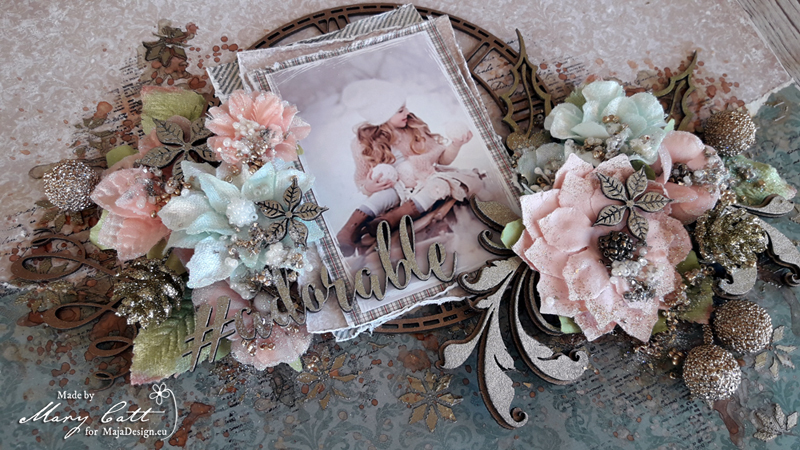
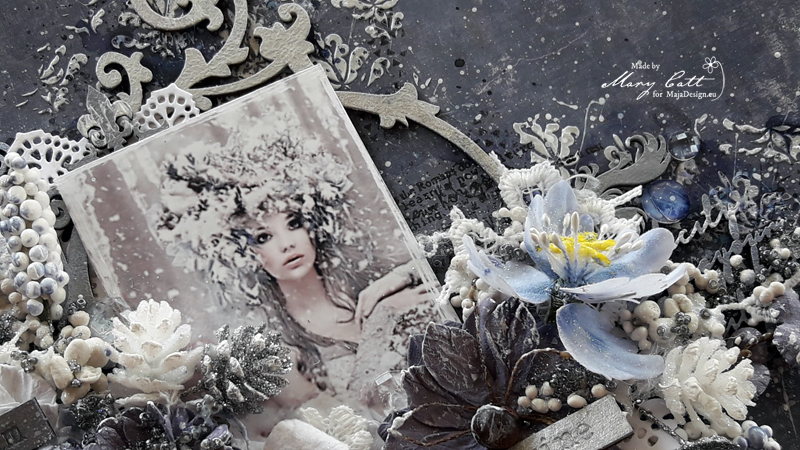
Mary here with you today and I have a new layout with a video tutorial to share with you made for my December inspiration. A soft christmasy page created with some gorgeous papers from the new ”Christmas Season” collection.


I have also prepared a VIDEO TUTORIAL so you can watch all the details.


As you may already know, I love searching on Pinterest to find photos to scrap and this time I came across with that amazing photo. But, before I continue more I want to give all the proper credits to the ”unknown” photographer.

My main paper is the ”Greeting Cards” and I made a layer on it with the ”Mistletoe Green” paper. Behind my photo I used the ”Mistletoe Green”, the ”Trim the Tree” and the ”Greeting Cards” papers to add some layers.

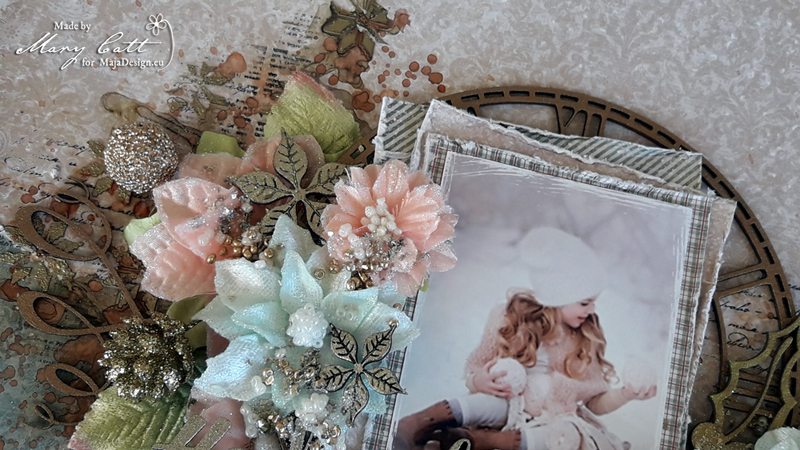
I started by applying a coat of clear gesso on the background paper and then I used an icing paste with a stencil to create texture. I made some stamping here and there and I used Lindy’s Gang sprays to add color.

Next step was to paint all the Dusty Attic chipboards with the Finnabair acrylic paints.

When everything was glued down I added some glass glitter and beads.


Papers used:


I hope you enjoyed my project!

Thank you for stopping by!


Peace & Joy

1

Posted by Maja Nowak

19 December, 2018 -

Write a comment

Good morning, Maja Friends, welcome to the blog today!

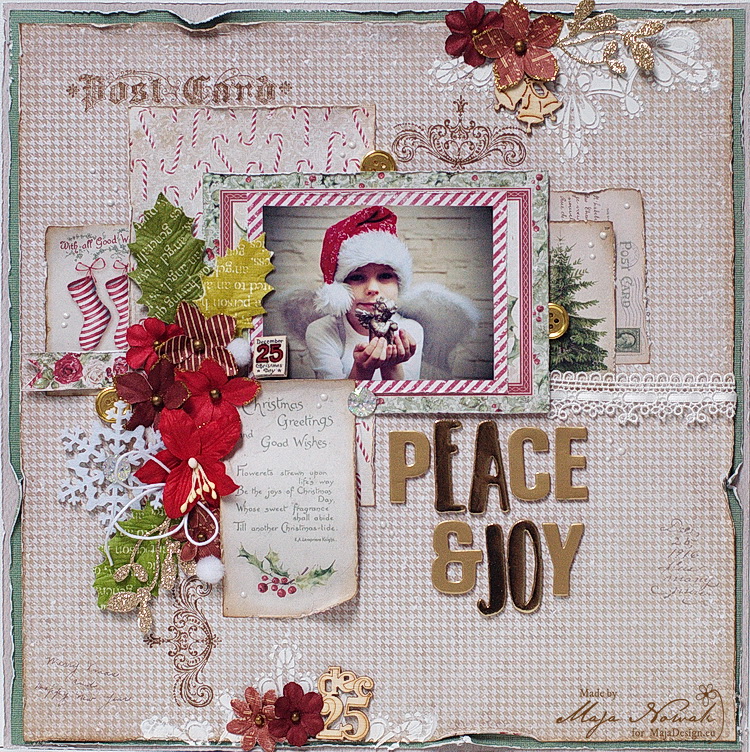
Christmas is just around the corner! I just can’t wait to decorate the Christmas tree (which we always do on Christmas Eve morning) and for the home to fill with wonderful smell of Christmas cooking 🙂 But what is most important is who I’m spending my Christmas with – meeting all my loved ones at the Christmas Eve table and visiting as many relatives as we can during Christmas days. Because love, peace and joy are most valuable gifts of the holiday. And that’s what my layout is about:

I made it using our latest collection, Christmas Season. I just love the traditional colour palette of this collection and all the vintage images!

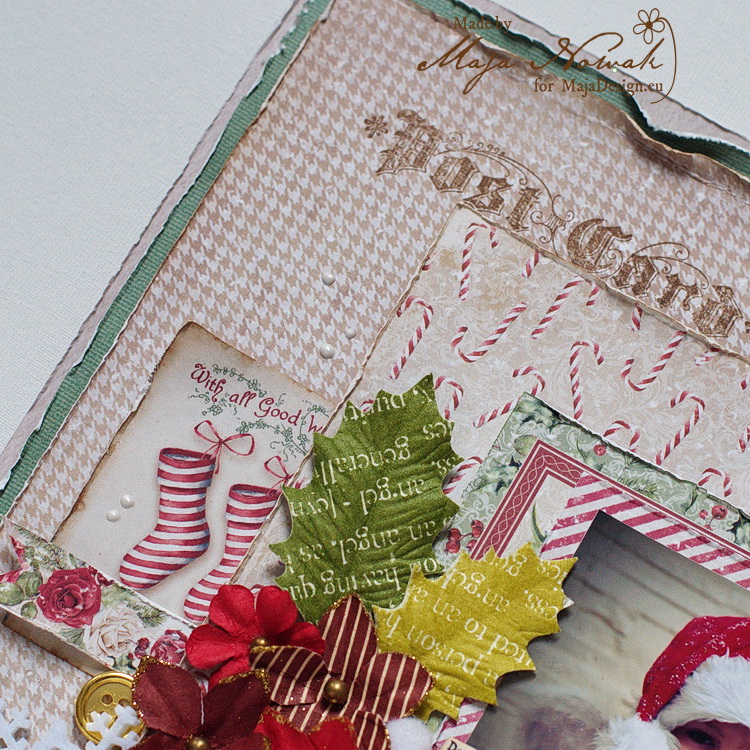
First I layered some papers in the background and added some stamping. Then I added the matting arrangement of papers for the photo:

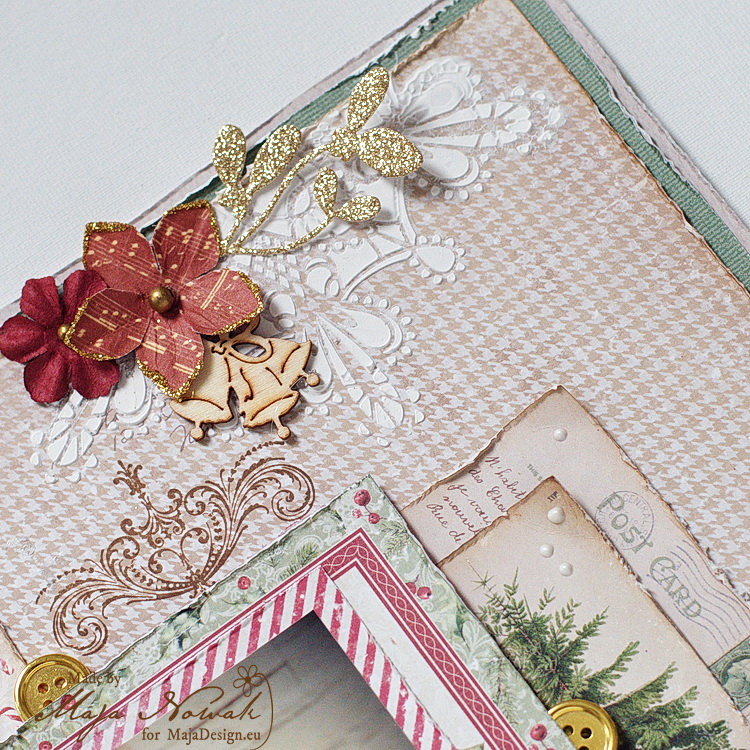
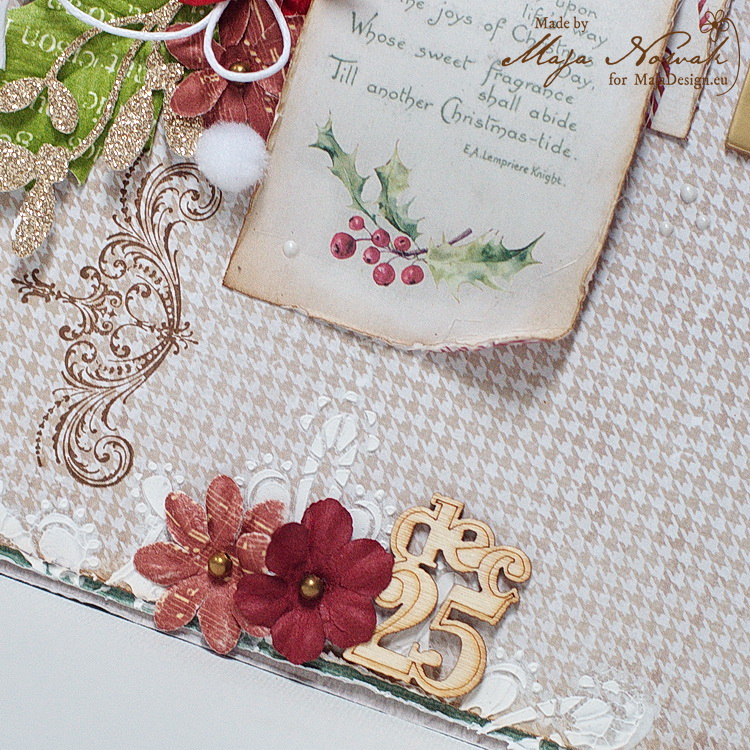
I also added some doily pattern using a stencil and texture paste:

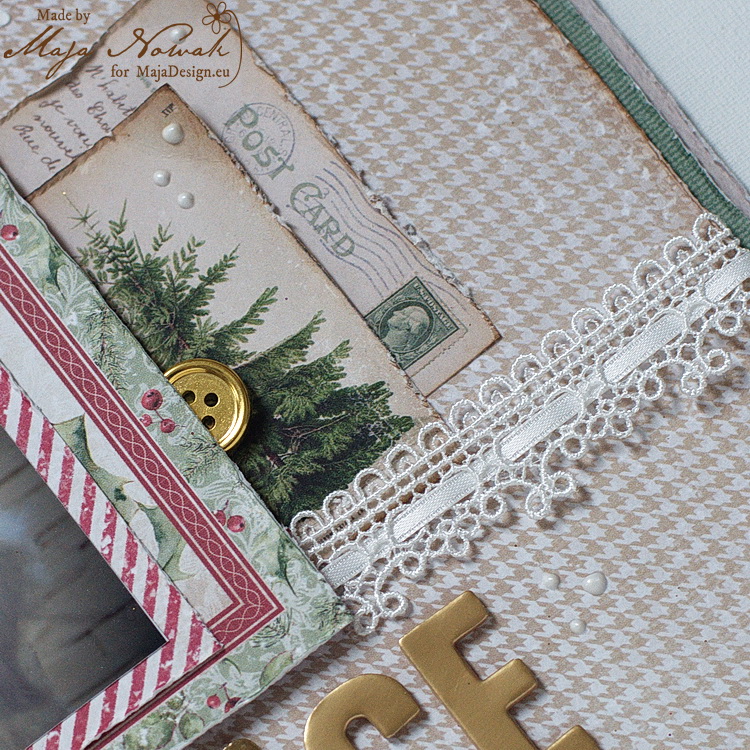
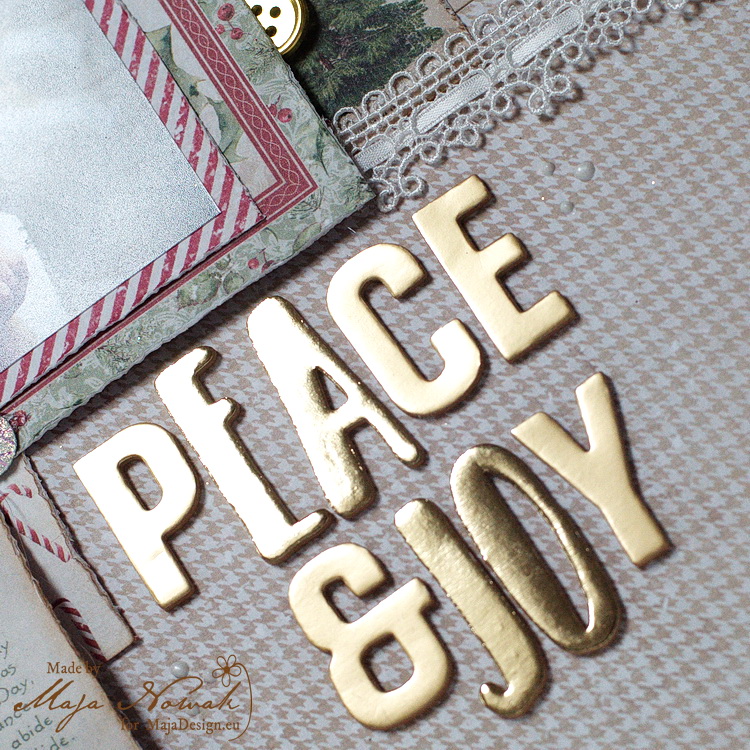
Another white accent is the guipure lace border and enamel dots that imitate the snow falling:

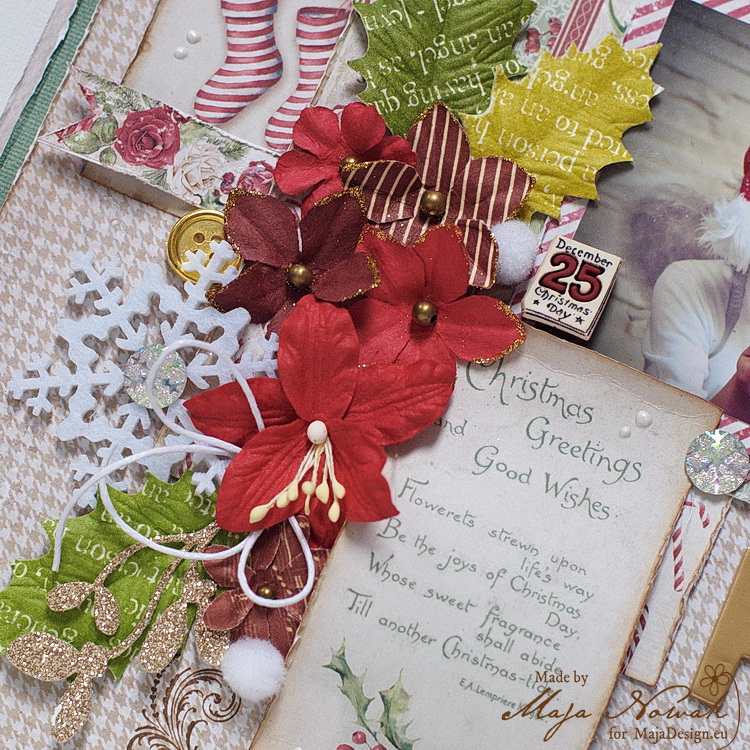
I added the flower cluster with a felt snowflake and some crystals around the Christmas wishes tag I cut out from the Ephemera sheet:

What would be a hoilday layout without some glam? I added golden buttons, glitter cardstock diecuts and foam gold metallic letter for the title:

Here’s the list of my supplies:

Maja Design papers:

Other: letters: American Crafts; stamps: Tim Holtz; dies: Magnolia; stencil: Agateria;  flowers: Prima; buttons: Dovecraft; wooden embellishments: BoBunny; snowflake, lace: my stash

And since this is my last post this year, I wish you a Merry Christmas filled with peace, love and joy and a Happy New Year!

See you in January 🙂

Believe, Hope, Peace

1

Posted by Lenet Mos

6 December, 2018 - , ,

Write a comment

Hello Sweet Maja fans.

Lenet here and I’m a little late today. I was working on an other project but got stuck on that one,  so I decided to start a new one and that made me running out of time.

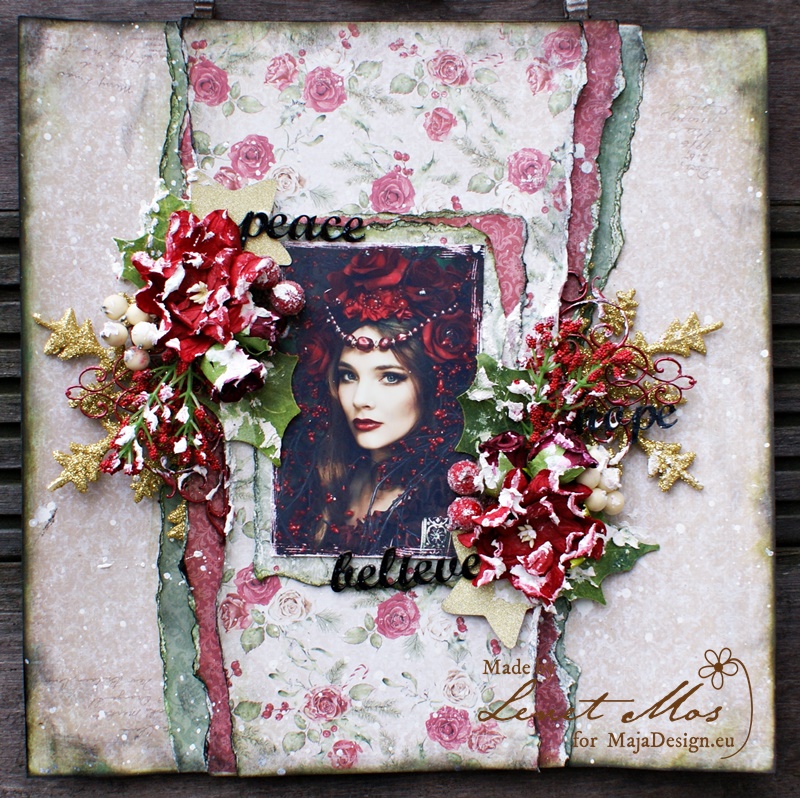
Today I made this Christmas layout for you , using the gorgeous new Christmas papers Christmas Season . LOOOOVE them.

While I was making this one I was listening to a mix of Evanescence , Night wish and Within Temptation so it got a little  Gothic feel over it.

Not my  intention but I love how it turned out , hope you do to.

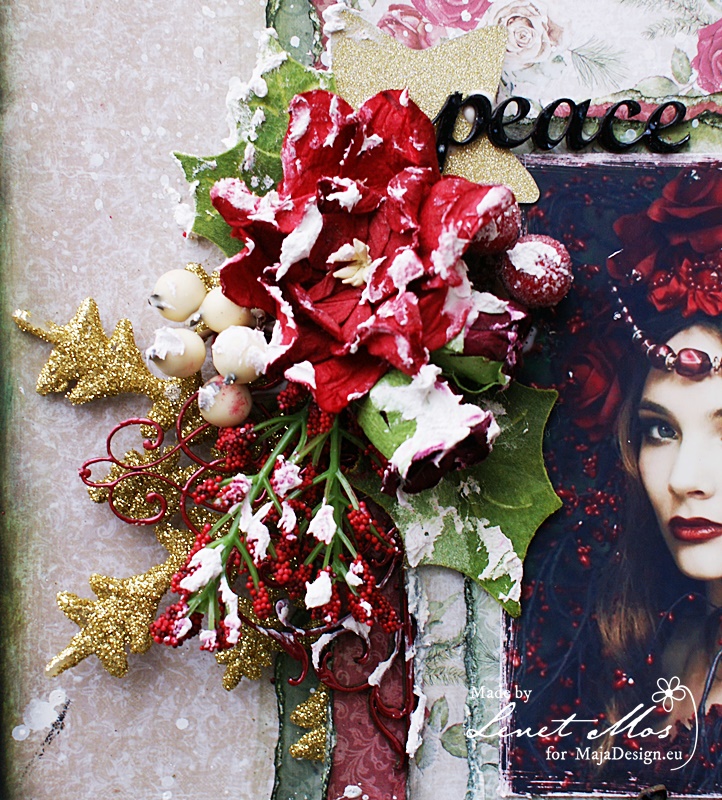
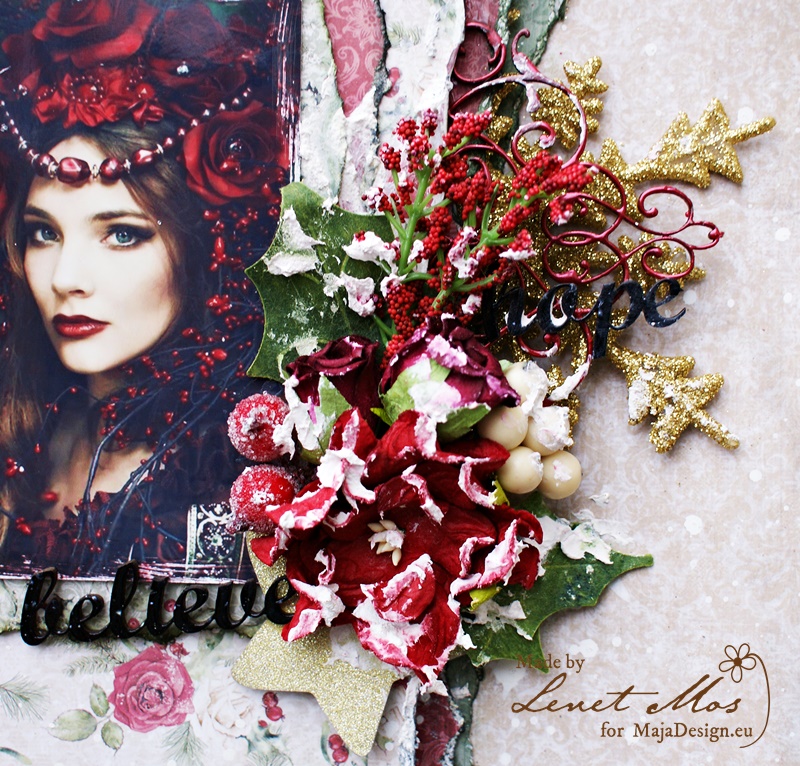
The chippies U used  ( the sentiments and swirls ) are from  Dusty Attic. I colored them with embossing powder.

The sentiments with black embossing powder from WOW  and the Iron Garnish #2 swirls with ultra thick festive candy  from Blond Moments.

I love their embossing powders such a shame the company is not here any more.


The golden glitter snowflake , star and red and white berries are are from my stash , leaves  from making memories and the branches with red from Prima marketing.

Thank you for stopping by, hope I gave you some inspiration with these wonderful papers.

For me it’s time to set the Christmas tree and start decorating the home..YAAAY.  I love this time of the year.

Hope you enjoy your Holiday month too.


Dream

1

Posted by Mary Tzalla

26 November, 2018 - ,

Write a comment

Hello Maja fans!

It’s Mary with you today and I have a new layout to share made for my November inspiration.

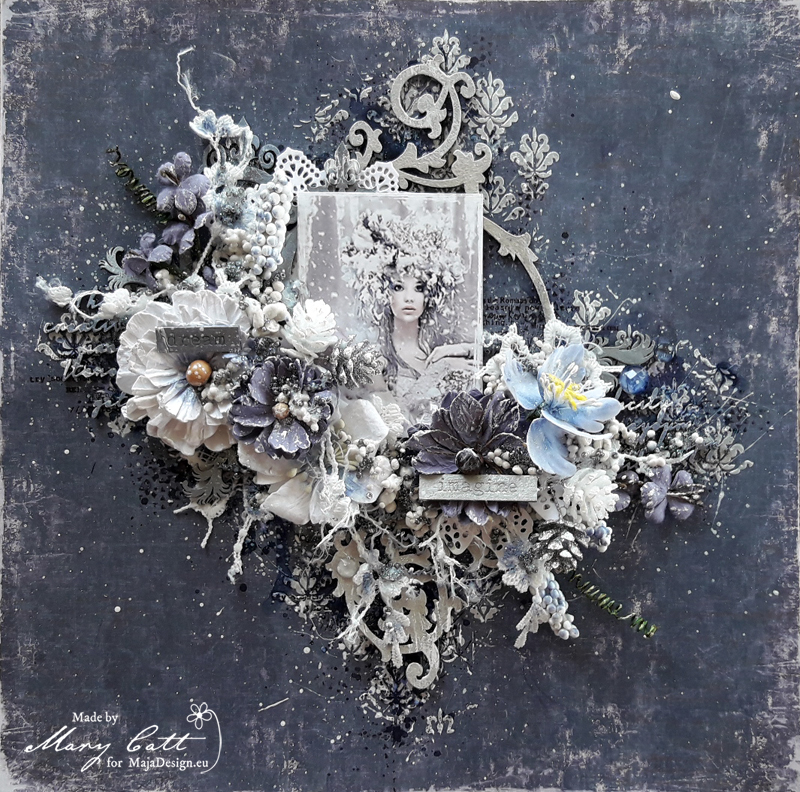
As you may already know, I love searching on Pinterest to find photos to scrap and this time I came across with that amazing photo. I picked a paper from the gorgeous ”Vintage Autumn Basics” collection that was just perfect for it. But, before I continue more I want to give all the proper credits to the ”unknown” photographer.

I choose to use the back side of the ”No XXI” paper. I started by applying a coat of clear gesso on the background and then I created texture with an icing paste and a Stencil.

Made some stamping here and there and used a Lindy’s Gang spray to add color.

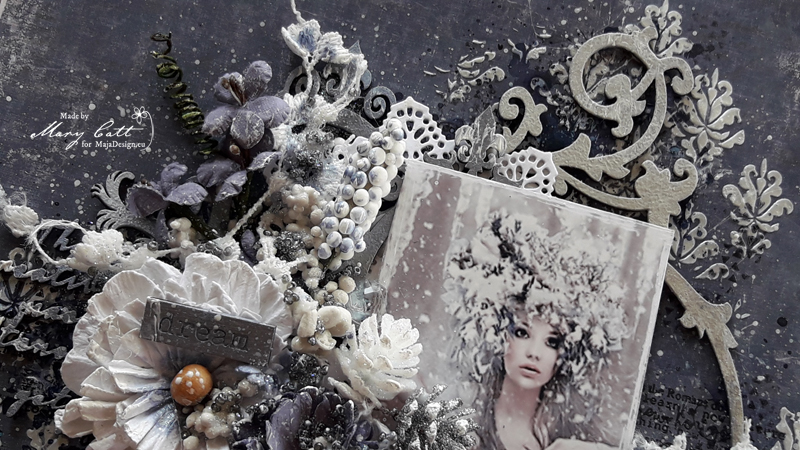
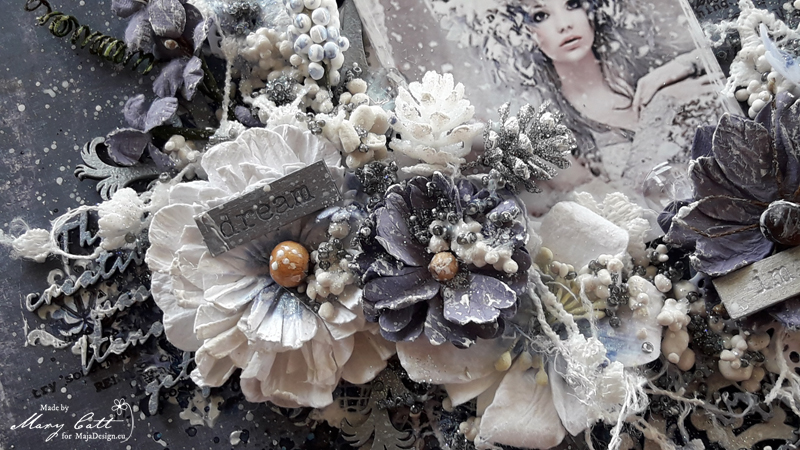
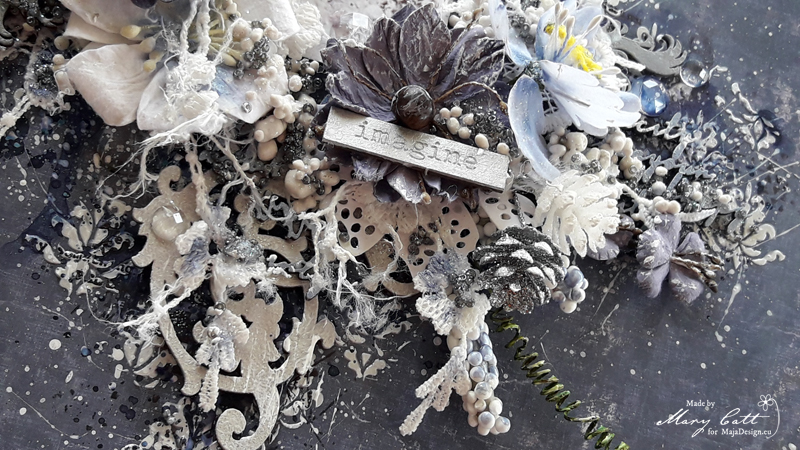
Next step was to paint all the Dusty Attic chipboards with the Finnabair acrylic paints.

When everything was glued down I added some art stones and glass glitter and beads. The final touch was made with some splatters with white gesso.


Paper used:


I hope you enjoyed my project!

Thank you for stopping by!