Good morning, Maja Friends, welcome to the blog today 🙂
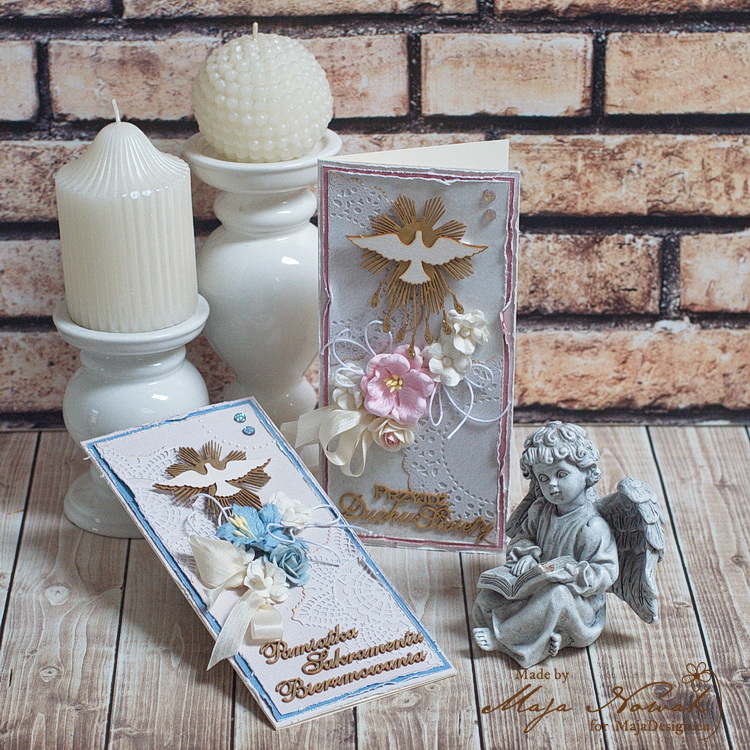
Spring always makes me think about new life after winter (though we all know winter IS coming! 😉 ), and since a couple of my friends are expecting right now, I thought it would be nice to have some welcome baby cards in stock, just to be ready when the time comes! And so in my today’s post I’m sharing a set of two cards I made using a mixture of papers:
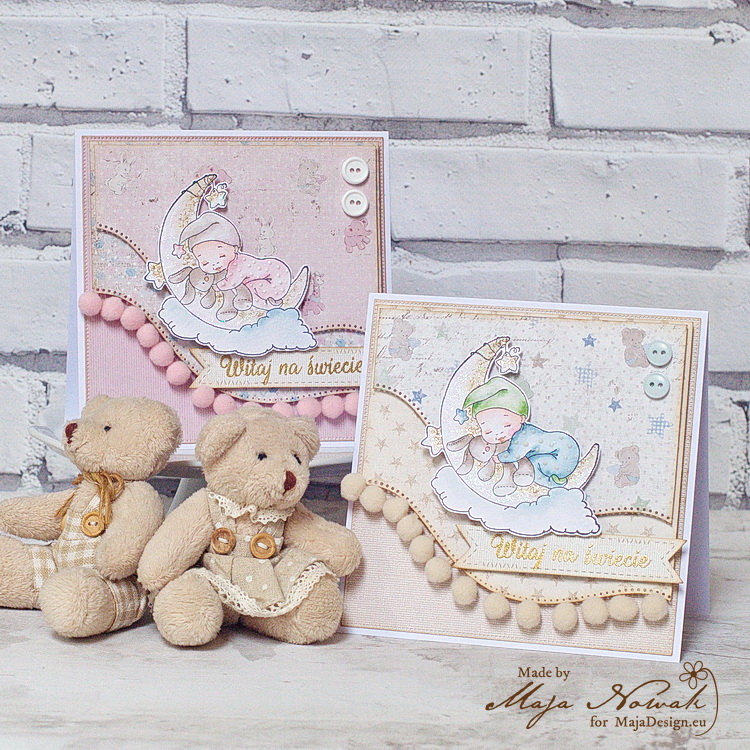
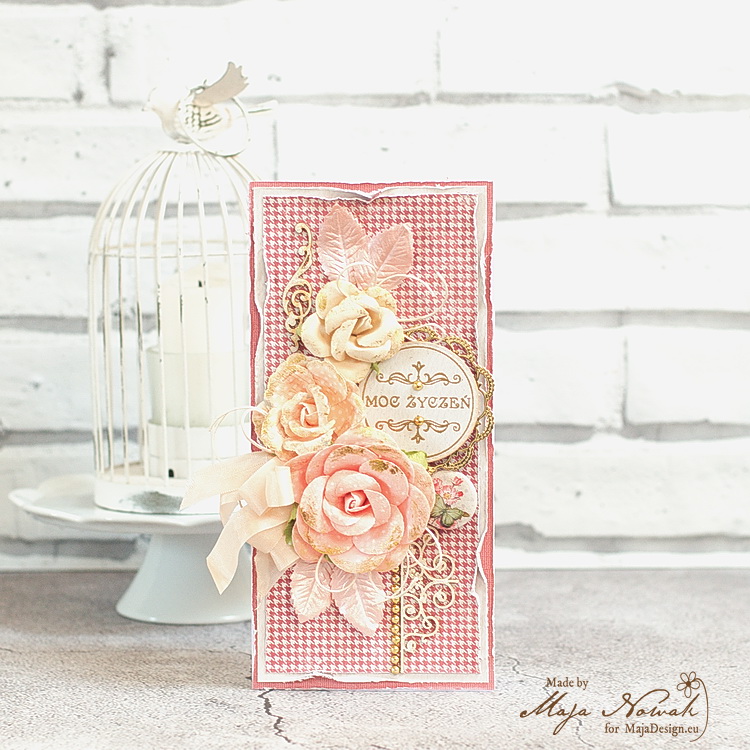
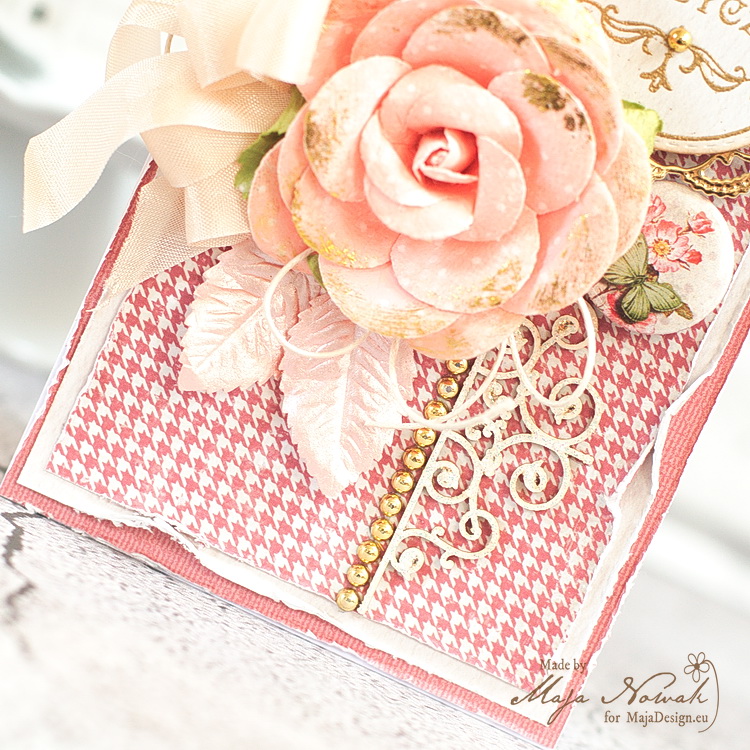
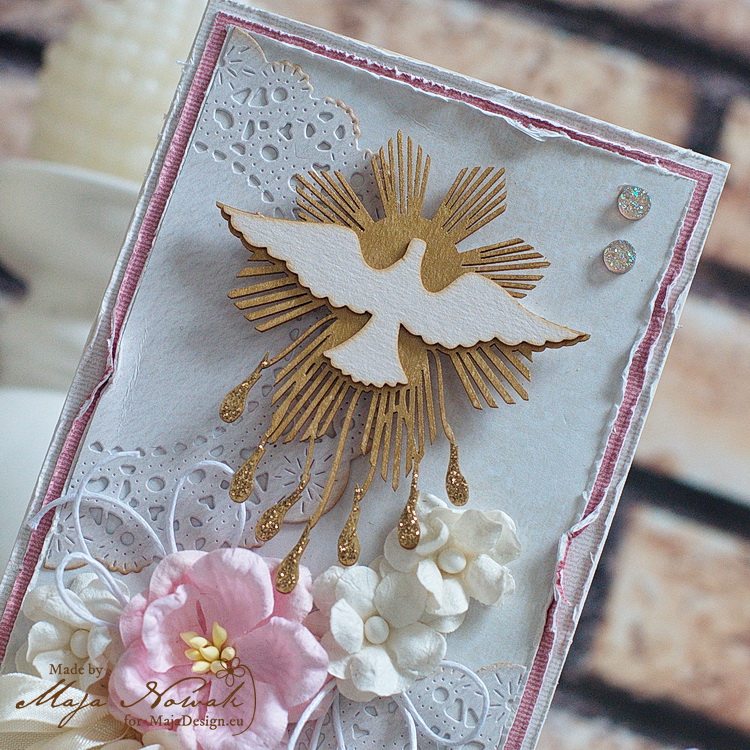
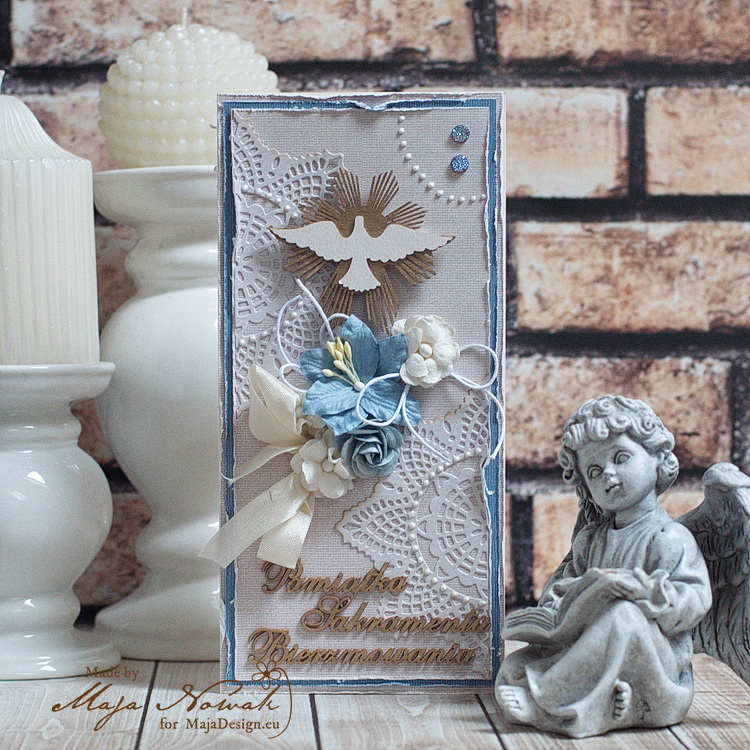
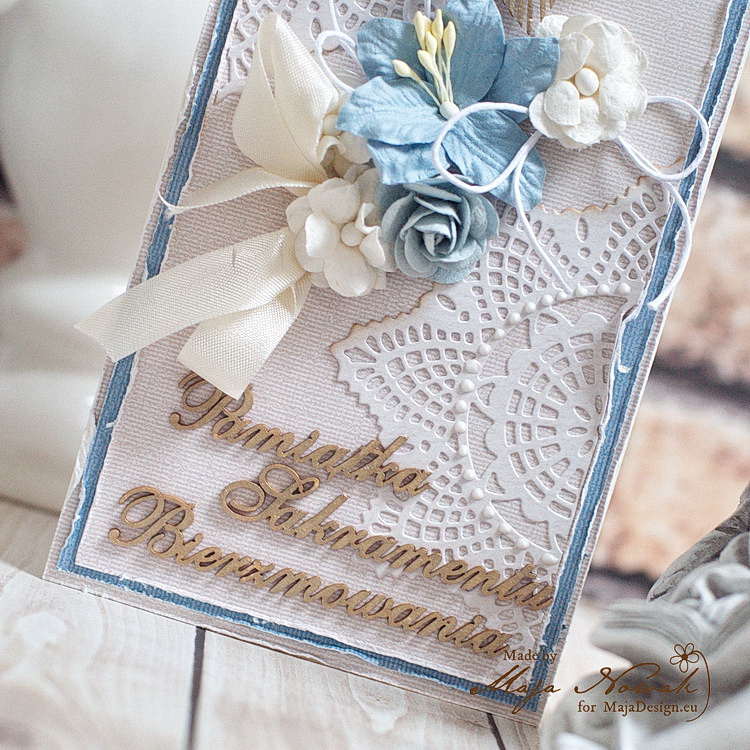
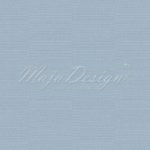
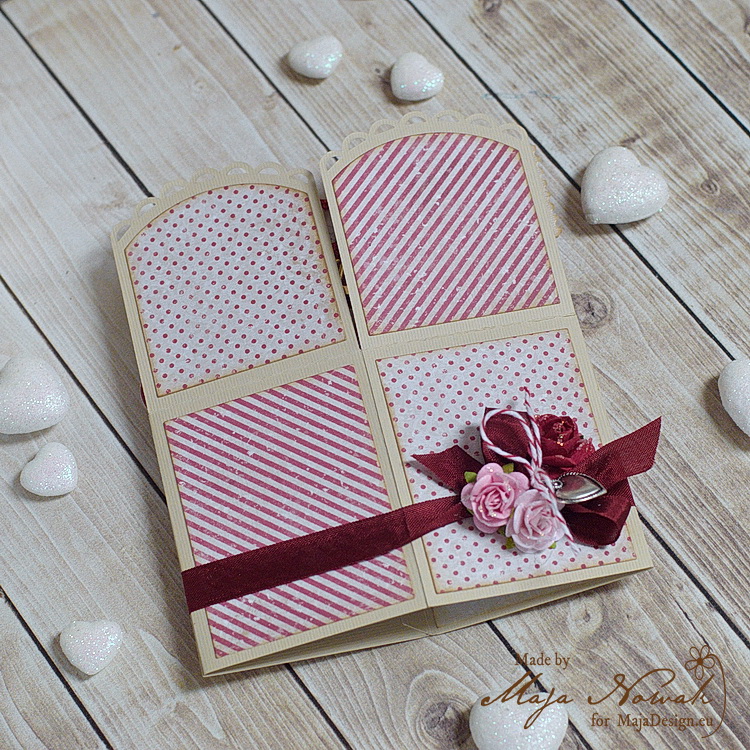
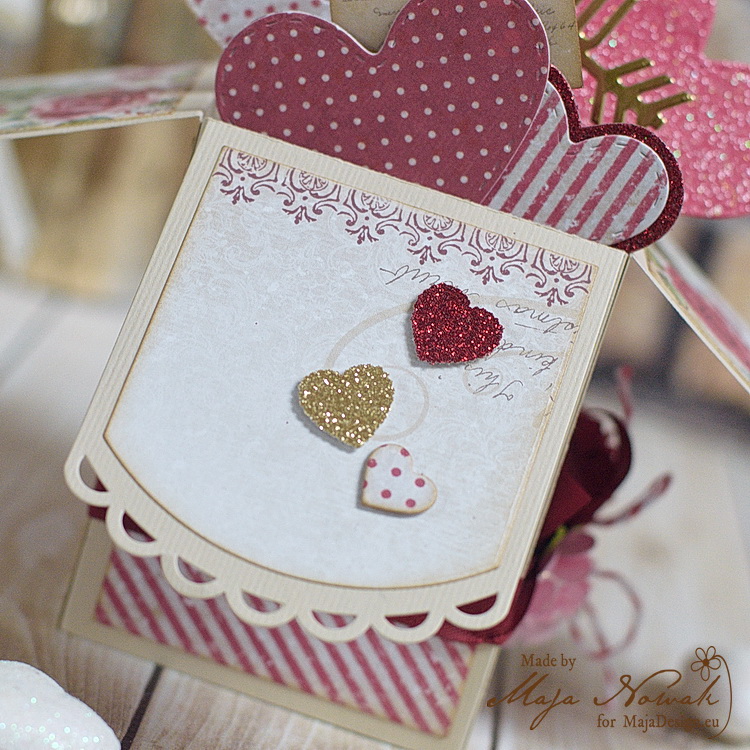
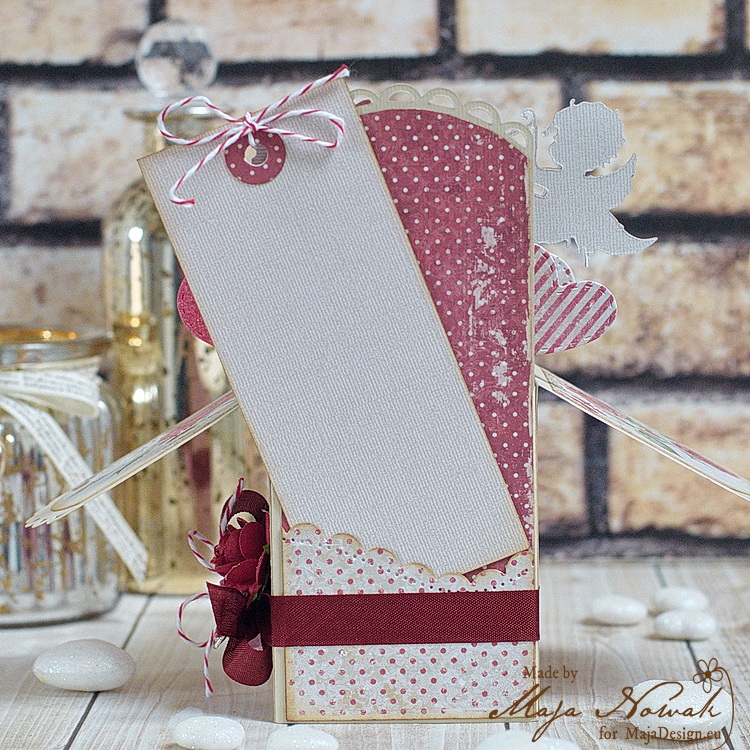
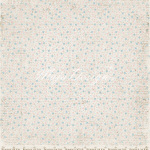
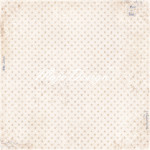
I used the same stamp for both cards, only coloured them – as usually, with Distress inks – according to traditional girl’s pinks and boy’s blues. I tried to match the shades of Vintage Baby papers that I used for the top layers of my cards. I also added some Monochromes for the bottom layer. The design is pretty simple: just some curved-edge layered papers:
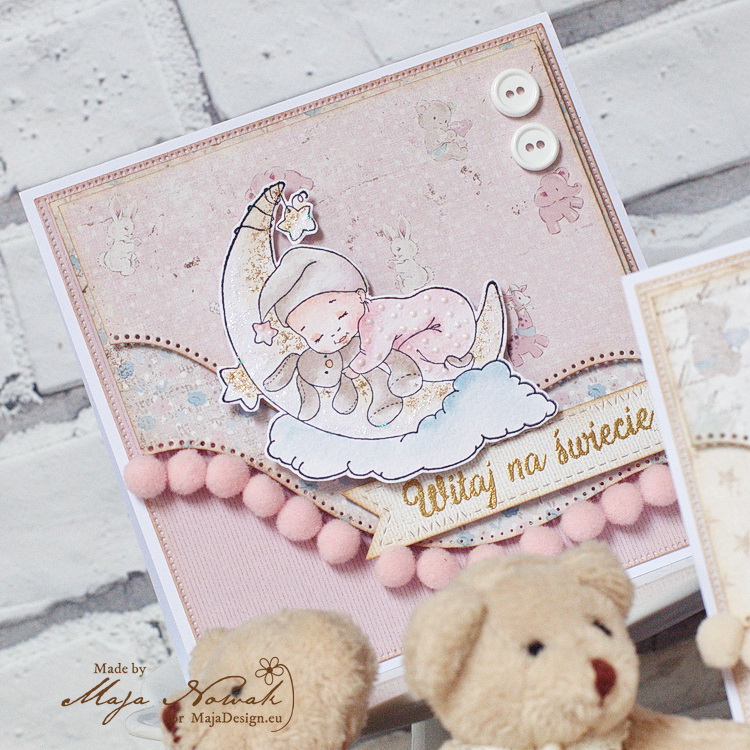
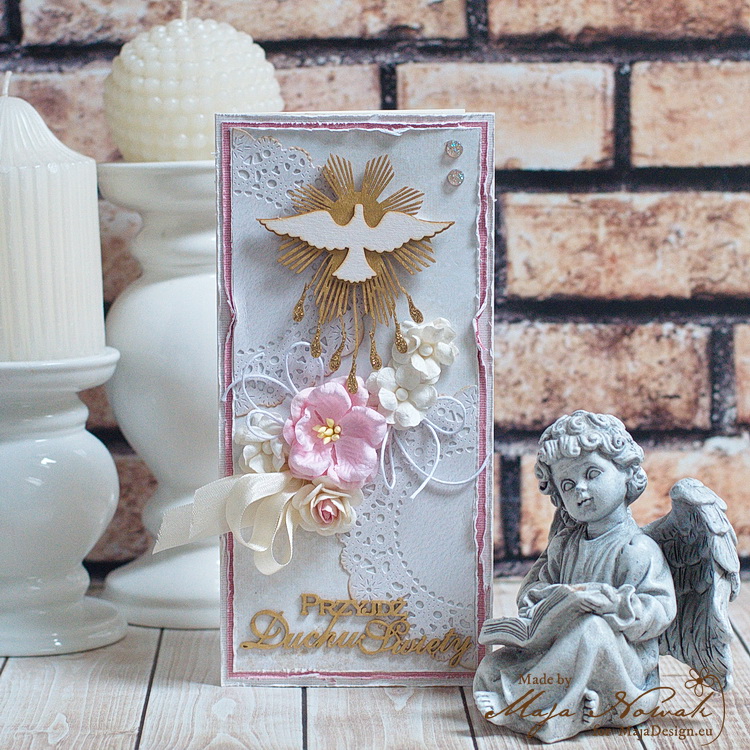
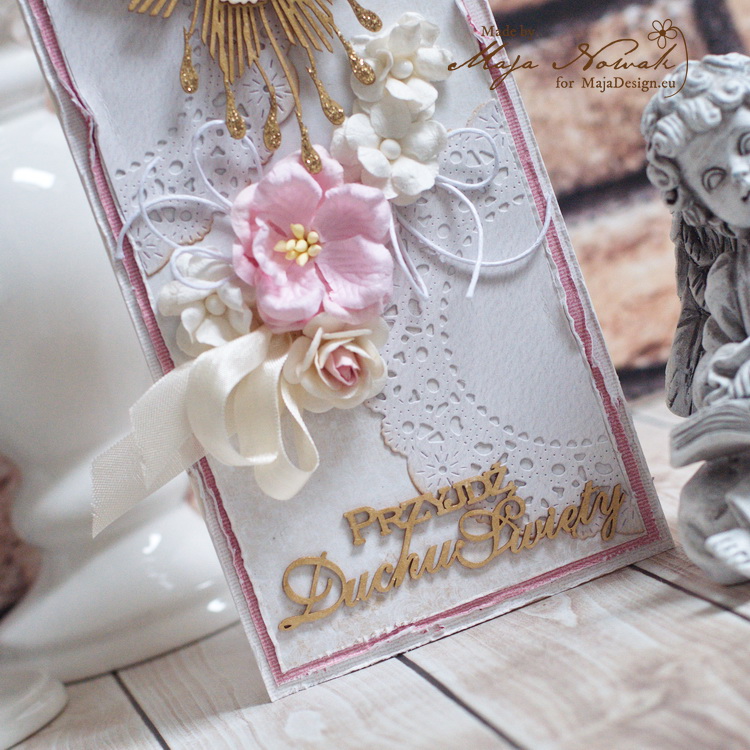
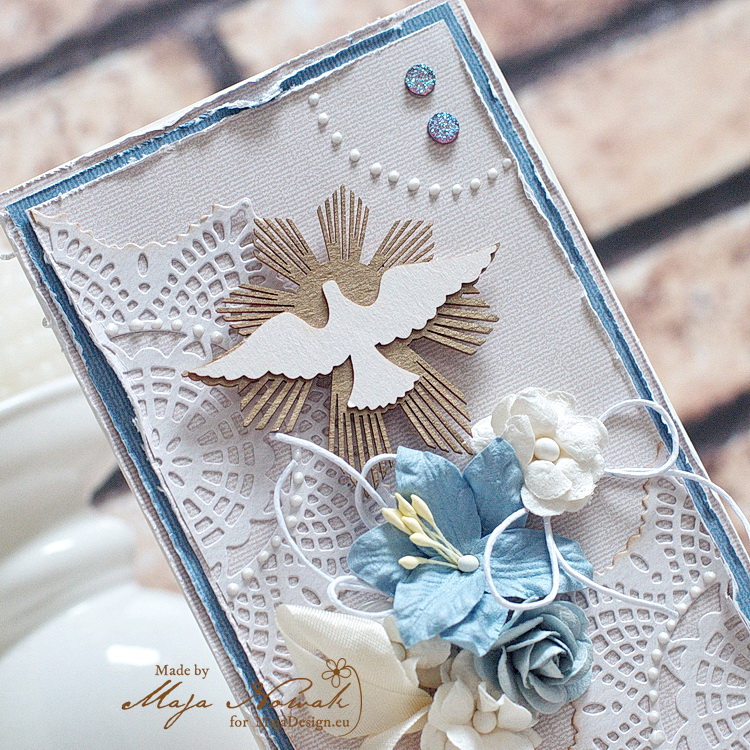
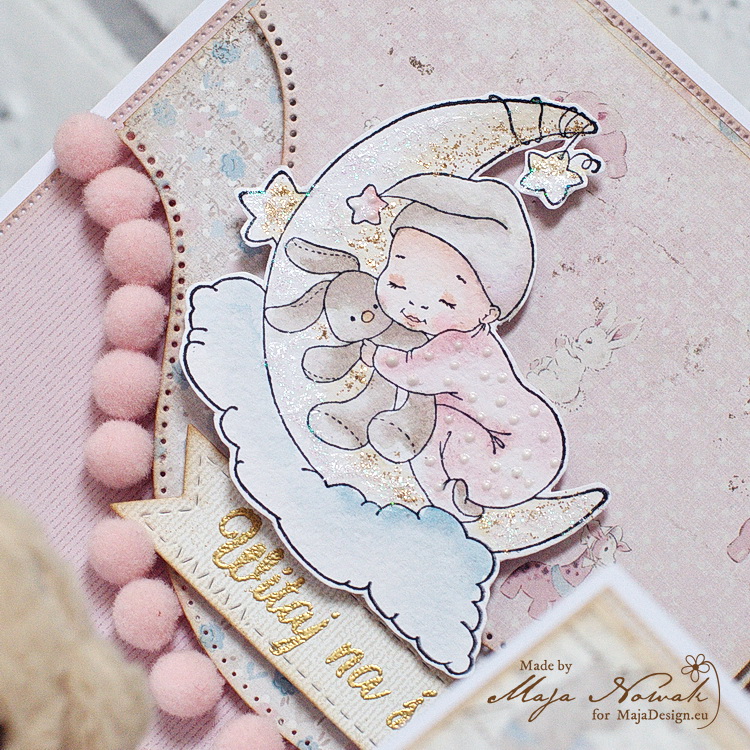
…a trim of pom-poms, the coloured stamped image in the centre:
…with two little buttons in the upper corner:
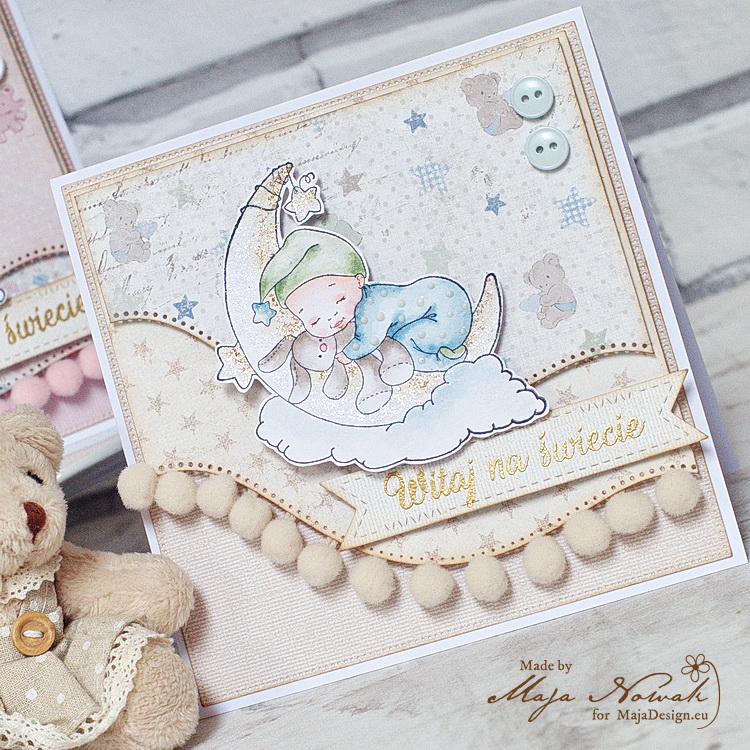
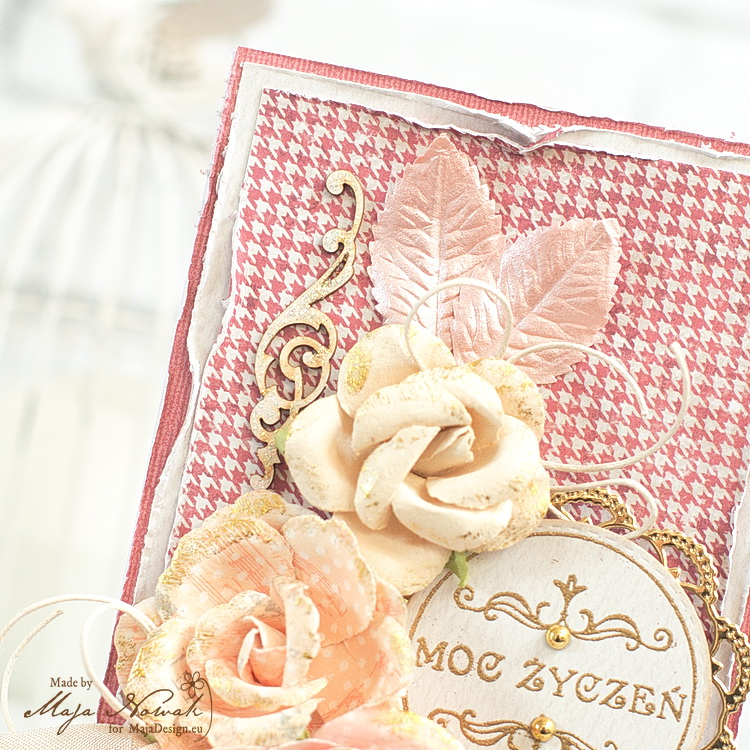
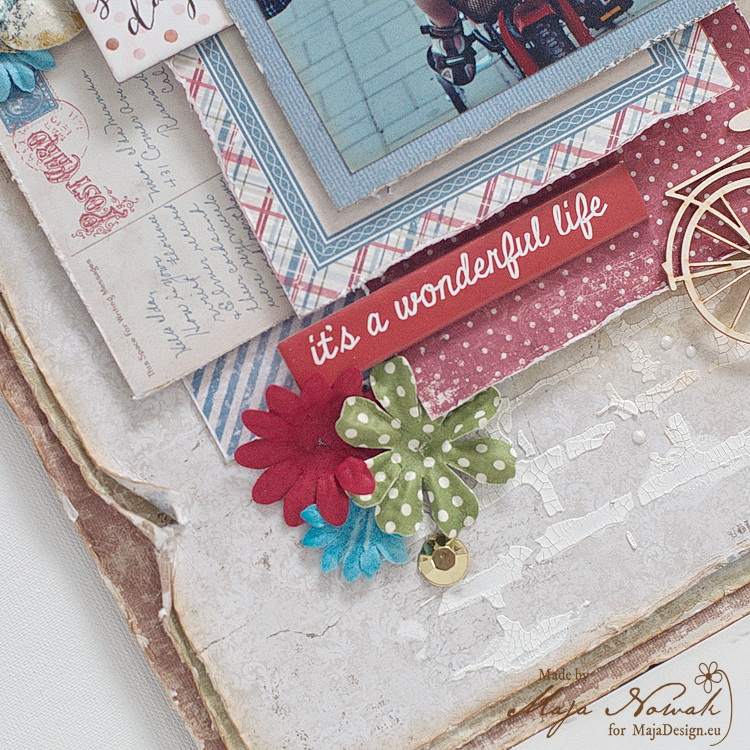
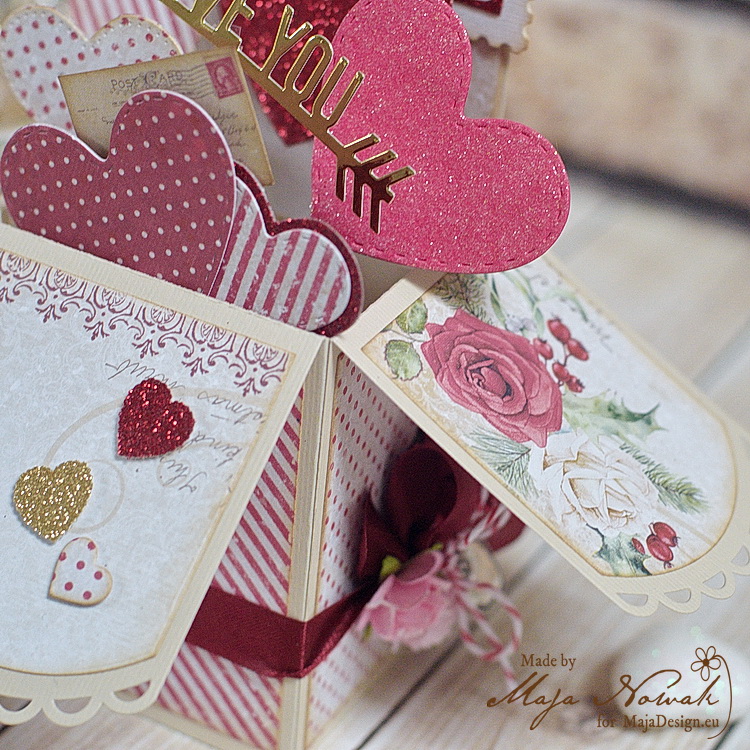
…and a touch of glam with ombre glitter and a gold-embossed sentiment:
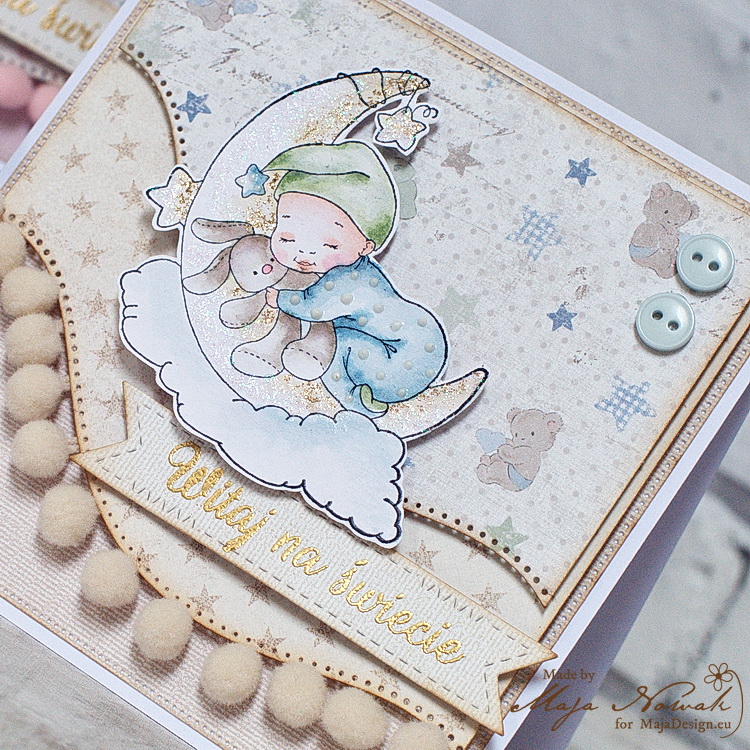
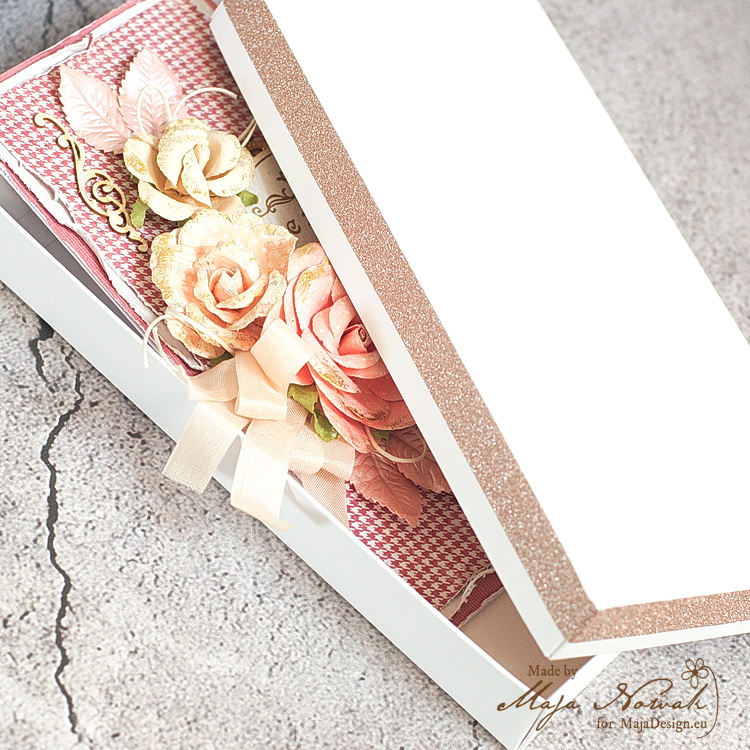
They are dimensional enough to suit my taste, but slim enough to go into an envelope 🙂
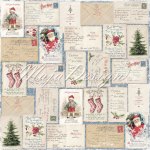
I really like the way they turned out – and look how the baby stamp imagery matches the style of those cute animals in the background 🙂
Here’s what I used:
Maja Design papers:
-
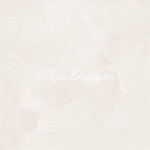
- Mono Christmas White
-
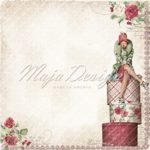
- Cherish
-
- Bundle of Joy – bs
-
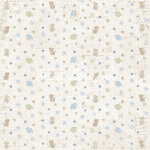
- Cuddly
-
- Fashion
Other: stamps: Whimsy Stamps, Lemonade; dies: Crea-lies, Spellbinders; pom-poms, buttons: my stash.
Thank you very much for visiting us today, don’t forget to drop by tomorrow for more inspiration! See you soon!