Sharing a Cup of Coffee With a Friend – Shaker Card

0

Posted by Jennifer Snyder

24 February, 2020 -

Write a comment

Hello Friends.  Jennifer Snyder here sharing a virtual cup of coffee with my Maja Design friends, and chatting about beautiful paper collections, shaker cards, and crafty fun.

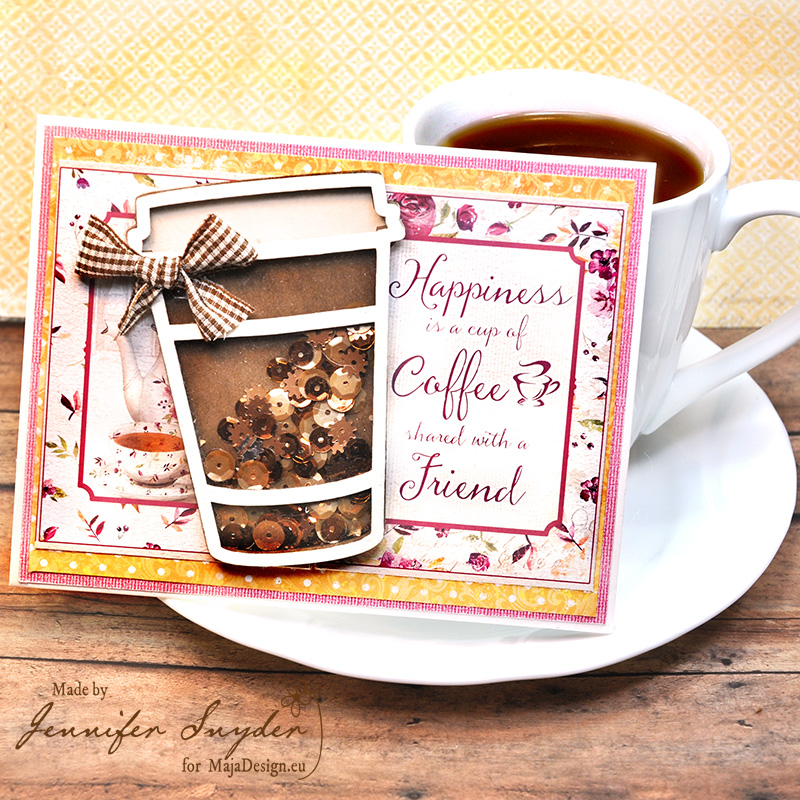
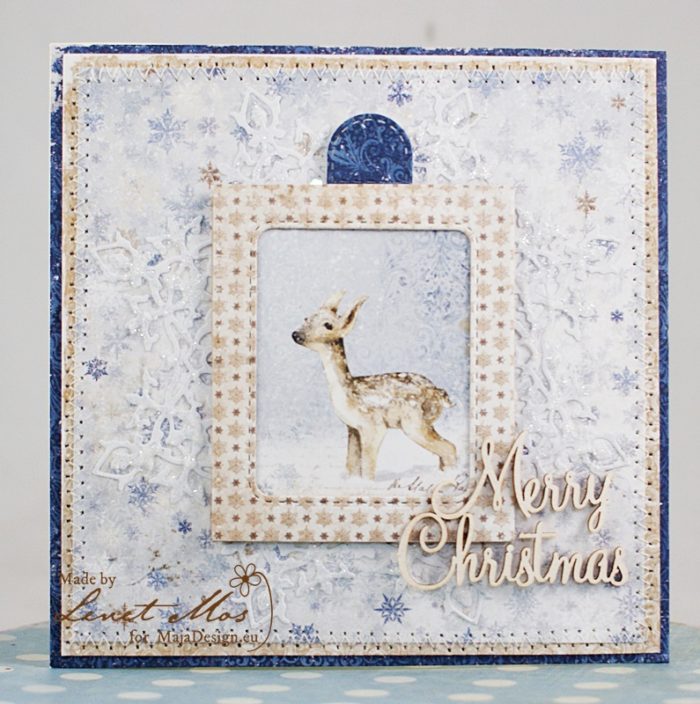
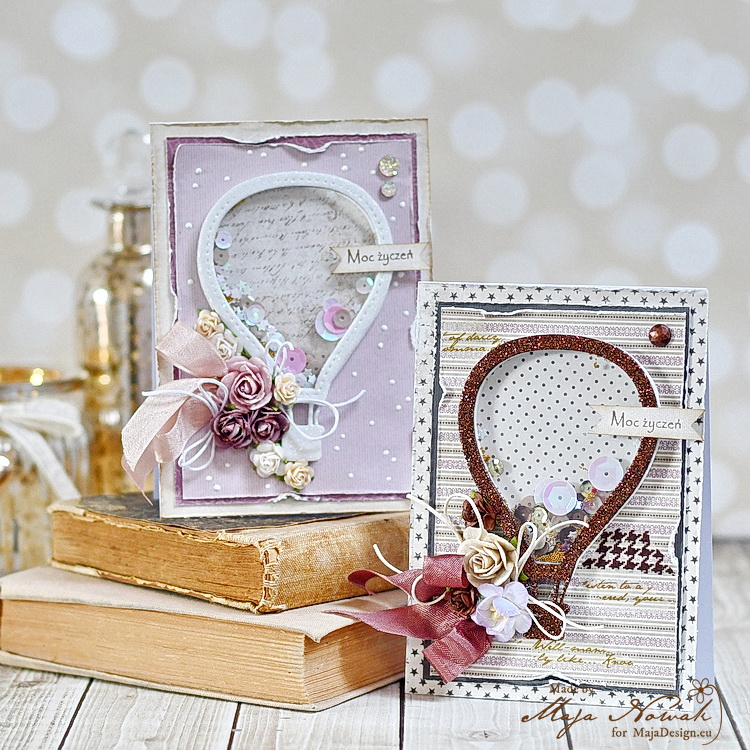
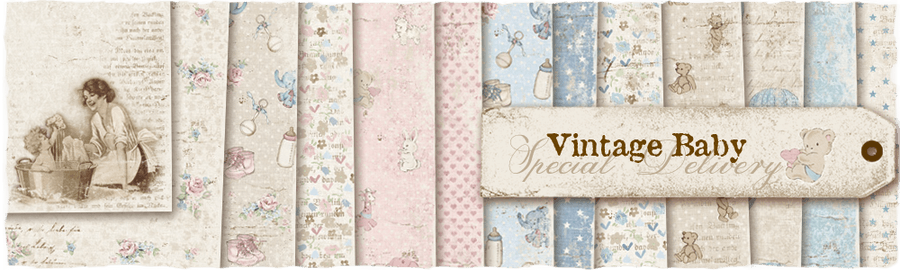
That’s what this post is all about – how wonderful lovely cheery papers make us feel.  Maja Design’s  ‘Little Street Cafe” collection is certainly top on my list of gorgeous collections with it’s warn tones of pink and golden yellow.


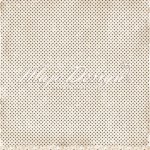
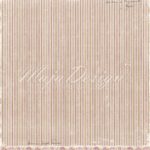
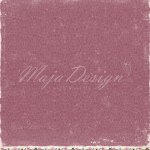
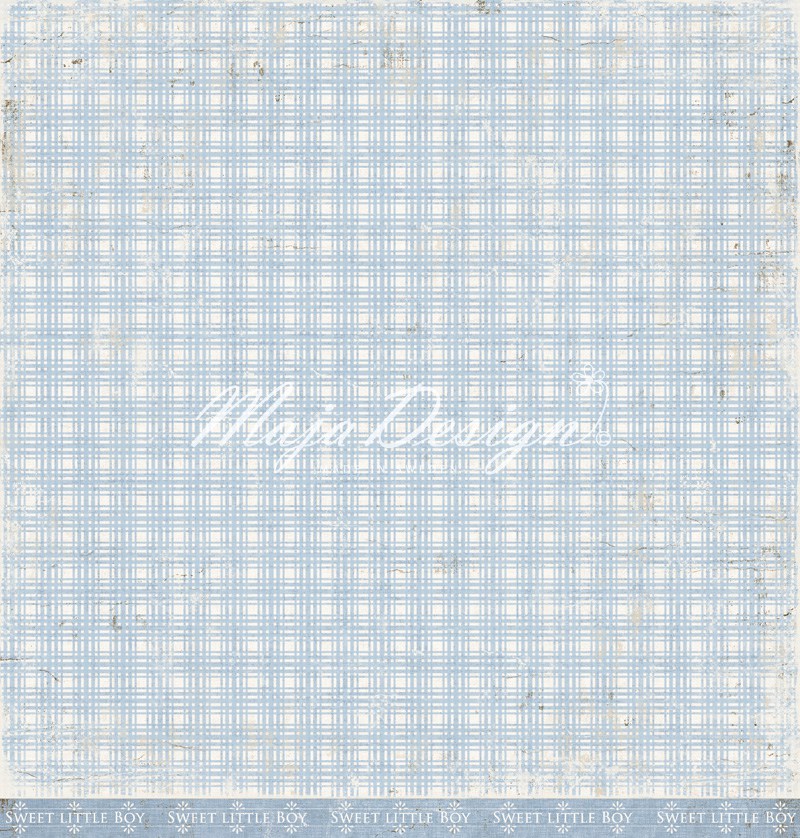
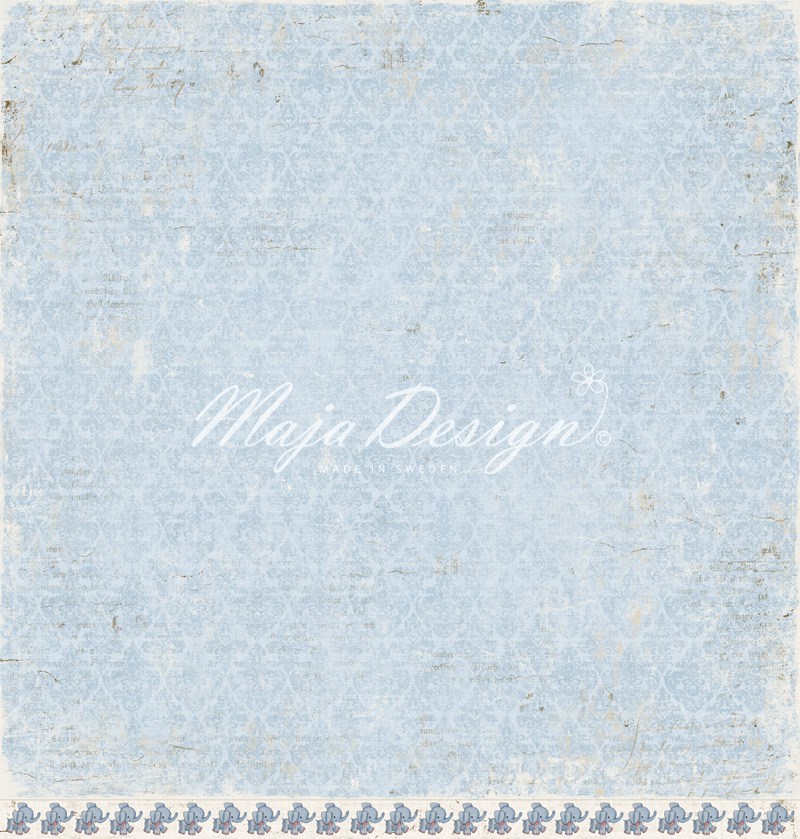
If you are not familiar with Maja Design’s monochrome  companion collections, here’s a little information that will help.  They are solid color sheets perfectly matched to accent the patterned papers; great for backgrounds, borders, die cutting and blending your paper-craft passion.
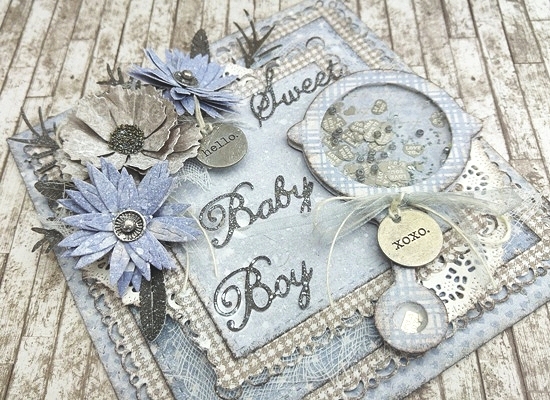
In addition to the Monochrome collection, Shades of Cafe, I used the following papers for my card:  Sunshine and the Die Cut sheet.
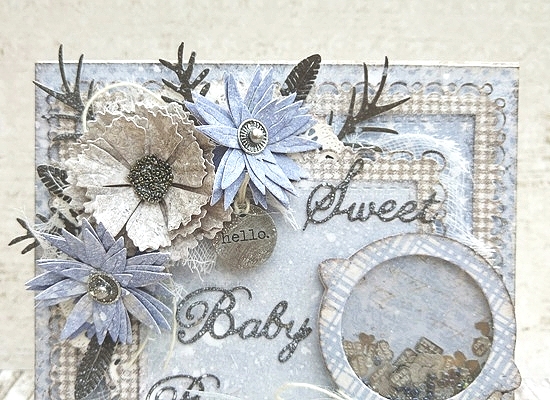
The die cut selected says,

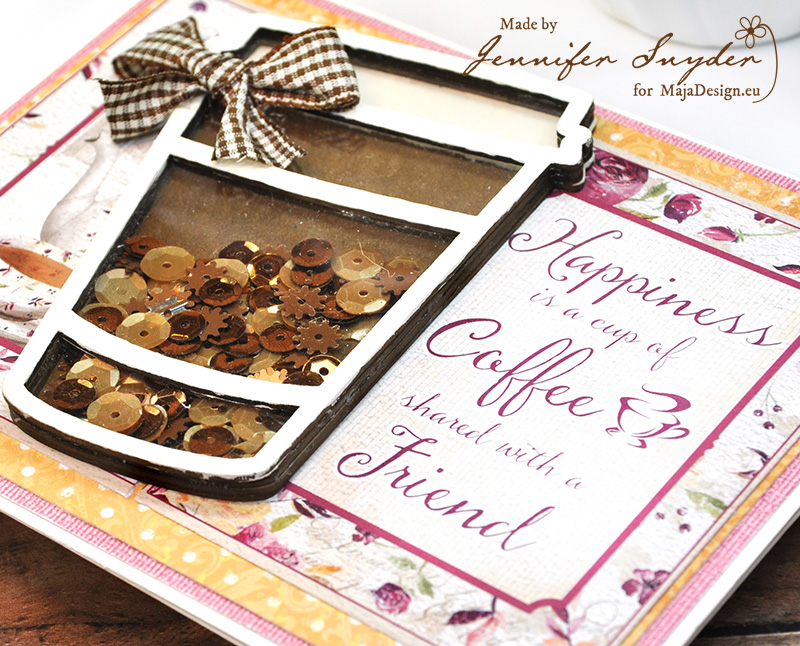
“Happiness is a cup of coffee shared with a friend.”

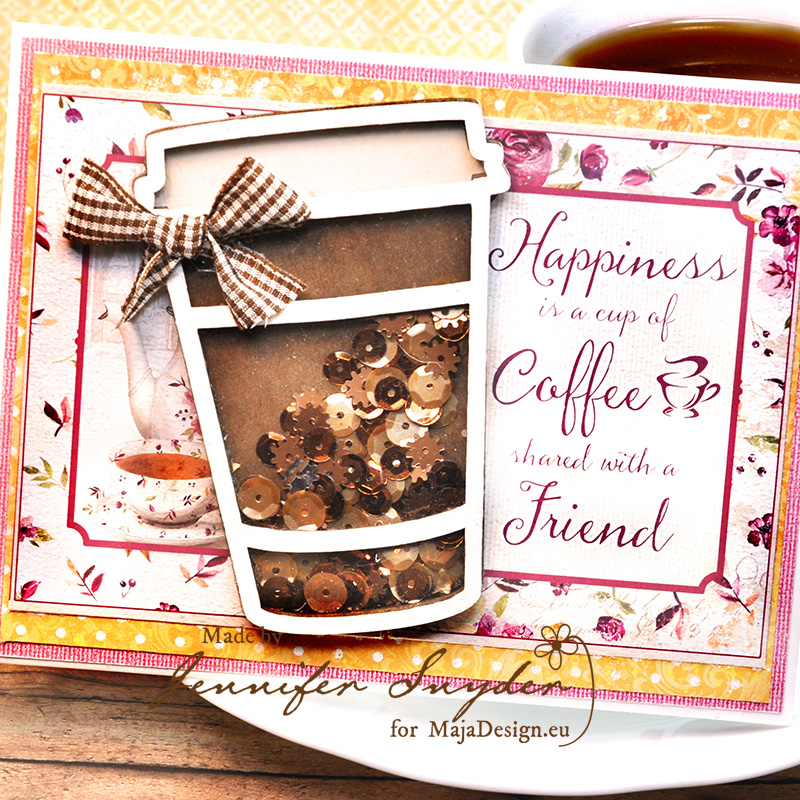
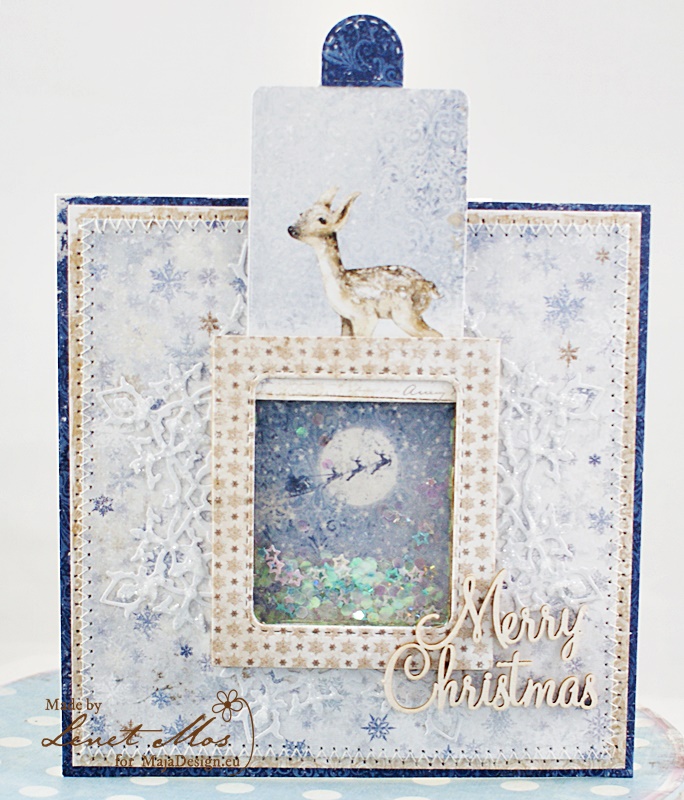
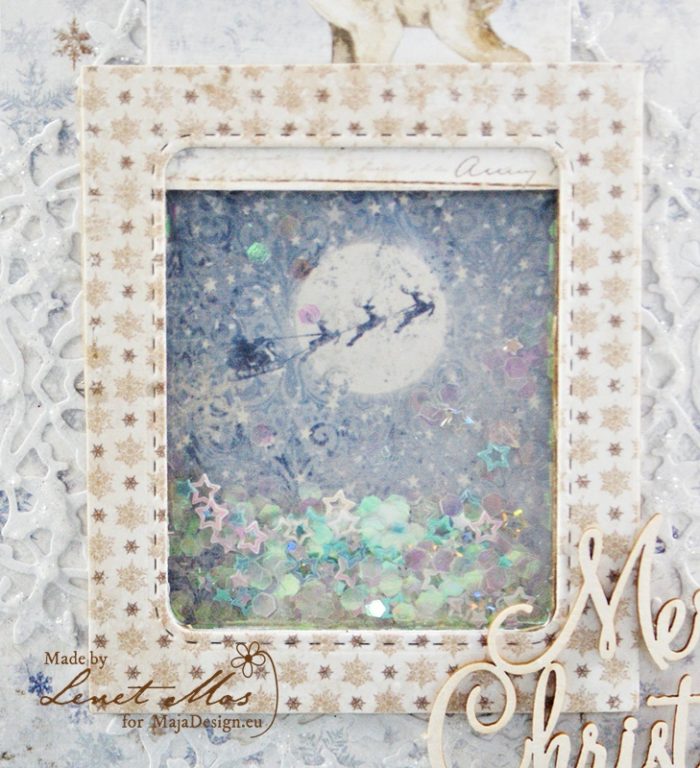
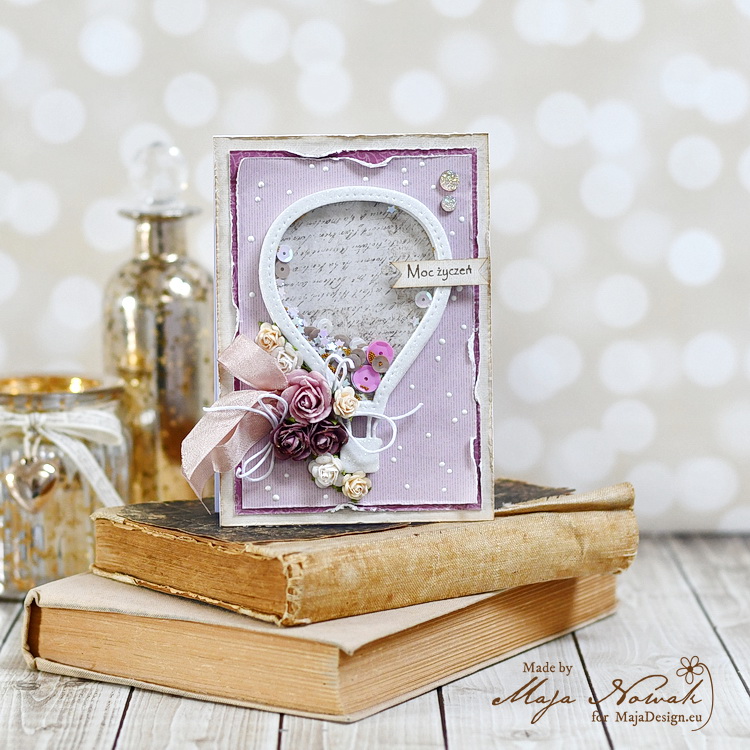
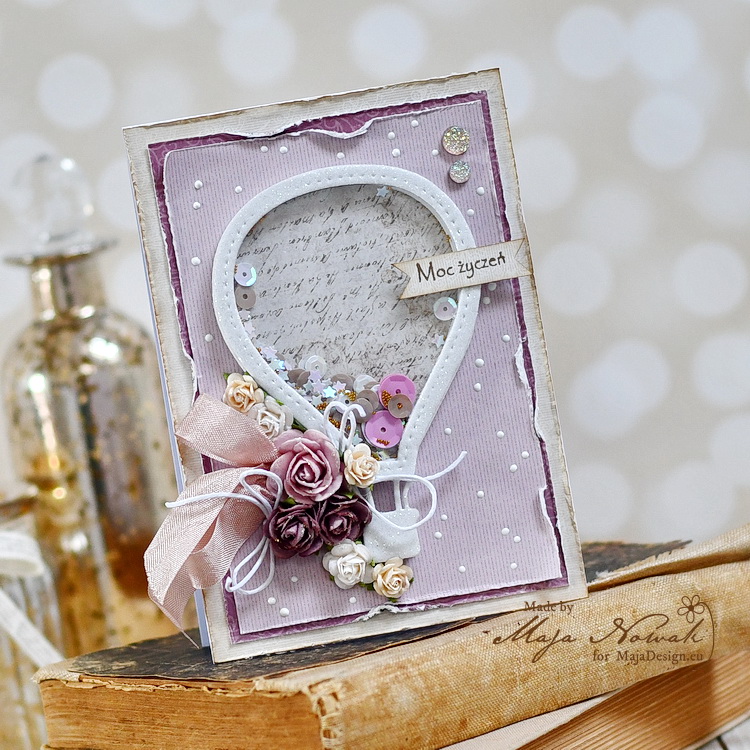
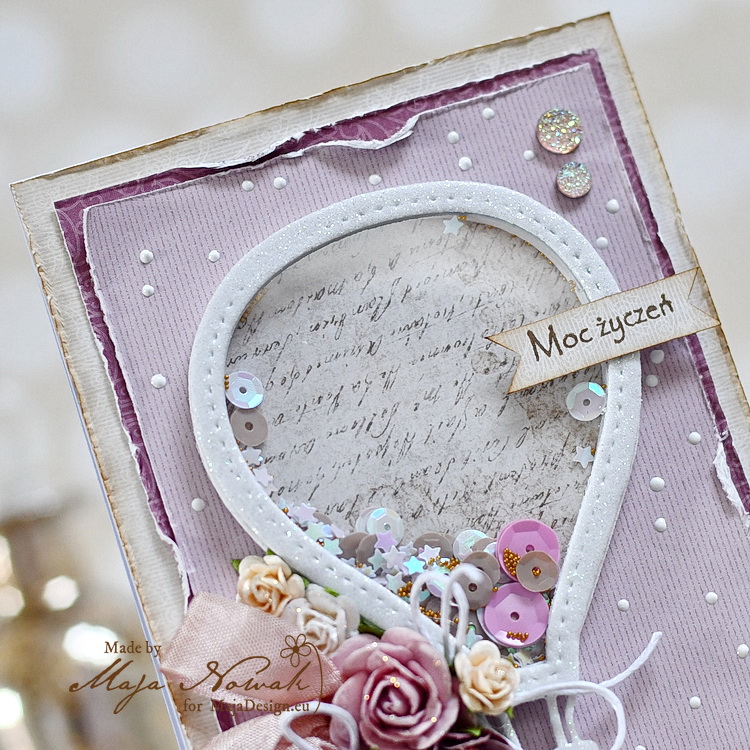
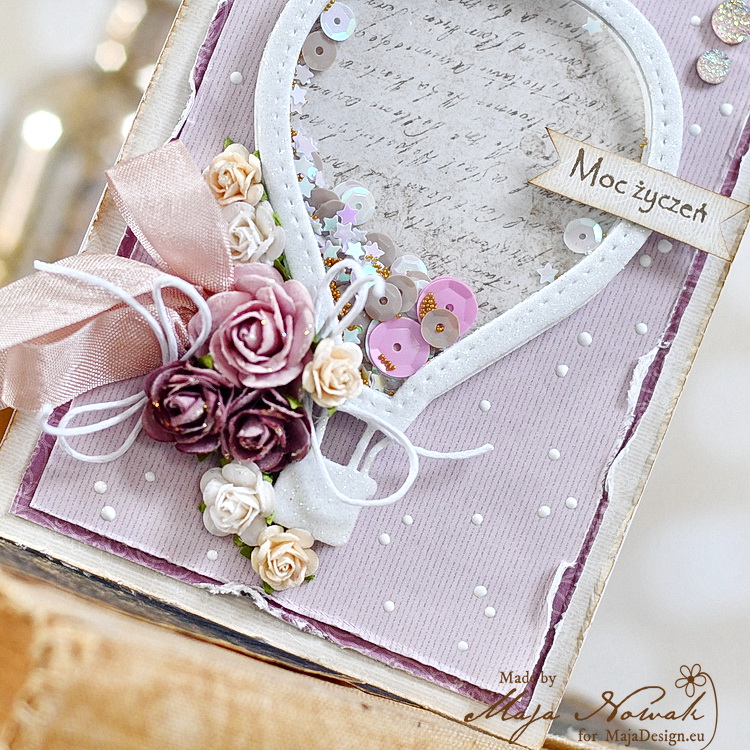
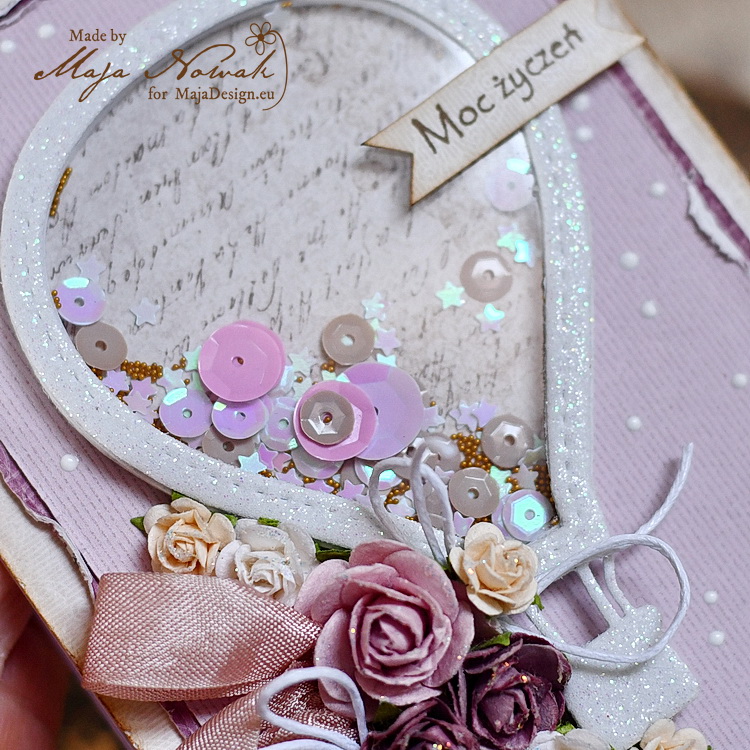
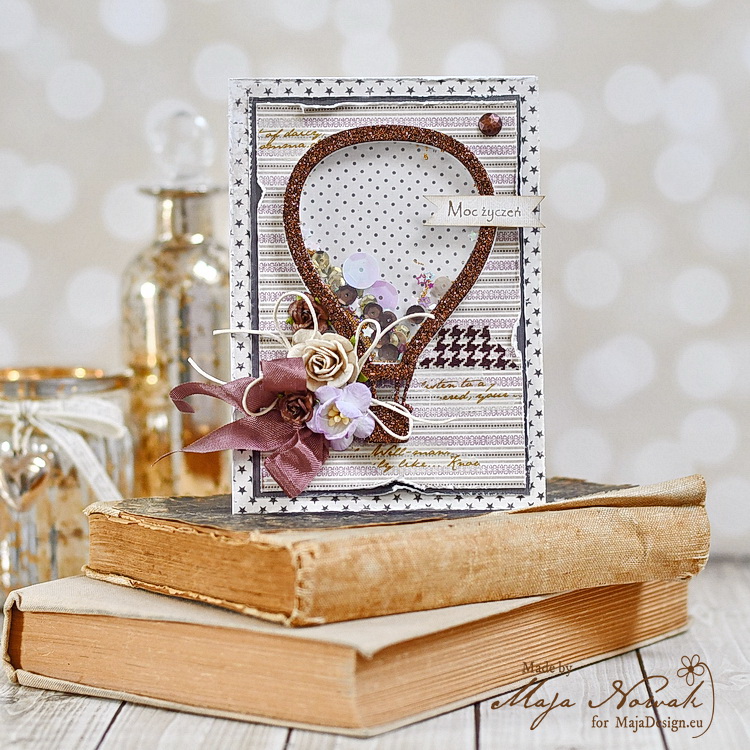
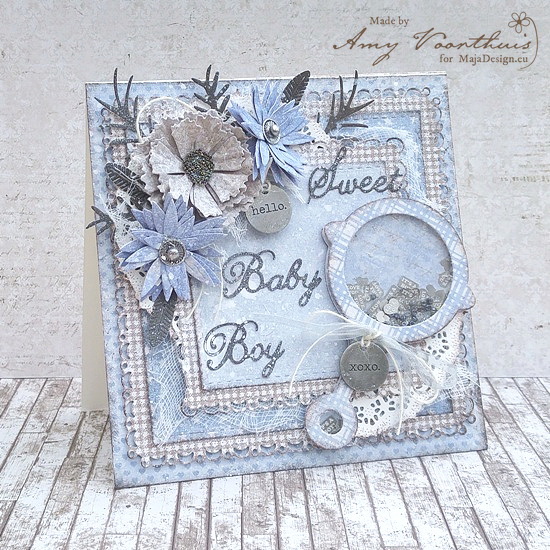
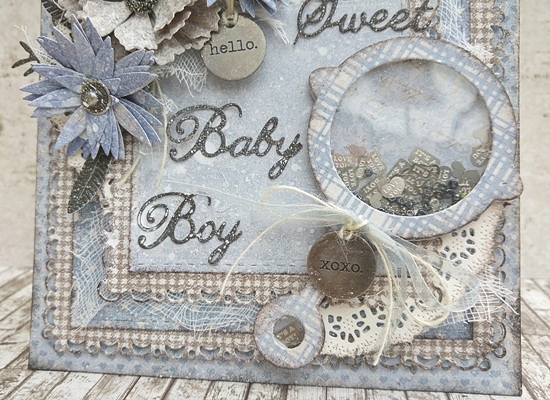
Nothing is better than sharing a real cup of coffee with a friend,  but I came up with the “next best thing” which is the shaker cup of coffee.  This is a fun interactive shaker card that will put a smile on that friend’s face.
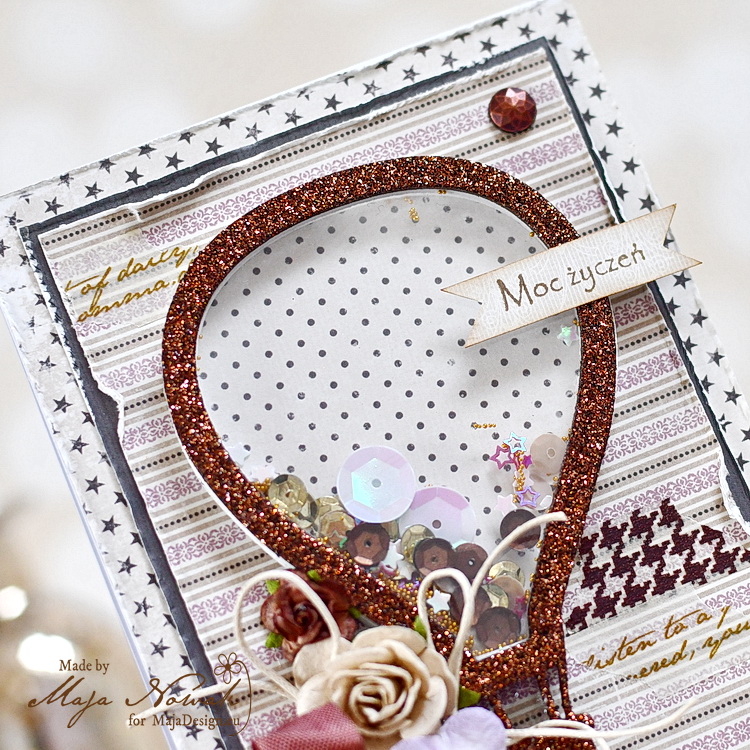
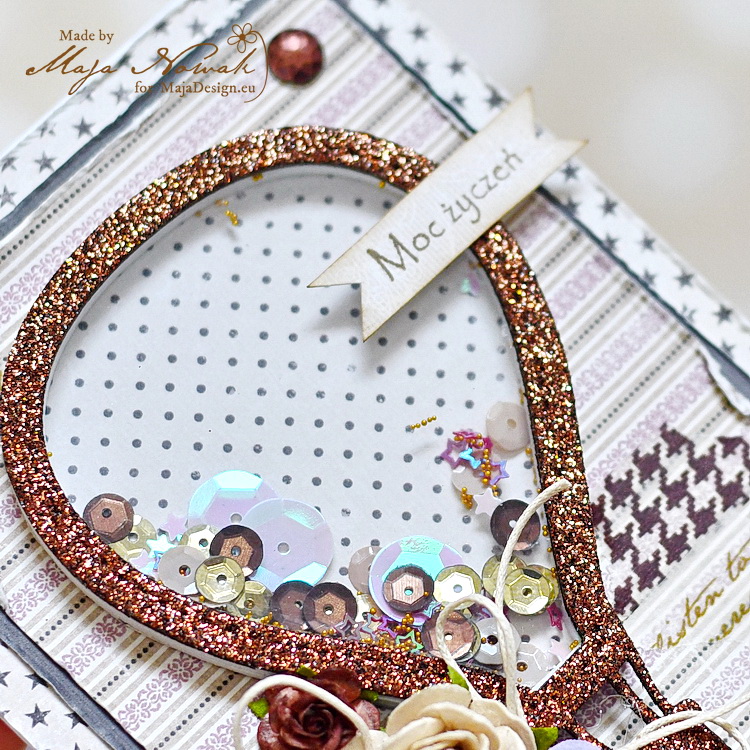
The chipboard shaker cup of coffee is from Creative Embellishments, and the fun shaker mix is from Buttons Galore and More.  It’s a fun combination of sequins and beads bringing joy to me coffee cup.
  Thank you for stopping here today.  Happy crafting.

Christmas Slider Shaker Card by Lenet Mos

2

Posted by Tina Ollett

18 November, 2019 -

Write a comment

Hello sweet maja fans,

Lenet here and today I bring you this Christmas slider shakercard.

If you pull the bleu tap you can see the shaker part , with Santa in his sleigh on his way to deliver the presents.

I had this photo sleeve fuse tool from Becky Higgins in my toll drawer for awhile now and never used it, so I thought now is the perfect time to do something with it and so I made the shakerpocket using it.

Never thought it would be so fun and easy, I’m sure I will be using it more often now.

Here you have a closeup of the shakerpart.

For this card I used a combination of the 15×15 set and the 12by12 from the newest Holiday in the Alps collection.

For the snowflake behind the shaker I used the Snow sheet from the monochromes -Shades of the Alps.

I think it’s such a splendid idea to make the matching monochromes, now you have always the right color cardstock to go with your papers.

The Merry Christmas sentiment is from Scrapiniec.

Thank you very much for visiting the blog. I hope you like what I made for you.

Make sure you come back to see what the other maja girls have made for you.

Best Wishes Balloons

2

Posted by Maja Nowak

24 October, 2019 - , ,

Write a comment

Good morning, dear Maja Fans, welcome to the blog today 🙂

What I love about the crafting community is that it brings together creative people willing to share their talent and support other crafters worldwide. I found some of my best friends through crafting sites and even though we’ve never met in person I feel I can rely upon them and they can really brighten my day. In my last post I shared a welcome baby card that featured a shaker element and I complained about how tiresome it was to build up the shaker window edge. And then in the comments I found a very useful tip that Maryann Laursen shared – using craft foam to die cut the shape. And that was it! Why did I never think of that? 😀

As you can see, I used a slightly more complicated shape to cut, but with the foam it was pretty easy to do and I only needed two pieces to make a decently deep window. So much easier than using foam squares or glueing at least 8 layers of paper! Then I traced the shape on the acetate with a permanent marker and cut it out by hand (now I found that diecutting acetate makes it crack like glass, and besides, craft foam die cuts a bit larger shape than paper due to its elasticity) and then for the top layer I used glitter craft foam:

I used the Celebration collection with the Monochromes papers too as I didn’t want to distract the eye with a pattern. I decorated the balloon with flowers and added some liquid enamel dots for more texture in the background:

I filled the shaker window with sequins of various colours and shapes and added some microbeads:

I was so happy with this new easy technique for shaker cards that I made another card of the same design and using the same papers, but in a more masculine colours:

This time I used a delicate stripes pattern for the background and added pieces of washi tapes to add some interest.

And I really want to give Maryann Laursen a shout-out here. If you go through the posts on our blog, you will barely see one she didn’t comment on! She is a lovely person who is always ready to appreciate creative work and share her knowledge too. Maryann – thank you for being such a loyal Maja Design fan, these cards are for you 🙂

Here is the list of supplies I used:

Maja Design papers:

Other: flowers, vintage ribbon: Wild Orchid Crafts; stamp: Lemonade; balloon die, washi tape: Action; sequins, wax string: my stash


That’s all for today – thank you for visiting and come back tomorrow for more inspiration!

A shaker card!

0

Posted by Camilla Støen Bakke

27 December, 2017 - ,

Write a comment

IMG_9430
Hi everyone! I am back with a shaker card today. I am making some videos on You Tube for Magnolia, and this is my final product. In the last video I show how to make a shaker card, and how I made this card. It is on the Magnolia channel today. I have used some gorgeous Maja papers for my project.

Vintage-Summer-Basics-P

I thought this collection would fit my project perfectly!

IMG_9422

I have used Distress Inks, re-inkers and Markers for the image.

IMG_9437

Here you see the shaker card, which is filled with glitter.

IMG_9412
Some more details. The cute flowers are from Petaloo.

IMG_9421

I think the flowers match the papers so well.

IMG_9447

The shaker box from the side.


IMG_9444
Thank you so much for visiting the Maja Design blog today!

With love,

Camilla

Hello Sweet Baby Boy

0

Posted by Amy Voorthuis

10 January, 2017 - , , , , ,

Write a comment

Goodmorning Maja friends,

Today I am here with you all to show you a card I made with the lovely “Vintage Baby”collection! I am getting more and more addicted to that collection because of the soft colors and that you have both blue & pink sheets in it. For today it’s a baby boy card with handmade flowers and a rattle shaker with metal pieces in it {also some beads and glass glitter}

20161214_133401_HDR000000000001

I cut out different pieces of the blue & darker brown papers and placed them on top of each other to get more dimension, underneath the last layer I added some cheese cloth and a paper doily that I cut in half. The card is all made out of dies from a manufacturer I design for. Sorry for the different shades in the pictures but we have some bad weather and my camera is acting up!

  20161214_133419_HDR

20161214_133414_HDR1

What is great about using dies is that you can make your own flowers and you don’t have to worry about the colors not fitting well on your work. I always had a problem finding the perfect blue shade color for my work and now that problem is being solved by making my own flowers. Maja Design papers really allows you to make beautiful paper flowers from their collections because of the high quality & thickness of the papers.

20161214_133428_HDR (4)

Actually I used three other Maja Design collections here too, the blue flowers are made with “Nyhavn”collection! The flower with the beads in the center is made with the “Vintage Romance” collection and the feathers & leaves are from the “Vintage Summer Basics” collection and they all go so well together don’t you think so too??

Maja Design papers used: Vintage Summer Basics: 1905 bs, Nyhavn: Old Townhouses bs, Vintage Romance: Marriage proposal bs, Vintage Baby: It’s a boy bs, Adorable bs, Special Delivery bs & Die cuts bs

Vintage-Baby-P

732-Its-a-boy-2s 736-Adorable-2sNY 737-Special-Delivery-2s 750-Die-cuts-2s

Thank you so much for being here with us today and have a wonderful week!

Love

4