Lovely Timeless Moments

0

Posted by Amy Voorthuis

20 May, 2016 - , ,

Write a comment

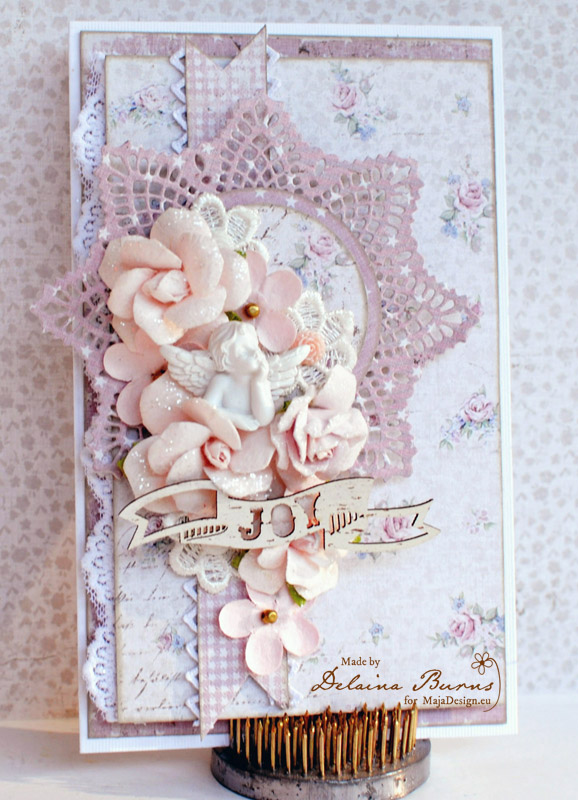
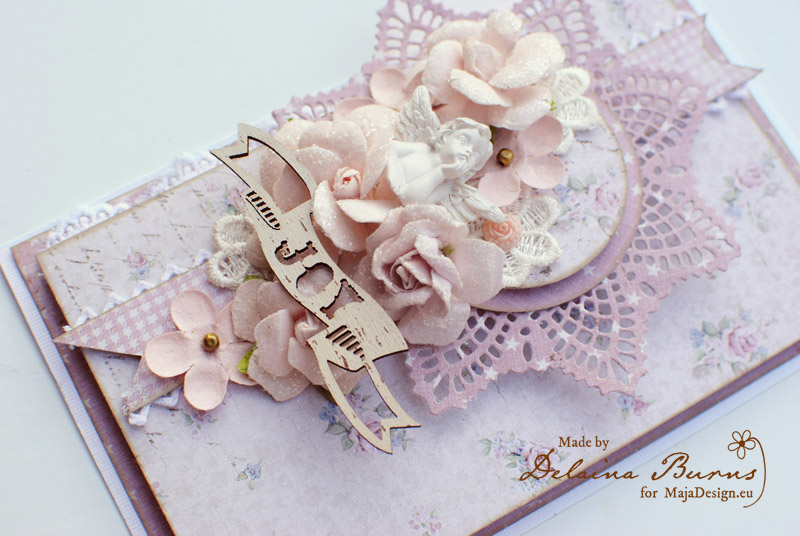
Goodmorning everyone,

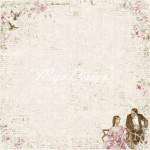
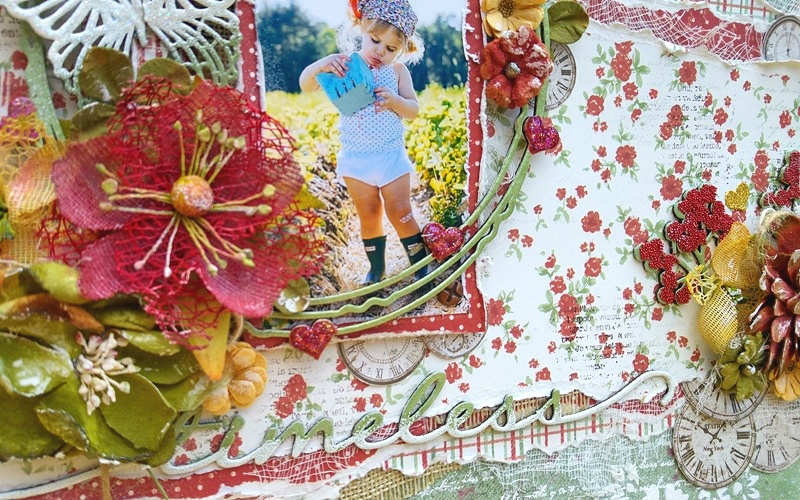
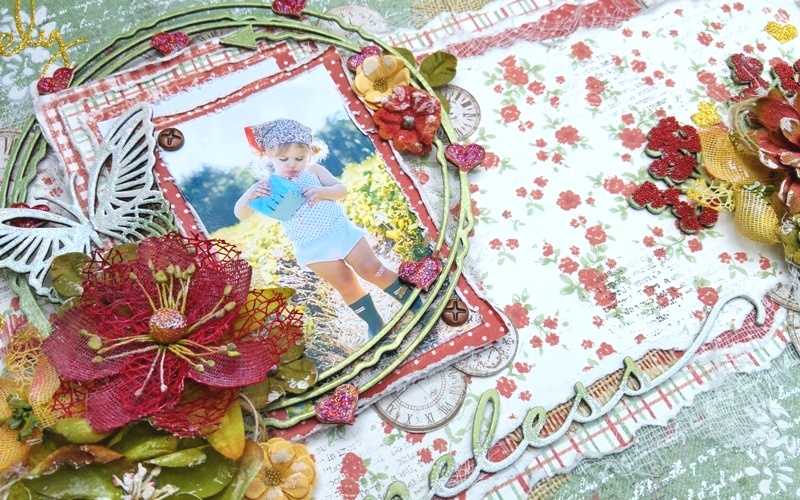
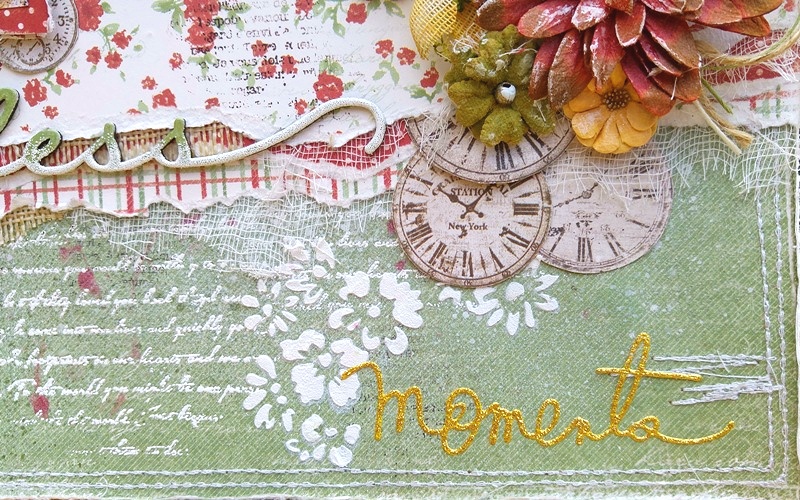
I just found out I really like the word “lovely” and that I very often use this word like on my last layout that you have seen two weeks back hihihi…..well it’s a nice word right! Today I would like to show you what I made using the pretty “Life in the Country”collection. The chipboard pieces are all by Creative Embellishments. I saw this cute girl on pinterest eating some yummy strawberry’s and I immediately thought well I need to use this paper collection for that adorable picture.

20160519_140335_HDR11

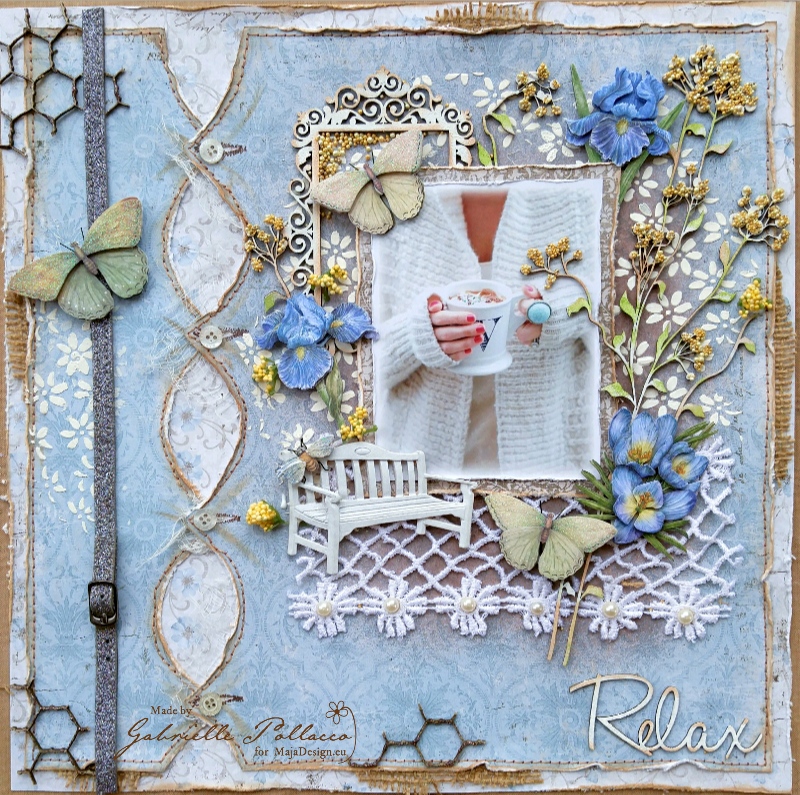
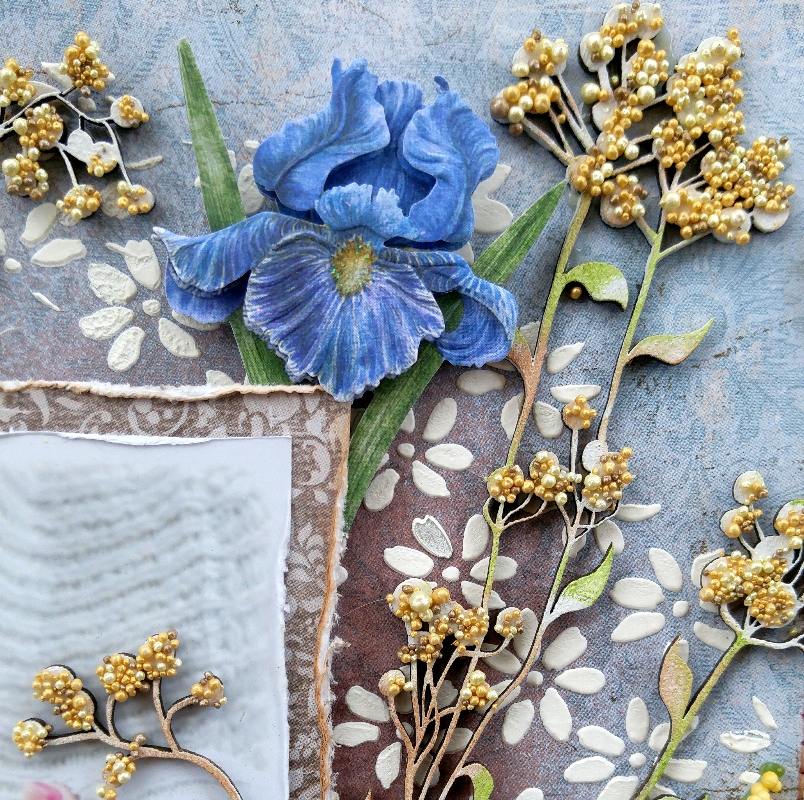
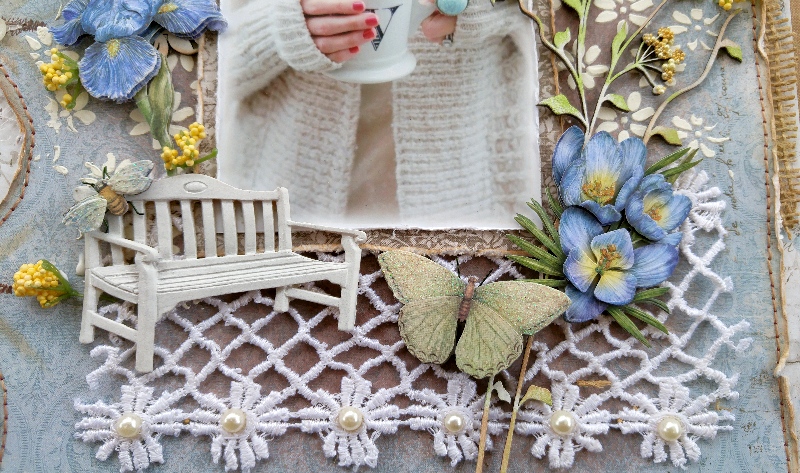
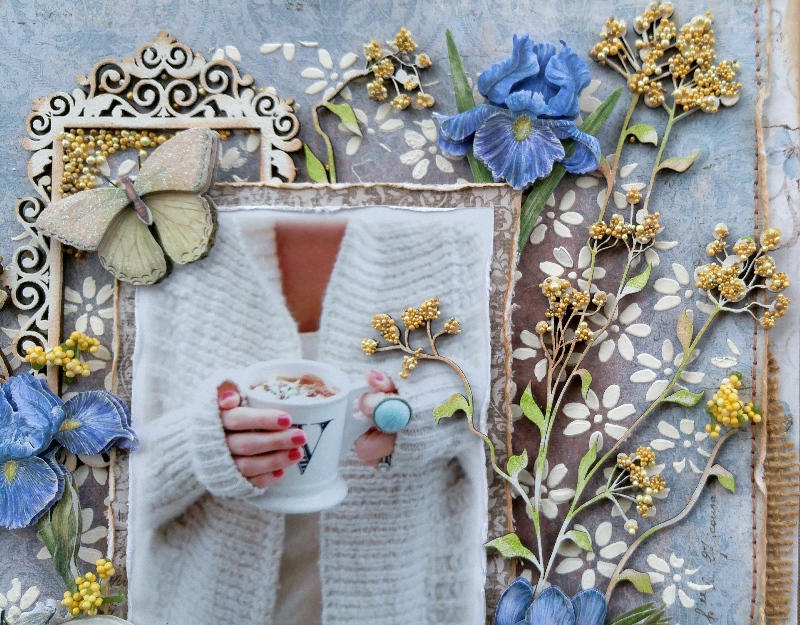
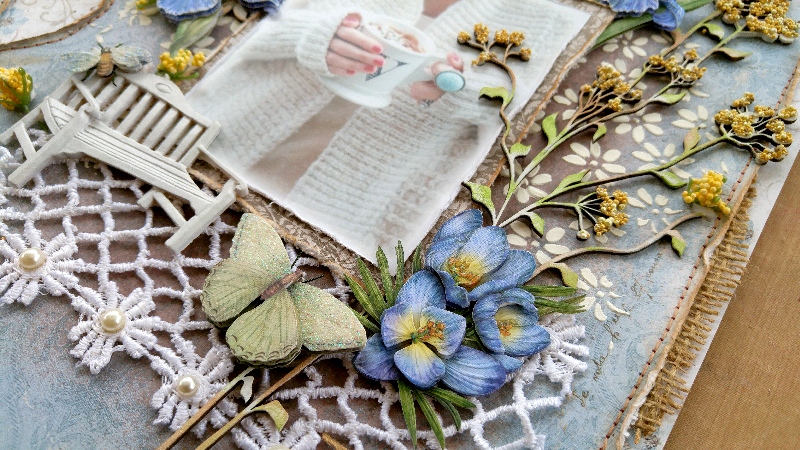
Oh boy I had so much fun creating this layout and I love how those gorgeous colors come together! On the base of my layout {the green sheet} which is called “summer fields” I added some text stamp with some embossing ink and purely white embossing powder. I wanted to go a little more colorful then my last layout and I think that worked well. The flowers I used this time are easy {not handmade} sorry but by Petaloo which are by far my most favorite flowers to work with.

20160519_140402_HDR

20160519_140407_HDR

20160519_140449_HDR

20160519_140411_HDR

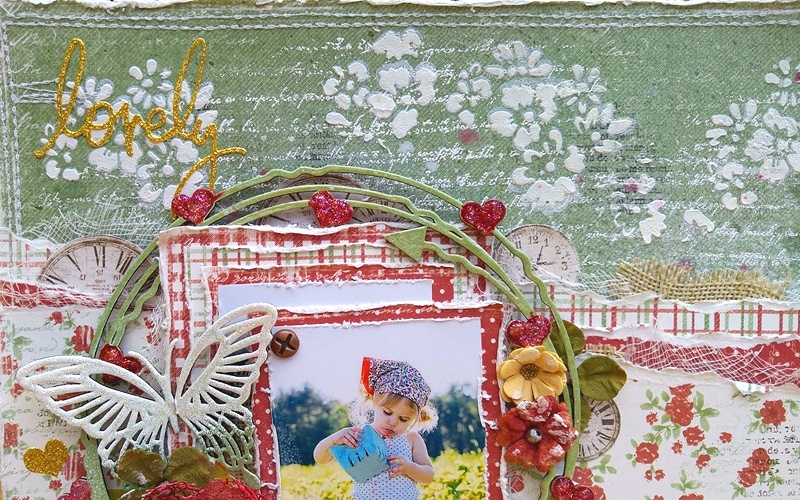
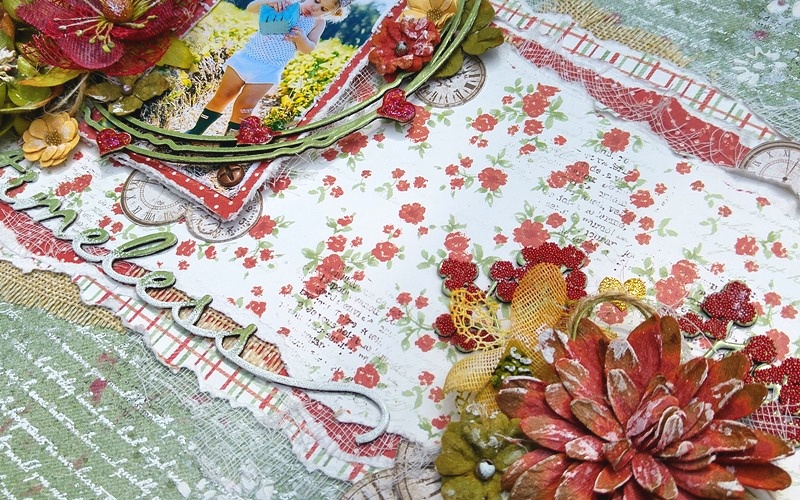
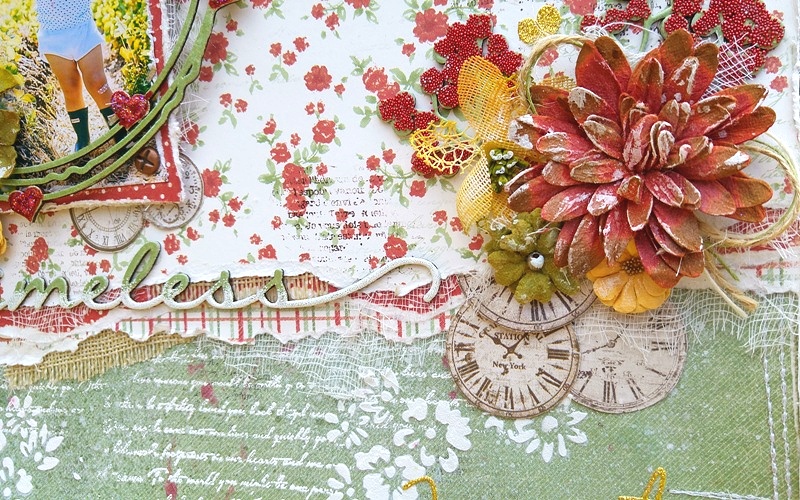
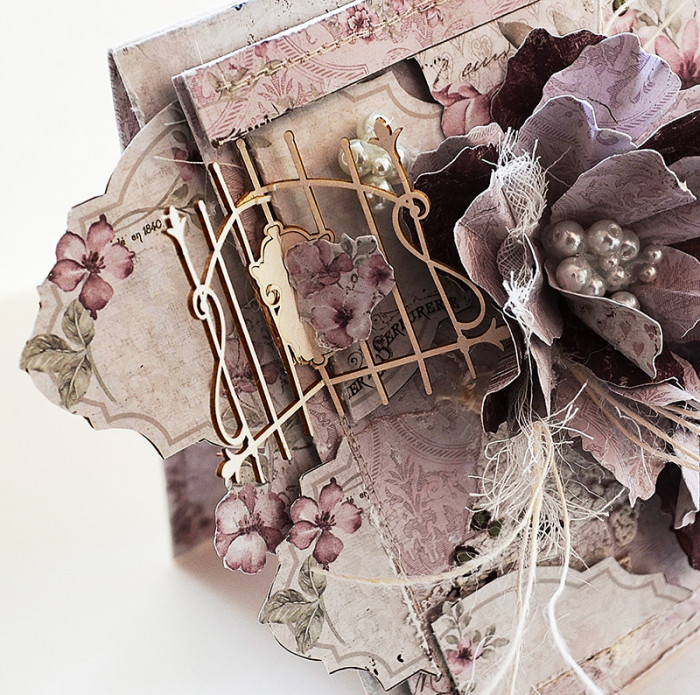
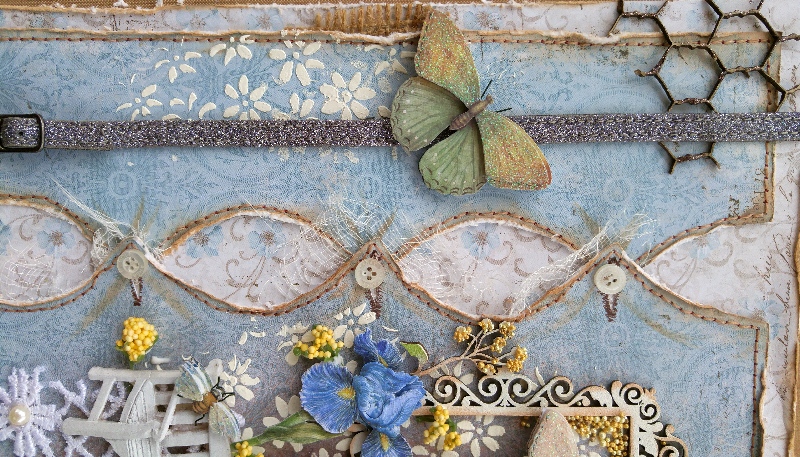
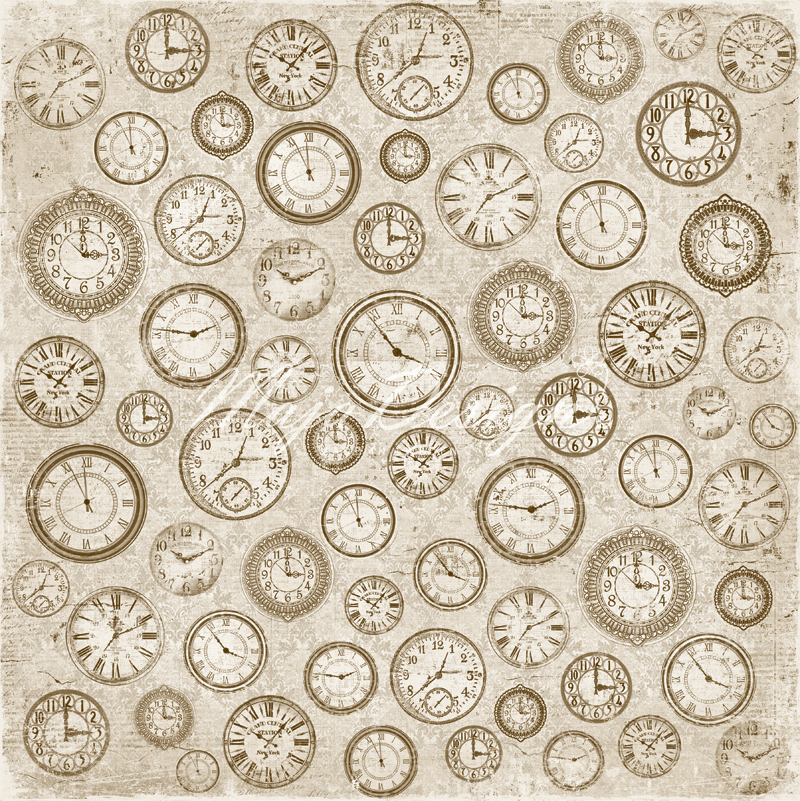
I am so much in love with the border chipboard words and they fit so well with these papers and the clocks are so much fun to add to any project. That I took out two sheet of it and when we were watching a movie I was cutting clocks in the meanwhile very therapeutic as I may say so. Also you will see that I stitched the outer green borders with white tread and added some flower stencil with some crackle paste.

20160519_140517_HDR

20160519_140421_HDR

20160519_140434_HDR

20160519_140416_HDR

Maja Design papers used:

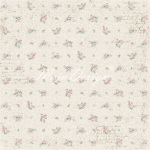
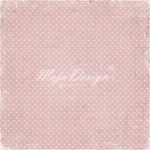
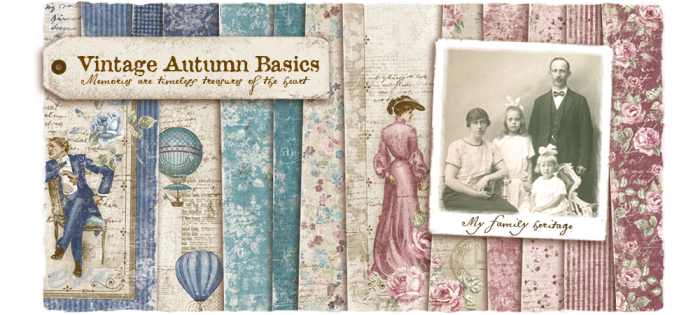
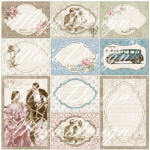
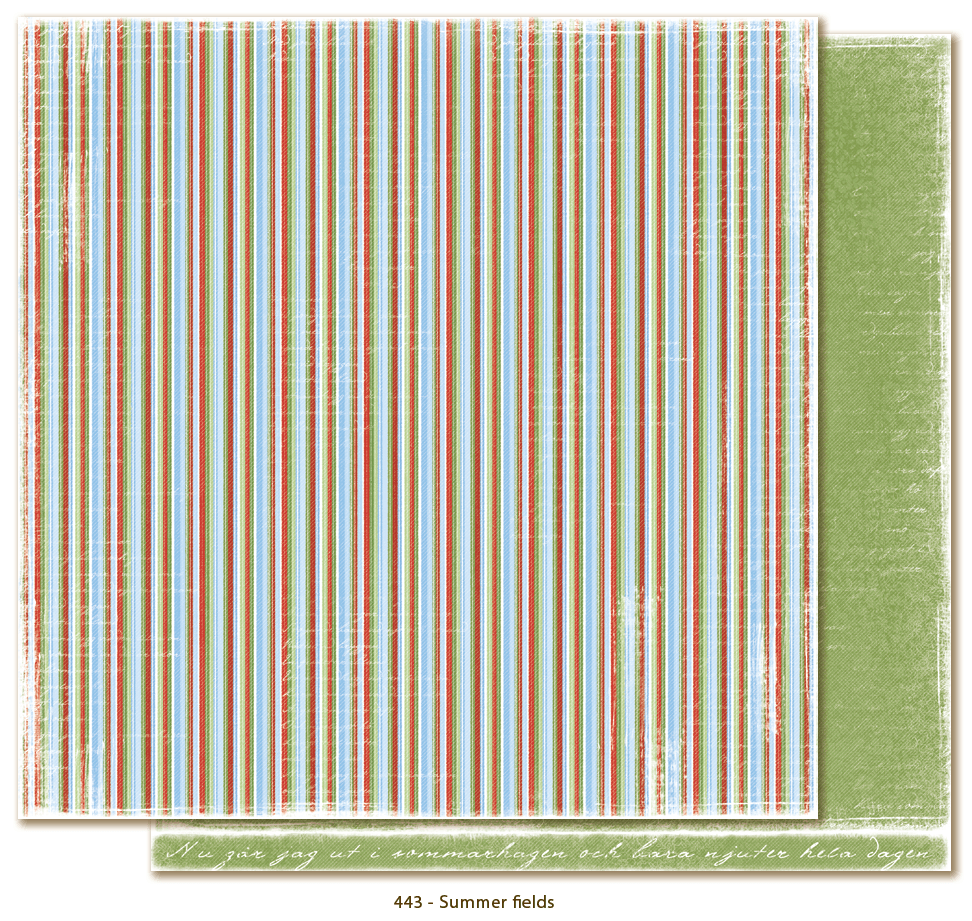
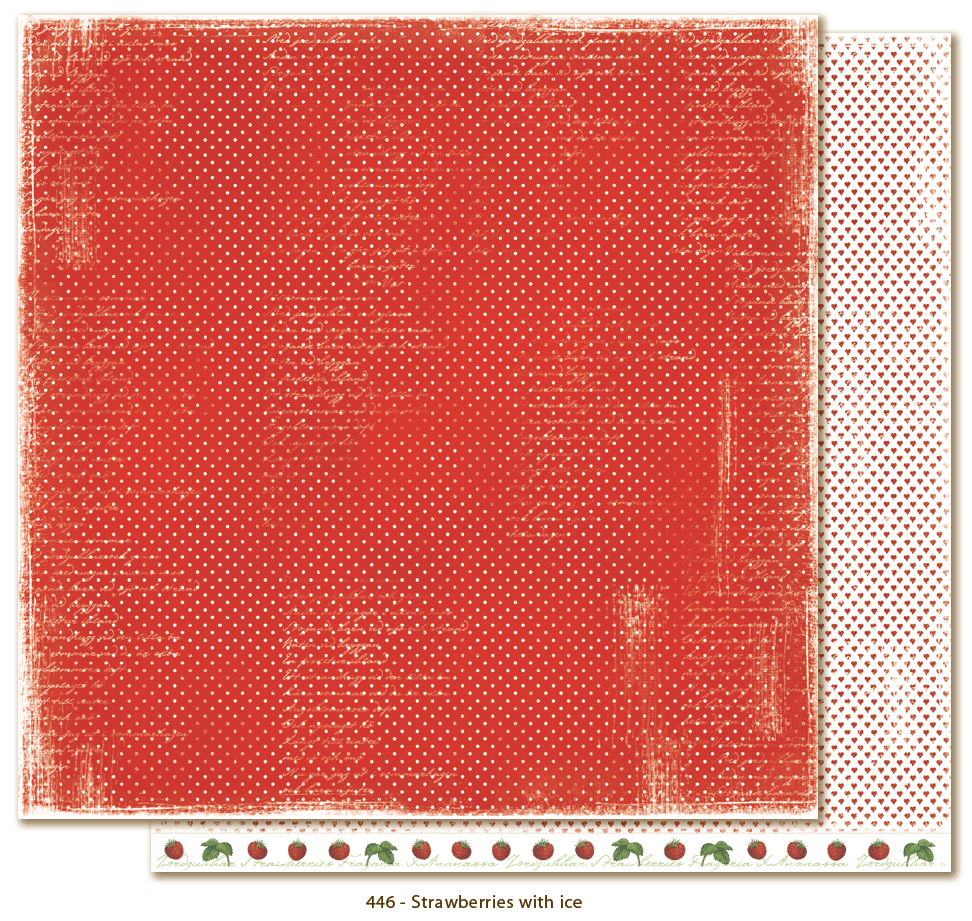
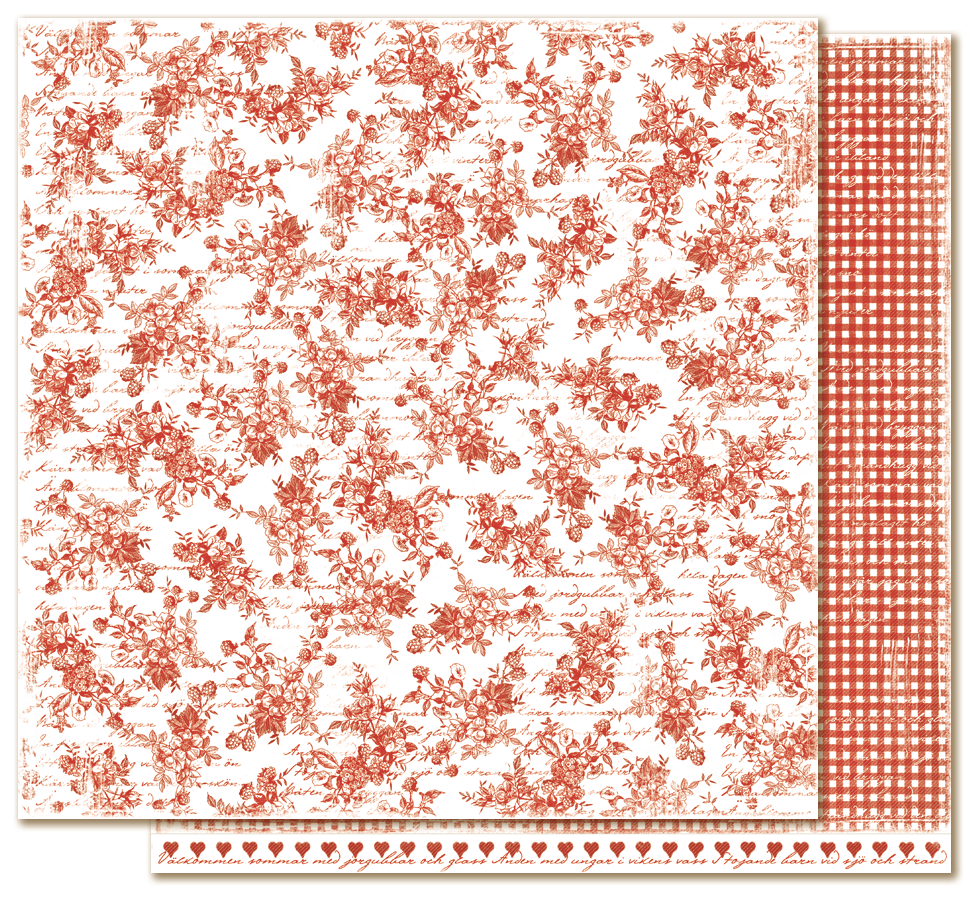
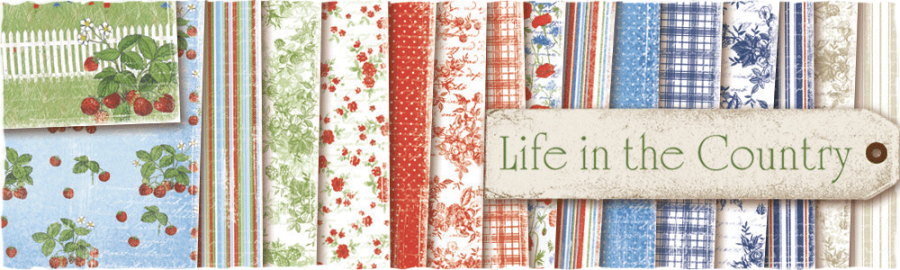
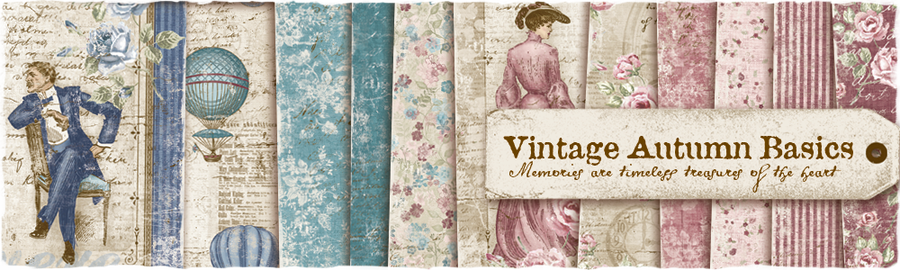
Life in the Country: Summer fields bs, In my flower bed, In my flower bed bs, Strawberries with ice, Porch, Summer kitchen bs. Vintage Autumn Basics: no. XVI

443-Summer-fields 445-In-my-flower-bed

446-Strawberries-with-ice 460-Porch

447-Summer-kitchen 639-Vintage-Autumn-Basics-no.XVI_

Lantliv-P

Autumn-Basics-P (1)

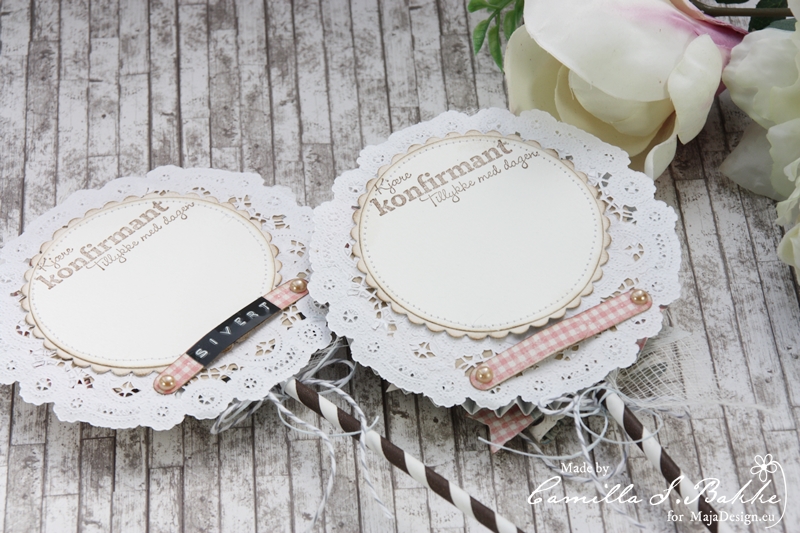
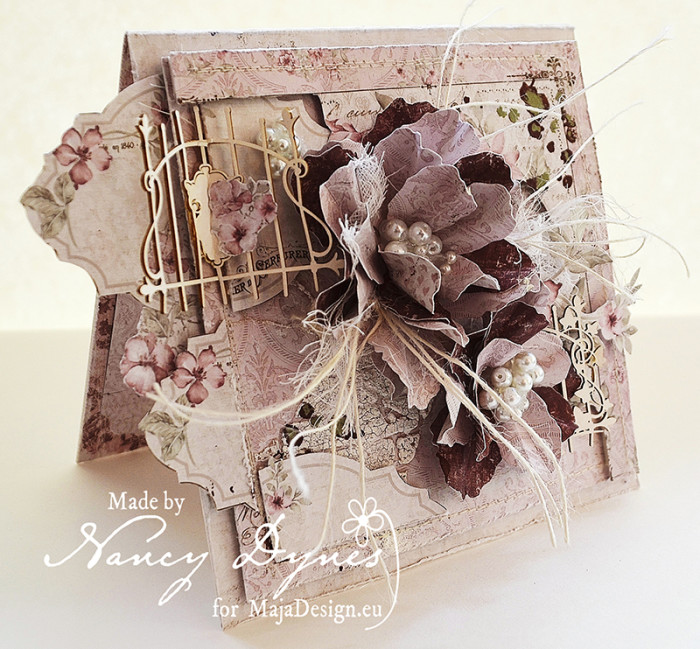
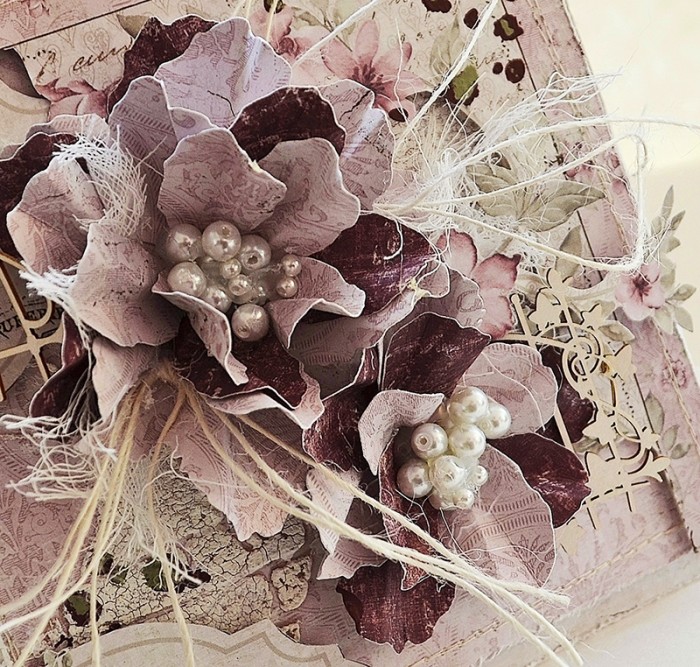
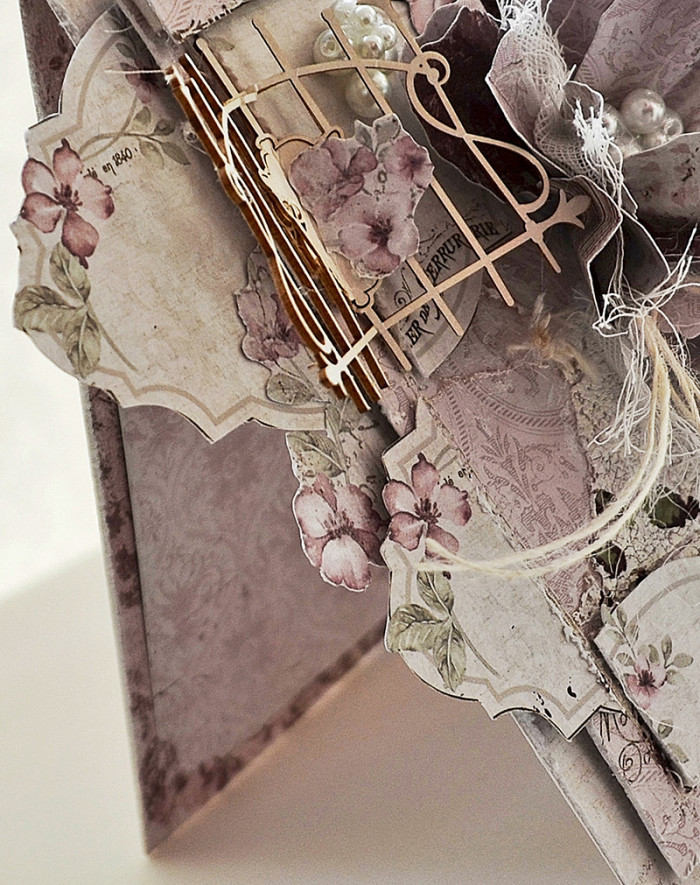
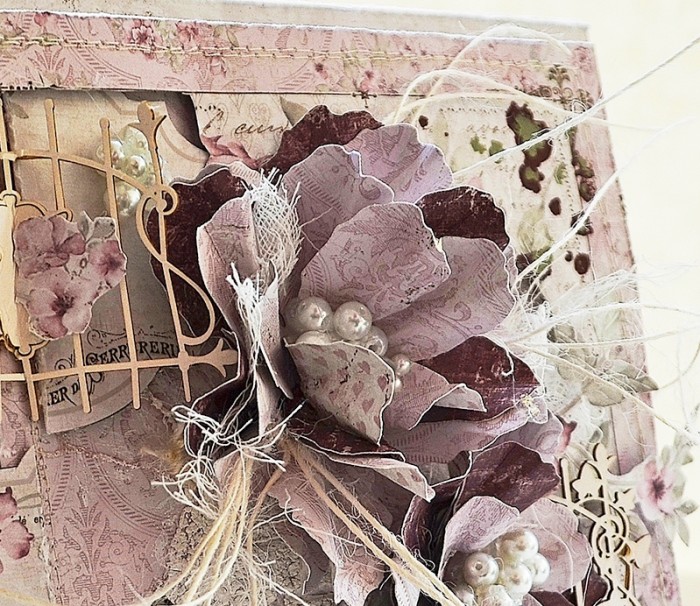
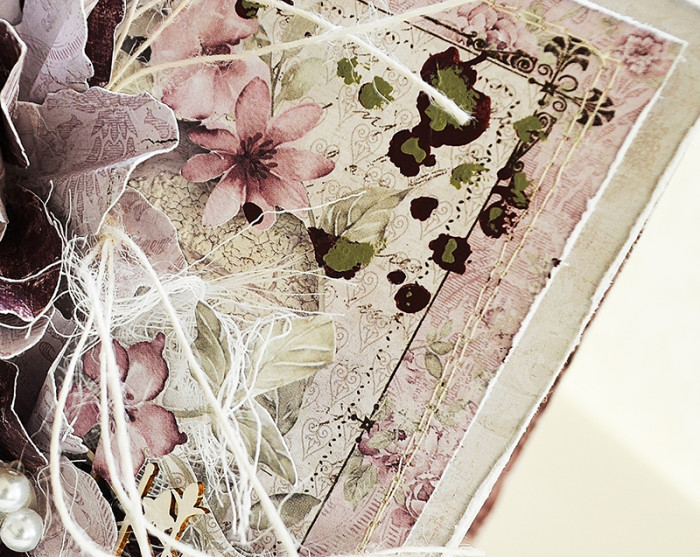
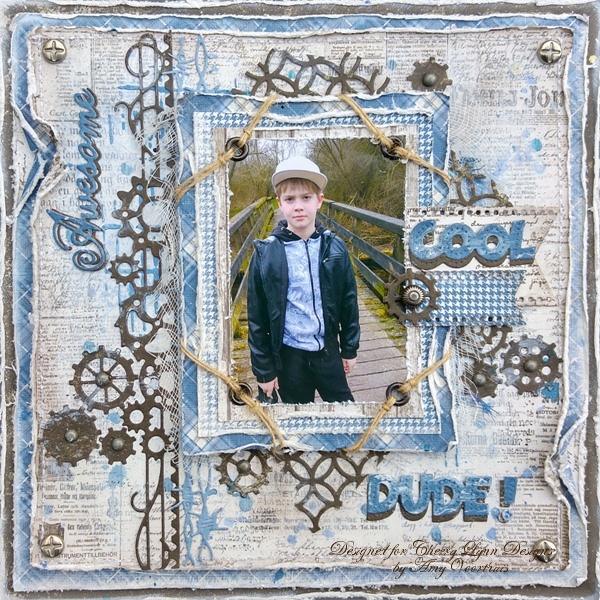
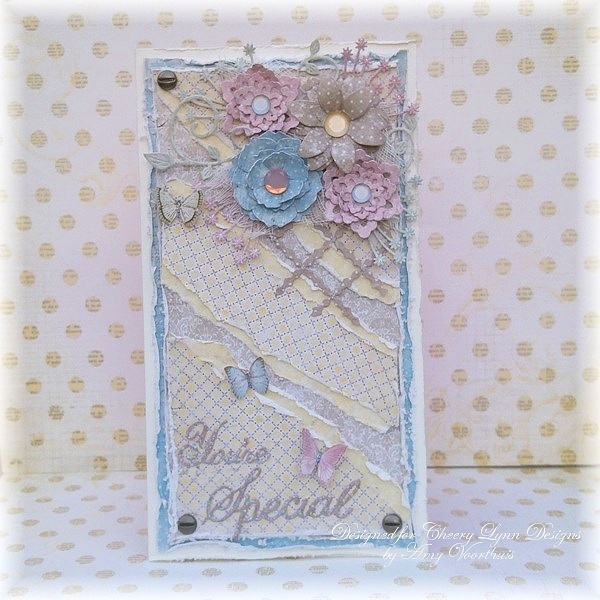
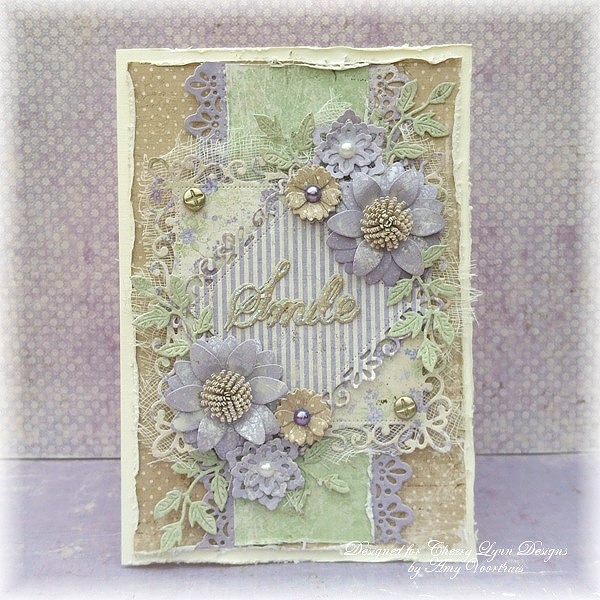
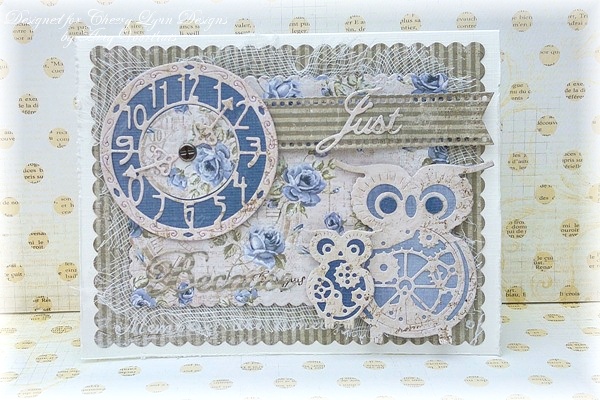
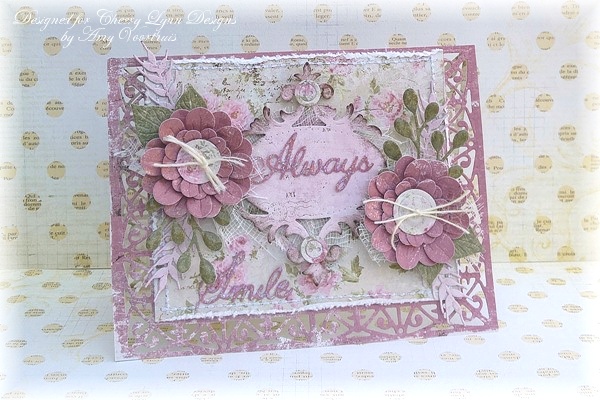
Also I would like to show you some work I made for Cheery Lynn Designs using some pretty Maja Design papers

20160426_081151_HDR1

20160412_083349 20160423_092054

20160510_082423_HDR 20160515_095039_HDR1000000

Thank you so much for visiting the blog today and I would like to wish you a wonderful, creative & sunny weekend. We are going on a family trip with my husbands side of the family all cousins, aunts, uncles and kids. I just love these weekends so much and since his grandmother died this is the first time we are having a weekend like this. I hope you enjoy your weekend as well hugs sending your way xox!

Love

4


Joy Card

0

Posted by Delaina Burns

19 May, 2016 - ,

Write a comment

Hello!

I am happy to be back to share a Card I created using the beautiful Vintage Baby Collection!

This would make a wonderful baby shower card or it would be awesome for an occasion!

The pretty pink roses and gingham print are timeless and gorgeous!

abc (1)2

I simply layered a doily, a couple of punched circles, atop a banner all made from

the sweet pattern paper. Lastly I added a cluster of flowers and a sweet little resin angel and wood icon title.

Easy Peasy and Beautiful!

abc (2)2

Products:

VintageBaby-L

Flowers- Prima

Resin- Prima

Metal Die- Prima

Wood Icon- Prima

Trims- Prima/My Stash

Delaina-sign

For a guitarist!

0

Posted by Camilla Støen Bakke

18 May, 2016 - ,

Write a comment

IMG_1678

Hi there! Today I am back with two lollipop cards for a confirmand. All the pattern papers are from the collection called Summer Crush.

Summer-crush-K

When I first start making a lollipop card I cut out two papers measuring 30×5,5 cm. Then I fold them like an accordion. I glue the two parts together, and form them like a circle.

IMG_1692

Then I use doilies between the papers.

IMG_1701

I just love the images on the pattern paper called Snapshots. I think they fit well for both birthdays, confirmands and weddings. And as they are in the same colour scheme as the reste of the pattern papers in the collection, they are all so great to work with.

Snapshots

The confirmand is my cousin, and he plays the guitar. So this fits him perfectly 🙂

IMG_1703

I have also added a photo of the lollipop laying, so that you can better see the layers.

IMG_1712

And the other one.

IMG_1715

A close up. The bows are cut out from a Sizzix die.

IMG_1726

On the back I have added a paper to write a greeting on.

IMG_1727

And with a place to put the money gift behind.

IMG_1729

The text is an old one, from Papirgleder I think. Here are the two other papers I have used:

I hope that I inspired you to make one yourself. I got my inspiration from the talented Mona!

Hugs,

Camilla

The Garden Gate Card

0

Posted by Nancy Dynes

17 May, 2016 - , ,

Write a comment

1 A

Hello! I wish a warm welcome to all visitors here at the Maja Design Blog! It’s Nancy here, sharing my ‘Garden Gate’ card. I’m completely in love with Maja Design’s beautiful new paper collection, Vintage Romance. I’m featuring it today along with the lovely Vintage Autumn Basics collection.

You’ll find quite a bit of layering and fussy cutting in this card. All of the embellishments except the chipboard gates are created from the design paper. The faux brick wall is courtesy of Gabrielle Pollacco’s Tuscan Wall stencil and crackle texture paste.

1 C

The flowers are handcrafted from design paper and a Sizzix die using glass pearls as a center. You’ll find natural twine and cheesecloth accents for a soft, whimsical touch.

Below are close ups of the layering and embellishments. Each layer is popped up with foam adhesive for a dimensional effect.

1 B B


1 E

Random splatters of acrylic paint add a little interest in the corners.

1 D


1 B


Maja Design Papers Used: 

Vintage-Romance-L

Vintage-Autumn-Basics

Additional Supplies: Sizzix Daylily Die, Gabrielle Pollacco Tuscan Wall Stencil, Wendy Vecchi Crackle Texture Paste, Scrapiniec Chipboard Gates, Pearls, Twine, Sewing Machine, Thread, Acrylic Paints, Detail Scissors, Adhesives.

It’s an honor and a pleasure to be here with you. I thank you so much for stopping by! Now it’s your turn to work your magic with Maja Design’s exquisite papers. May your day be filled with sunshine and  joyful moments!

Hugs,

Nancy-sign


Vintage Romance Layout & Video Tutorial

1

Posted by Gabrielle Pollacco

16 May, 2016 - , ,

Write a comment

Relax_main photo_withwatermark

Hello everyone, Gabrielle here with you today!  Yup, I’m back for a little guest spot!  When I received the gorgeous Vintage Romance collection in the mail a couple weeks ago, I felt compelled to make up a layout & video tutorial with these stunning papers!

Vintage-Romance-P

I used ‘Happily Ever After’, ‘Together Forever’ and ‘Words of Love’ for my page design.  I was going for a fabricky (is that a word? LOL) look on this layout, so I added a little machine stitching on the background design, this is optional, I think it can look equally as nice if you leave that off (if you are not a sewer).

So grab your favorite beverage, take a little break and enjoy!….
[youtube http://www.youtube.com/watch?v=wU7IfCNV9LA?rel=0]

I hope you enjoyed my little tutorial!  Here are a few close-ups you all can enjoy at your leisure….

Closeup1

I have this close-up turned on it’s side just so you can get a more close-up and personal look at it.  I simply followed the pattern in the paper to create my button hole design…makes it easy to space out the design.

Closeup6

The next step was to add a little color just directly behind the photo area using some Shimmerz spray called ‘See Ya Latte’ Spritz….then I applied some home-made texture paste through a Dusty Attic stencil called Flower Power.  I was going for a kind of Bohemian-chic look and I thought this daisy design would work well with it.  I also matted my photo with the backside of the ‘Words of Love’ paper, I do love browns with blues!

Closeup5

To continue the fabric idea of my page I also included a pretty strip of lace that I got from Tresor’s de Luxe, which I adhered with Tombow liquid adhesive.  I prefer this glue as it allows you to readjust your placement if need be without making a big mess on the paper (let the glue sit for a few minutes to set up before you apply your embellishment to the page.

Closeup3

I had a little fun with my embellishments on this one….I tried a new product (at least to me) called Prills, they are these little balls that come in different colors. Here I using the color called A-maized. I just applied a little glue to the tops of the blossoms of the Wild-Flowers #4 chippie by Dusty Attic and poured the little pebbles onto it…..I really love the effect!

Closeup2

I finished my design by adding some layered floral and butterfly stickers by K&Company in a few strategic areas of my photo area.  Added a small shabby-chic bench embellishment by Prima and a few adhesive pearls on the lace panel.  Done!

I hope you enjoyed my tutorial today and hope you feel inspired to try your hand with the gorgeous new Vintage Romance collection, I know I’m going to keep playing (I’ve got me some of those pretty pink papers ear-marked for another layout)!  Thanks for stopping by the Maja Design blog today, we appreciate and read all the lovely comments and feedback! xo

Gabrielle-sign