“My Sunshine” by Tina Ollett

7

Posted by Tina Ollett

12 June, 2018 - , , ,

Write a comment
 A very big welcome my Maja Design friends.
Tina Ollett here with you today to share a project created recently showcasing patterned papers from three gorgeous collections of Maja Designs.
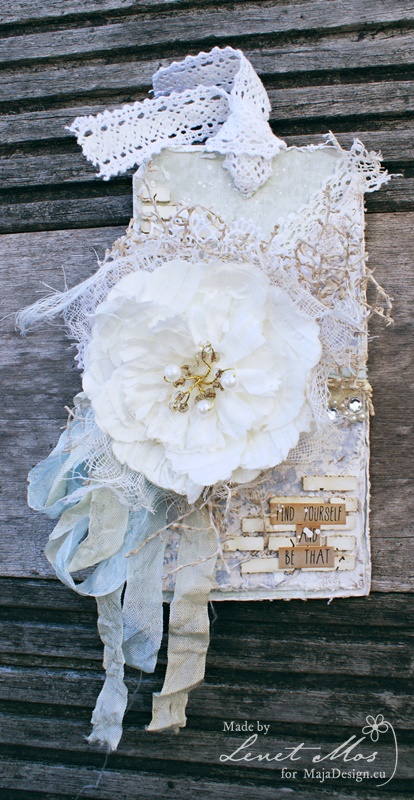
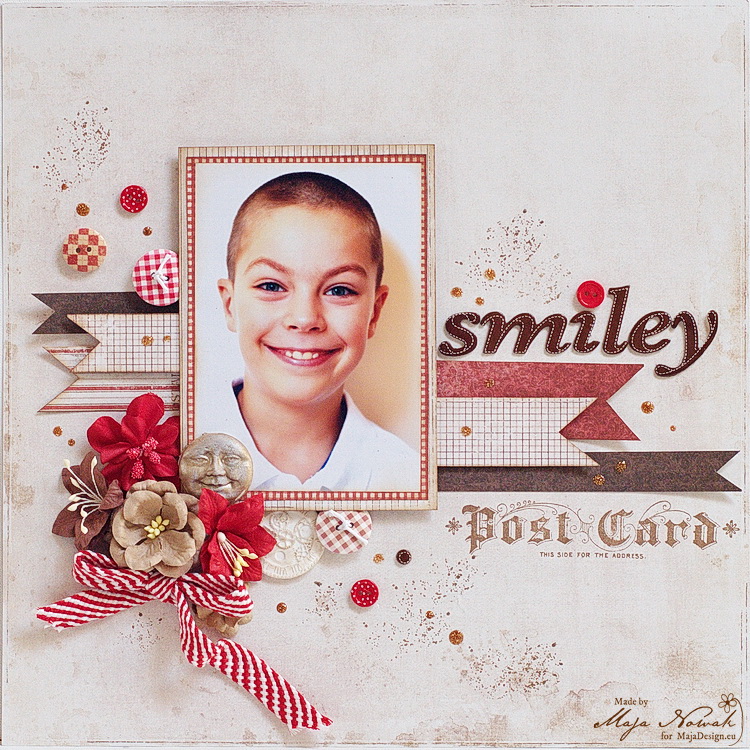
It is titled “My Sunshine” and was inspired by a photo taken down at Redcliffe whilst we were making a visit to see some friends for coffee and milkshakes.
 
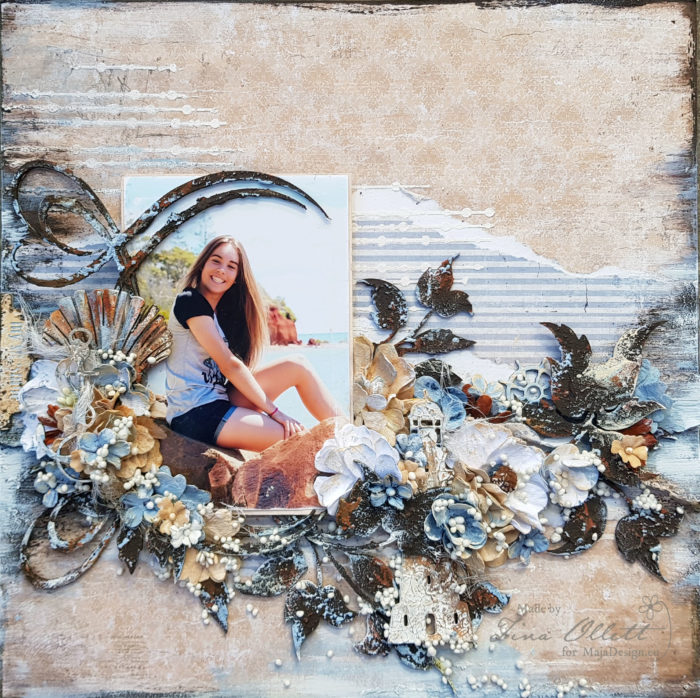
This project was originally going to be very shabby chic until I come across this photo with the rustic rocks that my daughter was sitting upon for the photo. Once I spyed these, the project automatically changed up to a rustic grungy kind of project which I totally miss doing.
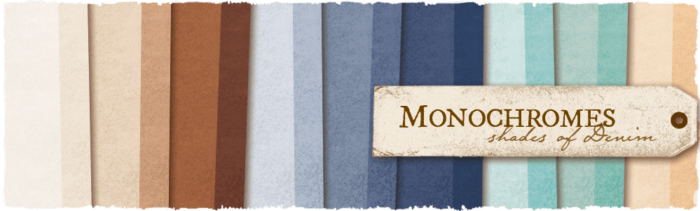
Monochromes Shades of Denim – Off White


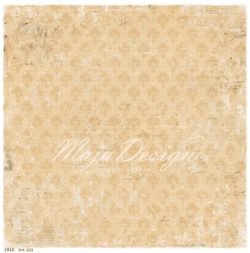
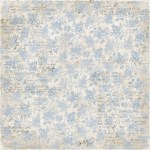
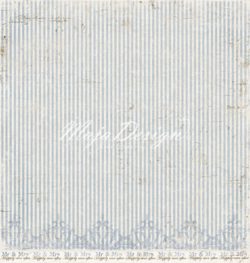
Vintage Summer Basics – 1915

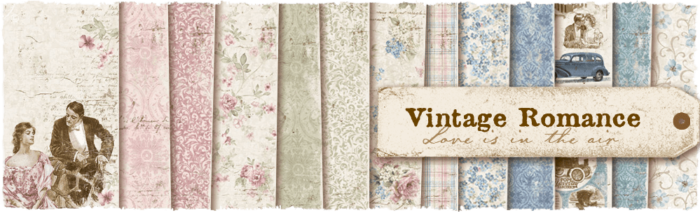
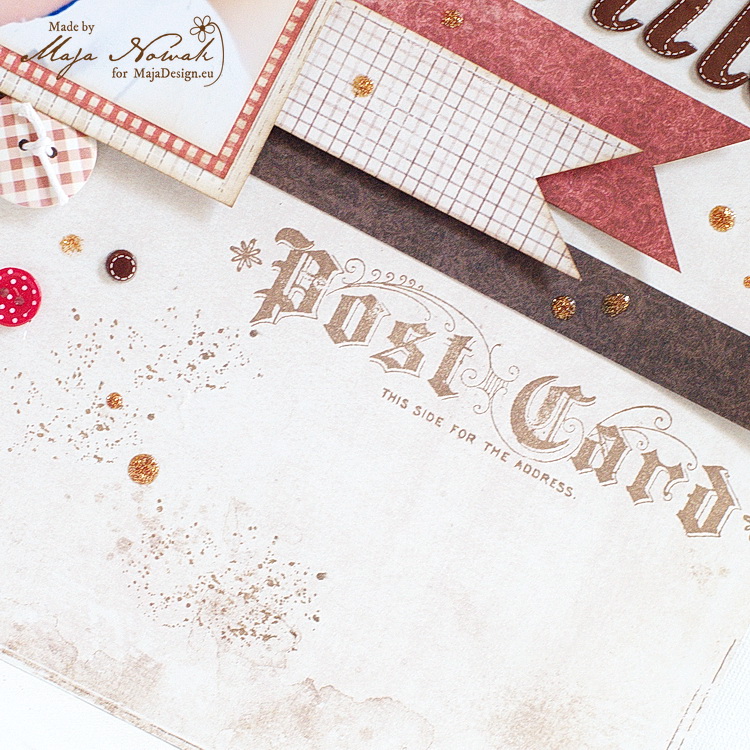
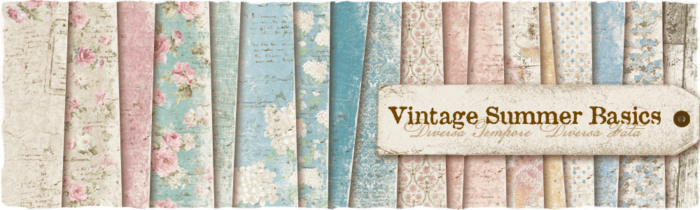
Vintage Romance – Deep Love bs

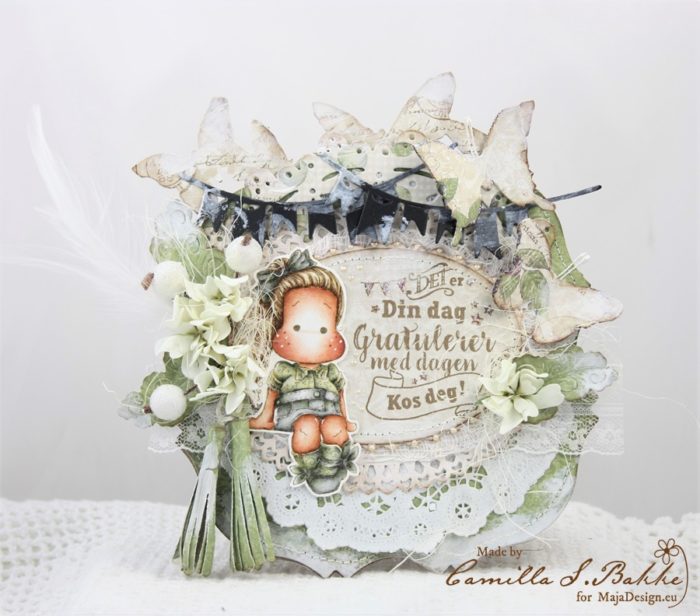
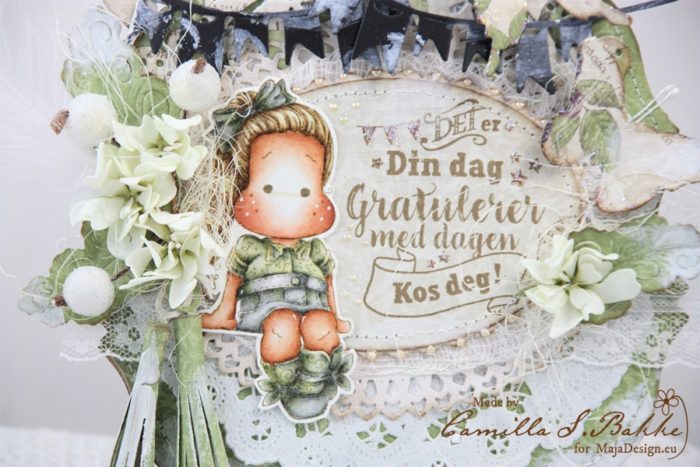
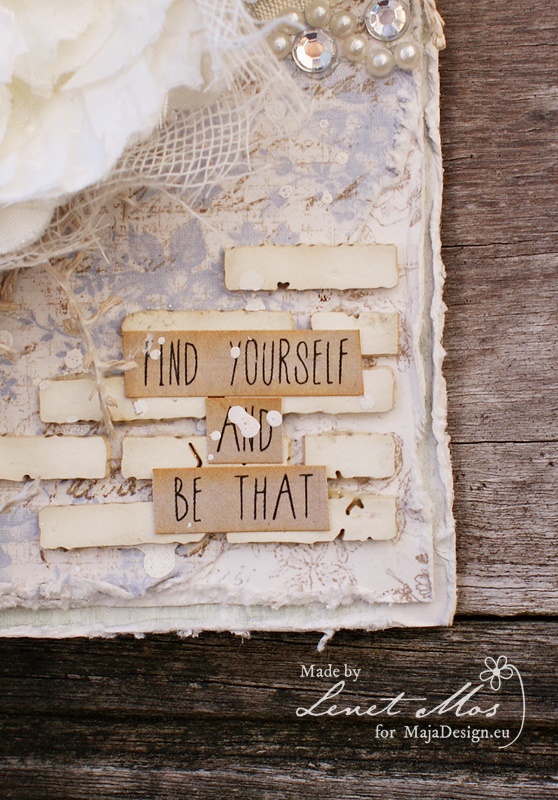
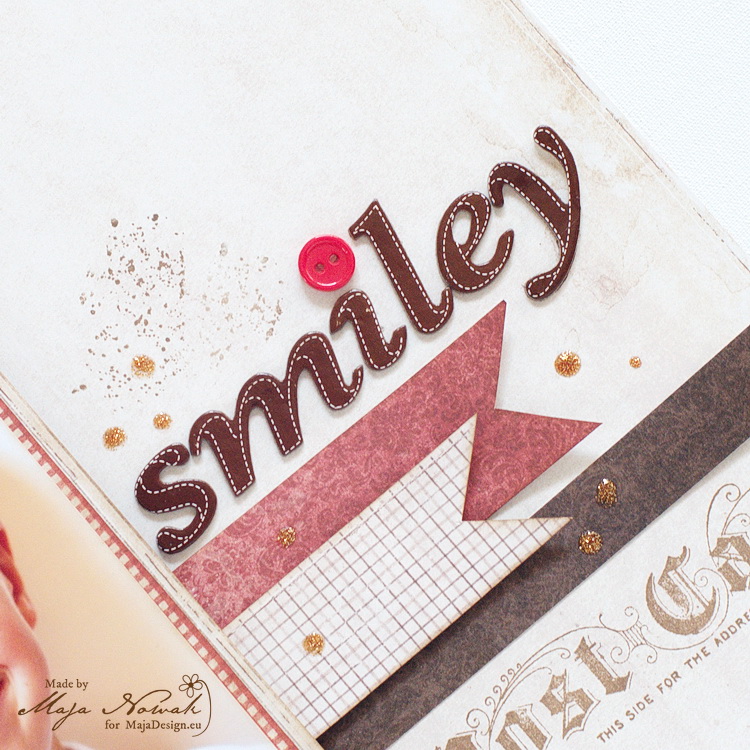
 I started my project off by layering papers from the Vintage Summer Basics (1915) and  Vintage Romances “Deep Love” bs . I primed my background to fix it. Dusty Attic Texture paste was used throught the Threaded Bead Stencil to create a little texture going across my page following the stripes from the papers that I used.
 
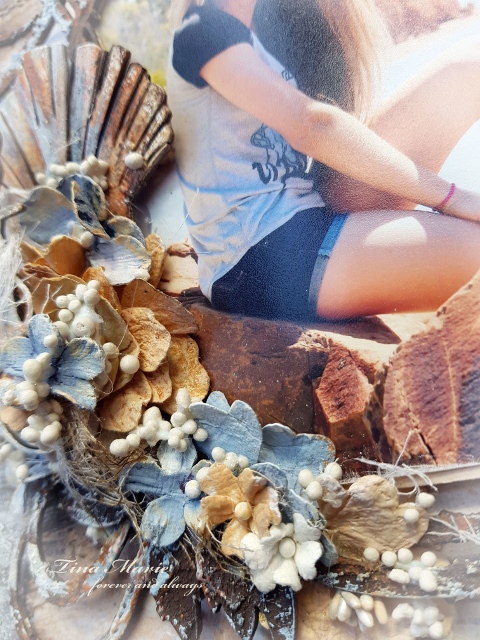
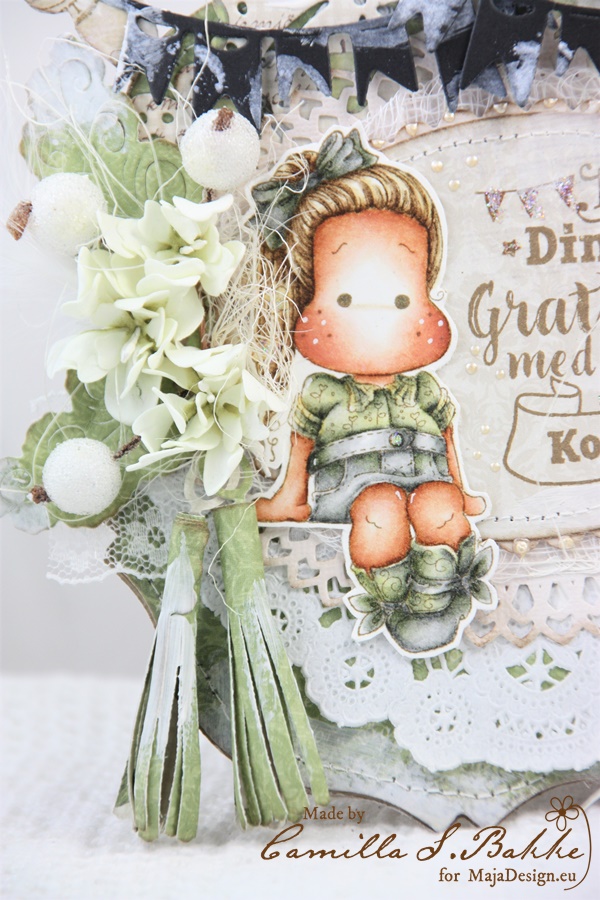
 I used some Rust Paste over my chipboards along with acrylic paints and art stones.
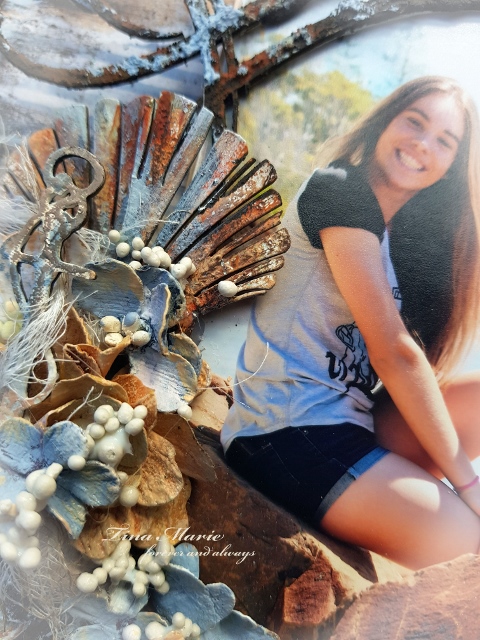
 I love how the large seashell as seen above here turned out. It was dressed similarly to the leaves but less emphasis on the browns. They were placed on lastly to highlight the blue and orange tints.
 
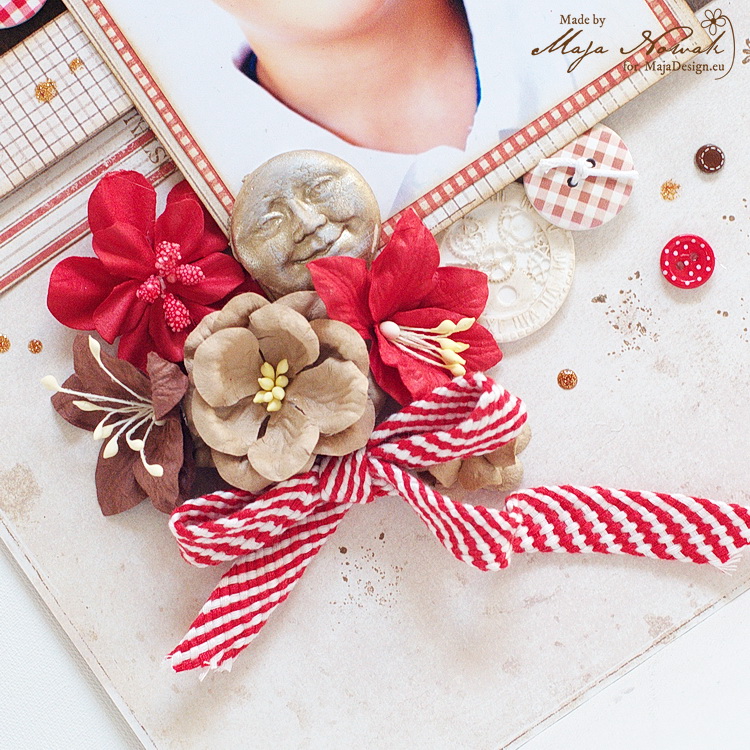
 I also coloured some of my pretty florals with acrylic paints as you can see above .
And a yummy view of the Swirly Frame that I used on this project.
Thank you for making the visit here today.
Until next time take care and happy crafting.
Hugs Teen xo

It’s your day!

1

Posted by Camilla Støen Bakke

10 June, 2018 - ,

Write a comment

Hi everyone! I amback with a green card for today. And I have used some papers from this stunning collection!!

The sweet image from Magnolia and the Country Girl is coloured in the same colours as the papers. I have used Distress Ink for my colouring.

The flowers are made with Magnolia dies and Foamiran from Wild Orchid Crafts.

I have used Fika papers for the tassels aswell. And you can see that I have sewed around the edges of the paper.

Some banners on the top, between the butterflies.The text is from Stempelglede. And this card has been published in the April issue of Ett Trykk.

Thank you so much for visiting the Maja Design blog for inspiration!

Snowman SnowGlobe Shaker Card

1

Posted by Jennifer Snyder

9 June, 2018 -

Write a comment
 
Jennifer Snyder here sharing winter fun with an adorable snowman snow globe card.
I realize it’s summer, and the snow is finally gone – but I really do love snowmen and snow globes.   Plus when I add a shaker card, I’m loving life.
Here are the papers I used from the Vintage Winter collection by Maja Design:
Hej-mitt-vinterland
Fun in the Snow
Winter Joy
The snow globe was created using the cool die from Spellbinders and Becca Feeken.  The snowman is also a Spellbinders die.
To assemble the card, I cut the sweet snowman from the Vintage Winter collection and glued him to the side of the shaker snow globe.


Here is a quick 30 second video showing the snow globe shaker card in motion.
I just love making shaker cards.


[youtube https://www.youtube.com/watch?v=1Aa0x4HtD2o?feature=player_embedded]
The die has many pieces – meaning many layers to assemble in order to create the dimensional look.
My snowballs are actually little foam balls.   They work perfectly here.


I wanted the snow to shake and fall around the snowman and be a bit more dimensional.
In order to do that, I have provided my “sandwich” – describing the way I created the layers.
You can see a close up of the layers in the image below.


On the second side of the shaker card, I cut the image of the little boy throwing snowballs from the Maja Design paper.   Perfect for my card.

Thanks for stopping here to see my winter creation.  Now back to Summer….
Happy Crafting.
 

Find yourself and be that

2

Posted by Lenet Mos

7 June, 2018 -

Write a comment

Hello sweet Maja fans

Here I am again and this time I bring you a tag/label inspired by the moodboard of this month.

I am so in love with the colors , freshness and theme of this one I had to create another project using it.

I really really love my Maja papers and so safe every little snippet, call me crazy but I just do . I hate trowing them a way.

All that saving gives me a lot of leftovers, so I set myself a challenge to every time I create something I must create something else with the leftovers.

So I made this tag with the snippets I had left from the layout I made for the moodboard challenge.

I also used the little chipboard bricks from the wall thing ( sorry have no idea how to call it) I used on my layout to make a new wall.

I found this inspiring  quote /saying on a sheet of word stickers from  7 dots studio . I can relate to it so now my label got a nice spot in my craftroom where I can see it often.

Hope you like my  label/tag and maybe I even gave you some more inspiration to join us at the moodboard challenge. Hope to see you there.

The chippies I used are from scrappiniec, the flower from prima , lace and ribbon from my stash, doily is a die from studiolight .

I used left overs from Vintage spring basics 4th of april 10th of march and Sofiero Princess Margareta’s garden.

Thank you very much for visiting,  please come back tomorrow to see another creation of one of the Maja Girls.

Smiley

1

Posted by Maja Nowak

6 June, 2018 - ,

Write a comment

Good morning, dear Visitors to the Maja Design blog 🙂

Today I have a layout to share, featuring a photo of my younger son with his signature look, that is smiling widely 🙂

Since the moment he was born he was a very joyful child, always positive and ready to play. When I look through our family album, on almost all photos he looks like this:

Of course, there are moments of a worse mood, especially now that he is in his early teens, but if I were to characterise him in one word, that would be “smiley” 🙂 And I wanted to document this in my layout.

For my page I used one of our older Christmas collections, I Wish (I always use Christmas papers for non-holiday projects, usually the papers are too beautiful to use them once a year! 🙂 ) The design is very simple: just a couple of banners, some buttons and the title made of chipboard sticker alphabet:

I also added some stamping in the background:

In the flwoer cluster I put a clay face that looks very similar to my boy’s smile 🙂

I do hope my son would always have a reason to smile!

And here’s the list of my supplies:

Maja Design papers:

Other: stamps: Tim Holtz; flowers: Wild Orchid Crafts, Prima; molds: Prosvet; art clay: Martha Stewart; cotton ribbon: Prima; buttons Dovecraft, glitter ink: 13@rts.

And that’s all for today, see you soon!