“Merry Christmas” by Tina Ollett

0

Posted by Tina Ollett

19 December, 2017 - ,

Write a comment

Hello lovely friends and a big merry welcome to the Maja blog.

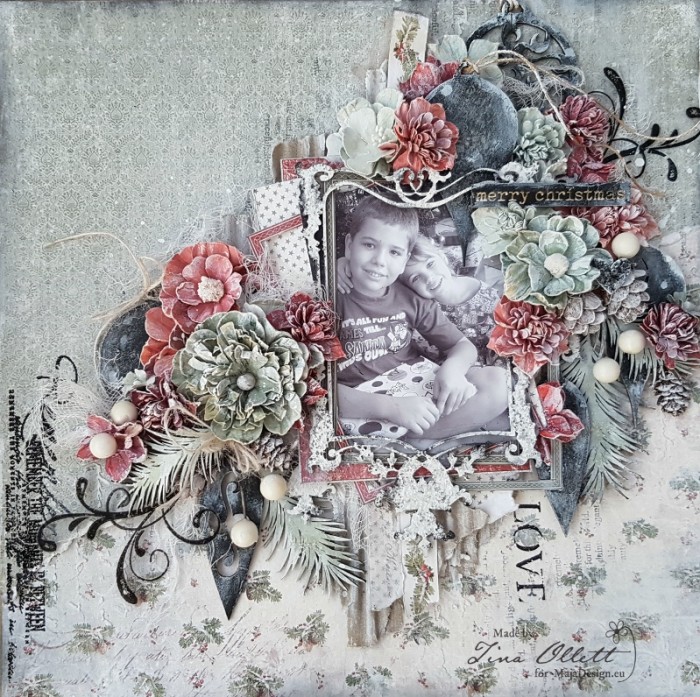
Today I am sadly sharing my last project for 2017. And since we are about to celebrate Christmas I just had to create one more layout depicting the season. My previous post here was a Christmas layout using the beautiful Joyous Winterdays, so I decided to use this same collection again but using the reds, greens and creams of this collection. I have added in a little black to help the project pop!

The focus of my project of course is a black and white photo of my eldest son and youngest daughter in a sweet embrace, enjoying the joys of unwrapping presents on Christmas morning in 2010.

I hope you enjoy this as much as I did creating it.

2017-12-19 Merry Christmas 2 021 (800x796)

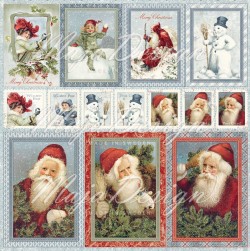
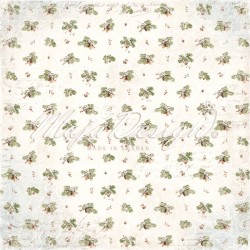
Below are all the papers I used for “Merry Christmas”. I tore the base of Evergreen to sit upon the Beautiful Pines. I have used the pattern of the pines and made the clusters on my page to look as close to as the pattern.  I cut several of the frames down from the Ephemera paper and layered with torn and cut pieces of the remainder of the reverse of Evergreen. I love the little stars on this. Can’t wait to use this piece for another project. I did some stenciling using texture paste through the Dusty Attic script stencil and whilst it was wet sprinkled a little Dress My Craft Sparkling Dust and left it dry to the texture paste. I also did a little random stamping using a script stamp from my collection with black soot distress ink. I have also powder embossed the quote “Remember the moments in between” with black embossing powder at the left of the layout.

Joyous-Winterdays-P

2017-12-19 Merry Christmas 2 009 (800x600)

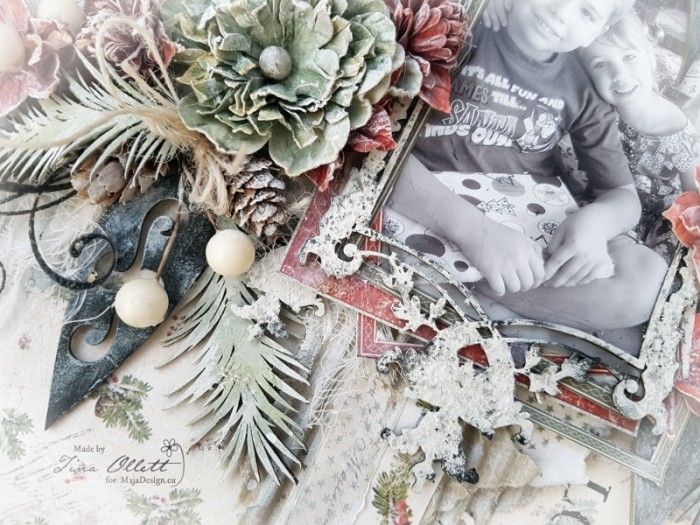
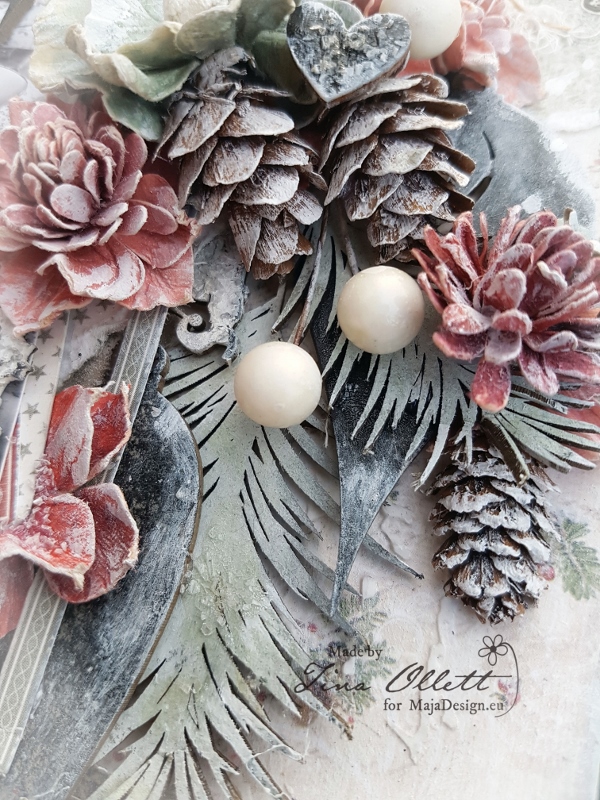
 I have used a number of pieces of Dusty Attic chipboards to help create the design for my project here. The baubles were all inked with black soot distress ink and coated with Distress Crackle Clear Rock Candy to give an aged look to each. Once it dried I dry brushed them with a little white gesso. The pine sprigs which you can see above were wiped with Distress Ink Bundled Sage and also dressed in a little Distress Crackle too. I sprinkled some Diamond Dust over these whilst they were still wet too and left them to dry.

2017-12-19 Merry Christmas 2 012 (600x800)

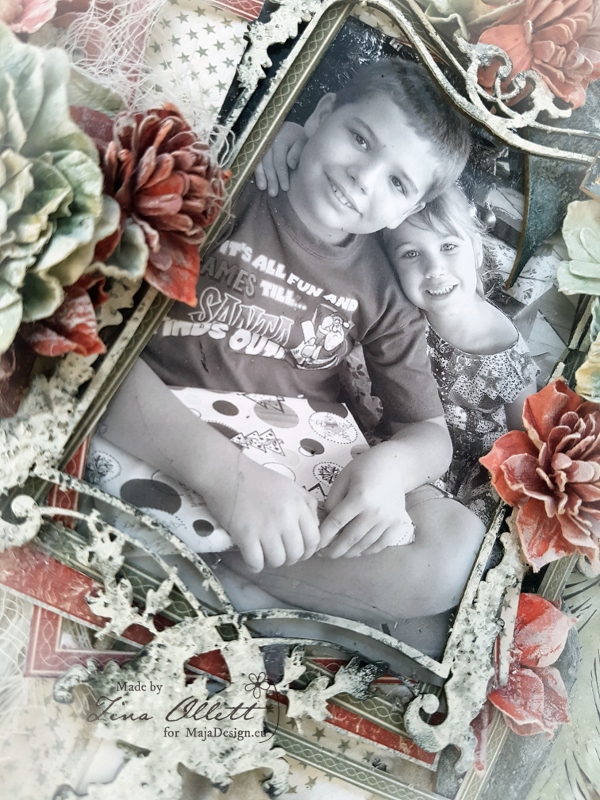
Here you can see the Antique Frame that I have used to help frame the photo as well as several of the frame mattings from the Ephemera sheet. This was dressed with Gesso, Distress Black Soot ink, Distress Crackle Paint and Diamond Dust.

2017-12-19 Merry Christmas 2 013 (600x800)

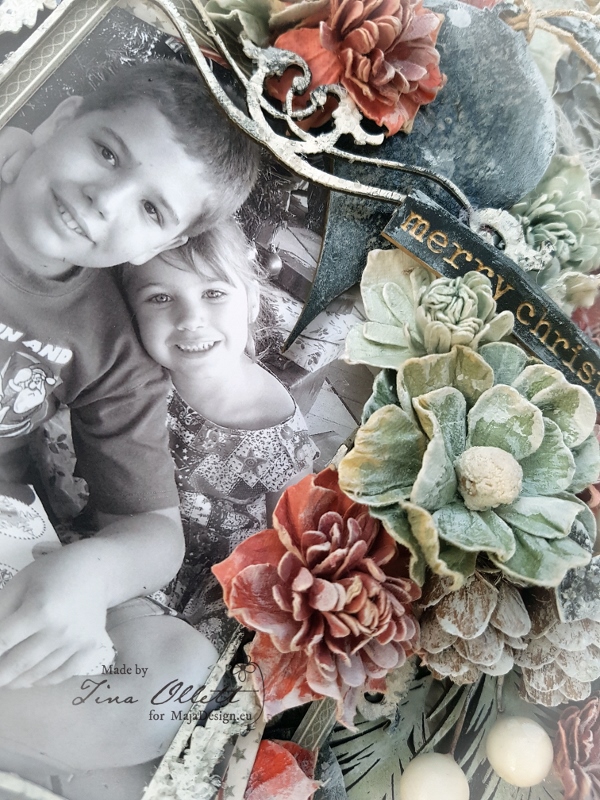
I have used a number of different blooms from the 49andMarket Vintage Shades collection in shades of Blues, and Reds. I also added in some little pine cones which I have cut in half to sit on my page flat.

2017-12-19 Merry Christmas 2 015 (600x800)

And from a different view. Here you can see that I have added in some jute cording and also dressed my finished page with a little or a lot of dry brushing to help tone down the colours especially the black. I wanted it to look aged which I think I did achieve here compared to how it look with only the ink.

2017-12-19 Merry Christmas 2 030 (600x800)

Well that is all I have to share with you today. I hope I have inspired you to create something to get into the spirit of Christmas. Or maybe to scrap those special photos you will be taking in the upcoming week.

I would like this opportunity to thank you for all your support this year and to wish you and yours a most festive Christmas season and a very happy New Year.

Stay safe and take care.

Lots of love and hugs………….

Tina-sign

“This fills my heart” by Tina Ollett

1

Posted by Tina Ollett

5 December, 2017 - ,

Write a comment


Hello and welcome back to Maja Designs. Tina with you today to share my next instalment. I have to tell you a little secret that probably isn’t a secret because I do share it quite often with my friends but I hate to say it out loud. I really don’t do Christmas layouts……. there I said it. Over the years I have been known to avoid doing them at all. So today I decided to put my big girl pants on and give it a go.

2017-12-05 This fills my heart 039 (800x792) (2)

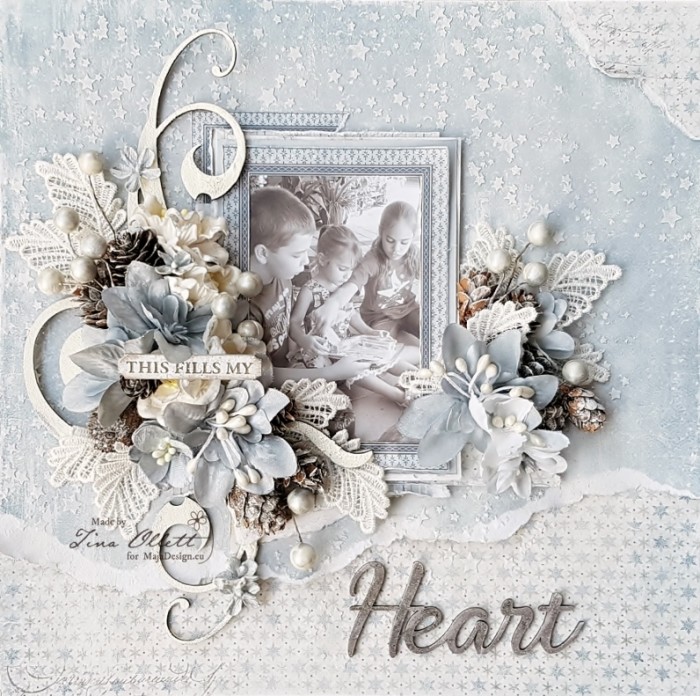
I have used Maja Designs new release collection Joyous Winterdays to create my Christmas layout with. And I have to tell you I am in love with it. It is no secret that I love blue and so that is what I went with along with a very old photo I dug up of my 3 sweet kids at a much younger age. I felt it really told a story and this is what I wanted to start the layout with.

Joyous-Winterdays-P

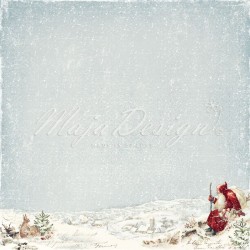
My first sheet that I used is called Santa Claus and it is simply stunning to say the least. But as you well know living here in sunny Queensland in Australia doesn’t bring us snow at Christmas time ever! We swelter in the highest of temperatures most Christmas’s. That is why we always sit by the pool.So anyway getting a little side tracked…….. I tore the snow section from Santa Claus and backed it with Sparkle which I also very much love. So from there I did a little stenciling using a Star stencil from Dusty Attic and some texture paste. Whilst it was still wet I sprinkled over some Dress My Craft Sparkling Dust. and allowed it to dry.

Ephemera

Ephemera

Ephemera bs

Ephemera bs

938-Santa-Claus

Santa Claus

943-Sparkle-bs

Santa Claus bs

943-Sparkle

Sparkle

With the other papers above I created a matting for my photo.

2017-12-05 This fills my heart 043 (800x600)

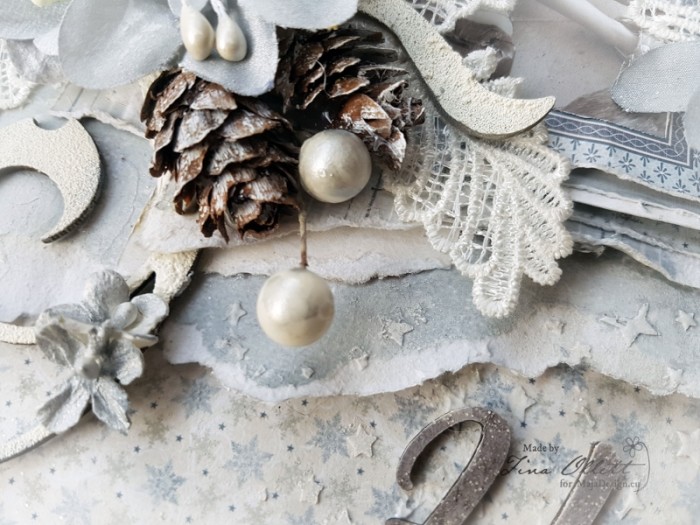
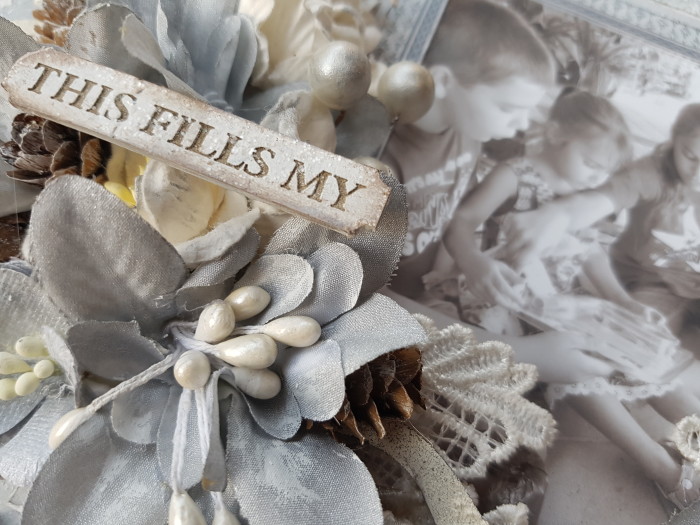
I have added in some gorgeous little pine cones along with lace leaves and beads baubles.

2017-12-05 This fills my heart 044

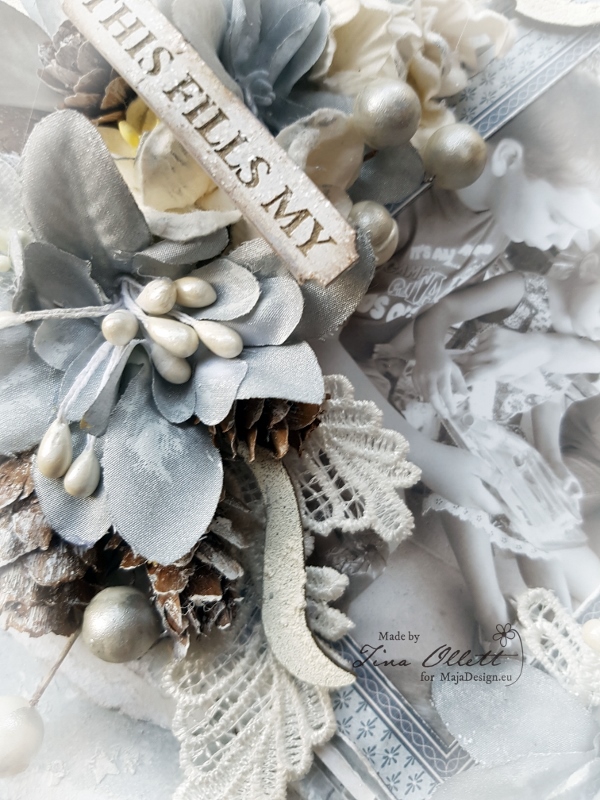
I have also added in some beautiful chipboards that were embossed with seafoam and inked with Walnut Stain.

2017-12-05 This fills my heart 045 (600x800)

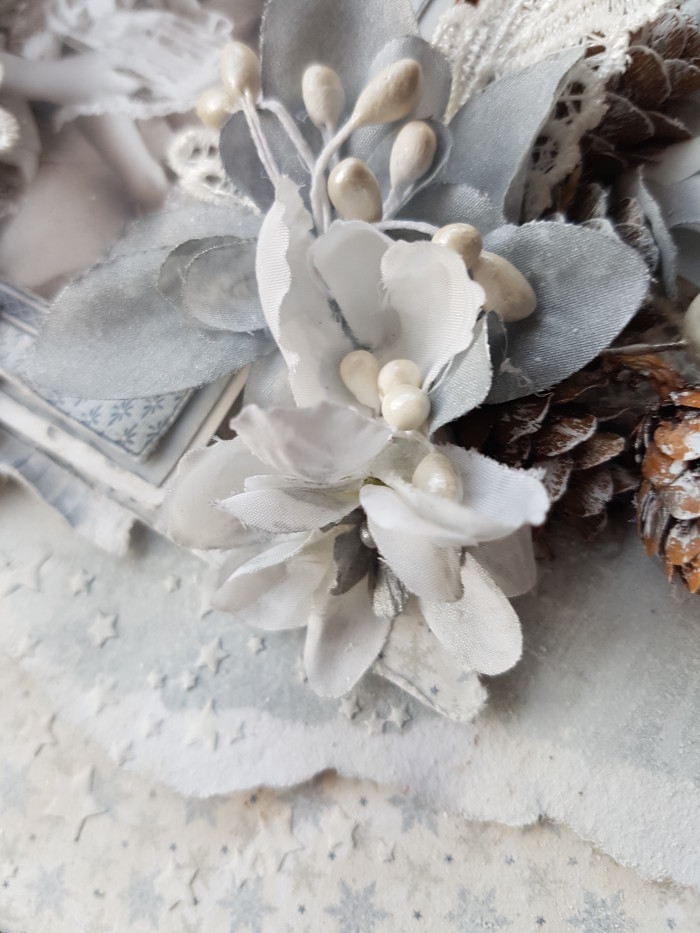
I made some flowers using materials and coloured them with Ranger Distress Stain.

2017-12-05 This fills my heart 046

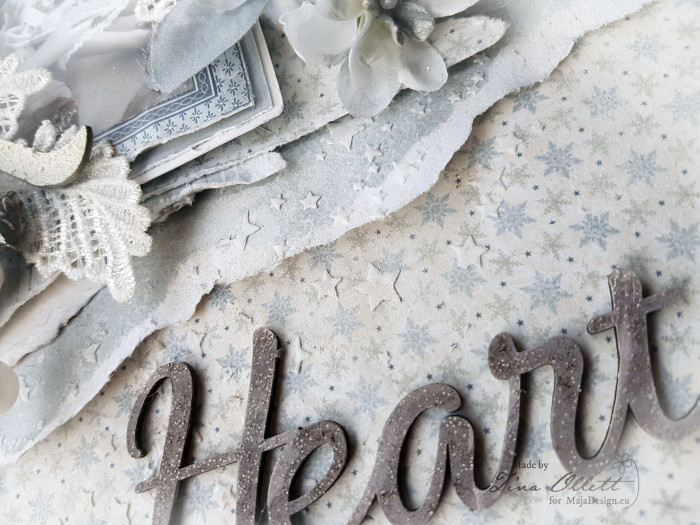
Above and below you can see the layering of papers that I used along with the textures made with the stencil and texture pastes. Unfortunately you can’t see all the sparkly effect made with the sparkling dust but rest assured it is definitely there.

2017-12-05 This fills my heart 048

Well that is all from me today with my lastest project. I do hope you enjoyed it.

Until next time take care and happy scrapping.

Tina-sign

“Summer” by Tina Ollett

1

Posted by Tina Ollett

21 November, 2017 - ,

Write a comment

Welcome and a very big hello !

Tina O with you here today. It has been a couple of months since I was last here and I am so very happy to be back on board creating again for Maja Designs. I have been away recuperating from shoulder surgery but I am very happy and so glad to be back at my table again creating.

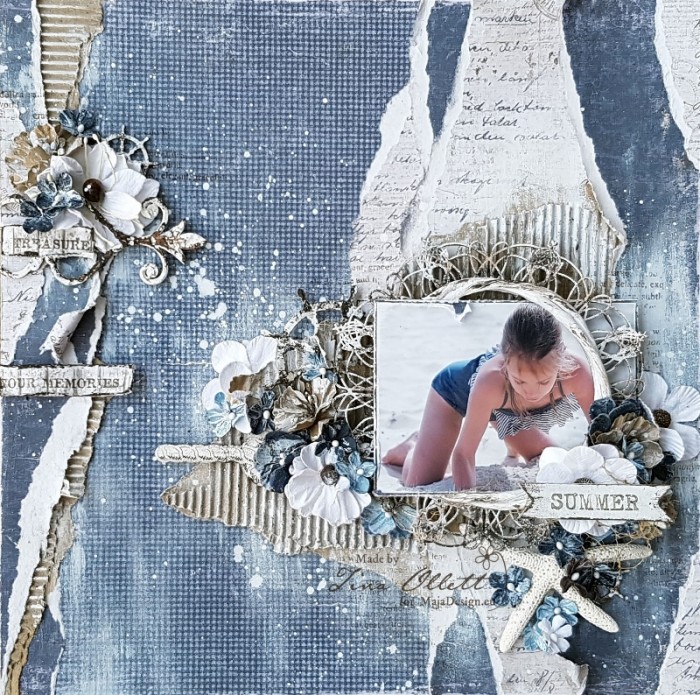
2017-11-20 2017-11-20 001 031 (800x794)

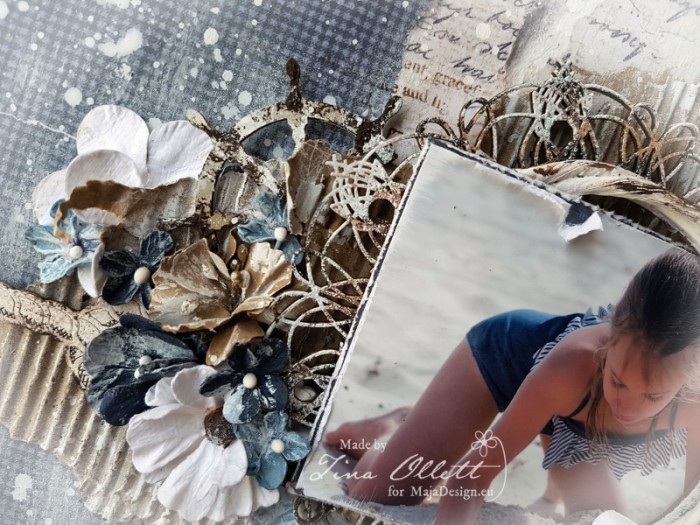
Today I have something beachy for you. Here in Australia Summer is a very special time for our family. Lots of trips to the beach and just getting out and enjoying the beautiful sunshine and our gorgeous beaches. The photo I have used today is of my youngest who just loooooooves the beach. And every chance she gets she will be found digging away in the sand, or mud digging holes or just building sandcastles. I adore this photo of her from back in 2012 at a holiday gettaway in Forster, New South Wales. Again she is digging away and very much caught up in the moment !

Autumn-Basics-P

Since the togs she was wearing are a navy blue I decided to keep with these colours and add some neutral tones and have kept it very earthy. I have only used a little media being distress inks and gesso along with Rust Paste.

2017-11-20 2017-11-20 001 019 (600x800)

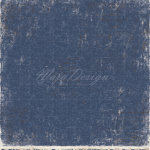
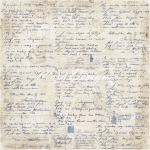
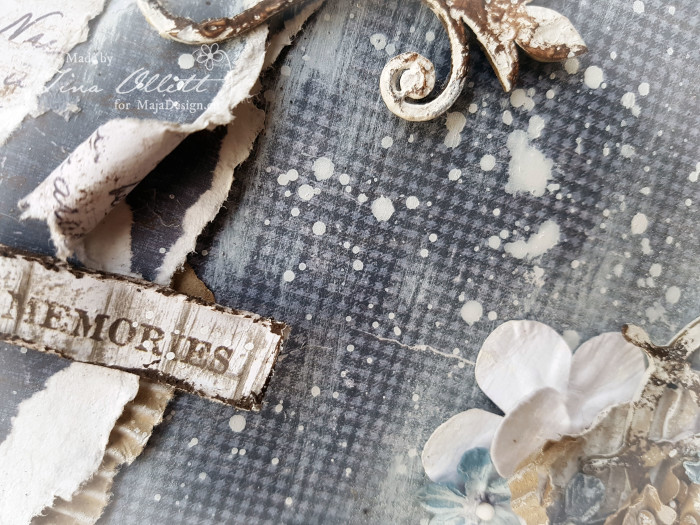
My starting point was tearing up my sheet of Vintage Autumn Basics and layering it using both sides along with some Dusty Attic corrugated board. These pieces were laid over the top of Vintage Autumn Basics and then primed with some clear gesso. I did some drying brushing with white gesso to give that whitewashed beachy look and also did some splatterings of white.

2017-11-20 2017-11-20 001 022 (800x600)

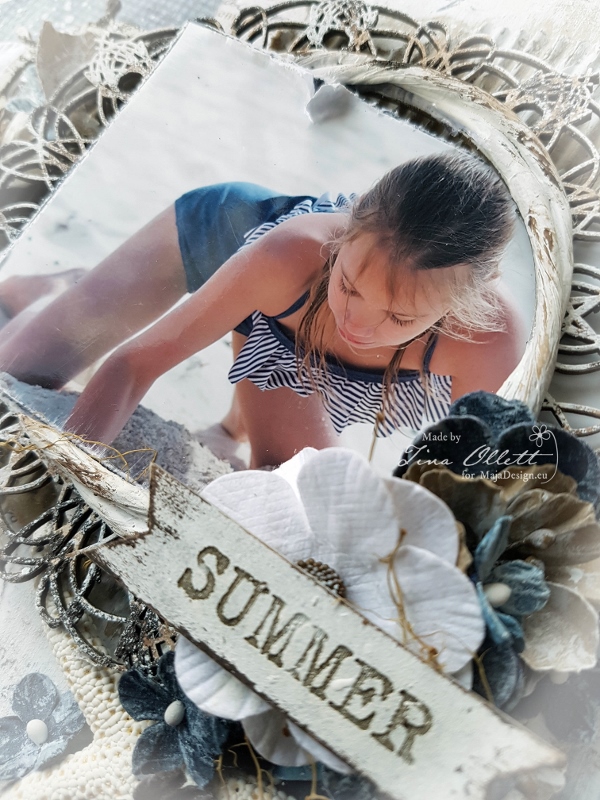
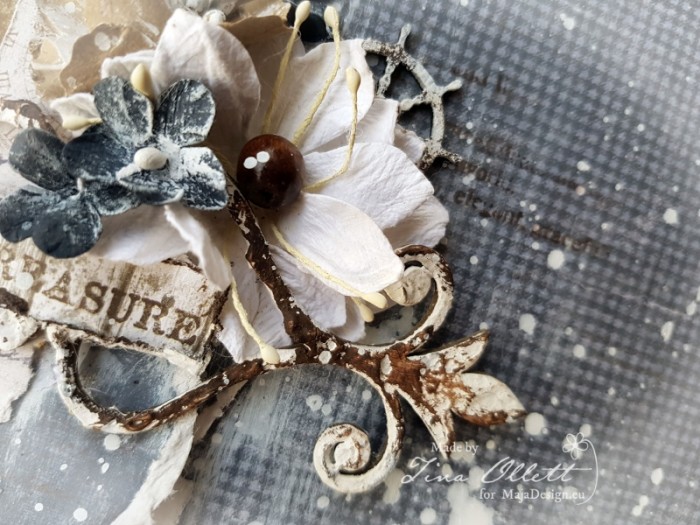
I have used some new Dusty Attic release beach chipboards, lots of 49andMarket Floral Mixology and Garden Seeds flowers along with some seashells to help with my embellishing of the page.

2017-11-20 2017-11-20 001 024

The chipboards were dressed in gesso and I randomly applied rust paste let it dry for a few moments and rubbed the rust paste until the colour bleed into the gesso.

2017-11-20 2017-11-20 001 025 (800x600)

Well that is all from me today, I do hope I have inspired you in some way big or small to create something this week for yourself! Enjoy the time you create and happy scrapping.

Tina-sign

“Dream” by Tina Ollett

0

Posted by Tina Ollett

12 September, 2017 - ,

Write a comment

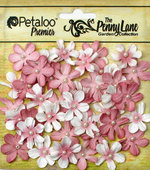
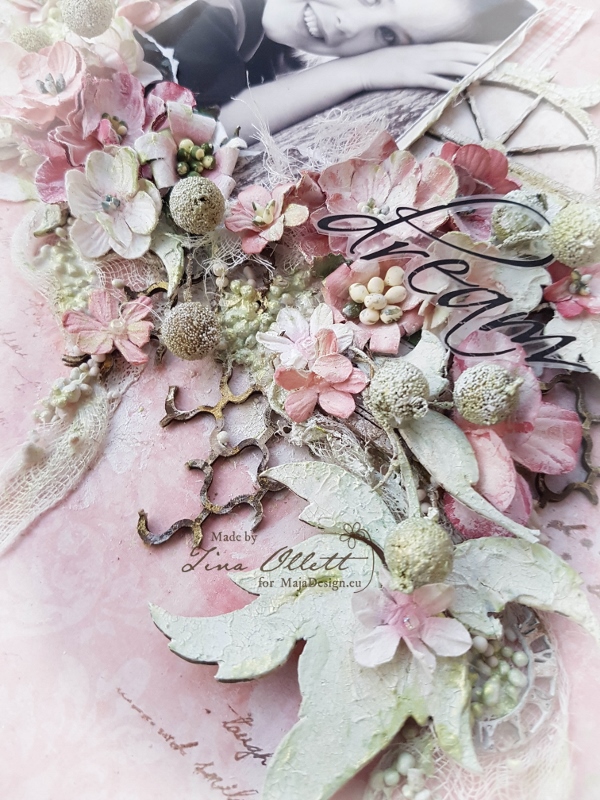
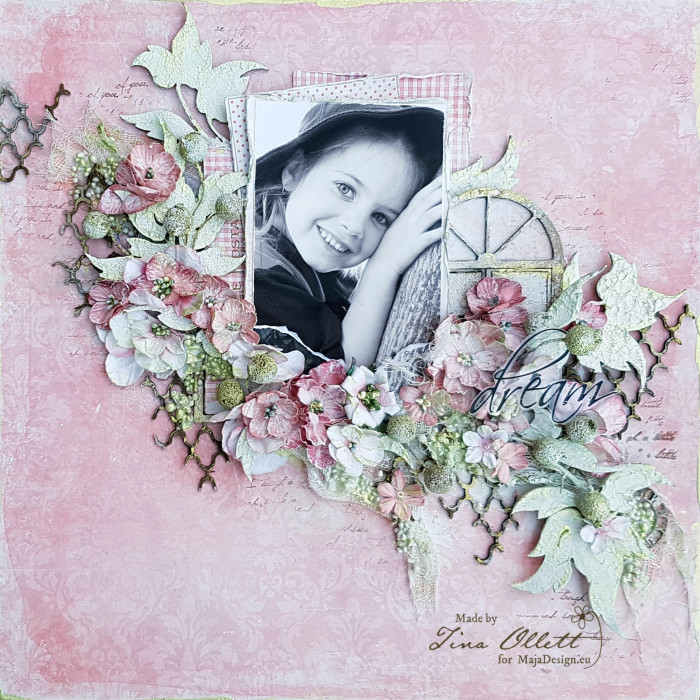
Hello friends. Tina Ollett with you here today to share my newest Maja Designs creation. I have reverted back to a favourite collection this time around……. “Summertime”. With this beautiful collection I created a soft shabby layout full of gorgeous Petaloo flowers from Penny Lane Garden Collection. Petaloo are sponsoring Maja this month with their wonderful flowers…… thank you Petaloo !!

2017-09-12 Dream - Maja Design Creation - September 040

……………”Dream”………….
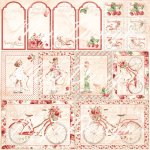
Oh how I loved this collection I think I have already mentioned that but it definitely is a favourite for me. As always my layout evolved slowly and didn’t finish off how I had imagined by I was quite happy with my end project. Below are all the papers I used from this collection. Some of the papers were gessoed to help with the effect I was looking for. I have used lots of media and paints to colour my papers and Dusty Attic chipboards.
Summertime-P

Cat586389

2017-09-12 Dream - Maja Design Creation - September 080 (600x800)

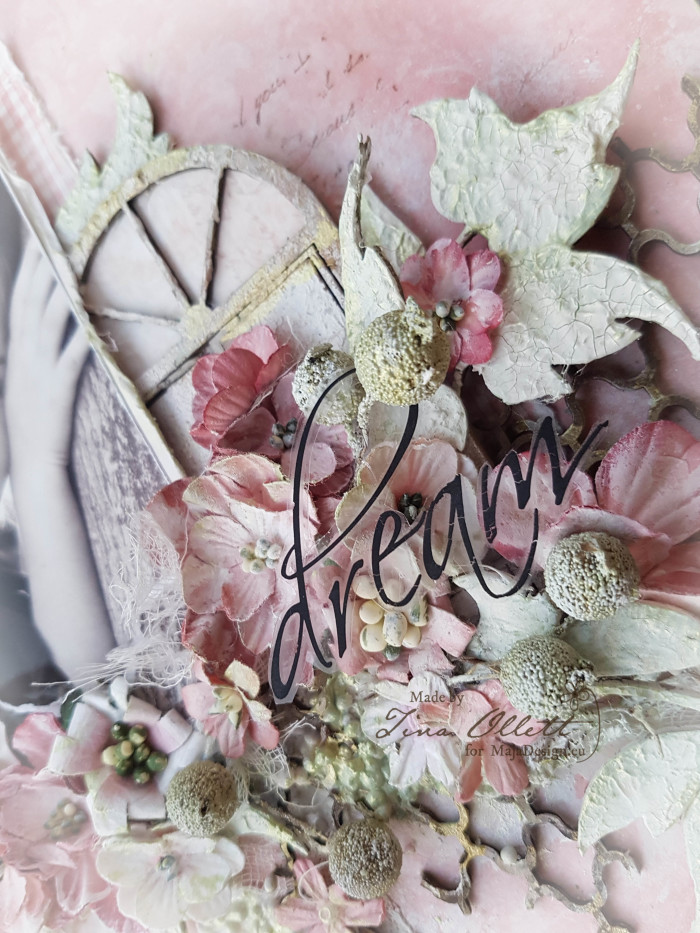
My background papers was firstly primed with gesso and then I laid down a run of 3D Gloss gel and over that some very distressed muslin. This was my starting point and from here I layered my page with photo matting papers from the Summertime collection and then the sepia toned photo over the top.

2017-09-12 Dream - Maja Design Creation - September 032

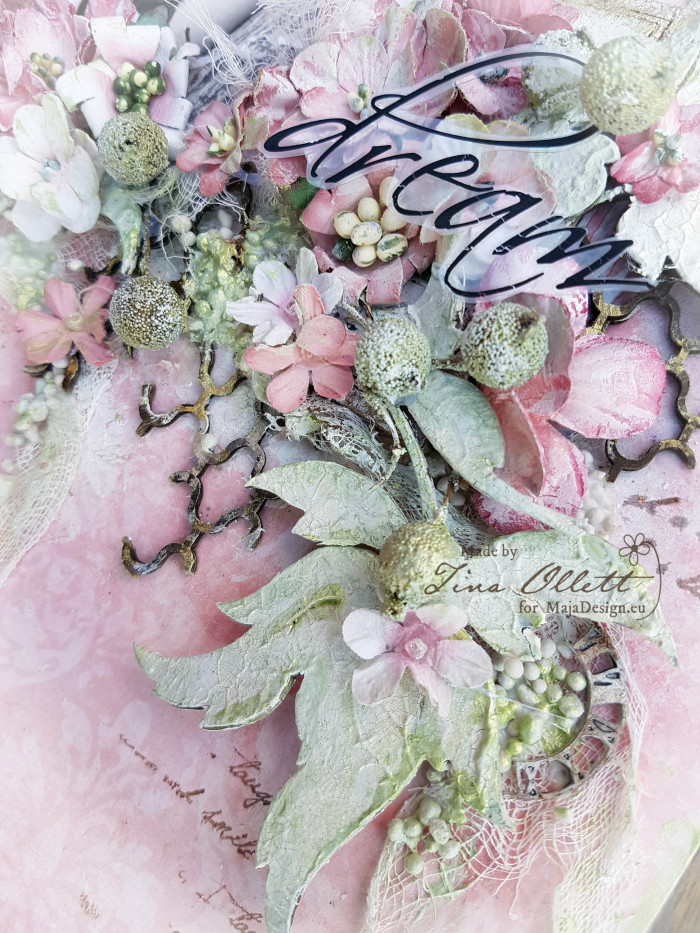
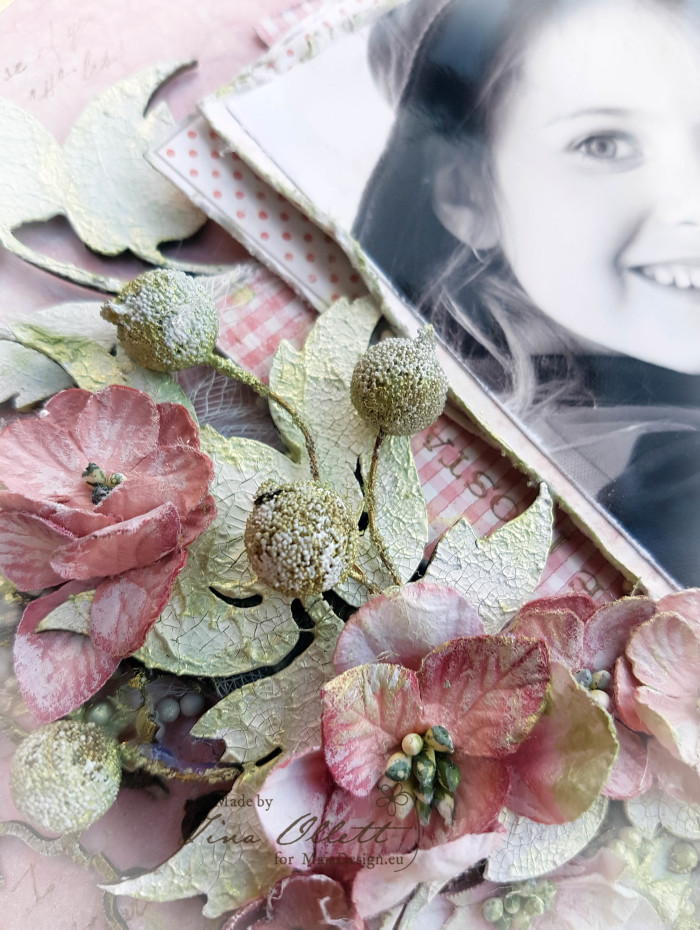
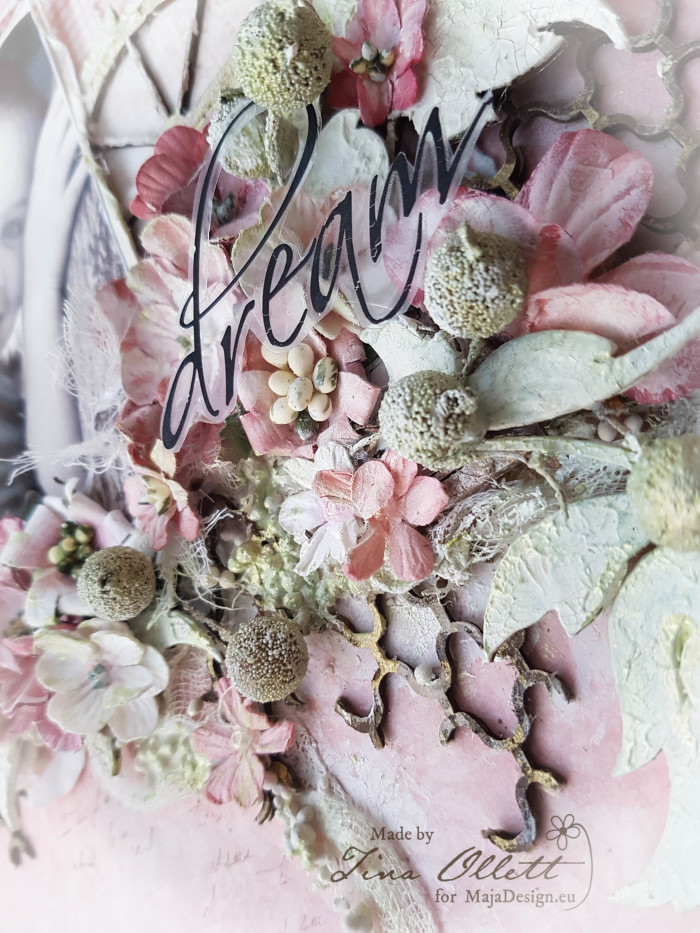
Around my photo I used some beautiful Leafy Stem Dusty Attic chipboards. To the right of the photo I added in a Arch Window also from Dusty Attic. These were all dressed in Crackle Pastes, inks (Distress Inks) and Prima Art Alchemy Green Gold Acrylic Paint. You can see above that I also added in some Art Stones.

2017-09-12 Dream - Maja Design Creation - September 034

I did a little stamping with a Carte Postal stamp at the side of my photo and very randomly with a script stamp.

2017-09-12 Dream - Maja Design Creation - September 084

For my title I have used a very old rub on that I added to some transparency paper and cut out. I have the hugest collection of rub-ons that I just can’t get enough of!!

2017-09-12 Dream - Maja Design Creation - September 085

You can see above that I also added some Texture Crackle Paste to my background page to help bring the project together. Lastly I went over my whole project dry brushing with white gesso to help keep this very muted and to of course keep the photo the centre of attention. This photo is of my youngest daughter which was taken by a friend at a school excursion a few years back now when she was only in prep. How time flies she is now a highschooler!!

Well that is all from me today. I so hope that you enjoyed my project and I hope to see you back here again very soon. Stay tuned for more design team prettiness tomorrow.

Take care and happy crafting!!Tina-sign

Best Friends by Tina Ollett

2

Posted by Tina Ollett

29 August, 2017 -

Write a comment


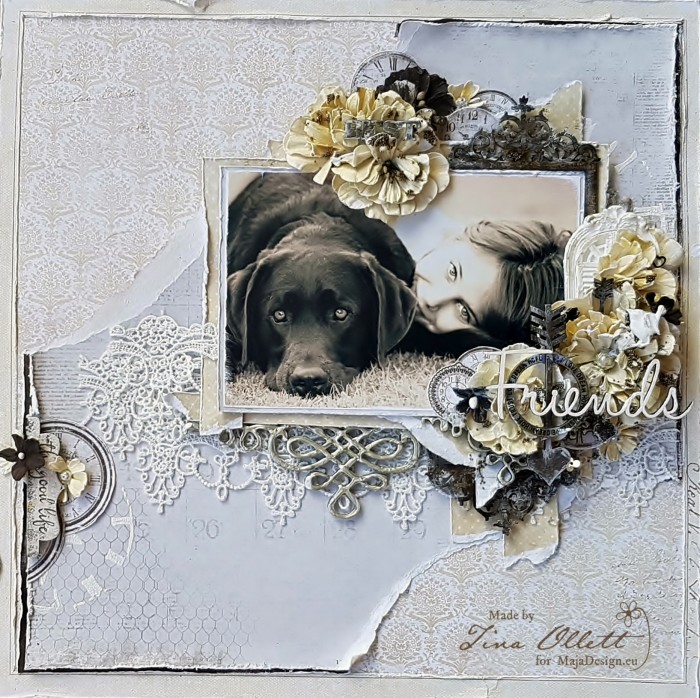
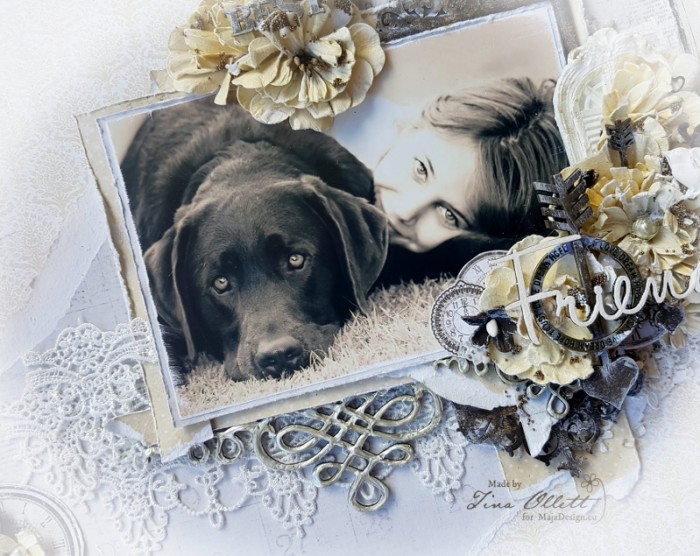
Hello and a huge welcome to you! Today I am here to share my next project which I created using Maja’s gorgeous Vintage Spring Basics combined with Coffee in the Arbour. If you keep scrolling I will share a few close-ups and more details of how I used these beautiful papers.

2017-08-21 Best Friend 020

“Best Friends”

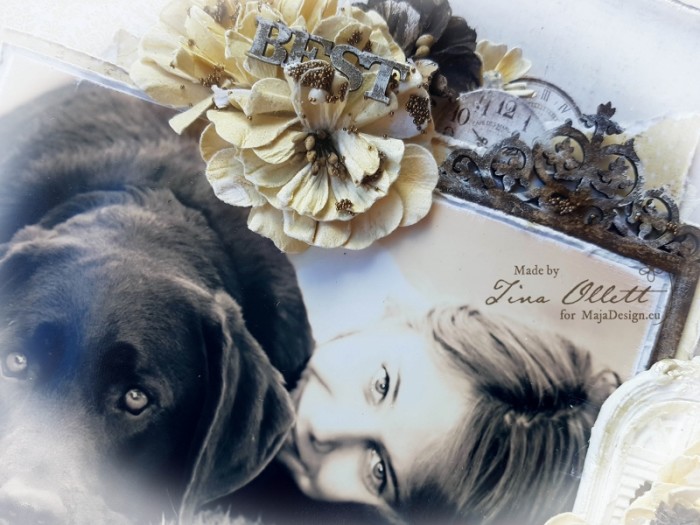
I love yellows…….. and browns just seems to be the thing I go to next! So for this creation I came across this photo of my gorgeous youngest daughter and our furbaby Rafael some time ago in the back yard at home. It was one of those lucky shots that it was fortunate that they were looking my way at the correct time. I had printed this photo off a few times and I never liked the way this came out in the sepia tone so I had stashed it away. But for these project the colours fit beautifully, wouldn’t you agree?

2017-08-21 Best Friend 006 (600x800)

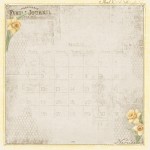
With papers tearing seems to be a natural progession. My first sheet (background sheet) was  Coffee in the Arbour’s Lemoncurd. The soft tones to this paper drew me to it instantly. I did a little stenciling on it but mainly left it’s beauty remain. I then cut the frame from the Vintage Spring Basics 1st of March Sheet. Did some distressing and adhered it to the background piece. With the remainder of the 1st of March I did some tearing and adhered the torn middle section to the page.  I love the images of the calender and other elements that are this sheet. They are just gorgeous and really lend itself to my project!

2017-08-21 Best Friend 026 (800x635)

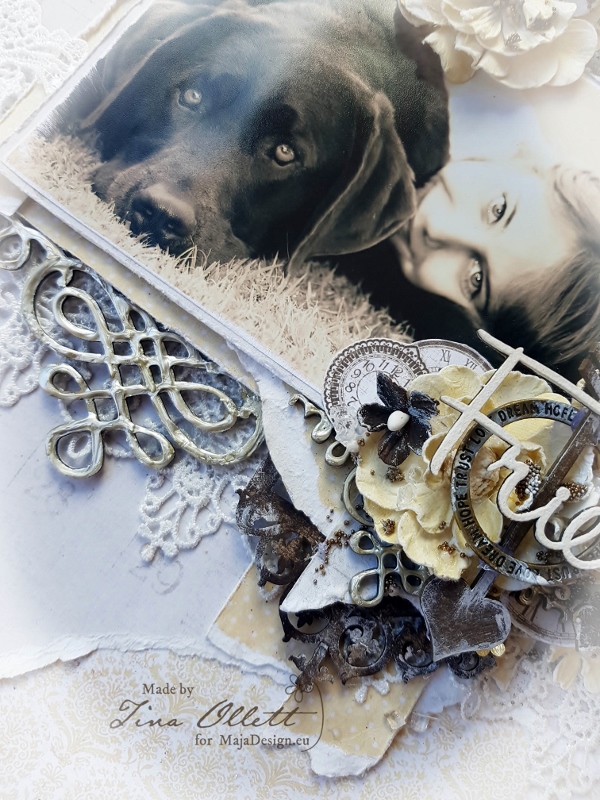
I also used the back of 1st of March to help the photo pop a little. Again tearing papers to fit the matting of my photo. The other torn pieces were layered amoungst the chipboards and flowers and clocks that I cut from from the Vintage Autumn Basics No.XVI. These were cut carefully and sanded and distressed to give that worn feeling.

2017-08-21 Best Friend 009 - Copy (800x600)

I used some Dusty Attic chipboards inked with Distress Inks and also some paper moulds that I made a few weeks back along with a charm that I picked up in my travels to Taiwan a few months back. I love the simplicity of it.  When everything was layered I then dry brushed my elements to soften the page and then added in a few microbeads with some 3D Gel.

Materials Used

Vintage-Spring-Basics-P

590-1th-of-March

Maja Design Vintage Spring Basics 1st of March

590-1th-of-March-BS

Maja Design Vintage Spring Basics 1st of March bs

Coffe-in-the-Arbour-P

688-Homemade-lemoncurd

Homemade Lemoncurd

692-Smell-of-coffee-bs

Smell of Coffee bs

Autumn-Basics-P

639-Vintage-Autumn-Basics-no.XVI_

No.XVI

Well that is all from me today. I so hope you have enjoyed my project today. I will see you back here in a couple of weeks! Until then take care and happy scrapping. xoTina-sign