Thumbs up!

2

Posted by Camilla Støen Bakke

8 February, 2017 - ,

Write a comment

IMG_6750

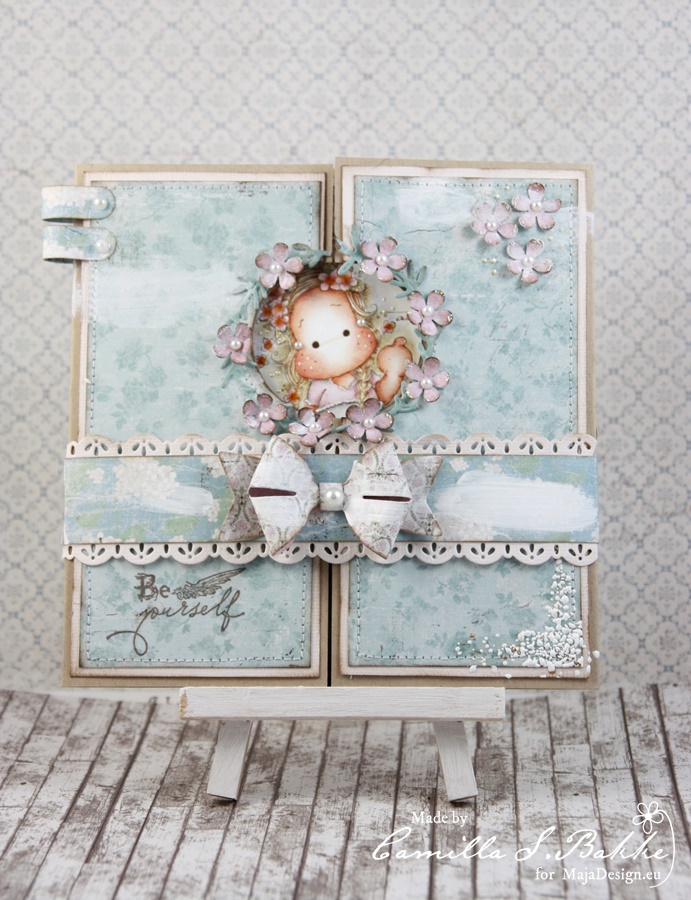
Hi there! I hope February has been good to you so far. When it is cold outside I dream about Summer:) And here is a card for you with the lovely Vintage Summer Basics collection.

Vintage-Summer-Basics-P

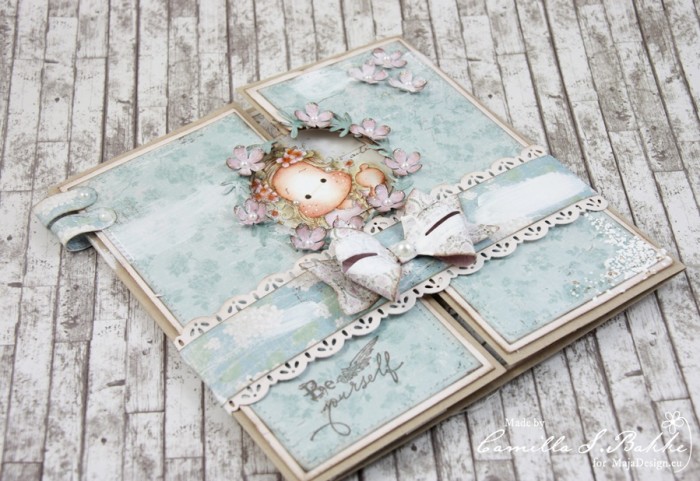
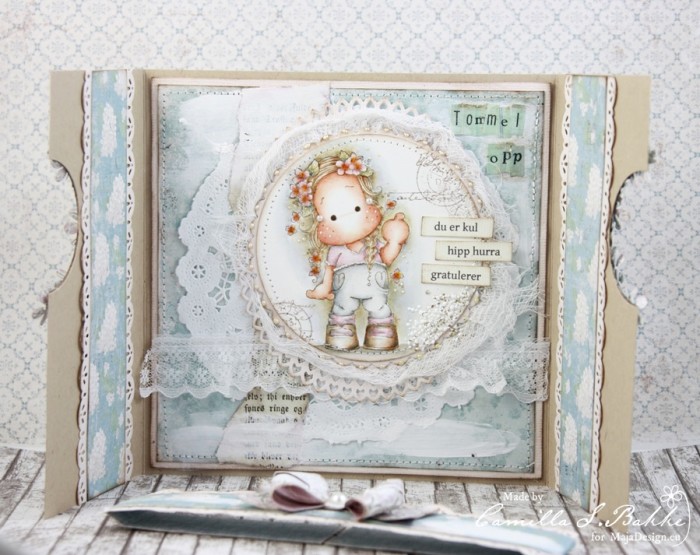
I will give you the list of the papers used at the end of this post. But first some more photos of my card. As you can see I have a round window in the front.

IMG_6755

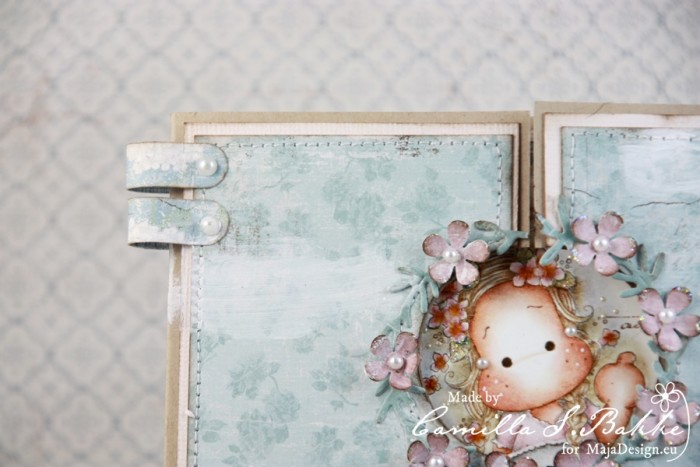
And I have also made a belt to keep the card together. The paper lace is made with a die from Magnolia called Swedish lace.

IMG_6736

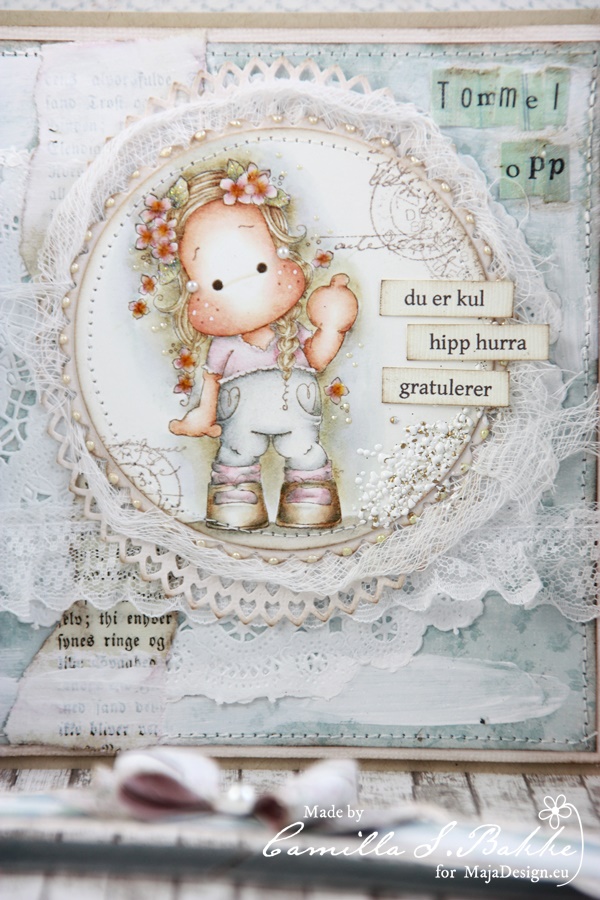
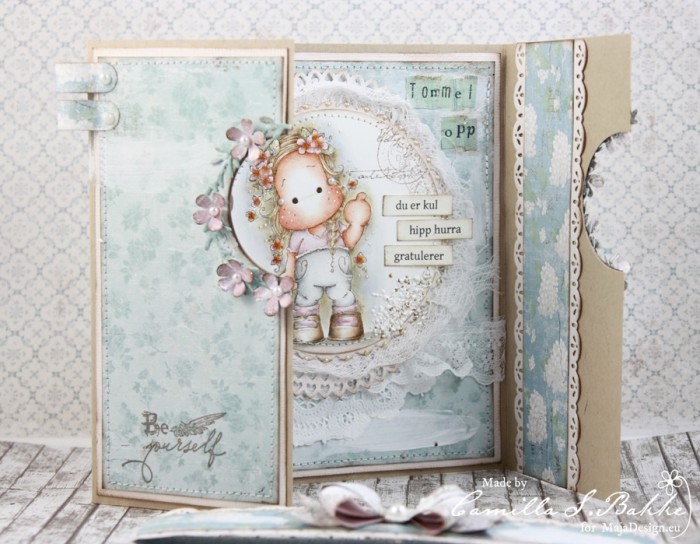
Out to the left I have used a punch called Word Window Punce on the Maja paper. The leaf circle is made with a Magnolia die and the pink flowers with a Small Retro Flower punch. And Tilda is coloured in colours that match the lovely Maja papers.

IMG_6740

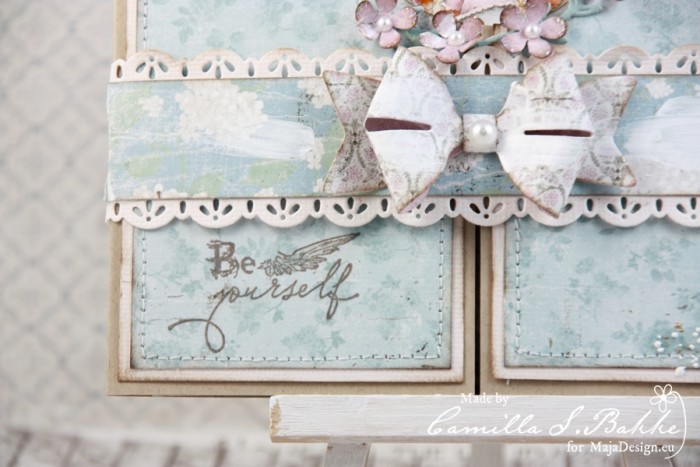
I have stamped the text directly on to the pattern paper. It is from Stempelglede. As you can see I have sewed the papers, and inked the edges with Distress Ink pad, Walnut Stain.

IMG_6764

And here is the inside of the card. “Tommel opp” means “Thumbs up”. I have also painted with White Gesso here and there.

IMG_6769

I have used the same pattern papers inside the card as the front. And also on the sides. They are only glued on top and on the bottom, so that I can put a tag, a greeting or some money under it.

IMG_6784

Here are the papers used:

Thank you so muvh for visiting the Maja Design blog! I wish you a great day!

With love from,

Camilla

Shabby Chic Journal Cover by Keren Tamir

1

Posted by Keren Tamir

27 January, 2017 - ,

Write a comment

Hi everyone,

I’m super excited to be joining the Maja Design DT and today I’m showcasing my first project.

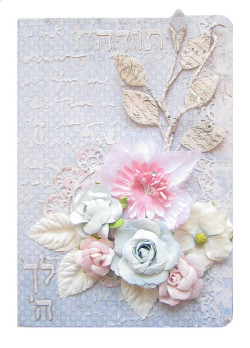
I created a Shabby Chic Journal Cover to give as a gift to someone and I knew the Vintage Spring Basics collection were perfect for covering the journal.

IMG_3061 copy

Below, is a short step by step video tutorial on how I created it.

[youtube http://www.youtube.com/watch?v=vO_FuSNtw_A]

Here are some close-ups of my journal cover:

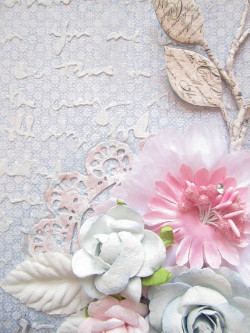
To create texture in the background I used a script The Crafters Workshop stencil with some modelling paste. I wanted to keep it very clean and shabby.

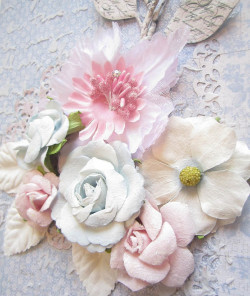
I used some matching Prima Marketing flowers, leaves and vines to embellish the book.

The doily under the flowers was cut out of the 7th of May Vintage Spring Basics paper using Prima’s die-cut metal doily.

IMG_3056 copy IMG_3057 copy

To cover the book I used the April 3rd paper and for the doily I used the May 7th paper from the Vintage Spring Basics collection below.

Vintage-Spring-Basics-P

Keren-sign

mm

Keren Tamir

I'm Keren Tamir a self taught scrapbooker, mixed media artist and designer. Since I was a child, I always loved art. I used to doodle on my notebooks and on anything I could get my hands on. ​ Fourteen years ago I discovered scrapbooking and fell in love with it. One of the main reasons I started scrapbooking was to preserve memories and photos for my children. Scrapbooking opened a creative door to something that I had longtime forgotten I'd loved. It gave me peace of heart and mind. visit my blog for more inspiration: https://kerentamir.blogspot.ca

”Delight”

1

Posted by Mary Tzalla

22 January, 2017 - ,

Write a comment

Layout

Hello my dear friends!!!

Mary here with you today sharing my latest layout using papers from the beautiful ”Vintage Summer Basic” collection.

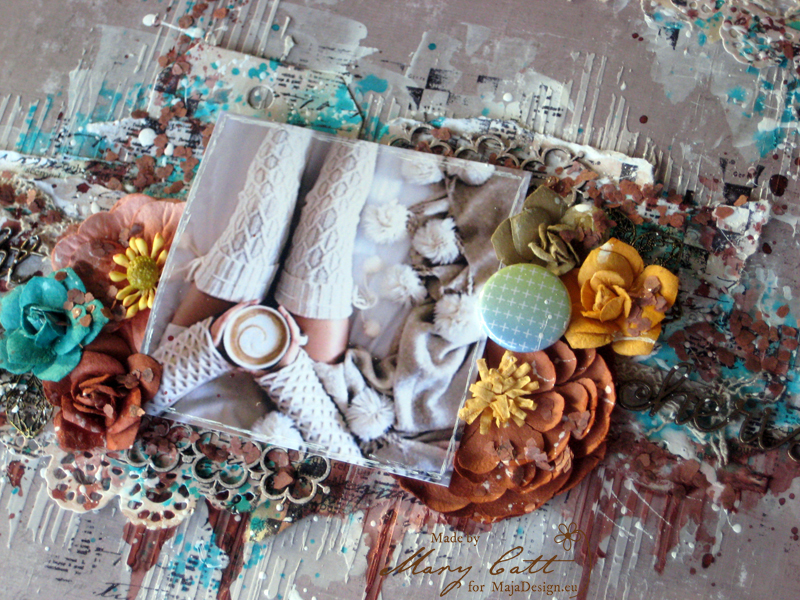
In this layout I tried to give you a cozy sense using this beautiful photo found on Pinterest, which reminds me relaxed Sundays mornings. There is nothing better than having a hot cup of coffee lying in your comfortable couch. Don’t you think?

But, before I continue I want to give all the proper credits to the photographer.

Close up 1

For my background, I used the ”1903” paper and I made some layers behind my photo with the ”1912”  and the ”1932” papers using both sides of the last one. I also placed some torn pieces from the pages fo an old book.

Close up 2

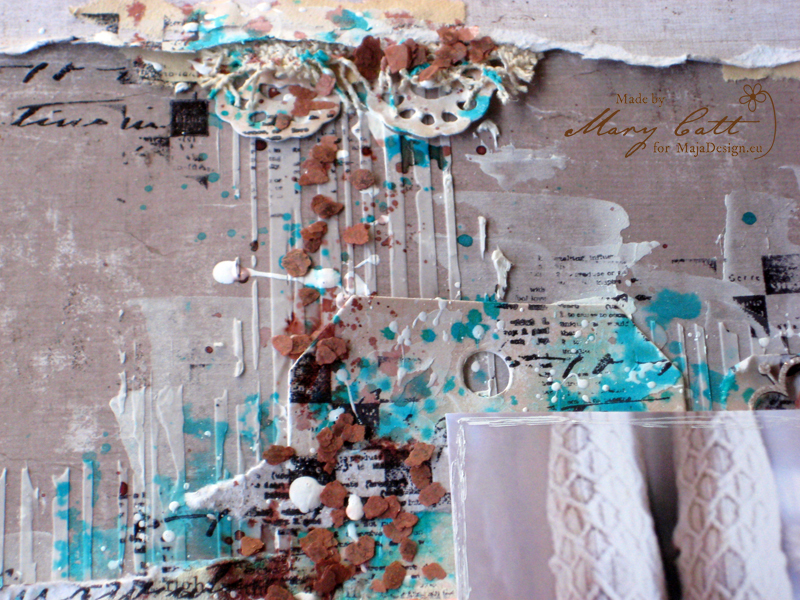
First, I gave my paper a coat of clear gesso and then I applied some white gesso. When dried, I added some texture with modeling paste and a stencil. Then, I used Lindy’s Stamp Gang mists, ”Cocoa Bean Copper” and ”Sassy Sapphire” with some water to make a watercolor effect.

Close up 3

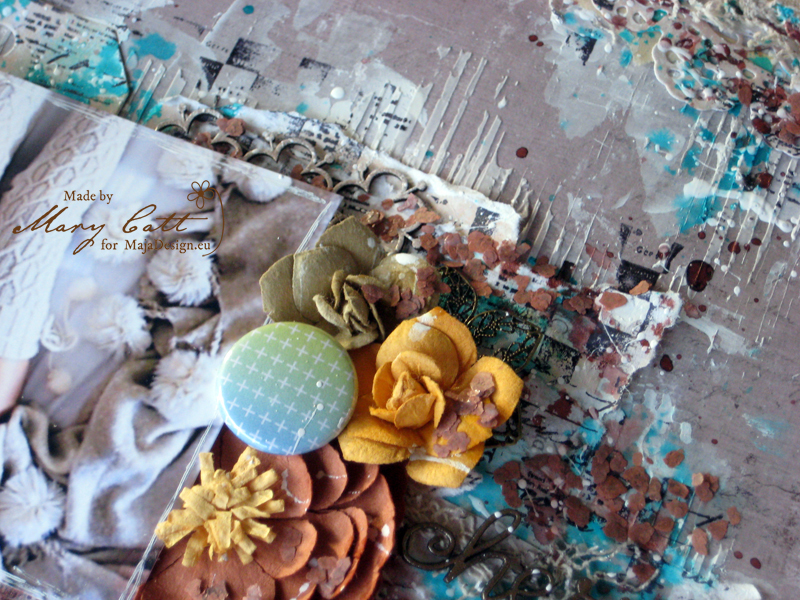
I heat embossed the title words with ”Byzantine Bronze” and the small border chipboard pieces with ”Cafe au lait”. The chipboards I used are 2crafty and the flowers are Prima Marketing. The metal embellishments are ”Scrap Unlimited” and the flair is ”Cuts2luv”.

Close up 4

As a final touch, I added some mica flakes in ”Henna” and made some splatters with 13arts white gesso.

Papers used:

Vintage-Summer-Basics-P

That’s all for today, my friends!

See you again in two weeks!

Mary-sign (2)

Κράτα το

Xmas trees

0

Posted by Pascale B

19 January, 2017 - , , ,

Write a comment

Hello Sweeties,

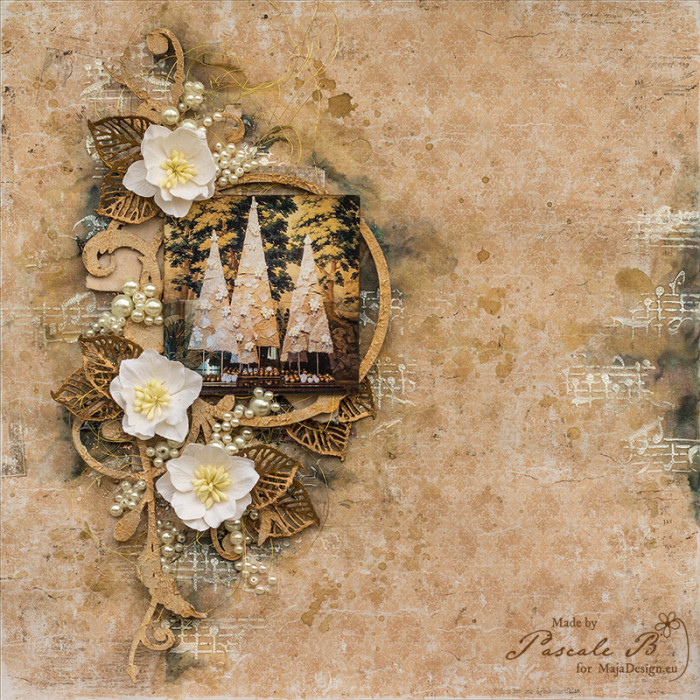
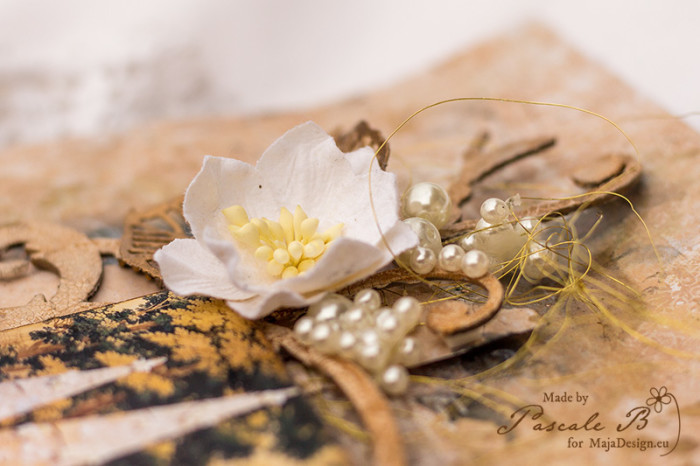
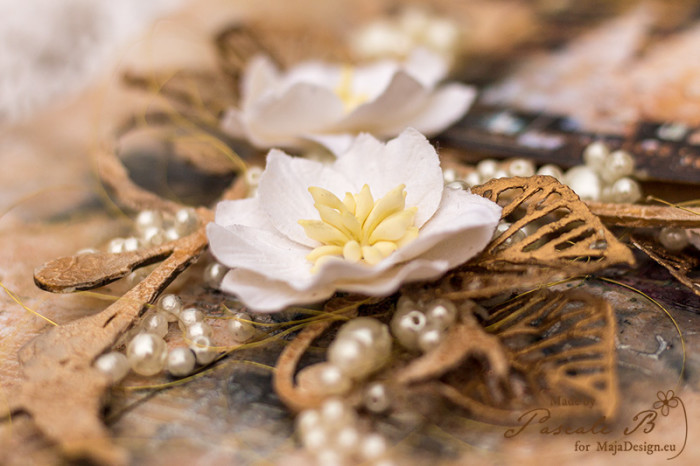
Today I’m up on Maja Design blog with a new layout with a step-by-step video. I chose a photo of a  Christmas floral arrangement from the castle of Chenonceau (Loire Valley, France).

Xmas Trees by Pascale

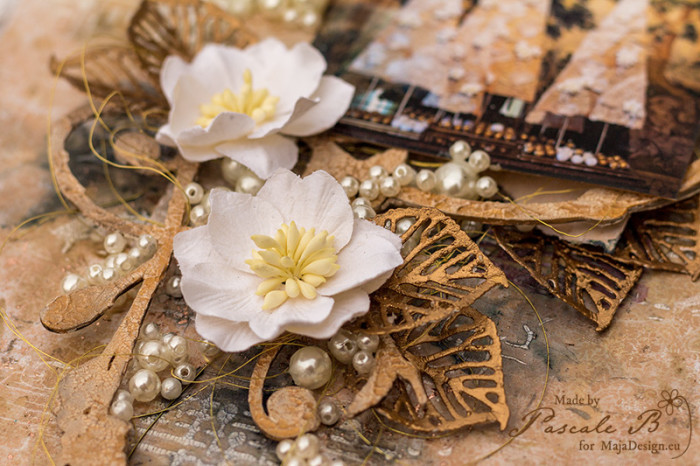
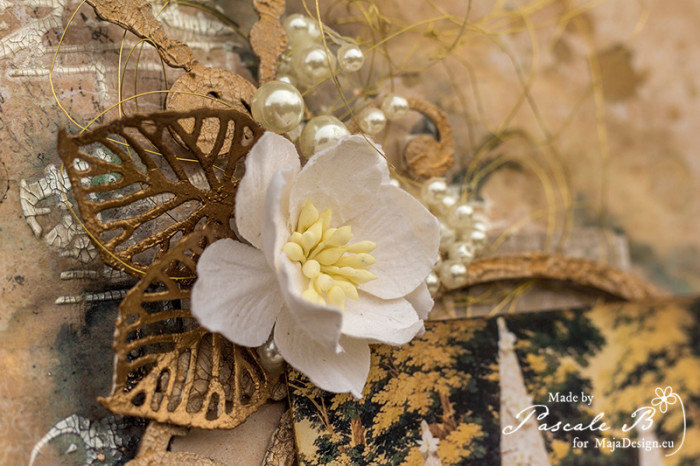
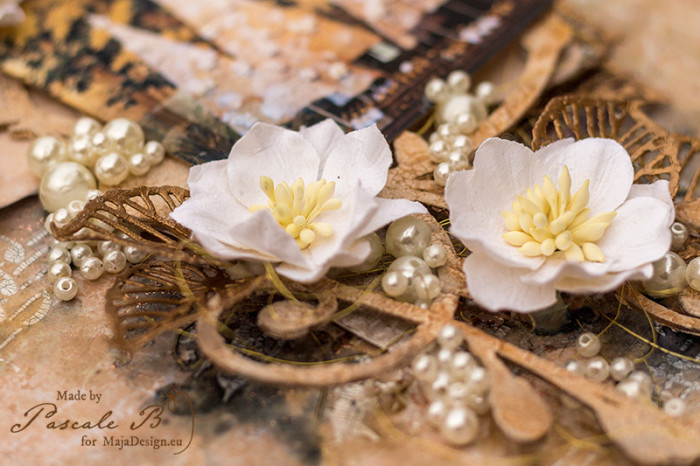
Here are some close-ups:

Xmas Trees by Pascale

Xmas Trees by Pascale

Xmas Trees by Pascale

Xmas Trees by Pascale

Xmas Trees by Pascale

Here is the video:

Maja Design papers:

1915 1912 bs 21st of December BS
Vintage Summer Basics Vintage Frost Basics
1915 1912 21st of December bs

“Forever Love” by Tina Ollett

4

Posted by Tina Ollett

17 January, 2017 - , , ,

Write a comment

A huge welcome to you! It’s Tina with you today to share my next Design Team creation.

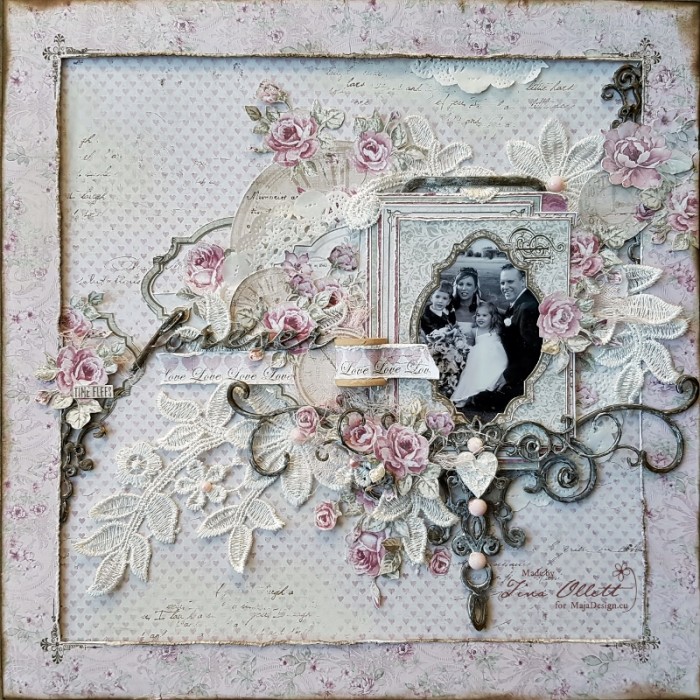
This project for January, I have titled

…..”Forever Love”….
2017-01-17 2017-01-17 001 015 (800x800)

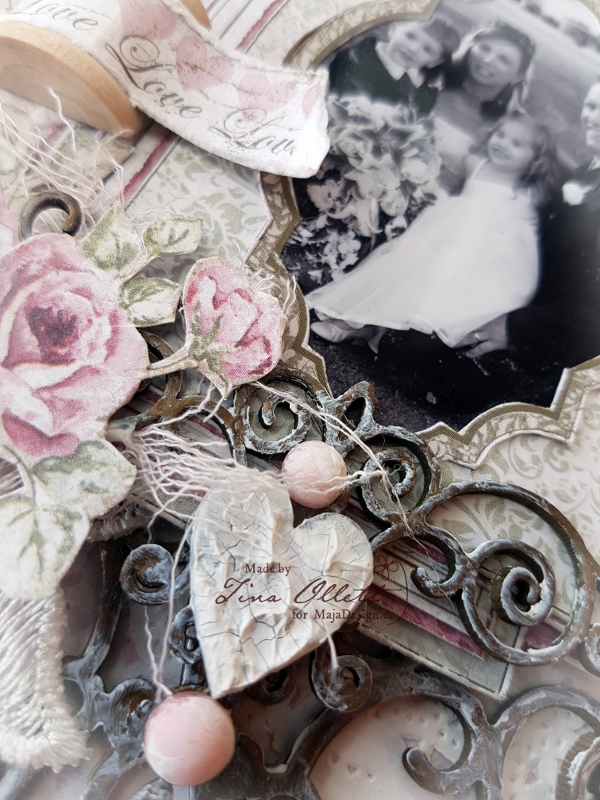
This, for me, was a layout of love. Scrapbooking for me is about the memories and sometimes the photos from the most special days of all, aren’t of the best quality but I always insist on using them no matter what. On our special day a professinal photographer was hired, but it was very unfortunate that during the development of our photos that something went horribly wrong. Due to the developing error we we did not receive a great deal of photo’s that were of a good quality or worthy of using to hang on our walls. We depended on our family and friends to help us with photo’s they had taken and this photo is one of them. We were so fortunate to have our two eldest attend our wedding. They were so excited the whole day through. My son walked me down the aisle with my Dad, something I will never forget and treasure always.
2017-01-17 2017-01-17 001 012 (600x800)

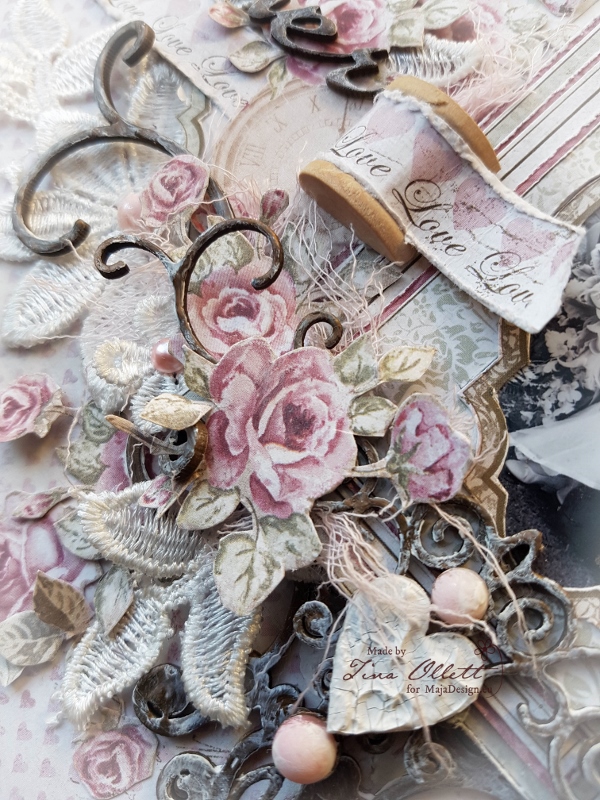
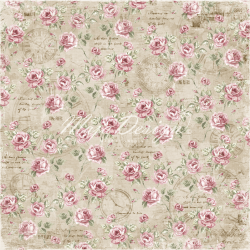
I am mad for anything at present that I can fussy cut from papers. And I found this in the Vintage Autumn Basics No. II sheet that was in my gorgeous Maja stash. I have cut at least a half of this sheet up and layered it in and around the page.
2017-01-17 Maja January 2017 031 (600x800)

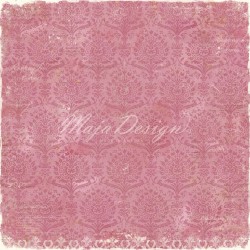
You can see above in the bottom of the photo the layering of journalling cards that I cut from Vintage Spring Basics “Days to Remember” and also from the Vintage Romance collections “Love Notes”. Amongst the several layers of journal cards I have alternated mats of “Raspberry Jam Cookies” from the Coffee in the Arbour collection. Yes I have mixed a lot of collections this time around . I find the beauty of Maja Designs ranges is that they just blend together so beautifully.
2017-01-17 Maja January 2017 032 (600x800)

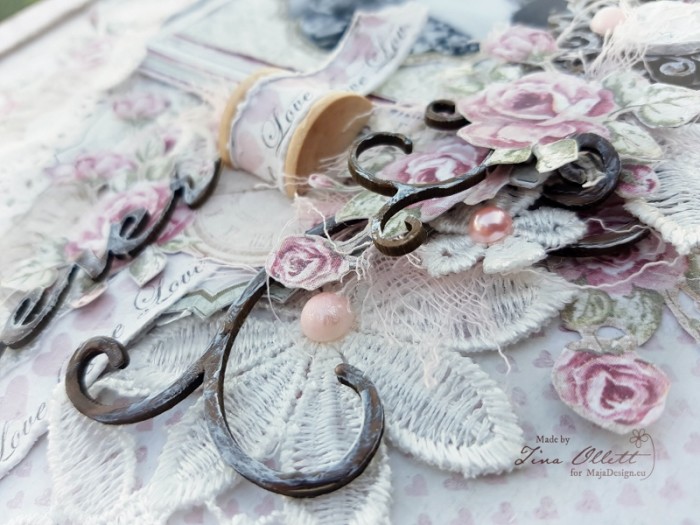
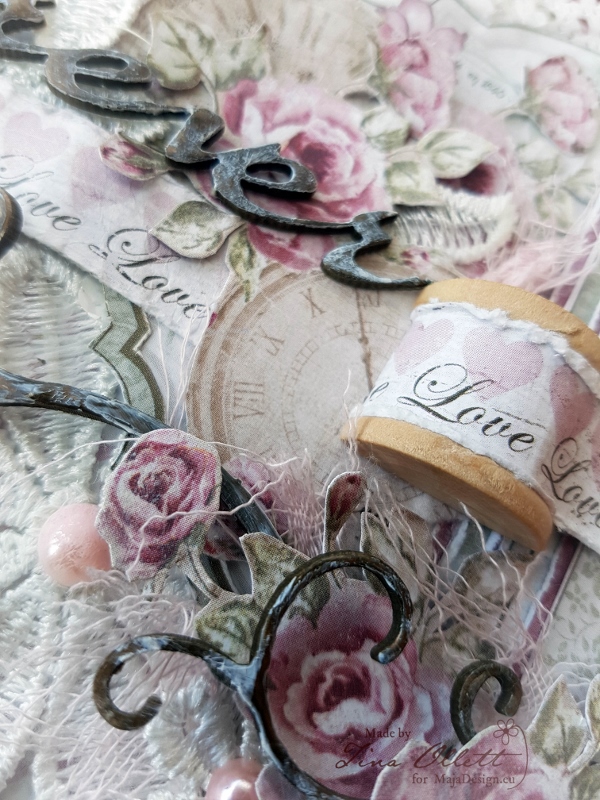
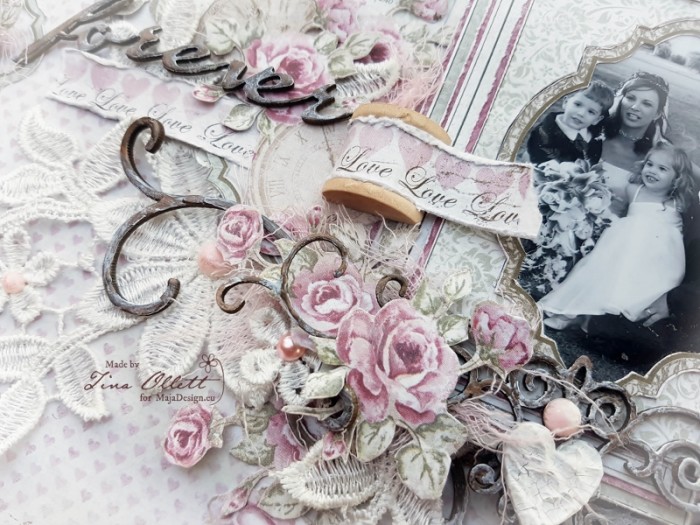
I have layered the  project with paper doilies, lace motifs, Dusty Attic’s gorgeous chipboards cut up, muslin and even a sewing spool. The sewing spool was wrapped with the bar strip from Vintage Romance’s bside of “Passion”. Passion was used as my background piece with the frame cut from Vintage Romance’s “She’s my Lady”.
2017-01-17 2017-01-17 001 060

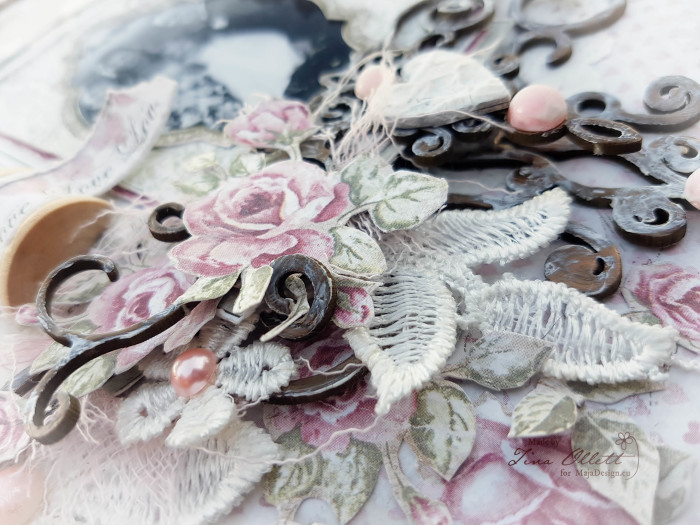
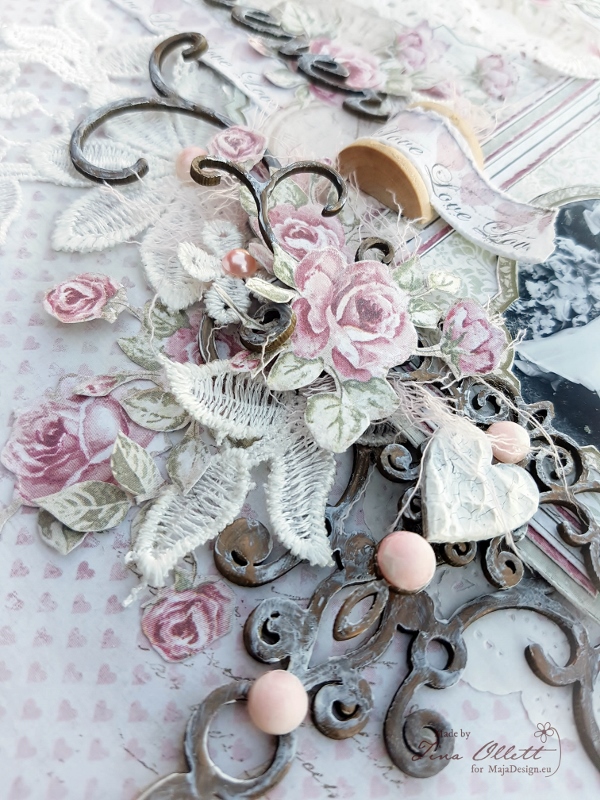
This here, is the side on view of the base of the photo. The lace motif I have used here has been cut into many many pieces and divided throughout the layout to help give it movement.
2017-01-17 2017-01-17 001 036 (800x600)

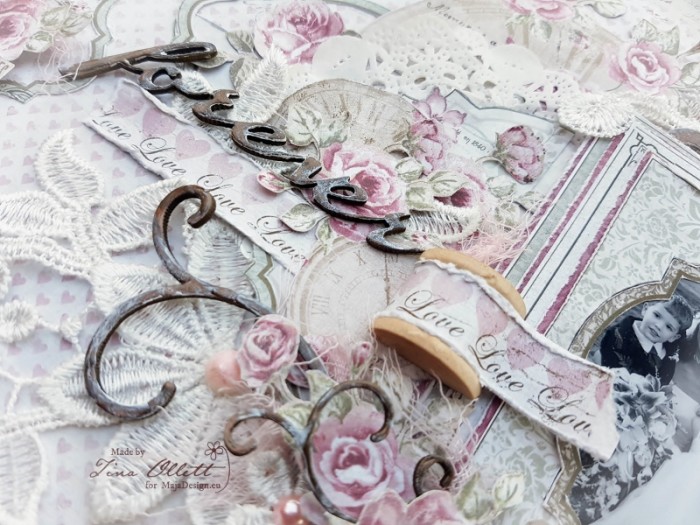
I have tucked a few doilies around to help break up the pink from the flowers and the background.
2017-01-17 2017-01-17 001 041 (800x600)

I just loved these clocks found on the Vintage Spring Basics sheet. I have used the largest of the clocks and cut it to sit behind the photo so it did not overtake the whole layout. I cut some of the smaller clocks with the roses to sit on top of the large one layered.
2017-01-17 2017-01-17 001 058 (600x800)

From another view…….

2017-01-17 2017-01-17 001 059 (800x600)

and another…..

Maja Designs Papers used for this project were:
625-Vintage-Autumn-Basics-no.II_

Maja Designs – Vintage Autumn Basics No.II
679-Raspberry-jam-cookies

  • Maja Designs – Coffee in the Arbour – Raspberry Jam Cookies
821-Passion-bs

Maja Designs – Vintage Romance – Passion -bs
822-Shes-my-Lady

Maja Desings – Vintage Romance – She’s My Lady
839-Love-notes

Maja Designs – Vintage Romance – Love Notes

Other Materials Used

Dusty Attic Ornamental Trim Set

Dusty Attic “Forever”

Wendy Vecchi Crackle Texture Paste

Art Basics Heavy Gesso

Liquid Pearls Chocolate

Ranger Distress Ink Walnut Stain, Ground Espresso, Victorian Velvet

E Line Pearl Crystal Prima Marketing Inc – Pearls and Crystals Item# 300470

A Place To Create’s Lace Motif (large)

Muslin, Wood Sewing Spool, Miscellaneous Wood Heart and Bracket

Acrylic Stamp Set Script

I so hope that you have enjoyed your time here today. If you have pieces of different Maja collections lying around in your stash, why not try combining them together like I have here today. Would love to see what you do!

Until next time take care and happy scrapping.Tina-sign