A Heart Box with Secrets

2

Posted by Silje Kristin Aunan

24 March, 2016 - ,

Write a comment

Hello Everyone 🙂

Today it is me, Silje Kristin who stop by with some new inspiration for you 🙂

Today I thought I would show you a Heart Box, made with some lovely paper from Maja Design <3

This box that you see in the picture, was a large red box that I got in a Christmas present. I am very found of recycle or upcycle diferent boxes that I received or may have been a old packaging for something. And this project here is no exeption.

I have used pattern sheets from Vintage summer Basics and Vintage Spring Basics.

Vintage-Summer-Basics-P

Vintage-Spring-Basics-P

I have decorated the bottom and the lid with two different patterned paper, where the patterned paper on the bottom is the darkest, while the lid is in a lighter color.

All the edges are inked with Distress Ink – Ground Espress, before I used a silver chain with shiny diamonds. This chain is very easy to attach with glue.

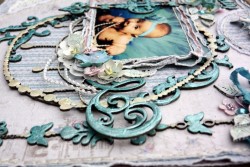
The heart that is on the top is made based on the shape of the box itself.

Here i have selected one pattern sheets that have both colors of the pattern sheets I’ve used on the box.

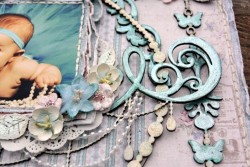
On the tof of the heart i have used several different flowers, most of the flowers are from Wild Orchids, while some of the flowers are from Papirdesign.

In between the flowers are a large button with a bow, pearls and two large silver leaf.

I have tried to place the flowers and the other details, as a heart on the top of the box <3

If you open the box and turn the bottom of the box up,  you can see that I have used a pearl string, now thw box have something to stand on.

Know you have seen my new project for Maja Design <3 A Heart Box with secrets <3

SiljeKristin-sign


Saying Farewell ~ All Smiles

5

Posted by Gabrielle Pollacco

23 March, 2016 - , , , ,

Write a comment

All Smiles_resized

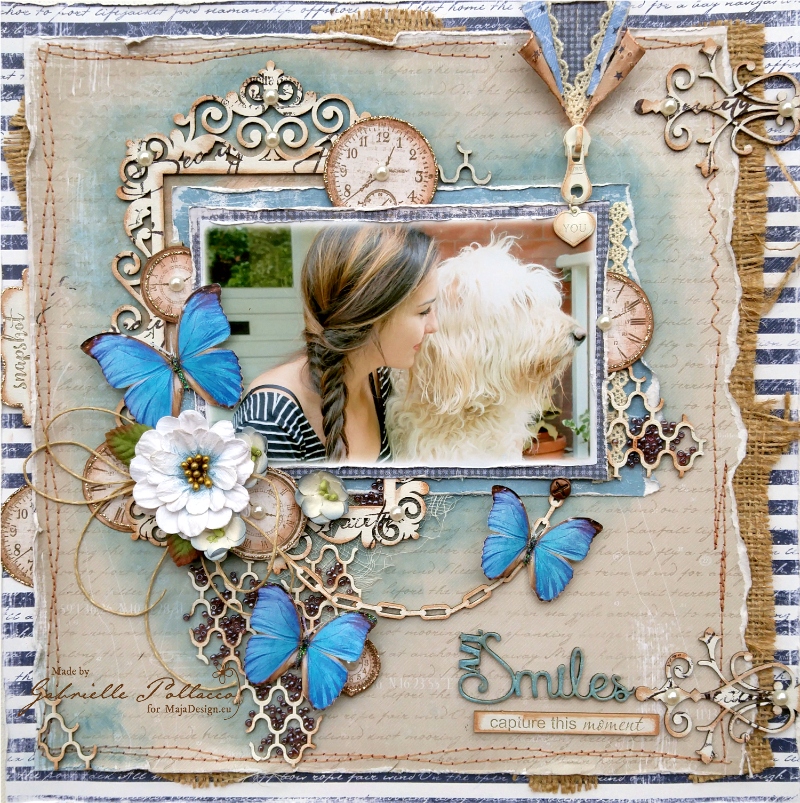
Hello Maja Fans, Gabrielle here with you today to share a very special project, dear to my heart.  As many of you know I have been with the Maja Design team for over 4 years now.  Today will be my last post for this wonderful team.  It was very hard for me to come to this decision as I have very much enjoyed creating with these beautiful papers.  But as I have a lot on my plate as of late, I felt it was time to make a few changes.  I decided to end my journey as I began…..the very first project I did for Maja Design was using their signature blue’s and neutrals….so today I finish my journey using these classic colors.

Life-by-the-Sea-P

As always I used a variety of collections in one layout (5 in all), but I mainly chose papers from the Life by the Sea collection.  I drew my inspiration from the navy and white stripe top my oldest daughter is wearing in the photo above of her and our dog.  These are the papers I used on this project:  Life by the Sea (Seaside Cottage, Bottle Message), Vintage Summer Basics (1945-bs), Vintage Autumn Basics (XXIII-bs, XVI).

All Smiles closeup1

I chose the fresh and pretty ‘Seaside Cottage’ strip paper as my matting paper….and the softly scripted ‘Bottle Message’ paper as my background.  I decided on my photo and embellishment placement and then softly tinted the surrounding area with some Colorbox Mixed Media Inx in a Patina color.

All Smiles closeup2

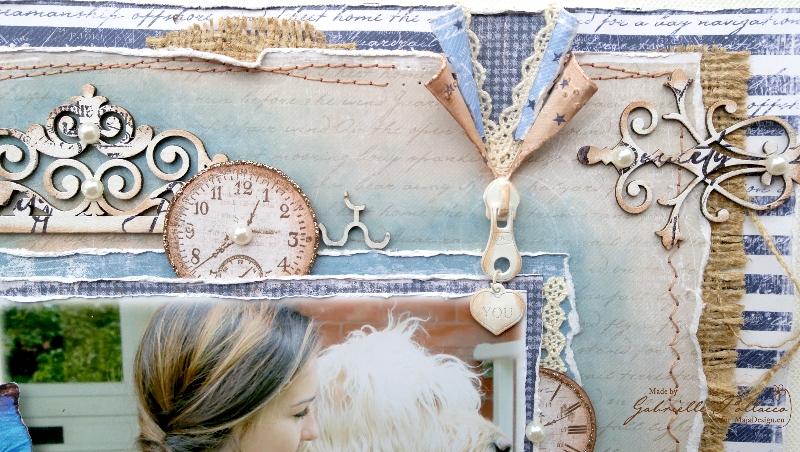
Before adhering my background paper to the matting paper, I added a little accent by tearing the two papers and curling back the edges to reveal the pretty check paper from the Vintage Autumn Basics collection with a little peek of lace as well. I added a small zipper pull from Prima Marketing to finish the look.  I also sandwiched a strip of burlap between the two papers before I finally adhered the two pieces together.  As an added finishing touch I added two ‘hinge’ designs by cutting a Dusty Attic ‘French Flourish’ chipboard design in half and glued them to the top and bottom of the right side.

All Smiles closeup3

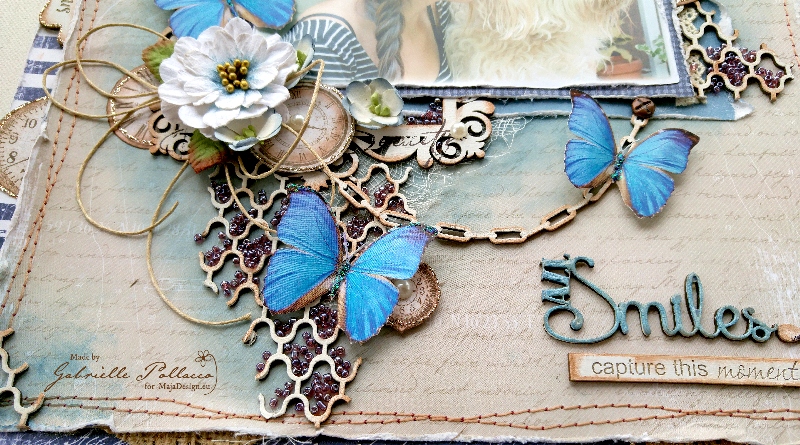
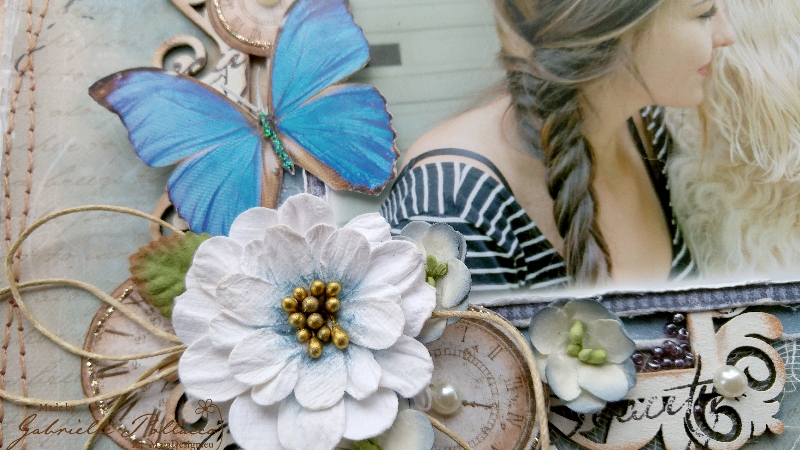
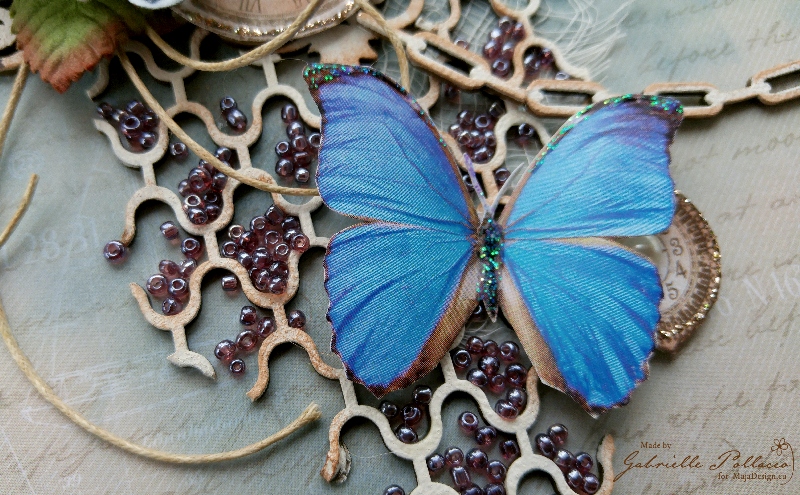
I double matted my photo with papers from Vintage Autumn Basics and Vintage Summer Basics, sandwiching the Dusty Attic ‘Vintage Frame #4’ between the two layers.  Then I added some butterflies (just some images I printed off from the internet), blossoms and clock images that I fussy cut from the Vintage Autumn Basics XVI paper, and applied with pop dots, adding a border with Platinum Stickles (glitter glue).

All Smiles closeup4

I also added some randomly cut sections of Dusty Attic chipboard Lattice…..and as a final touch used some Dusty Attic Clear Gloss Varnish to attach some seed beads in around the lattice (Prima – Licorice seed beads).

I hope you enjoyed checking out my project as much as I enjoyed creating it!  It has been my absolute pleasure being on this wonderful design team and want to thank Marie Janson for her kind generosity and support all these years, as well as Camilla Lillieskold, our awesome design team coordinator and Jennifer Snyder, our social media coordinator for all their hard work on our behalf.

Suffice it to say I will be using all the lovely product I still have in my stash for years to come! xo

Gabrielle-sign


Vintage Summer Basics Cards

0

Posted by Bec Genet

15 March, 2016 - ,

Write a comment
Hi, today I have some cards to share. I had some pieces of the Vintage Summer Basics paper left over from a previous project so I decided that they were perfect to be made into cards.
These papers are so pretty that I didn’t do anything to them, I just embellished them with some flowers, doilies, lace, ribbon, pearls and chipboard.

I hope this inspires you keep your paper scraps and create some cards
I used the Vintage Summer Basic Papers 1908, 1910, 1922 and 1925
Thanks for visiting

Bec-sign

Pretty in not so Pink

0

Posted by Rachelle Sigurdson

13 March, 2016 - , , ,

Write a comment

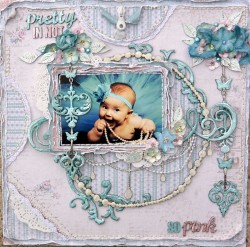
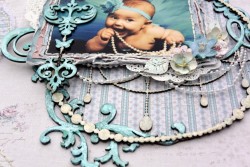
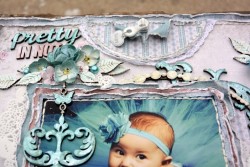
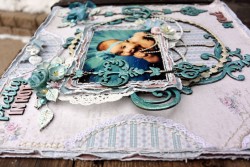
Hello, today I am here to share with you a Baby LO I did combining the Vintage Summer Basics Collection with the Vintage Baby Collection….

7eeaee948a034e0787733c89b81292cc

Vintage-Summer-Basics-P

I used:1934,1934-BS,1944-BS &1909-BS

VintageBaby-L

I used: expecting

The Chipboard used is from Dusty Attic

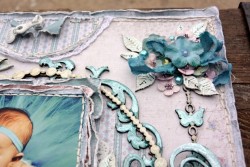
Here are some close ups…

3f701220009142fdb754b93e40a8d1dc

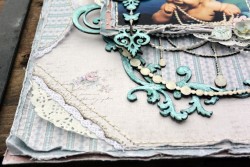
I love to distress & do layers with the Maja Papers, this shows some of the layers, with some punch work, lace a doily, & hand stitching in the layers…

f5ab6d4c1eab4cd899e8a828e2c6d8e2

I painted lots of the chipboard with clear crackle, then painted it with H2)’s once the crackle had dried…

35a023ea0cc3400797d234775ba5b56a

Here are some more close ups….

7a3add2002b94a919d0f4c1c28c7bde9

69cd773e5fa74742a28100d9a7217420

ef49df4f7435449888d6a9dcfead9568

f0ea38efd6264e1fbe6558b64a9379e4

This is a Double Page LO I did, as a Kit, for The Scrapbook Diaries

56269607108840c2bf109588bedc17be

I used the Walking in the Forrest Collection

44c024a662b548008ccddfa3d81844a6

Walking-in-the-forest-P

Thank you so much for taking the time to look…..Rachelle

Rachelle-sign

Reminisce

0

Posted by Pascale B

6 March, 2016 - , , , , ,

Write a comment

Hello Sweeties,

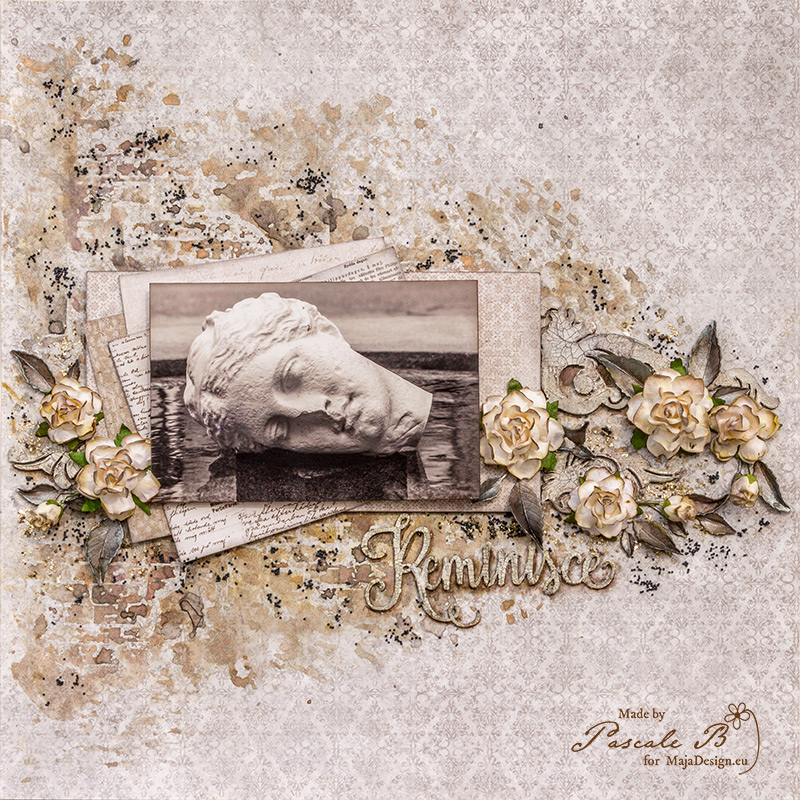
Today I’m up on Maja Design blog a new layout featuring a photo taken in Rennes (France). This head has a long story as it has been stolen several time.

Reminisce_PB

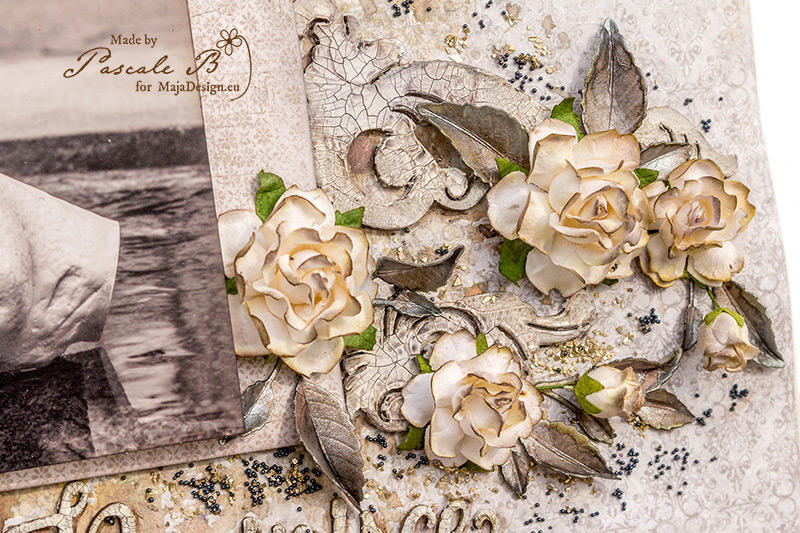
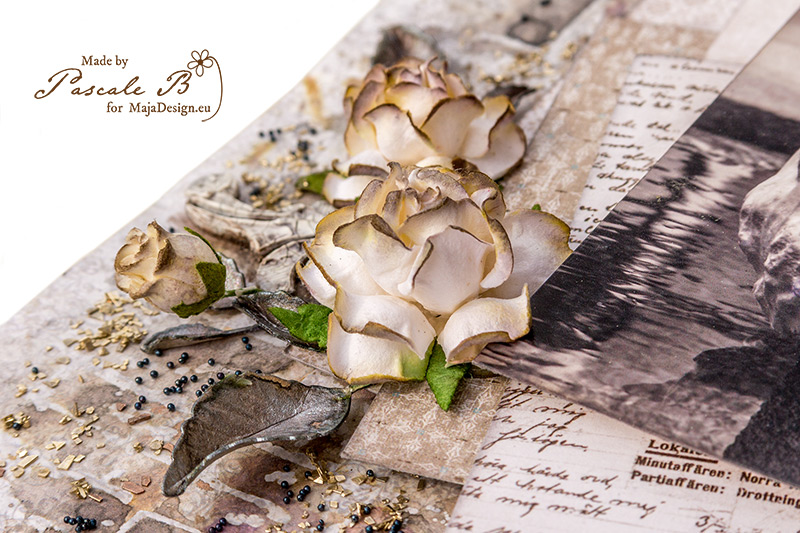
I started to add a thin layer of clear gesso to help the paper with all the inks I will add later. Then I added a design with a stamp and clear embossing powder.  Then I colored the background with different shades of brown and black.

Reminisce_detail2_PB

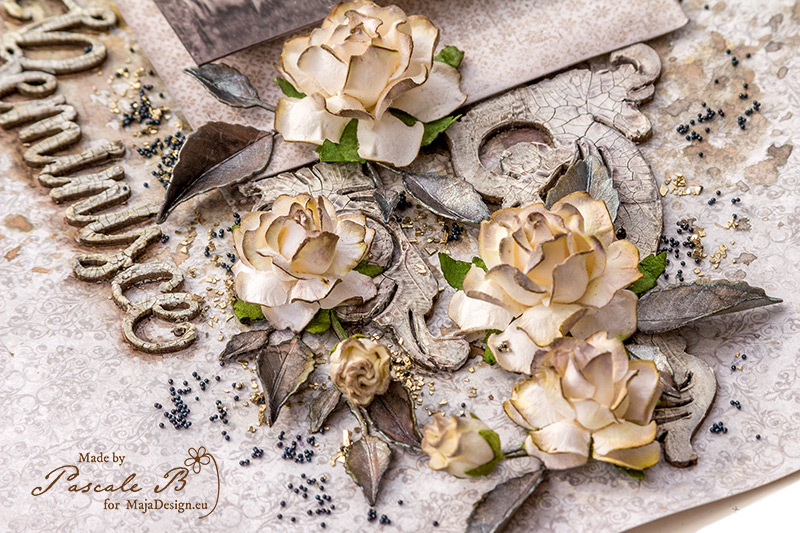
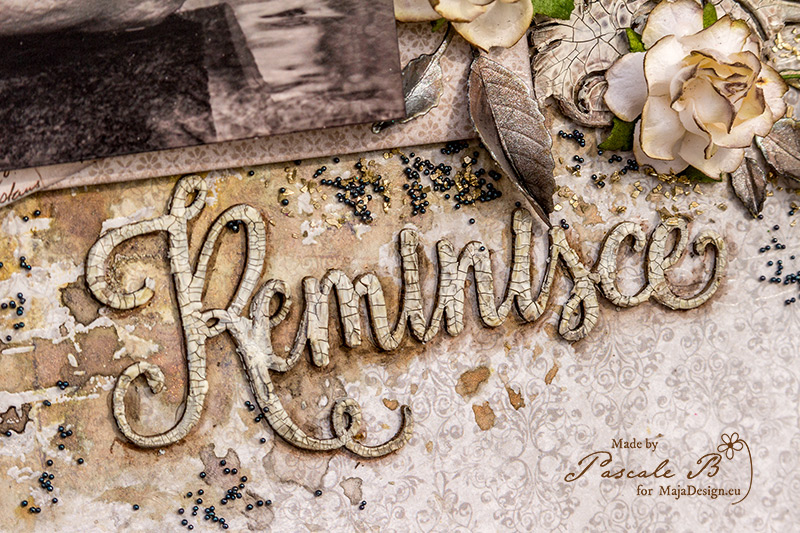
I covered the chipboards with a white crackle paste and I aged them with Twinkling H2O.

Reminisce_detail1_PB

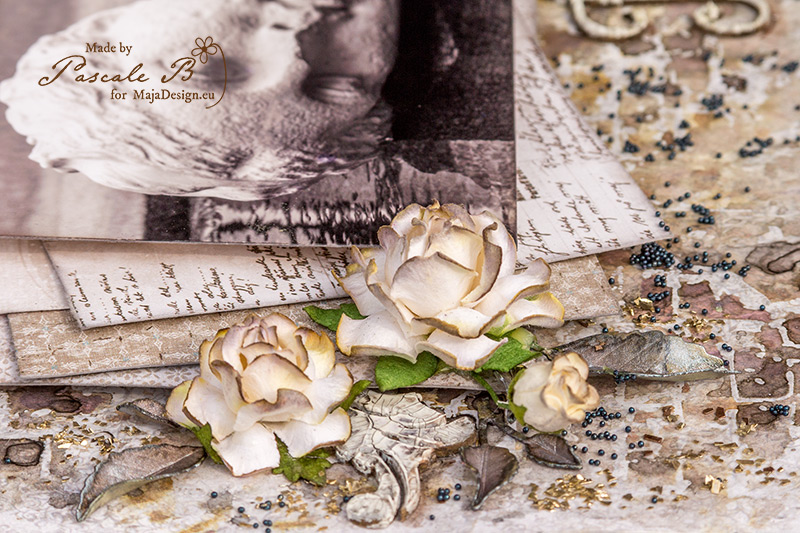
I colored the tip of flowers with two tones of Distress Inks and sprayed them allowing the inks to move along the paper.

Reminisce_detail3_PB

I colored the leaves with the same Twinkling H2O  I used for the background and added some silver Mica Powder.

Reminisce_detail4_PB

I finished the page with Glass Glitter and Micro Beads.

Reminisce_detail5_PB

Maja Design papers used:

Eating out bs 1891 6th of March BS 6th of December 21th of December BS
Nyhavn
Eating out bs
Vintage Summer basics
1891
Vintage Spring Basics
6th of March bs
Vintage Frost basics
6th of December
Vintage Frost basics
21th of December

Pascale-sign