Gifttube for Birthday / Anniversary gift

1

Posted by Lenet Mos

31 May, 2018 - ,

Write a comment

Hello sweet Maja fans.

A few of the things I love is recycling pretty packaging.

Every time I get a gift or buy something I take a close look at the package and see if I can make something nice out of it.

Good thing I have enough space to store all the interesting items , the only thing I need now is time , lots of time , but think that is a common problem we crafters have.

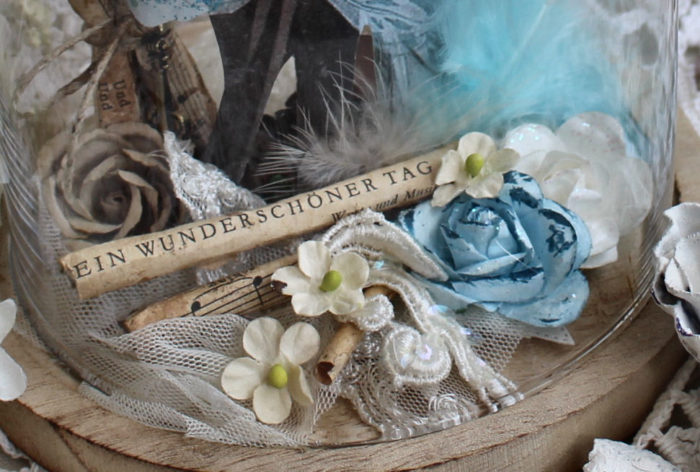
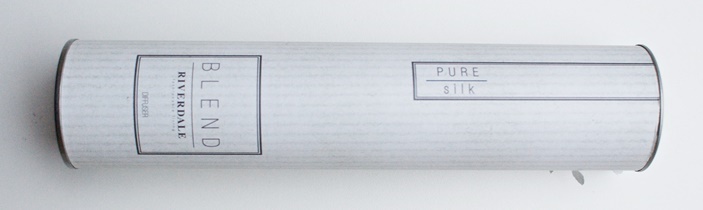
Anyway  I got some scented sticks ( love those too)  and the came in this tube .

We had a anniversary and double birthday party coming from friends , the asked money so they could buy something nice that was very expensive.

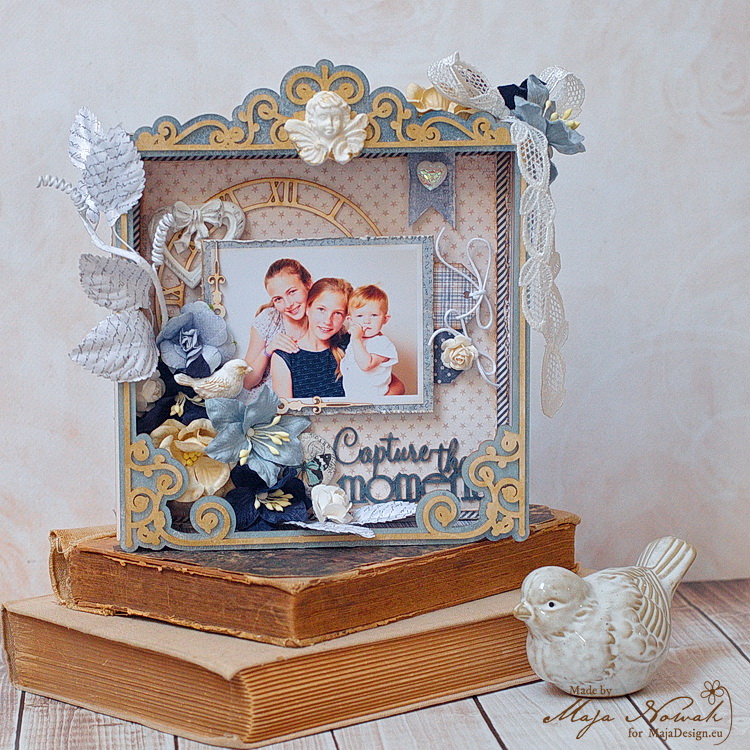
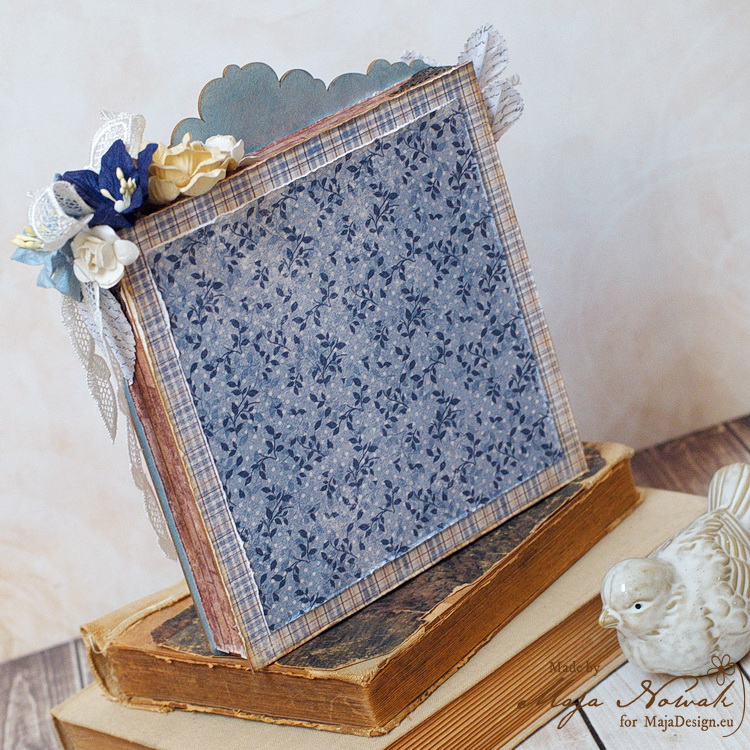
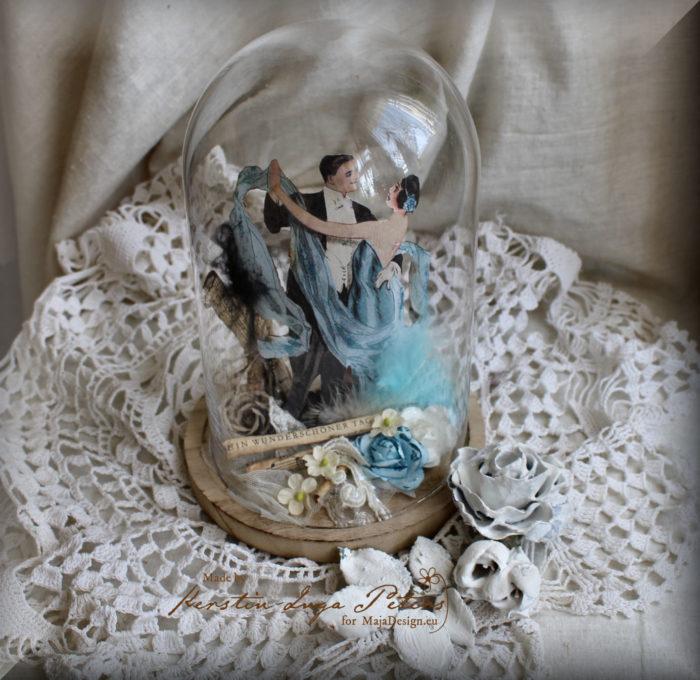
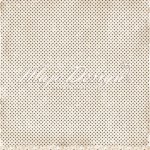
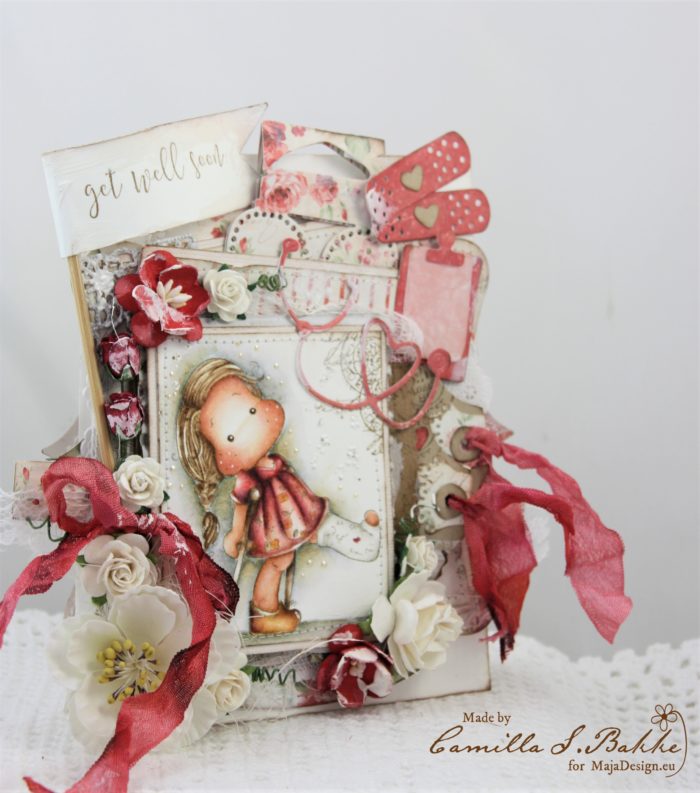
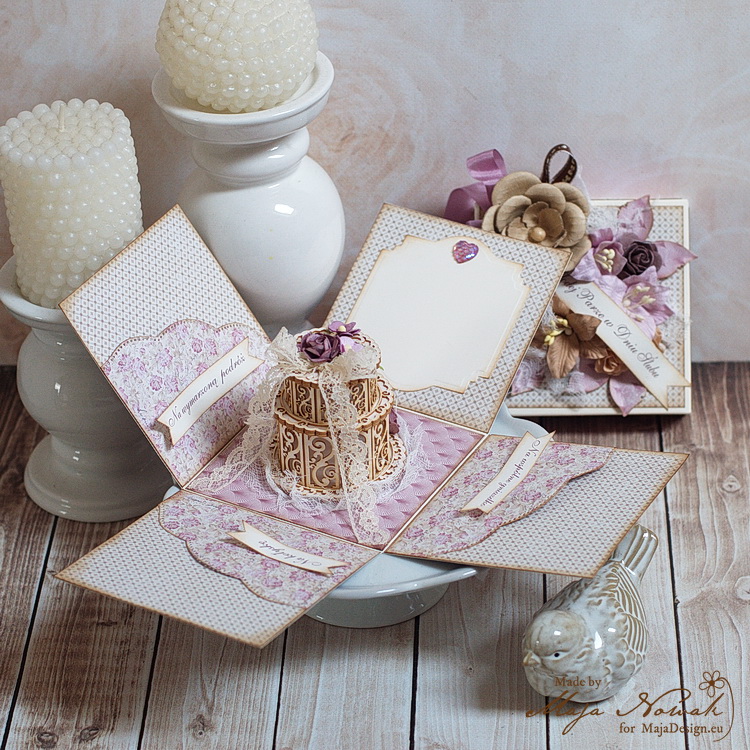
I think just giving money is boring , so wanted to make a nice package to put it into and I had this tube lying around so cut half of it and made this out of it.

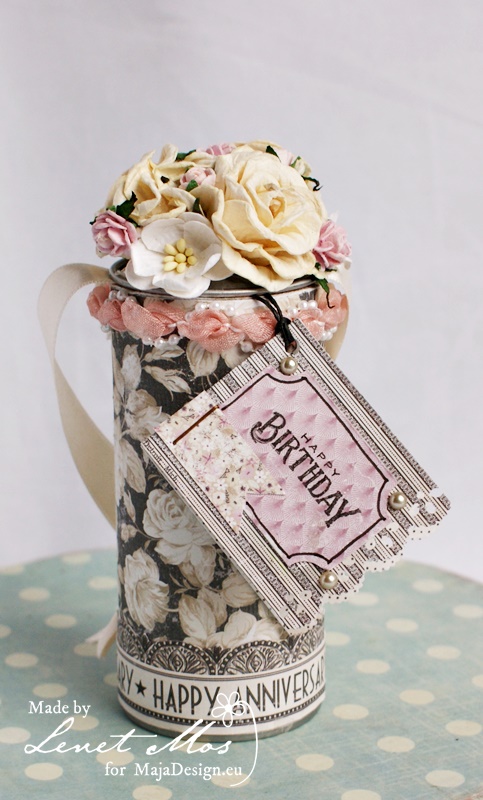
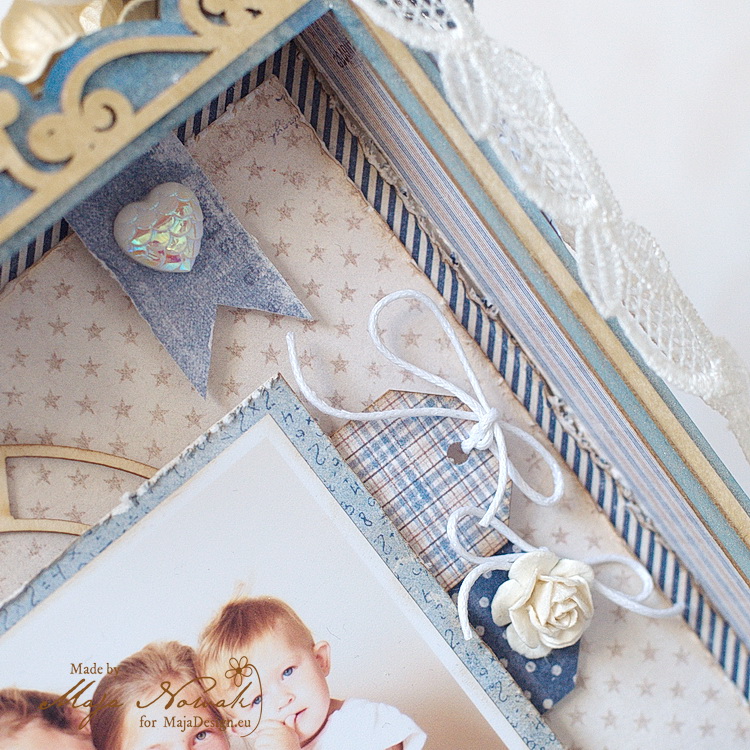
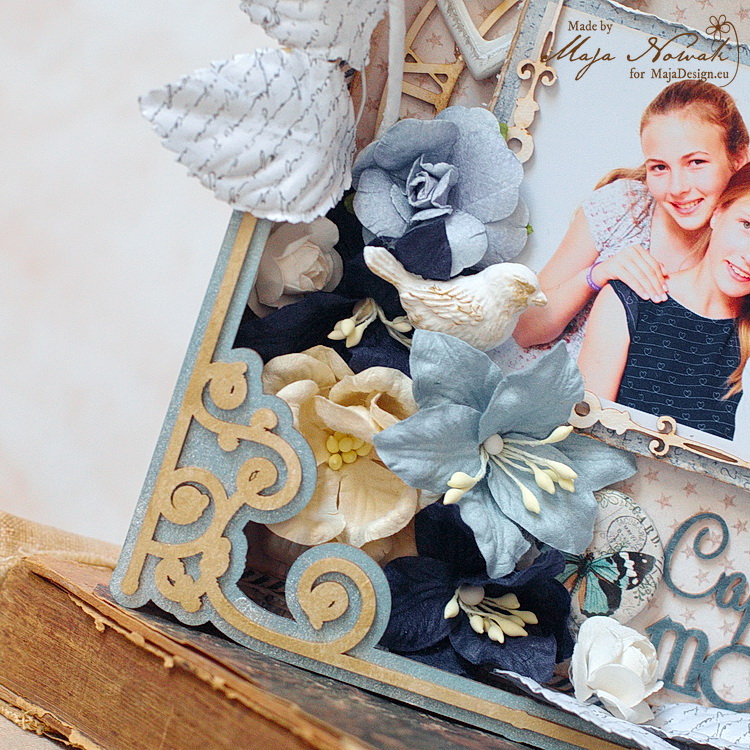
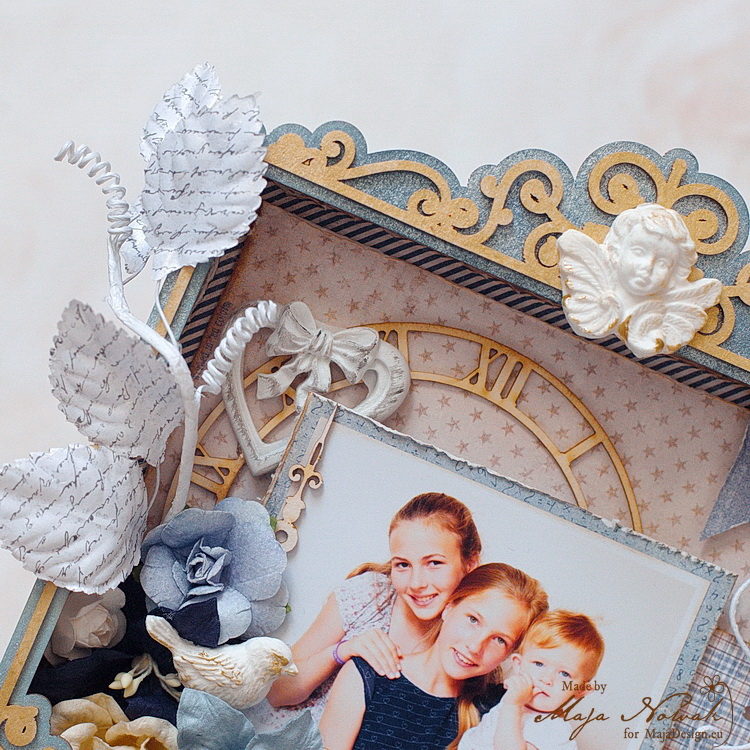
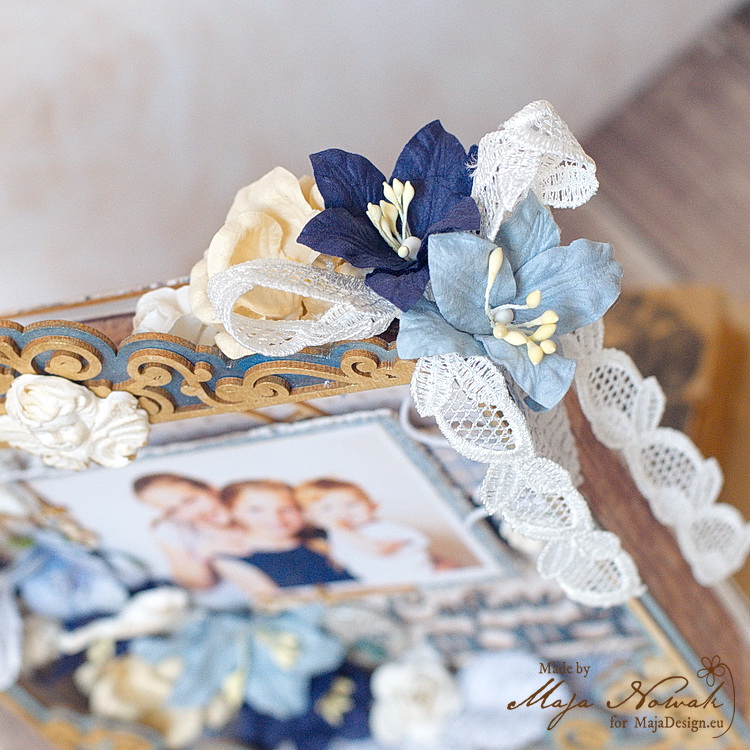
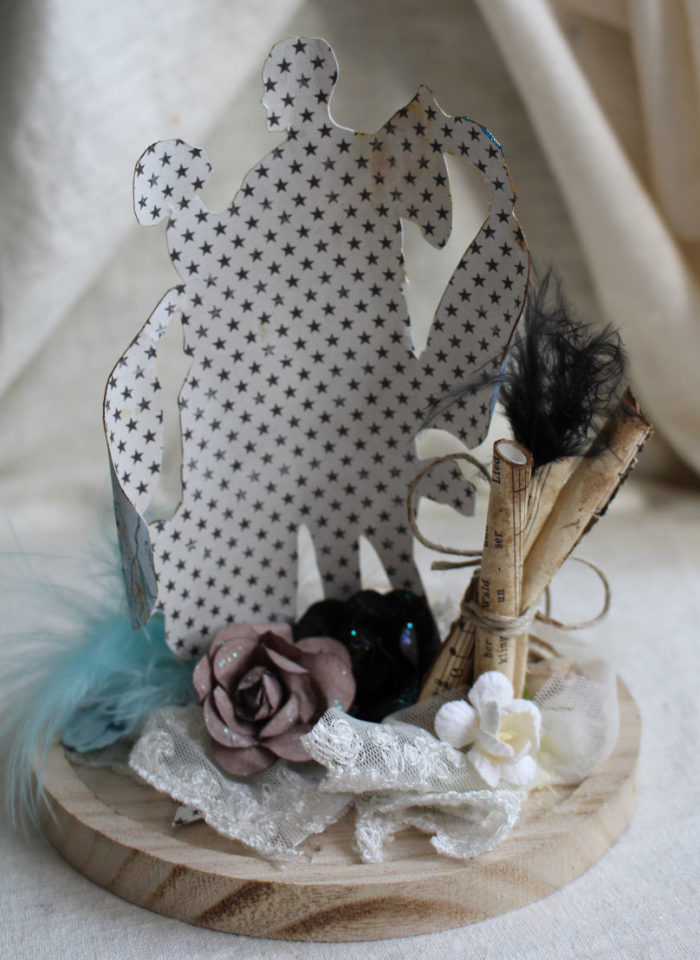
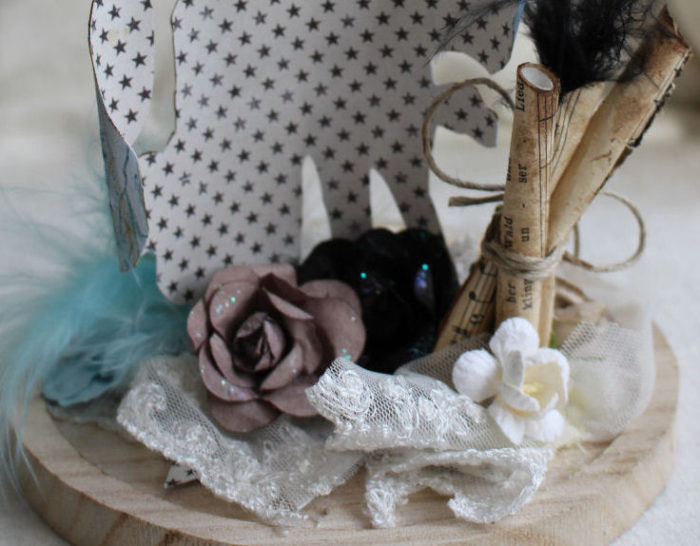
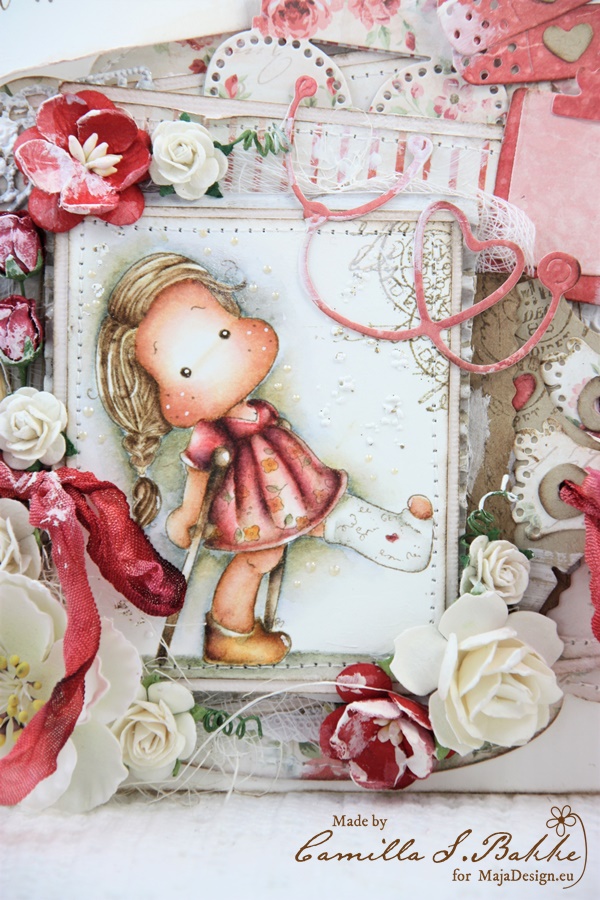
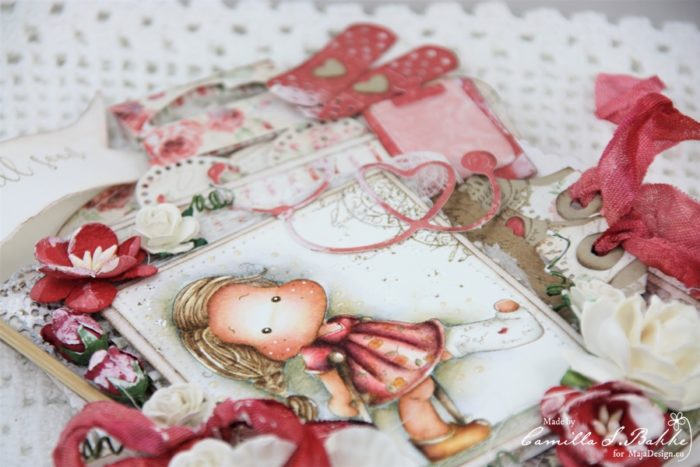
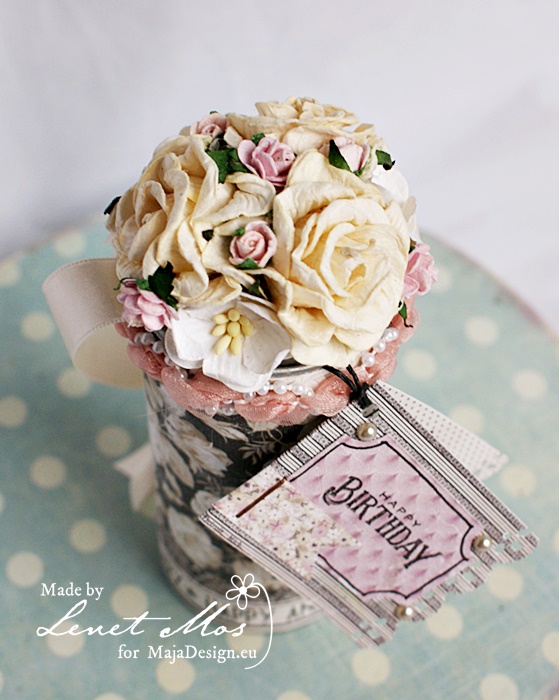
on the top lid I glued a lot of flowers .

Under the lid I glued a satin ribbon that you can pull to take the lid of and it’s also a handle to hold the gift.

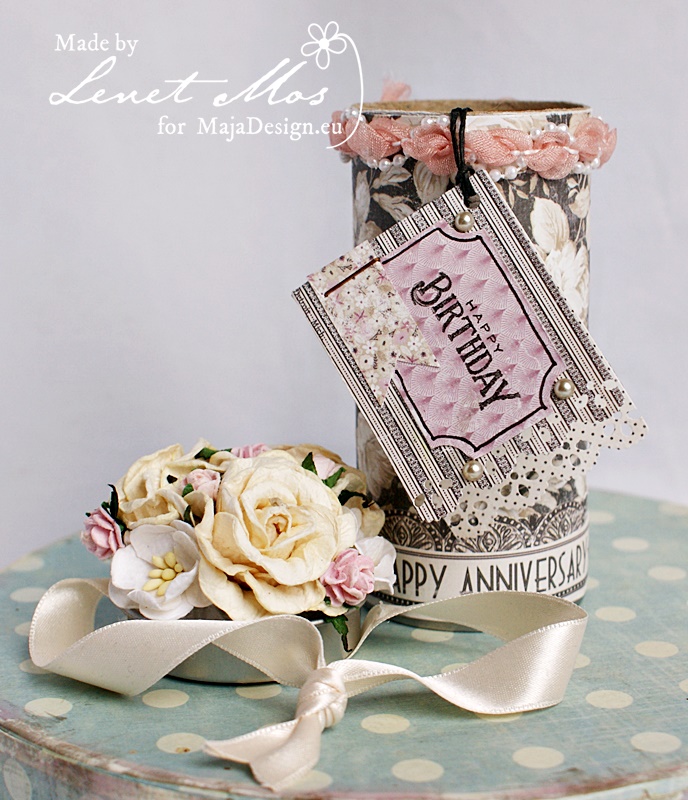
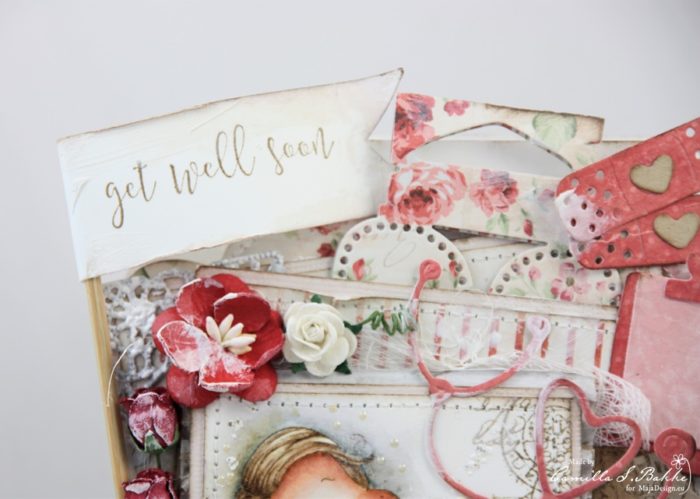
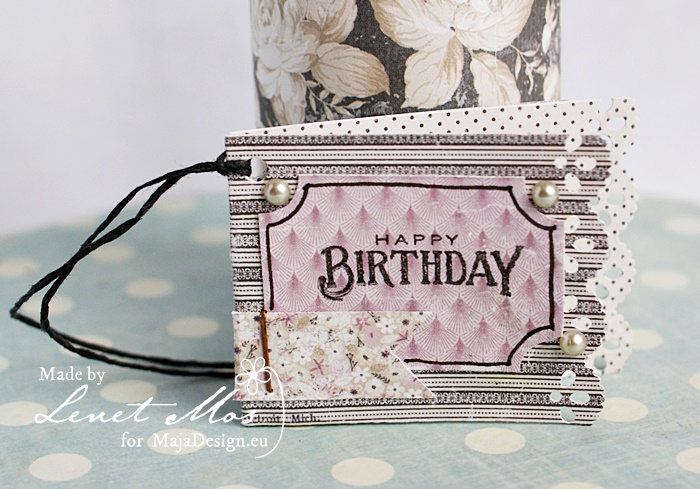
and a little birthday card to go with it and voila, gift tube is done.

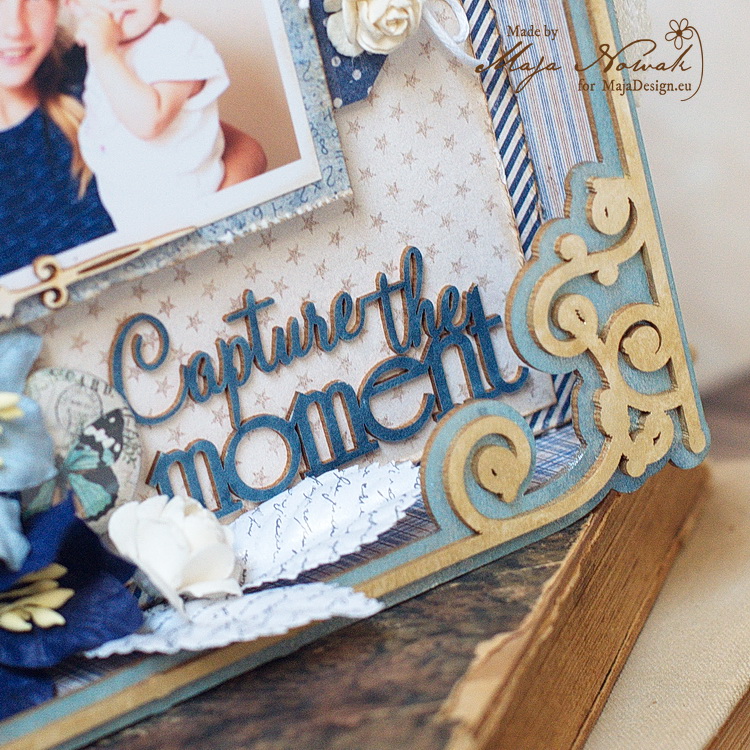
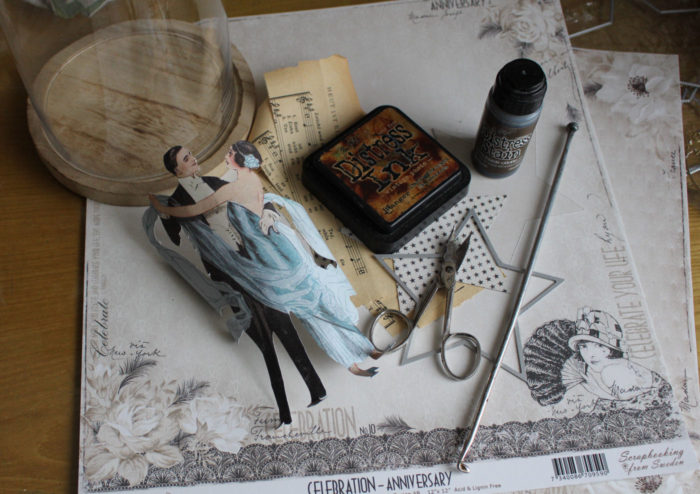
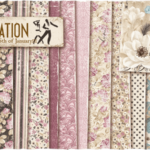
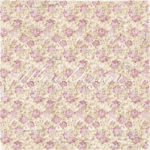
For this project I used the Celebration Collection , what better papers are there to use for this gift tube than  the celebration Collection right?

Flowers are from Wild orchidcrafts , pearls and ribbon from my private stash.

Thank you for visiting.

I hope you like my project for this week and hope I gave you some inspiration for recycling those tubes.

I have more tubes lying around so will be back with another one soon.


Capture the Moment

1

Posted by Maja Nowak

25 April, 2018 - ,

Write a comment

Good morning, Maja Friends, welcome to the blog today 🙂

You know I love the Denim & Friends collection as it’s just perfect for all masculine projects! But if you think it’s JUST a masculine collection, I hope to prove you wrong 😉

Yes, a totally girly stuff! Soft and romantic frame with three of my nieces in the photo.

First I assembled a chipboard shadowbox frame and then covered it with Maja papers, inside and outside, inking and distressing all the pieces. For the front coevr I chose to colour with mists as it is too intricate to cover it with papers.

Then I placed a chipboard clockface in the bacgkround, added the photo and surrounded it with embellishments – hand-cut tags, a tiny banner with an opalescent acrylic heart:

…mulberry flowers, resin heart and bird, a butterfly flair button:

…a delicate twig winding around the frame side:

The title is a chipboard piece too:

I also added a flower cluster on the outer side, addding guipure lace:

I’ll add some journaling on the back, which is for now covered with papers:


And here’s my list of supplies:

Maja Design papers:

Other: shadowbox frame, sentiment: Scrapiniec; flowers: Wild Orchid Crafts, Prima; resin embellishments: Prima, button: Lemoncraft; mists: Tattered Angels, golden metallic paint: Martha Stewart.


So what do you think of such version of a masculine collection? 🙂 I really like the way it turned out and how the patterns compliment the photo.

And that’s all for today, thank you for visiting and see you later!

A beautiful evening

2

Posted by Kerstin-Inga Peters

7 March, 2018 - , , ,

Write a comment

Welcome Maja Friends!

I’m also still creating with our latest amazing ‘Celebration’ collection. As I saw this elegant dancing pair I thought on our annual SemperOperaball in Dresden. It’s a very special and magic event.

”Despite low temperatures, thousands of people will take to the theatre square in front of the Semper Opera House to celebrate the Semper Open Air Ball. While guests watch the gala programme inside, up to 15,000 partygoers will be singing and dancing outside in front of the opera house. In rain, freezing temperatures or under starlit skies – the Semper Open Air Ball transforms the square into the world’s largest dance floor for the locals and guests.”

Therefore I was inspired to make a home decoration piece, it’s a cloche in romantic vintage style.

How you can see you will need not so much materials, main thing is the paper sheet ‘Ballroom dancing’, old music paper, Distress inks and some embellishments how like flowers, lace, feathers and what do you want.

I used as basic a star from a cutting die. After I cut out the pair, I curved the motif with a knitting needle and folded the feets to glue them on. The paper from Maja Design is so stable that it stands alone, but you can stick to support a few more blooms from behind against it.

Now you just need to stick the decoration on.

backside view

I rolled up the notebook paper, distressed the edges and created some paper sticks.


I highlighted some places with Stickles ‘Baby Blue’ from Ranger and a wonderful blue feather suitable to the ball gown.

… and your new eyecatcher is ready 🙂

Thanks for your visit!

Greetings from Kerstin 🙂

A bag full of Get Well wishes!

2

Posted by Camilla Støen Bakke

4 March, 2018 - ,

Write a comment

Hi everyone! I have a decorated paper bag to show you today. I have used red, gorgeous papers from Maja Design and the Summertime Collection. When I have planned to use the colour red, this is my favourite collection to use.

I have cut out different parts by using the Maja Papers.

I have also coloured some seambinding ribbons to match the papers. I have sprayed them with water mixed with Distress Ink, re-inkers (Aged Mahogany and Fired Brick).

The image is from Magnolia and the Get Well Collection. And I have added som Frantage and Liquid pearls around her.

The flowers are from Wild Orchid Crafts.

I have added corrugated paper, a doily, lace and several layers of papers underneath the image.

Here is the list of papers used:

Thank you so much for visiting the blog today!

With love,

Celebration Exploding Box

4

Posted by Maja Nowak

14 February, 2018 - ,

Write a comment

Good morning, Maja Friends, welcome to the blog today 🙂

Today is St. Valentine’s Day, a celebration of love and devotion. What a better way to celebrate love and devotion than a marriage? And what a better way to celebrate a marriage than to use the Celebration collection? 🙂 And so I combined the two and created this wedding exploding box:

Perhaps the colour palette I chose is not a typical wedding set of colours, but they look so elegant to me! For the outer sides I decided on the dark brown roses pattern and added a mauve-sand flower cluster on the top lid:

Traditionally, inside walls are decorated with delicate patterned papers and have little theme pockets to put money gifts into: for a new house, for a honey moon, for a crib and the fourth wall is for writing in wishes:

In the centre I placed an intricate chipboard cake that I decorated with a lace bow and mini roses in matching colours:

I really like the way the box turned out, elegant and light! What do you think?

And here’s the list of my supplies:

Maja Design papers:

Other: flowers: Wild Orchid Crafts; dies: Spellbinders; chipboard: Wycinanka.pl, ribbon, lace: my stash.

And that’s all for today, thank you for visiting and see you soon!