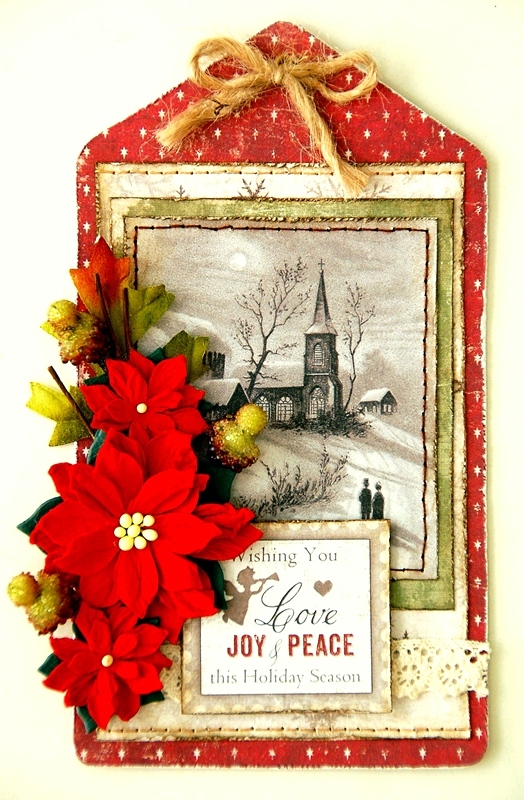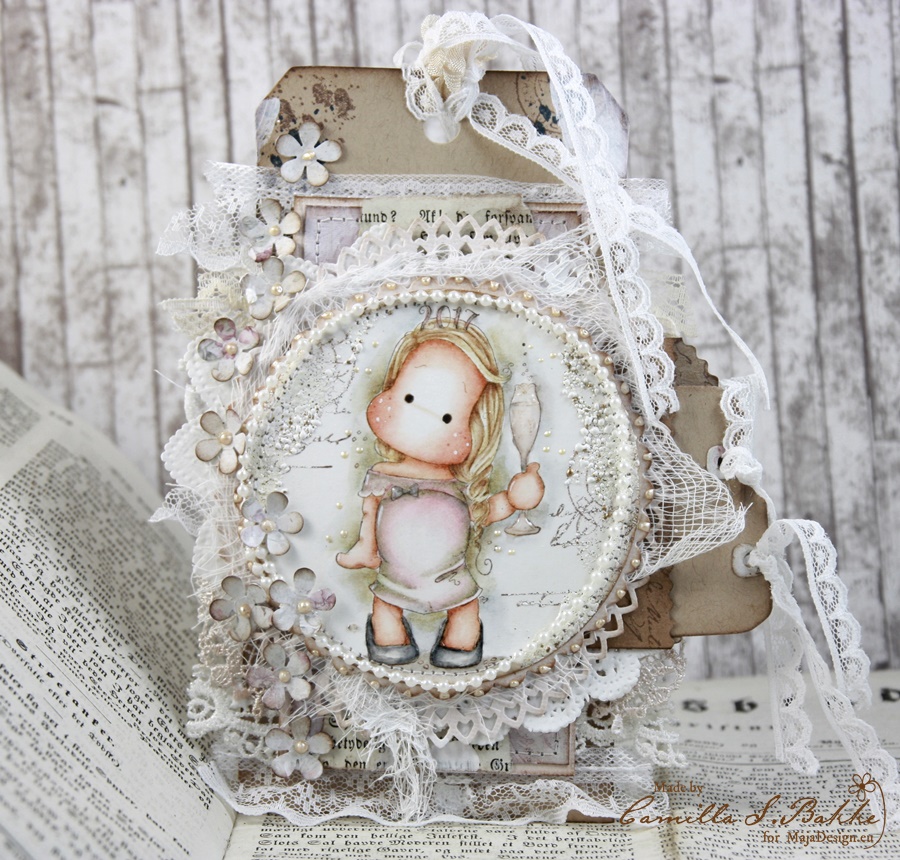
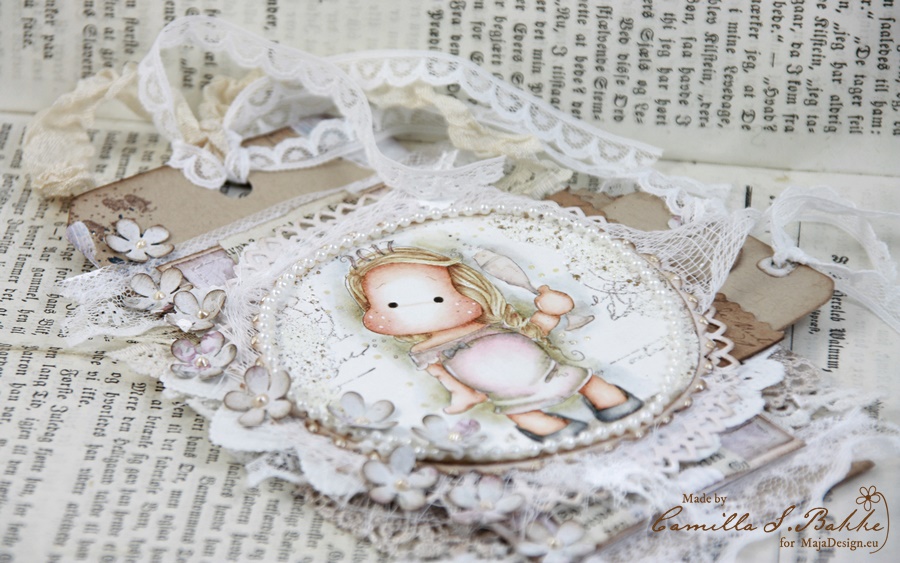
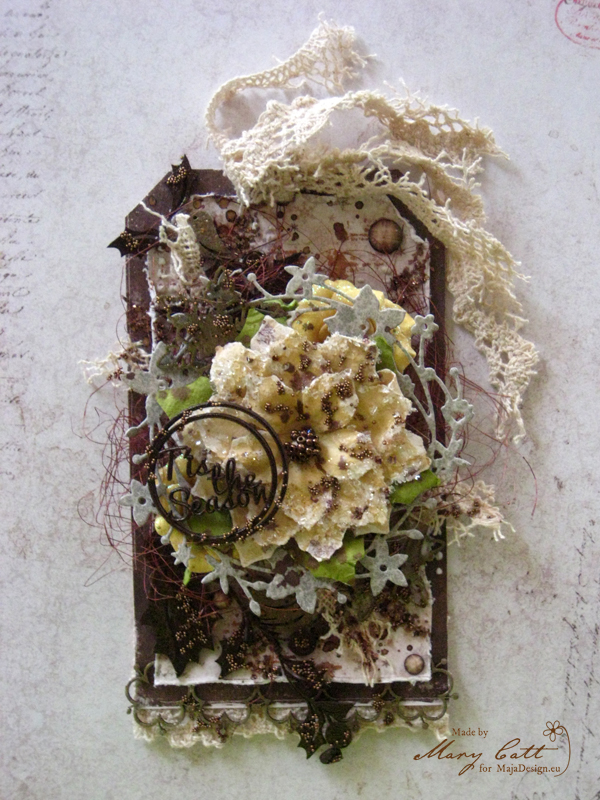
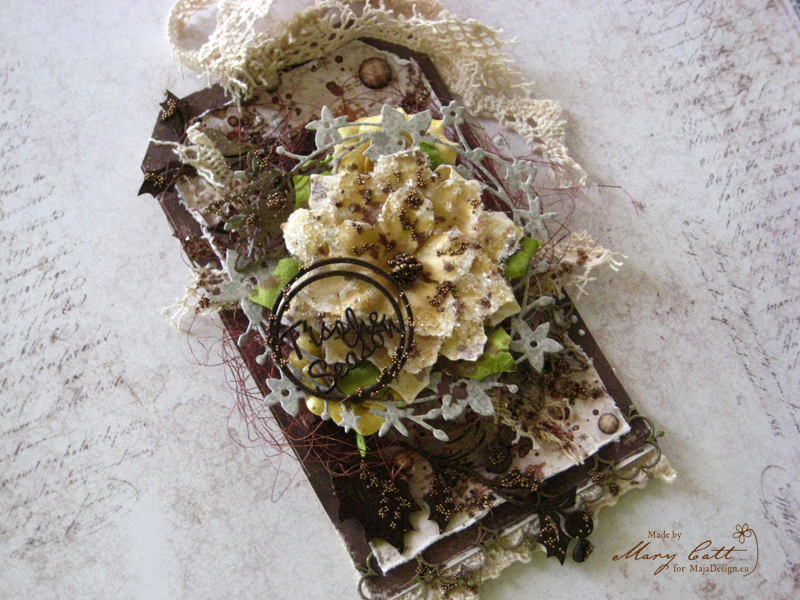
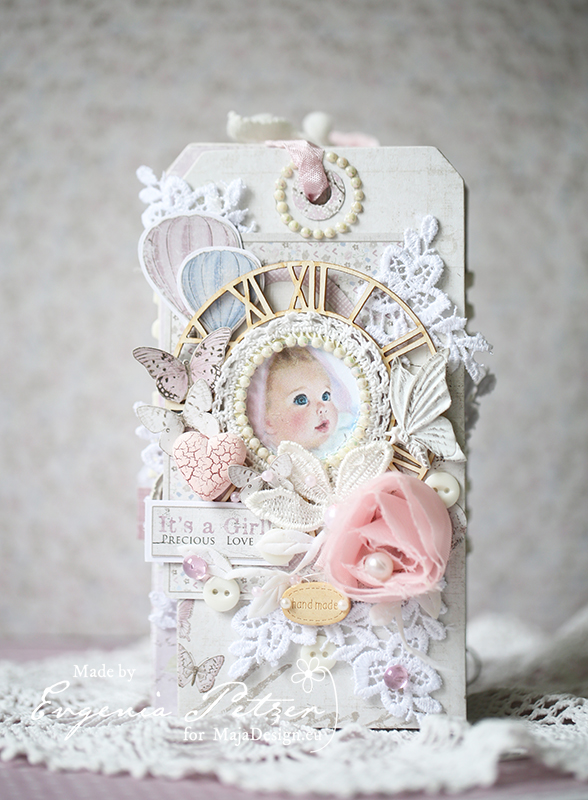
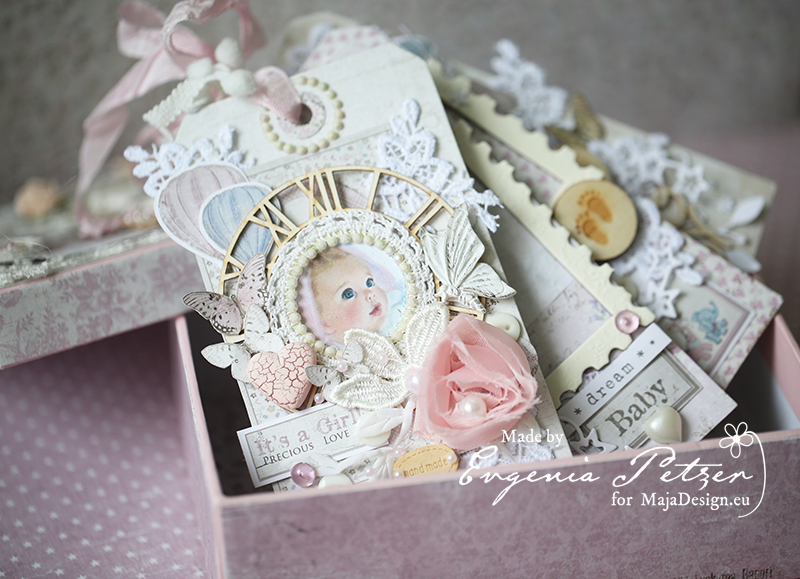
Hi there! I am back with a short post for you today. It is sooo busy this time of year, and I only had time to make a tag for you. I have used this beautiful papers from the Vintage Romance collection.

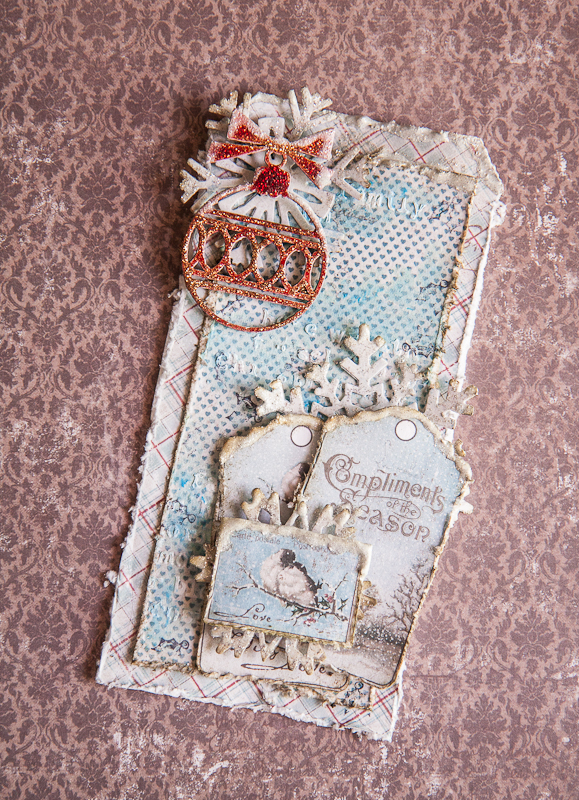
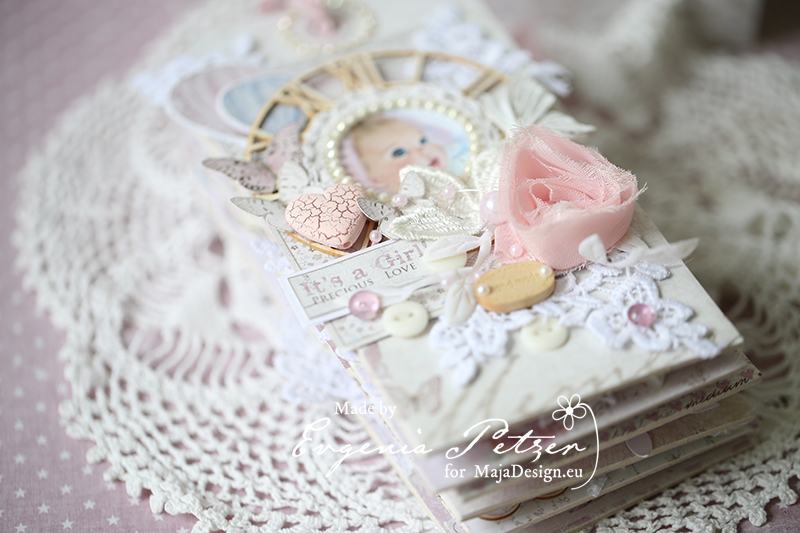
The cute image is a new one from Magnolia, and she is called Happy 2017 Tilda. She is coloured with Distress Ink, re-inkers. And for the pink colour on her dress I have mixed together Victorian Velvet and Dusty Concord. For the darker parts I have used Hickory Smoke and Frayed Burlap.
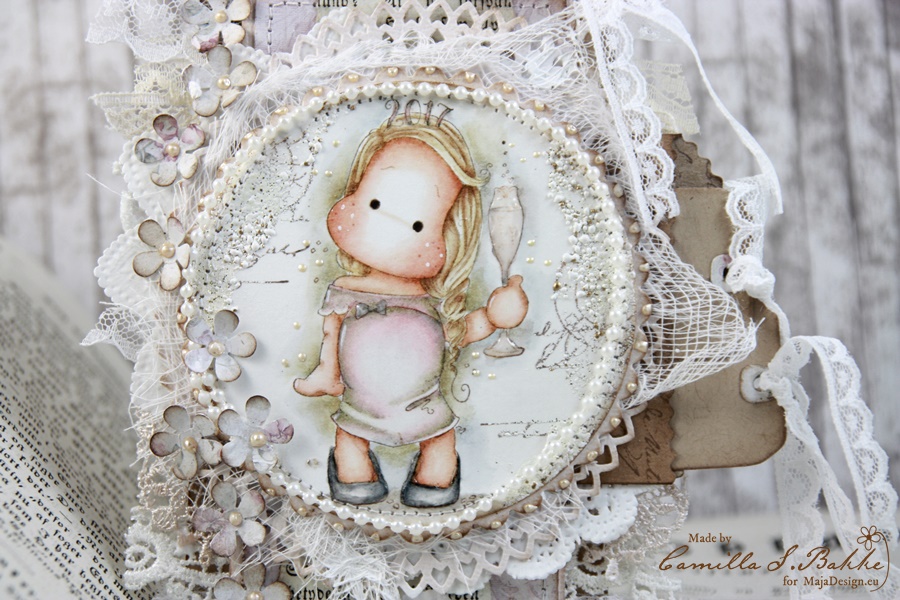
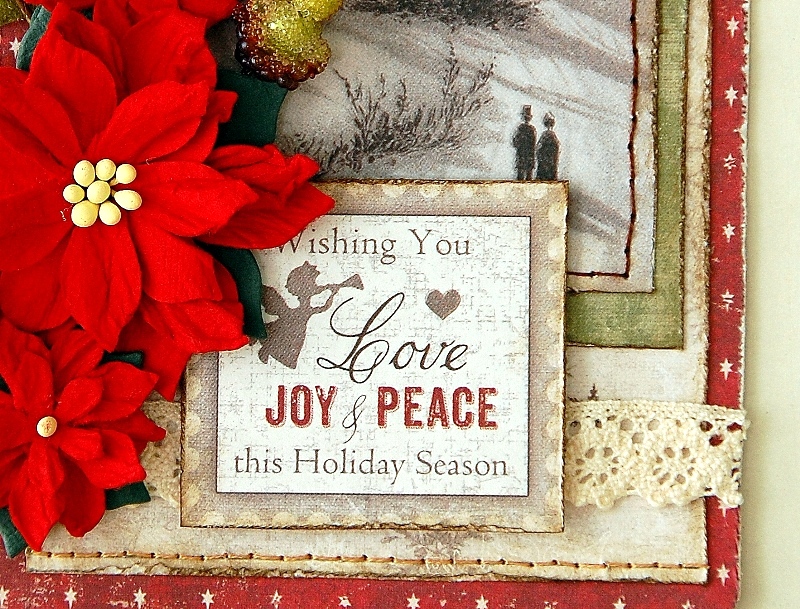
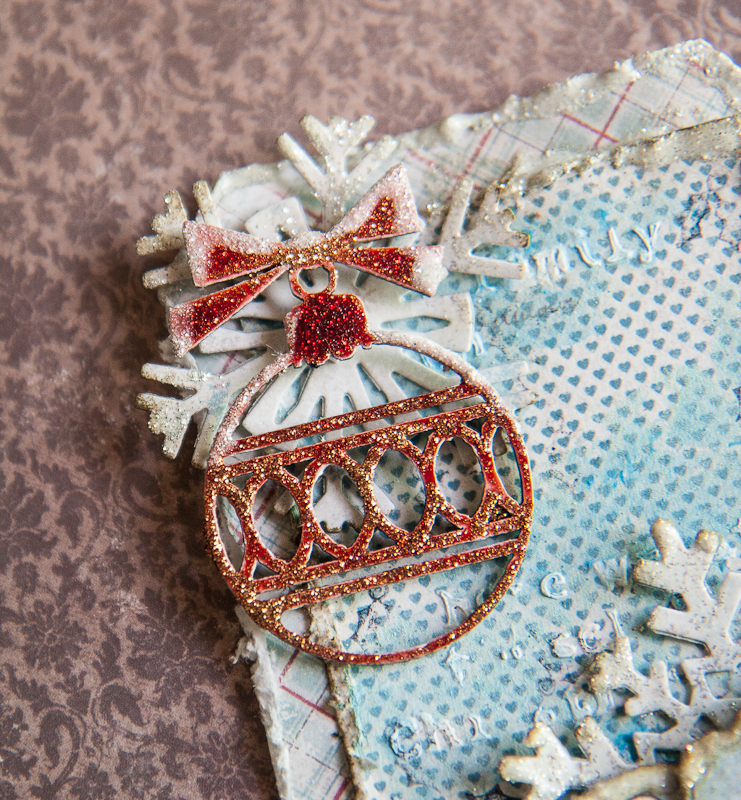
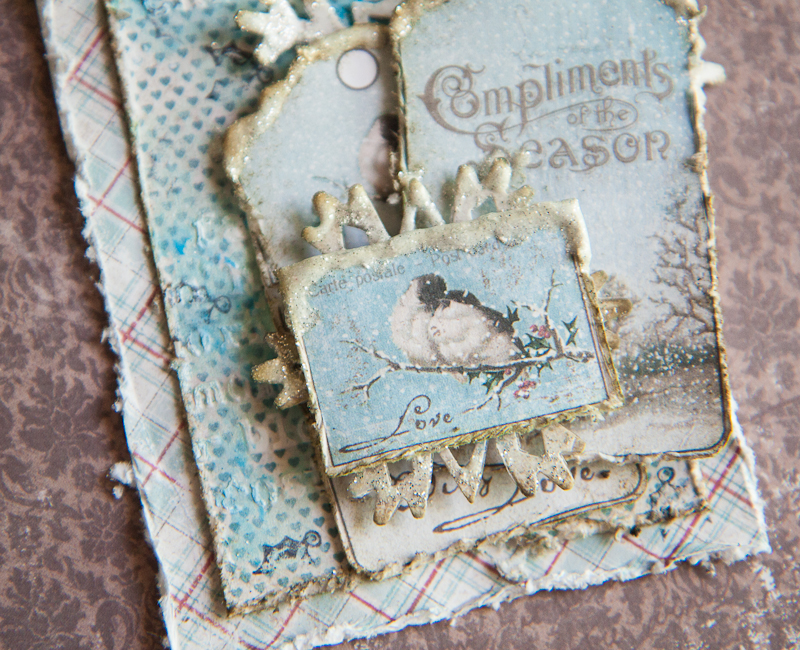
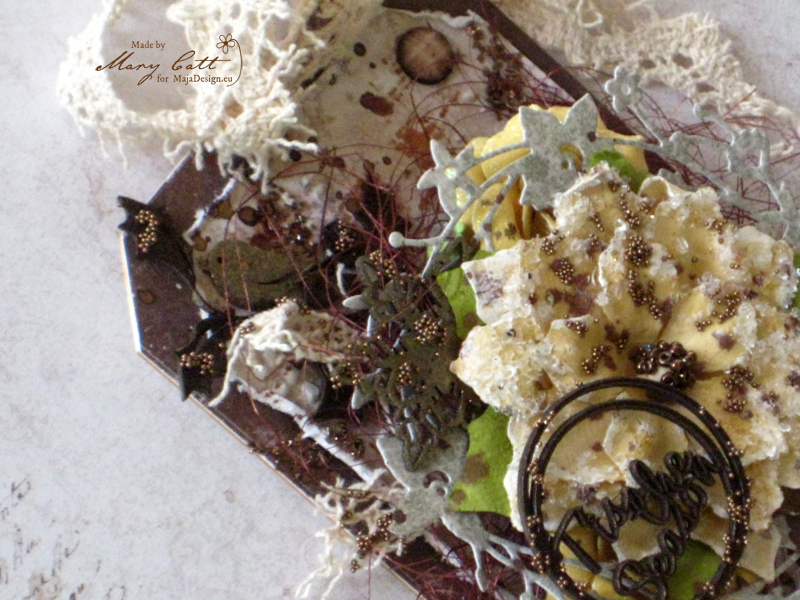
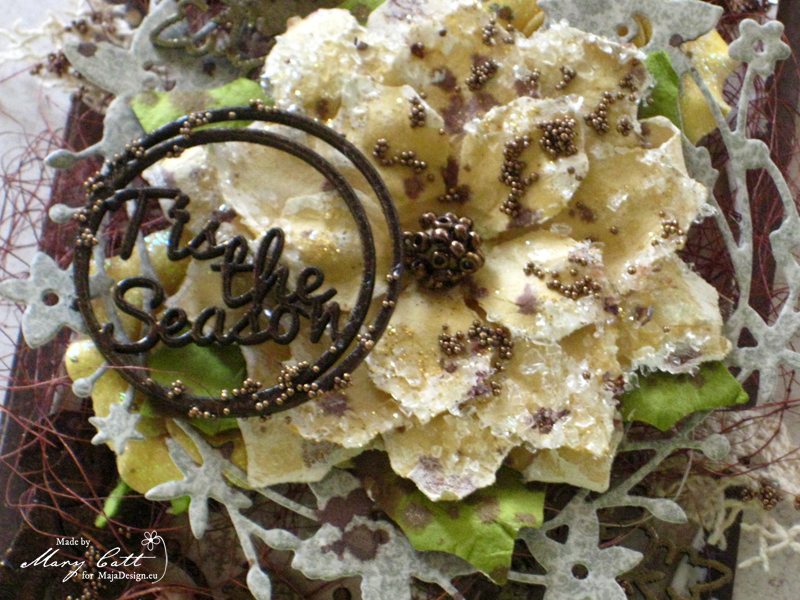
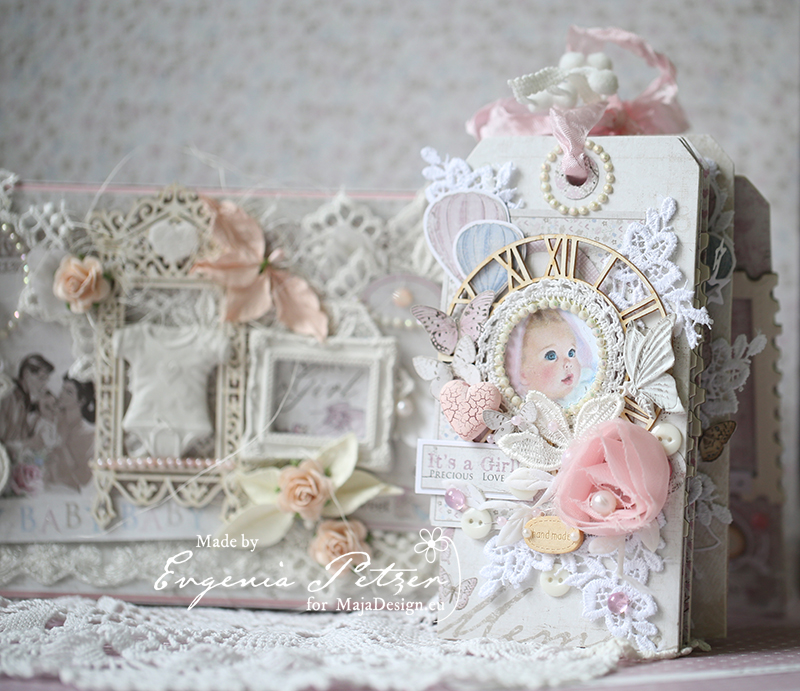
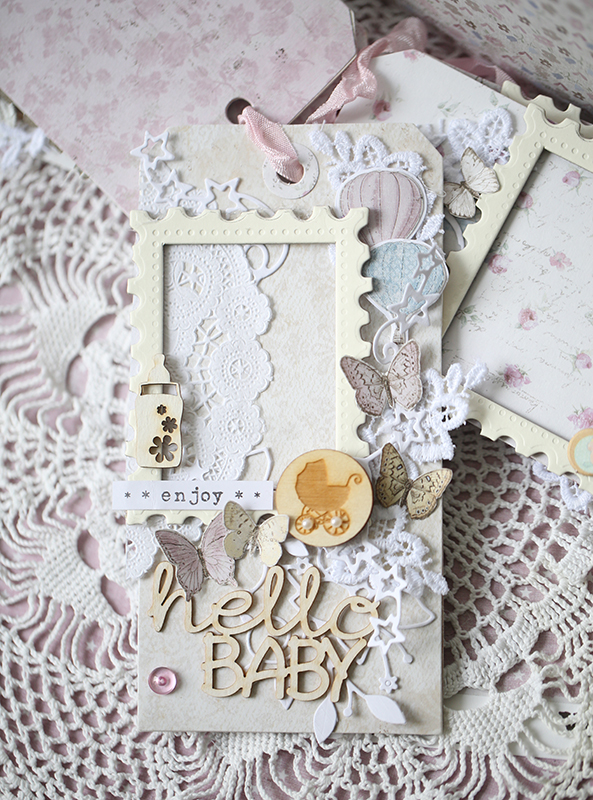
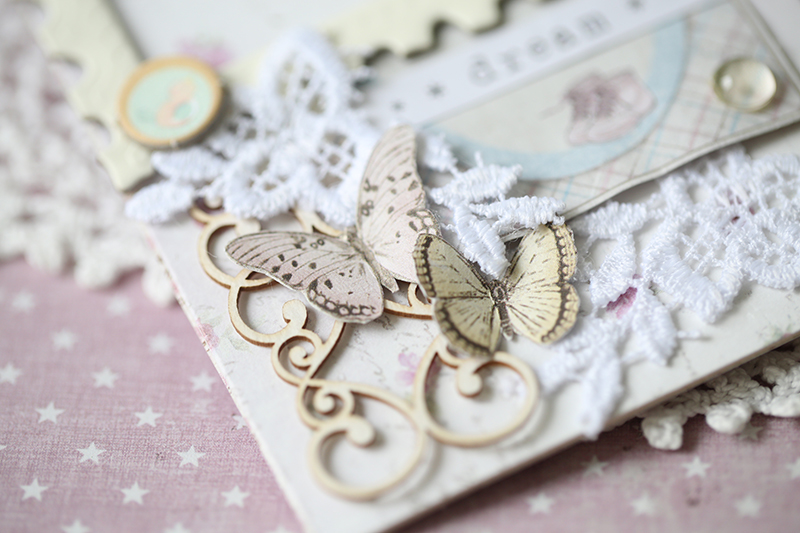
I have decorated the whole tag with different laces, and then added some Maja papers. I have also used some small doilies and cheese cloth. The small flowers are punched out with a Small Retro Flower Punch. The postmark stamps are from Stempelglede. I have also added Fran-Tage on the the edges of the circle. Inside the flowers I have put some Liquid Pearls, and also on the scallops around the image.
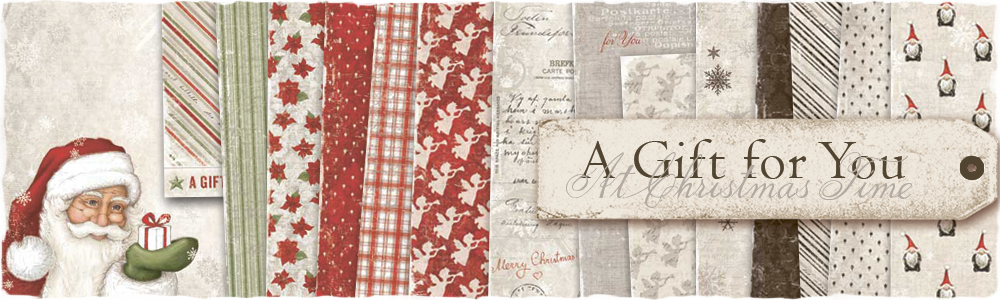
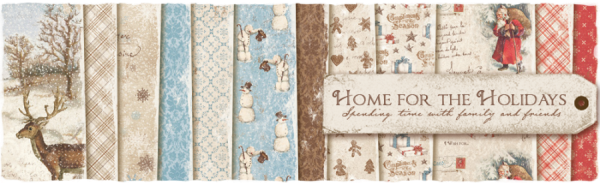
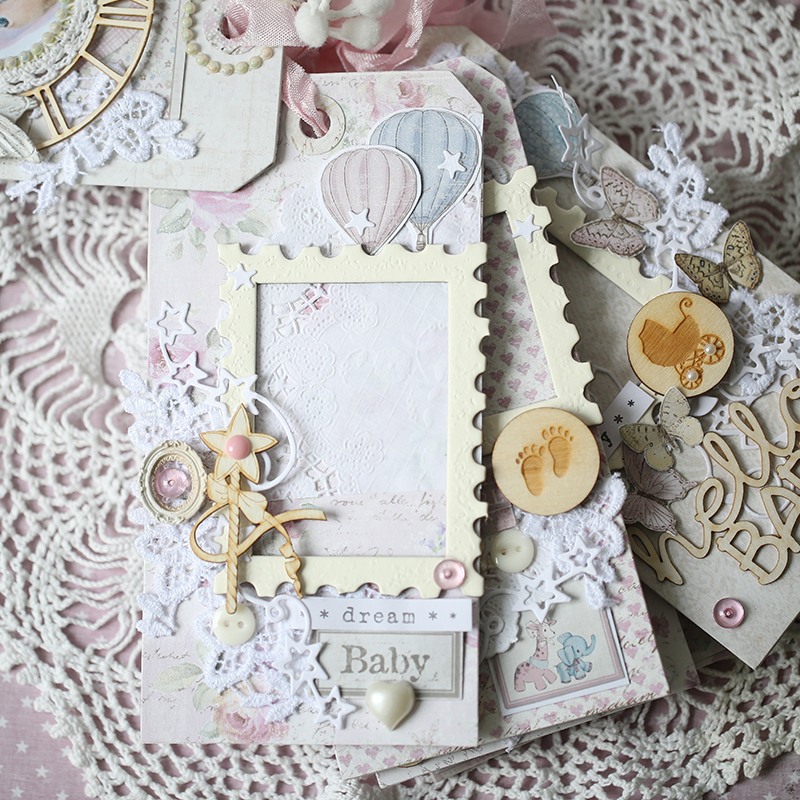
Here is the paper used. Passion behind Tilda, and Walk with me for the flowers. This is a good way to use left overs 😉
-
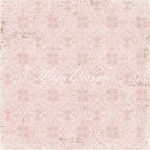
- Passion
-
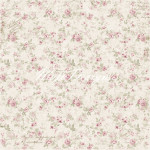
- Walk with me
I wish you a lovely time now before Christmas, and not a stressful one. Try to take some breaks and spoil yourselves!
Big hugs,


 and
and