Good morning, dear Maja Friends, welcome to the blog today 🙂
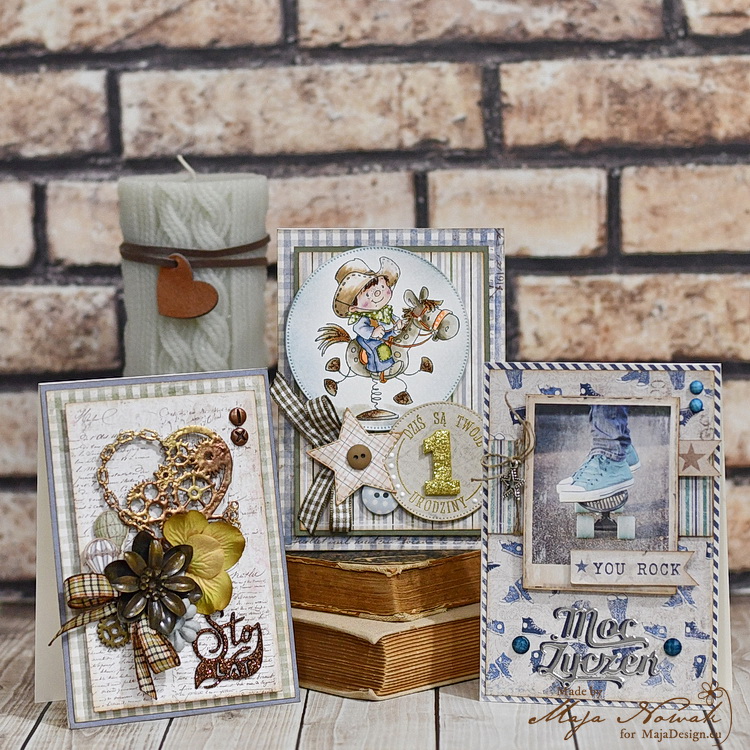
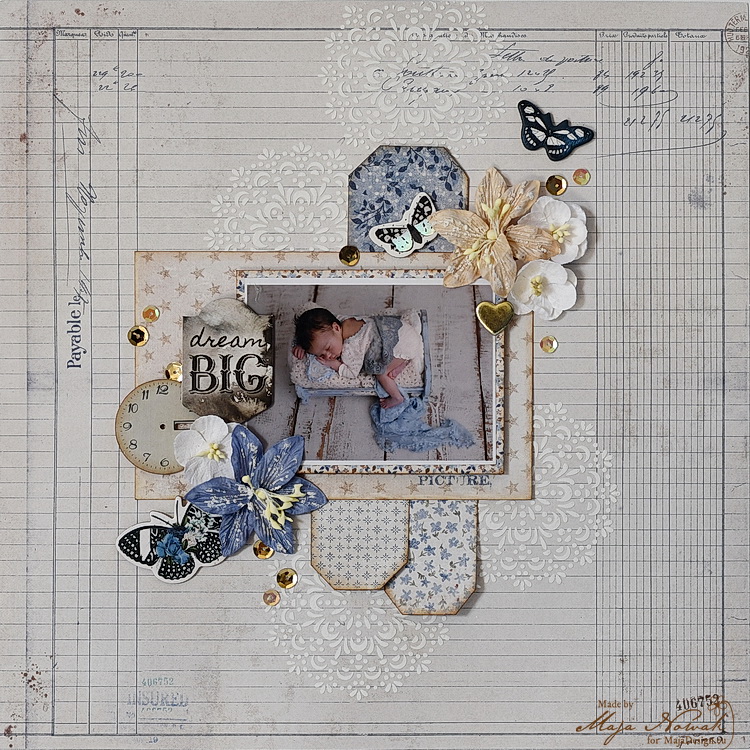
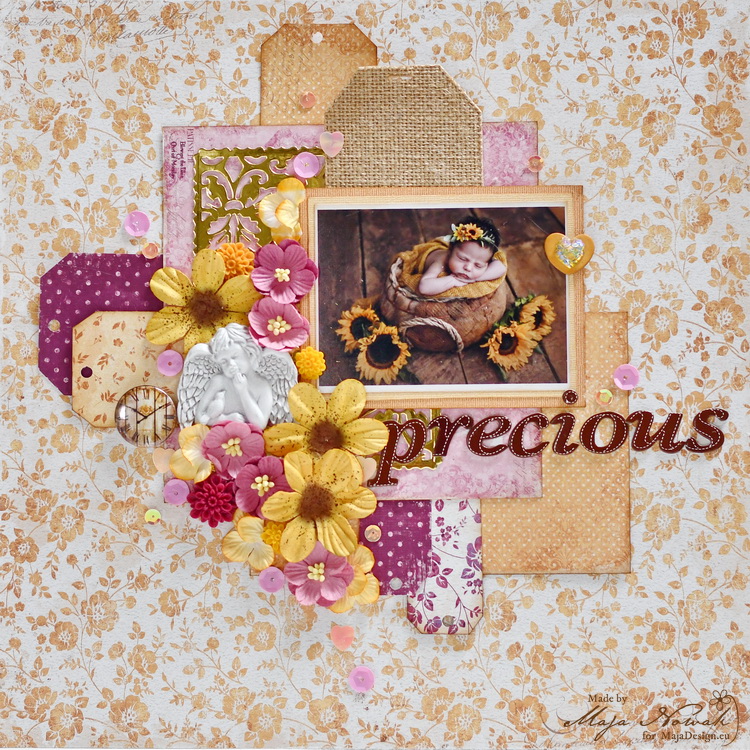
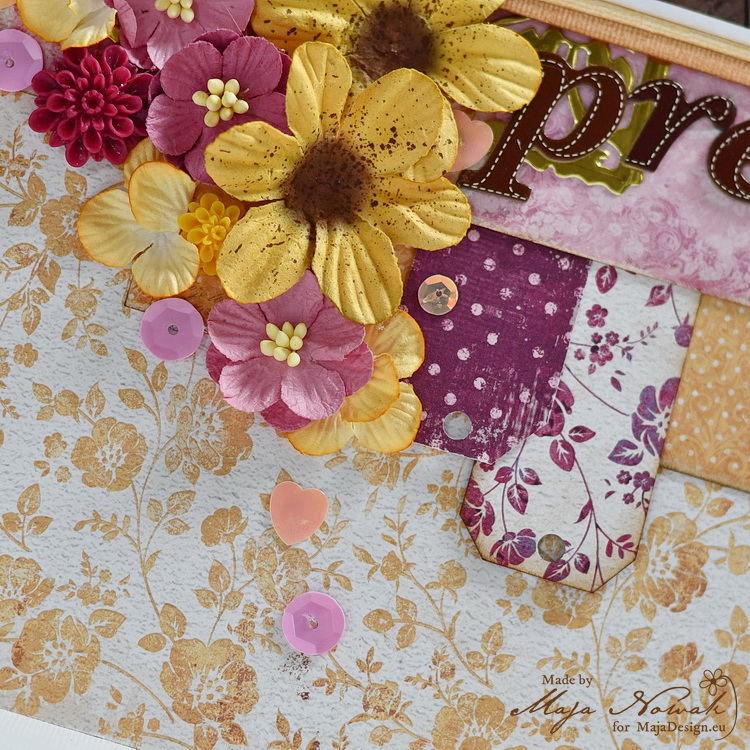
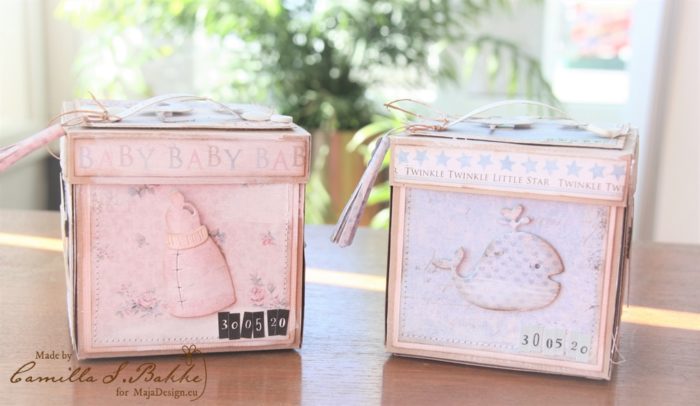
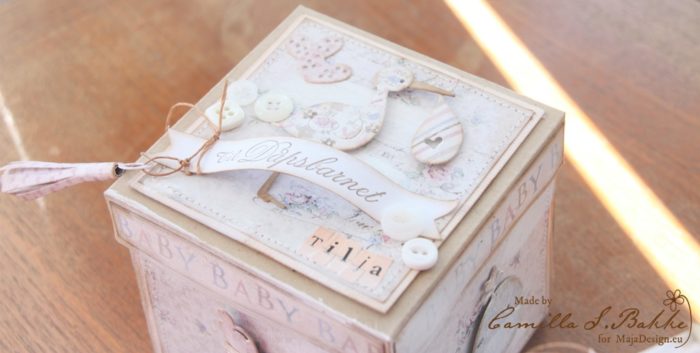
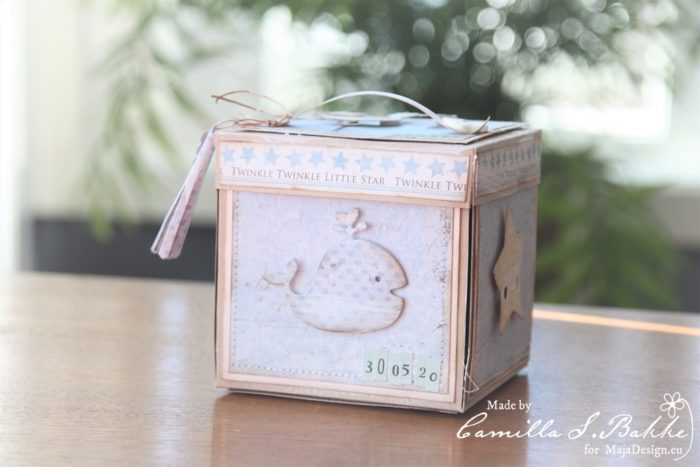
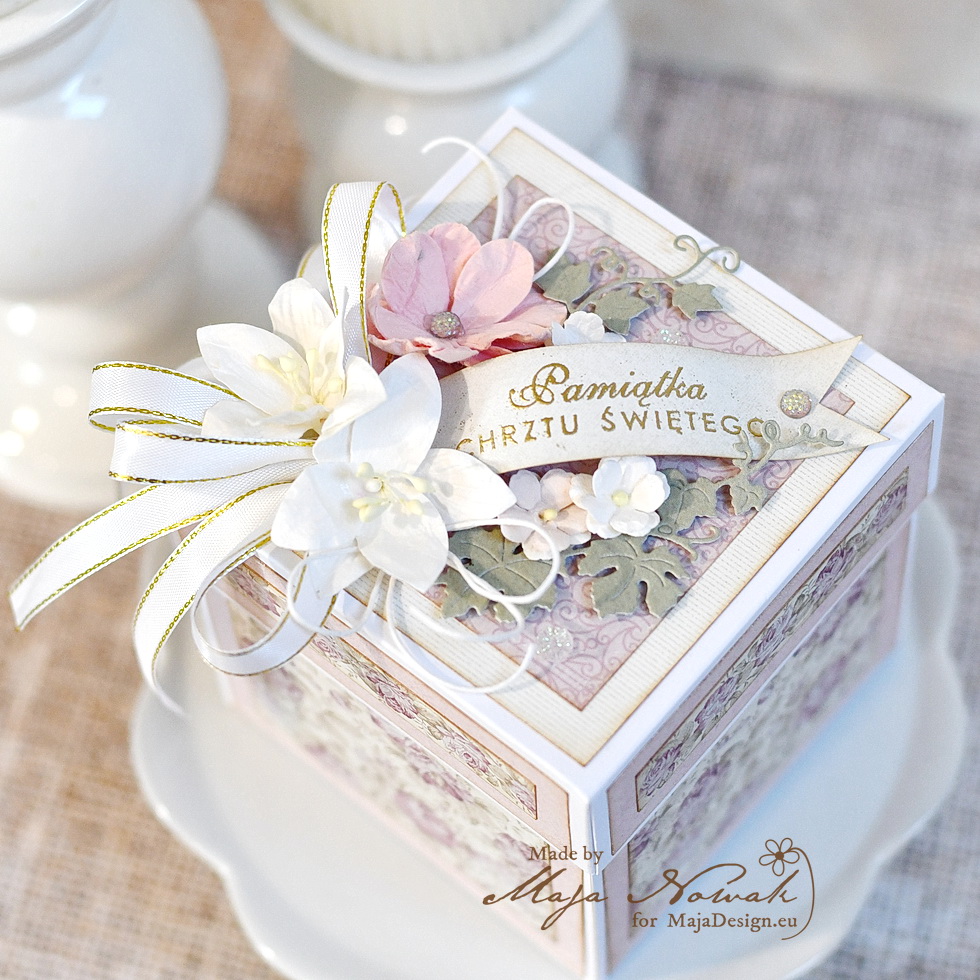
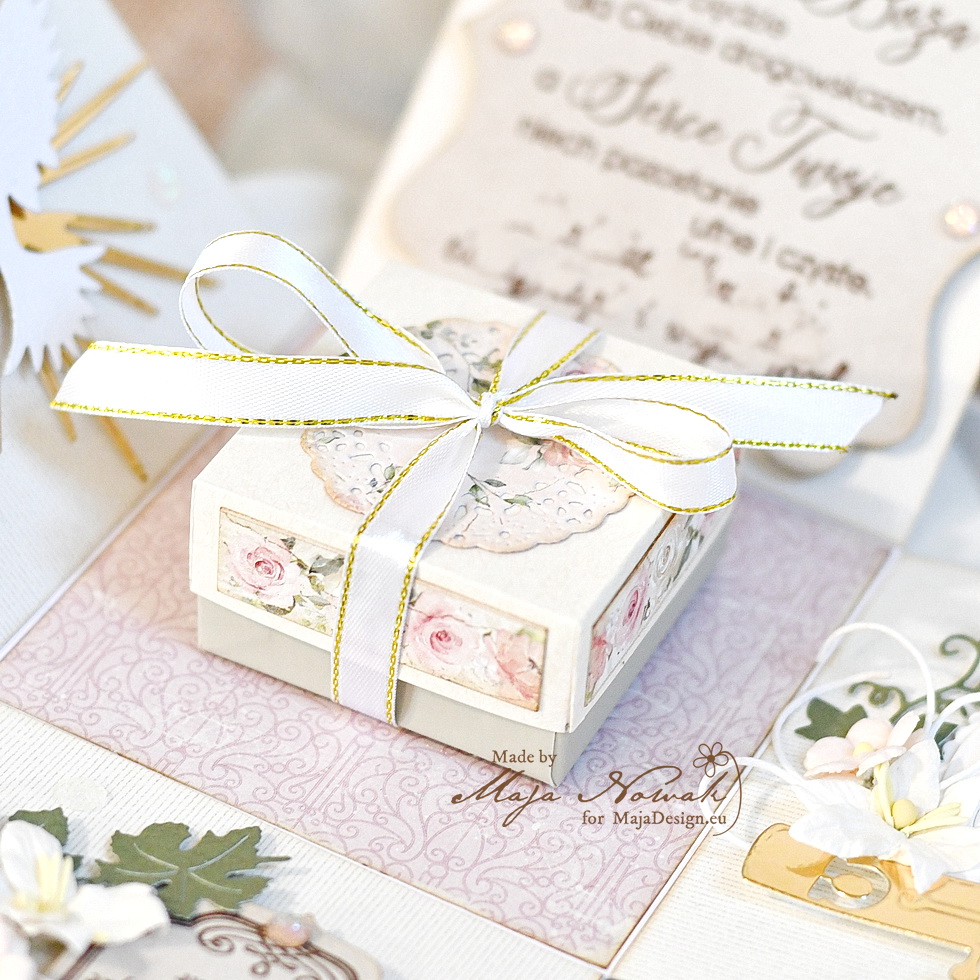
Just like last time, today I bring you a Baptism inspiration, but this time I created a delicate baby girl exploding box:
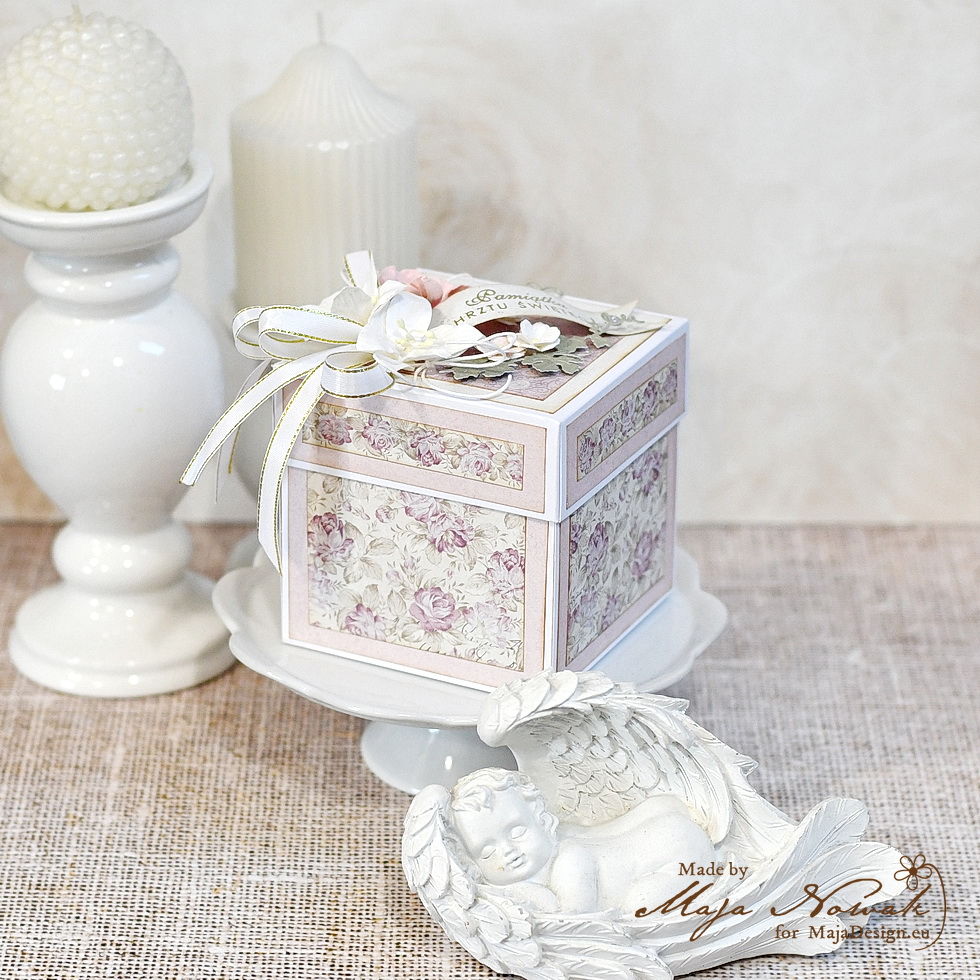
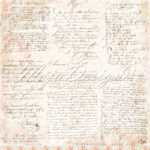
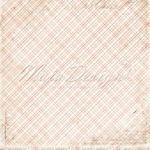
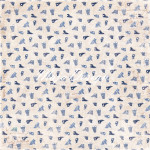
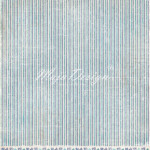
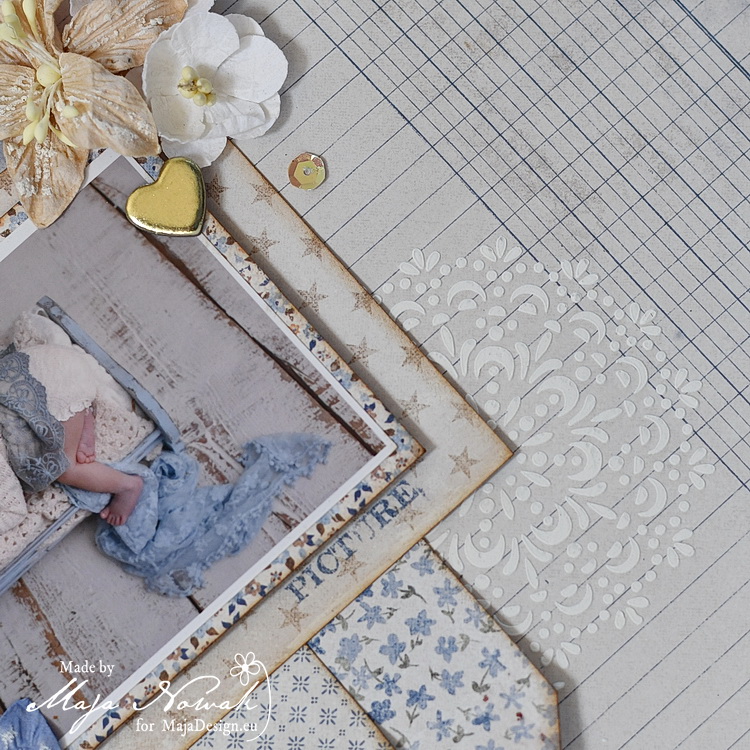
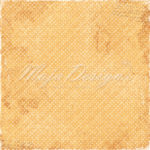
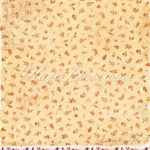
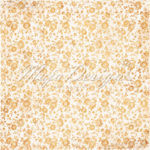
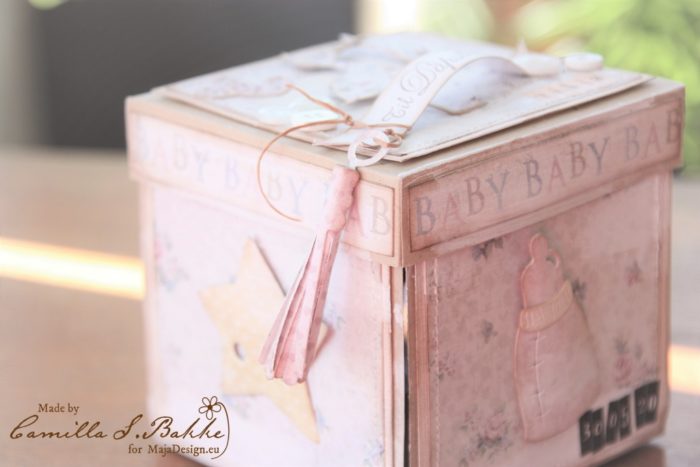
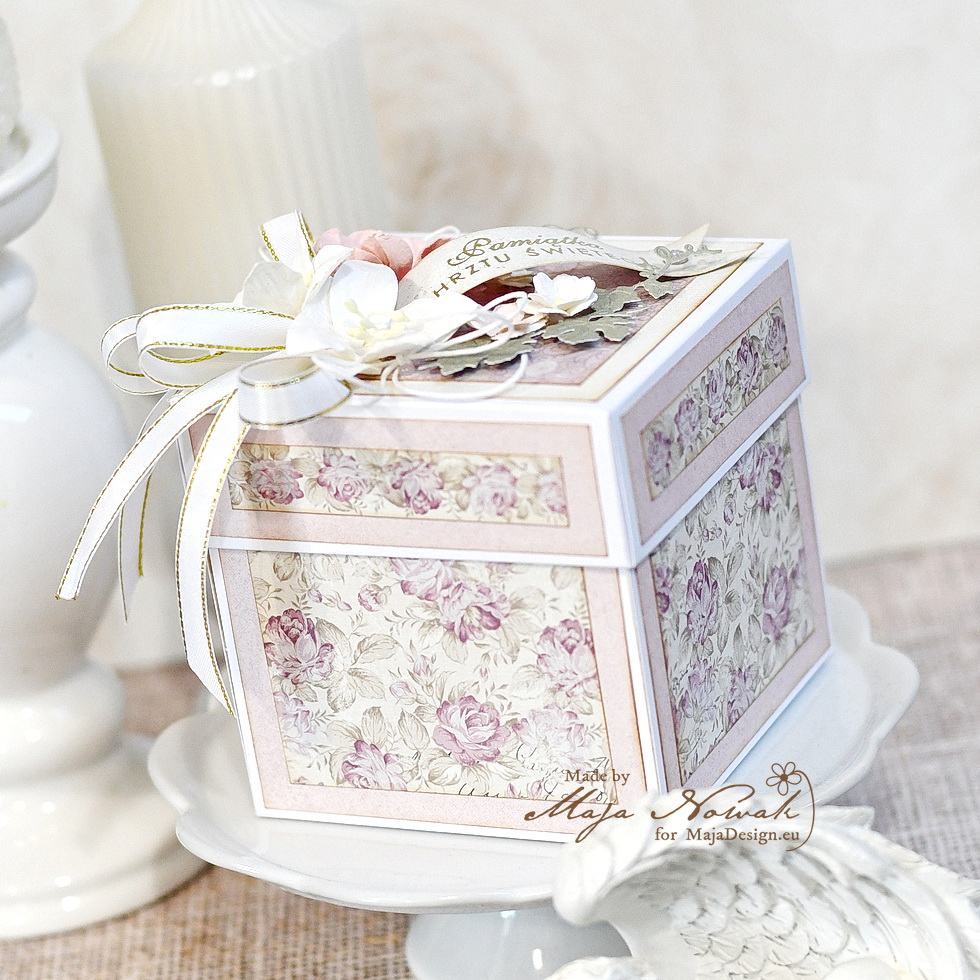
For the box I combined the Celebration and Miles Apart collections, choosing some deliate floral patterns and neutral backgrounds:
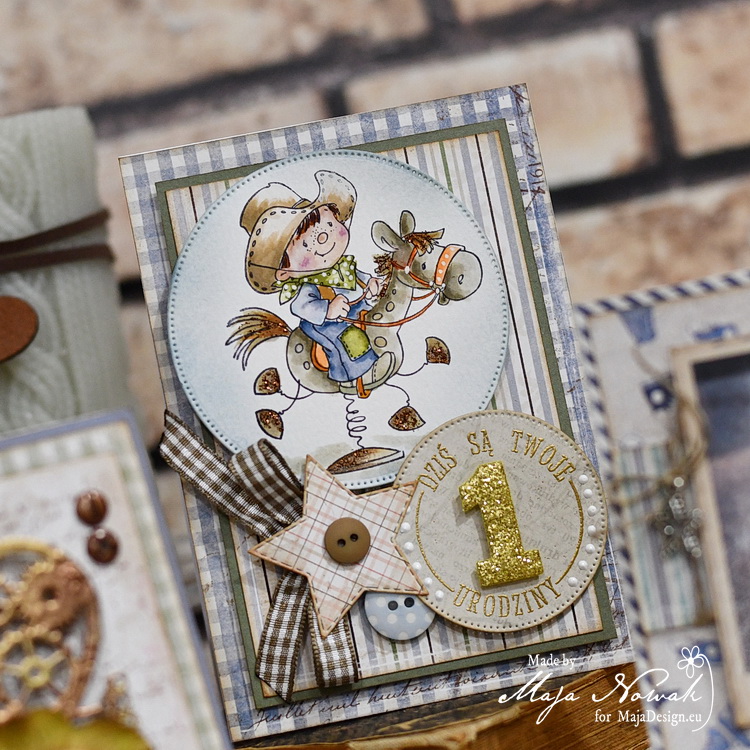
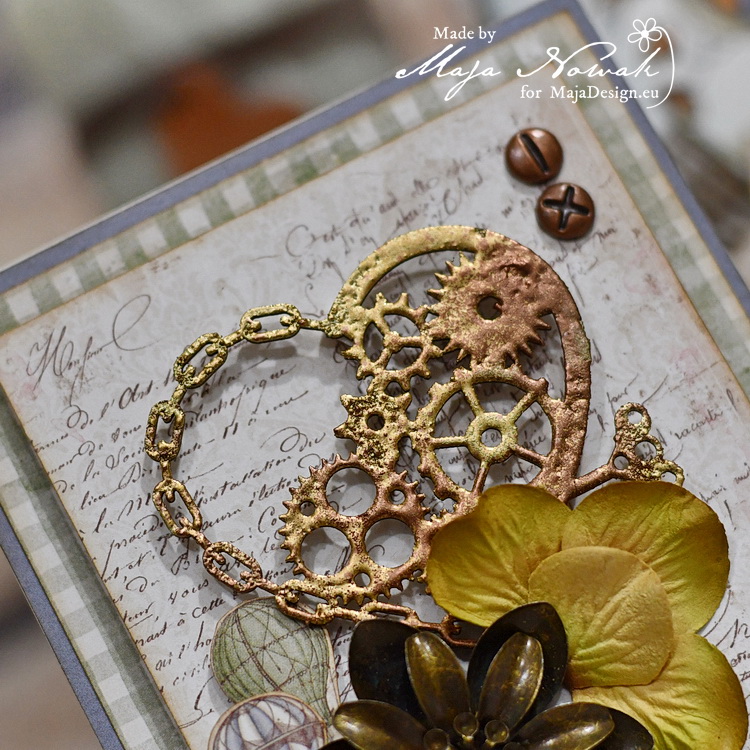
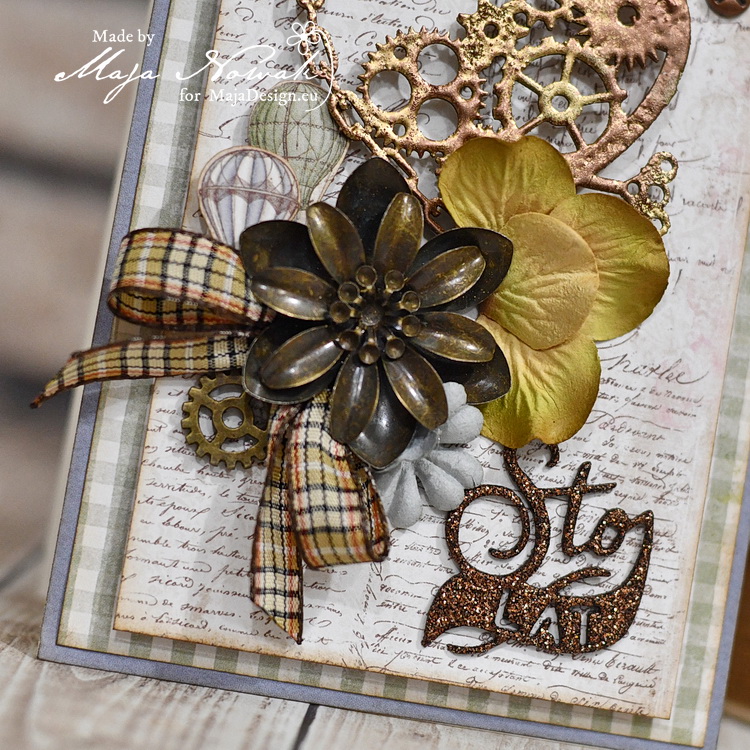
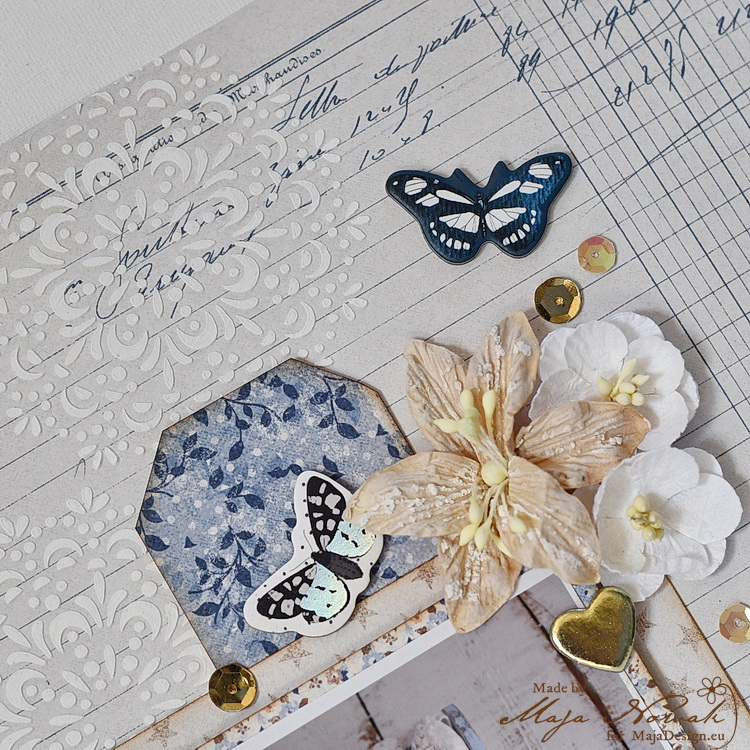
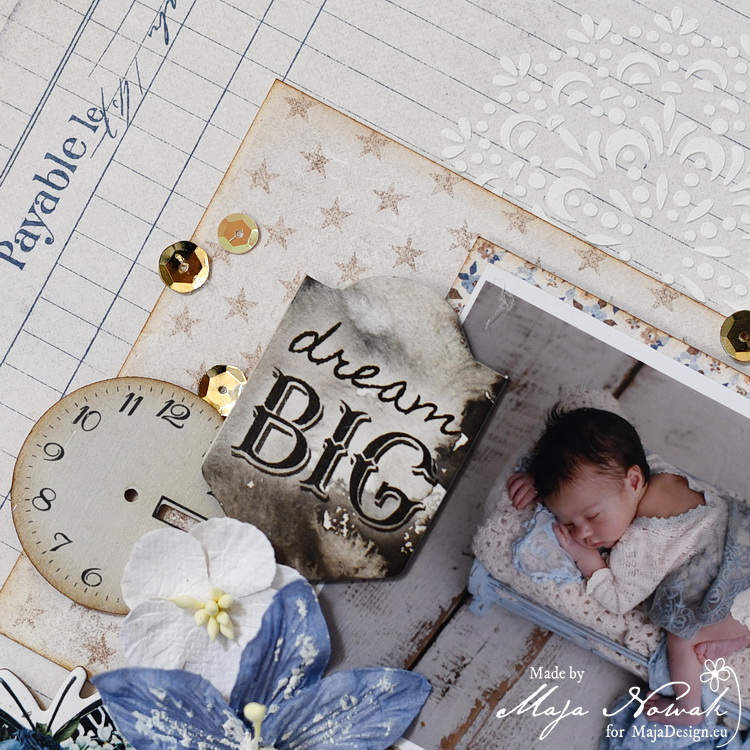
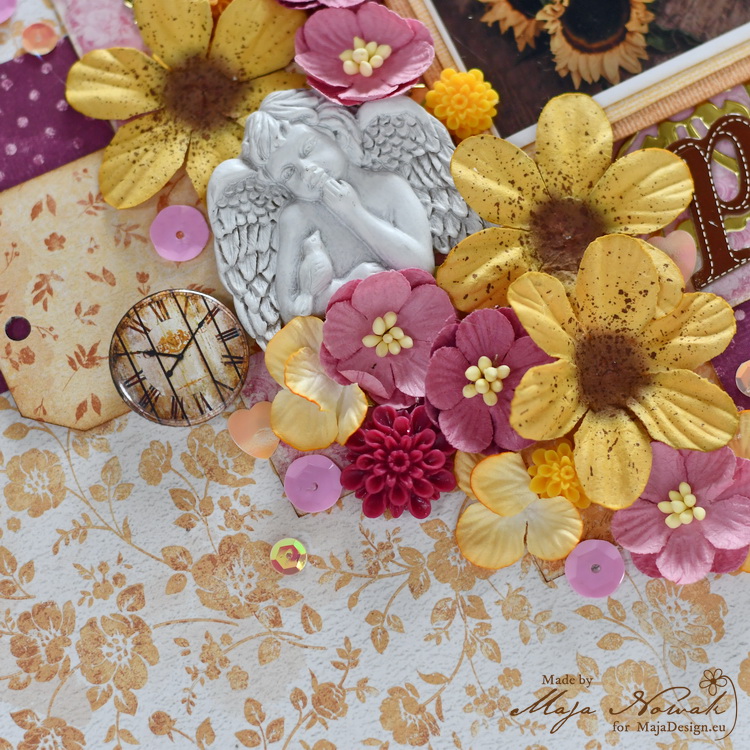
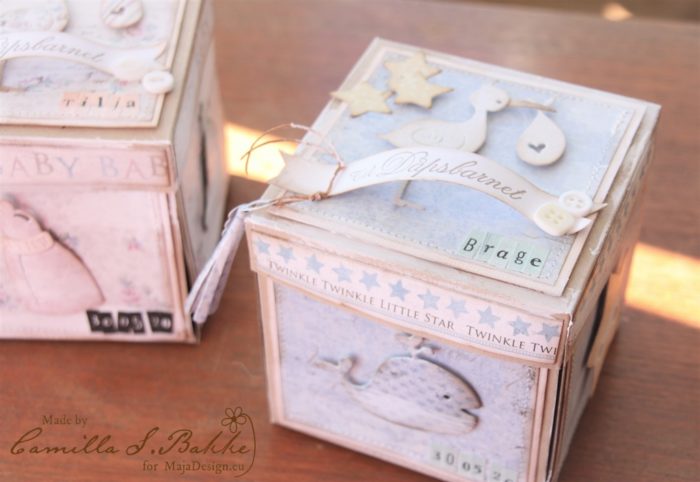
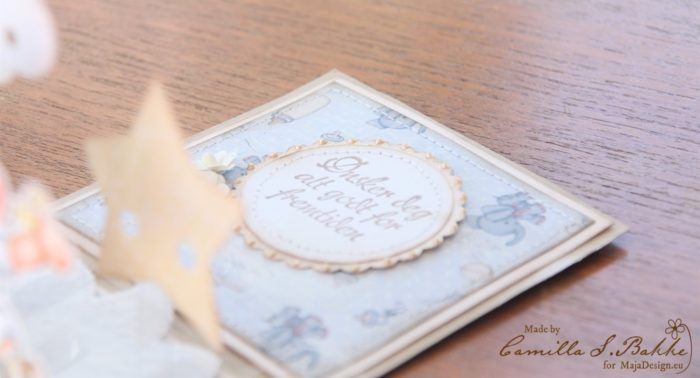
I decorated the lid with a stamped and embossed sentiment and a flower cluster:
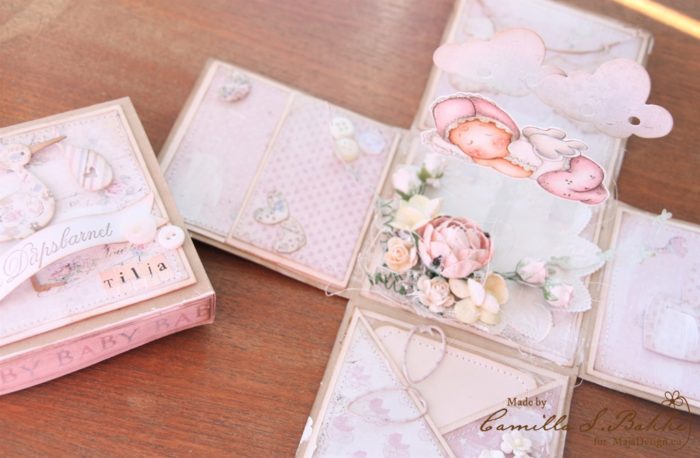
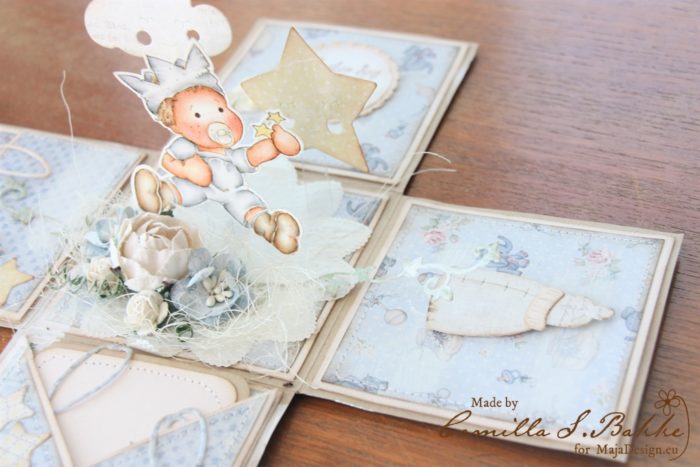
When you remove the lid, the box opens to reveal the inside:
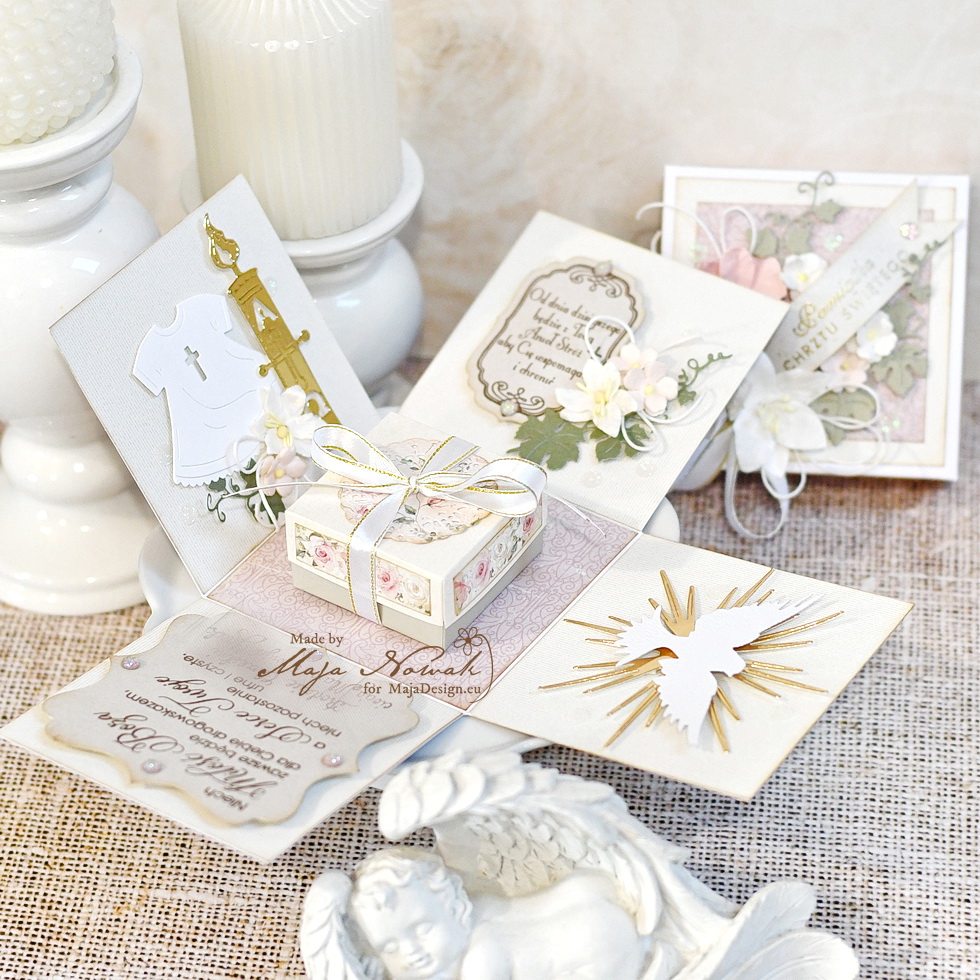
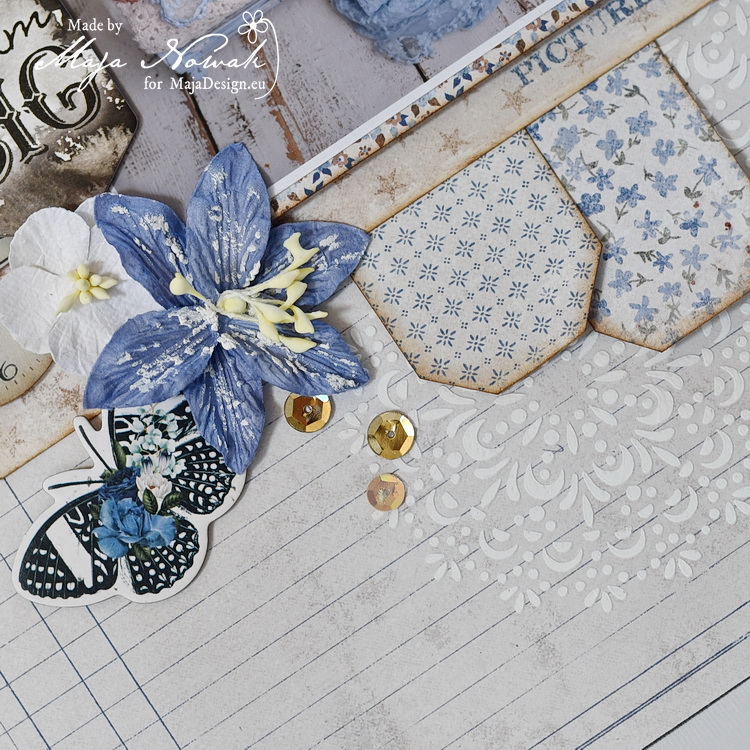
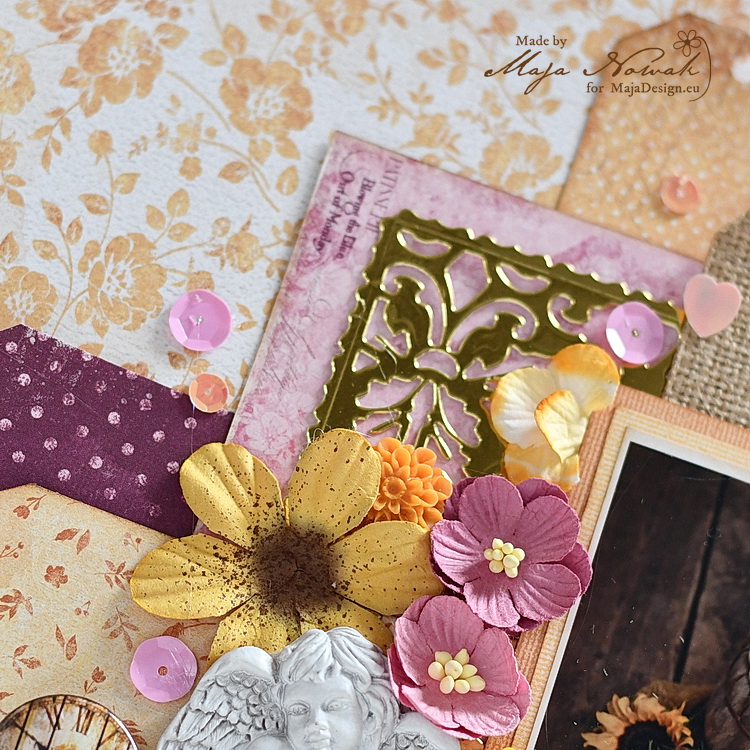
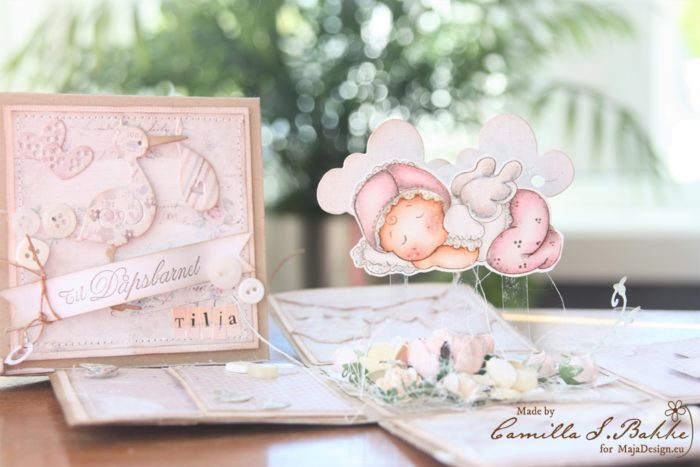
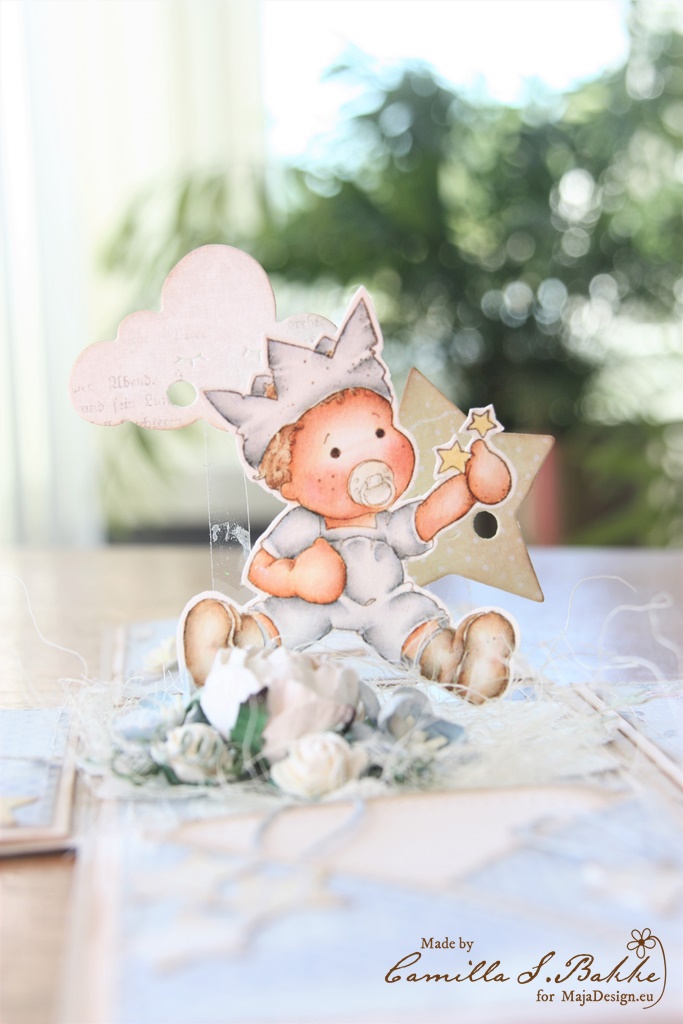
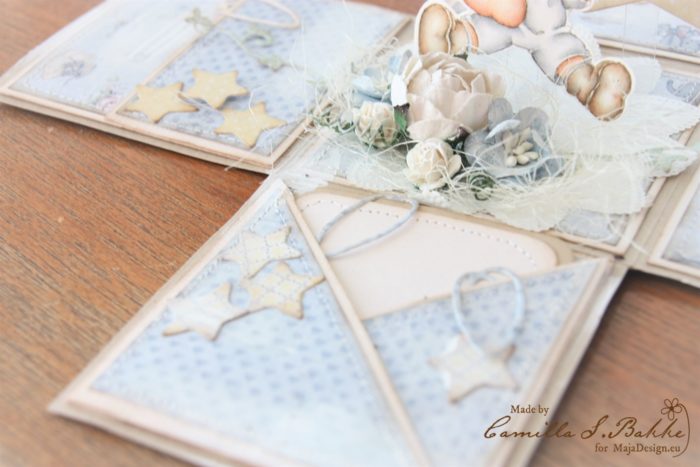
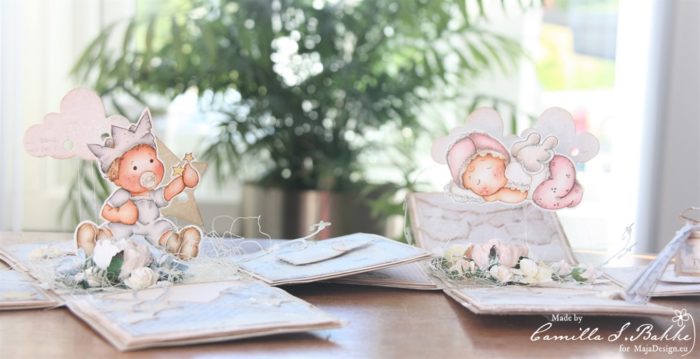
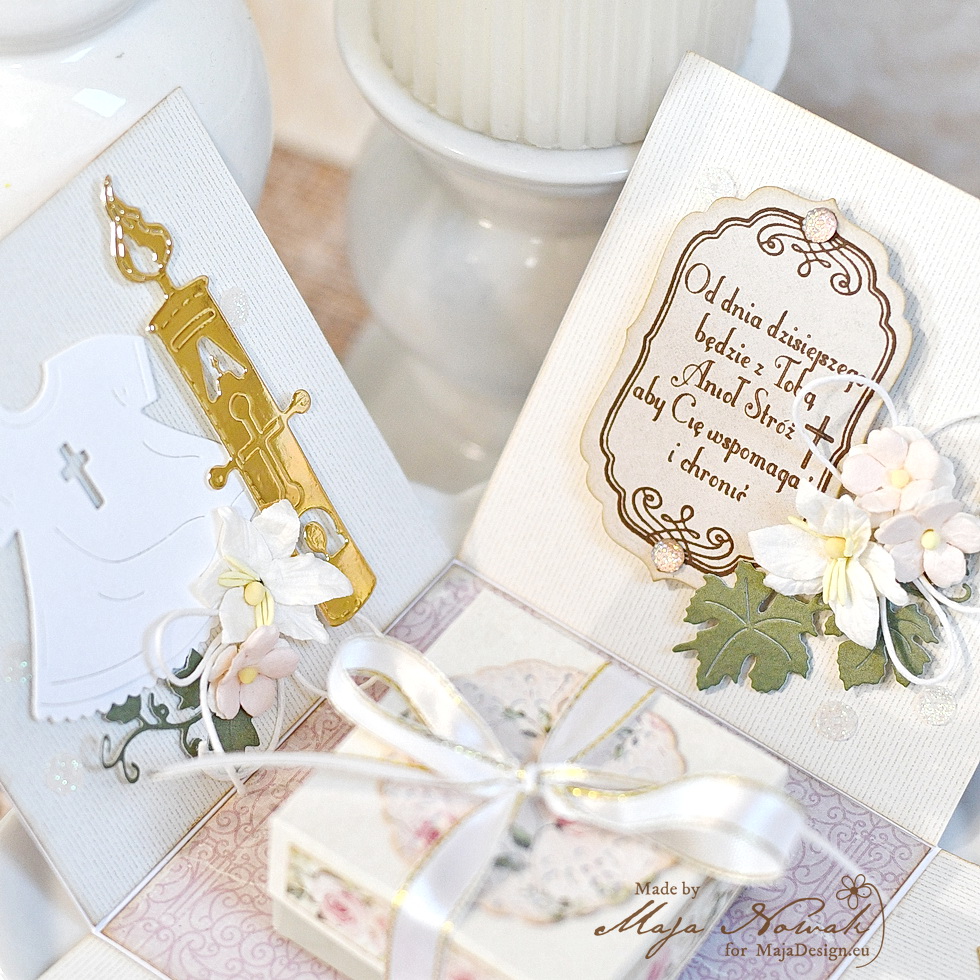
I decorated the inned walls with die-cut motives, flower compositions and some stamped wishes. To add some glam, I used acrylic gems and iridescent sequins:
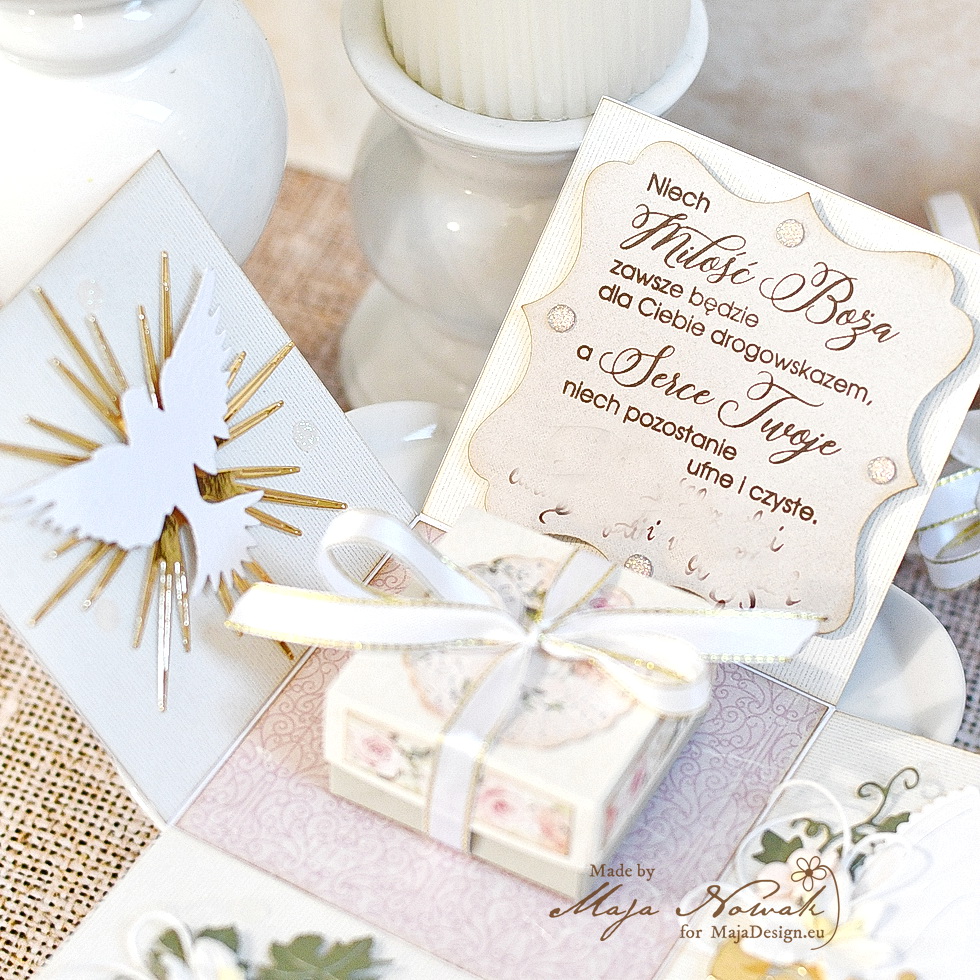
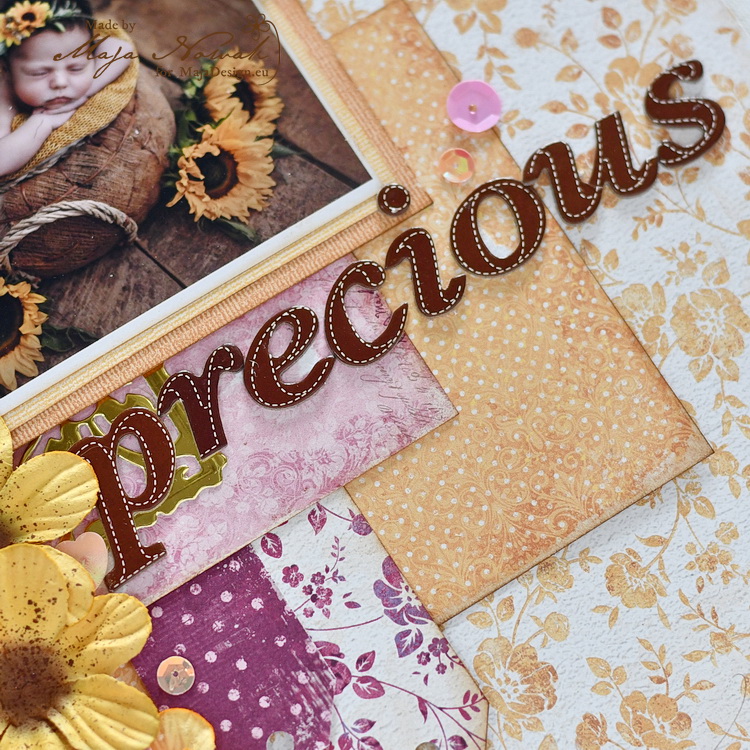
In the centre I put a box including a jewellery gift, but replaced the original box lid with a handmade one decorated with a die-cut doily and a signature strip pieces 🙂 The box is tied with ribbon that is attached to the exploding box bottom – this way you can remove the gift box without having to rip it off 😉
I think exploding boxes are best when you need to include a small gift or money – they work as both a card and gift box 🙂
Here’s what I used:
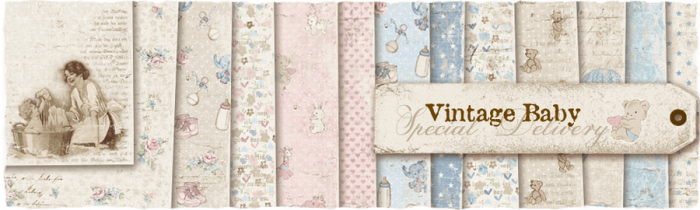
Maja Design papers:

-
- Mono Celebration-Pearl

-
- Linen Green
-
- Linen Green-bs
Other: stamps: Agateria, Lemonade; flowers: Wild Orchid Crafts; dies: Craft&You Design, Cheery Lynn Dies; gems: Marianne Design; ribbon: Rayher; sequins, string: my stash.
That’s all for today, see you next time!