Time to Dream

1

Posted by Amy Voorthuis

21 April, 2017 - , ,

Write a comment

Hello beautiful Maja Fans,

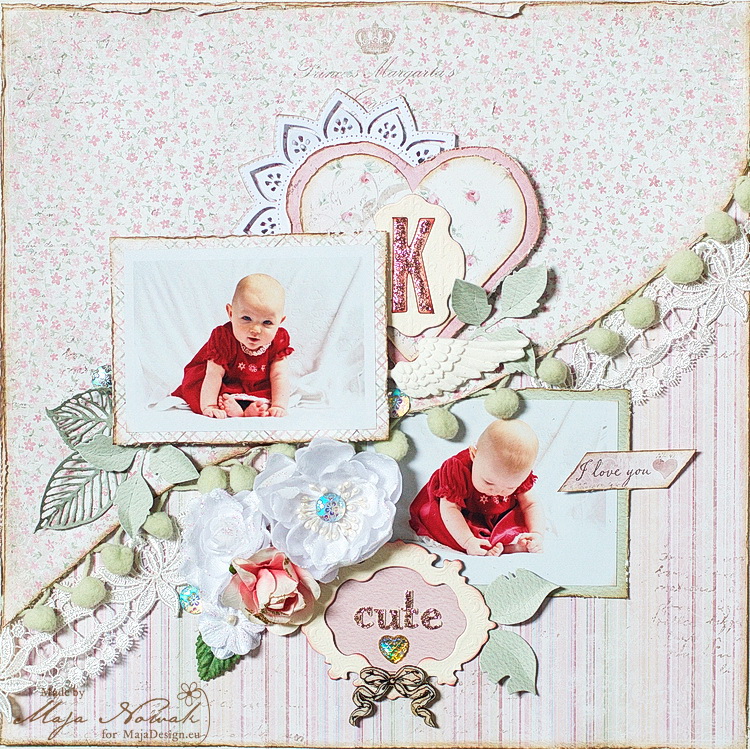
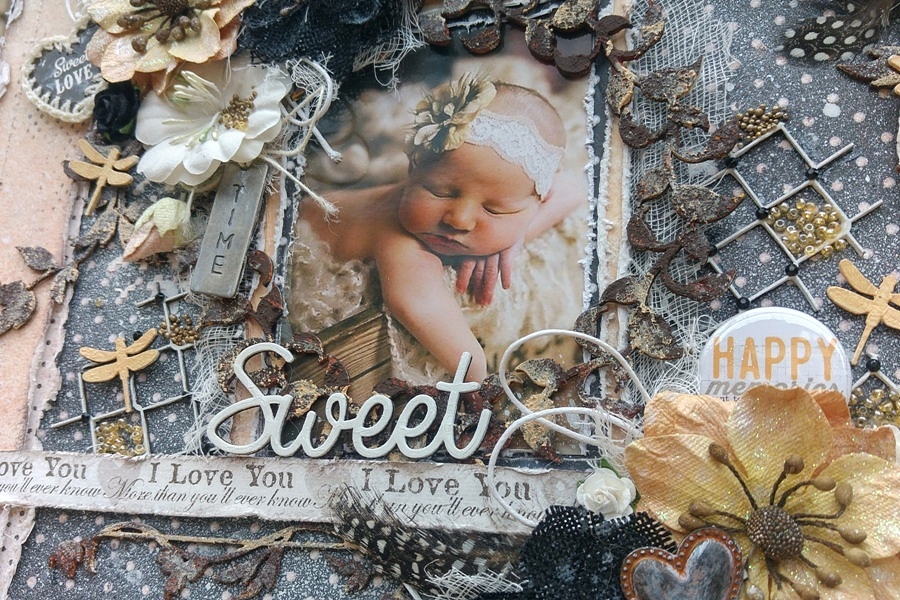
Today it is my turn again on this lovely blog, I love my Maja Design papers so much that I find them a blessing to work with. Lately I am totally into baby layouts really don’t know why the only thing I can think of that babies are so stinking cute….for this layout I wanted to highlight just one color extra besides black & white which officously is orange. I am not such a fan of that color but it reminds me of a wonderful time with our handsome son Kevin because one of his first words he said besides dad, mom and car was orange {still think that is so funny}…

20170421_083704_HDR1

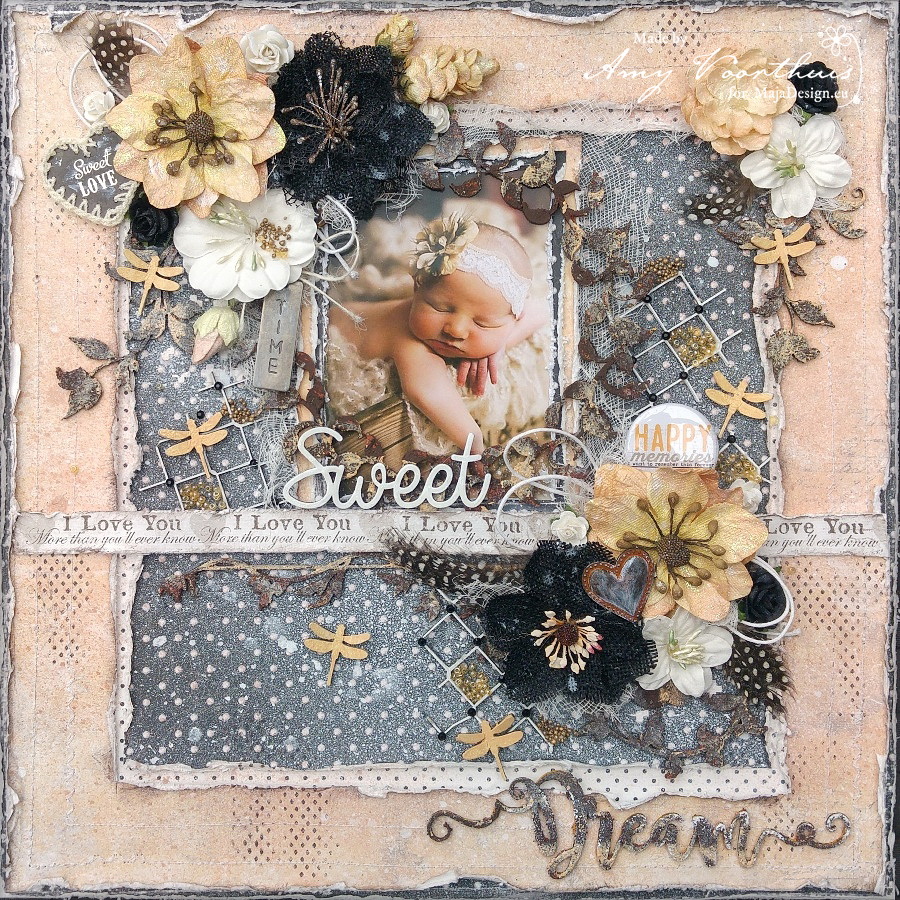
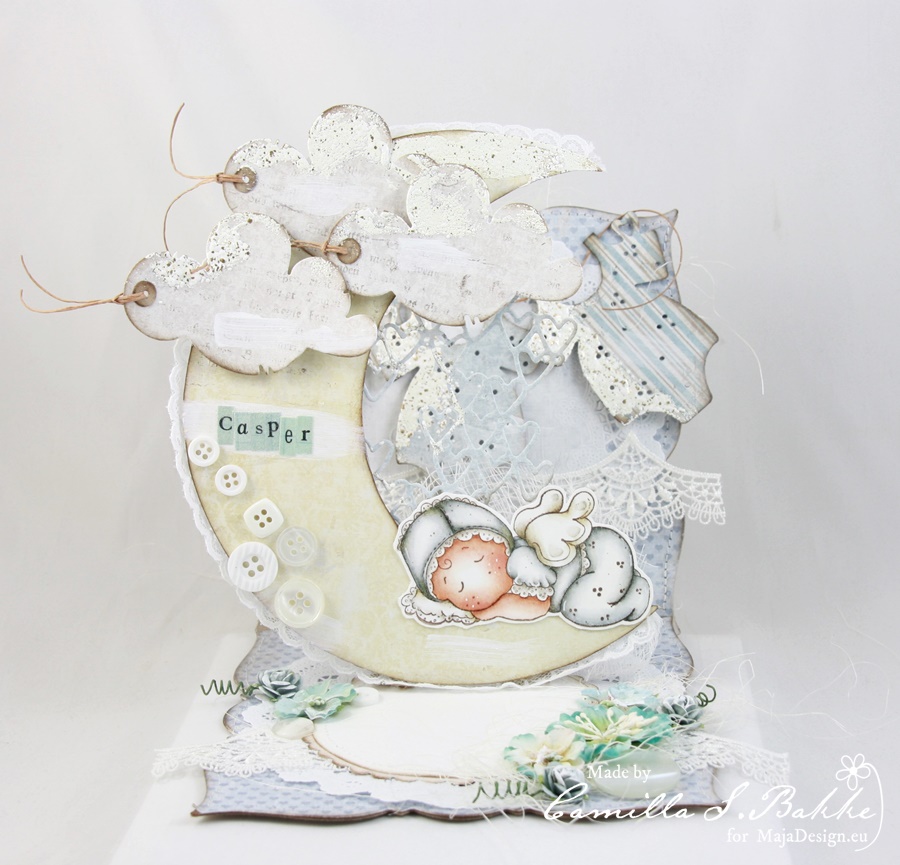
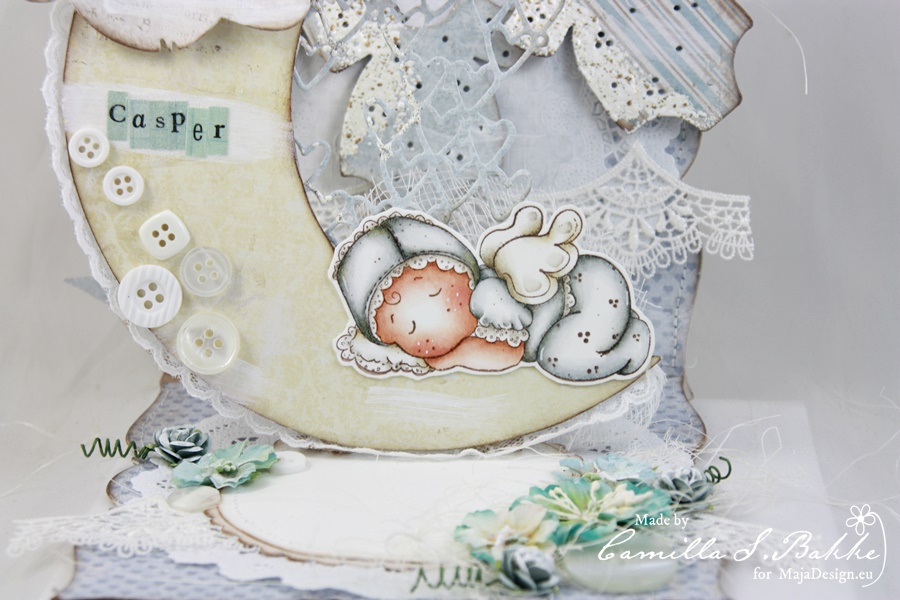
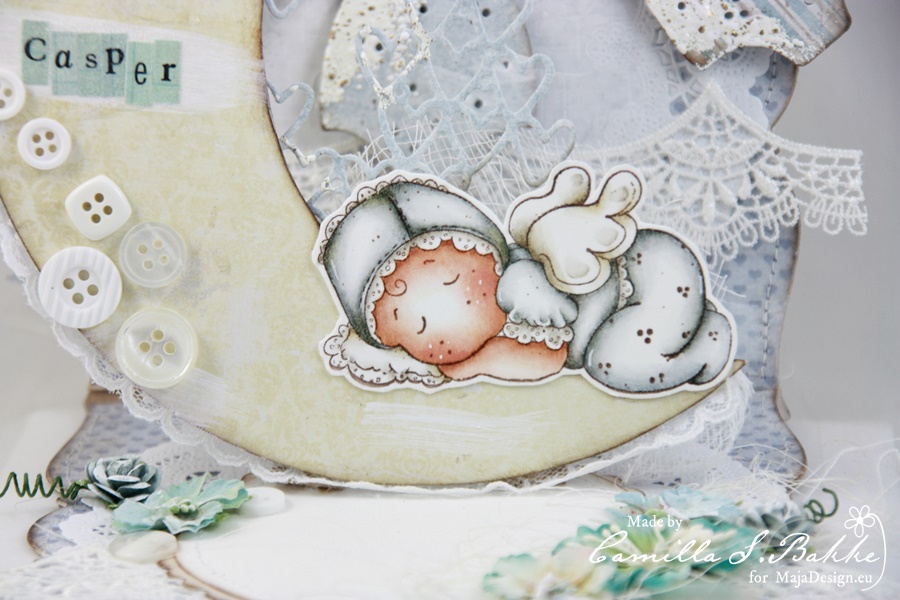
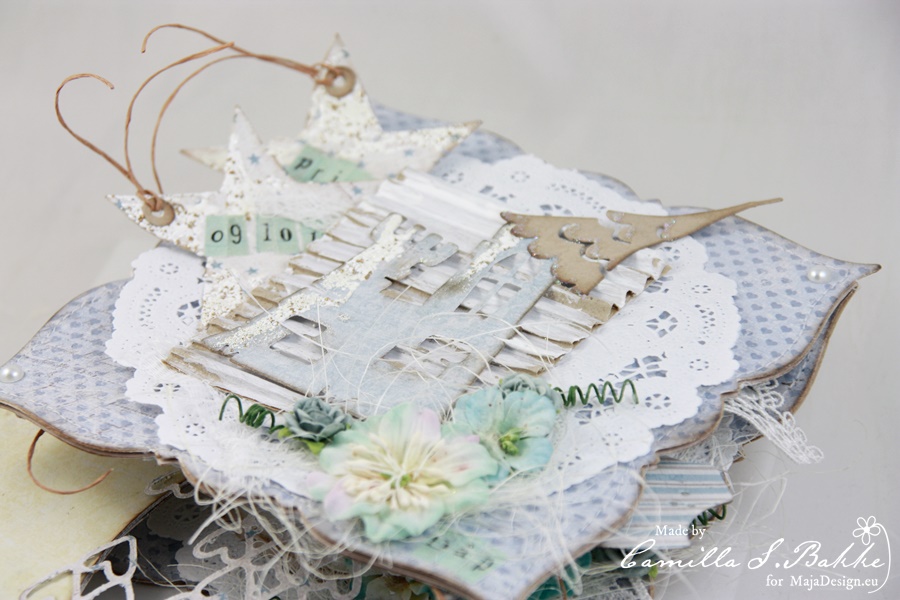
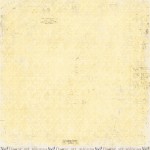
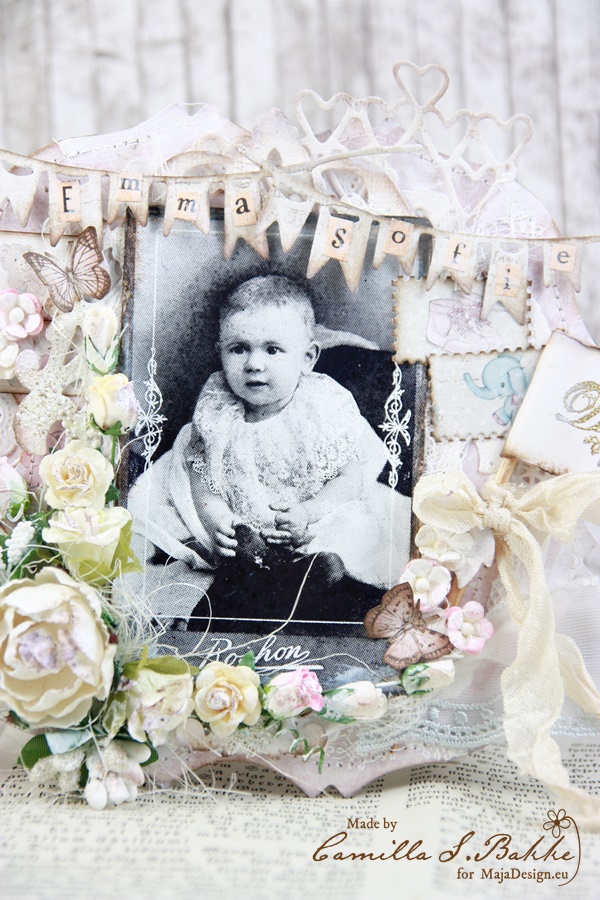
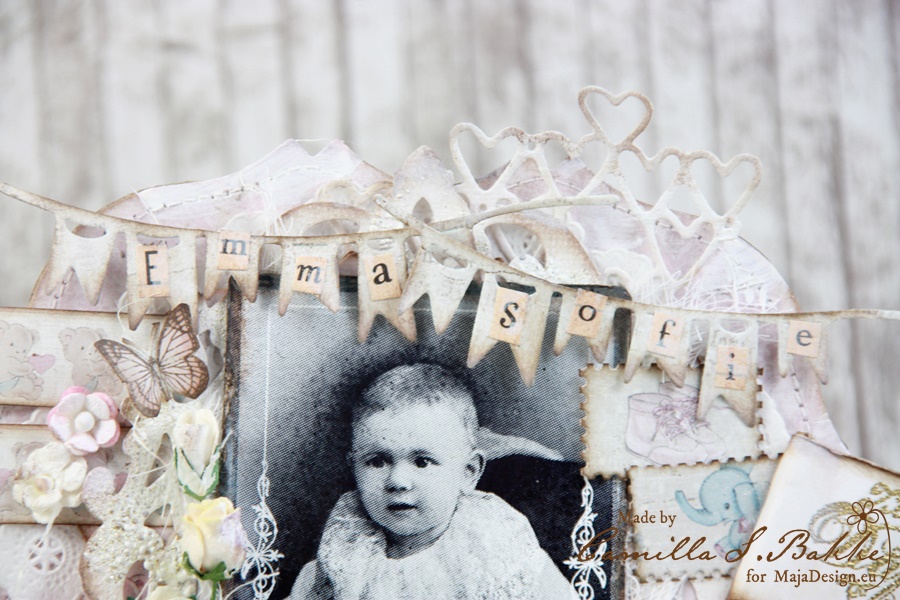
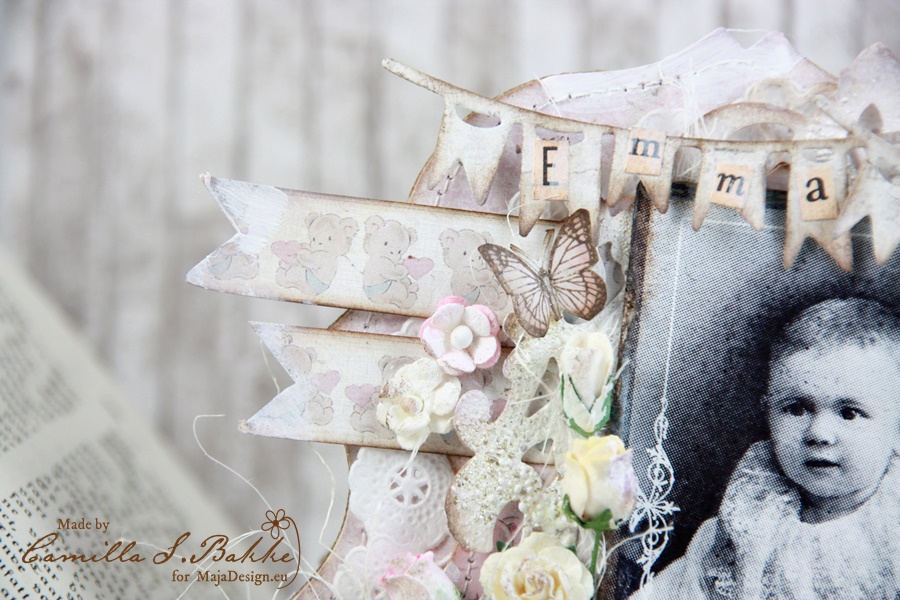
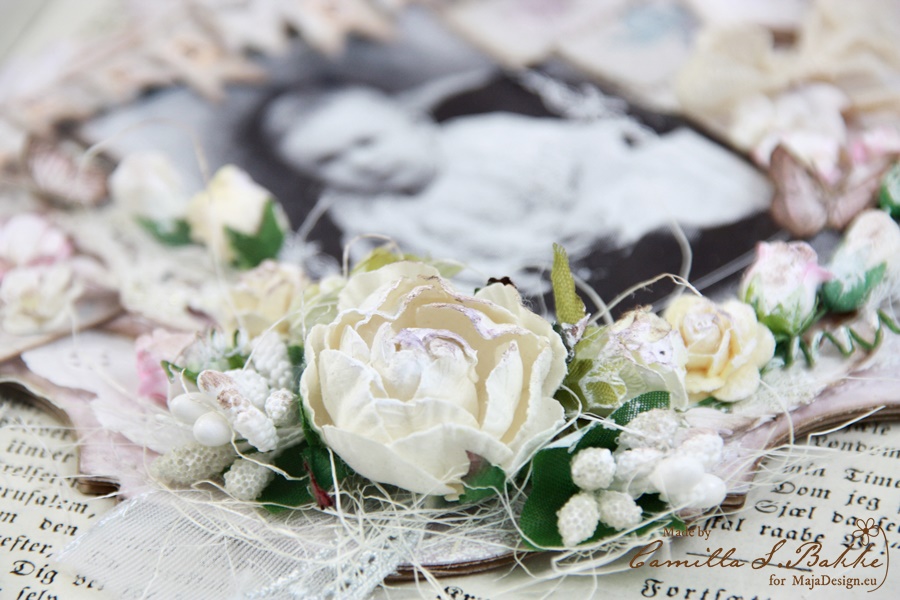
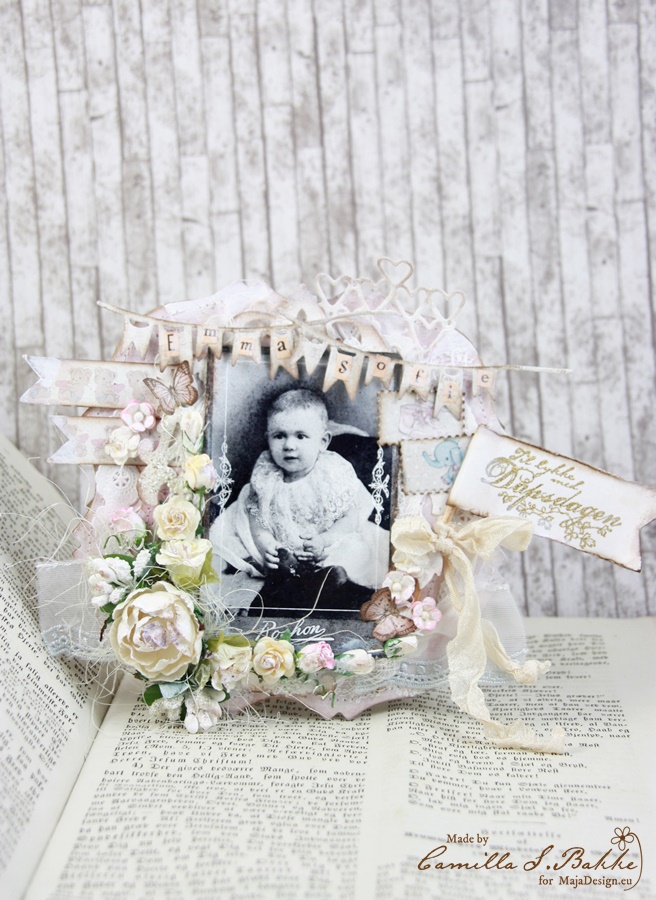
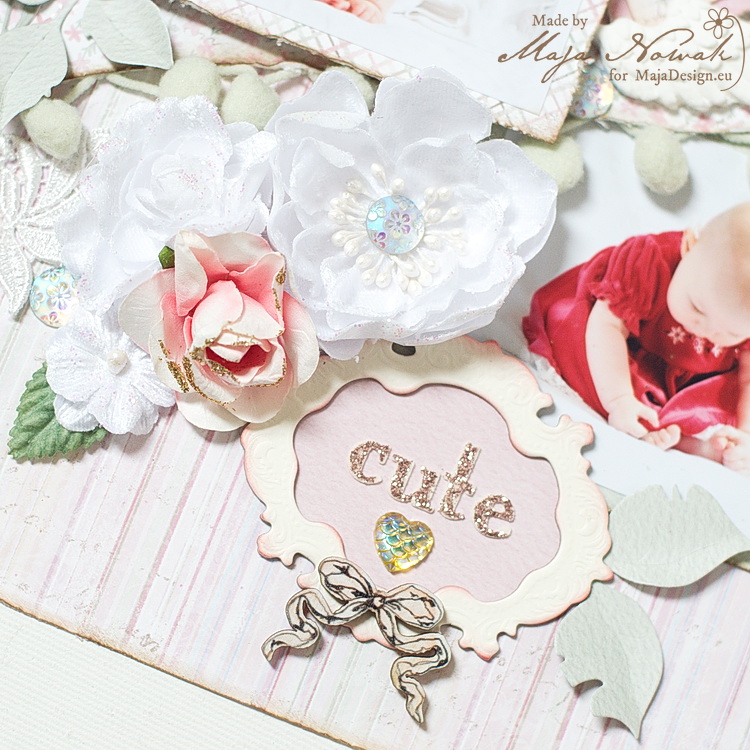
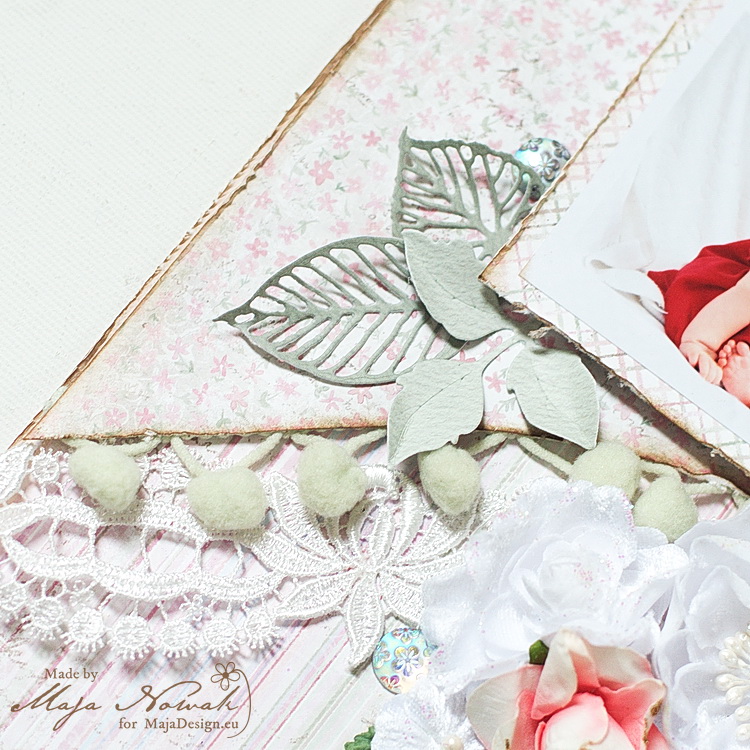
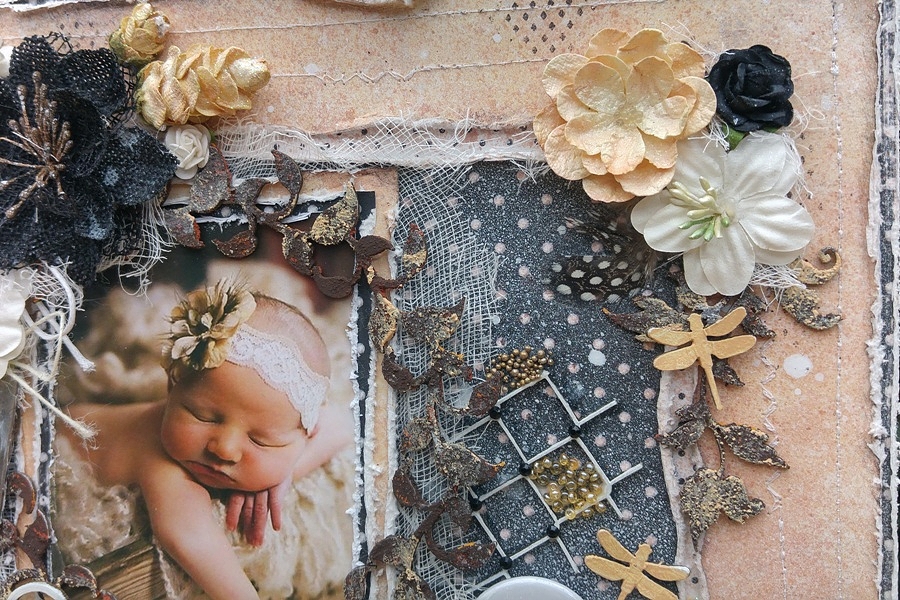
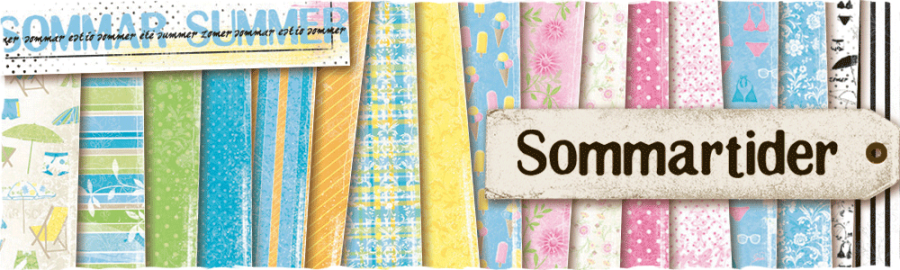
I really love the black & white sheets in the Sommartider collection I always use them when I need a black or white peice of paper to create with. Before I started creating I firstly picked out the flowers I wanted to use {sadly my last black ones that I have} the orange ones are by 49 and Market and called shimmer & shine, the black ones are by Petaloo and the white ones are by Dusty Attic like all the chipboard is too.

20170421_083733_HDR

20170421_083645_HDR

20170421_083737_HDR

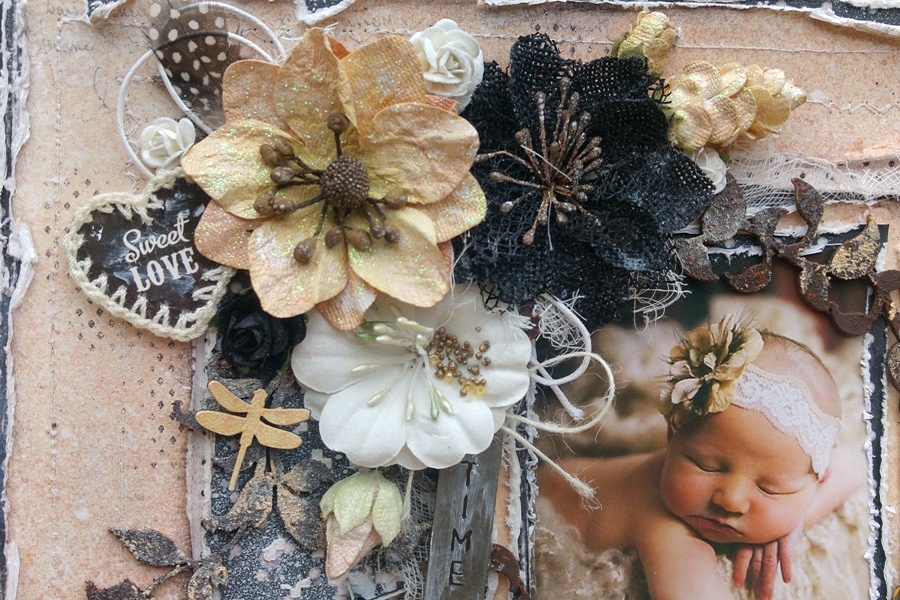
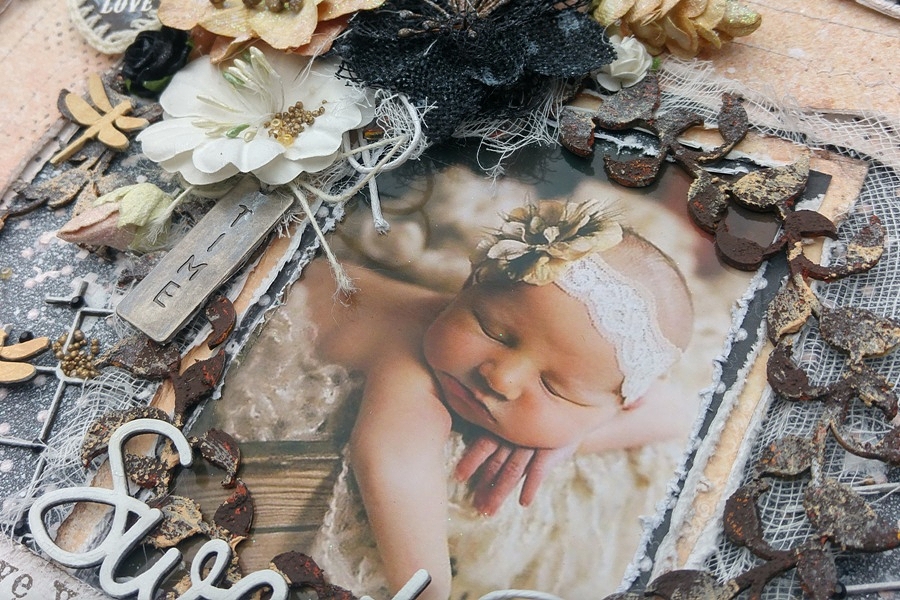
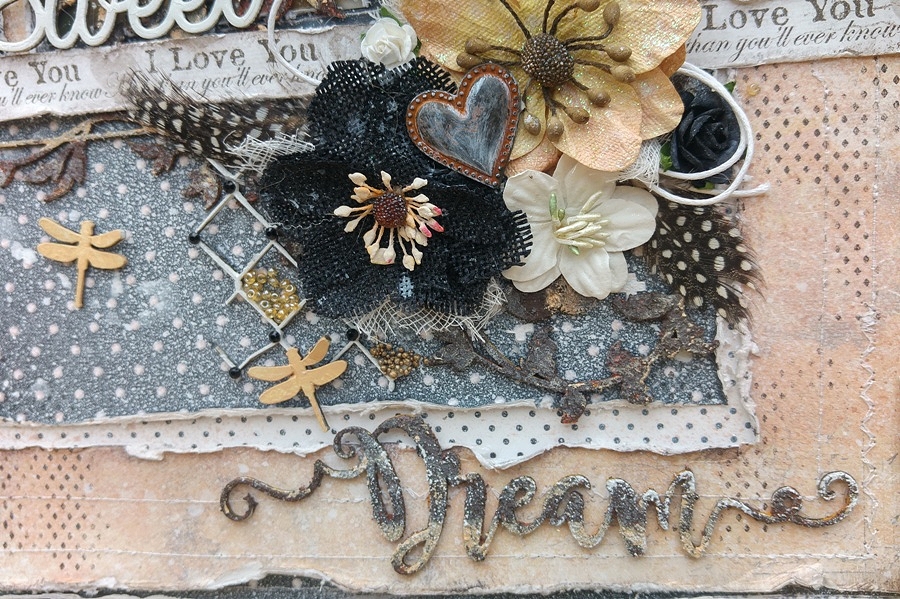
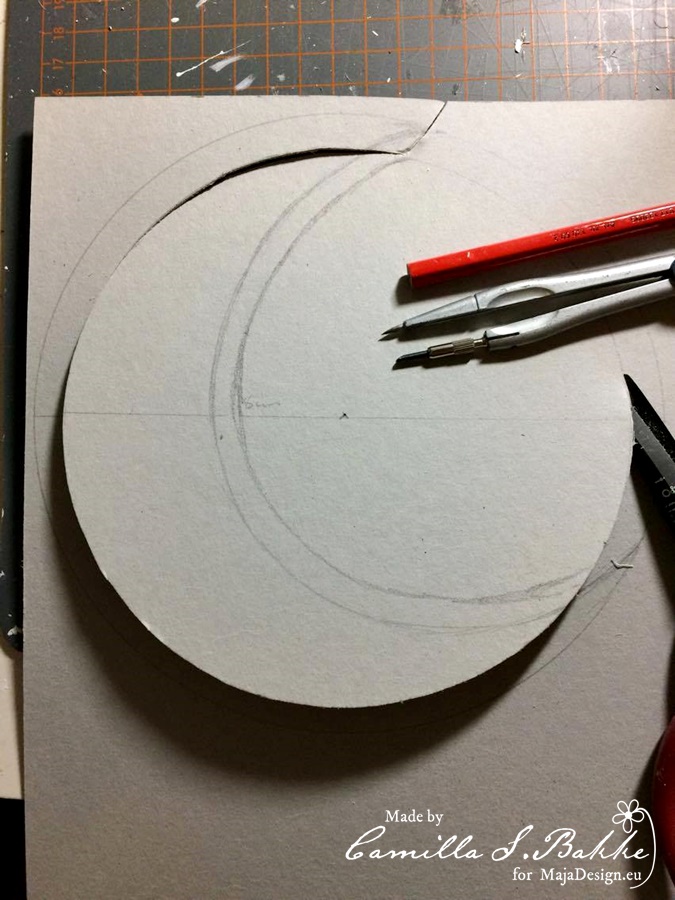
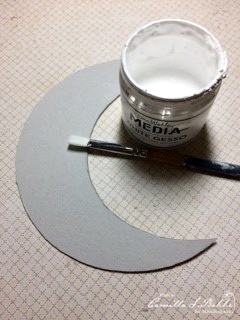
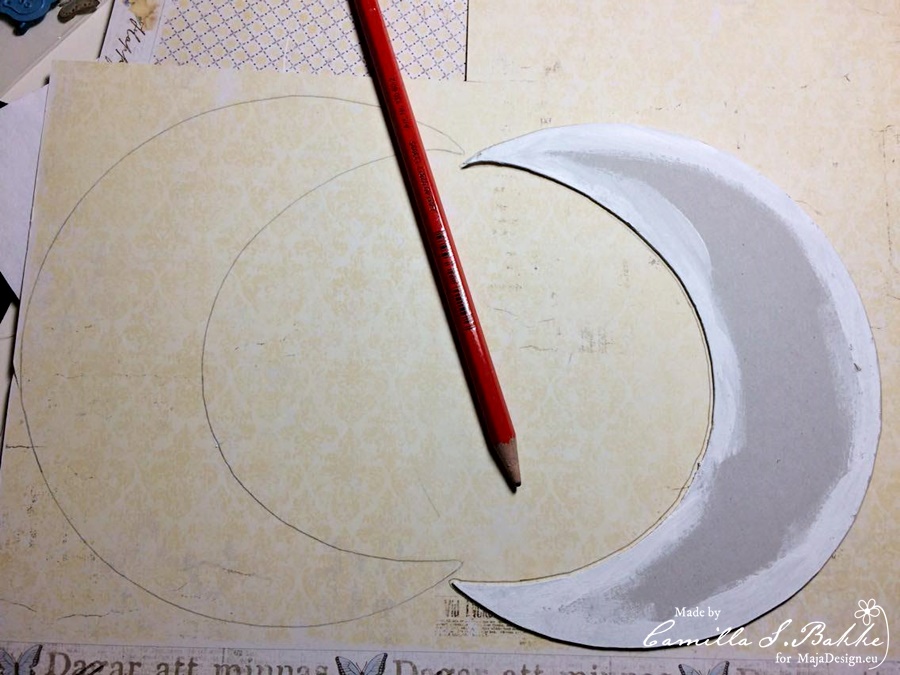
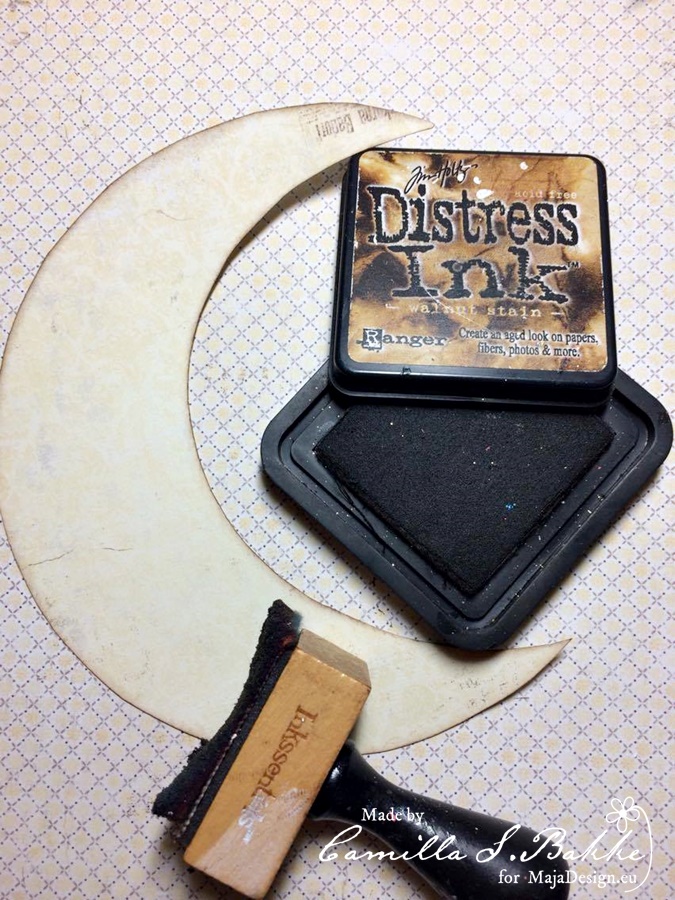
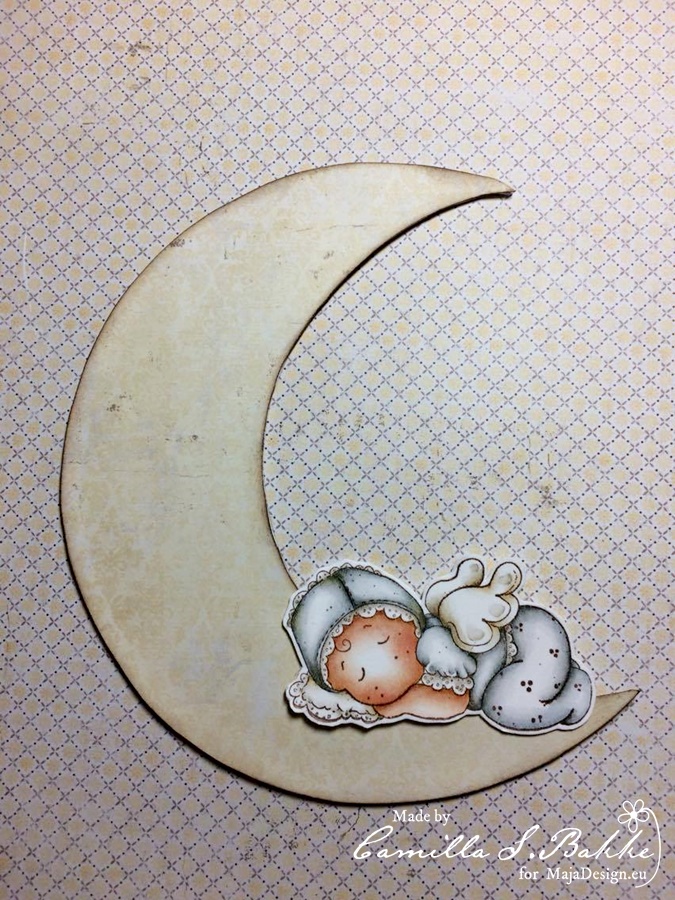
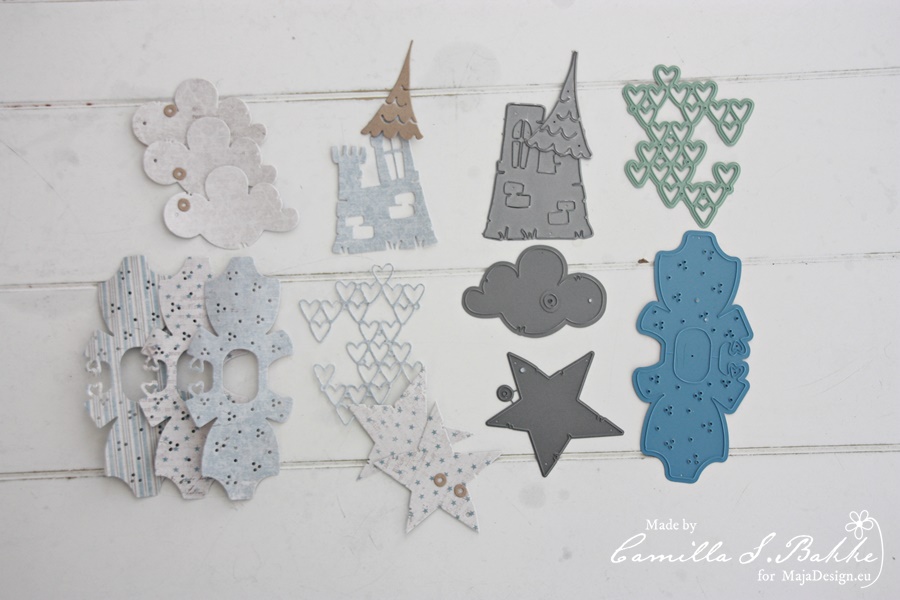
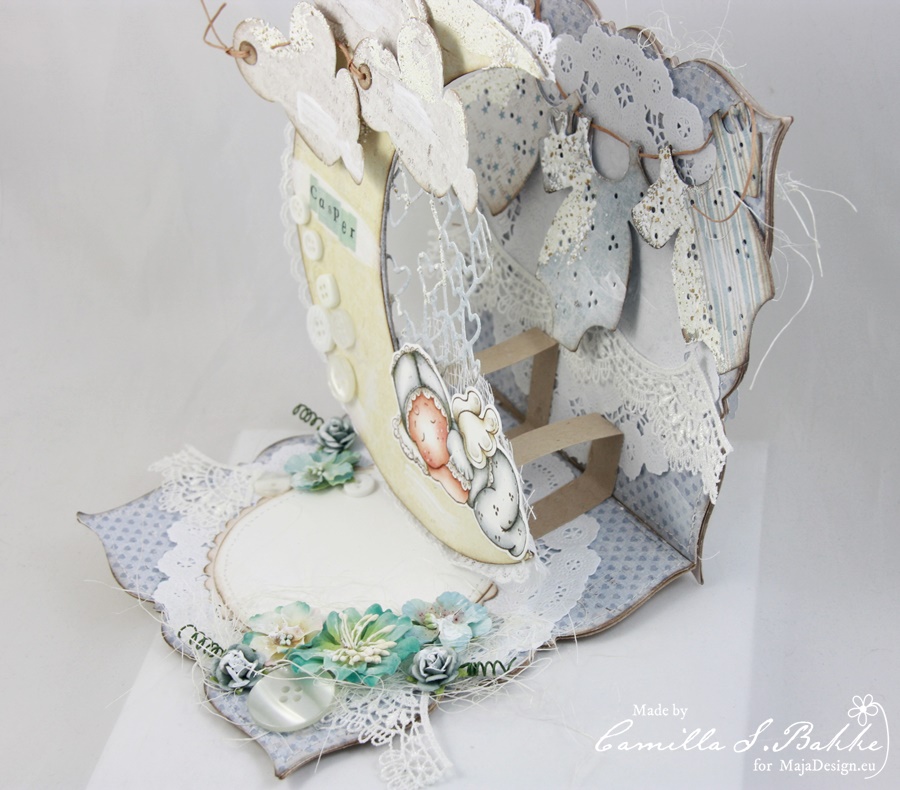
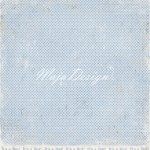
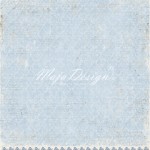
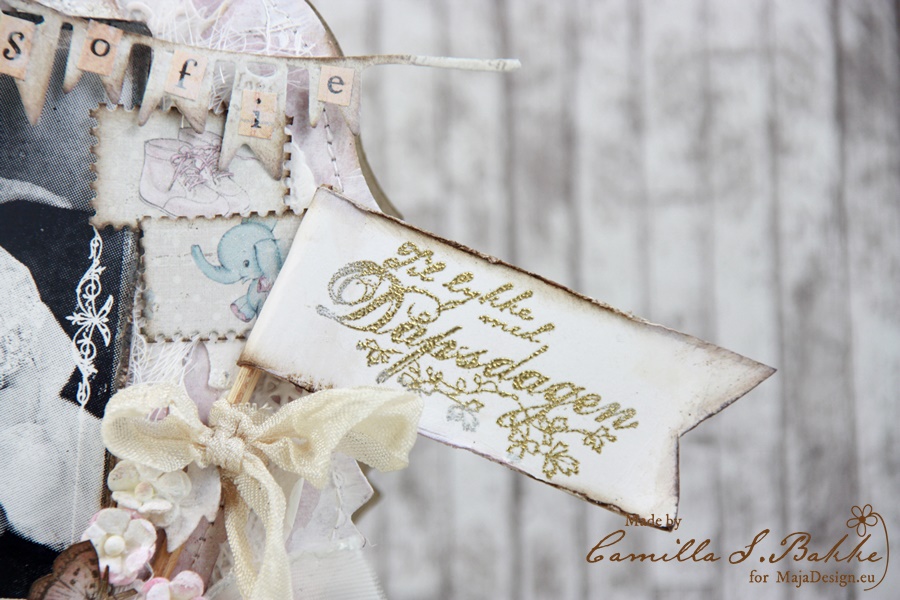
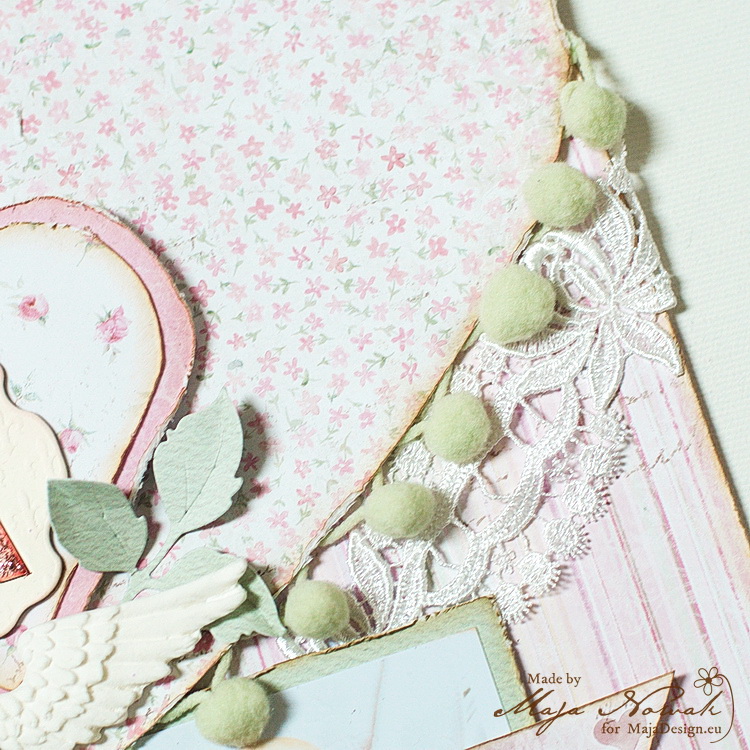
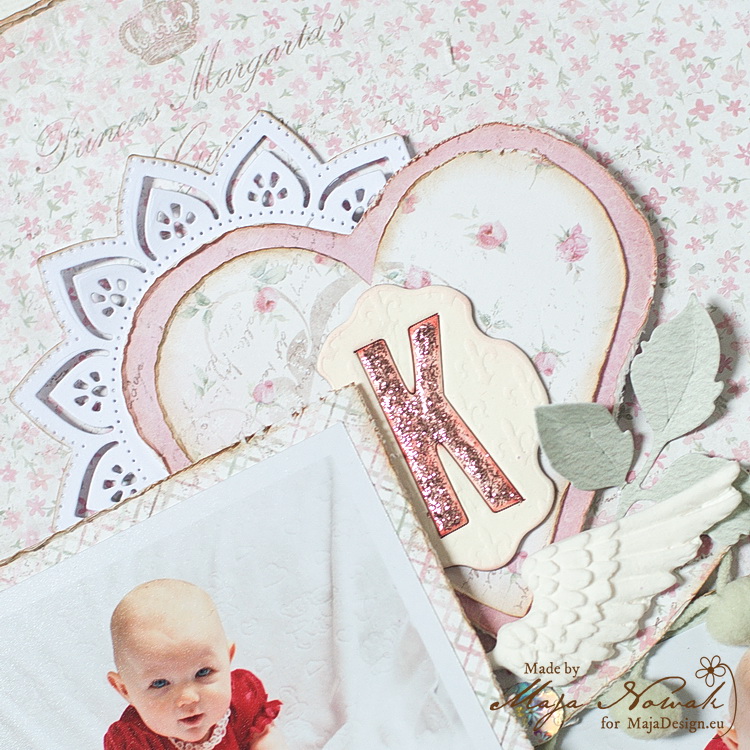
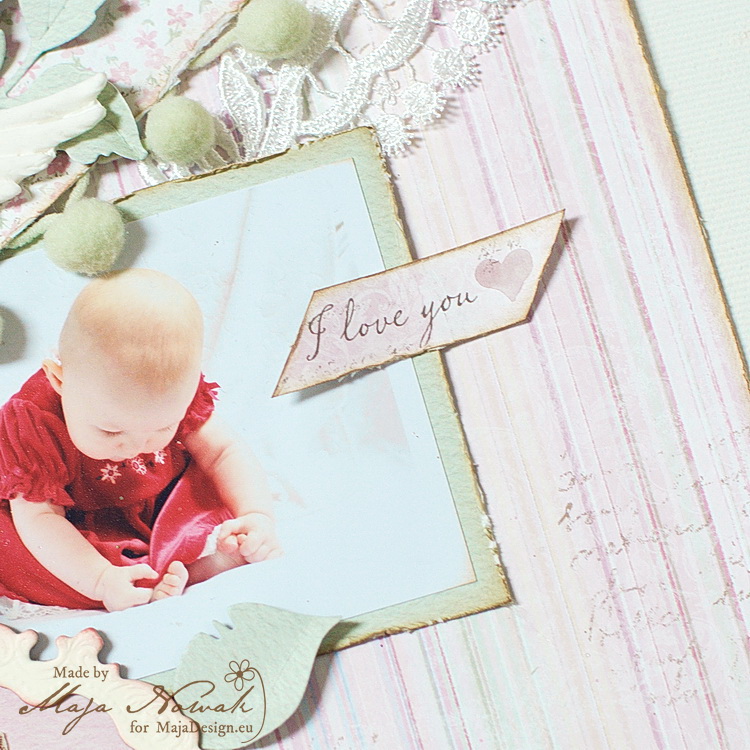
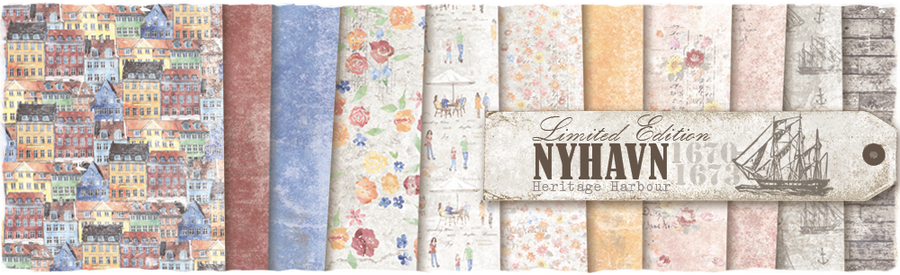
At first I cut out the middle part of the Strandmode bs sheet and stuck the Sommarens bild bs behind it, I also did that with the sunny side sheet from the “Nyhavn collection. Then I distressed the edges of both sheets and machine stitched on the orange sheet. Then I picked out hte picture I wanted to use. I treated my chipboard pieces with gesso and rust paste because it has orange in it to finish my layout I added some sidewalk chalk {white} spray by lindy’s to make it a little shabby chic. I also added some shimmer spray by the same manufactor. The last thing I added are some orange glass beads and prills….

20170421_083741_HDR

20170421_083756_HDR

Maja Design papers used: Sommartider: Sommarens bild and Strandmode bs, Nyhavn: The Sunny Side.

Sommartider-PNyhavn-P373-Sommartider-Strandmode-bs 372-Sommartider-Sommarens-bild-bs 721-The-sunny-side

Thank you so much for stopping by I hope you enjoyed my post today, and I have inspired you to play with your lovely Maja Design goodies have a lovely weekend….. 4

Pop-up baby card with a tutorial

2

Posted by Camilla Støen Bakke

19 April, 2017 - , , ,

Write a comment

IMG_4980

Hi there! Hope you all had a wonderful Easter. Here comes a card I have made both for Maja Design and Magnolia. I have will also show you how I made the moon and the pop-up effect.

Vintage-Spring-Basics-P

Vintage-Baby-P

For this project I have used the beautiful Vintage Spring Basics collection and the Vintage Baby collection. Now to the little step by step:

1

I started with making the moon. First I used my compasses. I made a circle with a diameter of 16 cm. Then I drew the rest of it by hand like this. I used hard cardboard for this.

2

Then I painted the edges of the moon with white Gesso.

3

Then I drew the moon on some Maja Design pattern papers (two times, for the front and the back).

4

Then I inked the edges with Distress Ink pad, Walnut Stain.

5

Place the baby on the moon.

6

Fold a paper strip like a rectangle and fasten it like this. Make two so that the moon will have a good grip inside the card. (You can see this better on the finished card)

7

To decorate the card, I have cut out some shapes from Maja papers: heart background, celebration, star tag, (flag and) cloud, castle. The dies are Magnolia DooHickeys.

IMG_4994

I will now show you some details of the finished card, and how the pop-up looks like.

IMG_4984

A close up of the baby.

IMG_4982

Under you see how the front of the card looks like.

IMG_5002

IMG_5004

Here is a list of paper used:

Thank you so much for visiting the Maja Design blog today!

With love,

Camilla

Vintage Baby card

1

Posted by Camilla Støen Bakke

5 April, 2017 -

Write a comment

IMG_7192

Hi! Here comes a new card where I have used the sweetest collection called Vintage Baby. I will give you the list of paper used at the end of this post. If you are wondering, the paper behind the card is from the Vintage Summer Basics collection and is called 1905

Vintage-Baby-P

I have also cut out two butterflies from a paper from the Vintage Spring Collection called 6th of May.

IMG_7188

This is a baptism card for a girl, so I have used papers in pink tones. I have also made two postmark stamps with Maja papers and a Magnolia die. The main image is a stamp from Stempelglede.

IMG_7183

The pennants are made with a die from Magnolia, and I have fasten the letters on to them. I have used a beige Maja paper here.

IMG_7186

The teddybears are from the bottom of a Maja paper. I have used gold embossing on the flag. The text is made with a stamp from Stempelglede.

IMG_7197

A close up of the flowers.

IMG_7199

The card from another angle.

IMG_7202

The flowers are from Wild Orchid Crafts.

IMG_7182

Hope you liked the card! Here is the list of papers used:

Thank you so much for visiting the Maja Design blog! Have a great day!

Hugs,

Camilla

Lady In Red

1

Posted by Maja Nowak

15 March, 2017 - ,

Write a comment

Good morning, Maja Friends, welcoem to the blog today 🙂

Have you seen the refreshed edition of the Sofiero collection that has been released lately? When I got the news abotu it I was very excited, firstly because when I began designing for Maja Design the collection was already retired, and secondly, because of the new addition, the Monochrome papers! This is such a good idea, no more painful decisions about which beautiful papers hide in the background! 🙂 And as this is a special release, I decided to make a special layout about a certain lady in red. Be careful, huge amount of cuteness ahead!

mdkora

I layered contrasting designs in the background and separated them with pom pom trim and lace:

mdkora2

I cut out a heart shape and made an initial plaque, then I added a resin angel wing:

mdkora1

I built the flowers cluster between the photos and placed the title in the decorative frame:

mdkora4

I also added some die-cut leaves to decorate the photo:

mdkora3

I decorate the other photo with a sentiment I cut out from one of the signature strips:

mdkora5

Adding bling and accenting details with glitter was a finishing touch. I really like the way the layout turned out, the beautiful pastel papers making the photos stand out! And look at this yummy dimension 🙂

mdkora6

And here’s what I used for the layout:

The Sofiero papers:

Other: dies: Spellbinders, Prima, Magnolia; flowers: Prima, Blue Fern Studios; chipboard: Tattered Angels; bling, trim, lace: my stash.


Thank you for visiting the blog today, and see you later!

Maja-sign

I’m going to be an Aunt <3

2

Posted by Silje Kristin Aunan

23 October, 2016 - ,

Write a comment

Hello Everyone 🙂

Today it is my turn to present one project for Maja Design. 

The project I’m going to show you today is one project I created 25 August, but because of bad images, the time was never right, it never got published. But today it’s time, and you know what is funny is that these images are the first pictures I took of the project.

You know I’m going to be a Aunt, for the first time in February next year <3 But to tell you how this project started, we need to go some months back. My sister called me at the start of August to tell me she was pregnant, and the due date is February the 18. She also told me that she wanted to tell it in a very special way, in fact she whant to tell it with a specal project. How this project was going to be, it was all up to me, but it had to be a calendar on it, since we not at that time knew if it was a boy or a girl, the project had to be in neutral colors.

I liked the idea right away, I liked it alot, and that this is not a project you see each day. What is special about this box is that this is the first project I make to my aunt children <3

For this box I’ve used paper from two different Maja Design collections. Vintage Romance and Vintage Spring Basics. I have chosen out those sheets in a gray and bright tone.

Vintage-Romance-P

Vintage-Spring-Basics-P

After I had covered the box with pattern sheets, I attached silver feet below the box, glue on buttons and pearl ribbon on the sides and the edges.

On the lid of the box I made one plateau, this I did because it would be easier to decorate and put things I create in 3D and other details.

On two of the sides I have decorated with one locomotive (my own tutorial), an elephant that I found in a folding book for children, butterflies, flowers, buttons, pearls, cheese cloth and blocks.

On the other two sides, I have many of the same details, but here I have one 3D plane (put together with my own turorial) and a Giraffe folded from the same children book that the elephant.

Atop of the plateau i have a easel that I have made myself, with a calendar on. Around the due date which is the 18 I have a heart and on the top of the calendar I have written February. February is punched out with one set of dises from kaBoks.

On the side of the calendar are several blocks, these blocks I have used one dies of one train and placed on blocks that I have put together. The other details are pearl and butterflies.

One very special project from me today, that means a lot to me that I got to make it <3 <3 <3

And before I quit my blog post, I would like once again to say congratulations to my sister and the great man she is with <3  You’re going to be a great dad and mom to a little boy coming in February <3

 SiljeKristin-sign