All That Glitters & Great Joy Magical World Layout’s

1

Posted by Amy Voorthuis

15 December, 2017 - , ,

Write a comment

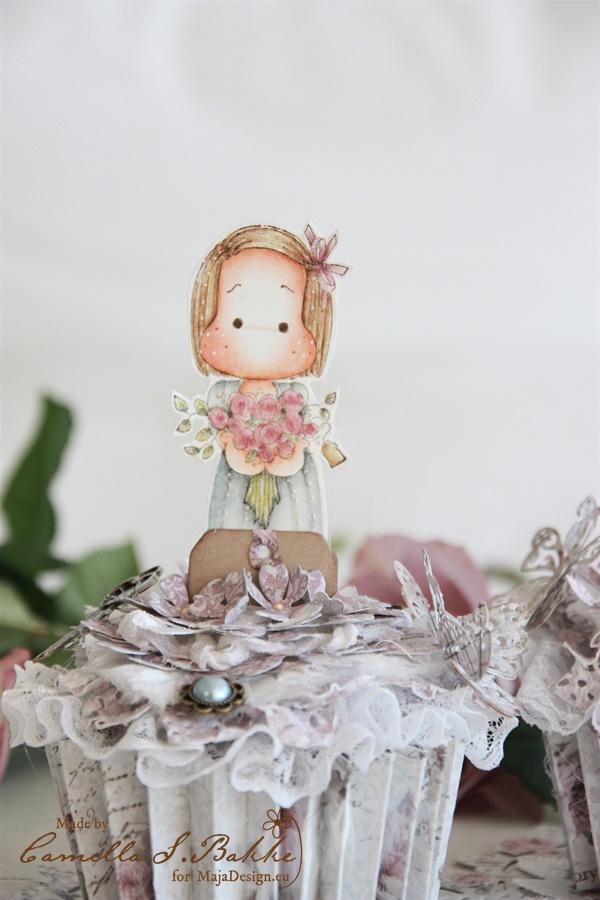
Goodmorning lovely Maja Designs Fans,

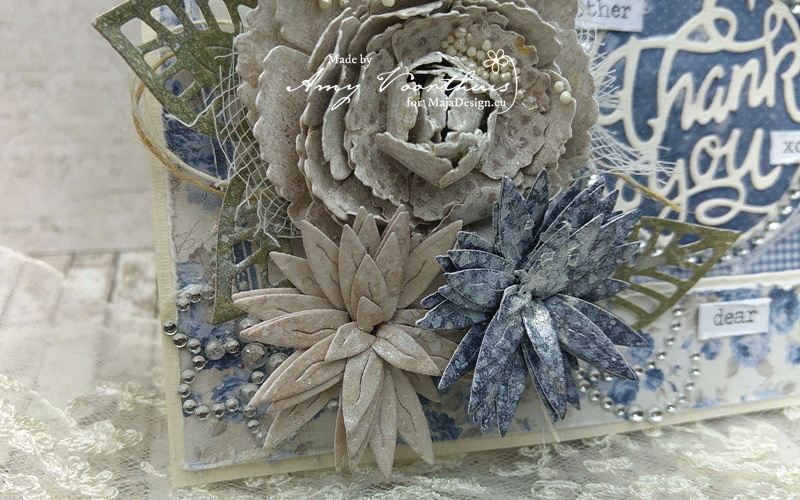
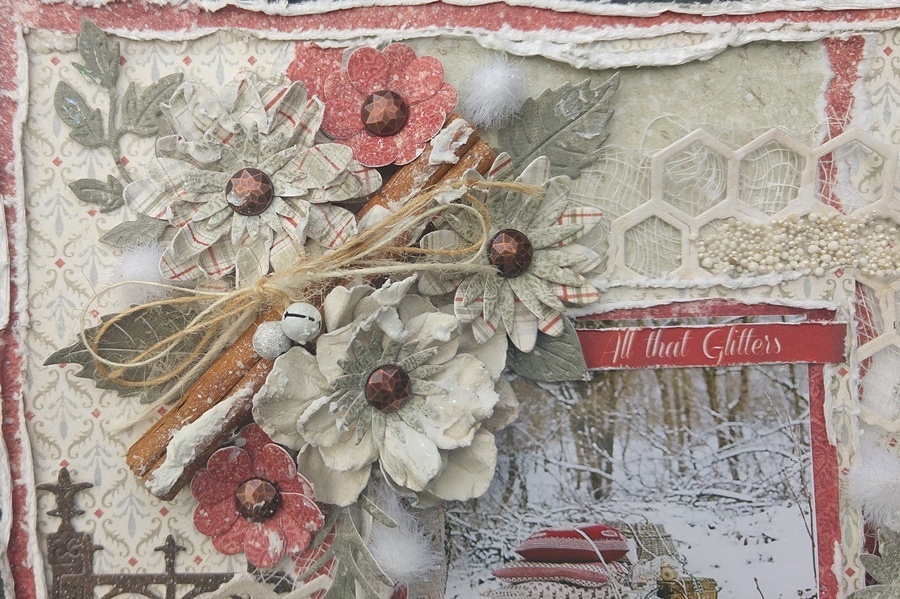
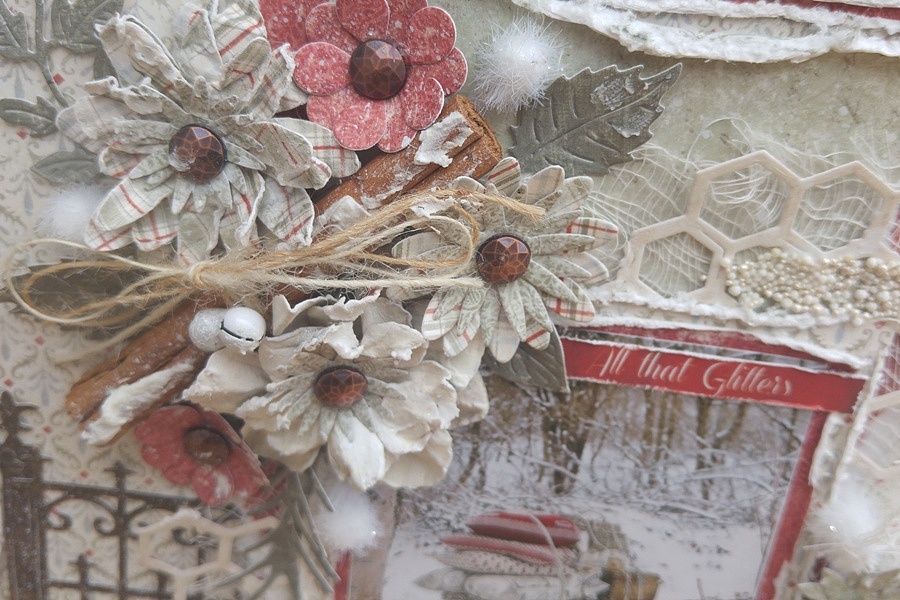
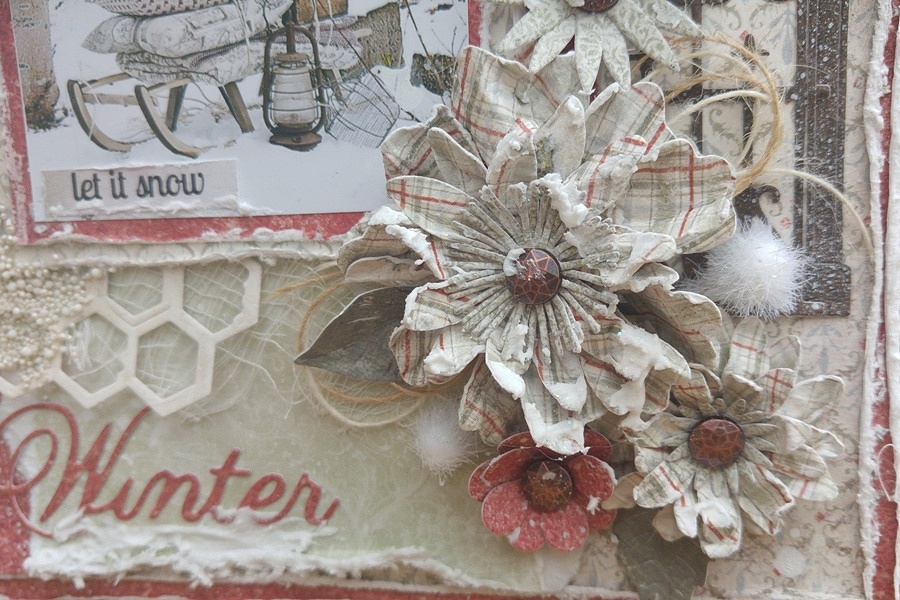
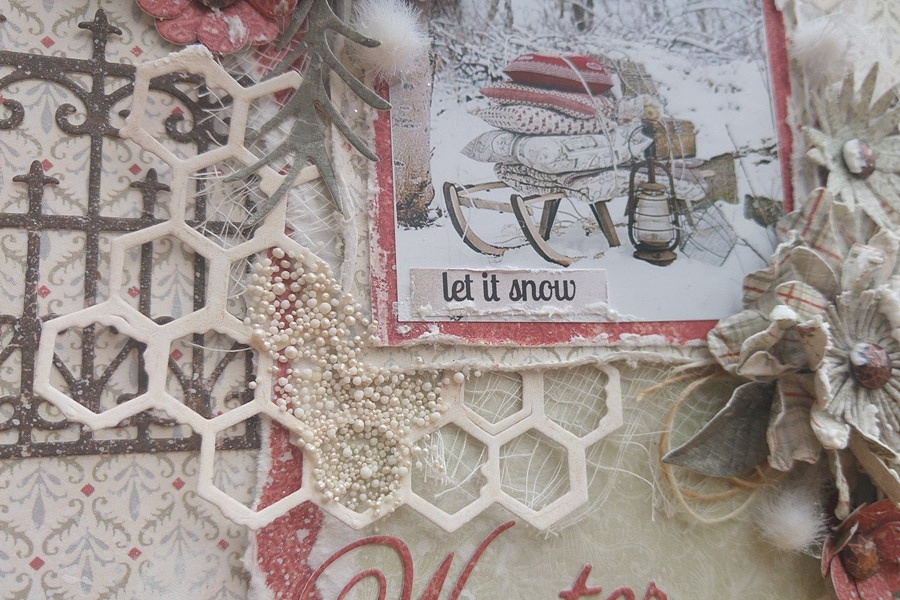
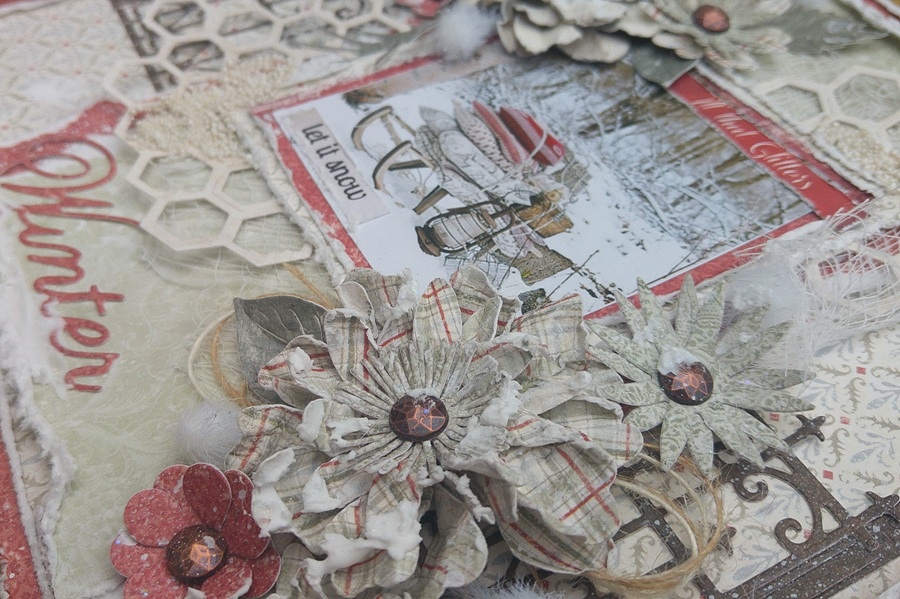
Today I’d like to show you two 8×8 layout’s made with the amazing new “Joyous Winterdays” I am so in love with this collection because it is really versatile and there are such great patterns on the paper sheets. On the first layout I used the red and green tones in the collection and I named it “All That Glitters”….These layouts are all made with dies to show off the beautiful papers. What is great about that, that your flowers are the same tones as the rest of your layout. I also added some snow accents on the flowers clusters and on the cinnamon piece.

 20171204_1142372

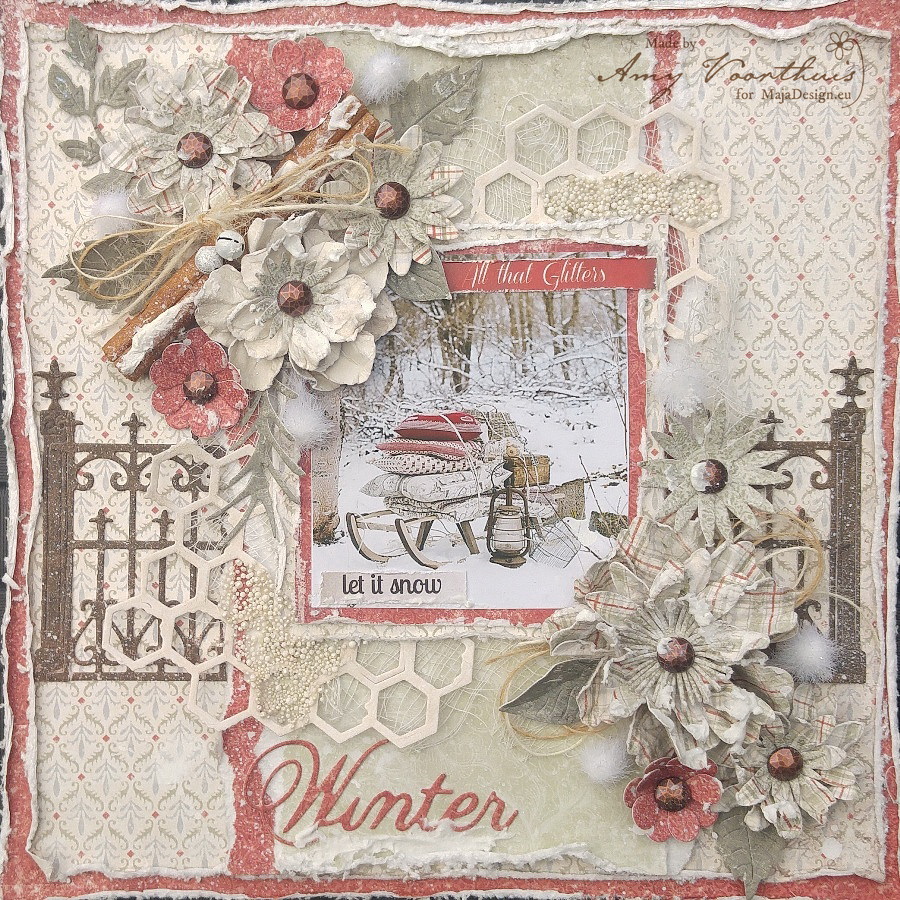
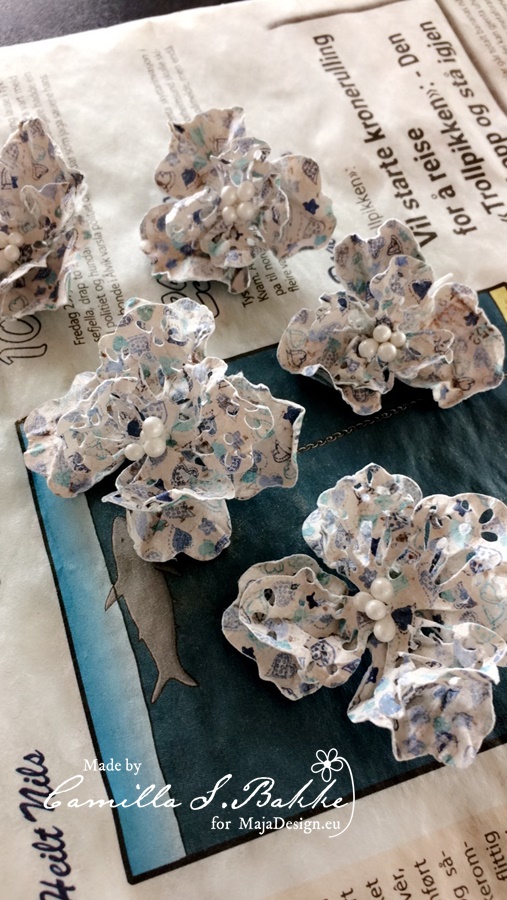
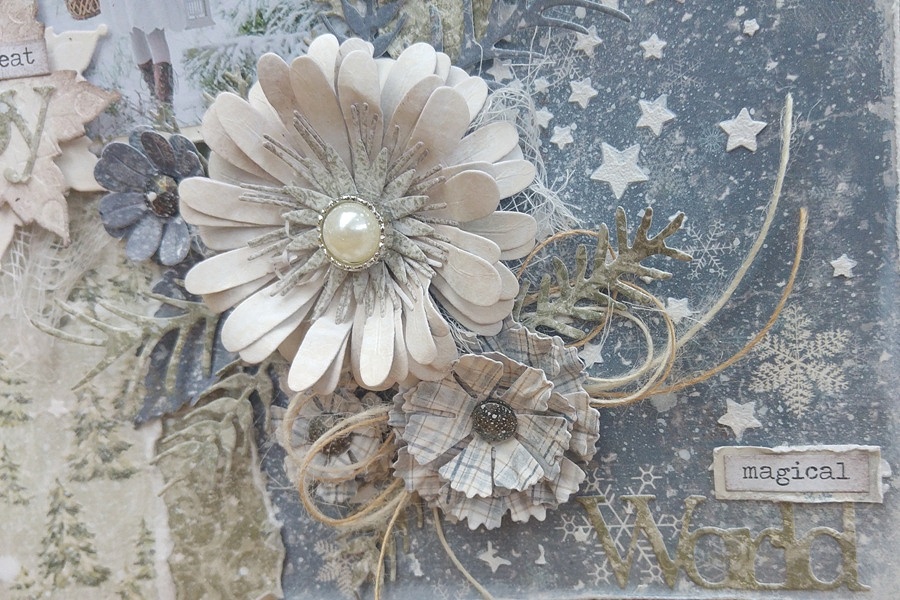
At the end I added some white spray to make it more as a snow effect and used some cream prills on top of the distressed honeycomb die. The centers of my flowers are made out of a metallic flatback gem…..also I added those white fussy balls to spice up the flower clusters.

20171204_114241

20171204_114307

20171204_114321

20171204_114311

20171204_114316

20171204_114326

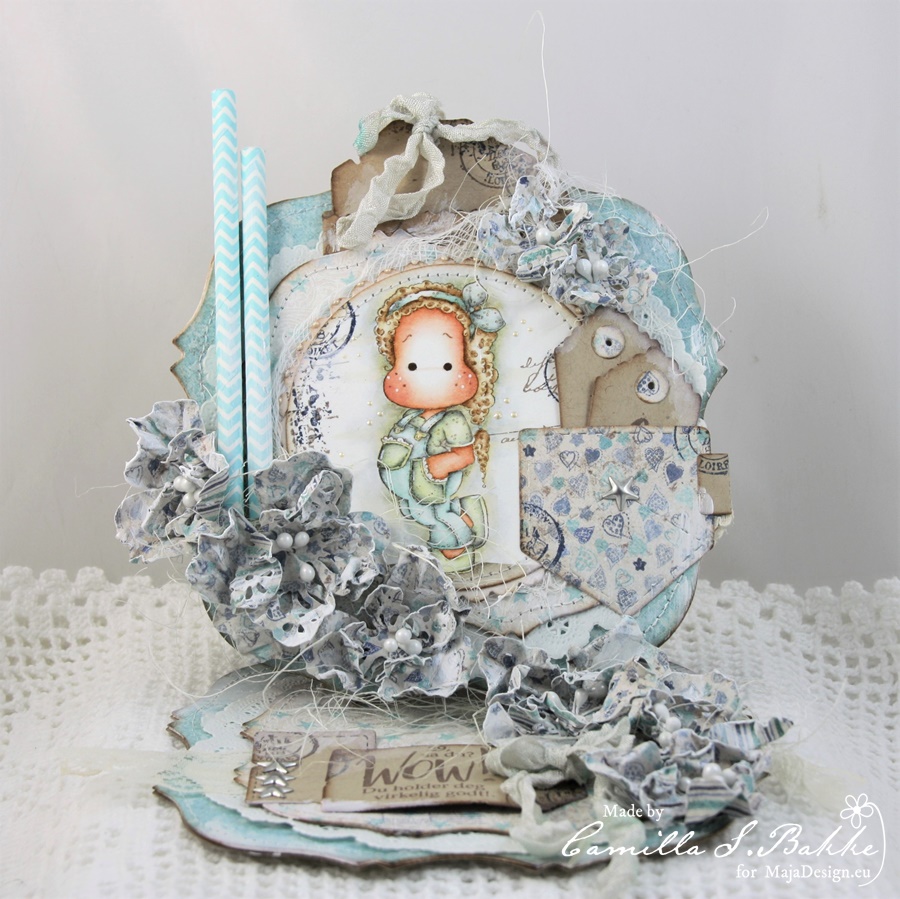
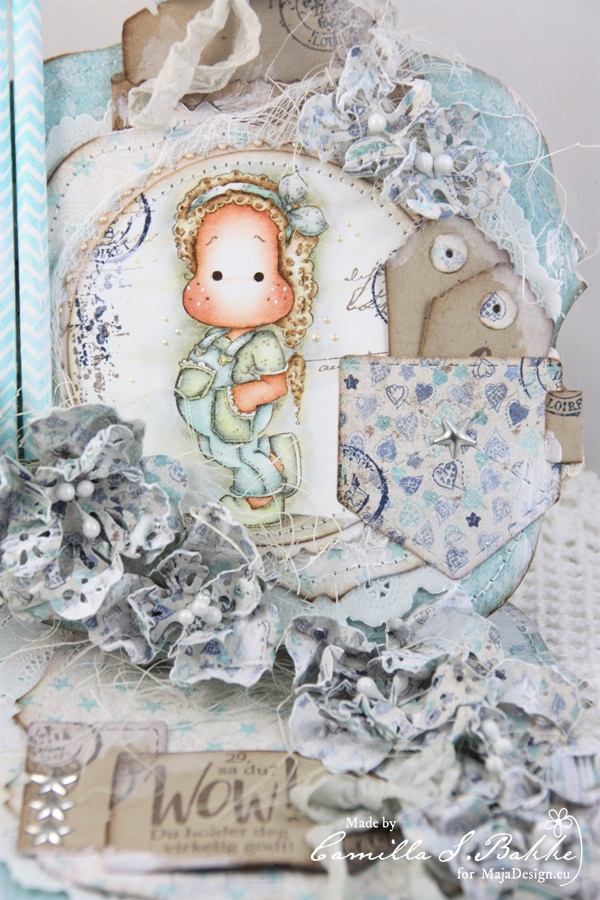
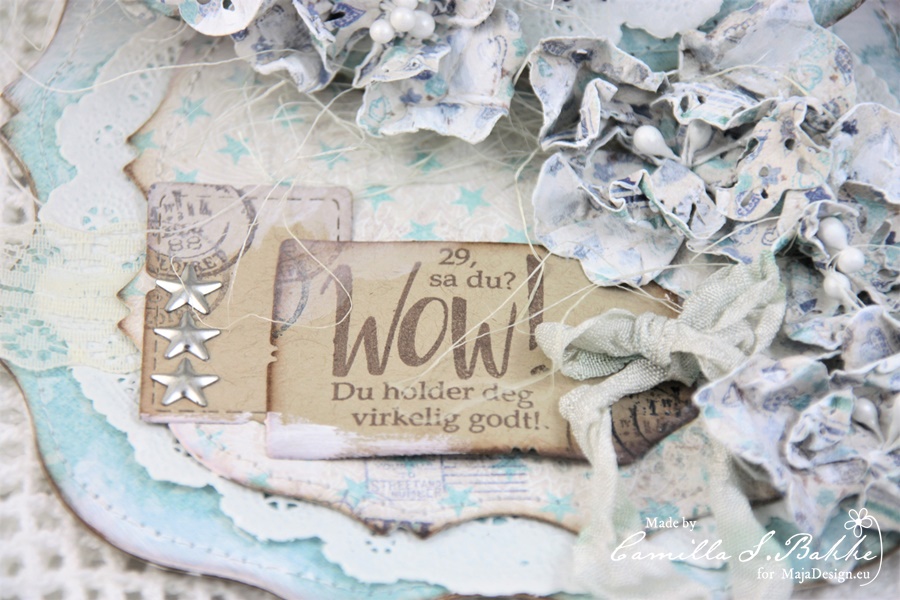
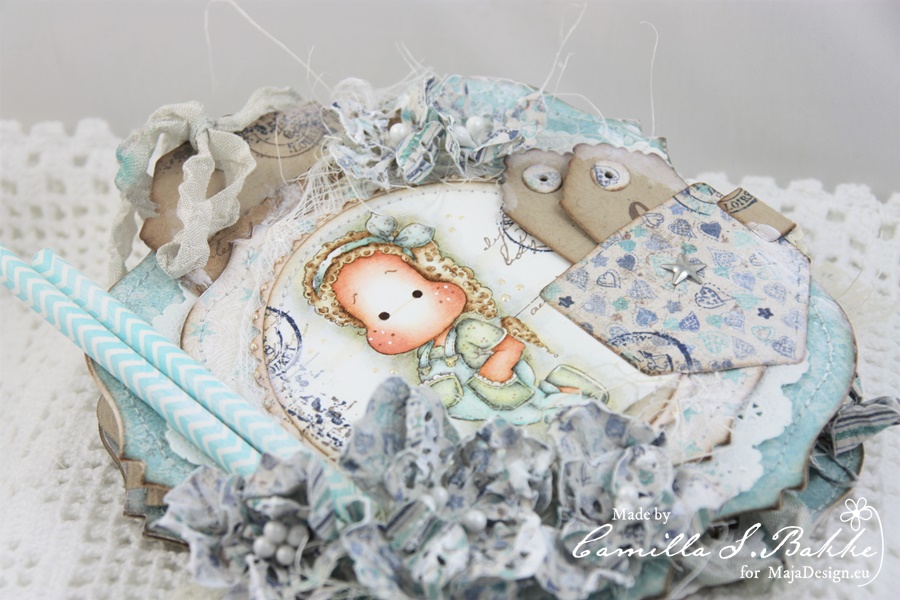
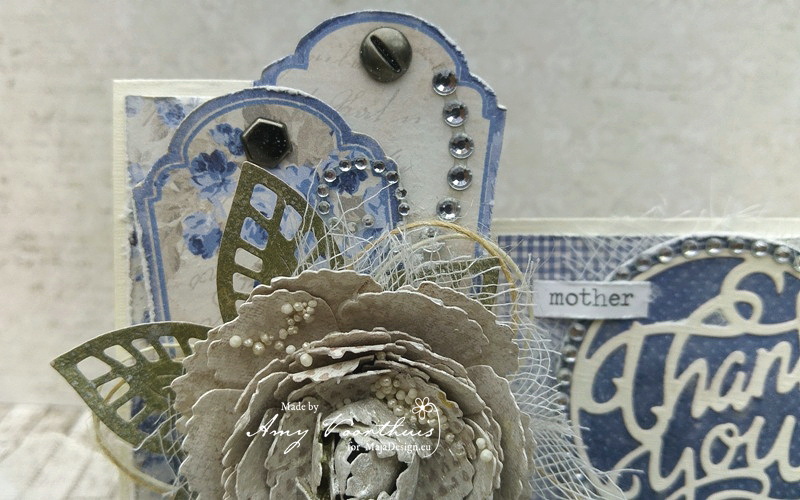
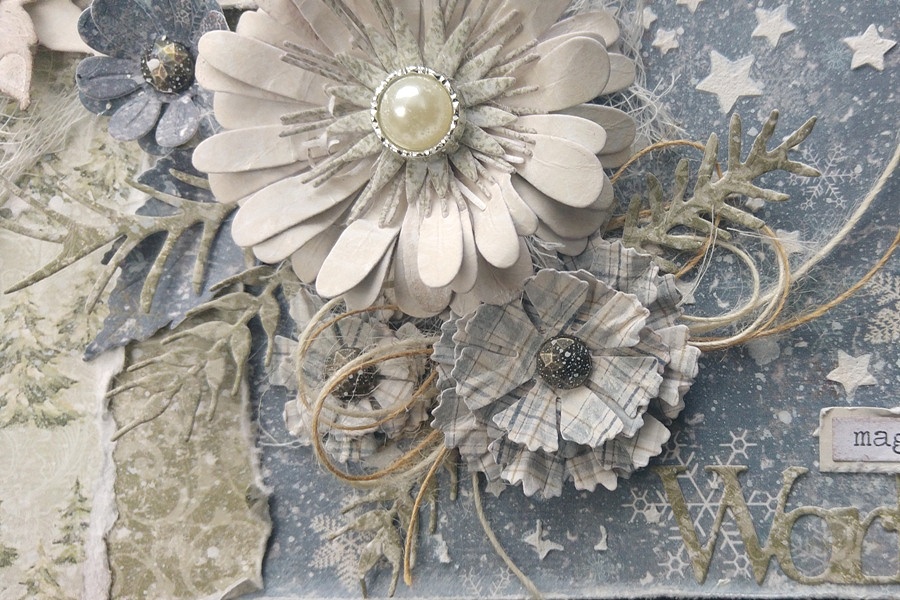
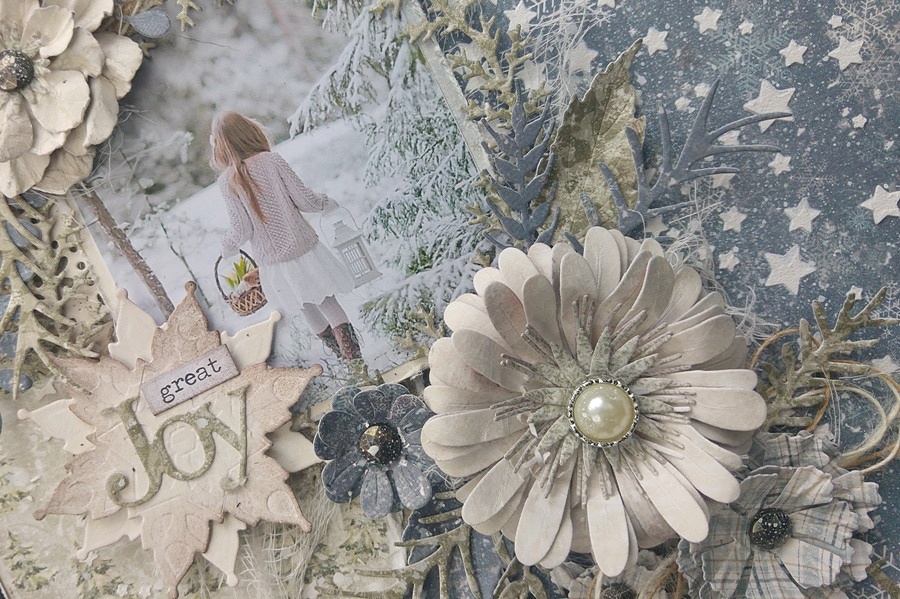
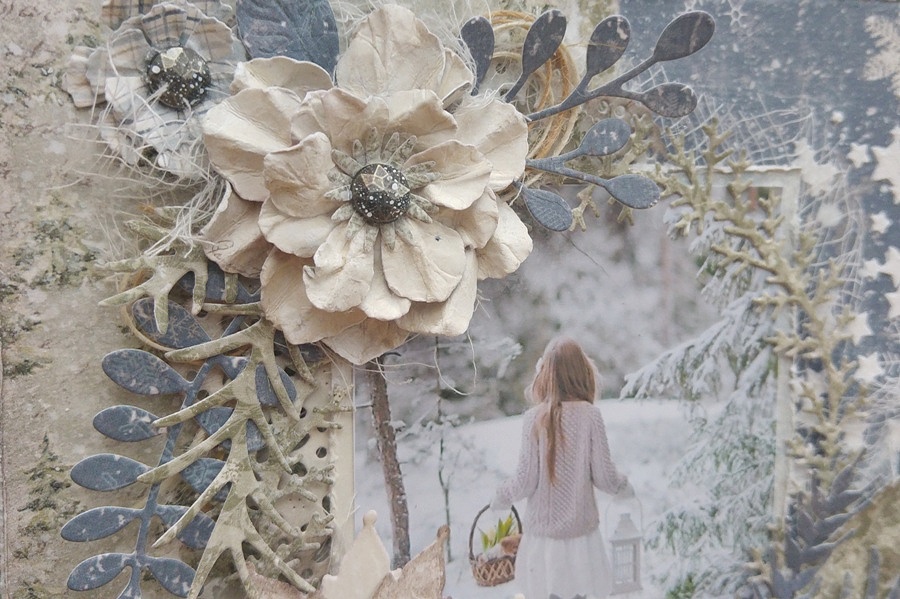
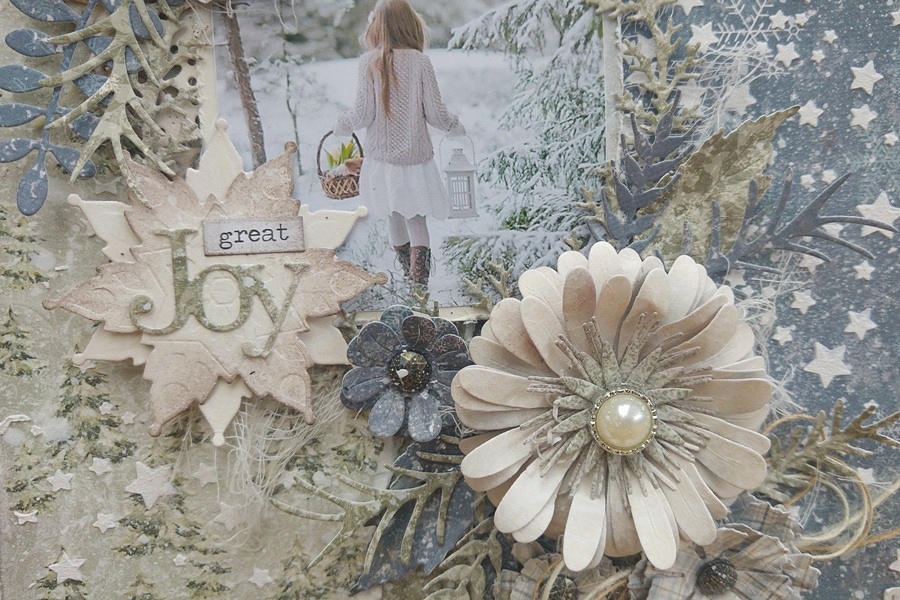
For my second layout I used the blue and green tones with a touch of cream papers.

20171213_101124 (1)2

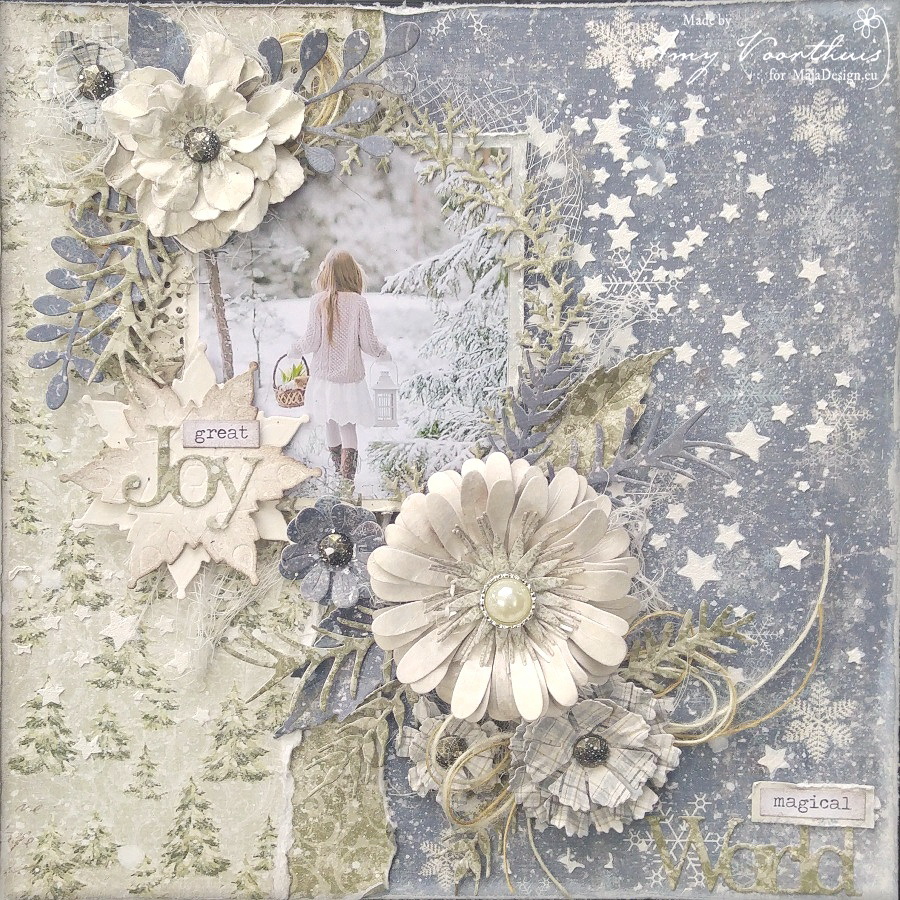
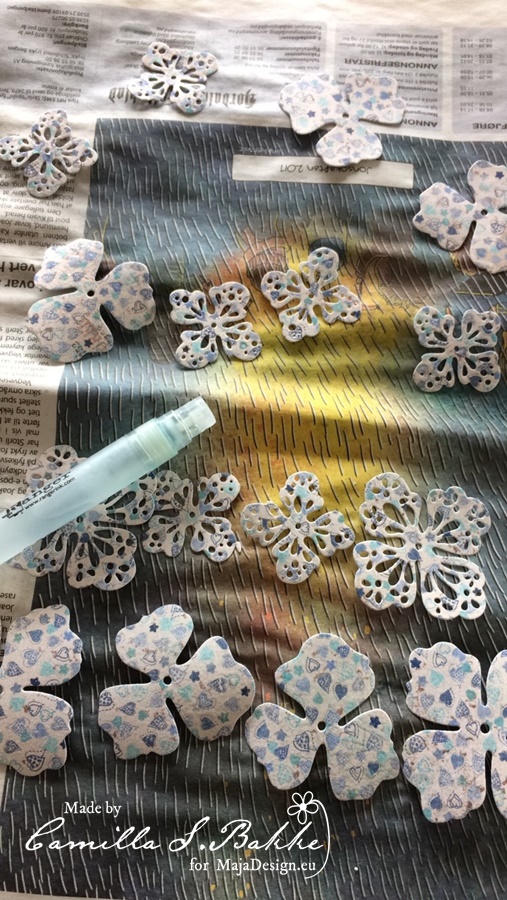
On the background of this layout I sprayed some white ink again after that I added a stencil with stars…..then I added the picture and the already prepaired flowers {I made a bunch of them while I was watching tv that is so relaxing} at the end I sprayed some glitter spray on my layout but sadly you don’t see that on the picture.

20171213_101138

20171213_101145

20171213_101216

20171213_101219

20171213_101235

20171213_101227

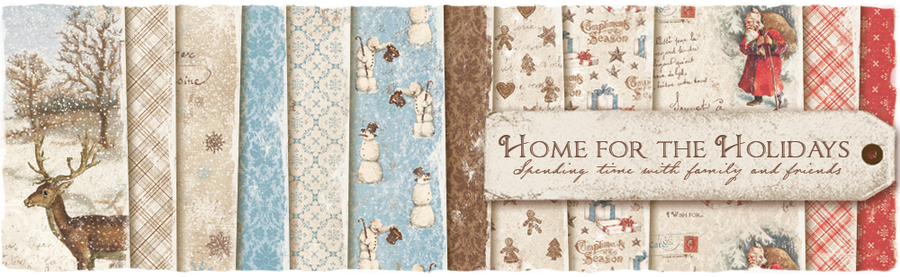
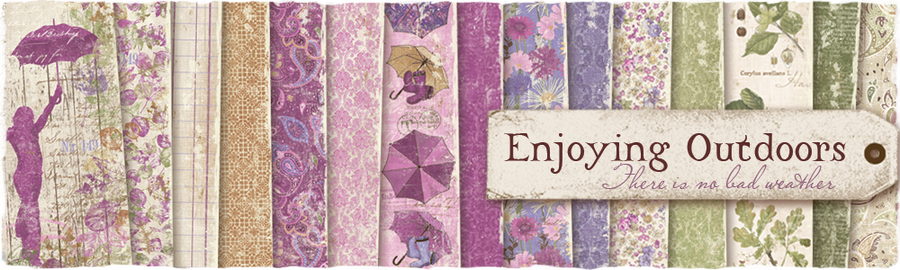
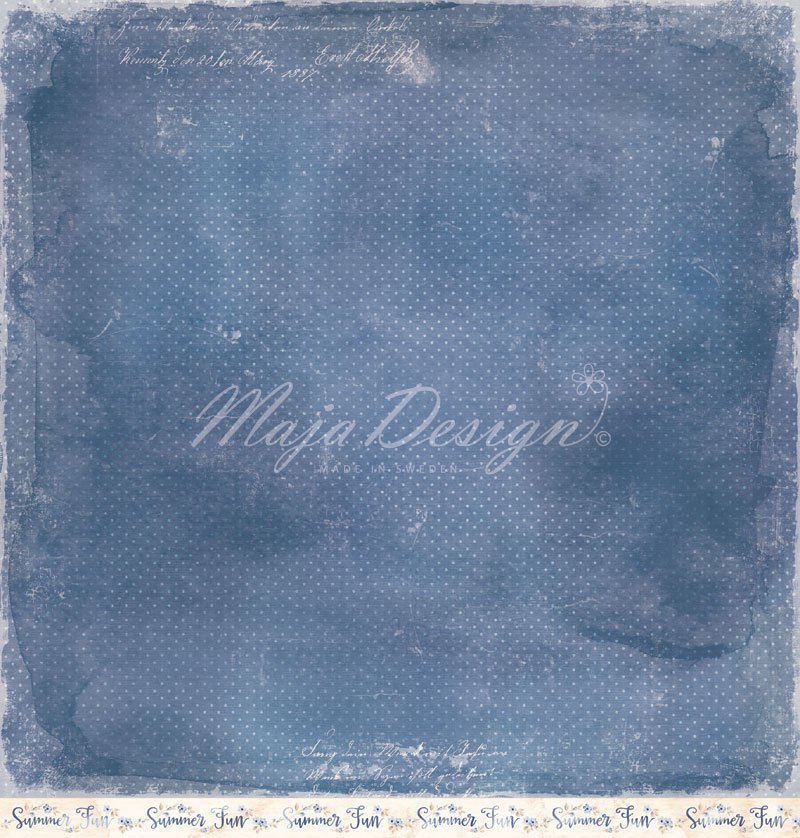
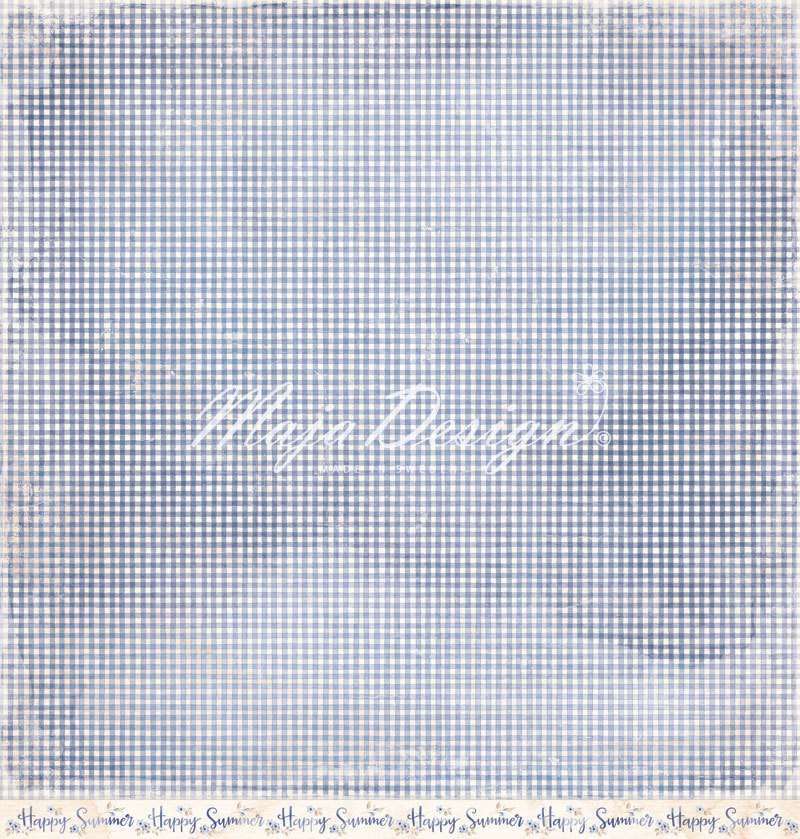
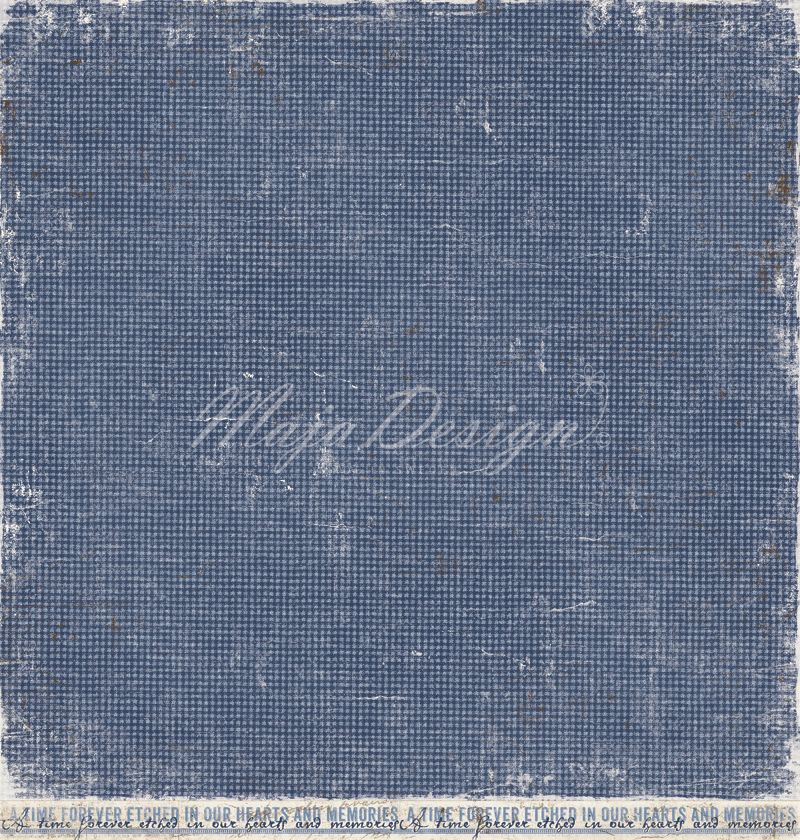
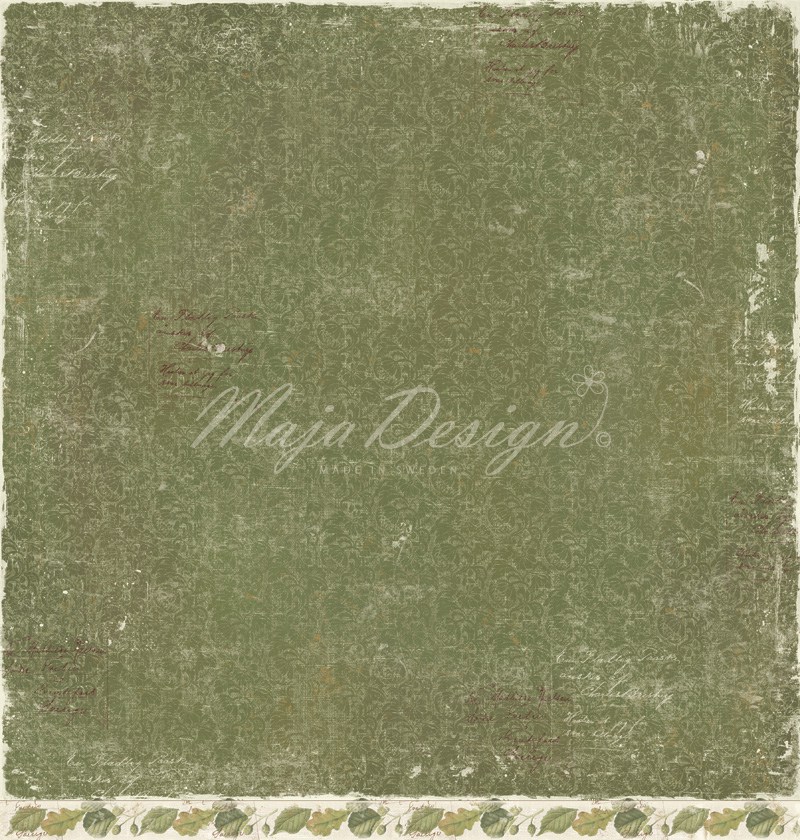
Maja Design Papers used: Evergreen, Outdoors bs, Pick a tree bs, Make decorations bs, Santa Claus, Pick a tree, Glisten bs, Snowball fight, Frost bs, Sparkle bs, Mr Snowman bs, Chilly, Blizzard and Ephemera bs.Joyous-Winterdays-P 
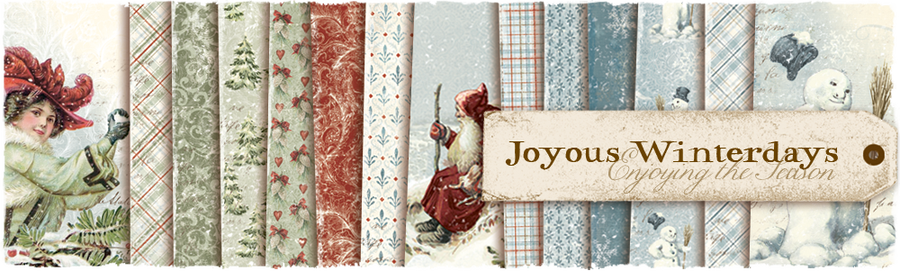
Thank you so much for your visit today I sure hope I have inspired you to play with your amazing products you have in you stash or even order new products I have used here.

Have a wonderful  and creative weekend!4

29, you said?? ;)

3

Posted by Camilla Støen Bakke

15 November, 2017 - ,

Write a comment

0517_fargeutfordringen_Camilla01b

Hi everyone! Today I am back with an easel card. I have used one of my favorite collections for my card, the Denim & Friends collection. The card was made for a colour challenge at the Norwegian card magazine Ett Trykk, with the colours mint and turquoise. I tried to find some suitable Maja papers to fit the challenge.

Denim-P

0517_fargeutfordringen_Camilla01d

The cute image is from Magnolia and the Denim Collection, and I have coloured it with Distress Ink, re-inkers and Markers. The dies used are also from Magnolia.

0517_fargeutfordringen_Camilla01c

The texts are from Ett Trykk.

0517_fargeutfordringen_Camilla01e

Under you can view the card from the side. I made it for my friend’s 40th anniversary.

0517_fargeutfordringen_Camilla01f

I have made the flowers myself. I have placed them both on the upper part of the card, and on the lower part. So when it is open, it looks like the flowers are together in a way.

0517_fargeutfordringen_Camilla01g

Want to see how they are made? Here I have some photos from the making.

IMG_1583

I lay the flowers down on a newspaper, and spray them with water (the flower dies are from Magnolia).

IMG_1585

Then I curl them up, and let them to dry.

IMG_1586

When they are dry, I curl them up again, and place them together with some Wild Orchid Crafts stamens in the middle. Here comes a list of papers used:

Thank you so much for visiting the Maja Blog!

With love,

Camilla

Tea time!

1

Posted by Camilla Støen Bakke

6 September, 2017 -

Write a comment

IMG_6577

Hi dear Maja fans! Today I want to show you how I made these two cupcakes. The lovely papers used are from the Vintage Romance collection.

Vintage-Romance-P

Ok, let’s start with showing how it is made!

1

Here is all you need for your cupcake: Dies from Magnolia, a Styrofoam ball, two Maja papers measuring 30,5 x 4, 5 cm, two circles cut out from hard cardboard (1 ¾ “), a paper measuring 13 x 13 cm, laces and ribbons, metal embellishments and of course your favourite Tilda.

2

Find the middle of the paper measuring 13 x 13 cm.

3

Put the circle in the middle and draw around it.

4

Then cut the paper like you see in the photo. Then score around the circle.

5


6

Fasten the circles on both sides of the paper.

7

Put the ball inside and fasten it with glue, also fasten the sides of the papers on the ball. Like you see here.

8

Cut off the longest papers. I cut them down to 4 cm.

9

Make a cut for the tag. Remember to make it as deep as you can.

10

Then you can easily place your tag inside.

11

Here are the two papers which I have folded on each cm. I will now glue it on.

12

Here is the tag.

13

I use a needle and thread and sew the thread up and down on the lace, so that it curles up nicely.

14

Then I fasten it to the cupcake. It looks like frosting 🙂

15

For the flowers, I cut them in half.

16

Then spray them with water to get them curled up.

17

I curl them up, and leave them to dry.

18

Then glue them on to the ball.

20

Cut more flowers in half and curl them a little with the tools.

19

Make a lovely doily for the cupcake to stand on.

21

Continue with more layers and end it with some more flowers.

IMG_6589

Here is some pictures of the finished cupcakes. Doesn’t they look yummy!?

IMG_6597


IMG_6603


IMG_6606


IMG_6623

You can write a greeting on the tag.

IMG_6626

Here they are from above!

IMG_6646

The beautiful Maja papers are just wonderful to work with, and gives the cupcakes the perfect romantic, vintage look. The cupcakes were also made for Magnolia’s DooHickey vol 14. Thank you so much for visiting the blog today!

With love from,

Camilla

A giftbag for you!

1

Posted by Camilla Støen Bakke

23 August, 2017 -

Write a comment

IMG_8483

Hi dear Maja fans! I am back with a giftbag this time, filled with lovely chocolate. And I have of course used my new favourite collection, the Denim & Friends Collection.

Denim-P

I have cut out different elements using the lovely papers. This time in more brownish colours and over to yellow. I have used DooHickeys from Magnolia for the tassels, hearts, tags and flowers.

IMG_8494

To make the flowers look like this, I cut them out, then sprayed them with water, curled them, and let them to dry.

IMG_8495

I have coloured the image from Magnolia with Distress Ink, reinkers and Markers. I use syntetic brushes size 0 and 000. And the paper to stamp on is called The Langton.

IMG_8508

Under you can see the bag from the side.

IMG_8517

Thank you so much for visiting the Maja Design blog today!

With love,

Camilla

Thank You Dear Mother

1

Posted by Amy Voorthuis

10 February, 2017 - , , , ,

Write a comment

Goodmorning Maja fans,

Oh how I love my beautiful Maja Design papers…..today I’d like to show you a little card with handmade flowers and a lot of bling which is totally not me but I loved making this card. This card is made out of four different collections but my base was the pretty “Summertime” collection. This is a card I made for my mother for the upcoming mothers day hihihi yes I am pretty early this time….

20170210_092116_HDR1

It’s a easel card made out of cream card stock and the flowers are made out of dies and I finished them off with some glass glitter and some mica powder to give it more shine. Also I added some bling swirls, some shine spray & cream prills.

20170210_092043_HDR (1)1

20170210_092038_HDR1

20170210_092046_HDR1

Maja Design papers used: Summertime: Gives me joy, Gives me joy bs, Having fun bs, Wind in my hair bs, By the sea – Diecuts bs. Home for the Holidays: Together, Together bs. Enjoying Outdoors: Beautiful trees bs & Vintage Autumn Basics: no.XXIII BS

Summertime-P

Enjoying-Outdoors-P

Autumn-Basics-P (1)

851-Gives-me-joy 851-Gives-me-joy-bs 853-Wind-in-my-hair-bs 857-Having-fun-bs 858-By-the-sea-Diecuts-bs

646-Vintage-Autumn-Basics-no.XXIII-BS 787-Beautiful-trees-bs 812-Together 812-Together-bs

Thank you so much for your visit and your lovely comments on all our work every time you are here. I really appreciate it and I know the other ladies will too. Have a awesome & creative weekend…..love!

4