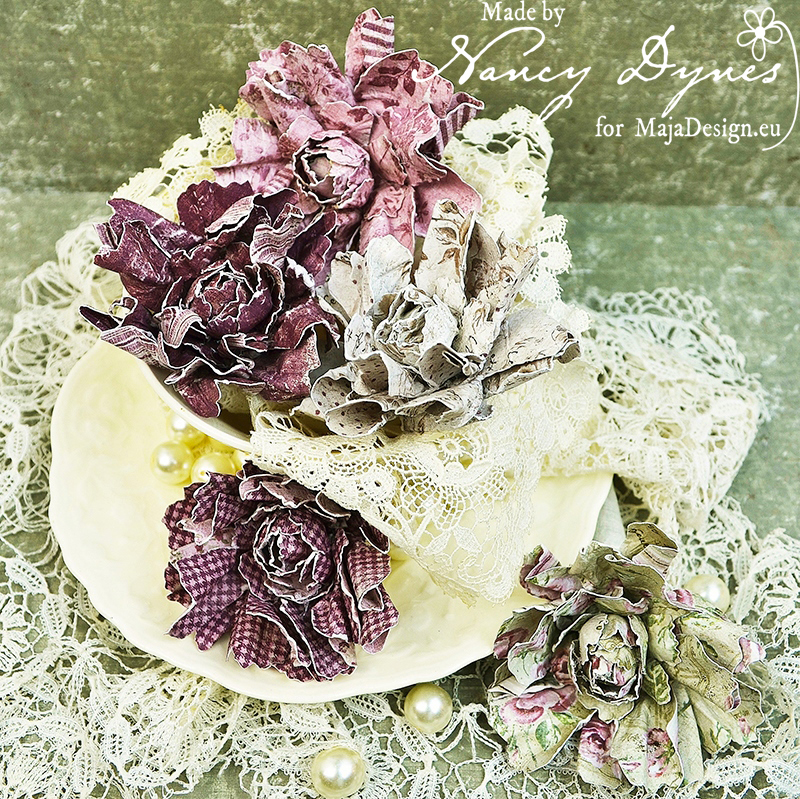
Hello, friends! Welcome to the Maja Design Blog. It’s Nancy here, and I’m so very happy to be here with you. If you’ve seen any of my previous projects, you know I handcraft almost all of my flowers. Today I’m sharing a tutorial for one of my favorites, my ‘wild roses’.
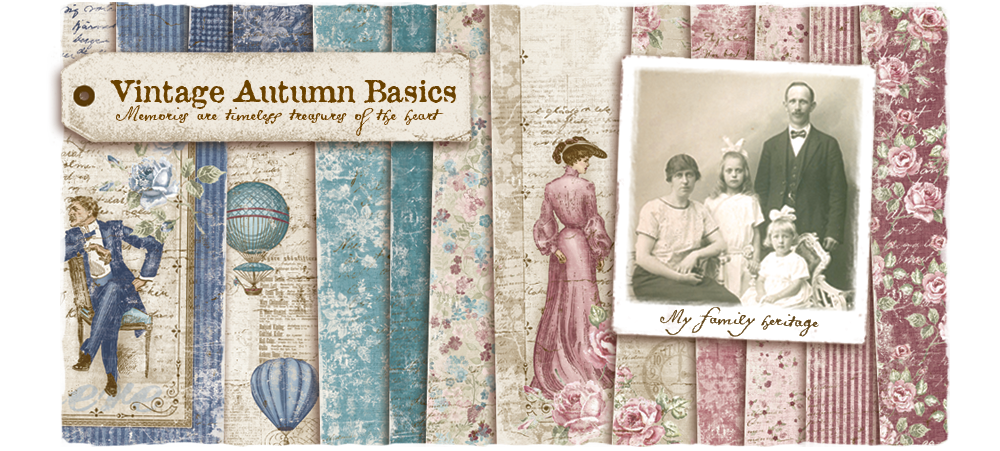
All of my blossoms begin with Maja Design Papers. They are perfectly suited to flower making. The papers are double sided and they are nice and strong. They can hold up to just about anything you throw at them, which you are about to see.
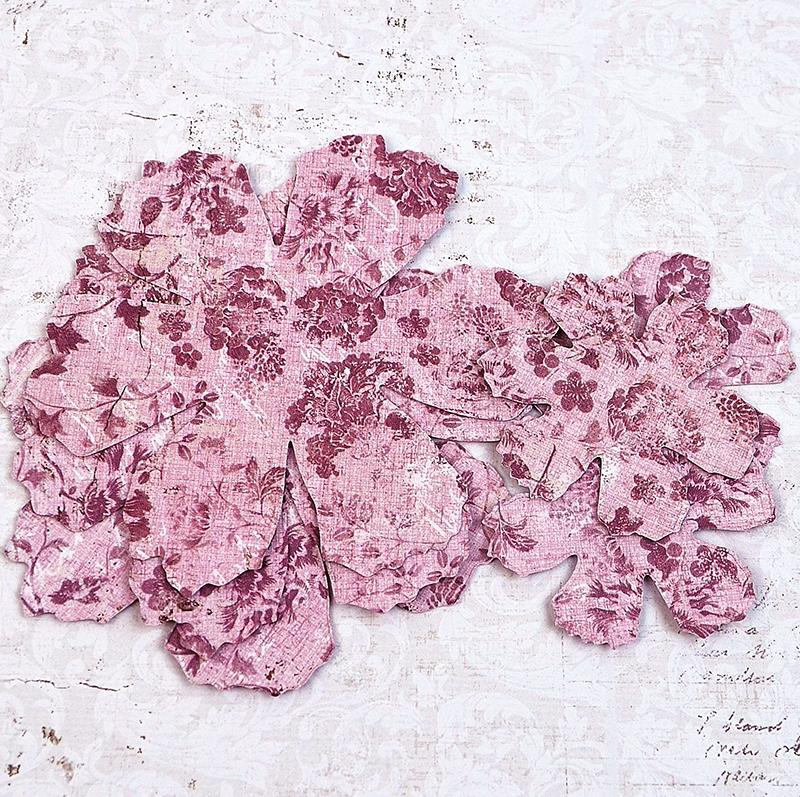
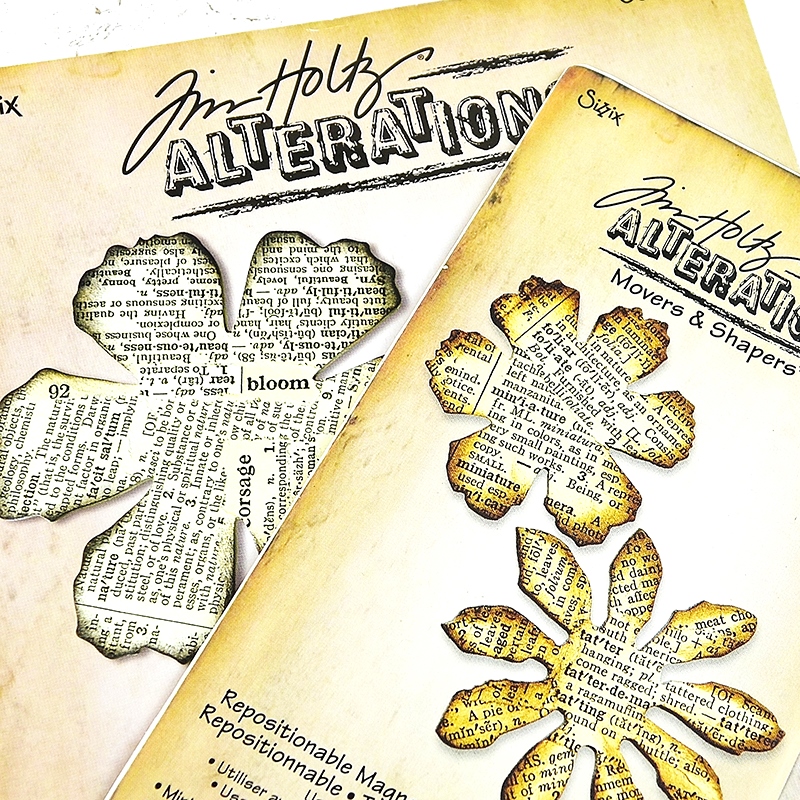
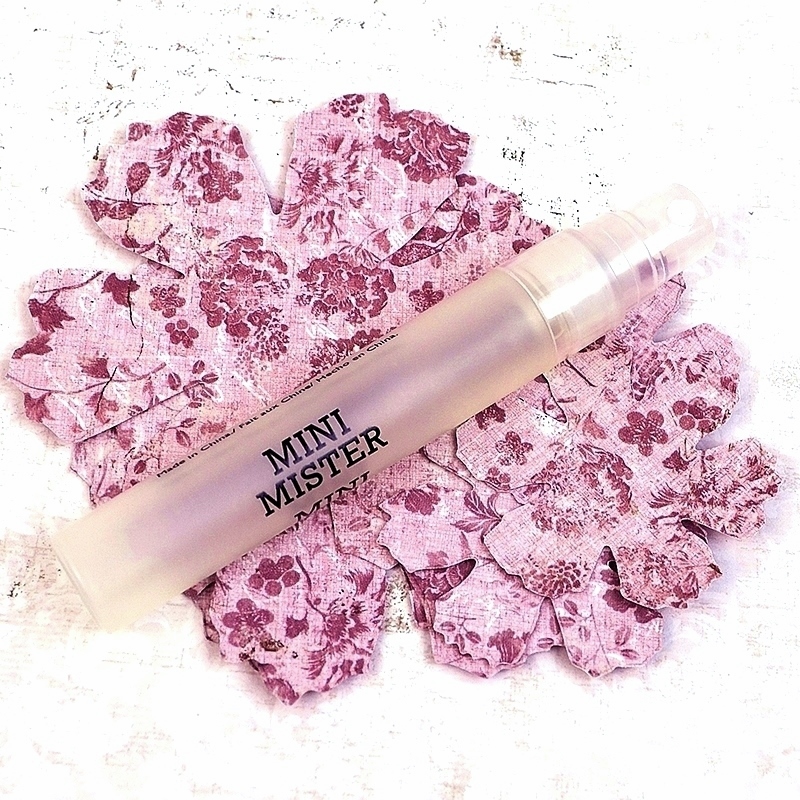
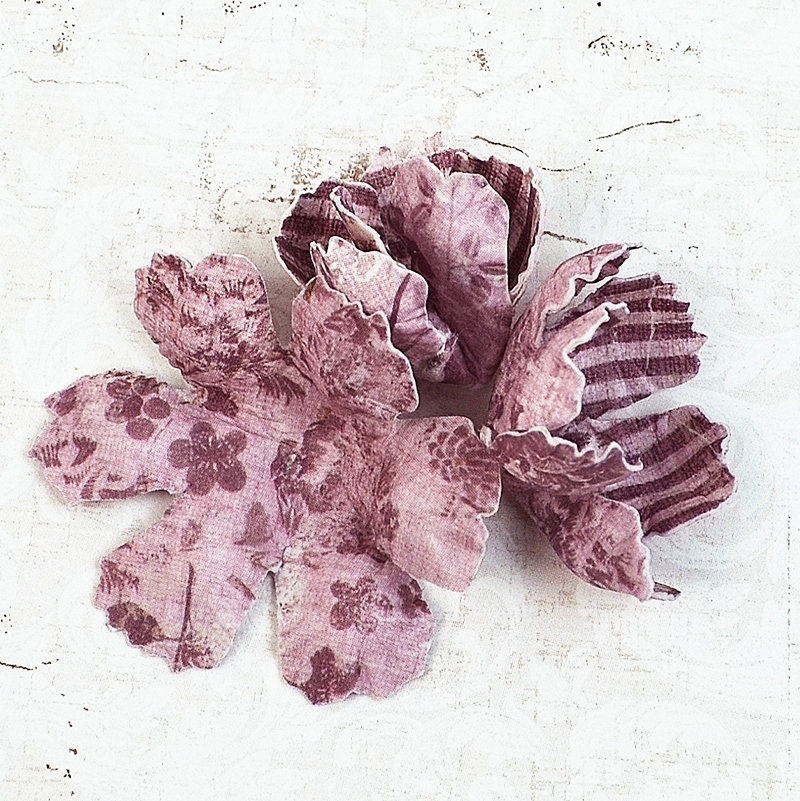
Begin by die cutting 6 petals (3 large and 3 small). I used Tim Holtz Tattered Florals, but you can use anything you have on hand, or even hand cut your petals.
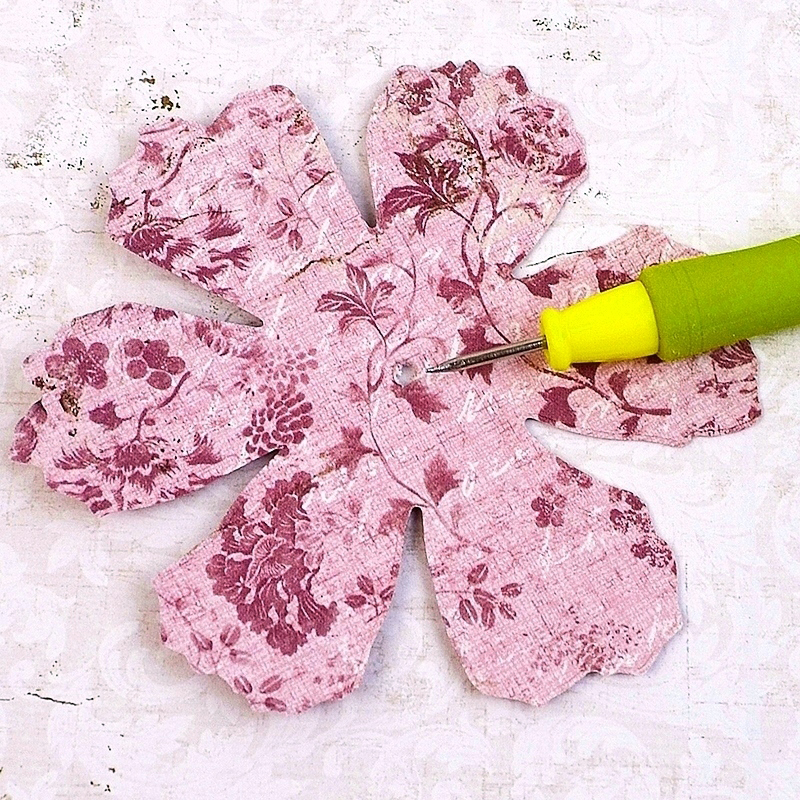
Punch a small hole in the center of each petal.
Spray or brush both sides of each petal with water. You don’t want them to be sopping wet. Just moist enough to make them pliable. As you make more flowers you’ll begin to get a feel for the level of moisture that works best for you.
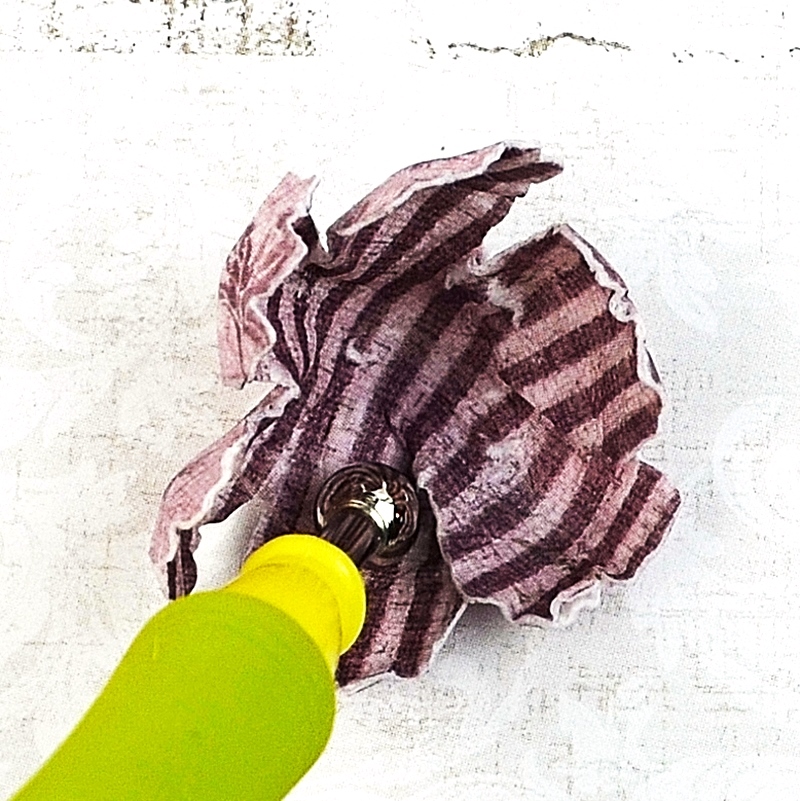
Use a shaping tool to form two small petals that will become the center of the bud, as demonstrated below.
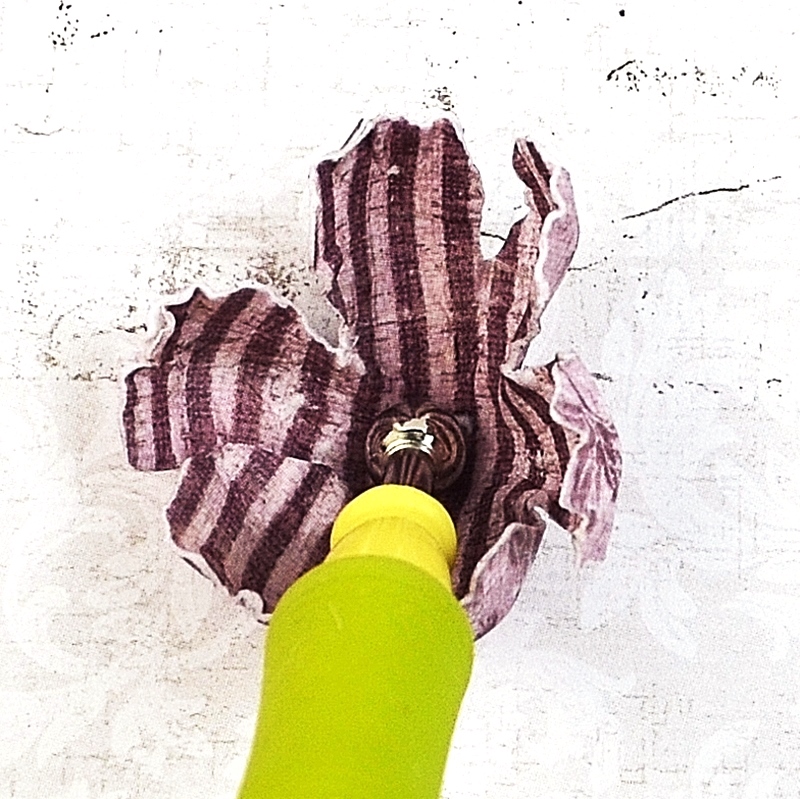
Use the shaping tool to form the third small petal as shown in the photos below.

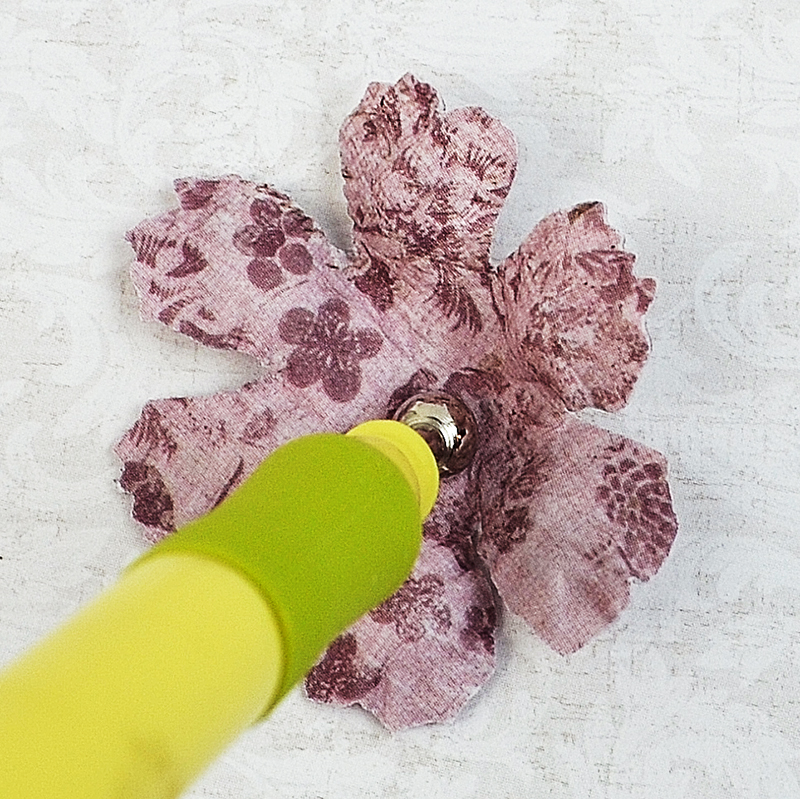
When complete they will look like this:
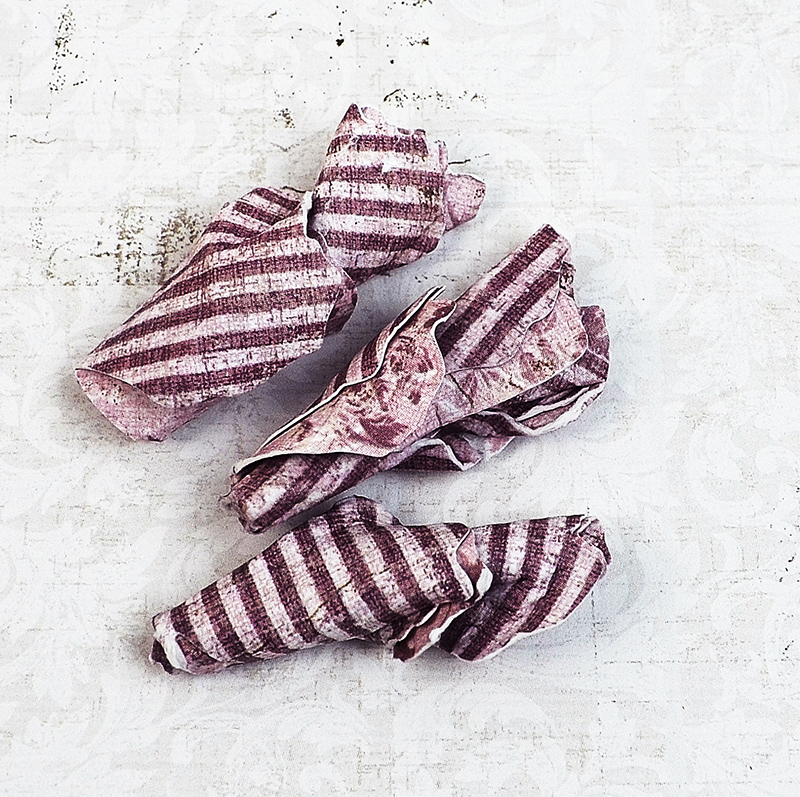
Roll and squish the three large petals. You may have to spray a bit more water. Use care not to tear the petals as you roll them. Once all of your petals are prepped it’s time to bake them. Yes, bake them. My husband often comes home to find a batch of flowers in the oven instead of cookies. Preheat your oven to 250 degrees and bake for about 10 minutes, depending on how moist your petals are. Be certain to bake until they are completely dry as this will prevent tearing when you unfold them.
Always use care when baking paper. Never leave it unattended and check on it frequently. While your petals are baking it’s time to form a base for the bud.
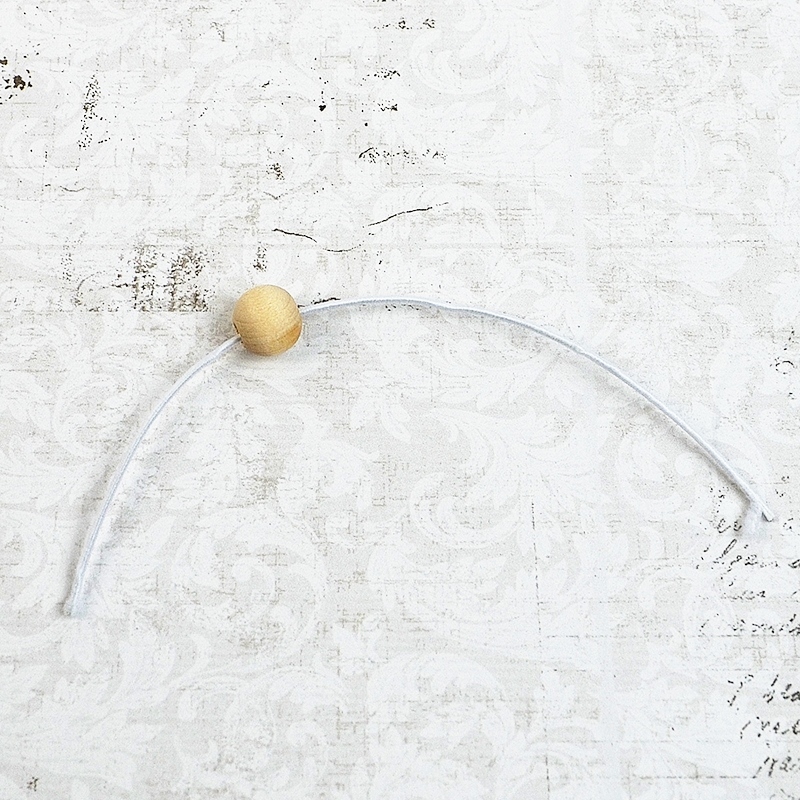
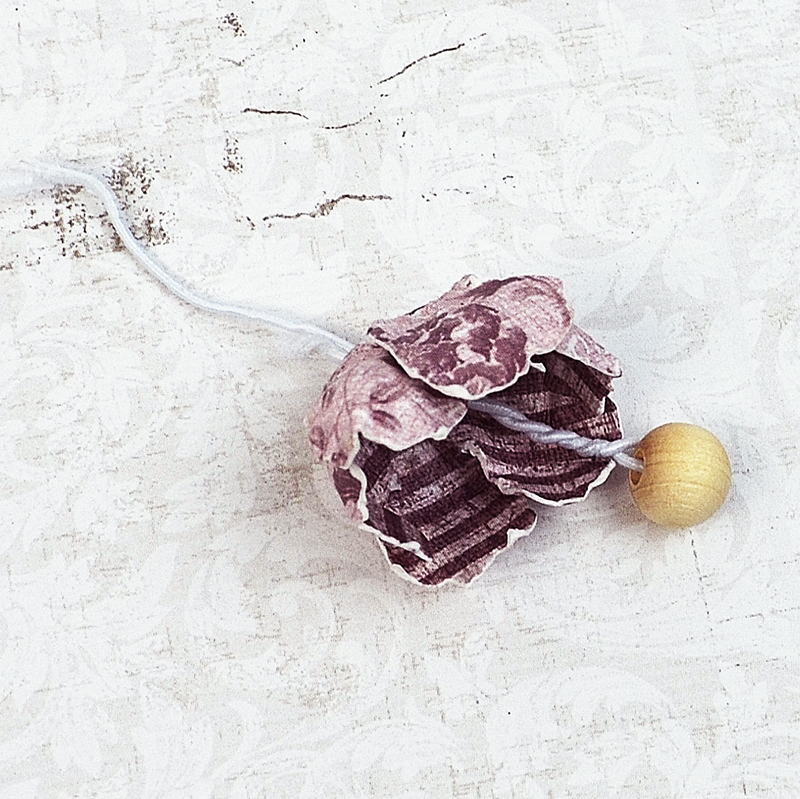
I use a small wooden bead and floral wire. You can purchase the beads and wire at any craft store. Twist the floral wire around the bead.

Below is a batch of petals fresh from the oven. The shape is now baked into the paper.
Thread the first petal onto the bead.
Adhere two sides of the petal to cover the wooden bead.
Adhere the other petals gently to form a bud.
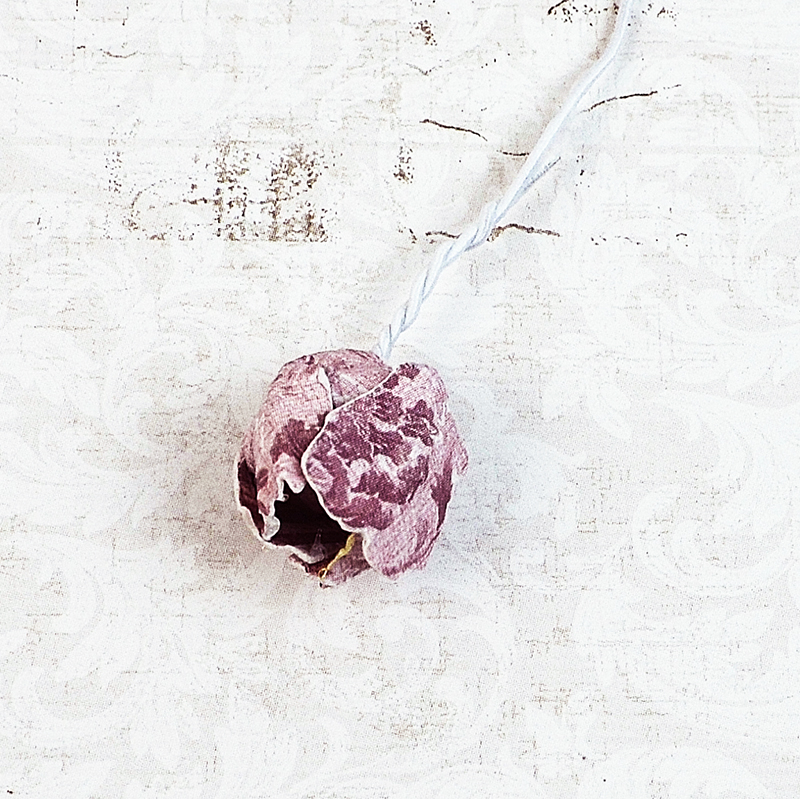
Adhere the second petal gently over the first. Stagger the petals for a more natural look.
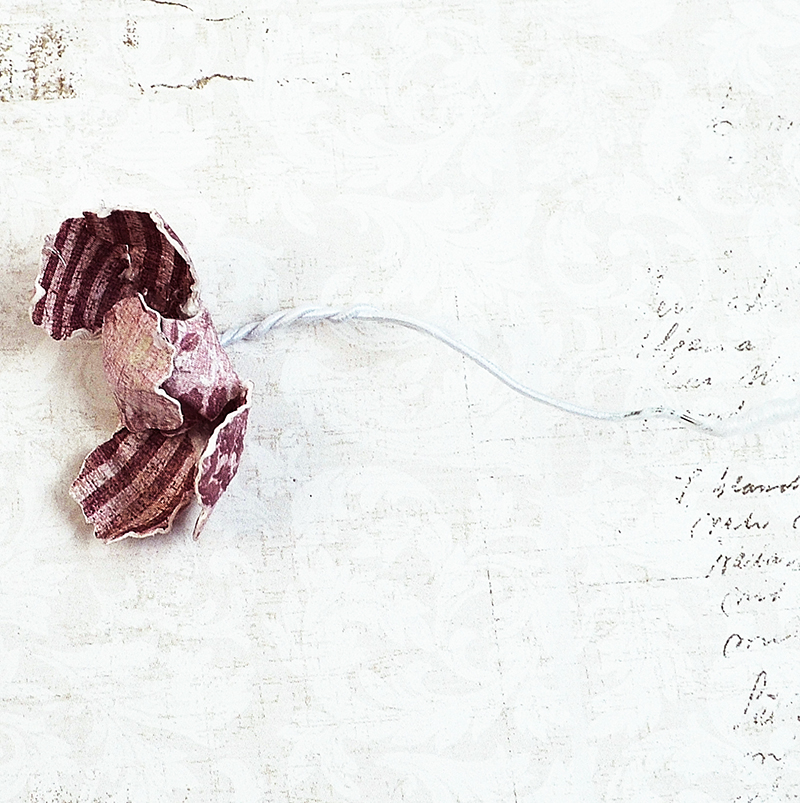
The third small petal is adhered in the fashion shown below.
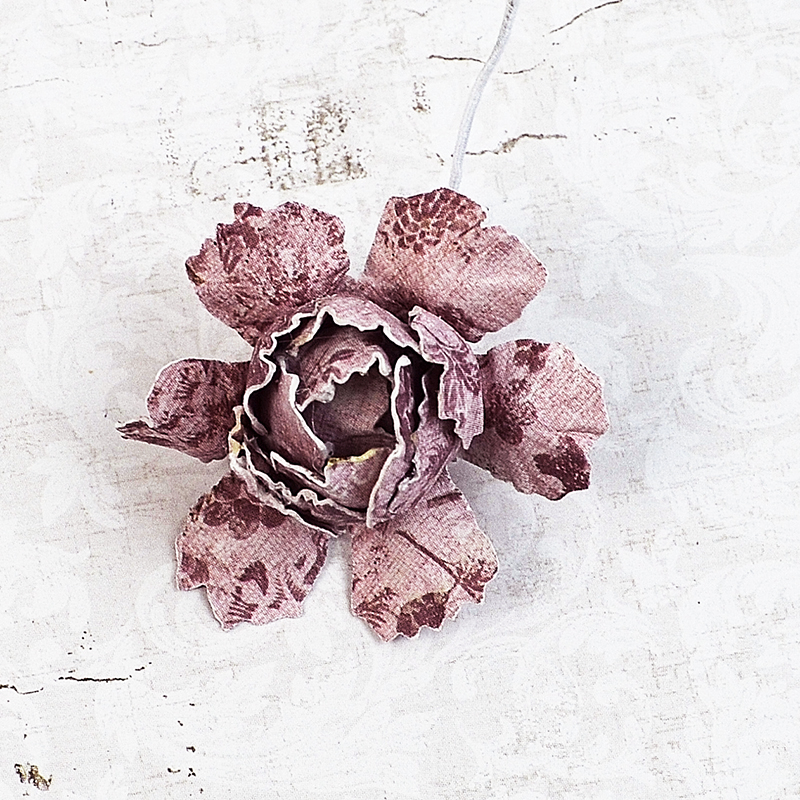
Finally, adhere all three large petals. Stagger each petal for a fuller bloom. You’ve done it! You have created a ‘wild rose’ in a few simple steps.
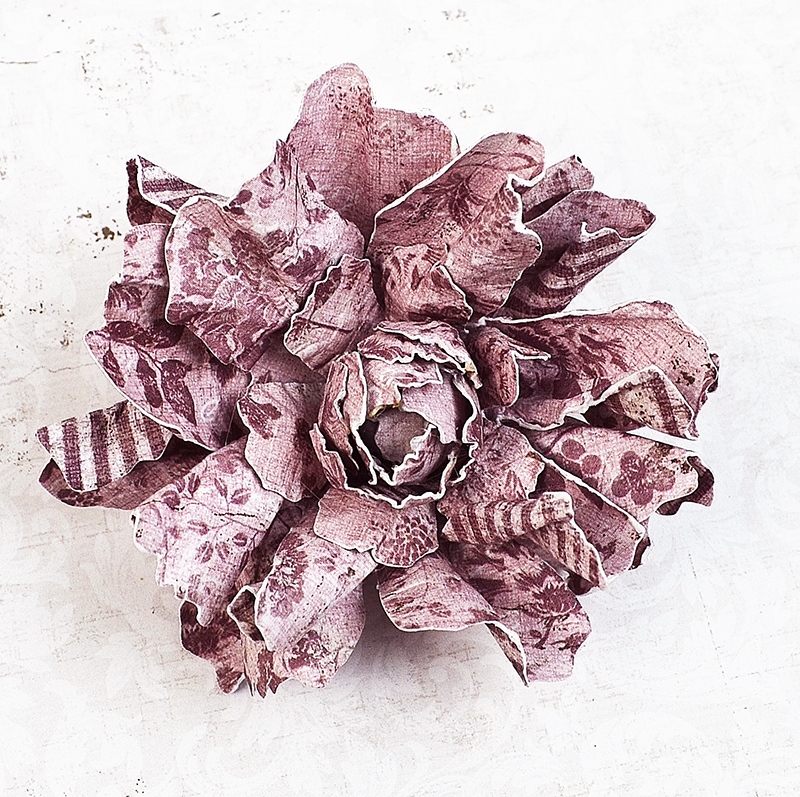
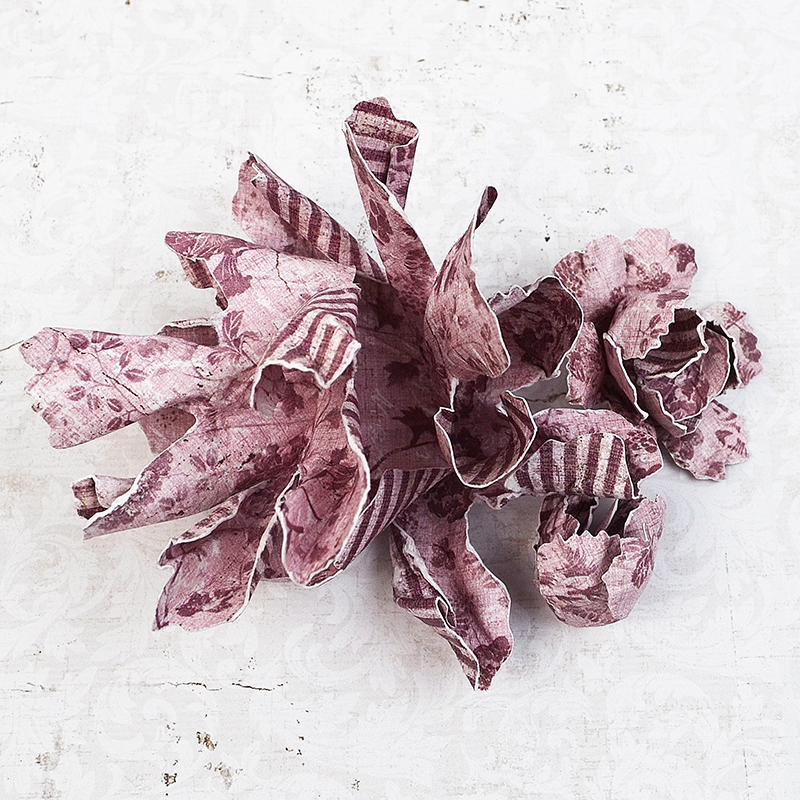
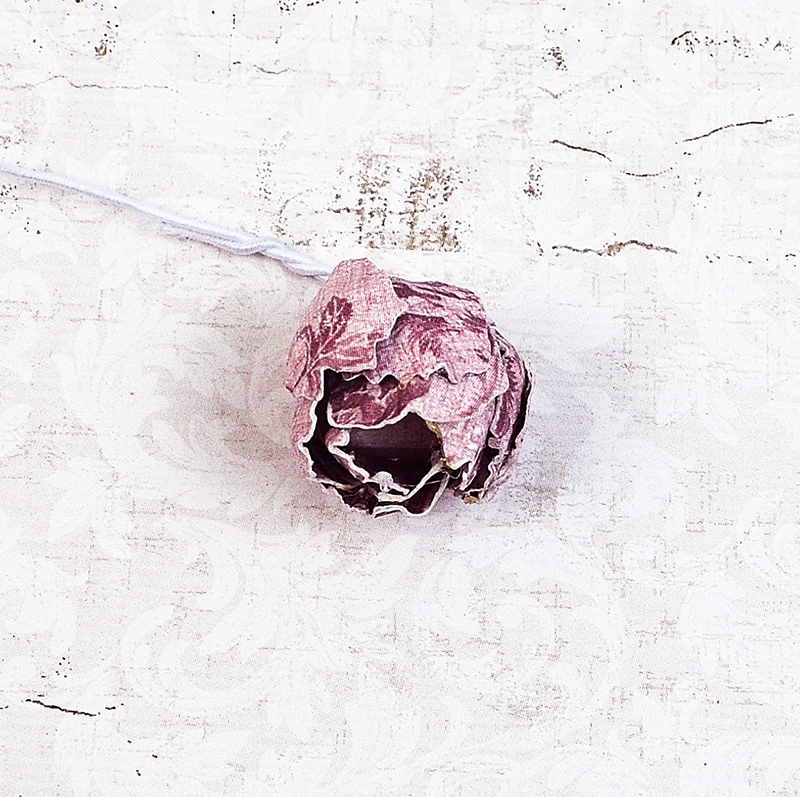
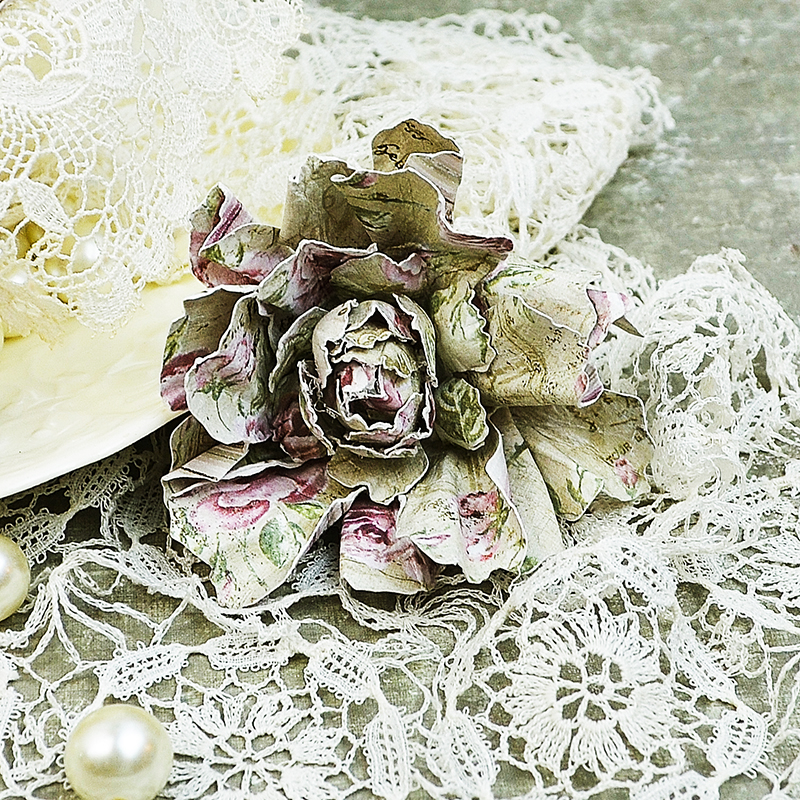
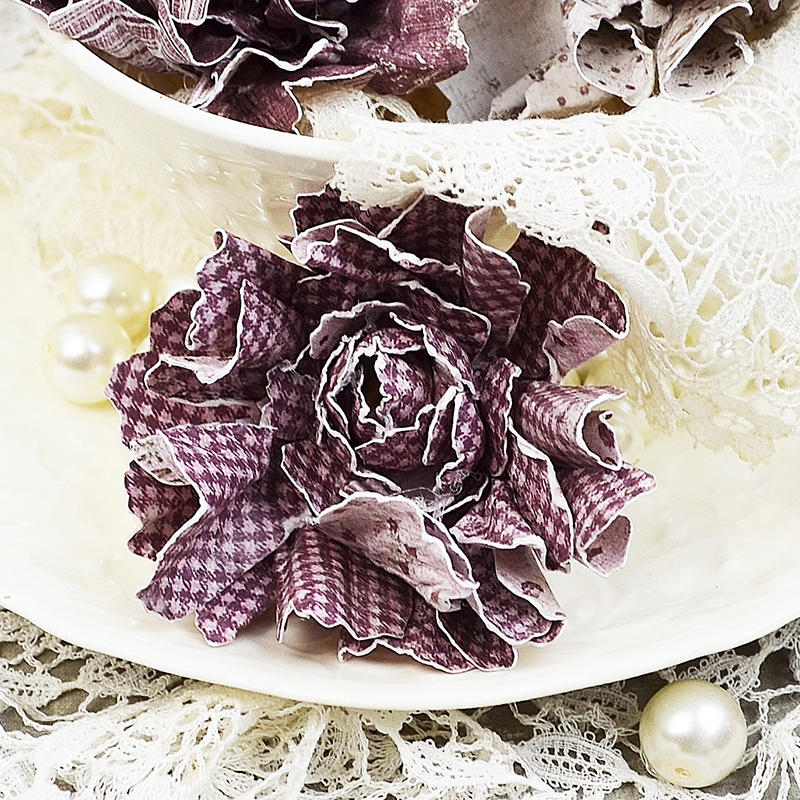
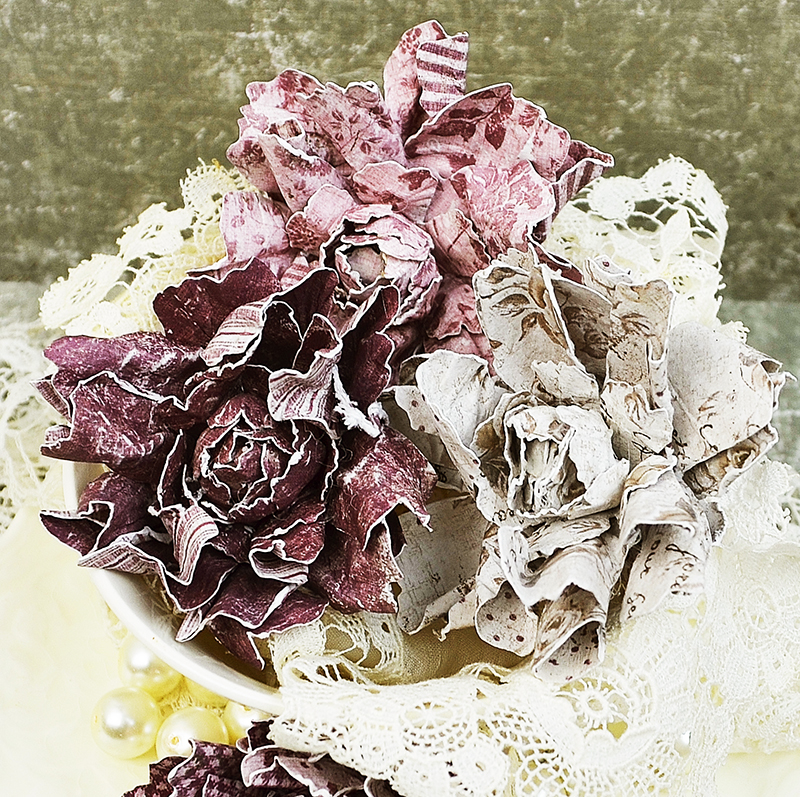
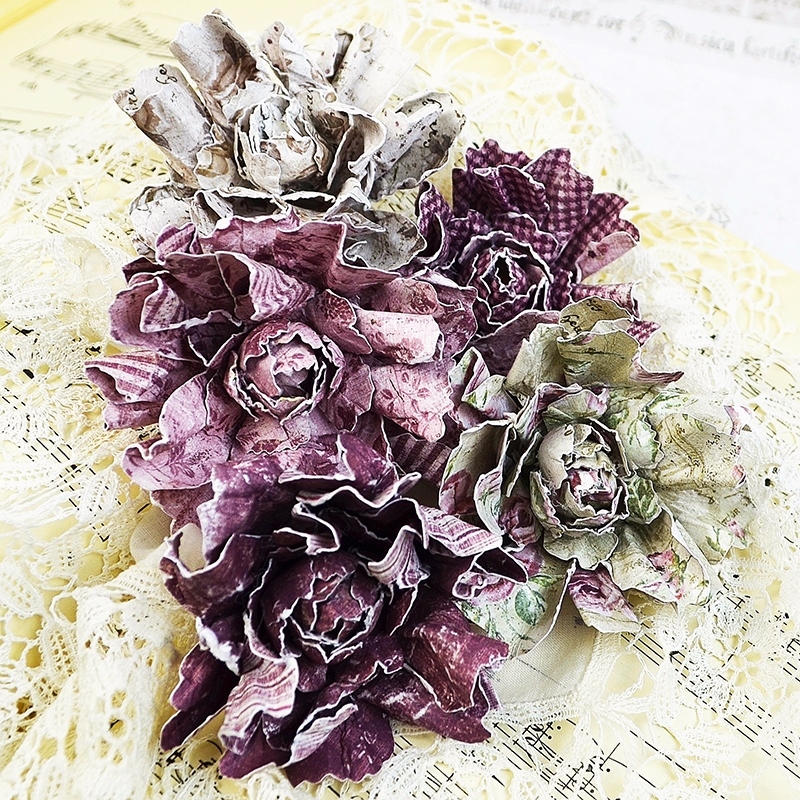
Below you’ll find a few additional blossoms I crafted to give you an idea just how beautiful Maja Design flowers can be. Each is unique and special. Each one will be a perfect match to whatever project you’re working on. It takes a little more time and effort to create your own flowers, but the result is 100% worth every moment you spend on them.
Other Supplies Used: Tim Holtz Tattered Florals Dies, Wooden Beads, Floral Wire, Adhesive, Mini Mister, Flower Shaping Tools.
Thank you so much for stopping by the blog today! It’s been a great pleasure sharing these flowers with you. I hope you will enjoy them as much as I do. I send you wishes for all things good and wonderful!
Hugs,
3 Comments
Your flowers are so beautiful and I love the papers you used. Thanks for sharing the wonderful inspiration.
Such wonderful and gorgeous flowers here Nancy, and thanks sooo much for the great tutorial for them too, sooo easy to follow. I gave up making my own flowers years ago, as they never stayed like that anyway, so I felt it was too much work if they didn´t look anything good anyway, when the reciever got the card, and it´s a bit funny, as I actually just found out why last week, when I attended a class about this in my craftstore and found out, it was because I left the to dry in the air, and that makes the whole difference and now you just tell the exact same thing here ha ha ha. I never knew about the heating part before, but now I definitely have to give it another try here again, that´s for sure. Your flowers are gorgeous hun.
Wow…gorgeous flowers! Thank you for the tutorial!