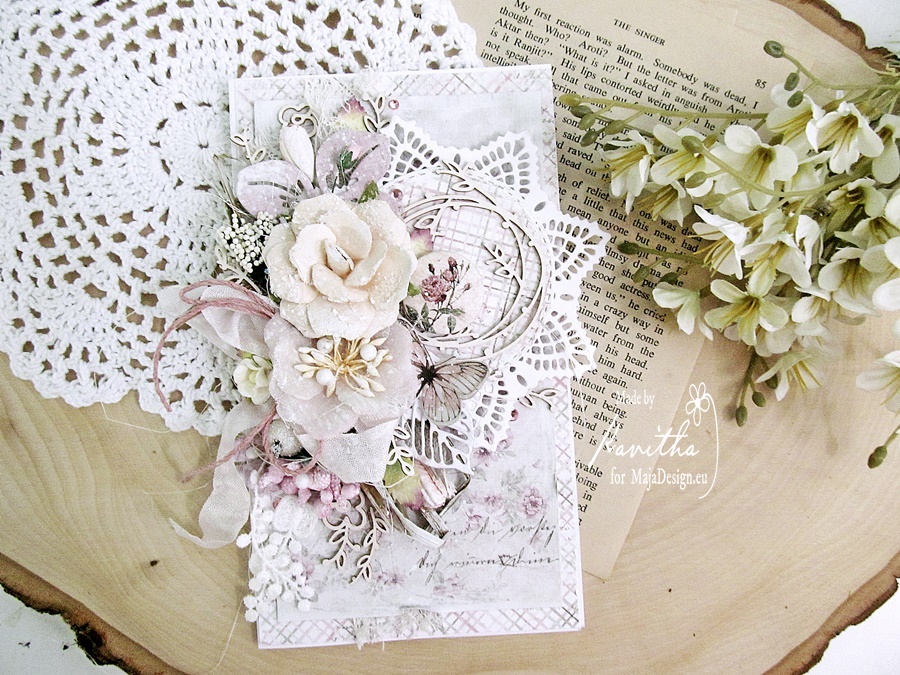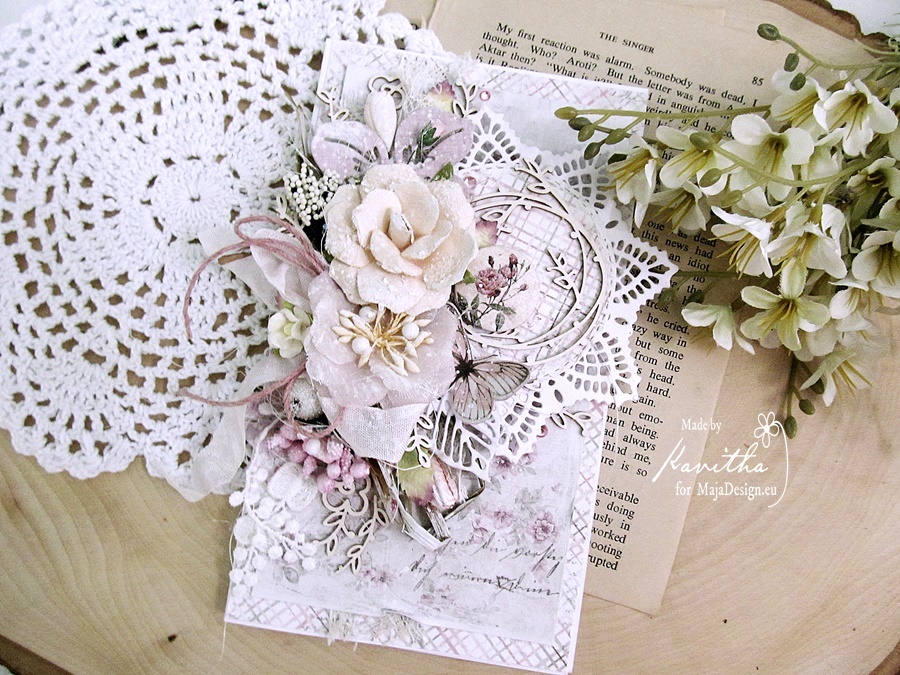
Spring card by Kavitha

2

Posted by Kavi Tha

26 March, 2018 - , ,

Write a comment

Hello Maja fans,

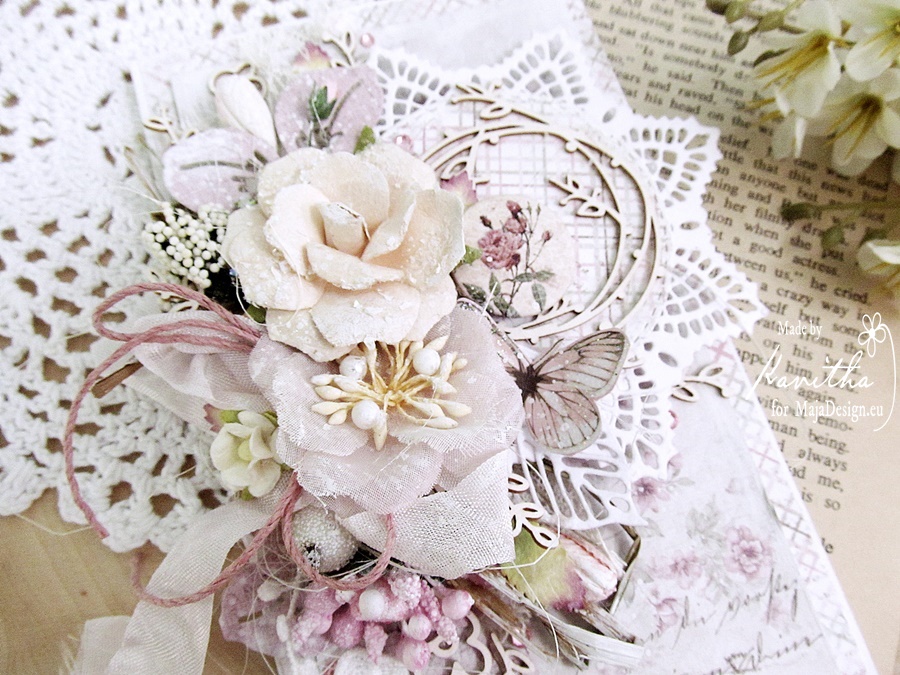
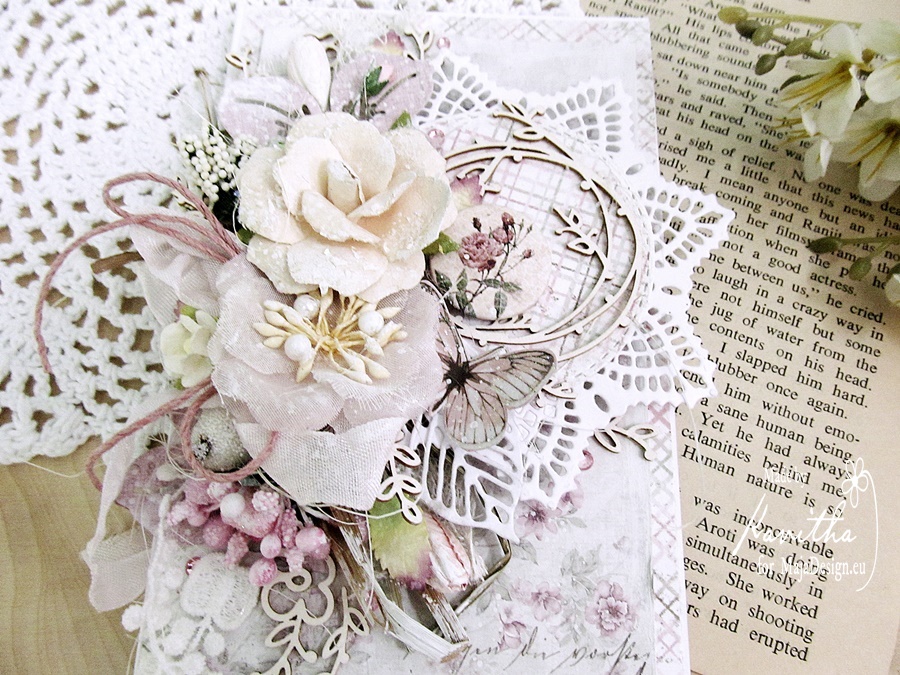
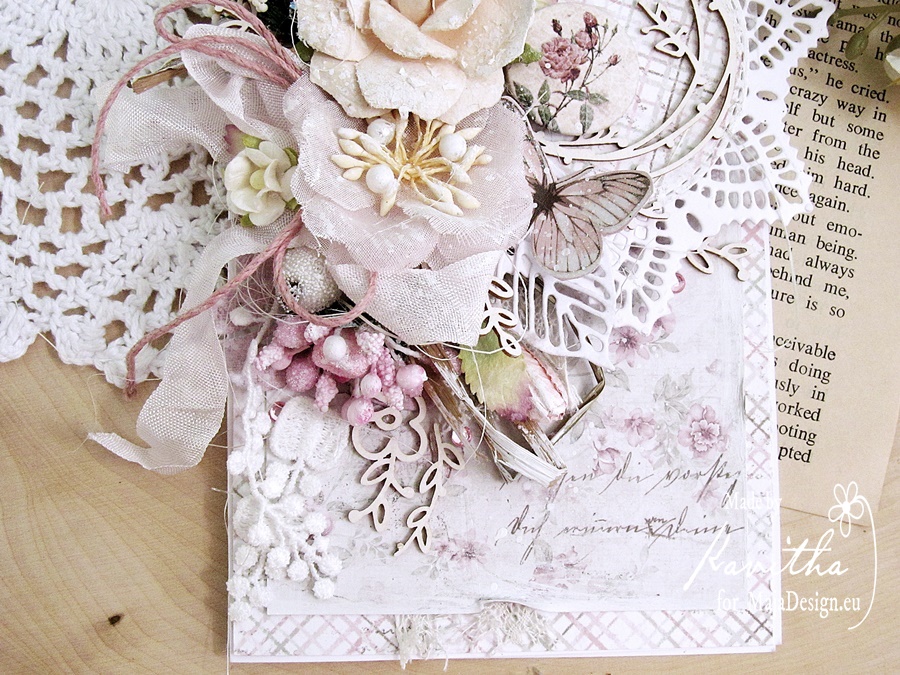
today i have a spring card to share filled with full of flowers.I have used soft pink papers from “Vintage romance” and “Sofiero” collection.I love making shabby chic cards with Maja papers,i guess its the best papers  for shabby style, do you agree?I have used Prima flowers,Scrapiniec chipboards,ribbon,twine along with lots of fillers and twigs.

Maja papers used: Walk with me, a romantic pinic in the park bs

Thank you for stopping by.

Happy crafting


Dream

1

Posted by Lenet Mos

8 March, 2018 - , , , ,

Write a comment

Hello dear Maja fans ,

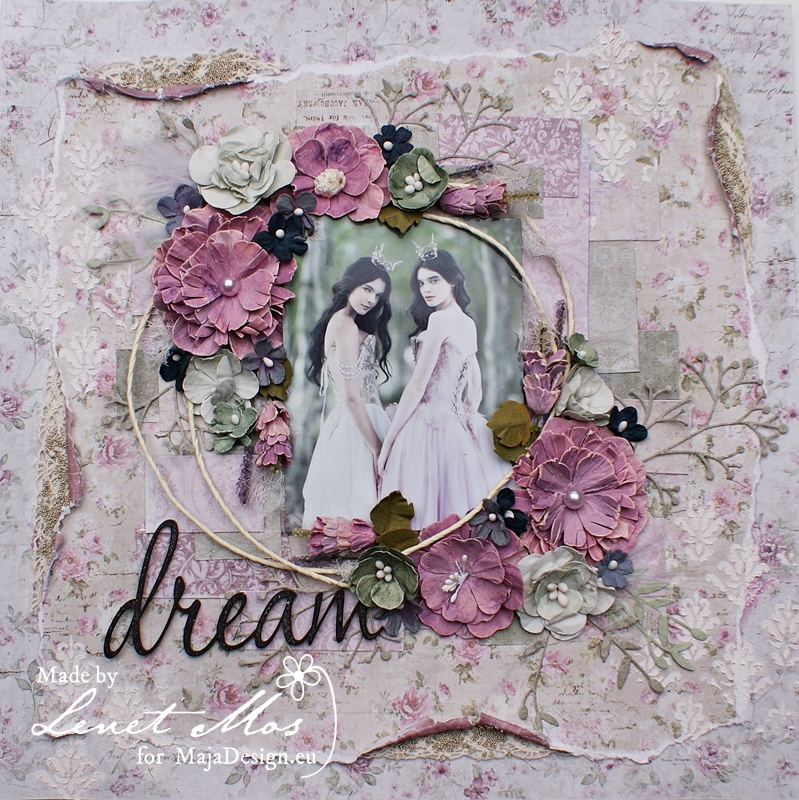
Today I bring you a dreamy layout  inspired by this months moodboard.

I love moodboards they are alway so inspiring , when I look at one the idea for a layout , card, minialbum or what ever will pop right into my mind.

For this layout i used the papers of two collections : vintage romance – Walk with me, for the base and Vintage Summer Basics -1922on top of it.

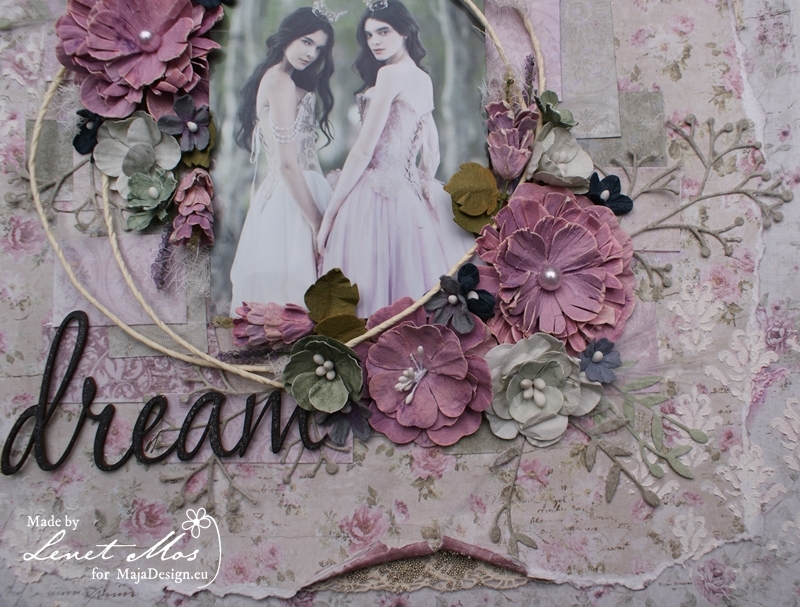
Besides that i used a lot of snippets that I placed underneath the picture.


The word Dream is a chippie from dusty attic and all the flowers from 49and market.

Thanks for visiting , hope I gave you some extra inspiration for the moodboard challenge.

Tea time!

1

Posted by Camilla Støen Bakke

6 September, 2017 -

Write a comment

IMG_6577

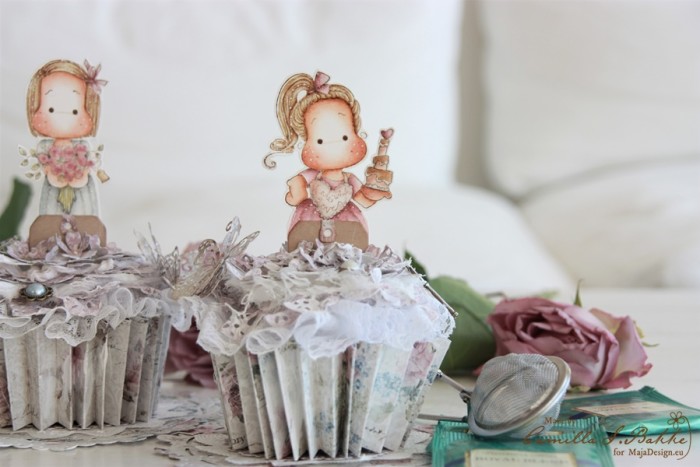
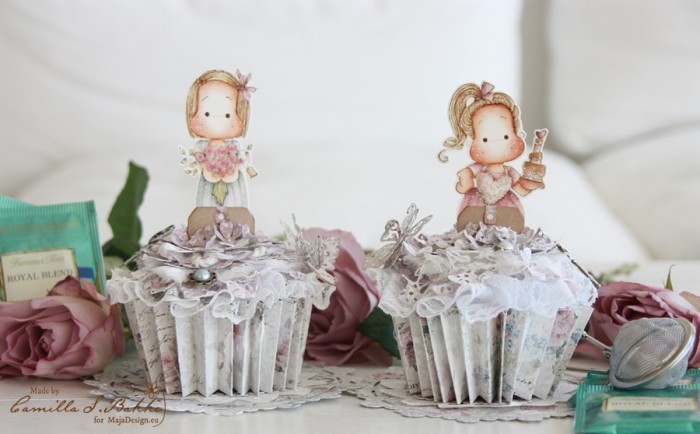
Hi dear Maja fans! Today I want to show you how I made these two cupcakes. The lovely papers used are from the Vintage Romance collection.

Vintage-Romance-P

Ok, let’s start with showing how it is made!
1

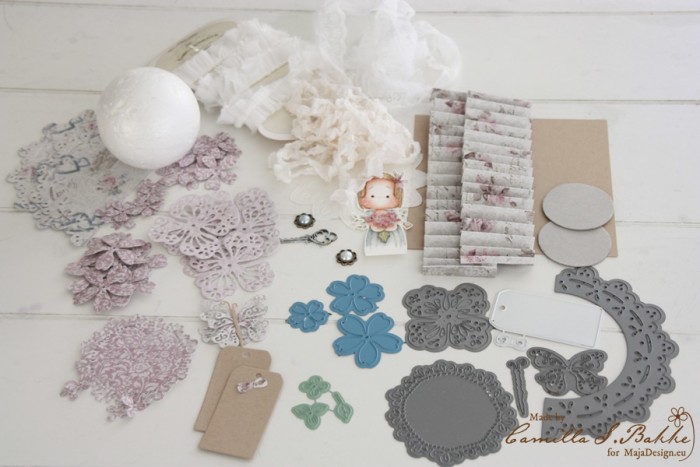
Here is all you need for your cupcake: Dies from Magnolia, a Styrofoam ball, two Maja papers measuring 30,5 x 4, 5 cm, two circles cut out from hard cardboard (1 ¾ “), a paper measuring 13 x 13 cm, laces and ribbons, metal embellishments and of course your favourite Tilda.

2

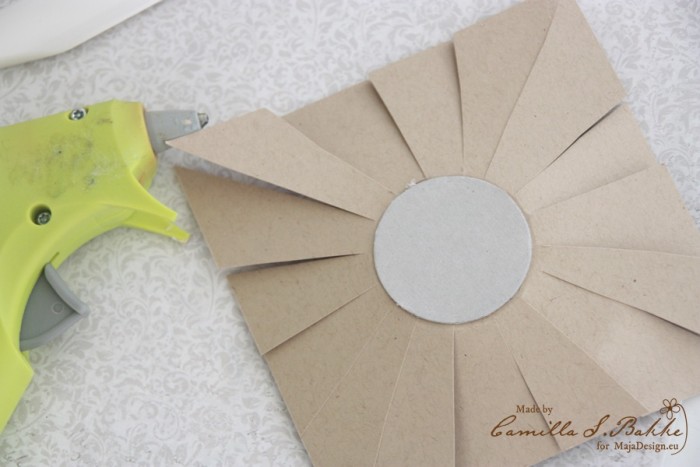
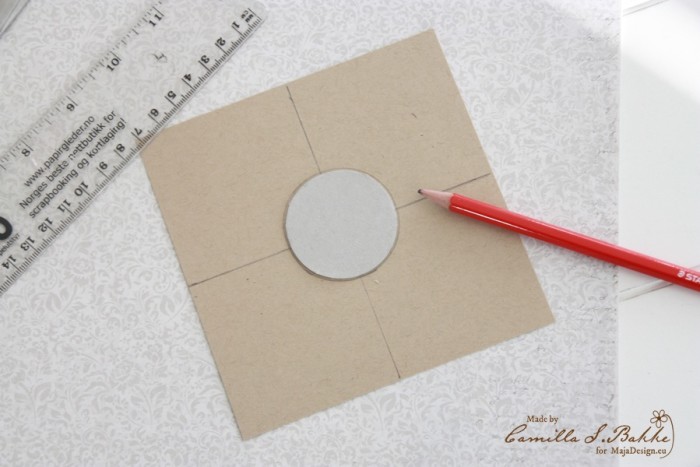
Find the middle of the paper measuring 13 x 13 cm.
3

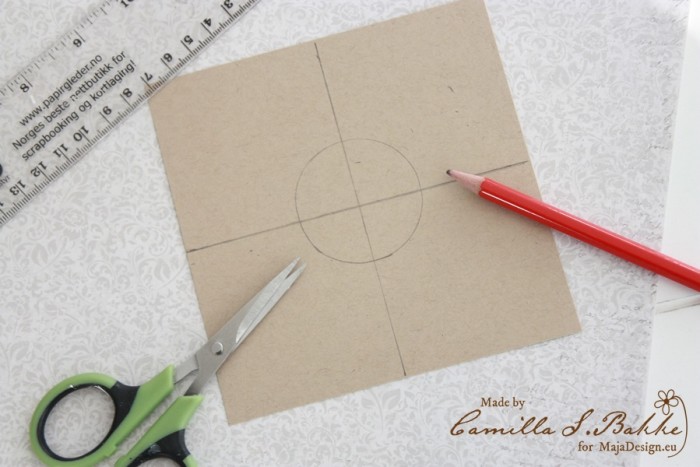
Put the circle in the middle and draw around it.
4

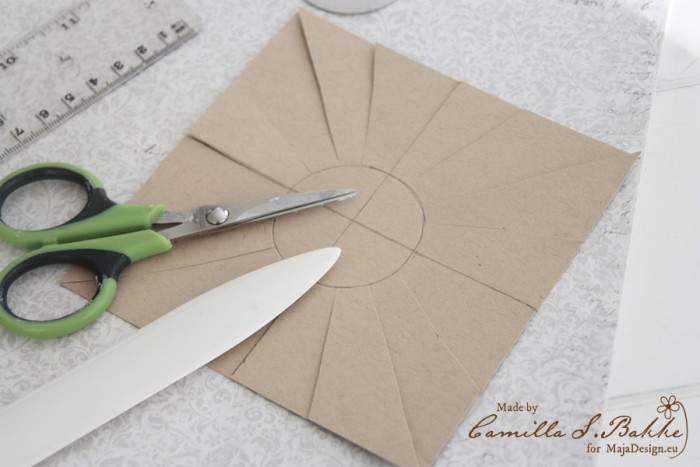
Then cut the paper like you see in the photo. Then score around the circle.
5


6

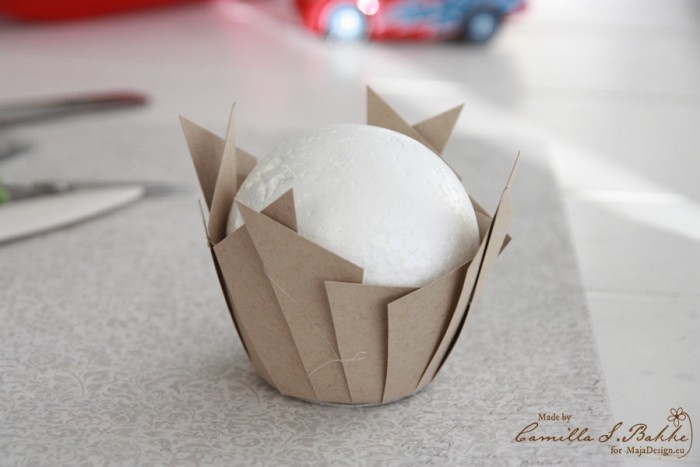
Fasten the circles on both sides of the paper.
7

Put the ball inside and fasten it with glue, also fasten the sides of the papers on the ball. Like you see here.
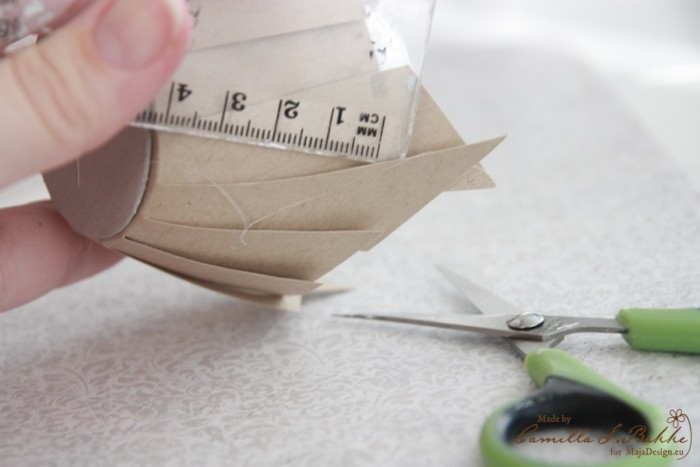
8

Cut off the longest papers. I cut them down to 4 cm.
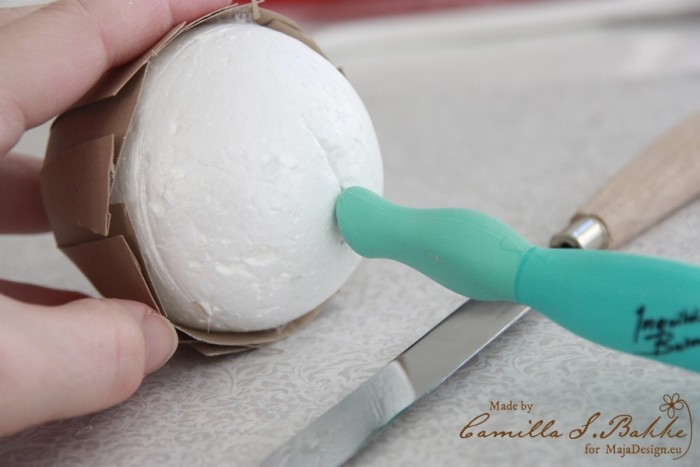
9

Make a cut for the tag. Remember to make it as deep as you can.
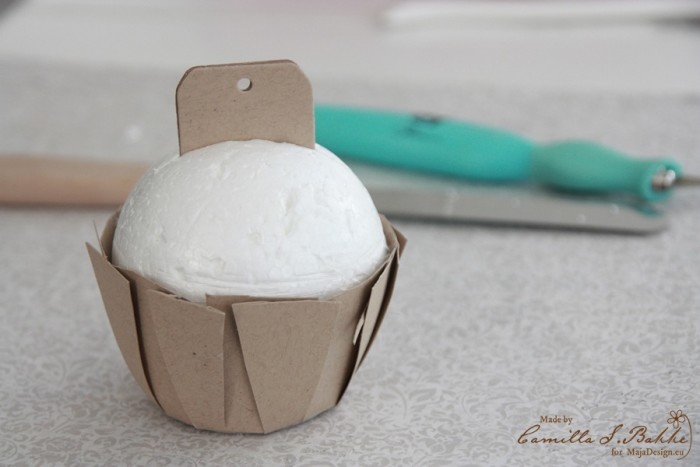
10

Then you can easily place your tag inside.
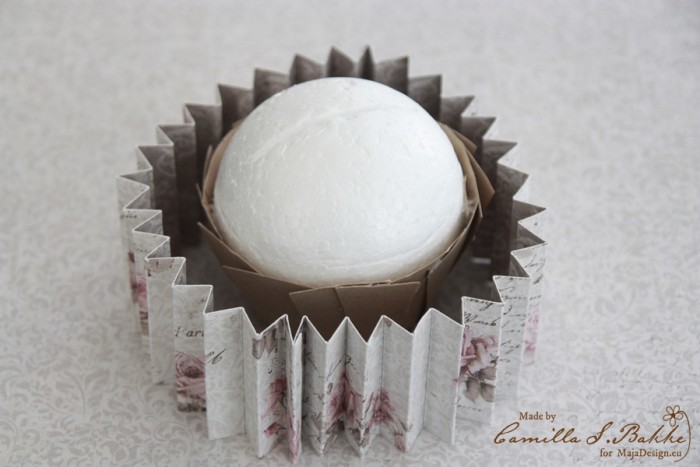
11

Here are the two papers which I have folded on each cm. I will now glue it on.

12

Here is the tag.

13

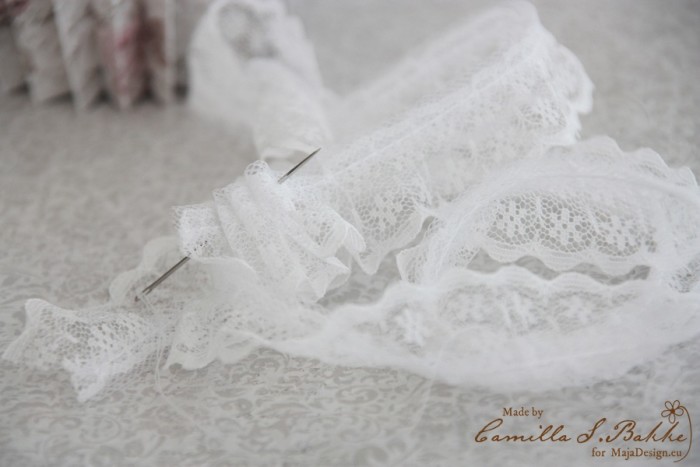
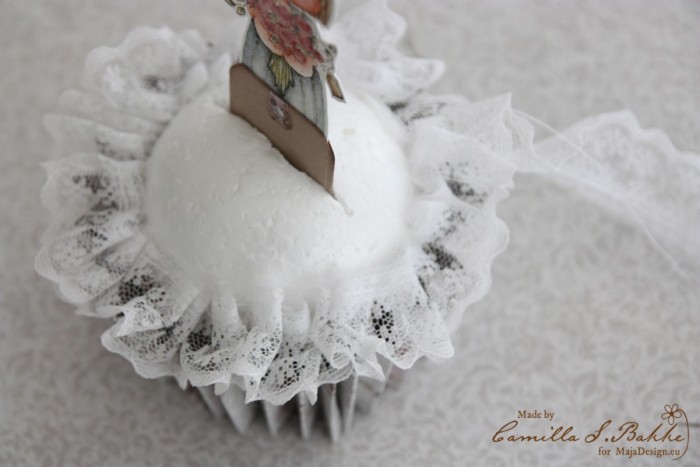
I use a needle and thread and sew the thread up and down on the lace, so that it curles up nicely.
14

Then I fasten it to the cupcake. It looks like frosting 🙂
15

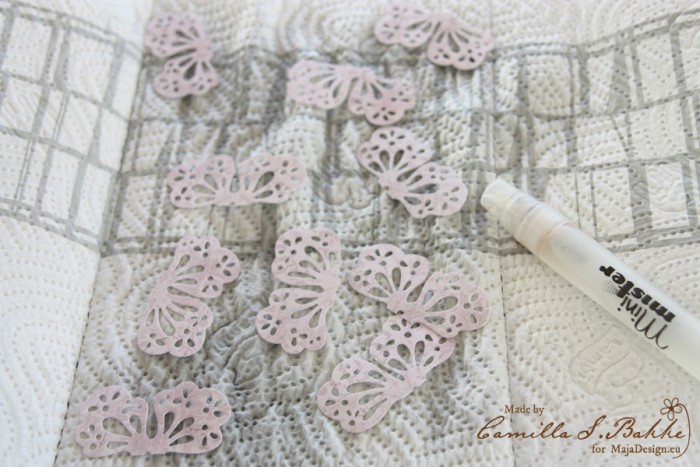
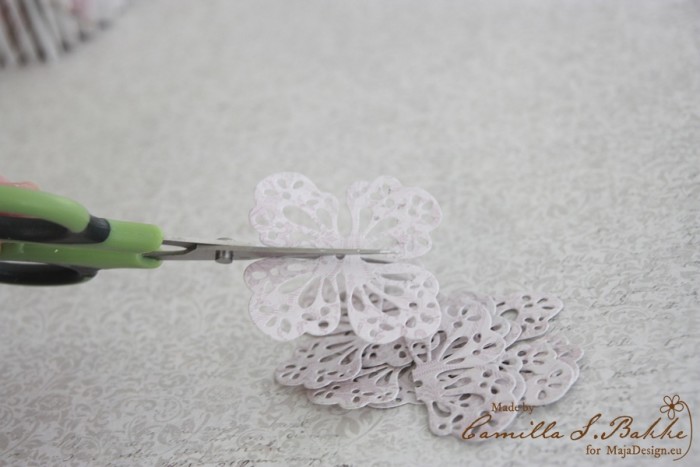
For the flowers, I cut them in half.

16

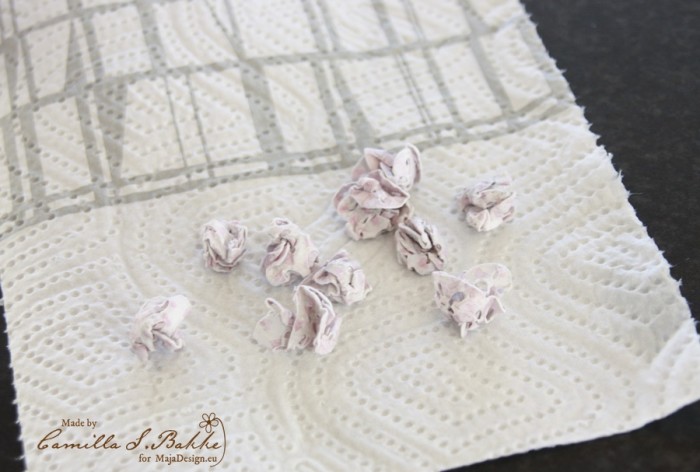
Then spray them with water to get them curled up.
17

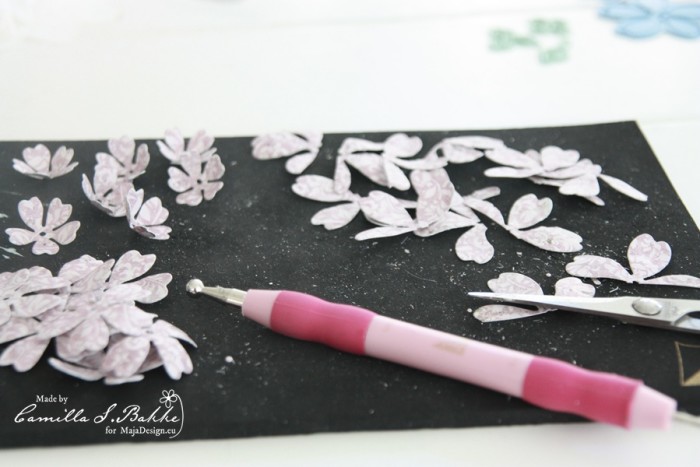
I curl them up, and leave them to dry.
18

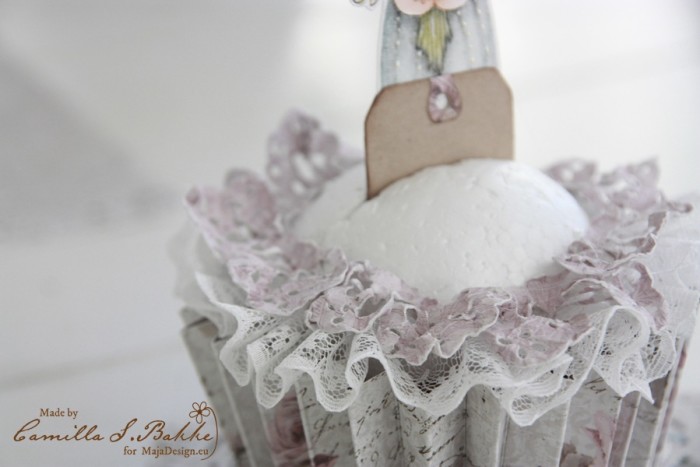
Then glue them on to the ball.

20

Cut more flowers in half and curl them a little with the tools.
19

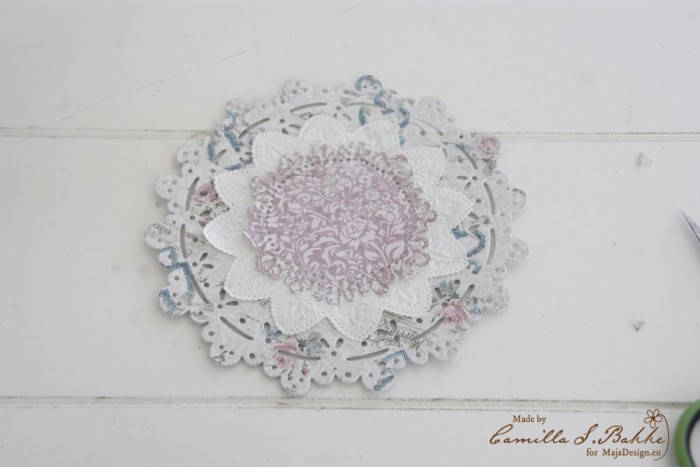
Make a lovely doily for the cupcake to stand on.
21

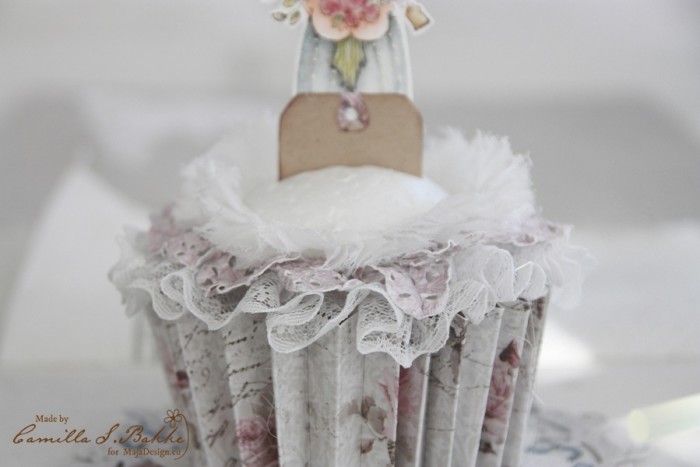
Continue with more layers and end it with some more flowers.
IMG_6589

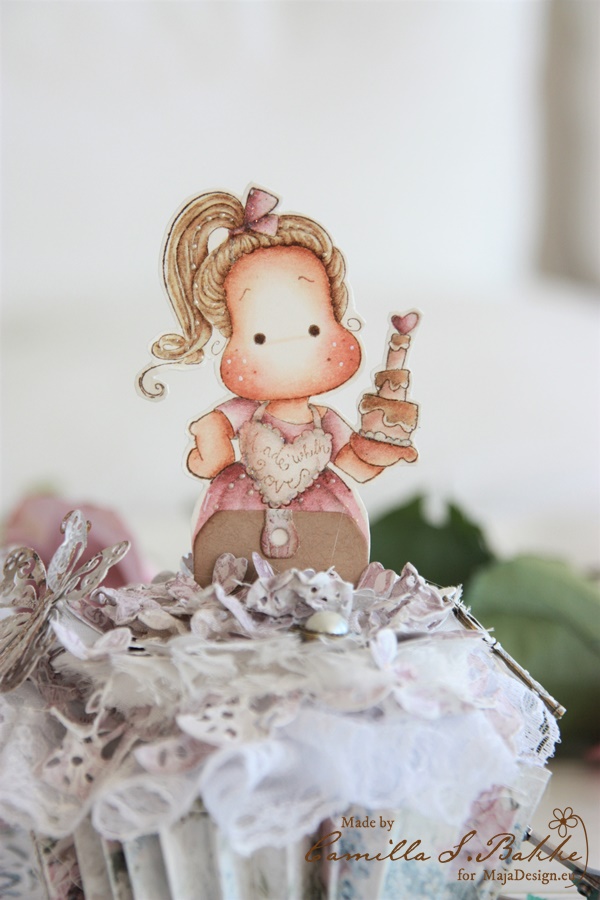
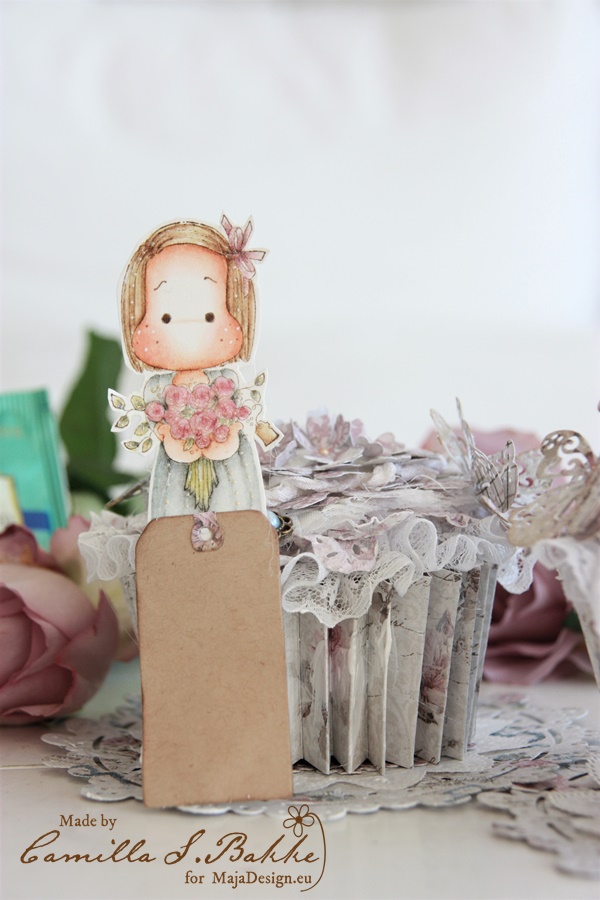
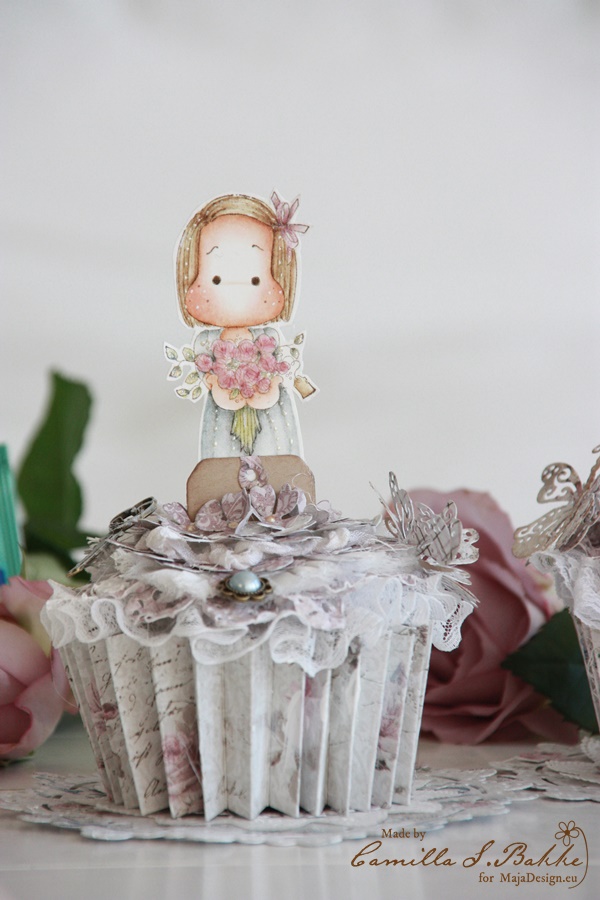
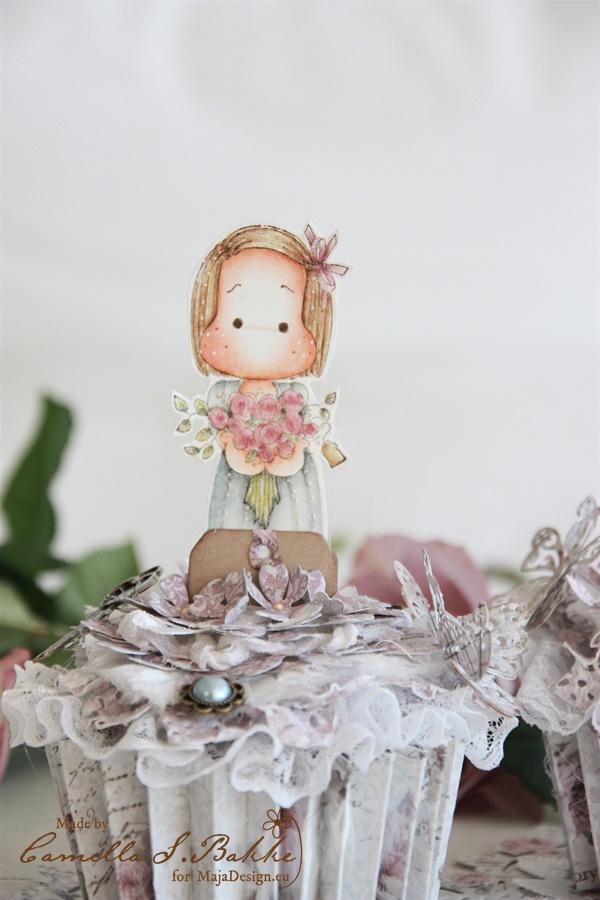
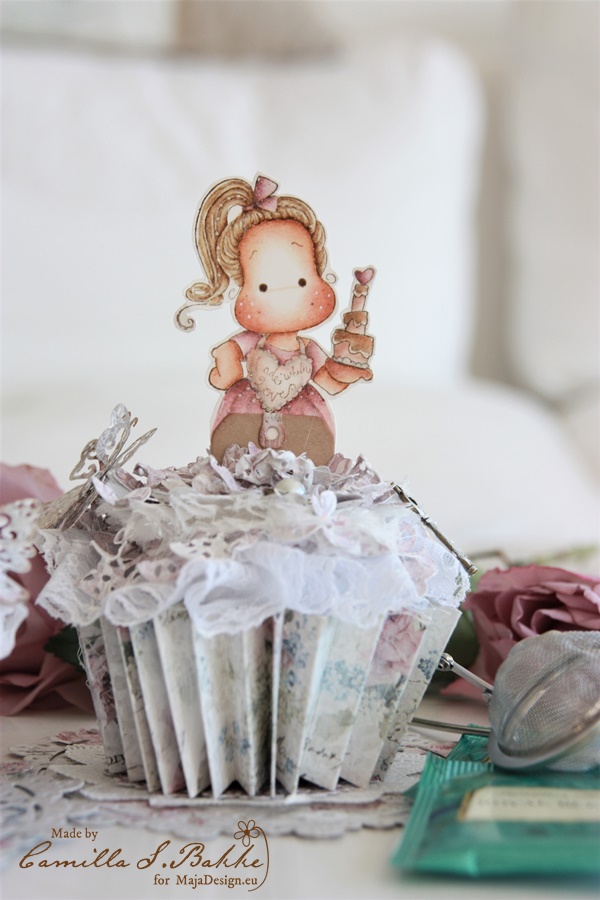
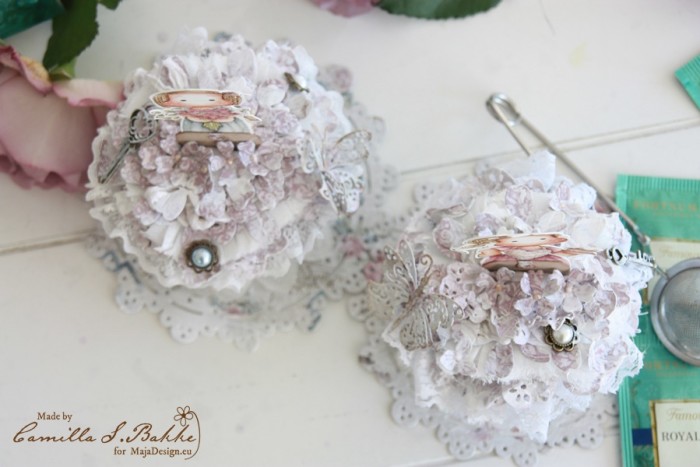
Here is some pictures of the finished cupcakes. Doesn’t they look yummy!?
IMG_6597


IMG_6603


IMG_6606


IMG_6623

You can write a greeting on the tag.
IMG_6626

Here they are from above!

IMG_6646

The beautiful Maja papers are just wonderful to work with, and gives the cupcakes the perfect romantic, vintage look. The cupcakes were also made for Magnolia’s DooHickey vol 14. Thank you so much for visiting the blog today!

With love from,

Camilla

Up Up And Above

1

Posted by Maja Nowak

30 August, 2017 - , ,

Write a comment

A very good morning to you, dear Visitors to the Maja Design blog 🙂

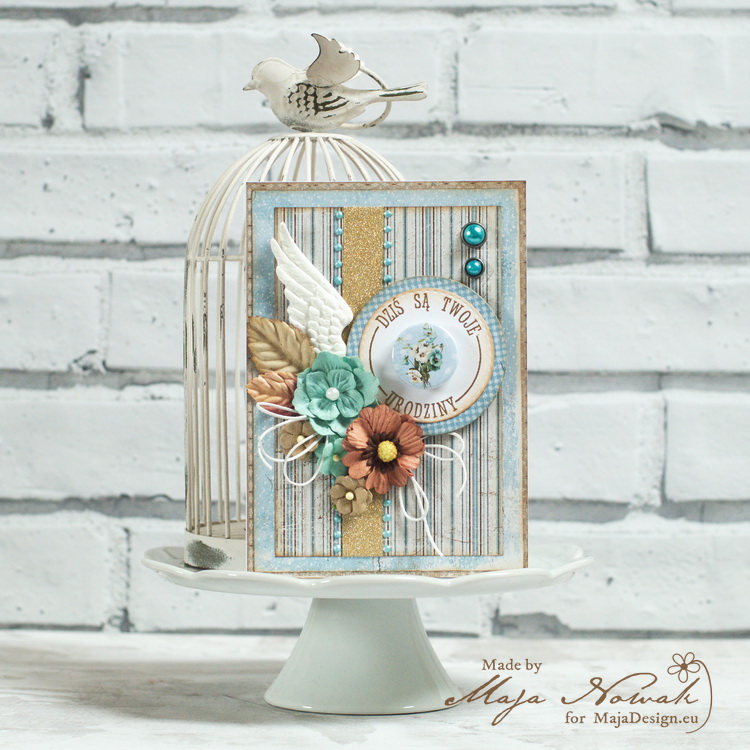
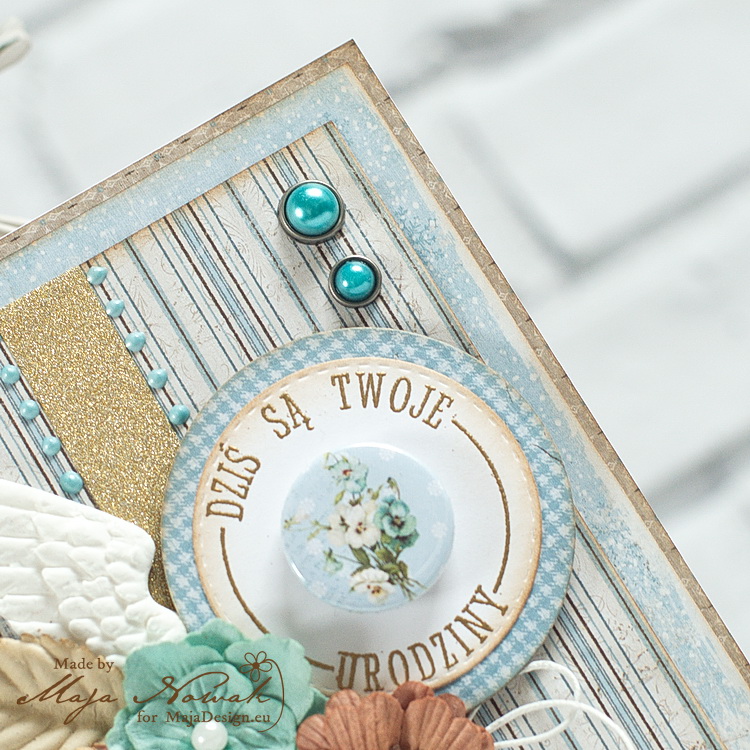
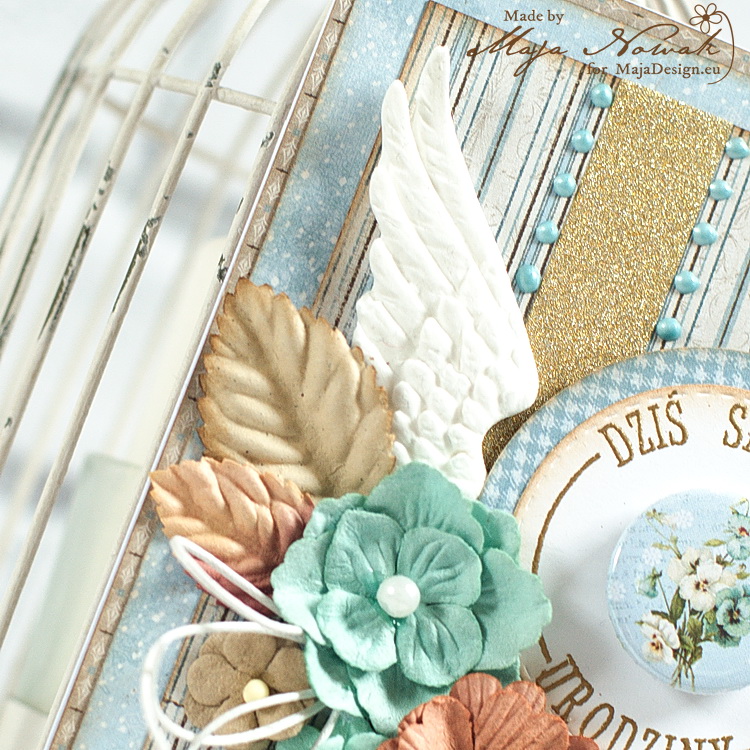
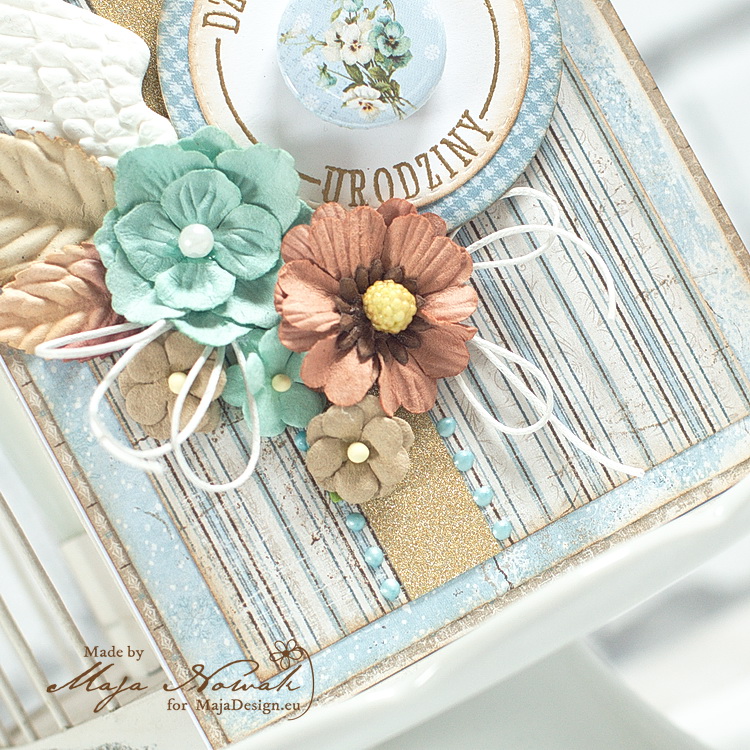
The summer is coming to an end, but we shouldn’t let our spirits go down! Today I have two birthday cards to share, and their common element is the blue palette and a motif connected with flying high above 🙂

The first one features an angel wing in the flower cluster:

mdblu

I layered papers from the Vintage Frost collection, placed the sentiment stamp with a button in the centre and surrounded it with flowers and leaves. I also added some pearl brads and liquid pearls.

mdblu1

mdblu2

mdblu3

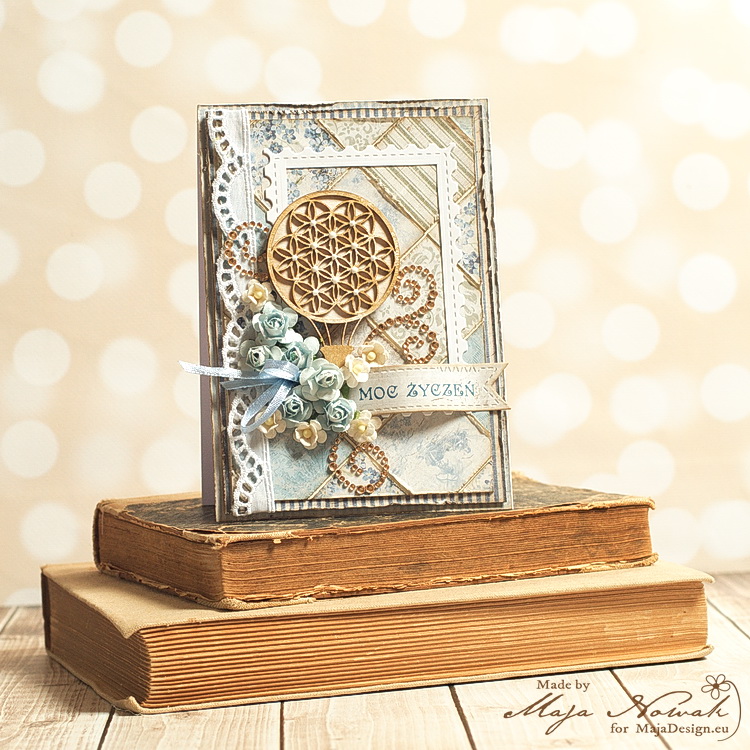
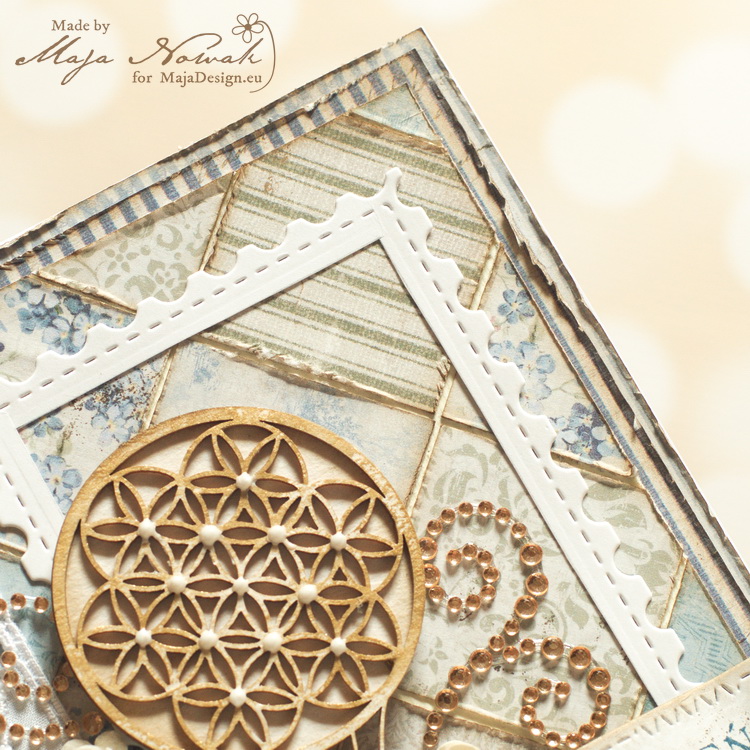
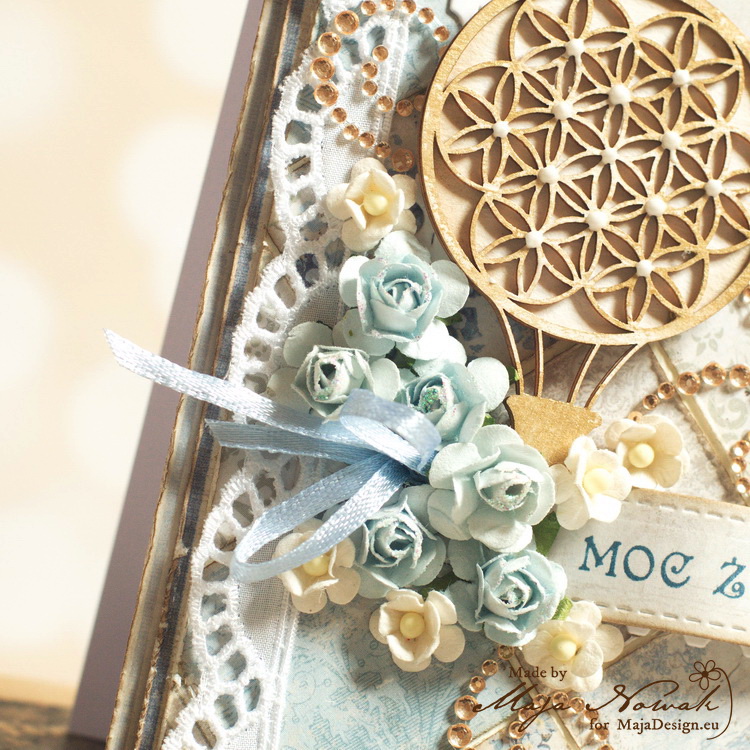
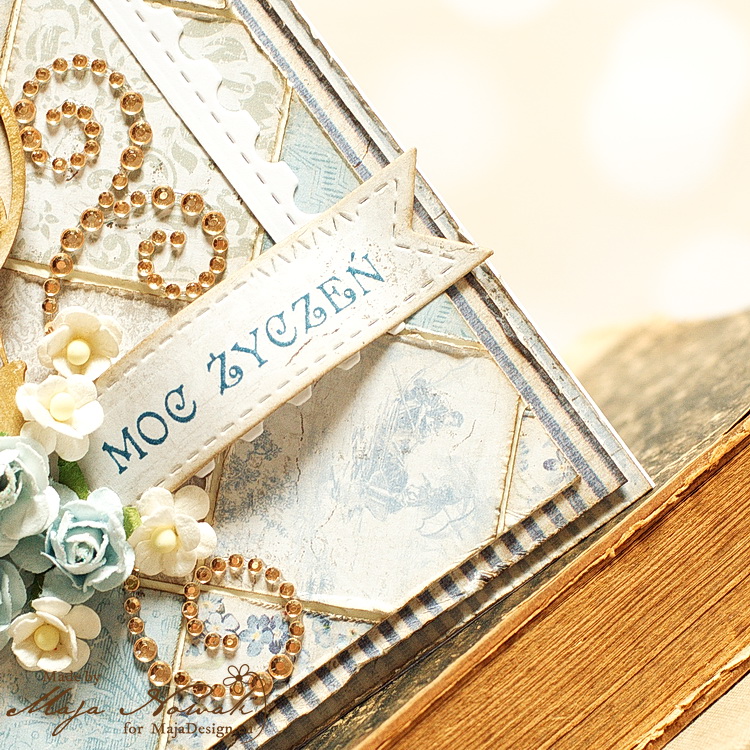
The central motif of the second card is an air balloon surrounded by flowers:

mdblu4

I used scraps of the Vintage Romance papers to make a shabby patchwork background, placed the chipboard layered balloon upon it and decorated it with mini roses and crystal flourishes.

mdblu5

mdblu7

mdblu6

And here’s the list of my supplies:

Maja Design papers:

Other:

button: Lemoncraft; chipboard: Scrapiniec; flowers: Prima, my stash; flourishes: Prima; mold: Prosvet; die: my stash


So, what do you think about my cards? I really like the way they turned out 🙂 See you soon!

Maja-sign

Zapisz

Knitted Klimt

4

Posted by Pascale B

11 May, 2017 - ,

Write a comment

Hello Sweeties

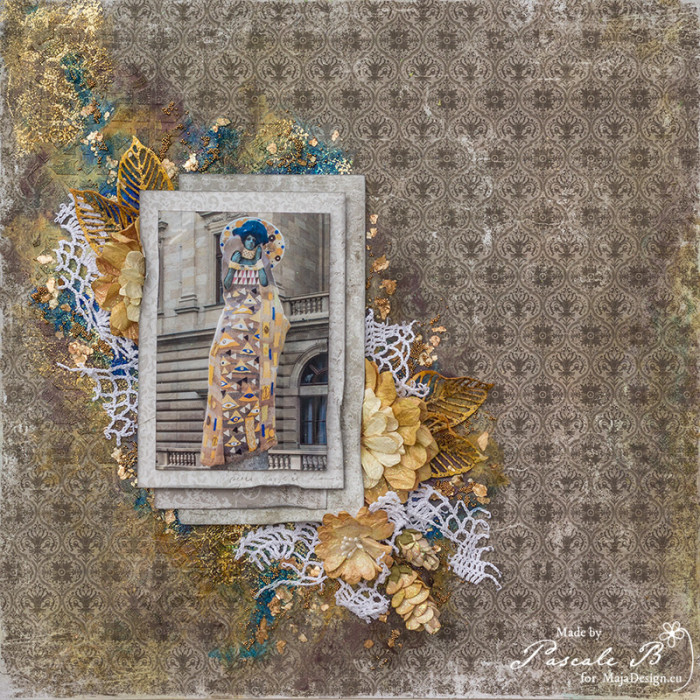
Today I’m up on Maja Design blog with a new layout with the Vintage Romance. I chose a photo I’ve taken during my trip in Prague of the special statue designed by Eva Blahová: the dress is a knitting.

Knitting Klimt by Pascale B.

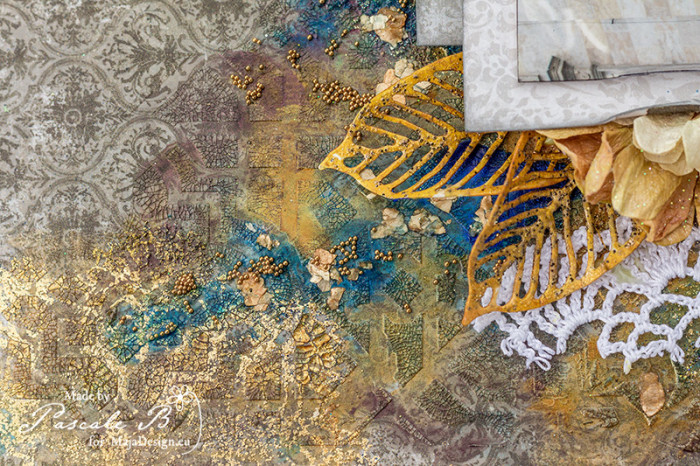
As usual, I primed the background with clear gesso. Then I added a design with a stamp. I embossed the stamp image with a sticky powder to adhere some gold foil.

Knitting Klimt by Pascale B.

I added a second design with a stencil and clear crackle paste. I let dry naturally to allow the crackle to appear.

Knitting Klimt by Pascale B.

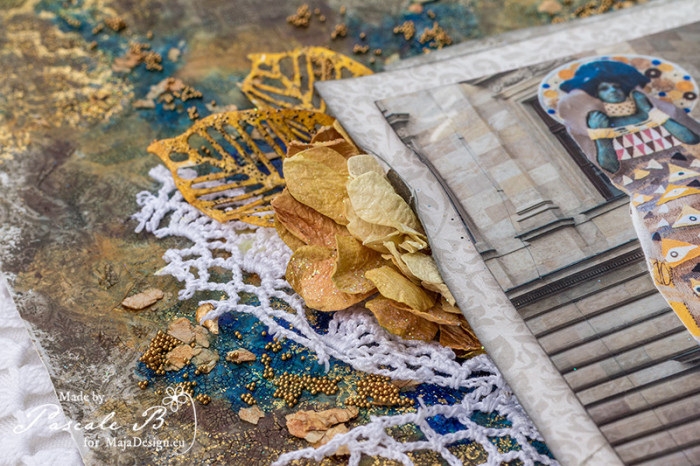
While the crackle paste was drying I die cut some leaves in a watercolor paper. I colored them with some Twinkling H2O and embossed them.

Knitting Klimt by Pascale B.

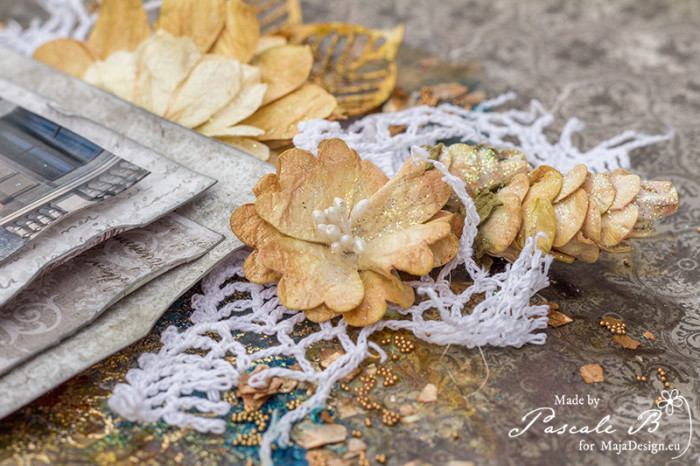
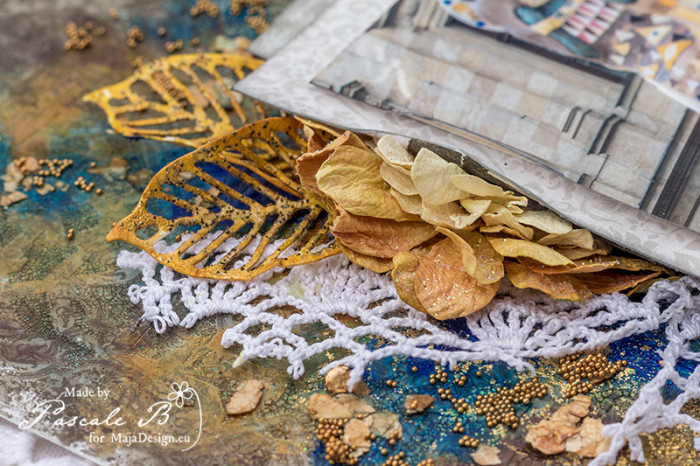
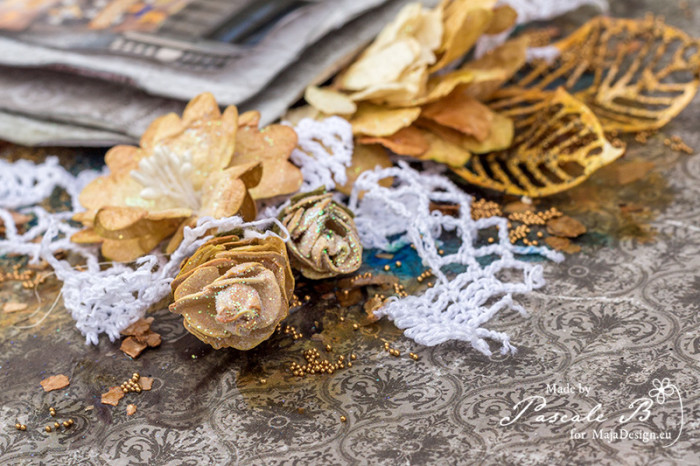
I cut some papers to add under the photo and I glued all the embellishments: flowers, leaves, and some doily’s scraps.

Knitting Klimt by Pascale B.

When done, I colored the background with bright colors to remind the photo.

Knitting Klimt by Pascale B.

I finished the layout with mica flakes and micro beads.

Maja Design papers:

Vintage-Romance-P
Vintage Romance collection
Ephemera cards bs
Ephemera cards bs
Love notes bs
Love notes bs
Love poetry bs
Love poetry bs
841 - Vintage Romance Paper pack
6×6 Paper pack
mm

Pascale B

Hello, I'm Pascale B. from France. Since I began to scrap, flowers are part of my layouts, and I gradually started to use mixed media as well. I don’t know how to define my style, perhaps something like free vintage shabby style could be a good definition. Visit me at www.pbhobby.blogspot.com