Custom Shaped Cards – DIY Tutorial

1

Posted by Jennifer Snyder

19 August, 2017 -

Write a comment
Tired of your basic rectangular card shape?  Looking for a change? Need a unique card for someone extra special?
If so, then this is the perfect place to stop for a super simple card making tutorial.
Jennifer Snyder here today.  I’m really bored of making rectangle or square cards.  I need to change things up and add shape to my cardmaking life.
  I have some incredible dies and head turning paper from Maja Design that will help make this project perfect.

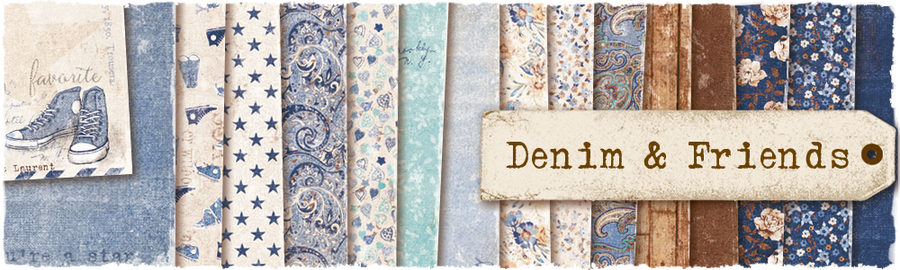
I’m using the  Maja Design – Denim & Friends 12×12 paper collection  along with a new Spellbinders die, Spellbinders Designer Series -Venise Lace Victoriana Crest by Becca Feeken as my inspiration.
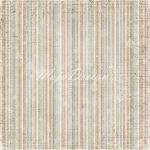
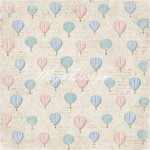
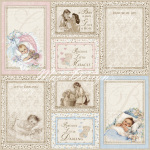
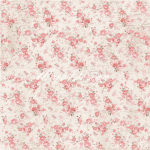
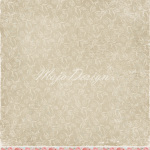
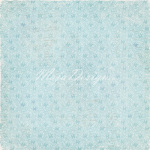
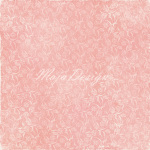
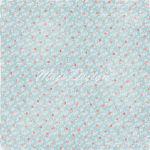
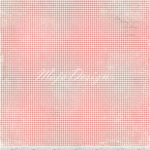
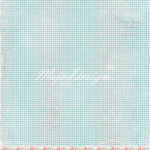
 These are the  Maja Design papers I chose for this card.  Jeans & T-Shirt, Fashion, Sneakers

Here Are My Instructions: 
Step 1.
Using a 12×12 sheet from Maja Design – Denim & Friends, grab a die that will make a nice card shape. I chose a die that was quite large to make a sizable card.   My paper choice is Jeans & T-Shirt from Denim & Friends, and the die is Spellbinders Designer Series -Venise Lace Victoriana Crest by Becca Feeken .
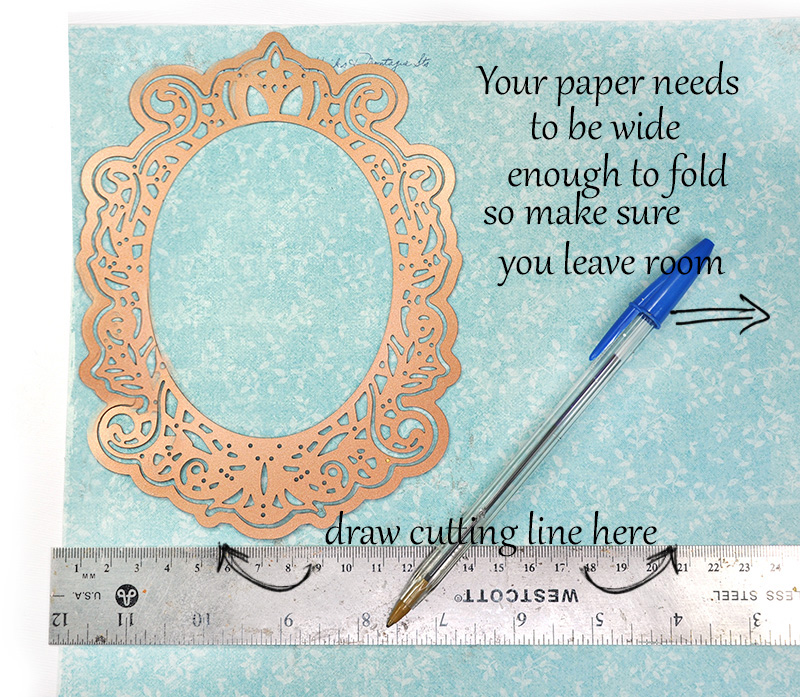
            First, decide how much paper you need and where to cut your paper.   Your paper must be wide enough to fold – meaning you will be die cutting two layers at the same time.   Leave enough width to the right on your paper.
            Place the die on the paper and draw a line to mark how long the die is and where you need to cut and where you will fold.  This step is important.
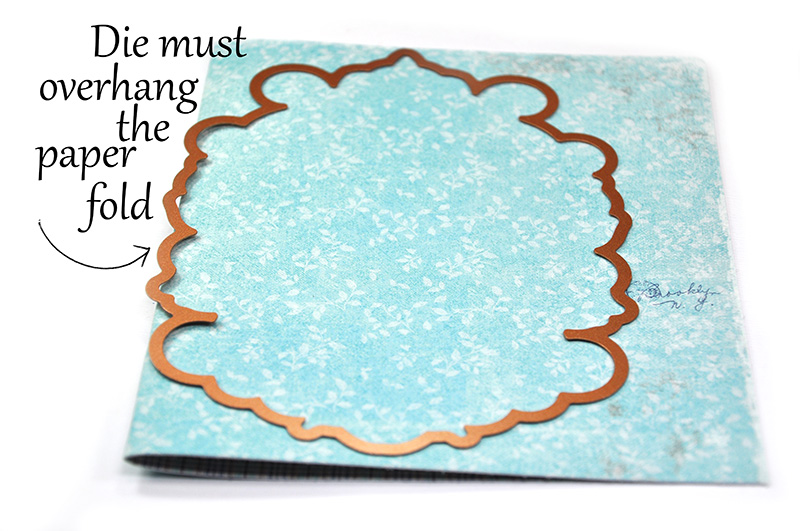
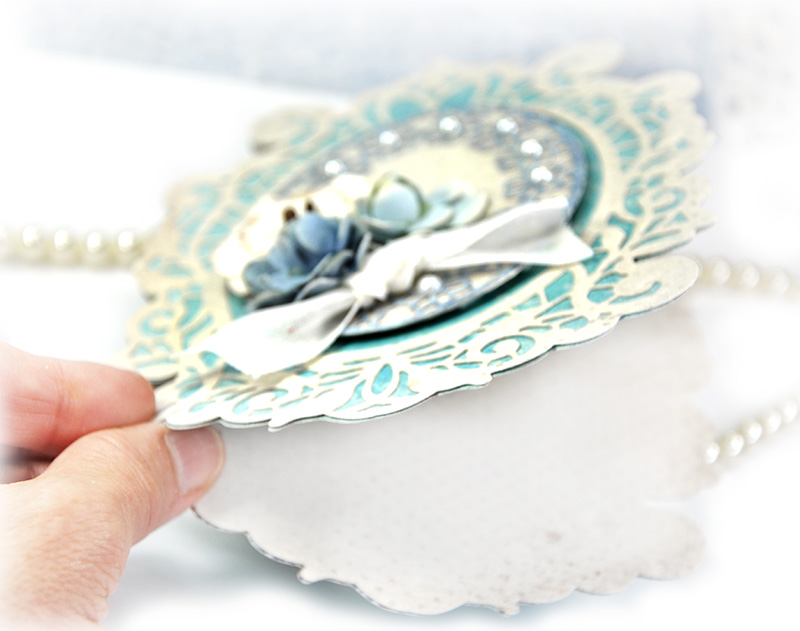
 Step 2. After cutting the length of paper to fit the die shape, fold the paper.  The die needs to hang over the edge of the paper fold slightly in order to create a card that will open.    Once your die is in place, secure with tape and run the folded paper/die through your die cutter.
Step 3. When you open your card, it should be connected at the fold.  If it is,  Great job!  If it falls apart into two pieces, it just means you probably did not let the die hang over the edge of the fold quite enough.  Try again and move the die over a bit more.

Handy suggestion…try this technique first on a yucky sheet of paper and not your gorgeous Maja Design papers.

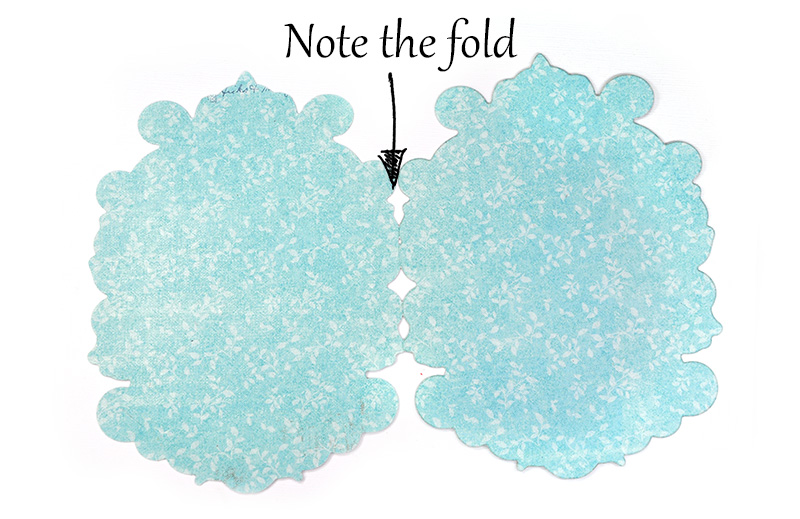
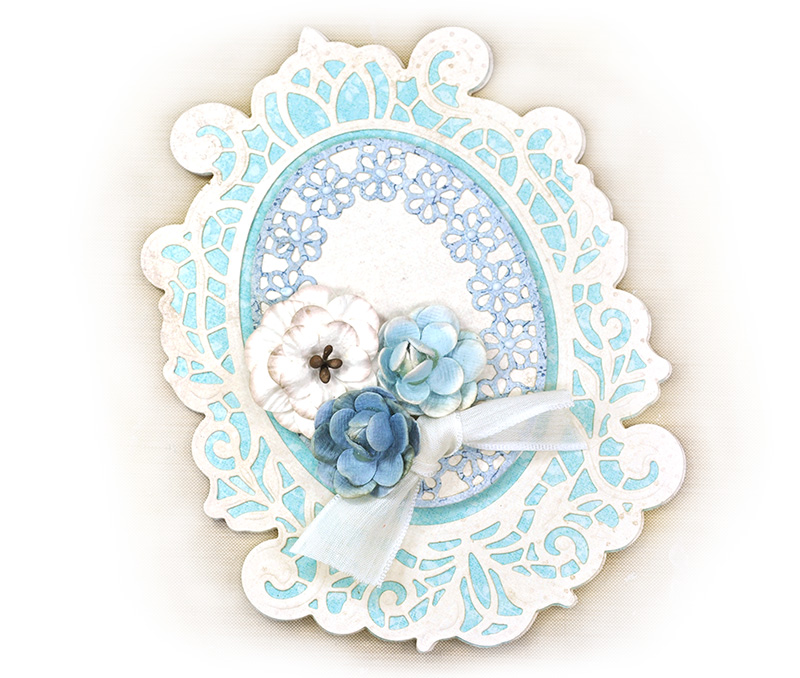
Step 4. The image below is what you should have if the die cutting has been successful.  
Step 5. When I opened the card, there was too much pattern for writing a sentiment.  I cut a separate die to glue on the inside. 
 
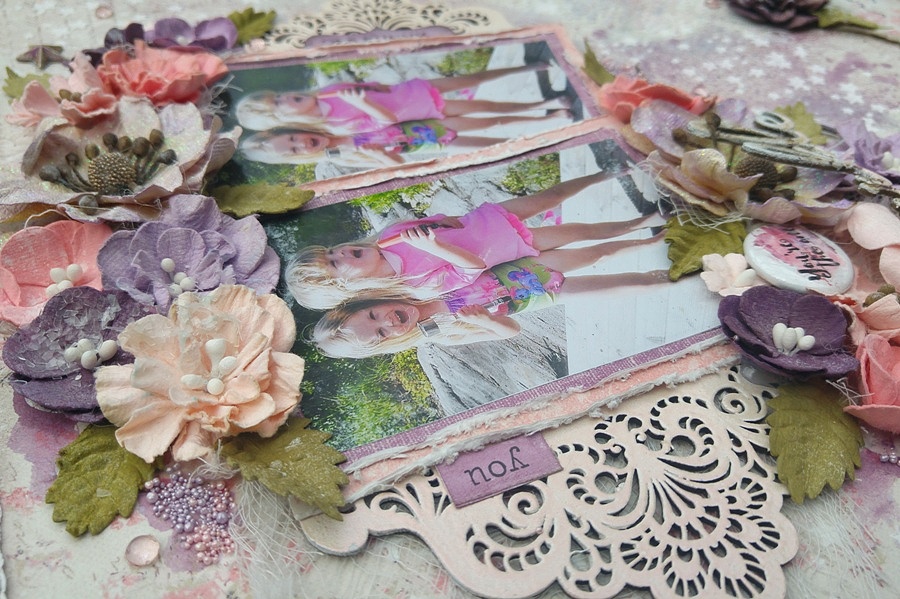
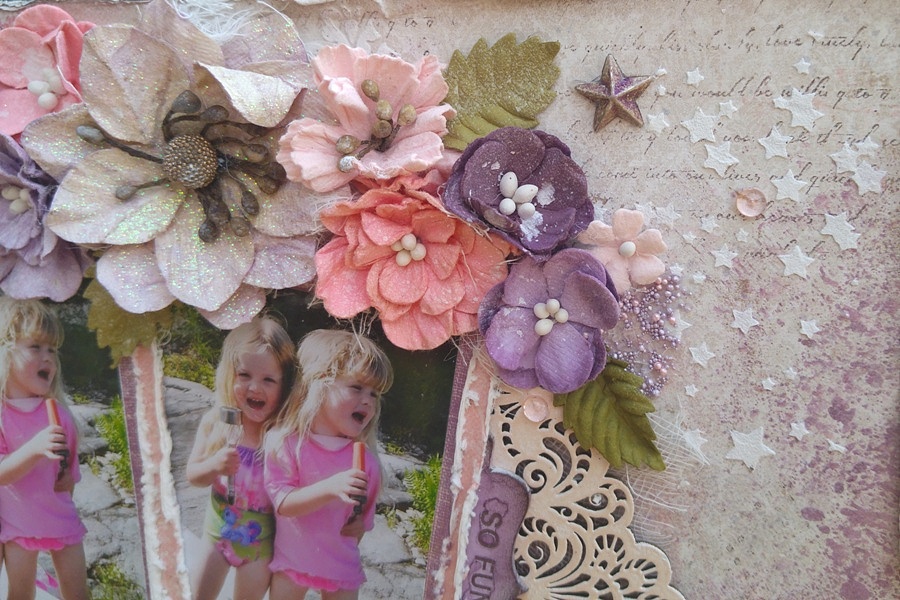
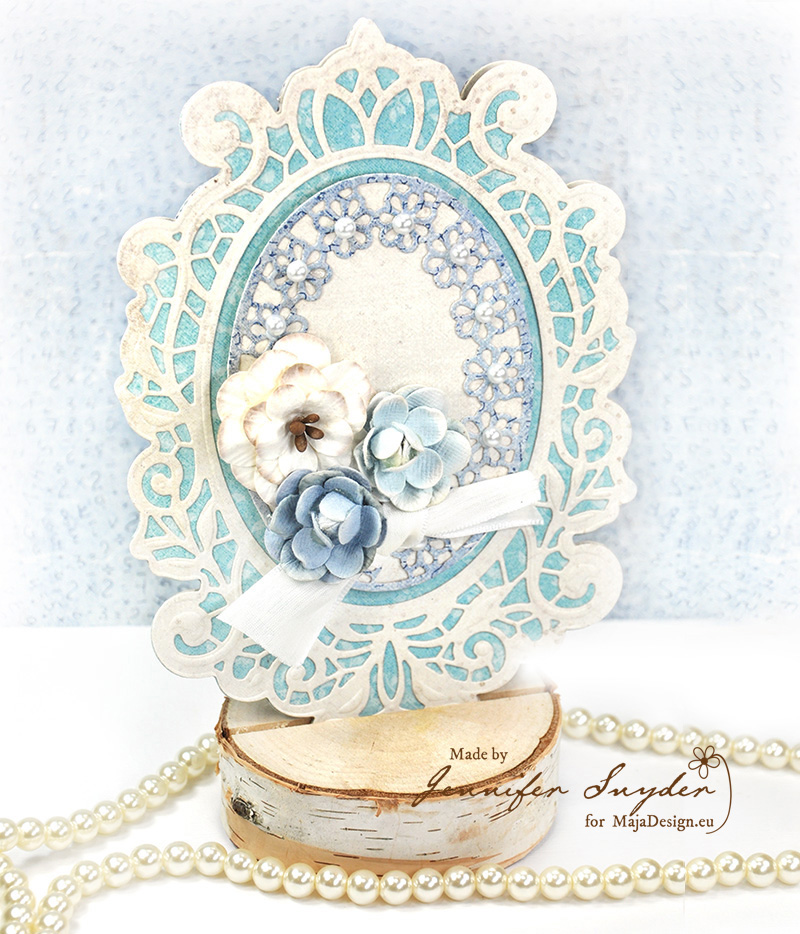
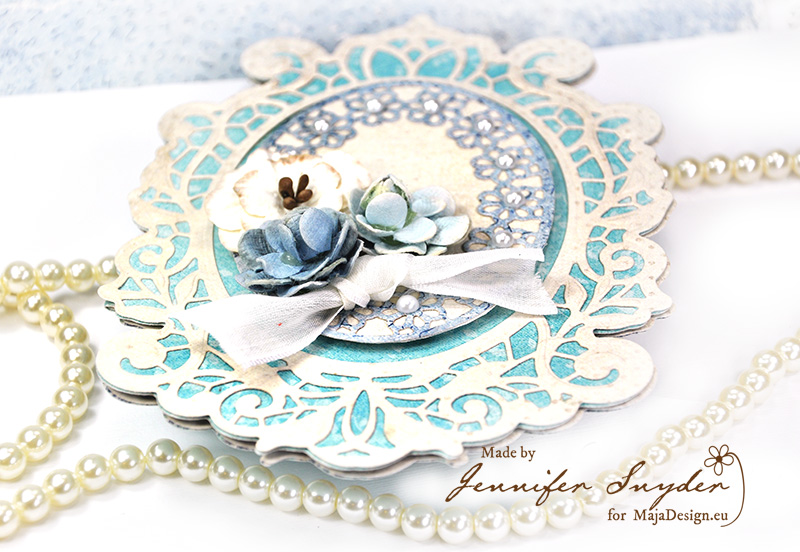
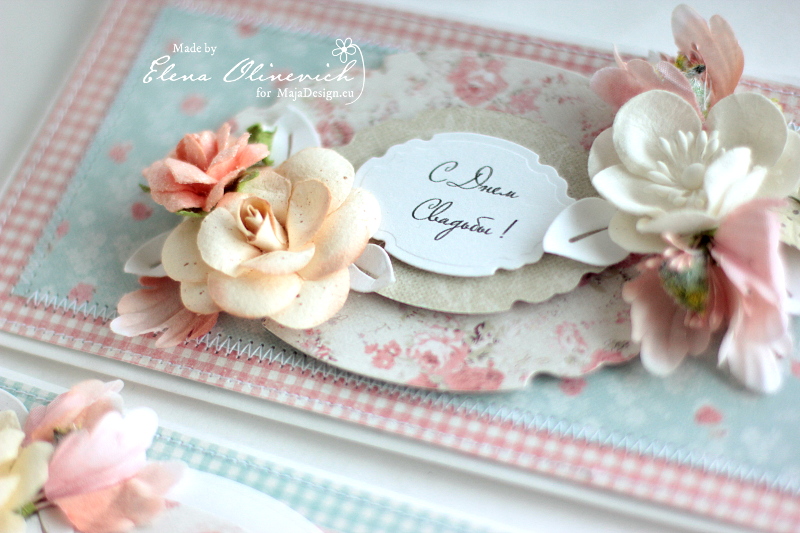
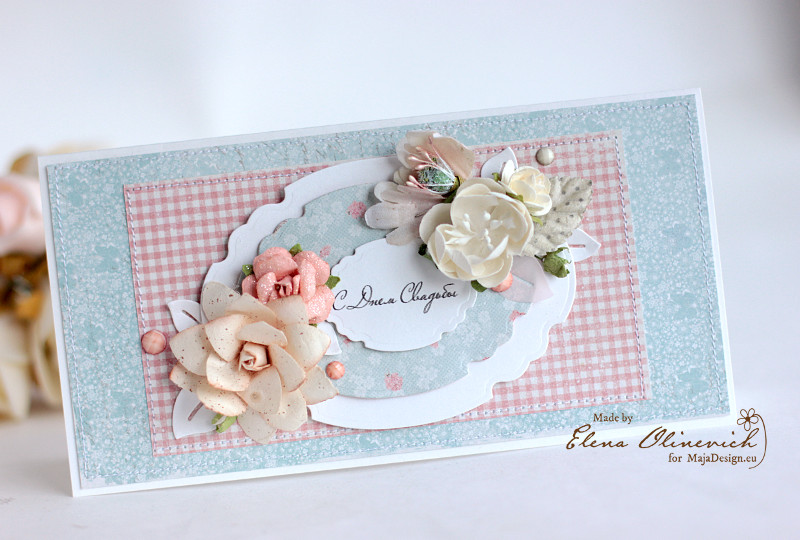
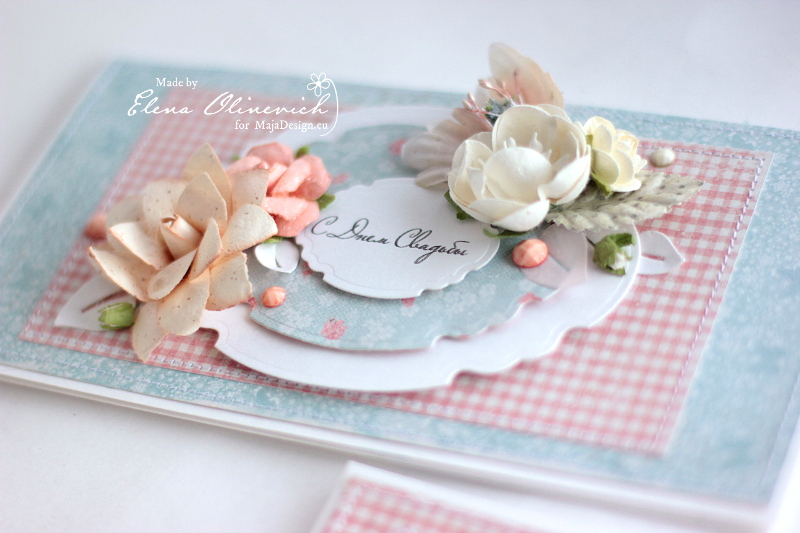
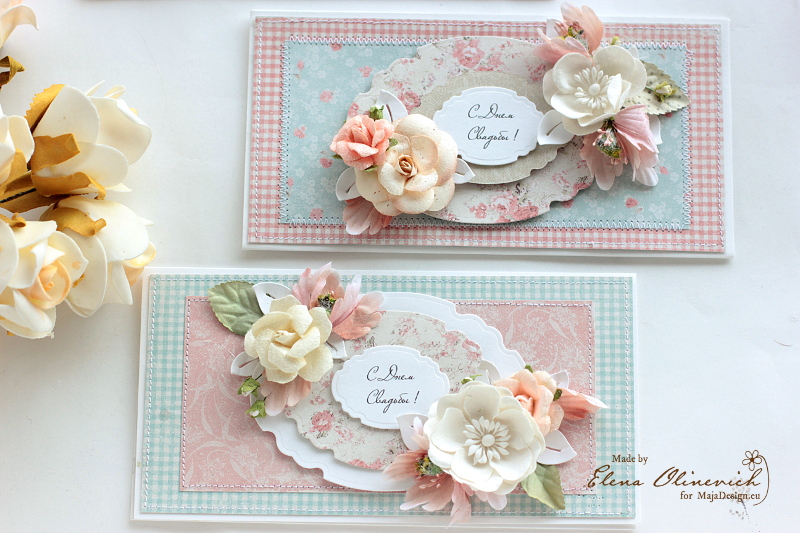
Step 6. Decorate as desired.  I added another die cut from the Spellbinders die to use for the center.  I added dimension to the card using foam dots (cardboard, foam tape) for dimension as you can see in the image below. 
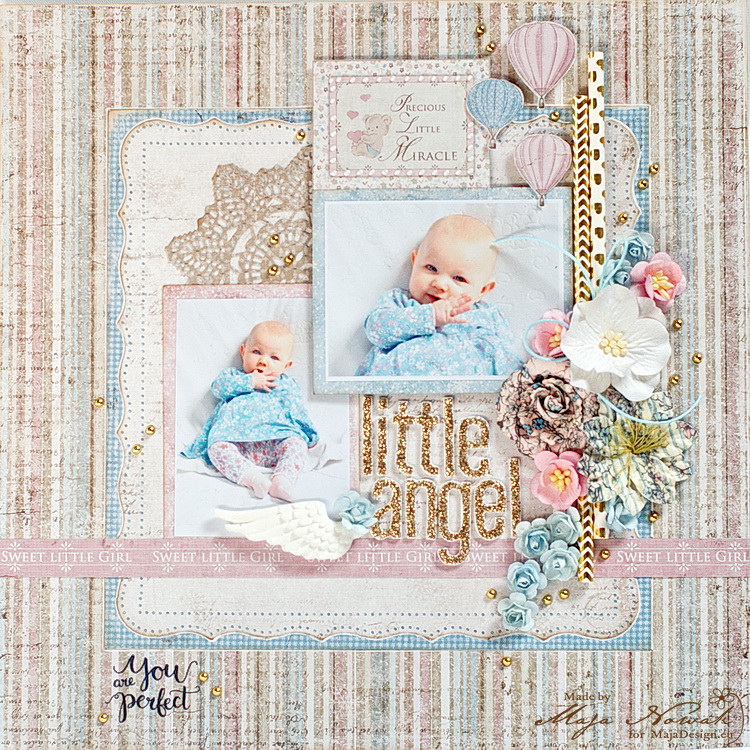
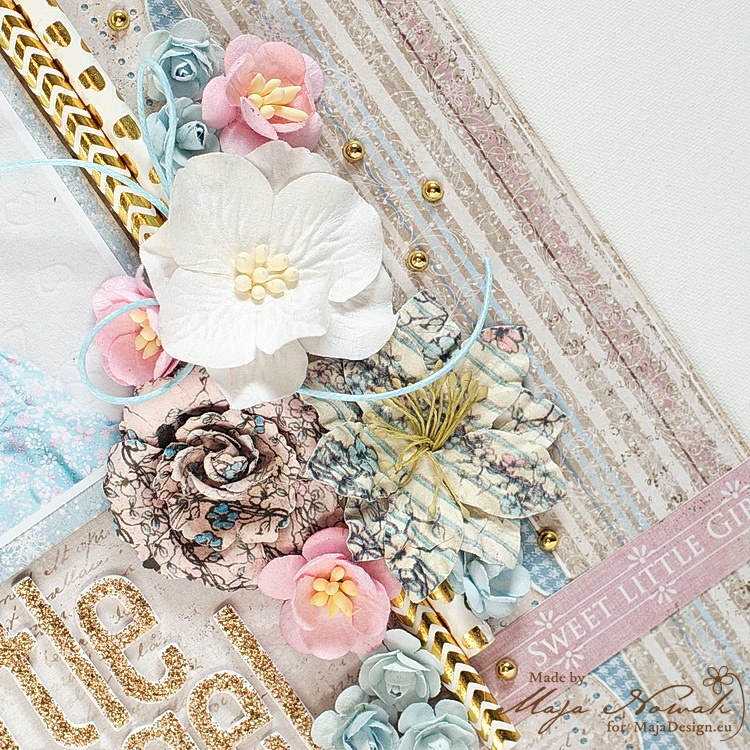
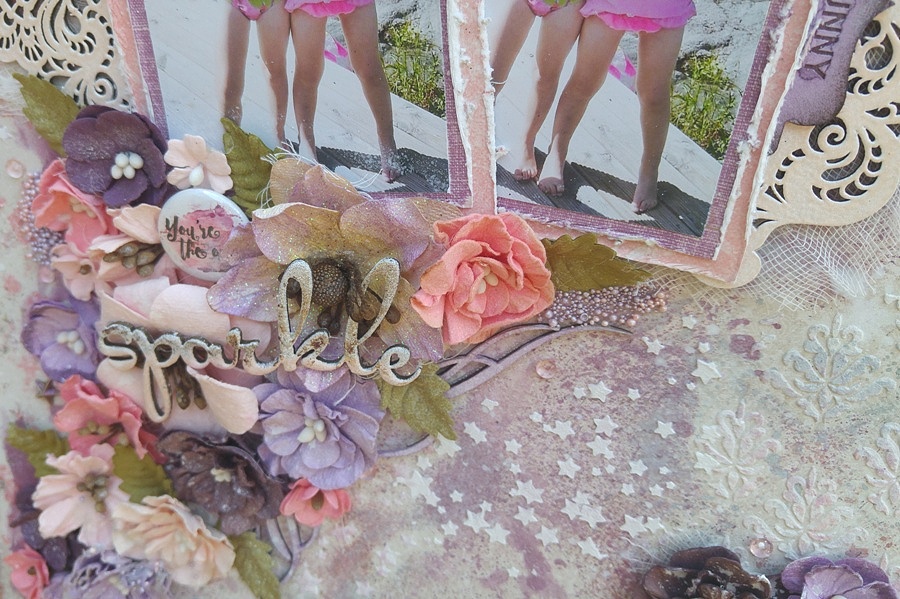
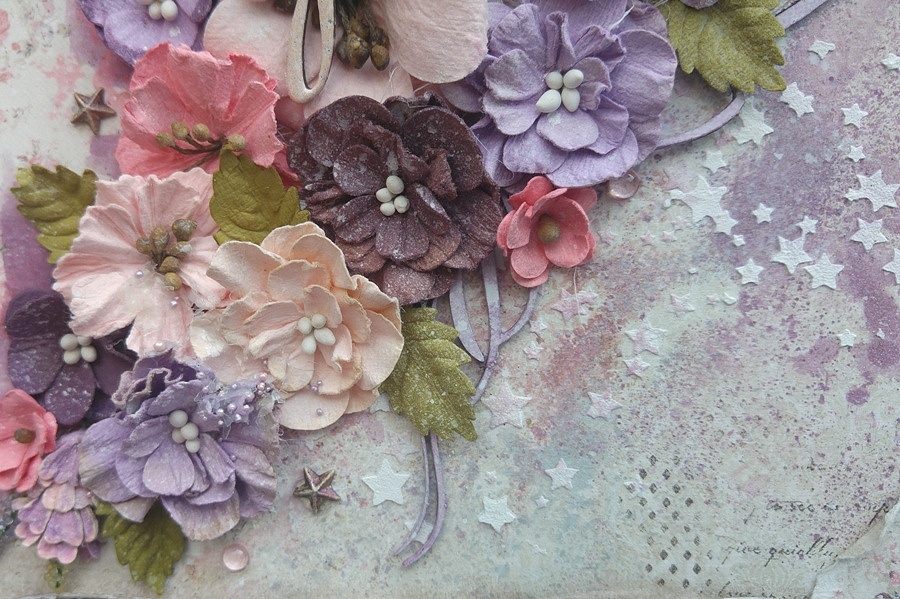
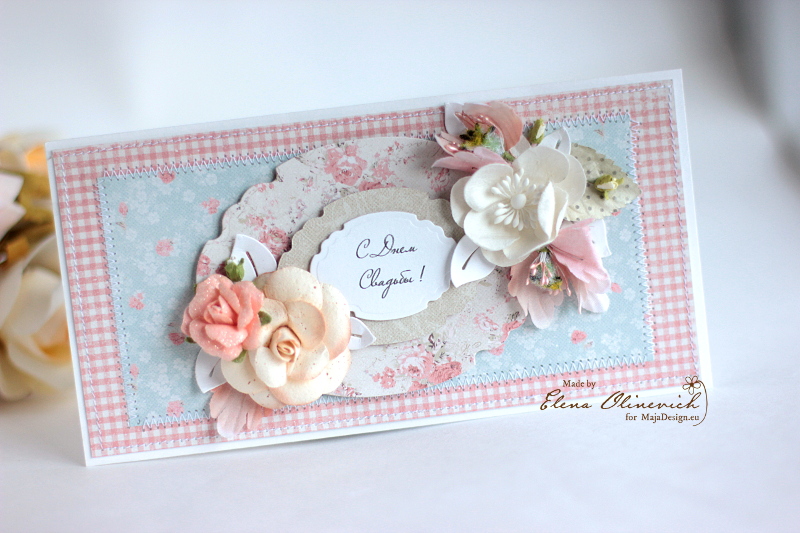
To finish off the piece, I used pearl adhesives, a simple ribbon and some coordinated Petaloo flowers. 

And that’s all there is to creating a unique and graceful card that is NOT traditionally shaped.  Ahhhhh makes my heart happy and my creative spirit dance.

 Thanks for your time today.  I value your visit.
 You can shop for Maja Design products here.
Jennifer-sign

Summer Wedding Cards

2

Posted by Elena Olinevich

18 August, 2017 - ,

Write a comment

Hello Maja Friends,

Elena is here with you today and I’ve a trio cards I made for wedding . It seems that wedding season is in my mind all the past 4 months. However I have a trio of cards I made with Summer Crush collection

Wedding_Gift_card_by_Elena_Olinevich_MajaDesign5

Yes, it’s not easy to create only one card. So I’ve got used to make several at once

Wedding_Gift_card_by_Elena_Olinevich_MajaDesign1

I played with the plaid background pattern and then using almost the same papers and the same dies made 3 cards

Wedding_Gift_card_by_Elena_Olinevich_MajaDesign3a

I like the soft colors this collection has and the summer feeling is definitely feels in them

Wedding_Gift_card_by_Elena_Olinevich_MajaDesign3

Wedding_Gift_card_by_Elena_Olinevich_MajaDesign1a

What I have focused this time on are the flowers white and peach pink

Wedding_Gift_card_by_Elena_Olinevich_MajaDesign2

Wedding_Gift_card_by_Elena_Olinevich_MajaDesign2a

Wedding_Gift_card_by_Elena_Olinevich_MajaDesign5a

Products used:

Spellbinders Oval Dies, Prima Marketing Flowers.

Hen Party – Funny card by Padoriaa

3

Posted by Paulina Monasterska-Tronina

17 August, 2017 - ,

Write a comment

Hello our blog fans 🙂 Some of you probably have seen my card with the funny picture “How to Merry a Millionaire” ? Inspired by Maja Nowak – and her girlish card with the Denim&Friends Collection I decided to make another funny card. Perfect for a Hen Party 🙂 Here is my proposal :Funny Card

I just love to make funny, layered cards without the flowers recently. Using metal dies to cut some add-ons. Adding chipboards from Scrapiniec, laces and string. Not much needed to gain a really spectacular result.

Funny CardFunny CardFunny CardFunny Card
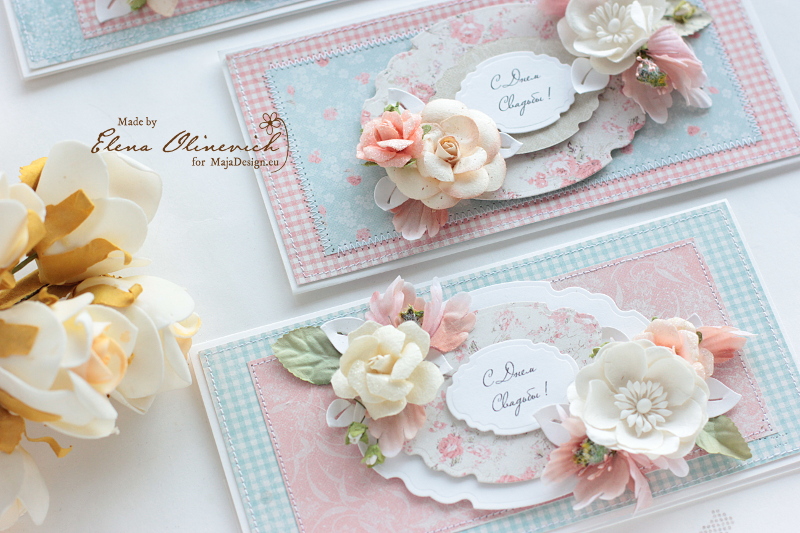
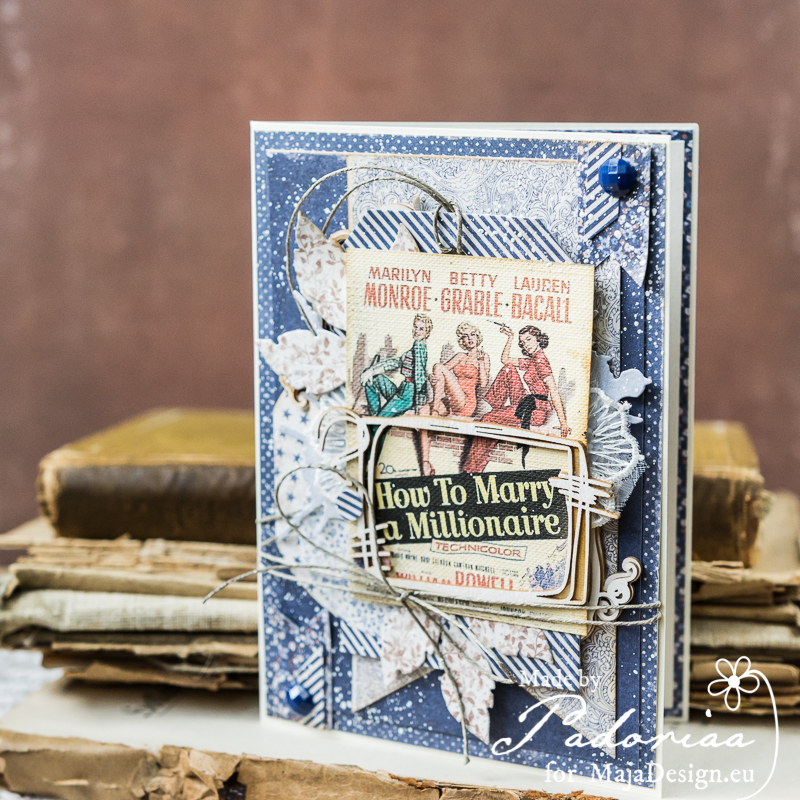
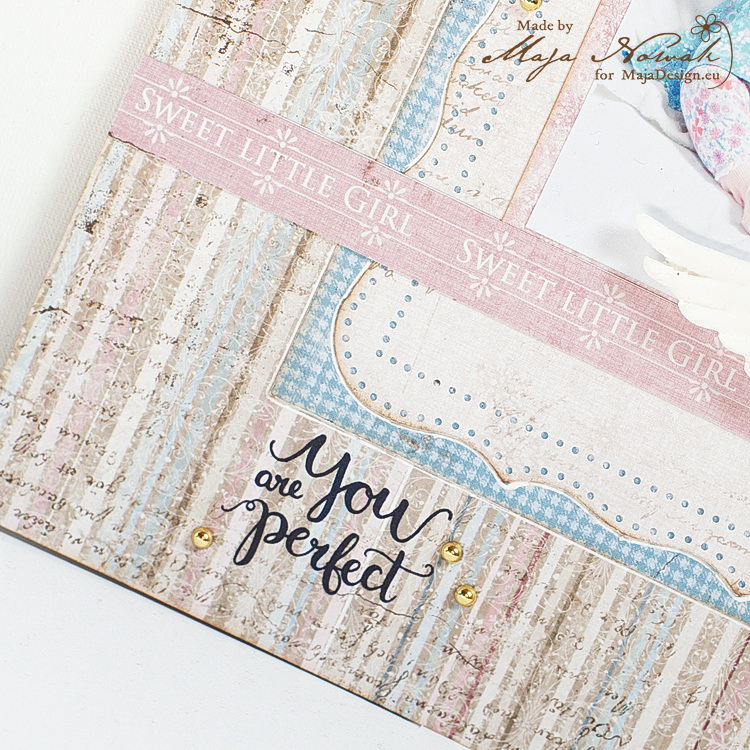
This collection is such an universal ! Making one project I already got a thousands of another ideas how can I use this paper ! Sound weird ? Let’s try to use it once and you will understand what I’m taking about. Hope you will like my project.

Thank’s for reading this post.  Many thanks for each comment and reaction.  It’s a pleasure to create something for you. Big pleasure.  Hugs, Paulina.

Denim-P

Padoriaa-sign


Little Angel

1

Posted by Maja Nowak

16 August, 2017 - , ,

Write a comment

Good morning, Maja friends, welcome to the blog 🙂

Today I have a sweet baby layout to share with you:

mdangel

I combined the Vintage Frost and Vintage baby collections to create a delicate girly layout with my sweet niece. I created a layered background placing a square in the centre of the striped paper and adding a punched decorative square on top. Then I added a die-cut doily as a decorative corner between the photos:

mdangel1

I matted the photos with papers and tags from the Ephemera sheet, and then adde a couple of balloons I cut out from the New Arrival paper:

mdangel2

The flower cluster includes paper straws with metallic foil patterns and gold metallic drops:

mdangel3

I made the title with foam sticker letters, embellishing the letter “a” with a molded angel wing and added a signature strip from one of the papers as a decorative border:

mdangel4

As a cherry on top, I stamped “You are perfect” in the lower corner.

mdangel5

I really love how the papers and patterns compliment the cute photos of the baby girl 🙂 What do you think?

And here’s the list of supplies:

Maja Design papers:

Other: letters: American Crafts; flowers: Prima, Wild Orchid Crafts, my stash; die: Prima; punch: Martha Stewart, mold: Prosvet; stam: ScrapBerry’s; paper straws, gold drops: mys stash.


See you later!

Maja-sign

Zapisz

You Sparkle Layout with Video Tutorial

1

Posted by Amy Voorthuis

13 August, 2017 - , ,

Write a comment

Goodmorning lovelies,

Today I have a another layout to share for this layout I used two pretty Maja Design collections “Enjoying Outdoors” & “Summer Crush” because both collections had the colors that I wanted to use for it which are purple/pink/peachy tones. This time I used another picture of Camilla her precious twins singing like two little diva’s. My post was for last Friday but I was really busy adding this video so I was not ready in time so I stole this Monday to post with approval of Camilla ofcours hihihi.

20170812_141615.100jpg

Oh this was such a fun layout to make I do have my favorite Maja Design collections and those are not on top of my list but I have to say I think now I will take them out more often. With my precious 49 and Market flowers it is easy to transform your layout in a flowers sea of gorgeousness. As you will see in my video I made this layout through out the day as the light changes during the movie. Have fun watching 😉

Hope you enjoyed my second video ever thank you so much for watching now for the closeups:

20170812_141423

20170812_141600

20170812_135109

Don’t you just love these colors together I love the purple and pink /peachy but I never use them like this. I do intent to get out my green/blue papers and flower more do not know why that is tho…..although purple is my favorite color I almost never use it lol

20170812_135350

20170812_141442

20170812_135614

On this layout I did some watercoloring but not with a brush but with a piece of plastic….the finishing touches that I have done on this layout are not in my video as I do intent to alter my layout when it is already finished {before I take my pictures}

20170812_135343

20170812_135401

20170812_141458

Maja Design papers used:

Summer Crush: Met her at the dance & He gives her flowers

Enjoying Outdoors: Having tea in the sun & Time for reflection

                  He gives her flowersMet her at the danceHaving tea in the sunTime for reflection bs

The answers to my questions with my second last post are :

Project 1: I used I wish, Vintage Summer Basics and Denim and Friends

Project 2: I used Vintage Summer Basics, Vintage Spring Basics, I Wish and Nyhavn

Project 3: I used Vintage Spring Basics and Nyhavn

Project 4: I used Vintage Summer Basics

The winners are announced on my my blog here ==> Amy’s Pretty Papers <===

Thank you for visiting the blog today and I would like to wish you all a wonderful week, vacation time and so much more. Hopefully I will see to back on my next post 😉

Love

4