Special Guest Designer – Bev Rochester

2

Posted by Carita Ruckman

16 January, 2017 - , , , ,

Write a comment

Hello there, I’m Bev Rochester and hail from the North East coast of England.  I was tickled pink to be asked to be a guest designer for Maja Design.  I’ve been crafting for years but have concentrated on papercrafts this past 7 or 8 years.  I’m very lucky in that I have a dedicated craft room (my hubby converted the garage and utility room for me) so have all the space I need to collect more craft stash than I will ever use!

Bev-Rochester

My style has evolved over the years and I’m finding myself more drawn to soft, pretty and vintage colours, papers and embellishments and Maja papers are perfect for all things soft, pretty and shabby.

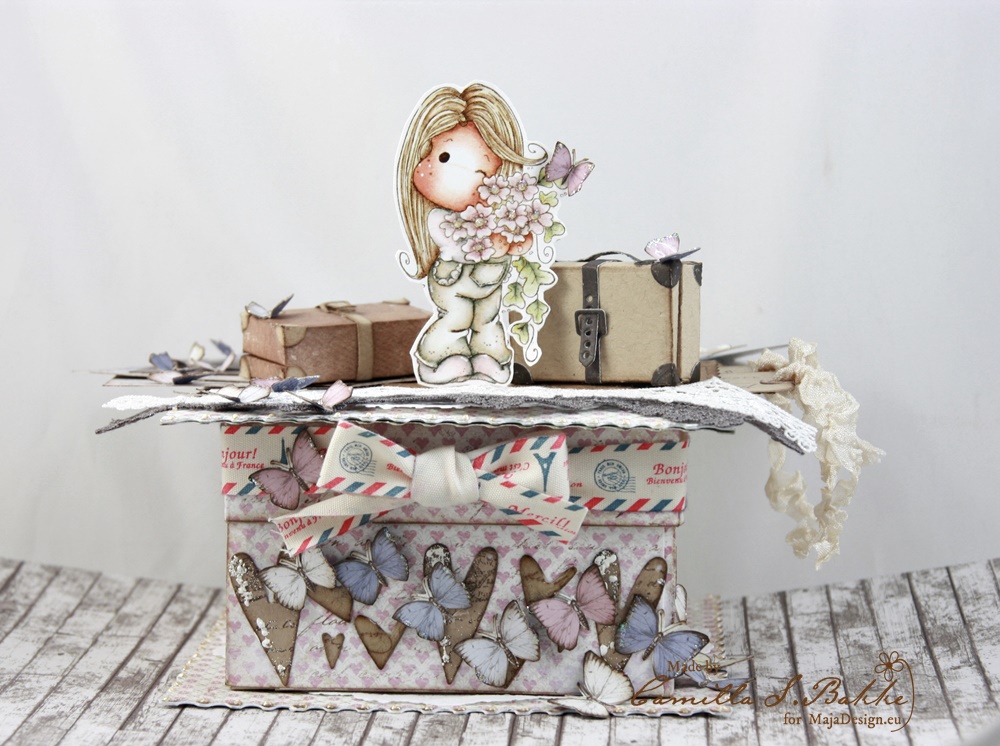
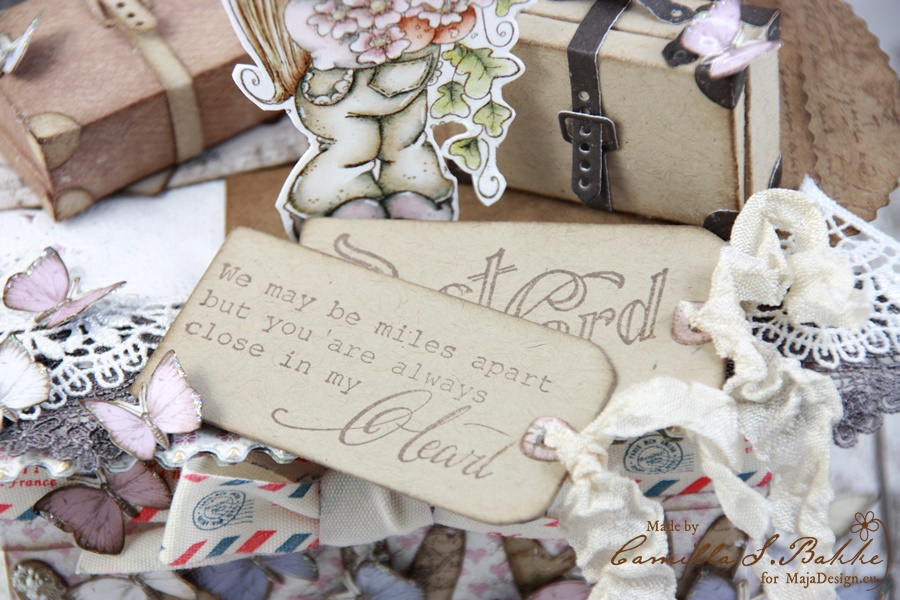
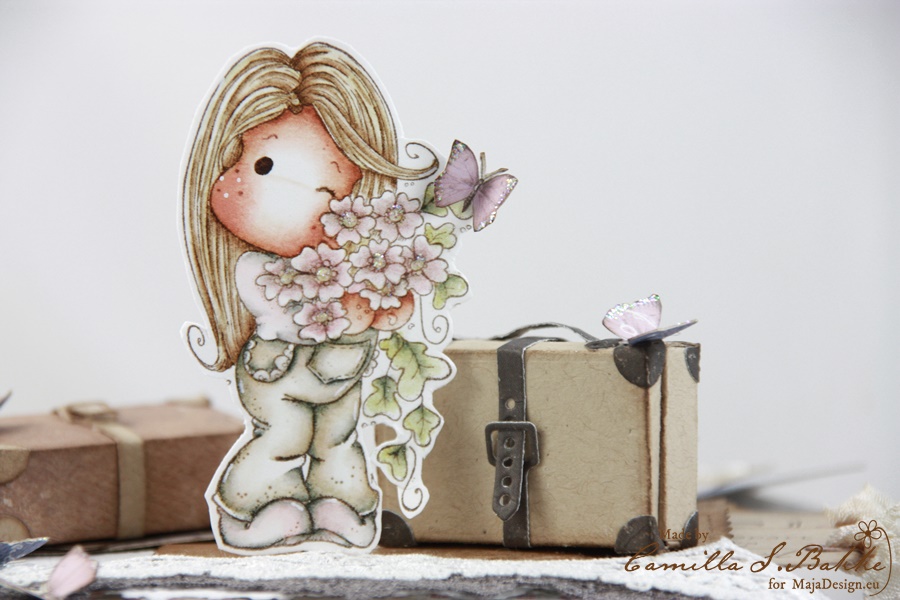
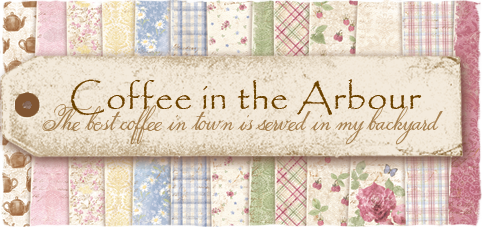
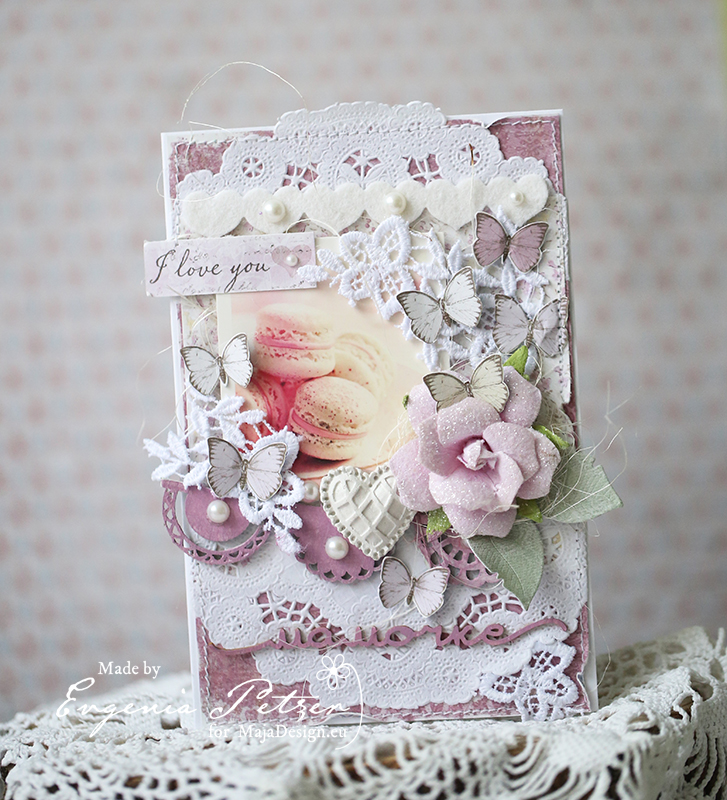
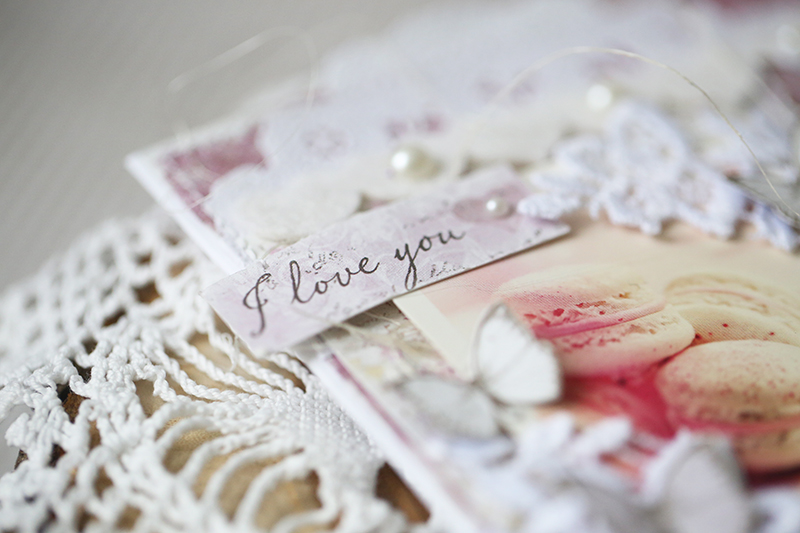
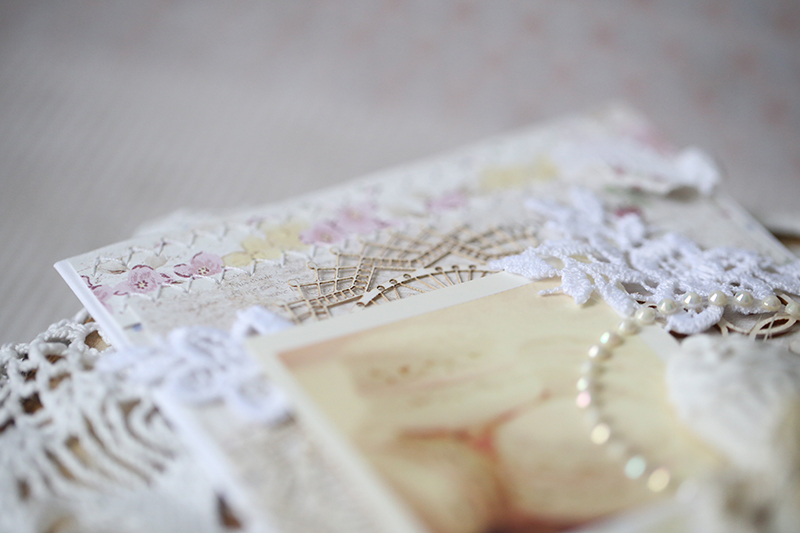
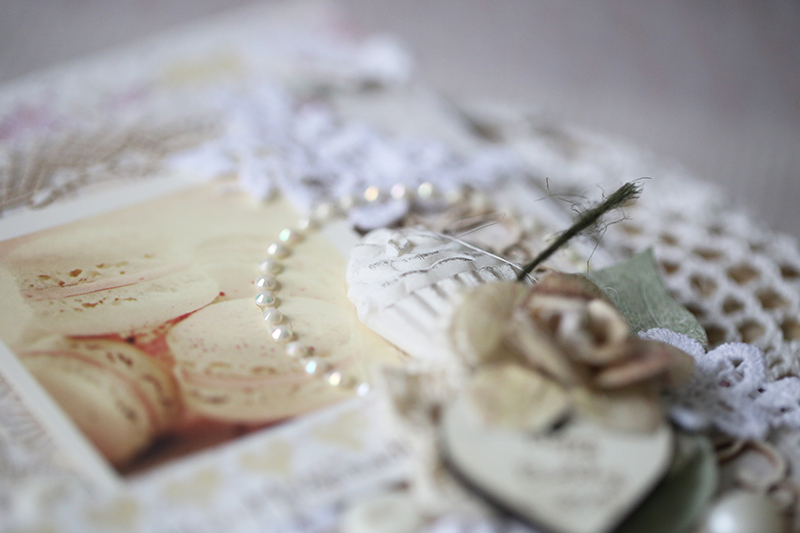
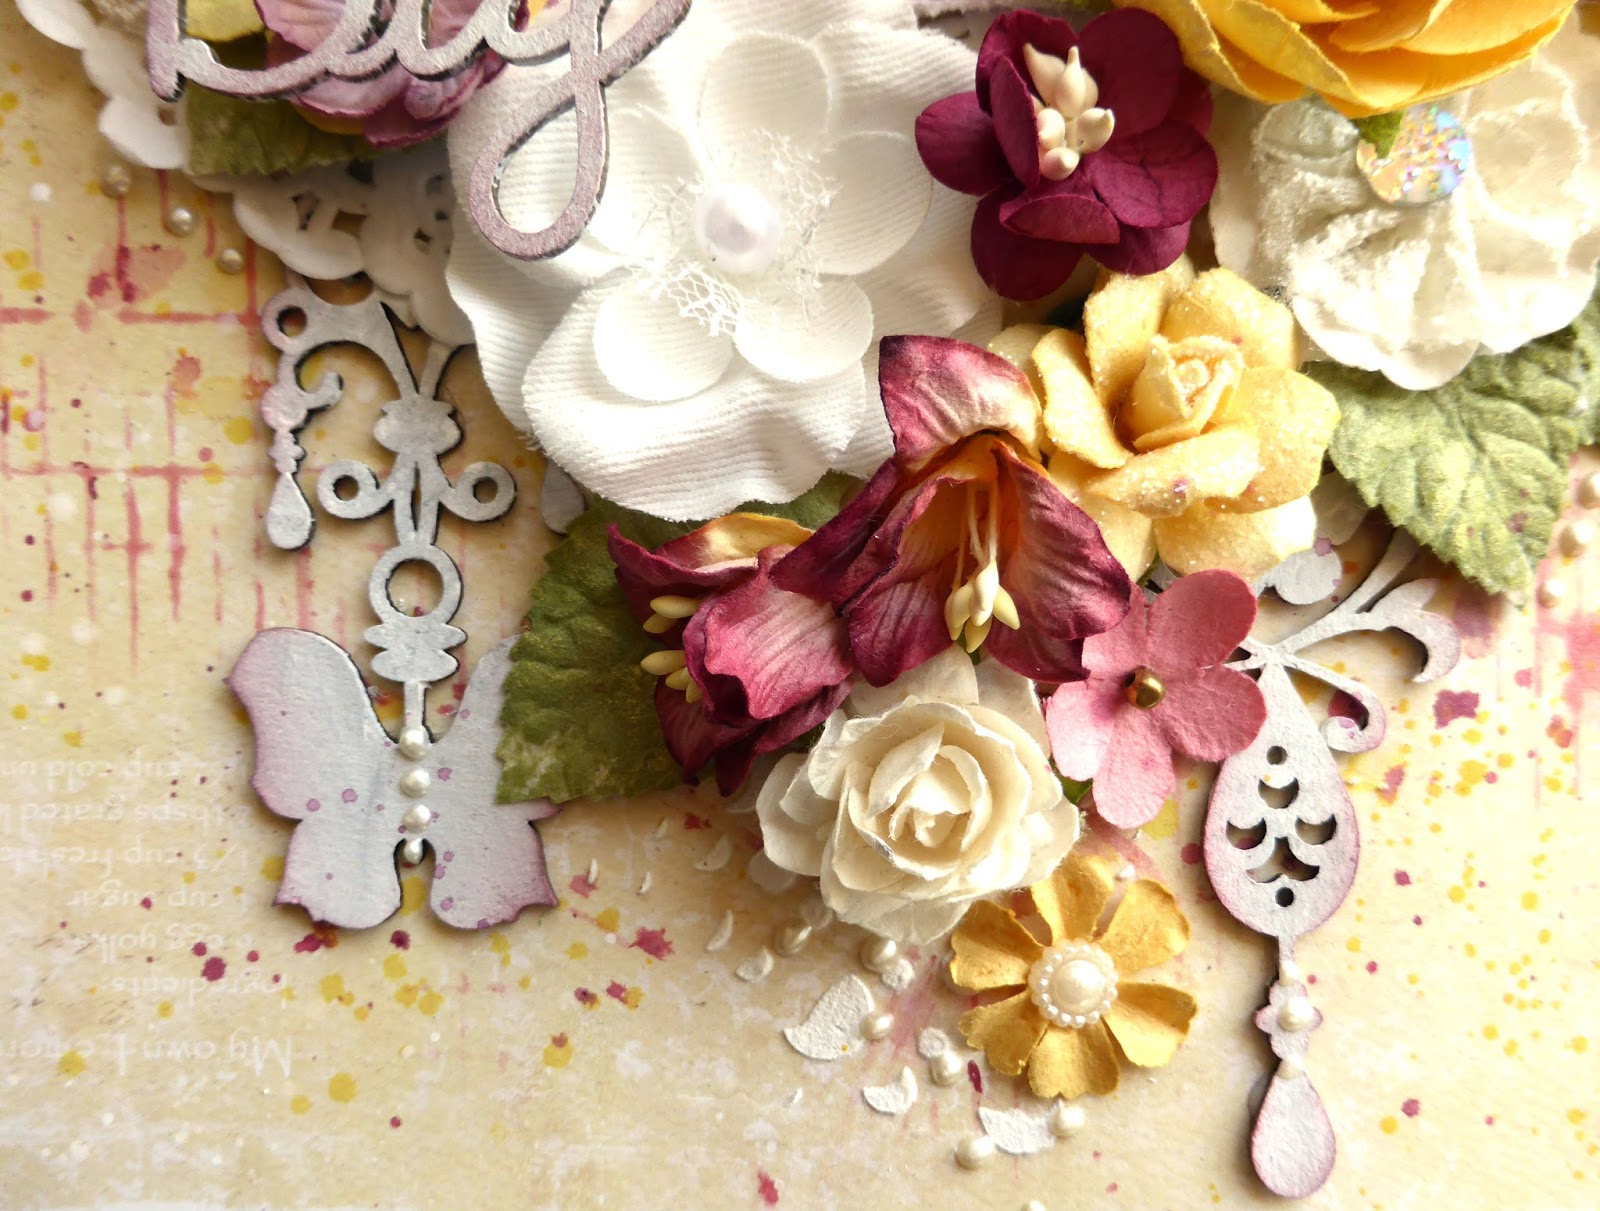
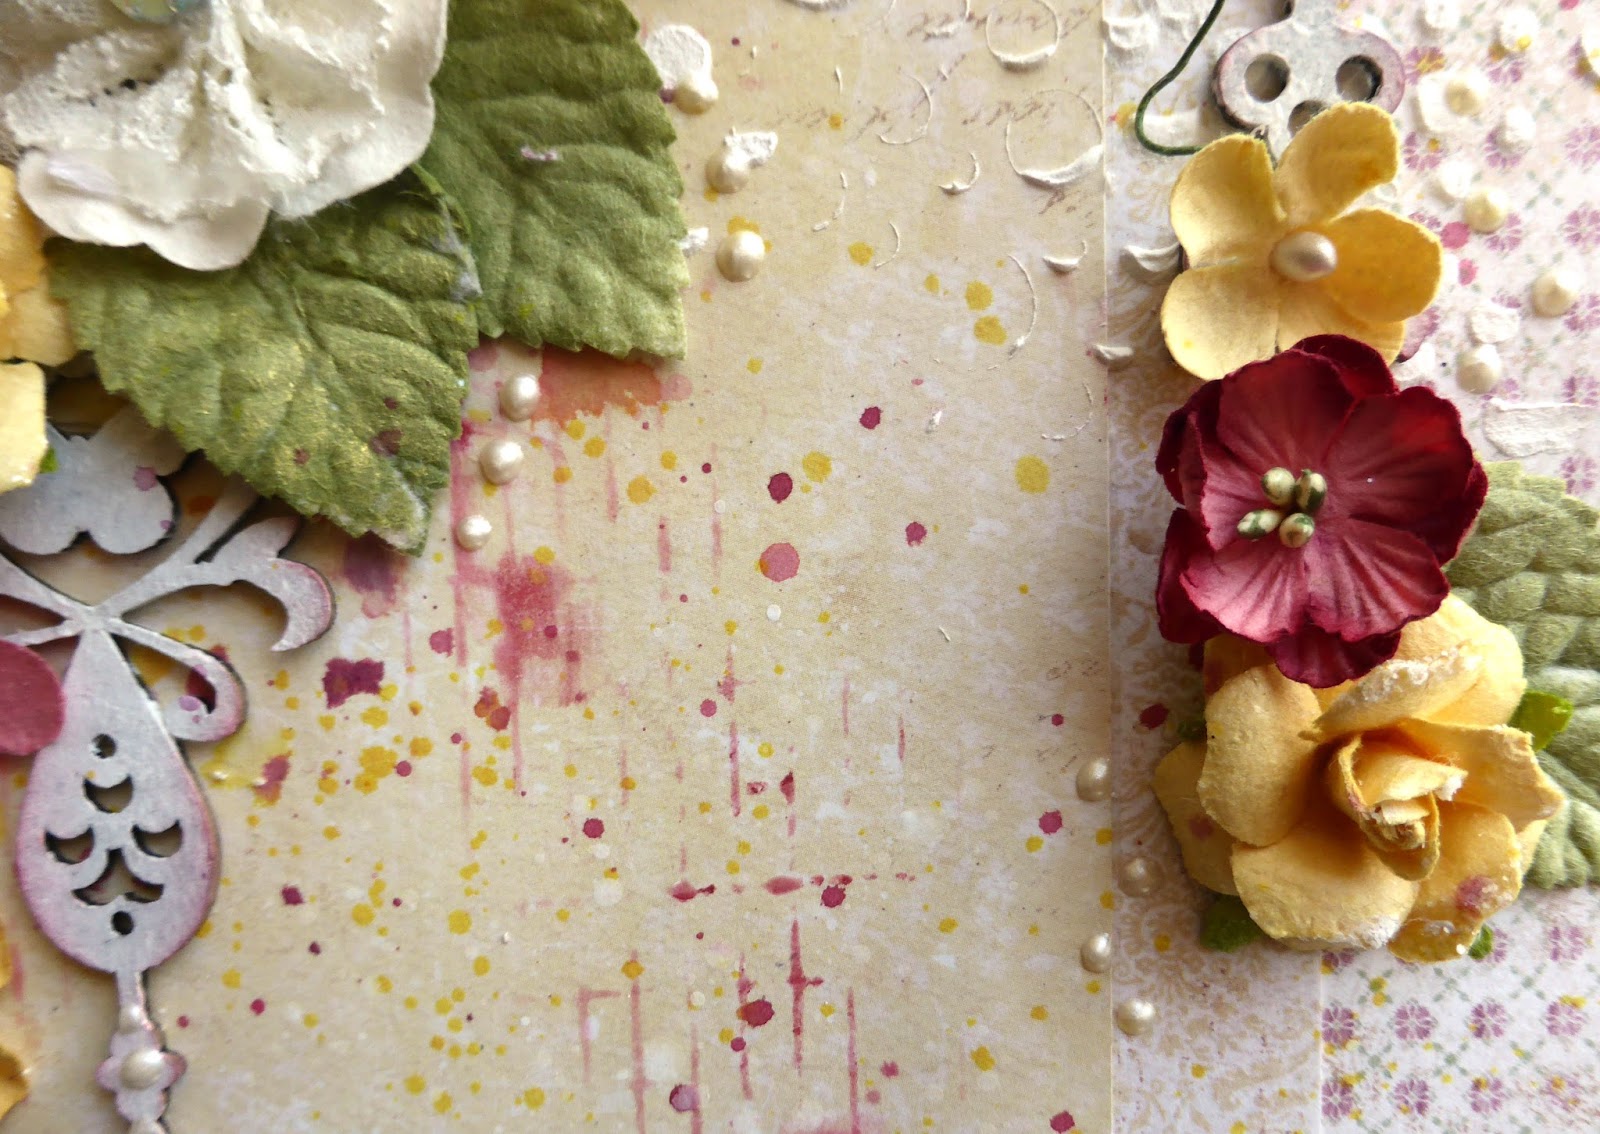
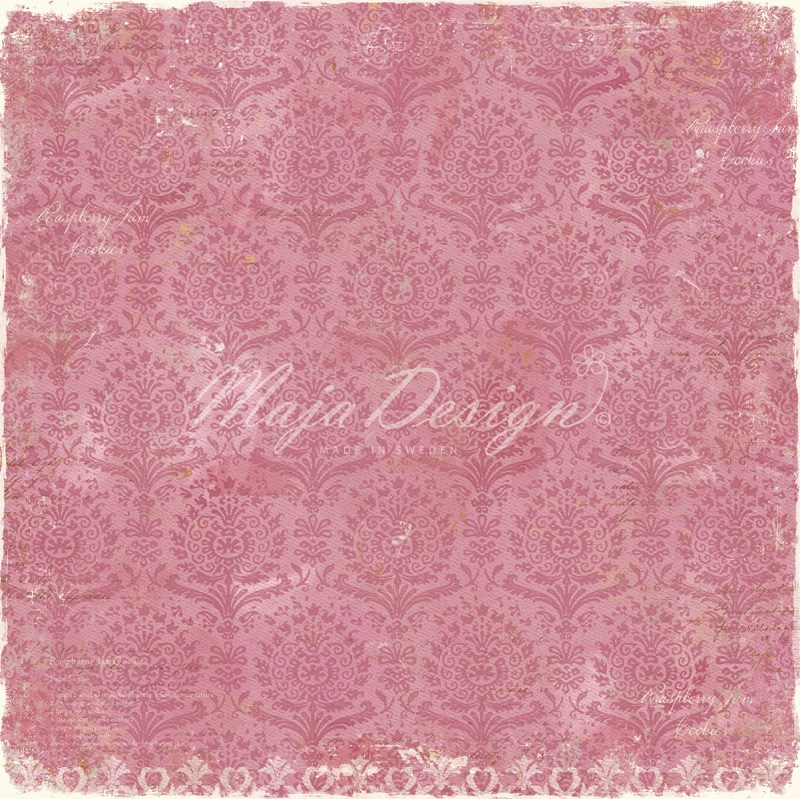
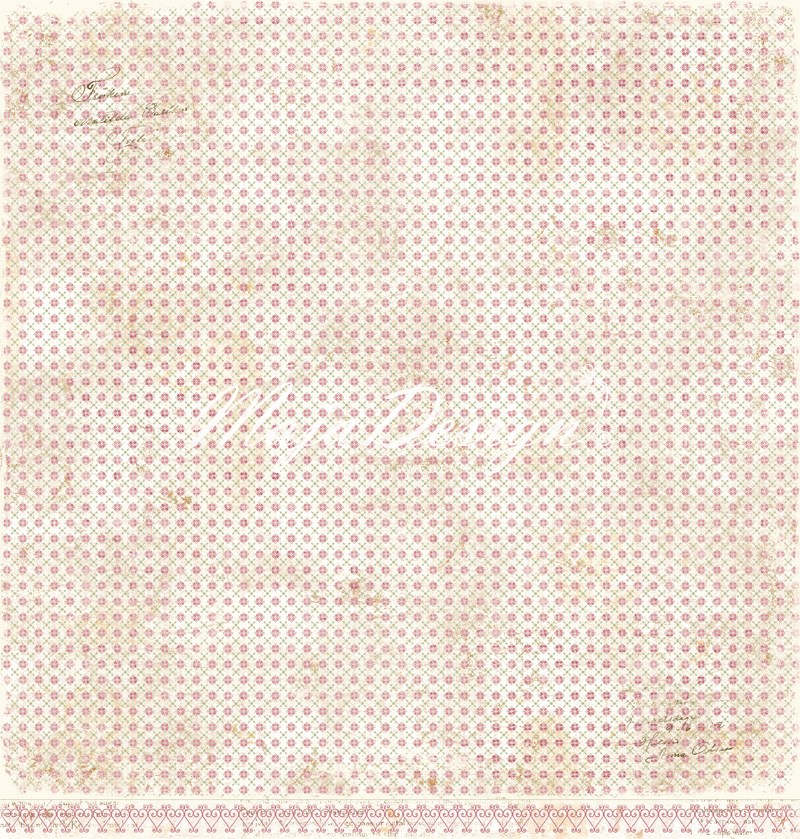
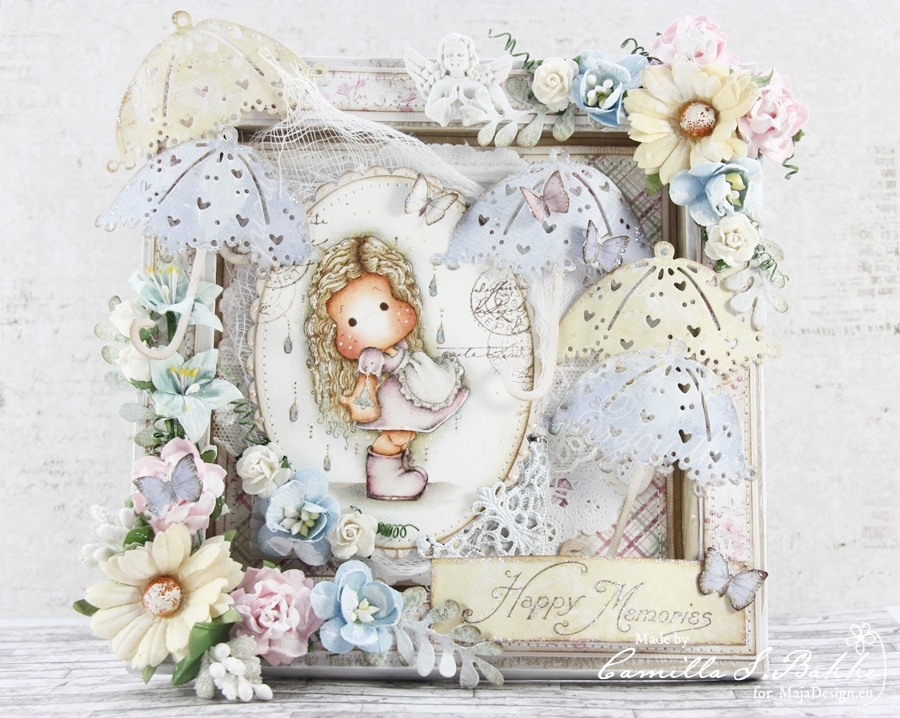
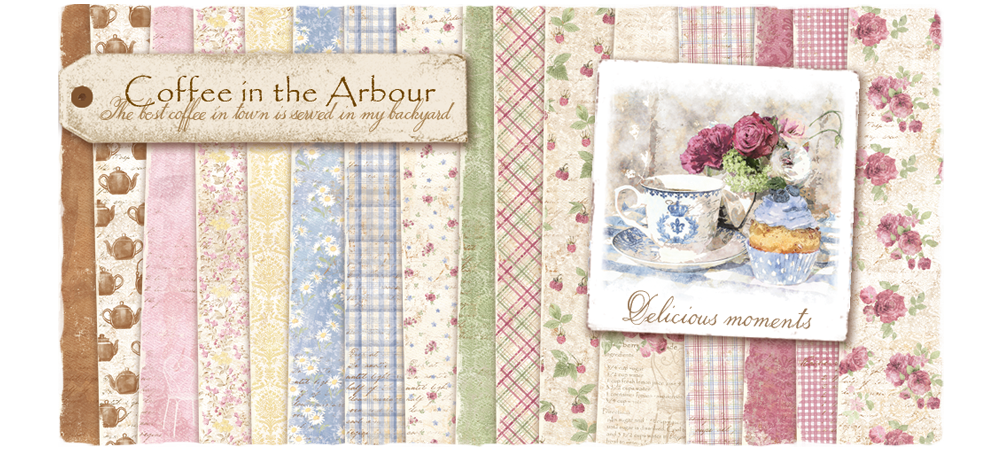
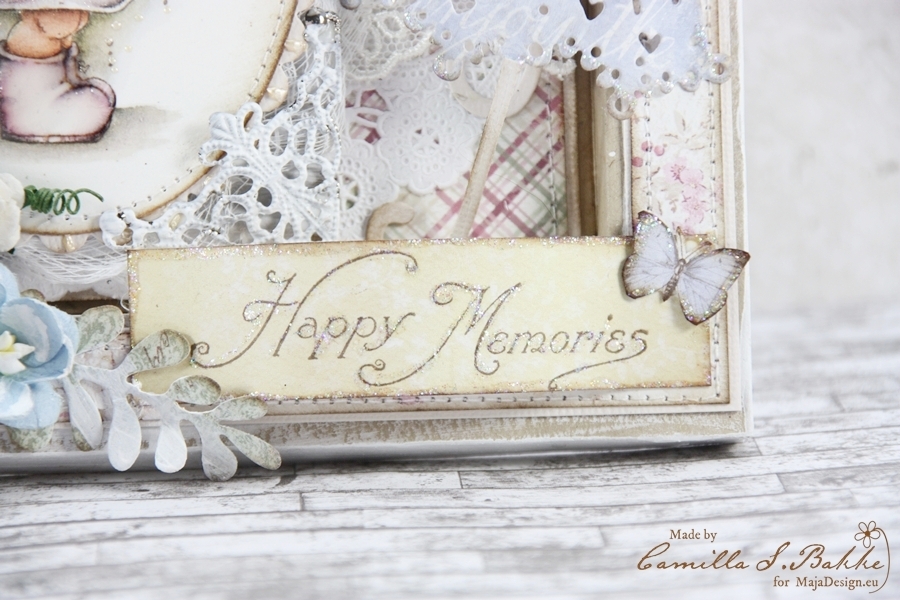
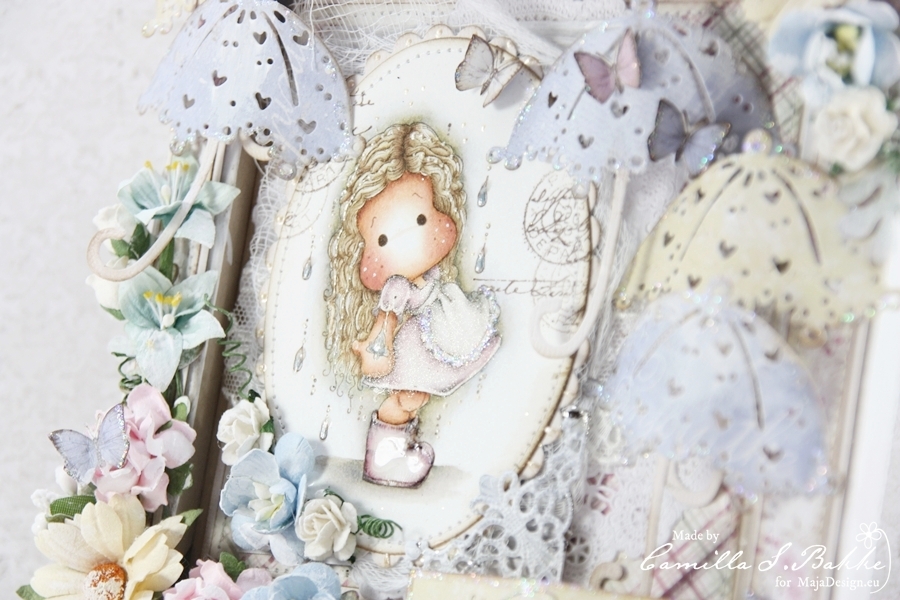
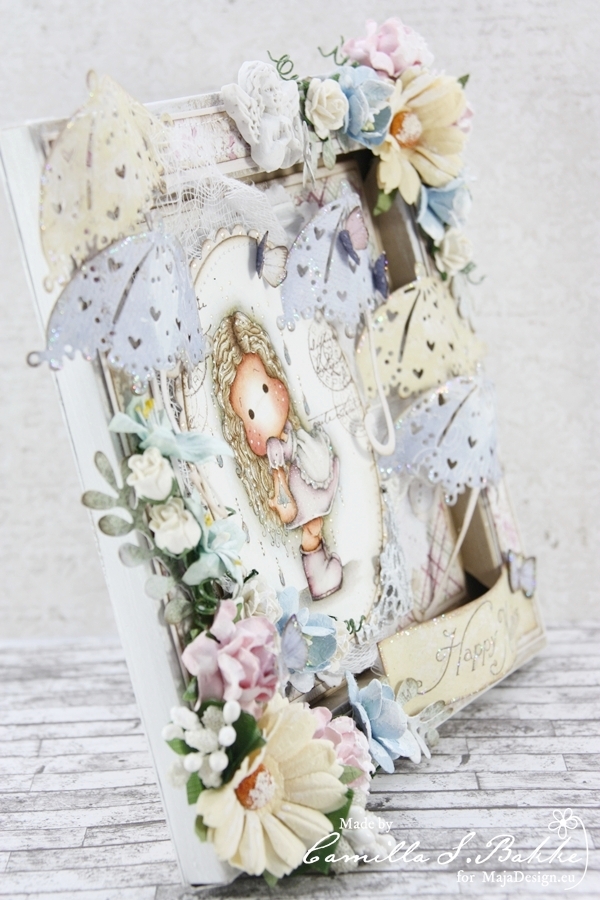
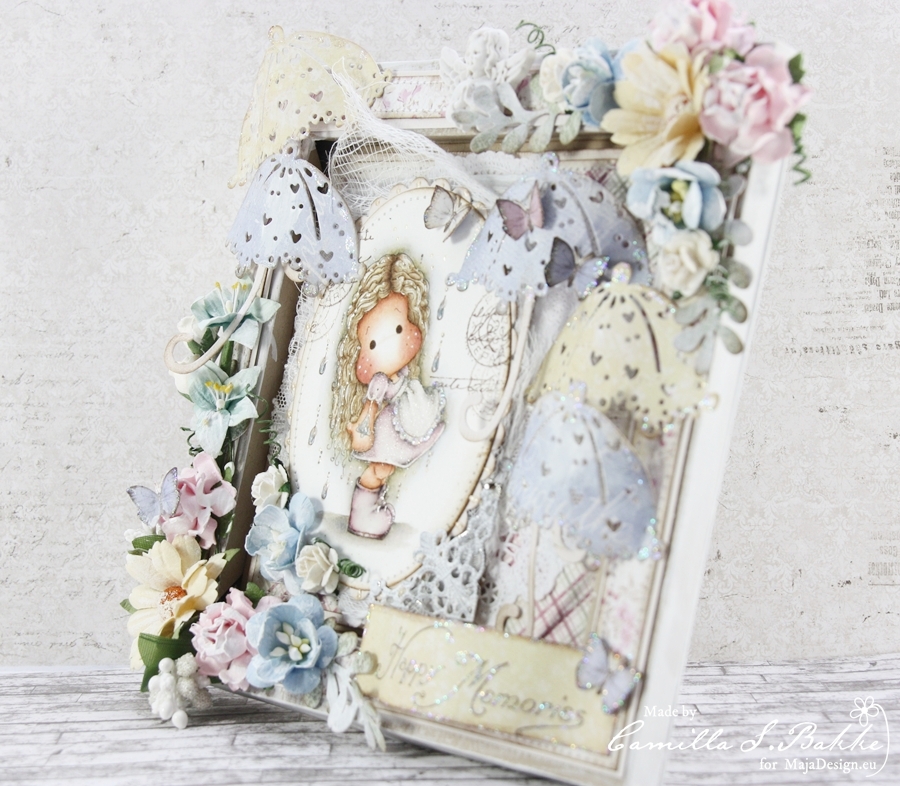
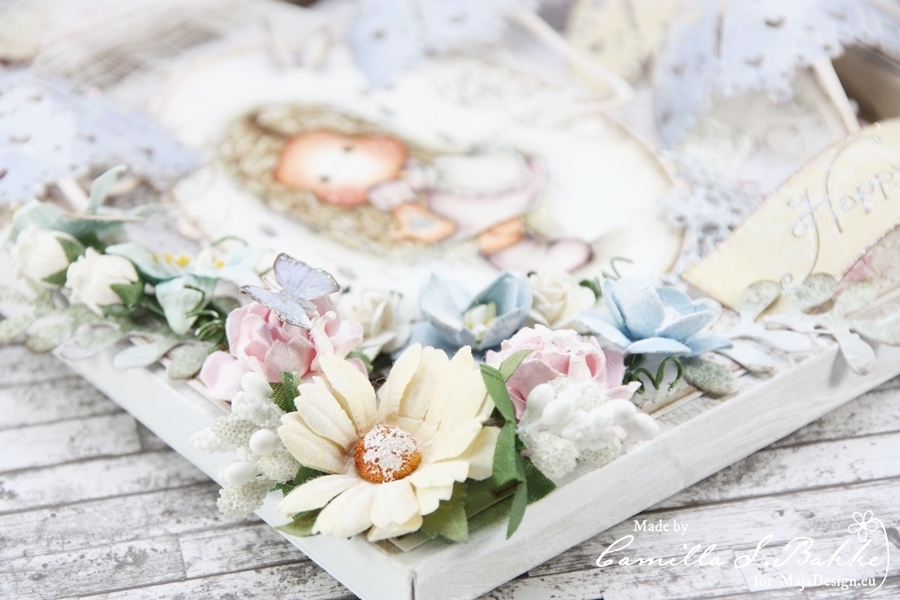
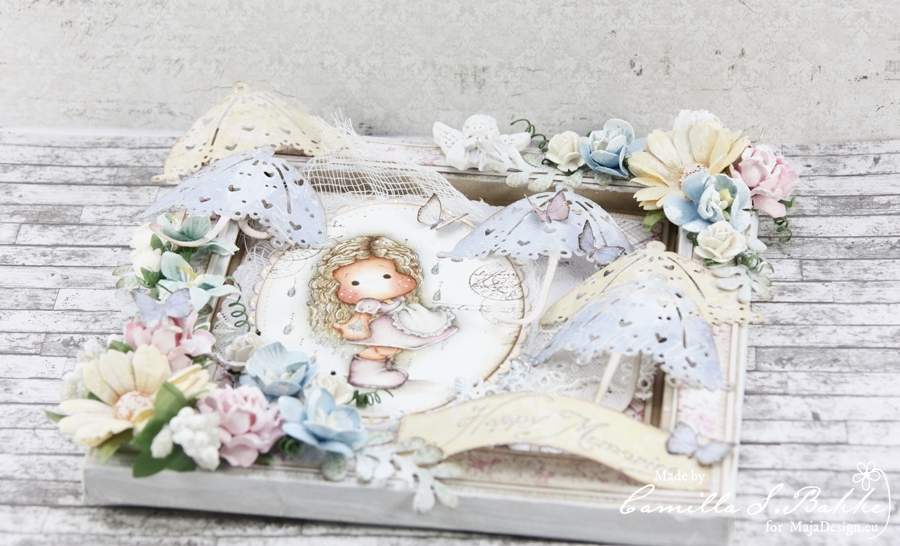
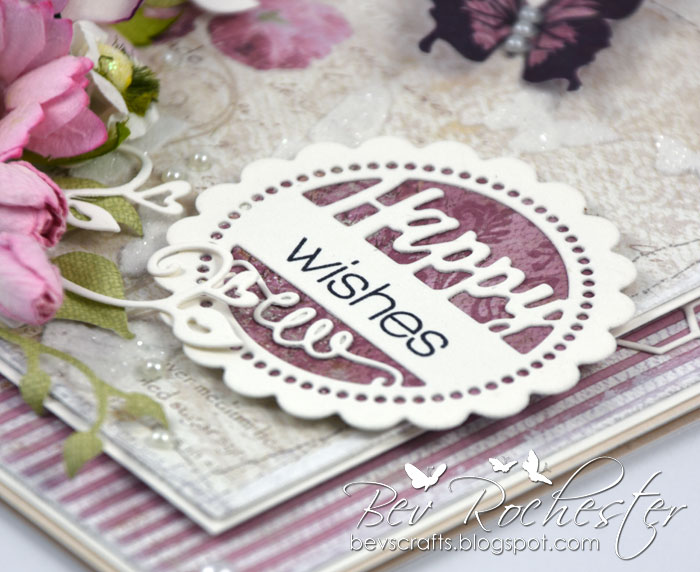
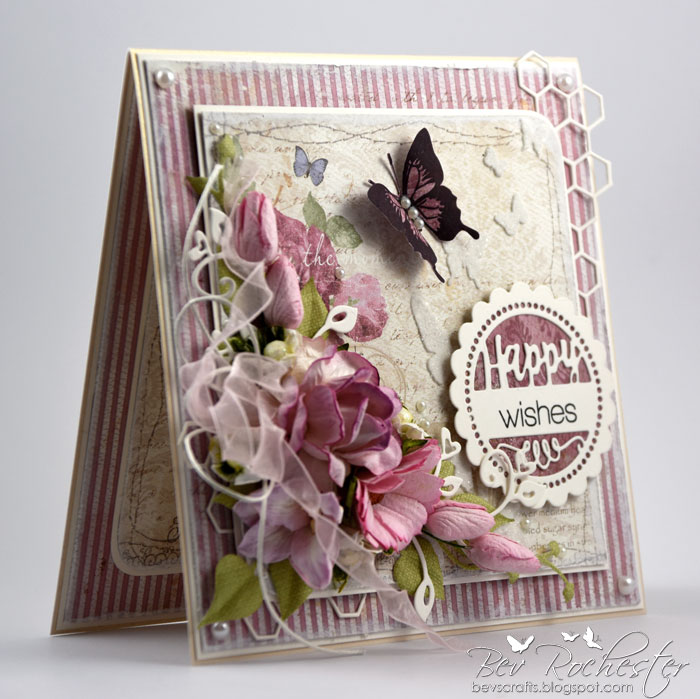
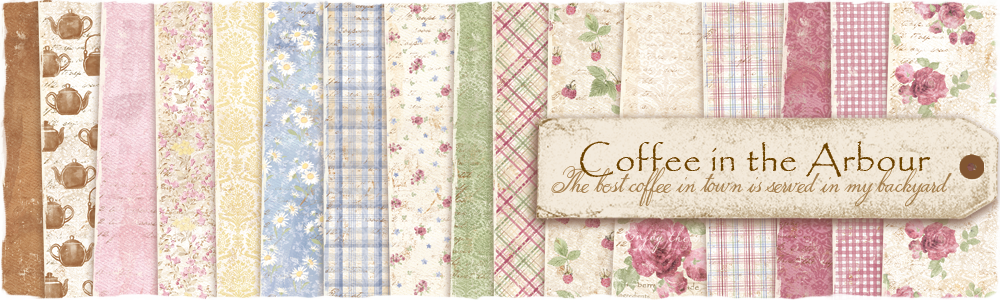
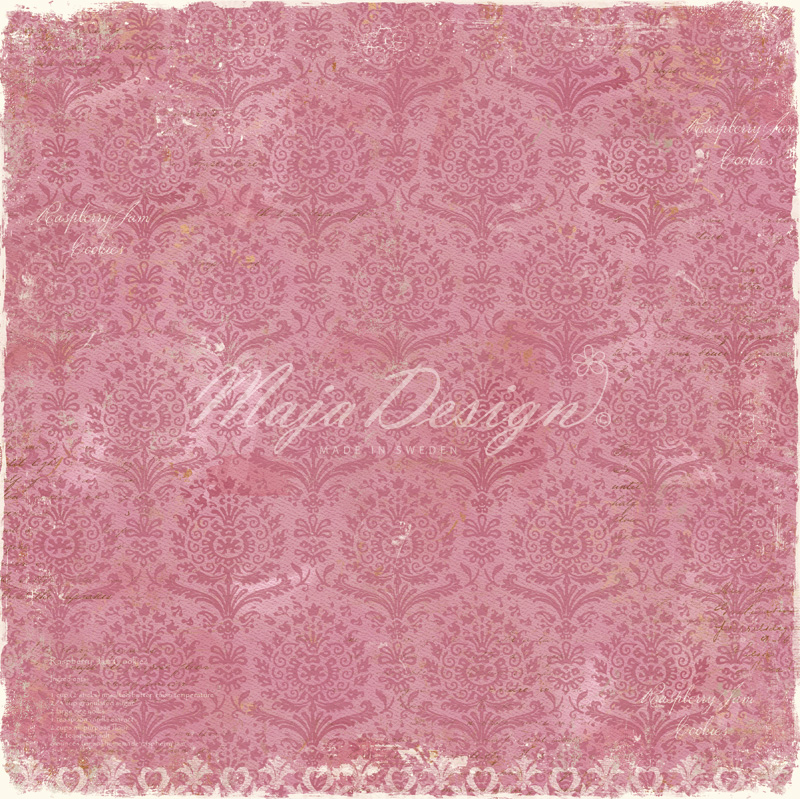
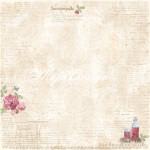
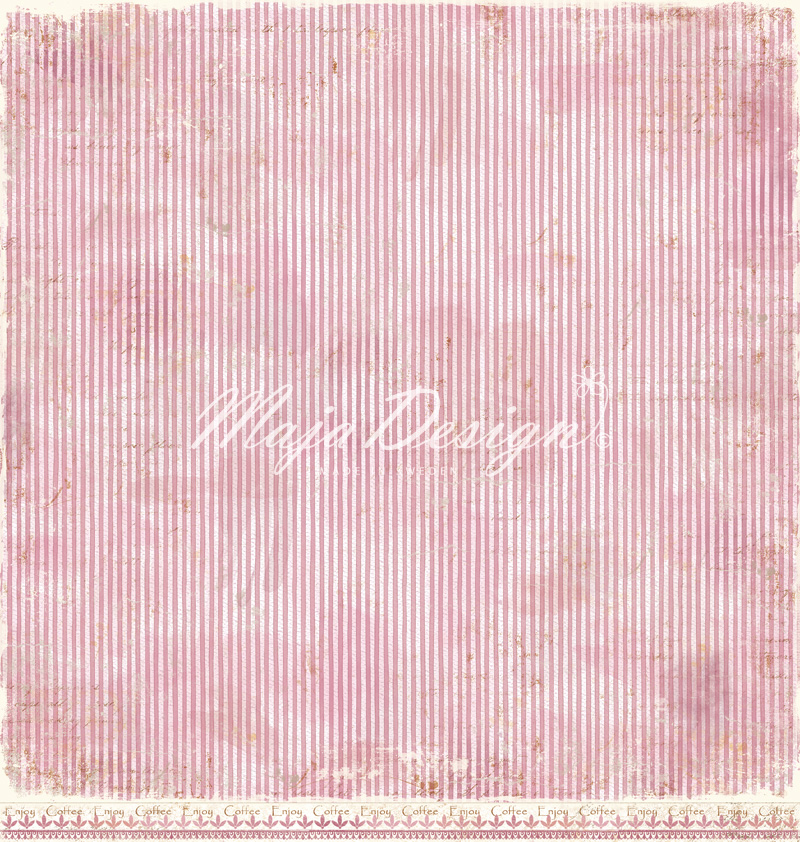
For my first card I worked with the Coffee in the Arbor collection – perfect for a pretty shabby chic card.  The sheets used are Raspberry Jam Cookies, Raspberry Cupcake and Raspberry Lemonade.

bev-rochester-maja-coffee-in-the-arbor1

I used dies and stamps from Whimsy Stamps, Rosy Owl and Magnolia and flowers from I Am Roses.

I also used a butterfly stencil from Whimsy Stamps with embossing paste and glitter to add texture to the card.

bev-rochester-maja-coffee-in-the-arbor3

And of course a card is not complete unless you carry the pretty through to the inside 🙂
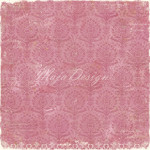
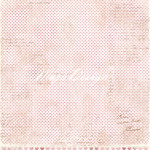
bev-rochester-maja-coffee-in-the-arbor4 bev-rochester-maja-coffee-in-the-arbor5

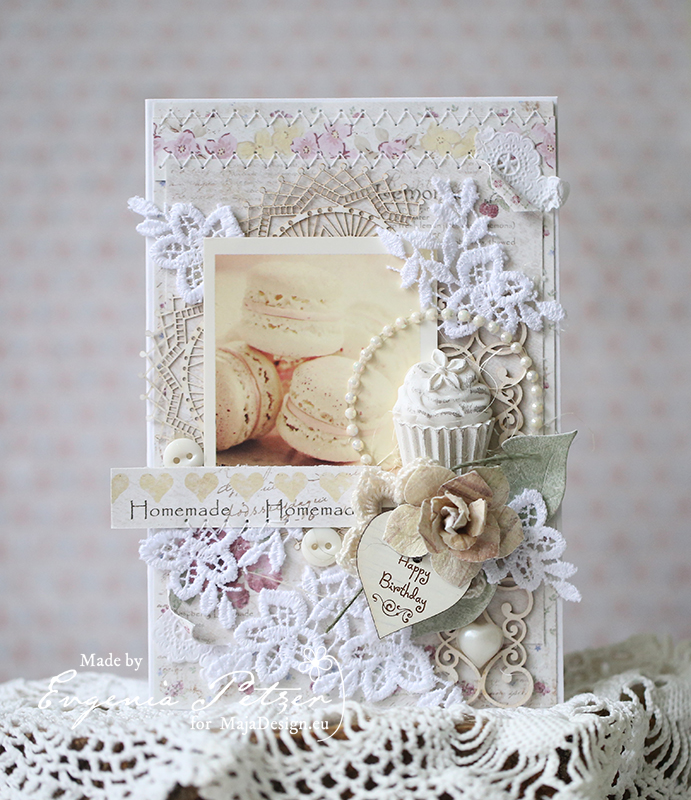
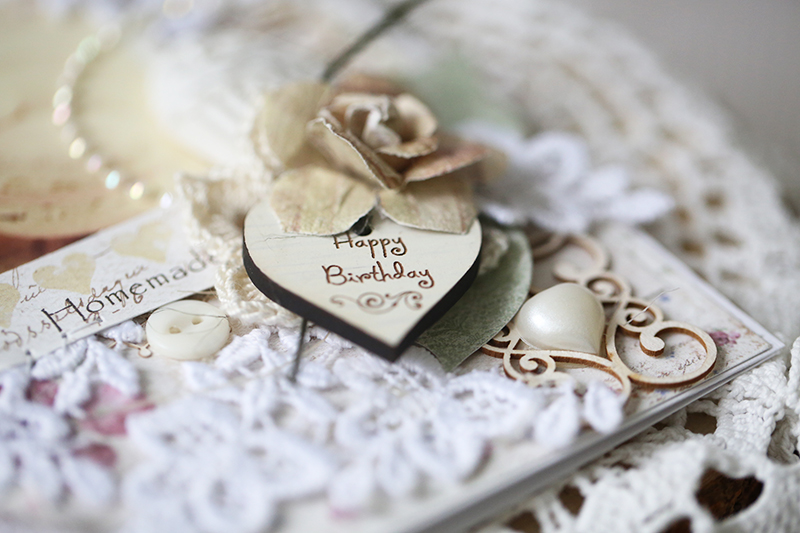
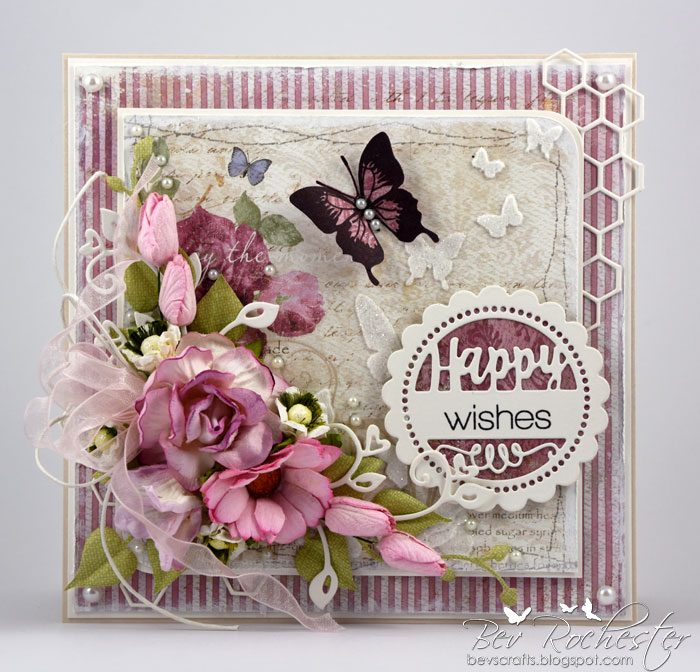
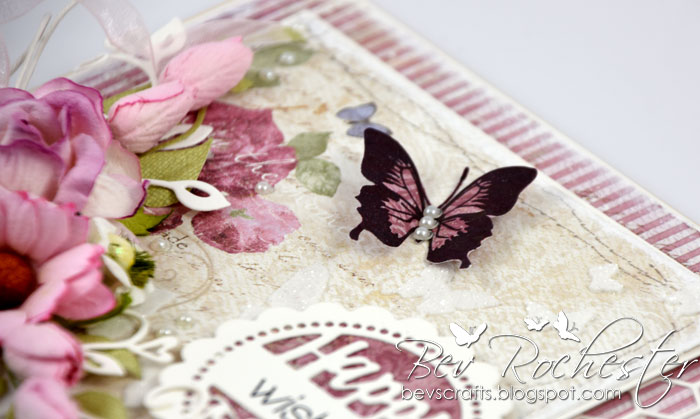
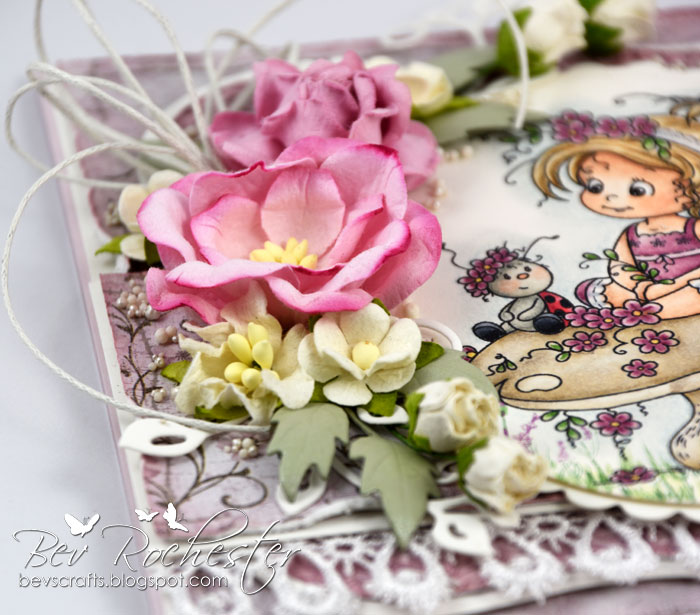
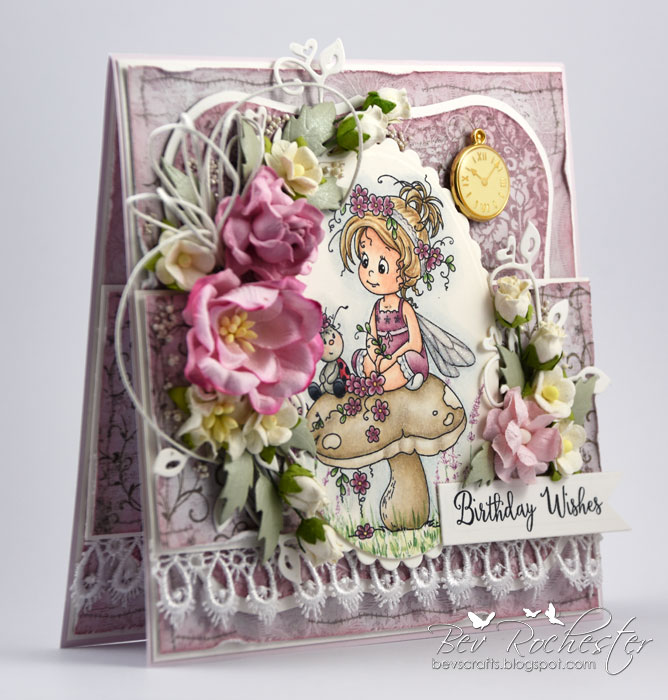
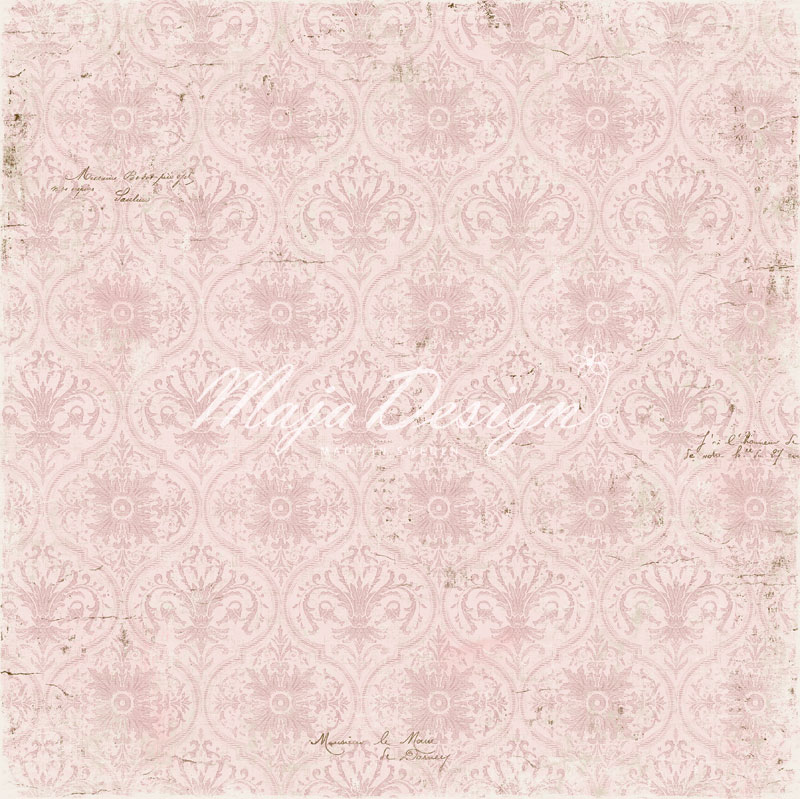
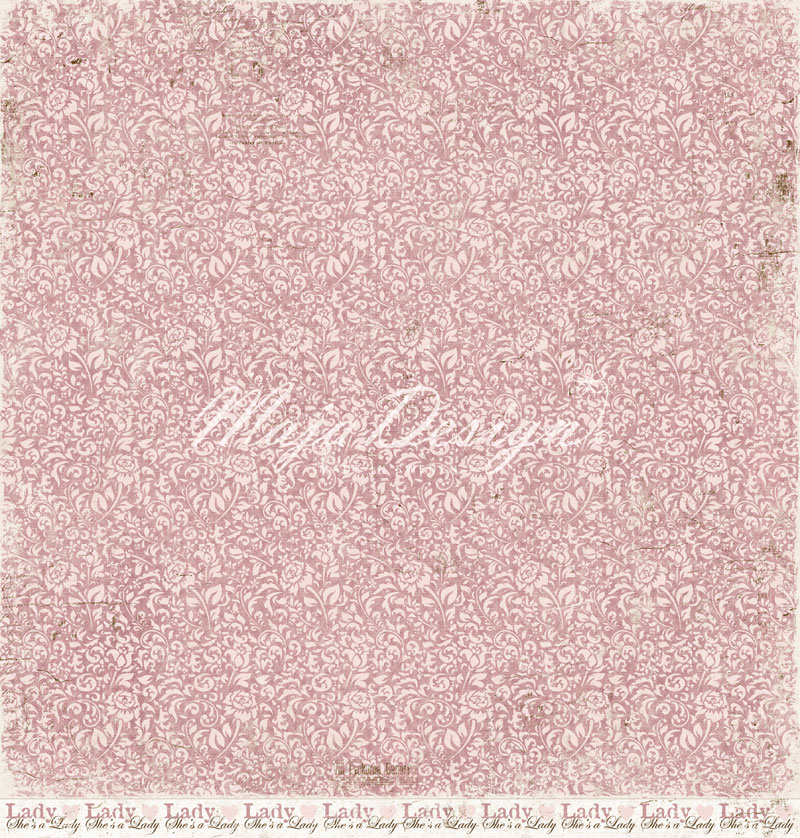
For my second card I went back to my first love and did some stamping and colouring to pair up with the exquisite Vintage Romance papers.   The papers I used are Passion, She’s My Lady and Just You & Me.

bev-rochester-maja-vintage-romance1

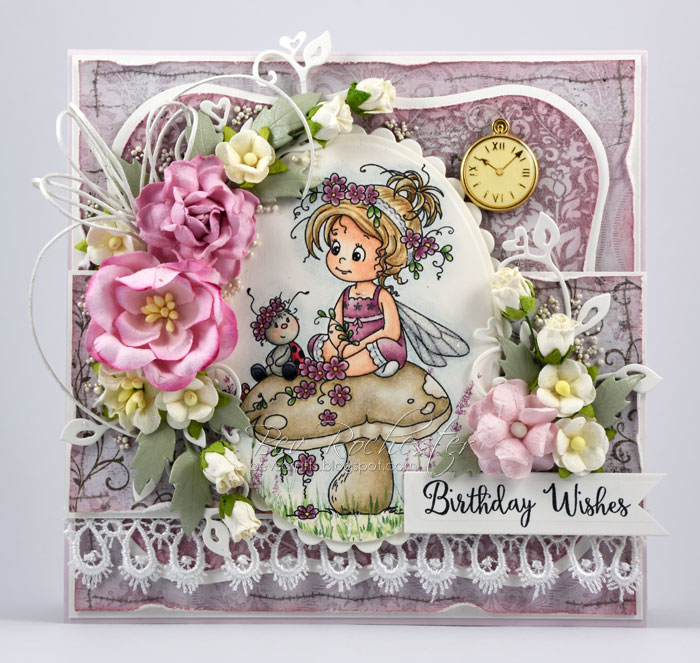
I used Spellbinders, Rosy Owl, Magnolia and Whimsy Stamps dies as well as stamps from Whimsy Stamps, flowers from I am Roses.  I used a faux stitches stamp around the edges of the paper.

bev-rochester-maja-vintage-romance2

Again I’ve carried the design to the inside of the card with these gorgeous vintage papers.
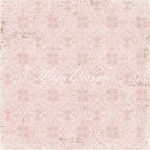
bev-rochester-maja-vintage-romance4

Vintage-Romance-P

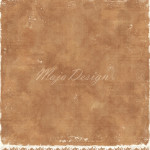
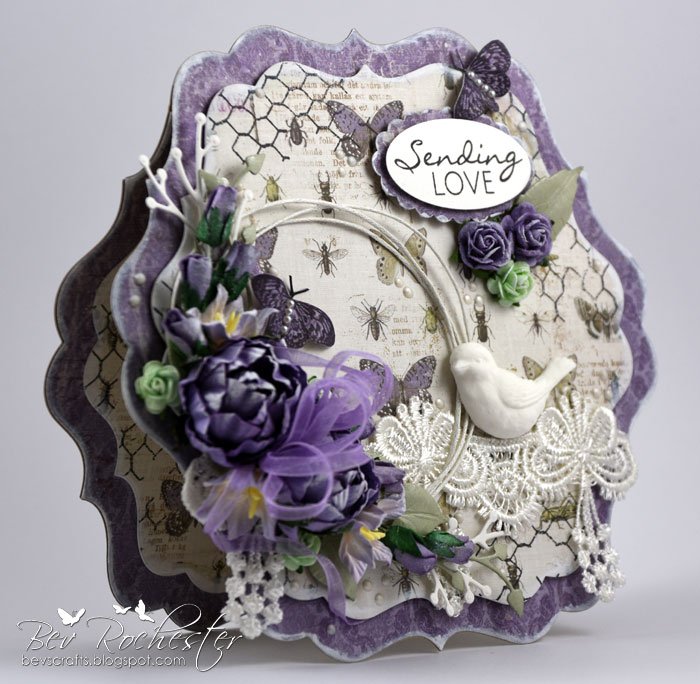
For my final project I used the absolutely gorgeous Sending Love collection.  I used Enjoying Outdoors, Garden Creatures and I’m Happy.  Oh my goodness!  The colours in this collection are … I have no words except to say that this is my favourite collection.  Just beautiful!

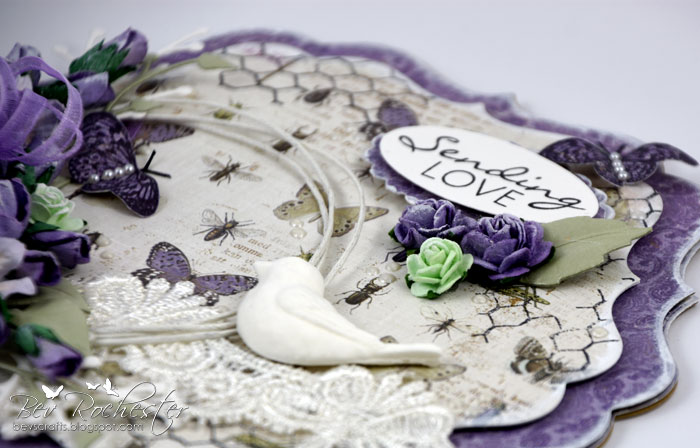
I decided to make a shaped card, the base is die cut with a Tattered Lace die set.  I stamped a chicken wire stamp randomly on the top layer, it works so well with the outdoor theme of the paper collection.

bev-rochester-maja-sending-love1

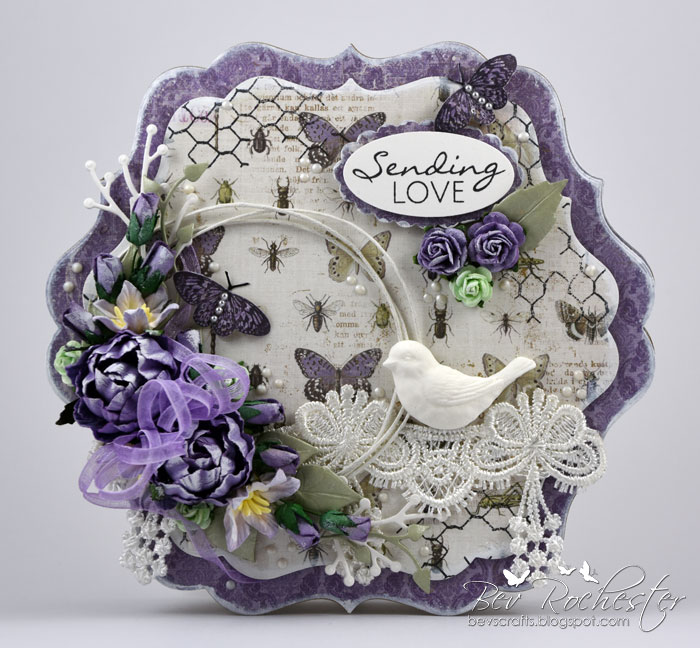
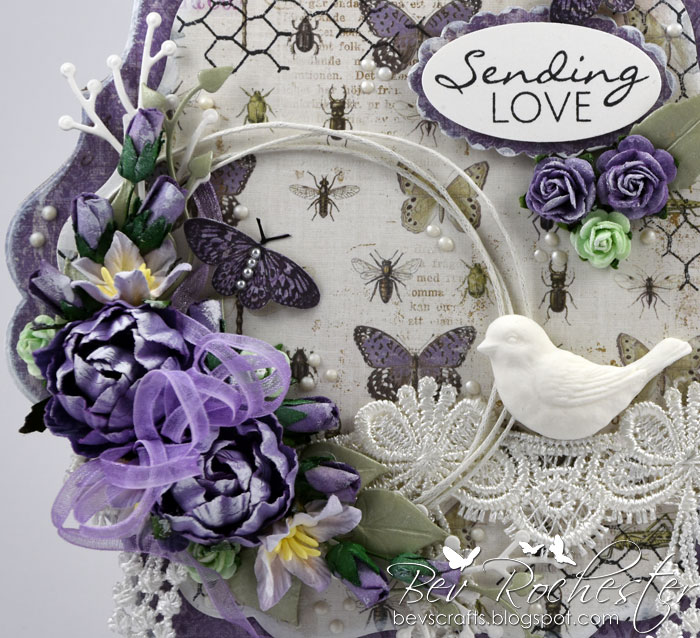
I made a bird using a mould and paper clay, and also stamped out some butterflies onto the patterned paper and fussy cut them out to carry the theme of the collection through.

bev-rochester-maja-sending-love2

And again, the inside finished off to carry the design through.
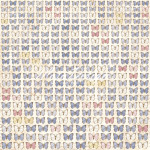
bev-rochester-maja-sending-love3 bev-rochester-maja-sending-love4

Enjoying-Outdoors-P

Thank you for visiting!

Bev-sign

A gift box

2

Posted by Camilla Støen Bakke

14 December, 2016 - , ,

Write a comment

IMG_5622

Hi there! I will show you a giftbox I made with wonderful papers from Maja Design. It is not Christmassy at all, but I will give you the tutorial on how I made the simple box; and who knows, maybe you want to try to make a box like this in a Christmassy style?! 🙂

1

Cut out two papers measuring 30 x 7 cm. Then fold both at 6 cm.

2

Then fold at 10,5 and 21.

3

Make cuts like this.

4

Then start with the lid on the box. Cut out two papers measuring 4 x 30 cm. Also here fold at 1 cm first.

5

Then fold the other way at each 10,6. This is because the lid has to be a bit larger than the bottom part of the box.

6

Make the cuts.

7

Put the parts together like this.

8

And this.

9

Cut out parts to fasten inside the bottom of the box and the lid. (10,4 x 10,4 and 10,5 x 10,5).

10

Like this.

11

Then use the background die to cut out the bottom part and one on the lid. I use a harder cardboard for this.

12

I also have painted the edges with white Gesso.

After putting the parts together and decorate them with beautiful Maja Papers, I have decorated the box on the top with different elements made with DooHickey dies from Magnolia (Vintage Box vol 3). I will show you some details:

IMG_5439

I just felt I had to decorate the whole box with butterflies:)

IMG_5466

The lovely photos and letters are also Maja Design papers.

IMG_5646

Here with the lid taken of.

IMG_5649

Beautiful sentiment <3

IMG_5655

I have used this beautiful collection for my project:

Coffee-in-the-Arbour

And here are the papers:

I have also used three sheets from this stunning collection:

Vintage-Summer-Basics3

Here they are:

Thank you so much for visiting today! Wish you all a wonderful Christmas, untill I am back for a new post the 28th of December.

Hugs,

Camilla

Sweet cards

0

Posted by Evgenia Petzer

23 September, 2016 - ,

Write a comment

Hello dear friends, its Evgenia Petzer with you. I am sharing today two sweet cards that are made from the Coffee in the Arbour collection. When it was just released it became one of my favourites, but I didn’t play with it for quite a while and this time my hands just pulled that paper pad out and then I found those images with macarons in my stash and the cards came out quite quick and easy.

maja_petzer_coffee_in_the_arbour _card1

some close ups:

maja_petzer_coffee_in_the_arbour - 4

the butterflies are again fussy cut from the Maja papers.

The second card is more in yellow tones, again some lace, chipboard and stitching. I love that Maja design papers have those little stripes of paper in the bottom with some matching designs or words, I often use them in my cards.maja_petzer_coffee_in_the_arbour_card2

little details:

maja_petzer_coffee_in_the_arbour - 5 maja_petzer_coffee_in_the_arbour - 7 maja_petzer_coffee_in_the_arbour - 6I have used the Coffee in the Arbour collection for these cards (mainly the paper pad)

Have a lovely weekend that is coming our way!

Dream Big

1

Posted by Bec Genet

12 April, 2016 - ,

Write a comment
Hi, today I have my newest Maja Design layout to share using the Coffee in the Arbour collection.
I love these yellow and maroon colours together, this is a very pretty collection.
I used the Raspberry Lemonade paper as my background, first I cut a square out of the middle to back my photo on.  Next I cut the sides off the Homemade Lemoncurd paper,  I layered the cut pieces under the edges to give more interest.
 I added a little colour to my background with some dark pink and yellow splashes, then a Gelato through a grid stencil and modeling paste with a bubble stencil.
I covered my chipboard in white gesso and them went around the edges with a Gelato
I layered some paper under my photo,  as well as some lace and doilies. I cut two tag shapes from the Delicious Moments paper to also tuck under my photo.
Finally I layered on a generous amount of flowers,  chipboard and pearls.

Coffee in the Arbour Collection Papers: Homemade Lemoncurd (both sides), Raspberry Lemonade – bs, Raspberry Jam Cookies, Delicious Moments

Thanks for stopping by.
Bec-sign

Let it rain! ♥

4

Posted by Camilla Støen Bakke

6 April, 2016 - ,

Write a comment

Thank you for stopping by this Wednesday for my first post in a long time, and as you can imagine, I am so so happy to be back! I feel that I have a little more time for crafting, even with a two years old little boy hanging around my feet:)

IMG_1384

Now I will tell you a little about my last project where I have used the lovely collection “Coffee in the Arbour” which I have fallen in love with. I think this must be my favourite collection from Maja Design at the moment ♥

Coffe-in-the-Arbour-K

I have use the sheets called: Enjoying the moment, Homemade Lemoncurd, Butterflies are free, Rasberries, Flourishing Garden and Feel the grass between your toes.

IMG_1319

The image I have coloured is called Spring Rain Tilda and is from Magnolia’s latest collection Spring Fever. I have used Distress Ink-reinkers and Markers for my colouring.

IMG_1308

A beautiful text, from the same collection as Tilda above. I have stamped it with Memento – Rich Cocoa on the paper called Homemade Lemoncurd. And added Stickles – Star Dust on the edges and the letters. The butterfly and all the other butterflies on the card are from the paper called Butterflies are free. I have cut them out with scissors and added a little Walnut Stain on to the edges of the wings.

IMG_1350

As you might have noticed, this is not a regular card. I have made it like a frame. You can find the tutorial to make this type of card in Malin’s blog.

IMG_1332

It is raining on Tilda today, and I have cut out some umbrellas for her, by using the lovely papers called Enjoying the moment (blue) and  Homemade Lemoncurd (yellow umbrellas).

IMG_1359

As you can see, this type of card makes a special depth. And you can build it up in an adventurous way. I got quite taken away by placing the umbrellas around. I had even more, but couldn’t find any more space for them 🙂

IMG_1354

Above you can see the card from a different angle. All the flower used are from WOC, Magnolia and IamRoses. And the leaves are cut out with a DooHickey die (Magnolia) from the paper Feel the grass between your toes. The colour are just perfect for leaves and grass.

IMG_1365

To get a more shabby look I have painted the flowers with Gesso – White (just a few strokes with the brush).

IMG_1361

Thank you so much for stopping by. I hope I have inspired you to get crafty! I wish you a wonderful day!

Hugs,

Camilla