Sweet Summertime Card

4

Posted by Nancy Dynes

27 June, 2017 - ,

Write a comment

B 1 a

Hello and welcome to the Maja Design Blog on this lovely Tuesday! It’s Nancy on the blog today. How are you doing? How are you filling your summer days? Are you crafting, or maybe gardening, enjoying the seaside, or possibly exploring far away places? We’re blessed to live near the beach, but we’re looking forward to spending some time cooling off in the mountains as well. I’m especially excited about having extra time for creative pursuits.

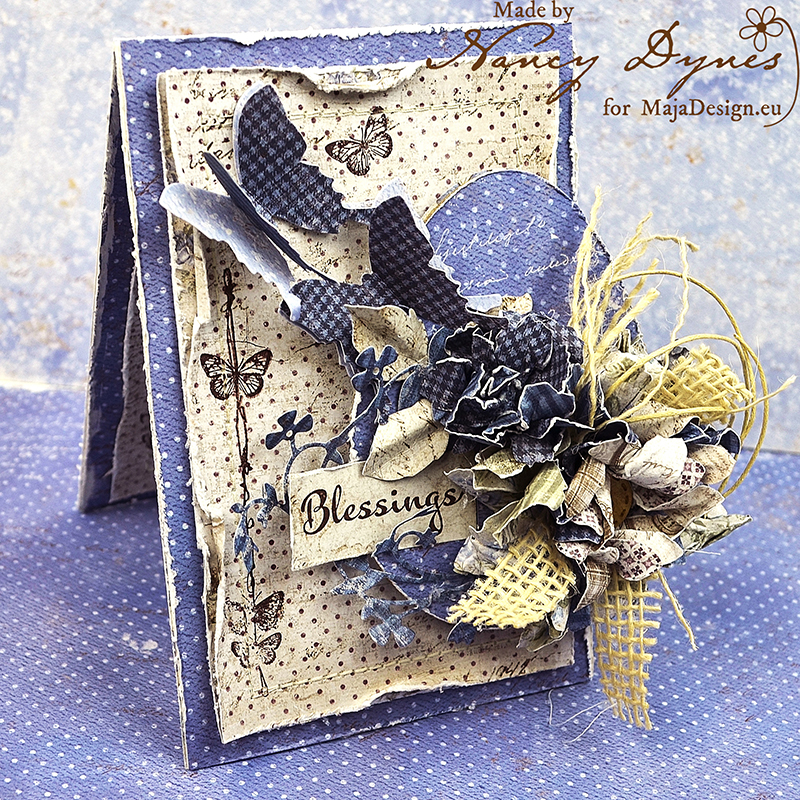
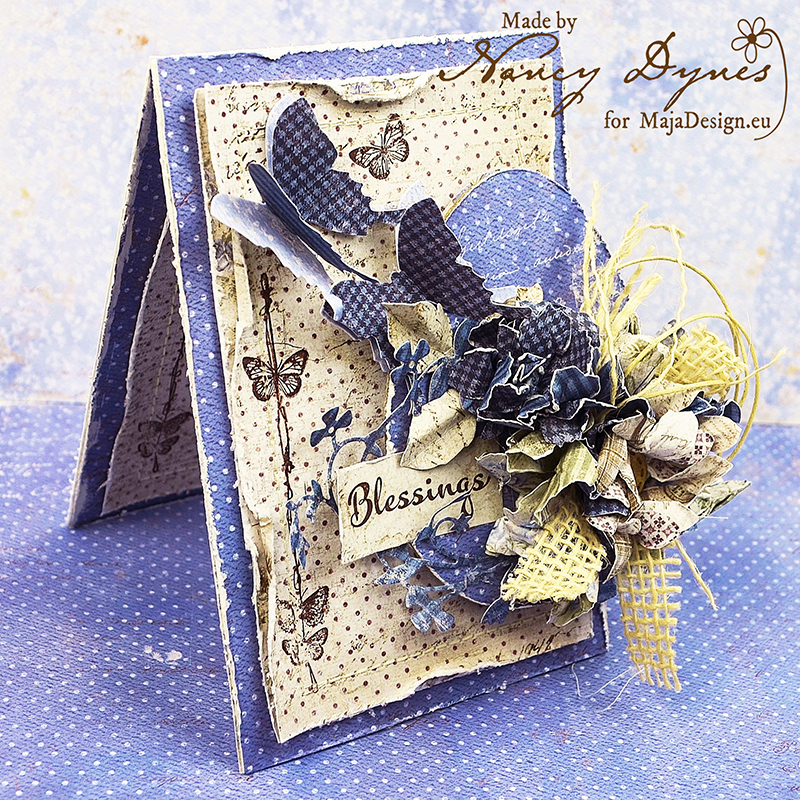
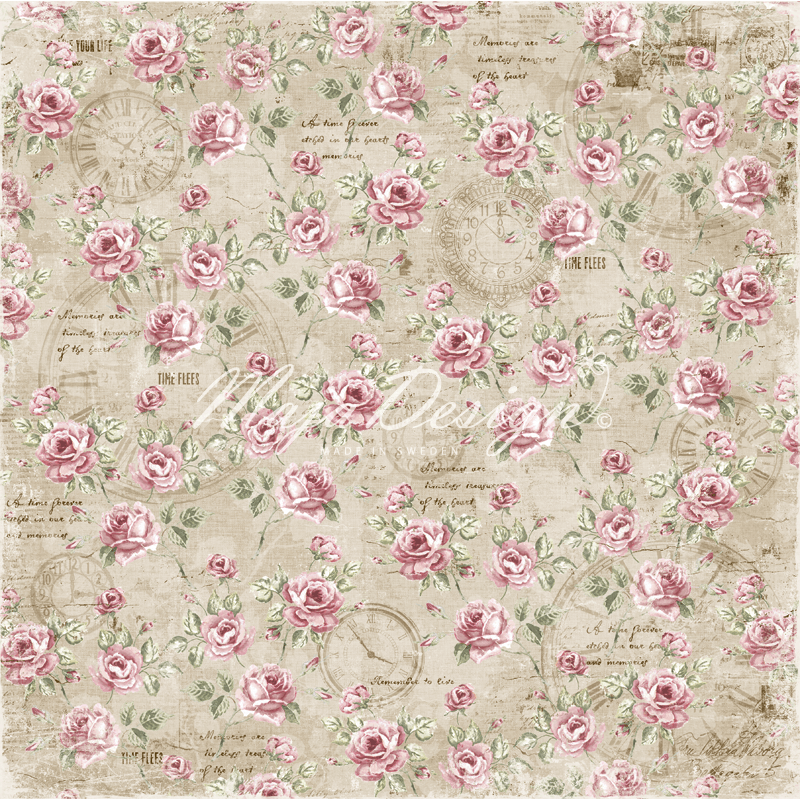
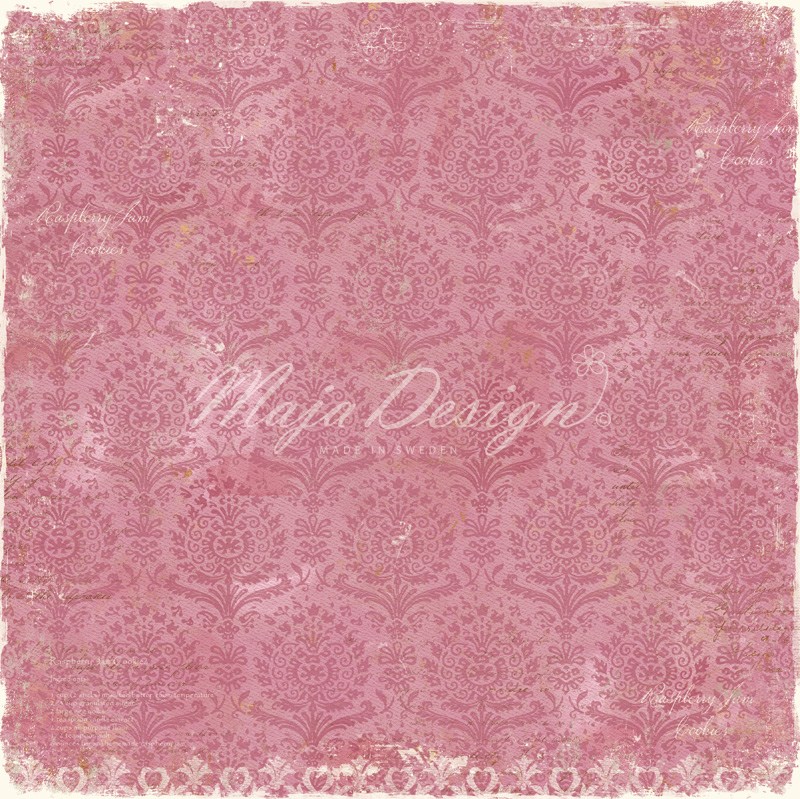
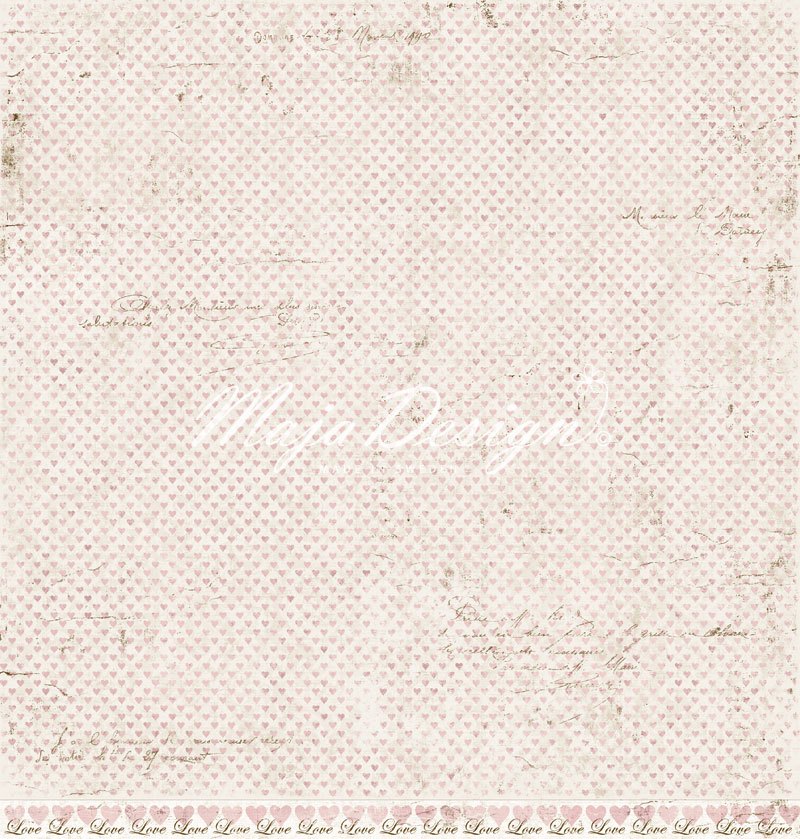
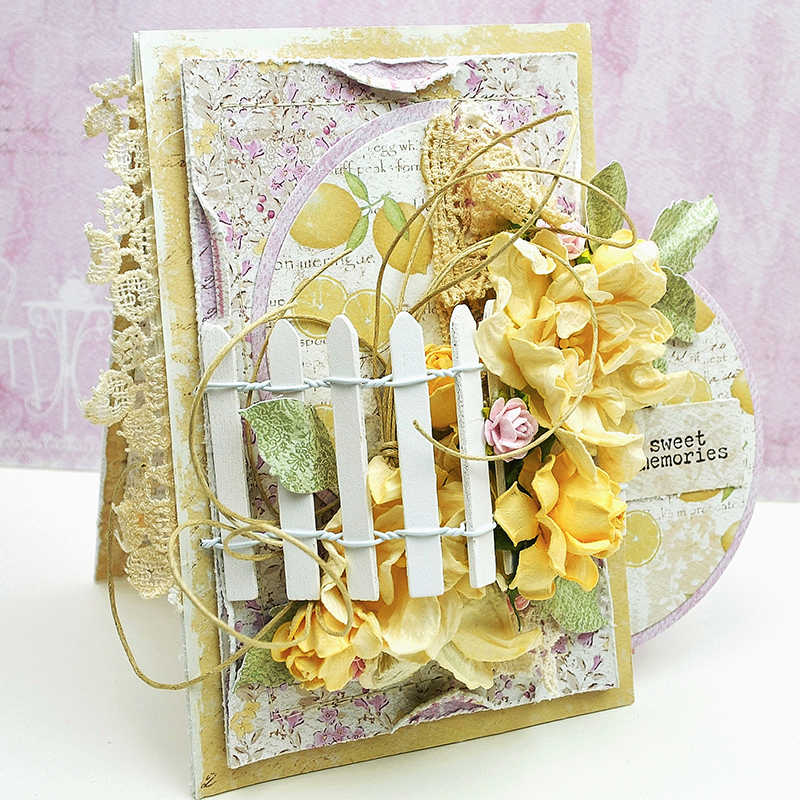
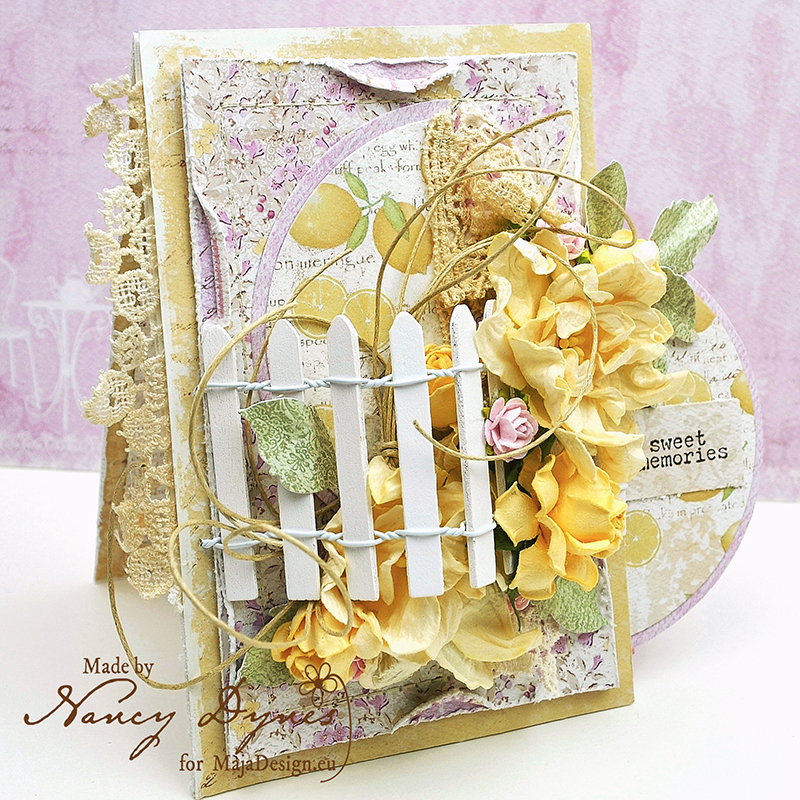
This card is the result of some happy hours in my craft room. Maja Design’s  Coffee in the Arbor paper collection inspires memories of childhood summers for me, complete with flowers, picket fences, and lemonade stands. I love recalling those carefree days and the idea of getting rich with a lemonade stand, the first form of entrepreneurship for me and my little sister. It involved setting a pretty table in the garden (that was half the fun!), making pitchers of fresh lemonade (with the help of my sweet mom), and selling it for about 10 cents a cup to anyone passing by. The riches we gathered were memories, and those memories are the sweetest treasure of all.

A 7

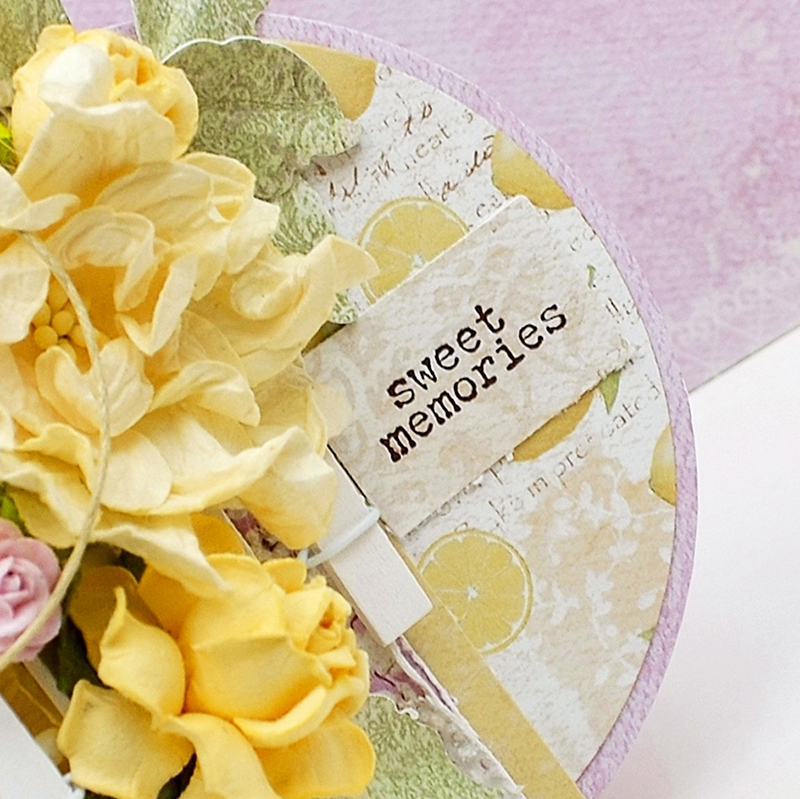
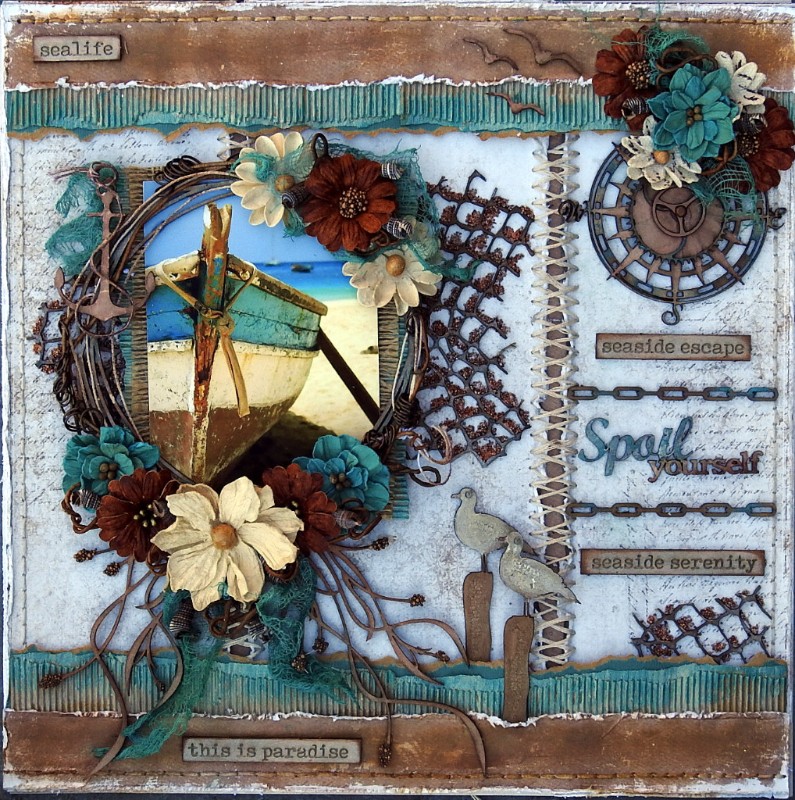
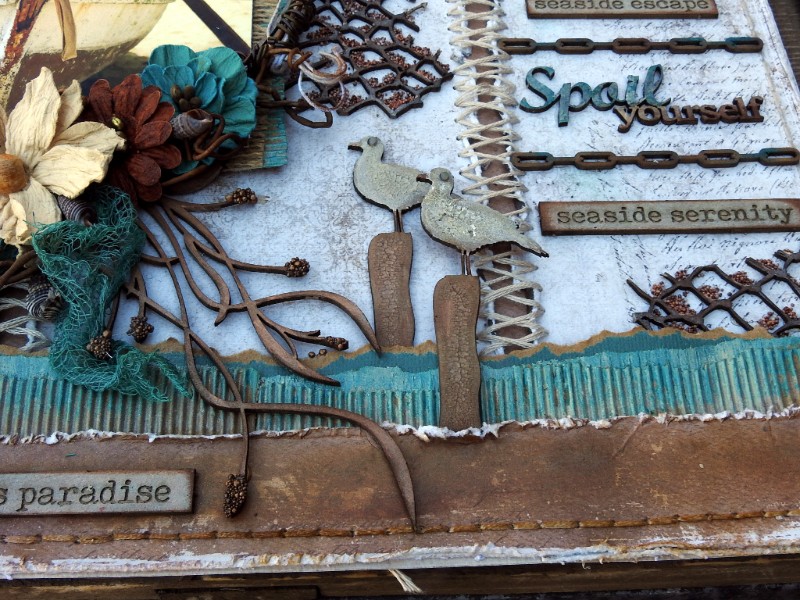
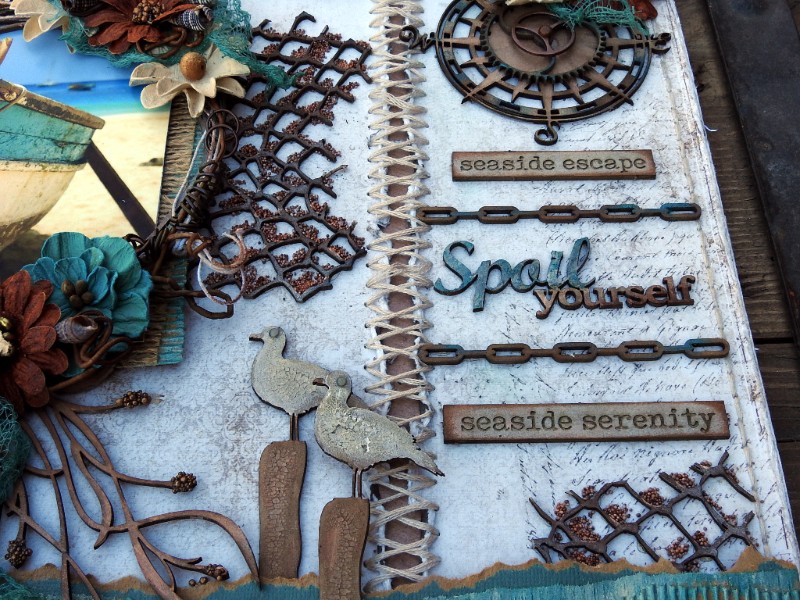
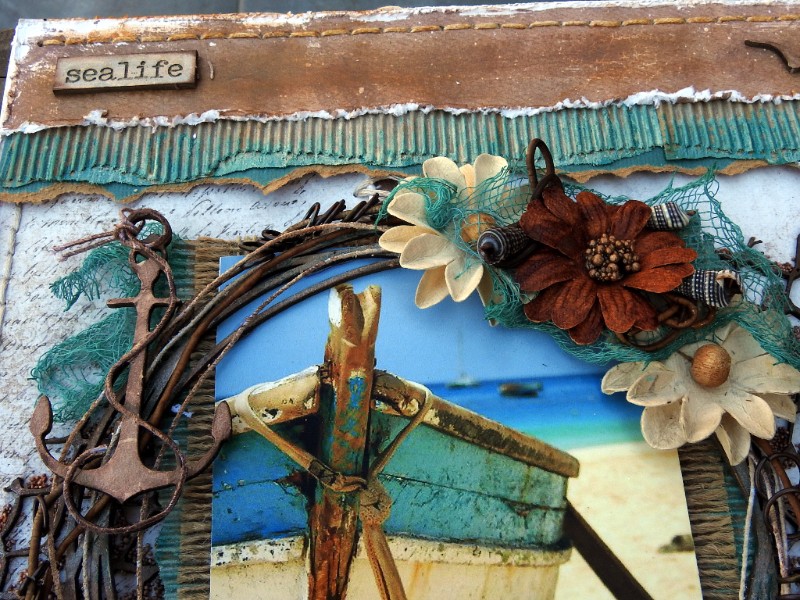
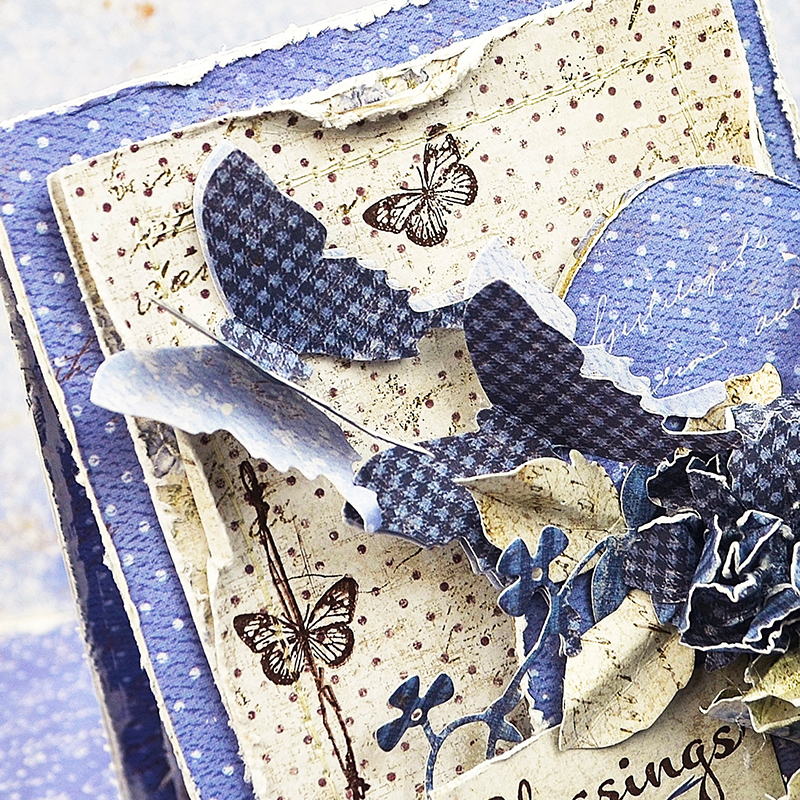
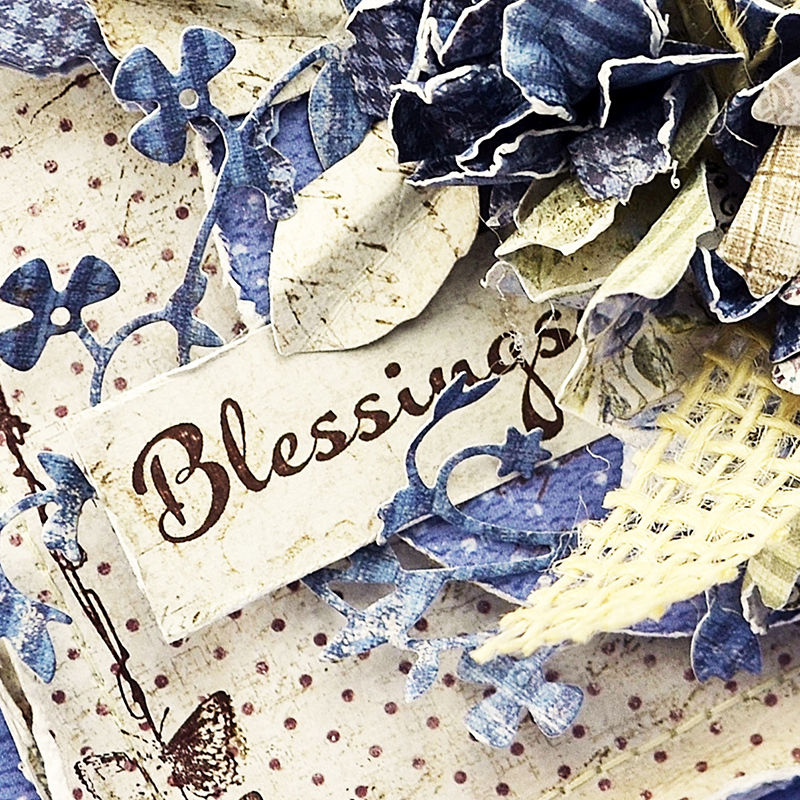
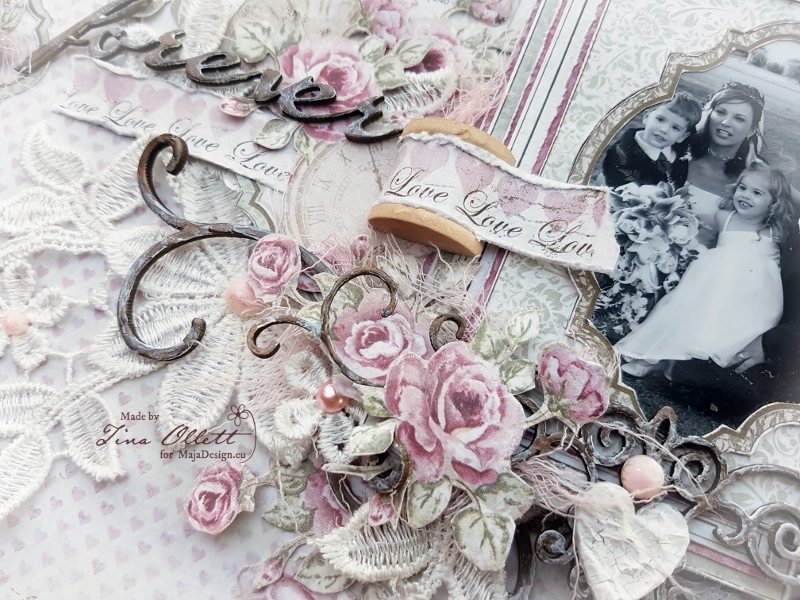
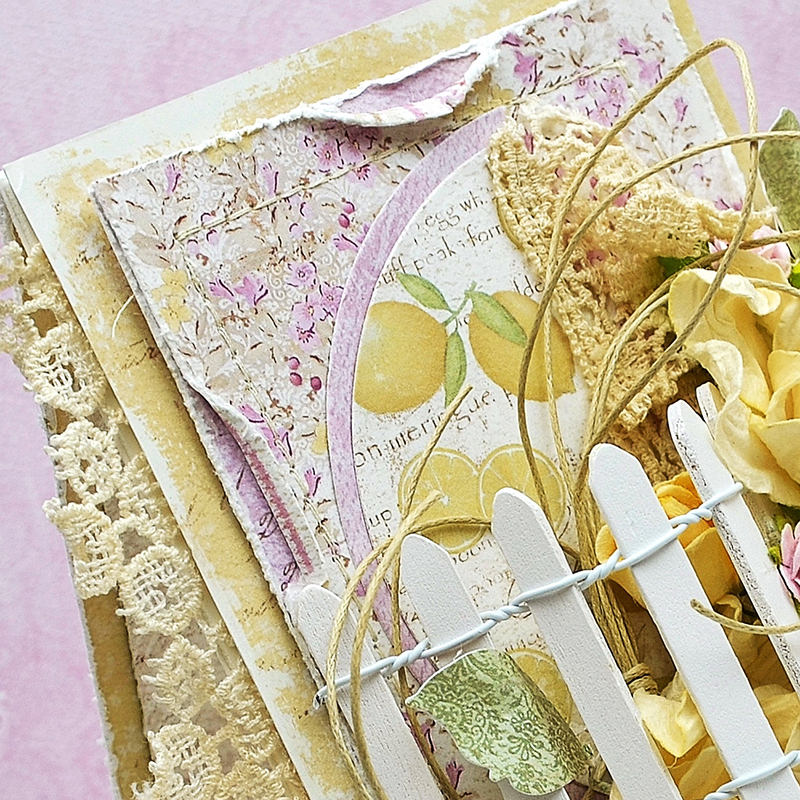
Layers of design paper are distressed and double stitched to form the base, with bits of pretty lace stitched in as well. Circles are layered, cut in half, and staggered. The sentiment stamp is from my stamping cabinet, and seems perfect for this card.

A 6

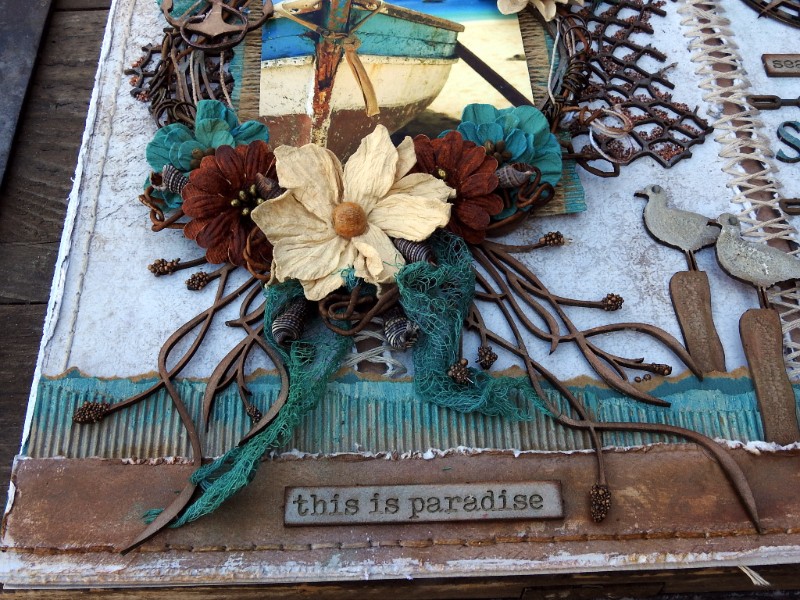
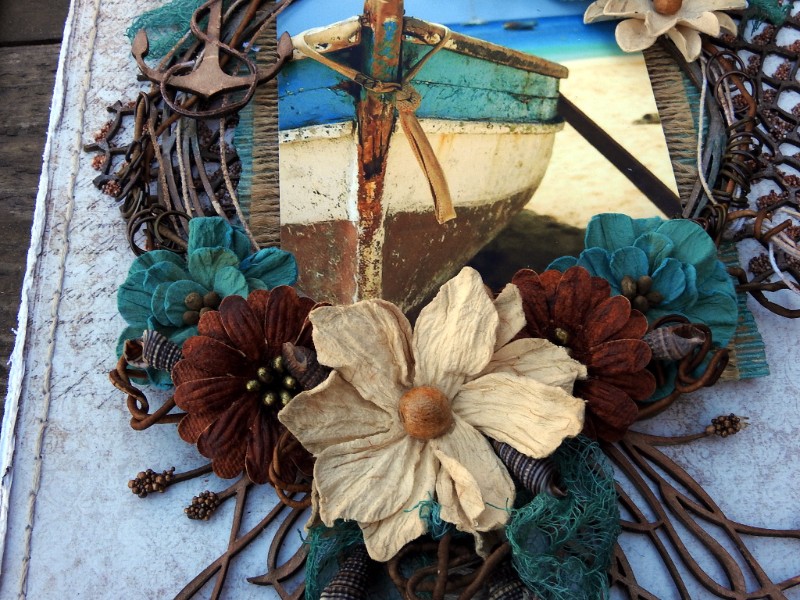
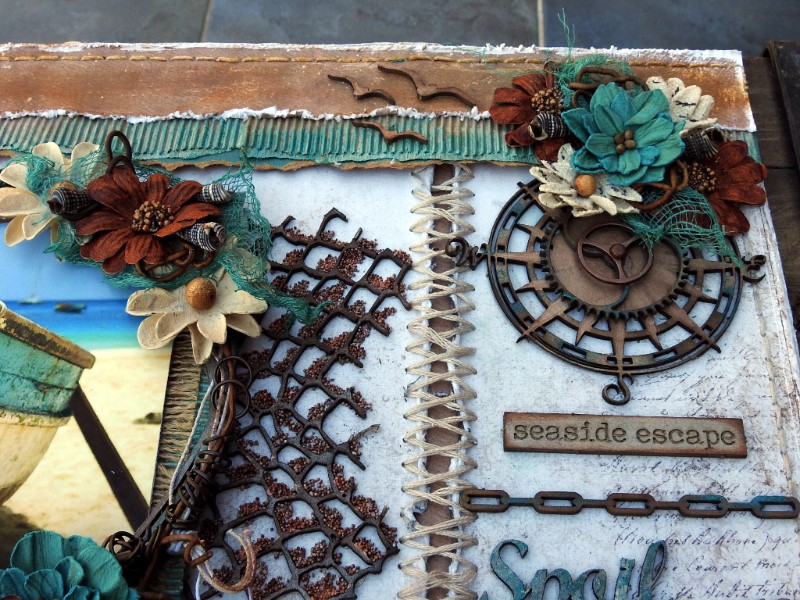
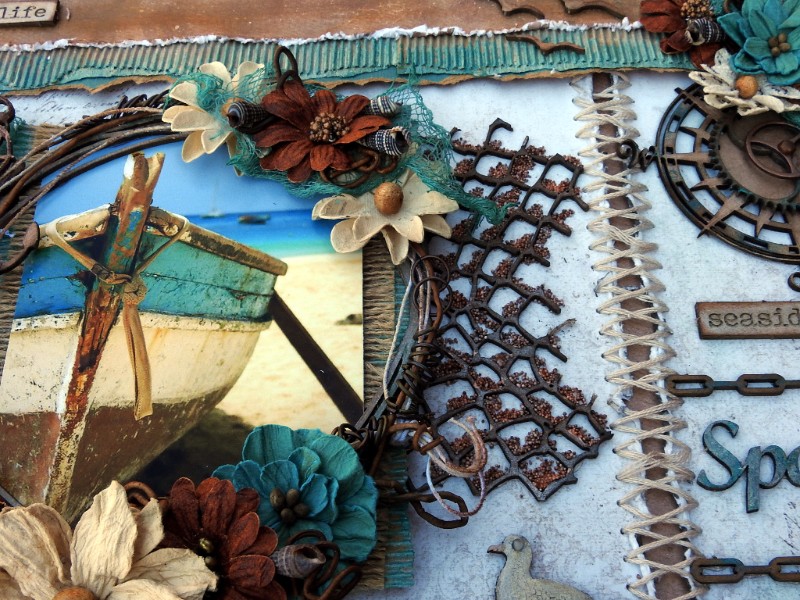
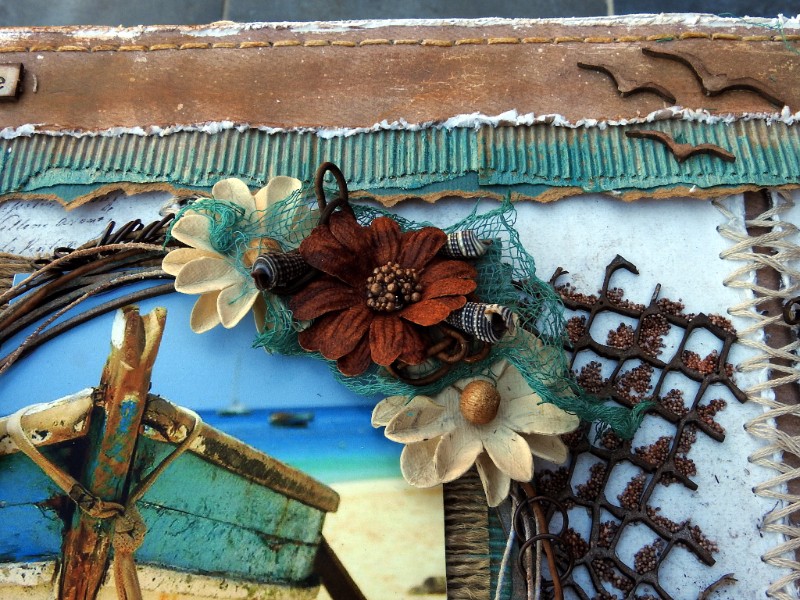
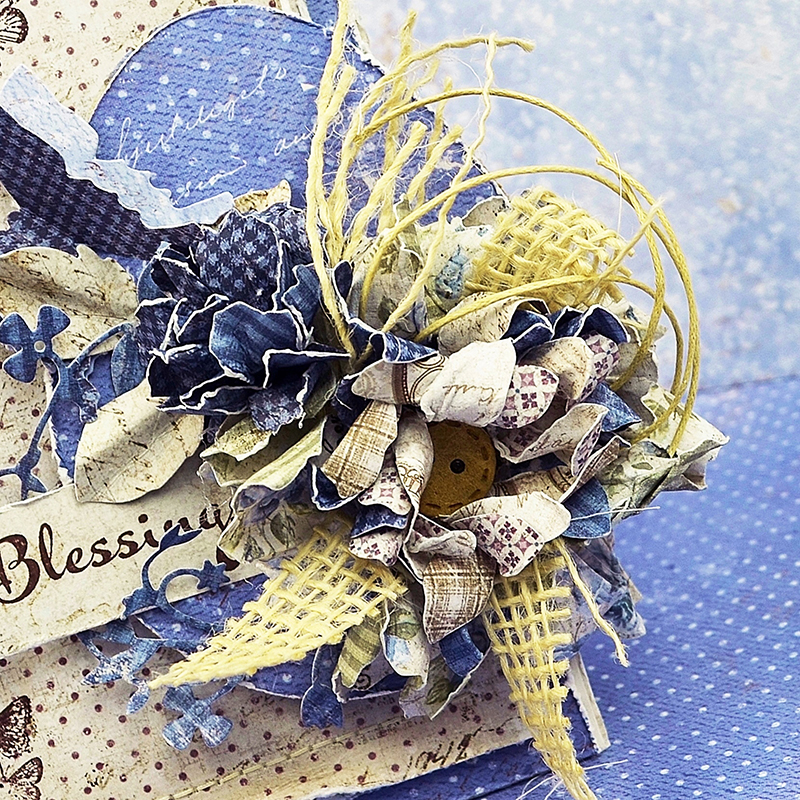
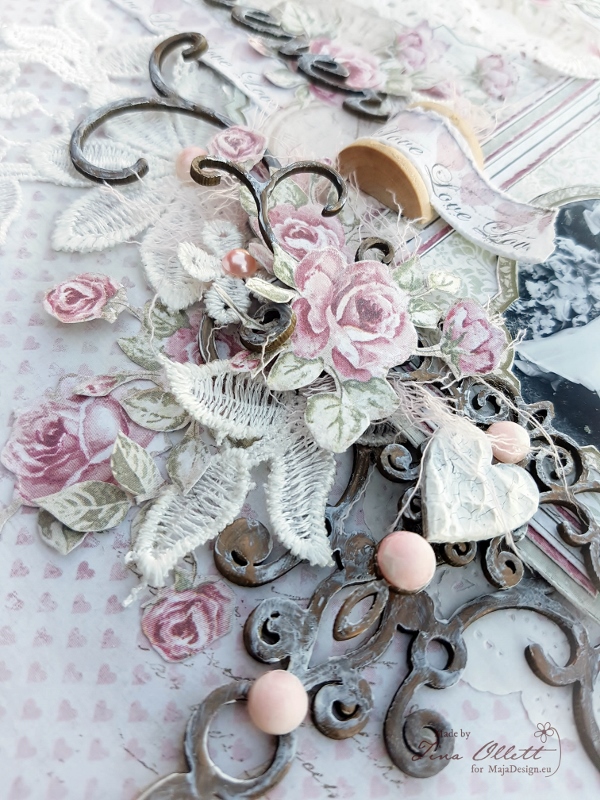
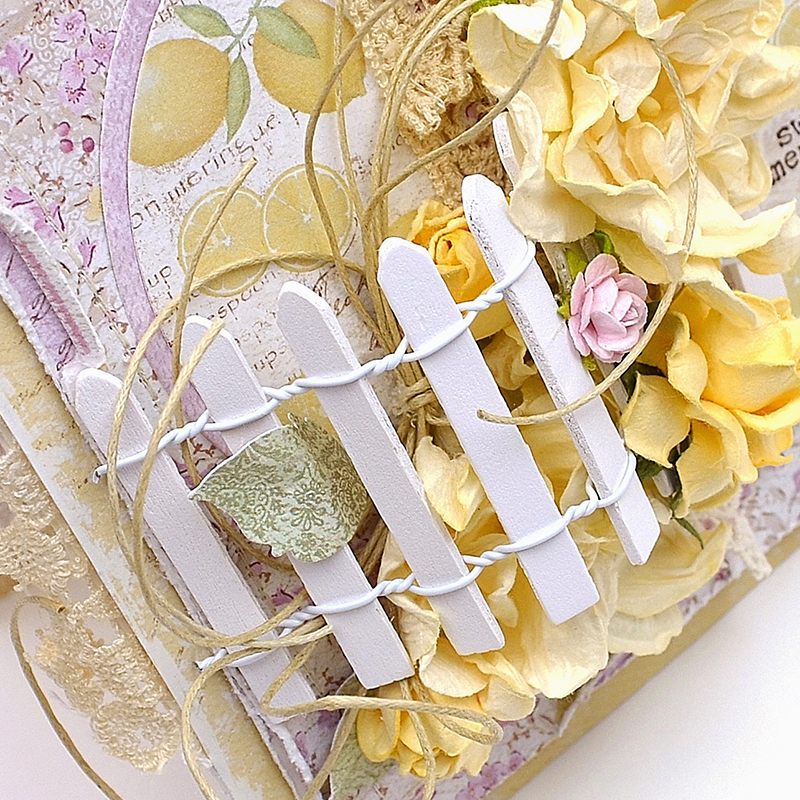
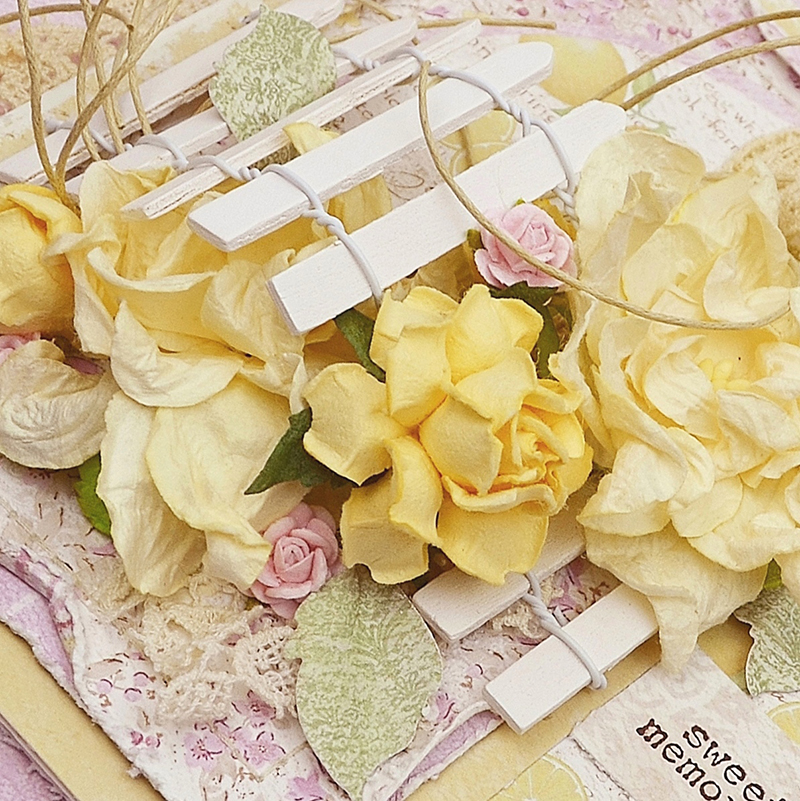
The picket fence is from my stash. I’m so happy I rediscovered it amidst the many odds and ends that are patiently waiting to be used. You’ll find a plethora of summer blooms and leaves climbing in and around the fence. A natural twine bow is added for a finishing touch. I love bows!

A 5

A 2

A 1 b

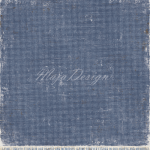
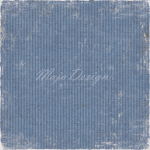
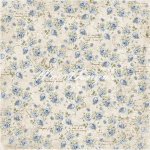
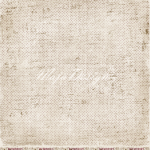
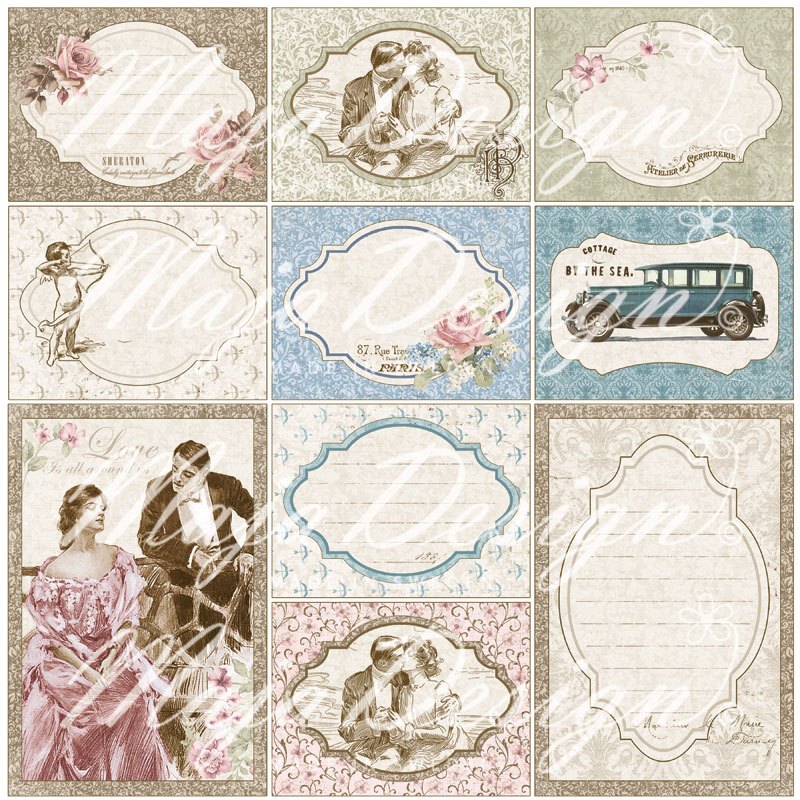
Maja Design Papers Used: Coffee-in-the-Arbour

Other Products Used: Paper Flowers, Twine, Wooden Fence, Lace, Red Lead Stamp, Archival Ink, Spellbinders Circle Dies, Foam Adhesive, Sewing Machine, Thread. 

Thank you so much for joining me here on the Maja Design Blog! If you’d like to bring any of these papers home, just click on the STORE FINDER tab at the top of the blog. If you haven’t heard the news on social media, Maja Design has released a new collection called Denim and Friends (I’m doing a happy dance here)! Don’t forget to take a peek in the PRODUCTS tab for a first look at these fabulous papers. I send wishes for everything good and wonderful to come your way!

Hugs,

Nancy-sign

Nancy Dynes

My name is Nancy Dynes. I love creating with layers, dimension, and all things feminine. Maja Design Papers speak to me and inspire my imagination. I am honored to be a member of this amazing Creative Team, and look forward to growing in my craft while working alongside these talented artists.

Spoil Yourself

1

Posted by Rachelle Sigurdson

29 April, 2017 - , ,

Write a comment

Hello, Rachelle here with my last LO, until October. I take the summer months off, to work or play, in our garden. In about 3 weeks, I should be able to start planting, plus I will be a grandmother, first grandchild, so it is going to be another, great, busy summer…..

a1d1b212ec9d41e4bd4f11aab401d8b7

The Maja Design used:

I Wish

879-I-wish-those-memories-will-last

I wish those memories would last

Coffee in the Arbour

692-Smell-of-coffee-bs

Smell of Coffee-BS

Other elements used: 49 and Market Rustic Blooms:Rustic Melon and Burlap, Rustic Green-Small, Rustic Medium ,Burlap Trim, Dusty Attic Chipboard: Anchors, Mini Seagulls, Seagrass small, Seagulls, Fishnet Panel, String Frames small, Compass Rose, Treat Box words, Wordpl@y #7, ….corrugated paper, clear gesso, clear crackle, cloth covered wire, cheesecloth, sea shells, jump rings, Prills-A penny saved, Prima Mini Art Stones, Tattered Angels Glimmer Mist-Aquamarine, LuminArt-Silks-Iridescent gold, Iridescent Copper, Teal Zircon, Shimmerz-Butter Cream, Versa Mark Ink Pad-Bark, Pebbles Metallic Chalk

Here are some close ups….

746ab0b18b974acf90548389d807d605

My inspiration of the paper layers, came from the boat. I used the 2 sheets of the Maja papers, distressed the edges & used the corrugated paper in the layers. I rubbed in some of the pebbles metallic chalk, to deepen the color of the smell of coffee sheet. The corrugated paper was painted with the Teal Silk, then toned down with the Shimmerz Butter Cream….

eac55063b87e41109de9c1a146901420

I died the cheese cloth with the Tattered Angel- Aquamarine & used it in the flower clusters. In this cluster I used the 49 and Market Rustic Blooms, DA Seagrass, seashells, cloth covered wire

0f2631d3b1304c19a00ac200d85c7f1e (1)

I primed all of the chipboard with clear gesso, & only used the clear crackle on the seagulls. For the cooper I rubbed on & inked the edges of the chipboard, with the bark- inkpad, then painted it with the iridescent copper. For the teal, I used the Teal Silk & toned it down with the Shimmerz- butter cream. Once the crackle dried on the seagulls, I painted them with white gesso, then the iridescent gold silk….

16df9b53d7544d37ac15f3addcb5eab9

I cut the I wish sheet in three pieces, trimmed off a bit, to see the under layer. I distressed the edges & cross stitched these pieces together….

5a8956375e7c4ce9afcb823114375994

3d7cf615cb5b4c0e981c9ab3e0d35b47

eac55063b87e41109de9c1a146901420

I glued the photo onto a piece a heavy cardstock, then onto the burlap trim & corrugated paper. I framed it with the DA String frame, that I wrapped around with the cloth covered wire & jump rings.

Here are a few more close ups…

2b173382d1834b6f8bede8d76a7a79d3

5836829db9d641f78900efe61c39660d

5bf83d5717644e00b91d39c1d704e8b6d10fae8730fa413e90eec59f7100a376

Thank you so much for taking the time to look, & I will see you in the fall….Rachelle

Rachelle-sign

Guest Designer Eulanda Silvey

9

Posted by Carita Ruckman

20 March, 2017 - , , , ,

Write a comment

Hi,

My name is Eulanda Silvey and I will guest here at Maja today.

Eulanda-Silvey

My husband and I own our own business but we are lucky to have our weekends to ourselves.  This is where I find myself heading to my craft room when there isn’t other things we need to be doing.  We built a house recently and my craft room is only a set of french doors away from his man den.  I set it up this way so that I can open the doors and feel like I am spending a bit of time with him while he’s in his room watching tv and I’m in my room creating.  Clever huh?  LOL!!!  I’ve been crafting for about 10 years now and just love this hobby.  If I could play full time, I would!!


Coffee

Tea card 

I tried to keep this card from being covered in embellishments to show the gorgeous papers from the “Coffee in the Arbor” collection.  The image is from the “Delicious Moments” 12″ x 12″ and my bottom layers of the card are “Raspberries” and “Rose Garden” but from the 6″ x 6″ pad.  Yes I have both in many Maja collections.  LOL!  I layered with a square doily I had in my stash (well half of it) and a few more dies from Joy called “Cutting & Embossing Floral Edge Die” and “Cutting & Embossing Doily Edge Die”.  I’ve added various Wild Orchid Crafts flowers and a few leaves and finished it off with a row of white rose ribbon.

Cuddle Mice

Cuddle Mice  This card was fun to make but after I was finished I thought I should have made it into a canvas!  7″ x 7″ (almost 18cm x 18cm) and I still managed to have embellishments fall outside of that measurement! Well my thinking was that I wanted to added lots of embellishments but I also wanted to show some of Maja Design’s gorgeous “Vintage Romace” papers.  Ummm….well I tried!!!  LOL! The image is from Whimsy Stamps called “Cuddle Mice”. I added some “Diamond Dust”glitter to the pom pom on the hat and over the grey flooring.  FUN!!! After I added the WO English roses I put some glitter on those as well.  OH and I added more to the miniature glass jar.  Those are fun too!  The Marianne “tassel dies” are so easy to make but adding them under the “filigree flat back pearl”, wax cord bow and seam binding bow seemed like the perfect addition.

Summer Red

Red “Happy Summer” Card  I started with Dutch Doobadoo’s Card Art A4 Tent template and layered using Maja Design’s gorgeous Summertime collection.  For the image I used Summertime’s “In the Garden” and layered it over Joy’s “Framework with Rounded Corners” die.  For the top layer I added the “Happy Summer” strawberry stamp.  I then added some Wild Orchid Craft flowers as well as a hand made Foamiran flower (white) and layered all flowers with Foamiran leaves.  The shabby chic bow and rose charm were then popped on last for the finishing touch.

Summer Blue

Blue “Happy Summer” Card For this sweet card I did the same thing as the Red “Happy Summer Card” using the Art A4 Tent template from Dutch Doobadoo.  I loved the Summertime collection so I thought maybe I needed two of them.  The image is from the “By the Sea” diecuts paper and same with the “Happy Summer” stamp that I layered atop the image.  Under the image is a different Joy die called “Rectangle Frame with Circles”.  Again I made a flower bouquet using more Wild Orchid Craft flowers and another cream colored Foamiran flower.  I layered them with more Foamiran leaves but for this one I added a wood bark star from Noor! Design UK.  The filigree butterfly was from my stash.  

I hope you’ve enjoyed this one!  I know I did!
Thanks for stopping by!
Hugs!


Eulanda-sign

Spring Blessings!

3

Posted by Nancy Dynes

10 March, 2017 - , ,

Write a comment

A 1

Welcome, crafty friends! It’s Nancy here on the Maja Design Blog, and I have a new card to share! Spring is in full swing in my area, and that means warm days, budding trees, nesting birds, butterflies, and fragrant blooms. It also means Easter is quickly approaching, which has me scrambling to complete my cards.

Today’s card features one of my handmade Easter eggs and wildflowers. You can find tutorials for each of these elements on my blog. Below is a close up photo of the embellished egg. I’m using two different Maja Design collections; Coffee in the Arbour and Vintage Autumn Basics. That’s one of the many advantages of Maja Design papers. They work together beautifully!

A 3

The base of the card is formed by three layers of design papers that are distressed, layered, and hand stitched.  The butterflies are die cut and layered for a dimensional effect.

A 6

A 2

The sentiment and accent stamps are applied with archival ink.

A 2 a

The interior of the card is also stitched and embellished with coordinating stamping. You’ll find a peek of the inside in the photo below.

A 1 a

Additional Supplies: Butterfly Stamps-Prima, Archival Ink, Dies: Tim Holtz Tattered Florals, Tim Holtz Butterflies, Floral Flourish, and Magnolia Rose Leaf die, Tim Holtz Distress Tool, Foam Adhesive, Burlap, Button, Sewing Machine, Thread.

Thank you so much for being here today. I hope you have plenty of time to enjoy crafting with your own gorgeous Maja Design papers. If you’re not certain where to purchase them you will find a link to all of the online sellers on the Maja Design website. I wish you a weekend filled with the beauty of nature and the joy of loved ones!

Hugs,Nancy-sign


Nancy Dynes

My name is Nancy Dynes. I love creating with layers, dimension, and all things feminine. Maja Design Papers speak to me and inspire my imagination. I am honored to be a member of this amazing Creative Team, and look forward to growing in my craft while working alongside these talented artists.

“Forever Love” by Tina Ollett

4

Posted by Tina Ollett

17 January, 2017 - , , ,

Write a comment

A huge welcome to you! It’s Tina with you today to share my next Design Team creation.

This project for January, I have titled

…..”Forever Love”….

2017-01-17 2017-01-17 001 015 (800x800)

This, for me, was a layout of love. Scrapbooking for me is about the memories and sometimes the photos from the most special days of all, aren’t of the best quality but I always insist on using them no matter what. On our special day a professinal photographer was hired, but it was very unfortunate that during the development of our photos that something went horribly wrong. Due to the developing error we we did not receive a great deal of photo’s that were of a good quality or worthy of using to hang on our walls. We depended on our family and friends to help us with photo’s they had taken and this photo is one of them. We were so fortunate to have our two eldest attend our wedding. They were so excited the whole day through. My son walked me down the aisle with my Dad, something I will never forget and treasure always.

2017-01-17 2017-01-17 001 012 (600x800)

I am mad for anything at present that I can fussy cut from papers. And I found this in the Vintage Autumn Basics No. II sheet that was in my gorgeous Maja stash. I have cut at least a half of this sheet up and layered it in and around the page.

2017-01-17 Maja January 2017 031 (600x800)

You can see above in the bottom of the photo the layering of journalling cards that I cut from Vintage Spring Basics “Days to Remember” and also from the Vintage Romance collections “Love Notes”. Amongst the several layers of journal cards I have alternated mats of “Raspberry Jam Cookies” from the Coffee in the Arbour collection. Yes I have mixed a lot of collections this time around . I find the beauty of Maja Designs ranges is that they just blend together so beautifully.
2017-01-17 Maja January 2017 032 (600x800)

I have layered the  project with paper doilies, lace motifs, Dusty Attic’s gorgeous chipboards cut up, muslin and even a sewing spool. The sewing spool was wrapped with the bar strip from Vintage Romance’s bside of “Passion”. Passion was used as my background piece with the frame cut from Vintage Romance’s “She’s my Lady”.

2017-01-17 2017-01-17 001 060

This here, is the side on view of the base of the photo. The lace motif I have used here has been cut into many many pieces and divided throughout the layout to help give it movement.

2017-01-17 2017-01-17 001 036 (800x600)

I have tucked a few doilies around to help break up the pink from the flowers and the background.

2017-01-17 2017-01-17 001 041 (800x600)

I just loved these clocks found on the Vintage Spring Basics sheet. I have used the largest of the clocks and cut it to sit behind the photo so it did not overtake the whole layout. I cut some of the smaller clocks with the roses to sit on top of the large one layered.

2017-01-17 2017-01-17 001 058 (600x800)

From another view…….

2017-01-17 2017-01-17 001 059 (800x600)

and another…..

Maja Designs Papers used for this project were:

625-Vintage-Autumn-Basics-no.II_

Maja Designs – Vintage Autumn Basics No.II

679-Raspberry-jam-cookies

  • Maja Designs – Coffee in the Arbour – Raspberry Jam Cookies

821-Passion-bs

Maja Designs – Vintage Romance – Passion -bs

822-Shes-my-Lady

Maja Desings – Vintage Romance – She’s My Lady

839-Love-notes

Maja Designs – Vintage Romance – Love Notes

Other Materials Used

Dusty Attic Ornamental Trim Set

Dusty Attic “Forever”

Wendy Vecchi Crackle Texture Paste

Art Basics Heavy Gesso

Liquid Pearls Chocolate

Ranger Distress Ink Walnut Stain, Ground Espresso, Victorian Velvet

E Line Pearl Crystal Prima Marketing Inc – Pearls and Crystals Item# 300470

A Place To Create’s Lace Motif (large)

Muslin, Wood Sewing Spool, Miscellaneous Wood Heart and Bracket

Acrylic Stamp Set Script

I so hope that you have enjoyed your time here today. If you have pieces of different Maja collections lying around in your stash, why not try combining them together like I have here today. Would love to see what you do!

Until next time take care and happy scrapping.Tina-sign