I’m going to be an Aunt <3

2

Posted by Silje Kristin Aunan

23 October, 2016 - ,

Write a comment

Hello Everyone 🙂

Today it is my turn to present one project for Maja Design. 

The project I’m going to show you today is one project I created 25 August, but because of bad images, the time was never right, it never got published. But today it’s time, and you know what is funny is that these images are the first pictures I took of the project.

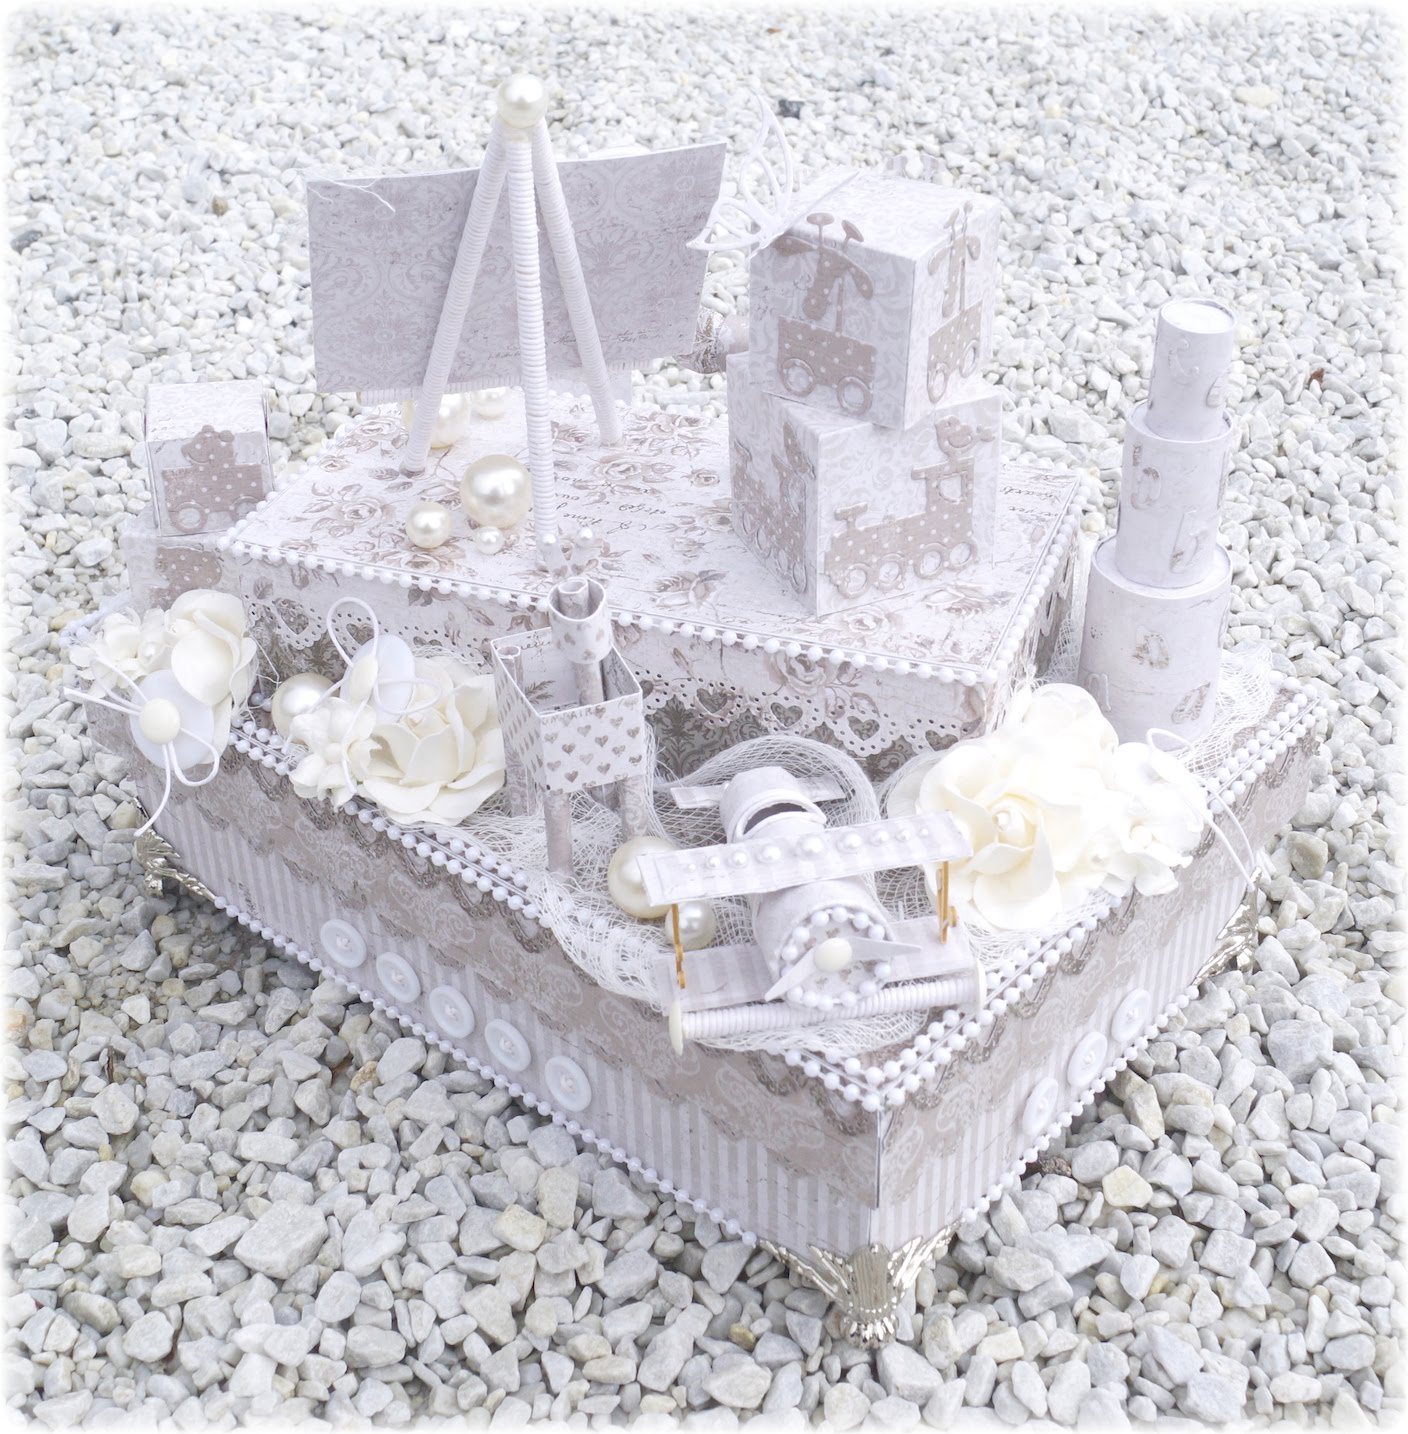
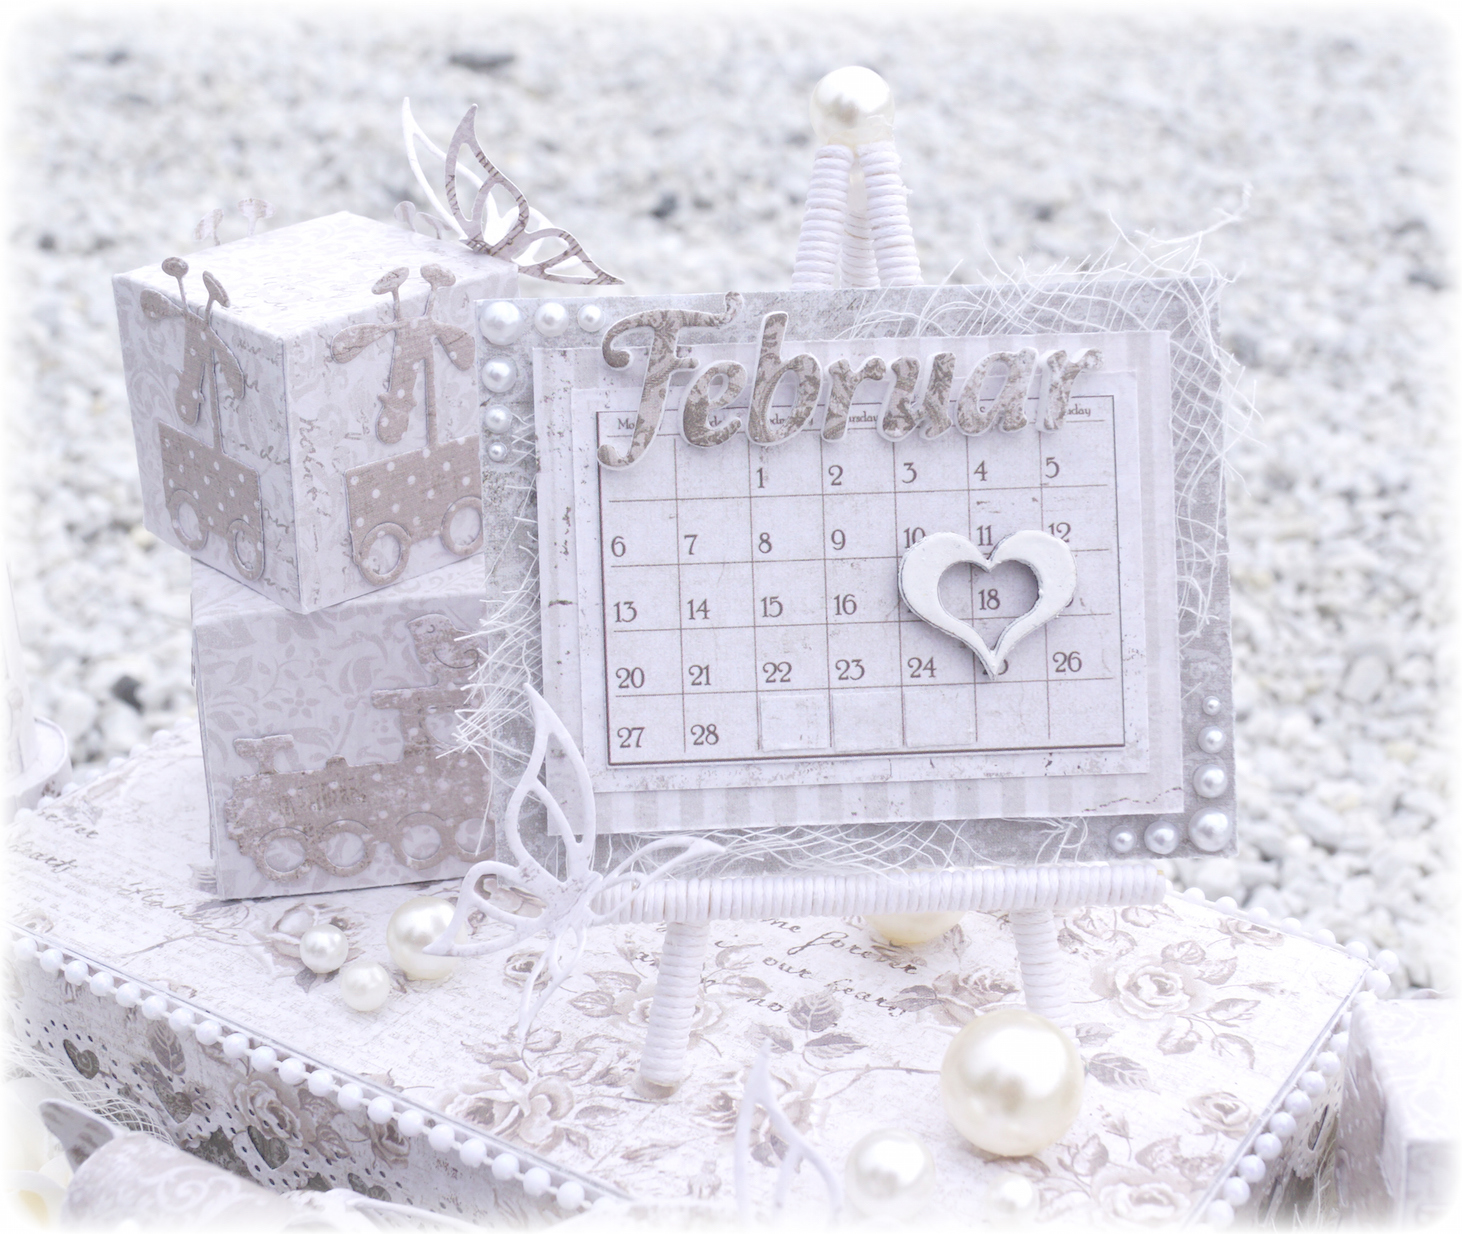
You know I’m going to be a Aunt, for the first time in February next year <3 But to tell you how this project started, we need to go some months back. My sister called me at the start of August to tell me she was pregnant, and the due date is February the 18. She also told me that she wanted to tell it in a very special way, in fact she whant to tell it with a specal project. How this project was going to be, it was all up to me, but it had to be a calendar on it, since we not at that time knew if it was a boy or a girl, the project had to be in neutral colors.

I liked the idea right away, I liked it alot, and that this is not a project you see each day. What is special about this box is that this is the first project I make to my aunt children <3

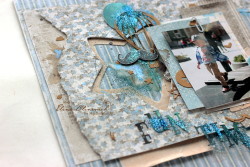
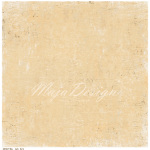
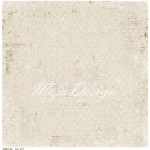
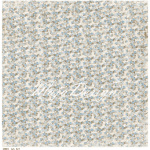
For this box I’ve used paper from two different Maja Design collections. Vintage Romance and Vintage Spring Basics. I have chosen out those sheets in a gray and bright tone.

Vintage-Romance-P

Vintage-Spring-Basics-P

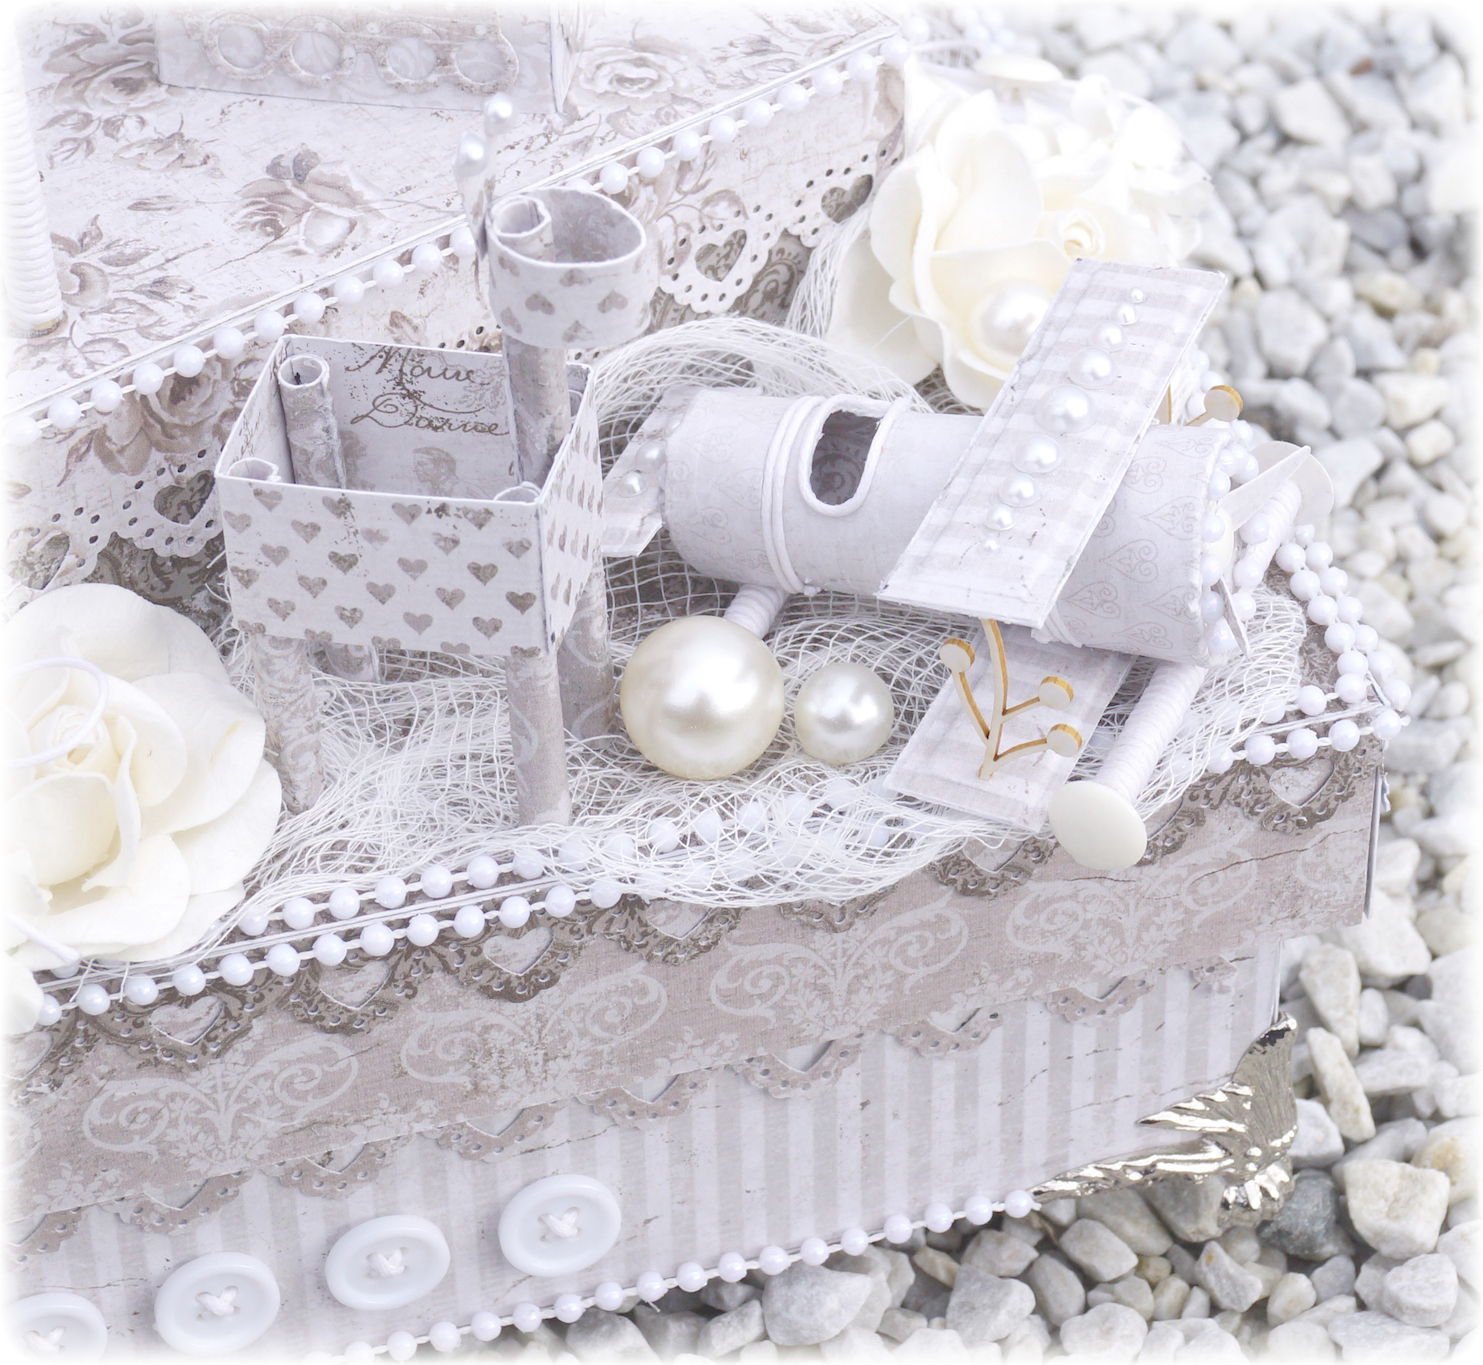
After I had covered the box with pattern sheets, I attached silver feet below the box, glue on buttons and pearl ribbon on the sides and the edges.

On the lid of the box I made one plateau, this I did because it would be easier to decorate and put things I create in 3D and other details.

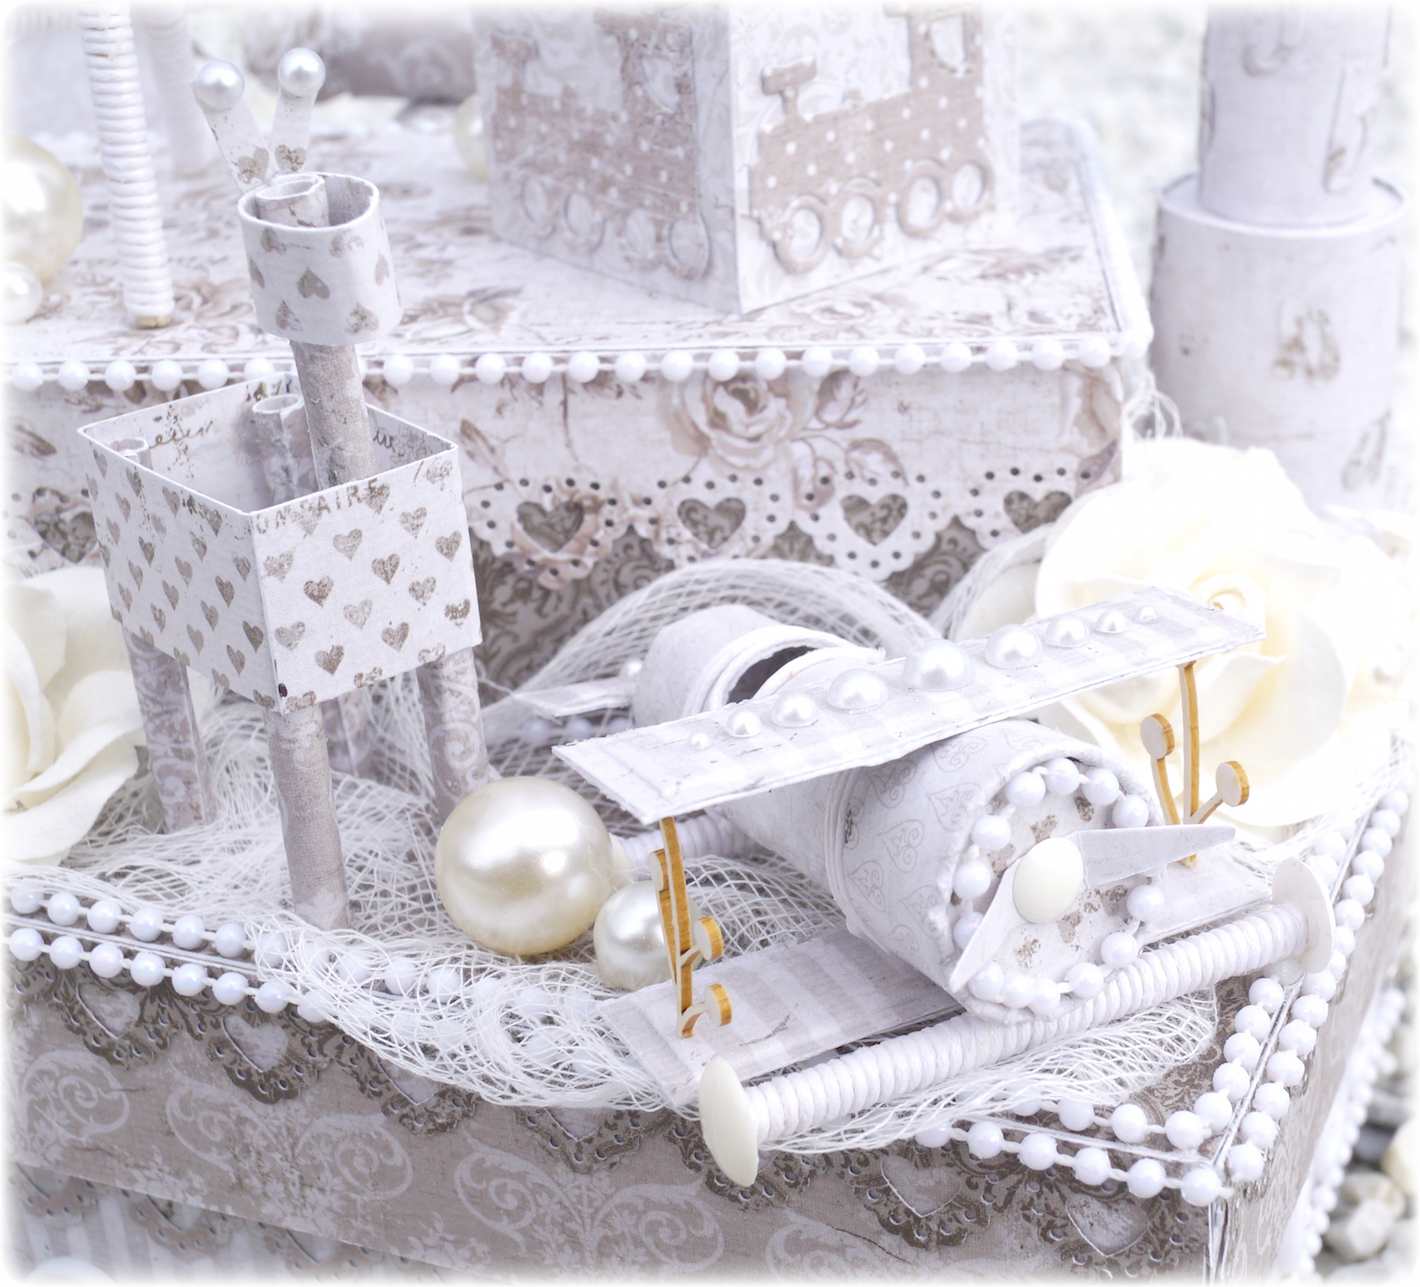
On two of the sides I have decorated with one locomotive (my own tutorial), an elephant that I found in a folding book for children, butterflies, flowers, buttons, pearls, cheese cloth and blocks.

On the other two sides, I have many of the same details, but here I have one 3D plane (put together with my own turorial) and a Giraffe folded from the same children book that the elephant.

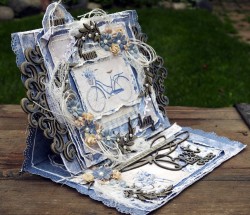
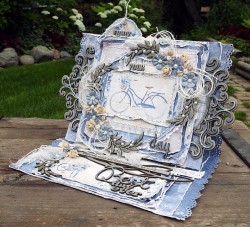
Atop of the plateau i have a easel that I have made myself, with a calendar on. Around the due date which is the 18 I have a heart and on the top of the calendar I have written February. February is punched out with one set of dises from kaBoks.

On the side of the calendar are several blocks, these blocks I have used one dies of one train and placed on blocks that I have put together. The other details are pearl and butterflies.

One very special project from me today, that means a lot to me that I got to make it <3 <3 <3

And before I quit my blog post, I would like once again to say congratulations to my sister and the great man she is with <3  You’re going to be a great dad and mom to a little boy coming in February <3

 SiljeKristin-sign


Fun Time Layout

2

Posted by Elena Olinevich

14 October, 2016 - , ,

Write a comment

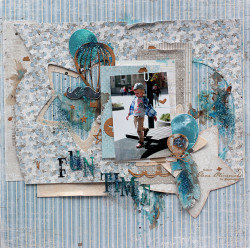
Hello Maja Friends. It’s Elena here today.

All of you know how beautiful Maja Design papers are, it’s such a pleasure to embellish it with the flowers, however it’s always a challenge for me to create something for the boys – with no flowers, with no lace  or ribbons. And yes, I have to confess it takes me much more time to invent what to add. The gears, arrows are too boring, what else can be used?

Fun Time Layout, by Elena Olinevich, Maja Design_01

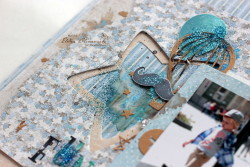
Ok, I tried to find new ways. First, try to experiment with  die cut negative shapes

Fun Time Layout, by Elena Olinevich, Maja Design_02

You can do several layers. Moustashes and air ballons are still my favorite die cuts while creating something for the boys, however I like adding the birthday balloons too.

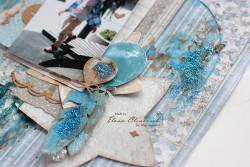
Fun Time Layout, by Elena Olinevich, Maja Design_03

The feathers are one of my all time favorite die cuts that can be easily used everywhere. Just add some glitter – and they are not so boring.

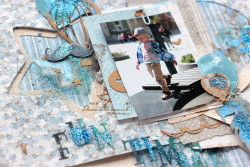
Fun Time Layout, by Elena Olinevich, Maja Design_04

However I still like to use blue and craft colors for the boyish layouts, I know they look classy and more traditional one.

Fun Time Layout, by Elena Olinevich, Maja Design_05

Meanwhile I still like to make the papers look vintage and torn and distressed edges work great especially when you create for the boys.

I hope that some of my ideas how to create for boys with no flowers will be useful and if you have more ideas to share , okease, you are welcome to leave the comments bellow.

Supplies:

Spellbinders Dies, Prima Marketing Glitter

Elena-sign

”Happiness is This”

2

Posted by Mary Tzalla

2 October, 2016 - ,

Write a comment

Layout

Hello my friends!

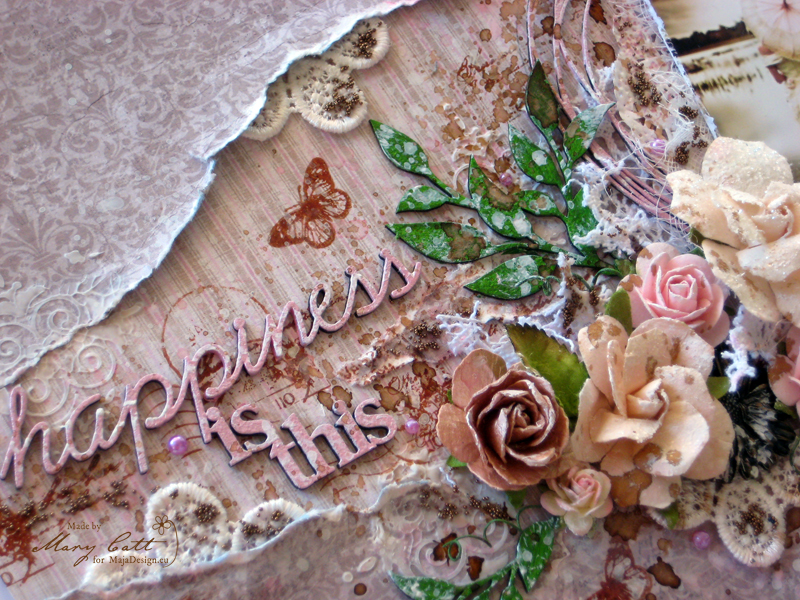
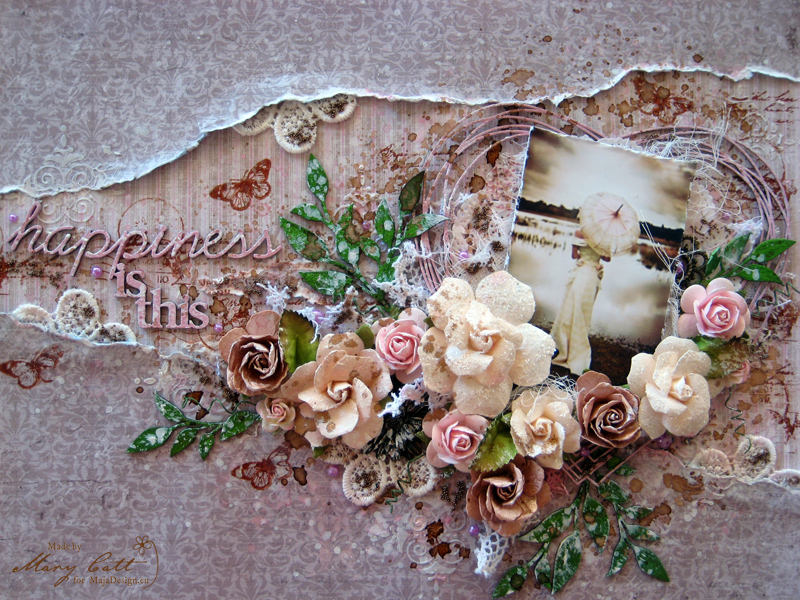
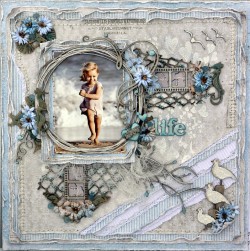
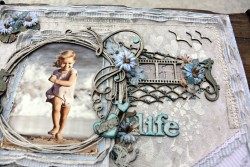
It’s Mary here with you, today, and I have a new layout to share with you. I made a romantic page, again, using papers from the ”Vintage Spring Basics” collection.

Close Up 1

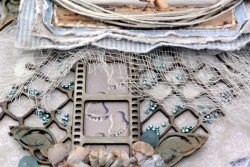
The main paper on the background is the ”2nd of May”. I tore the ”8th of March” paper into three pieces and then I glued down the top piece on the top edge of the main paper. The lower torn piece of paper was glued on the bottom of the main paper, leaving the middle spot empty.

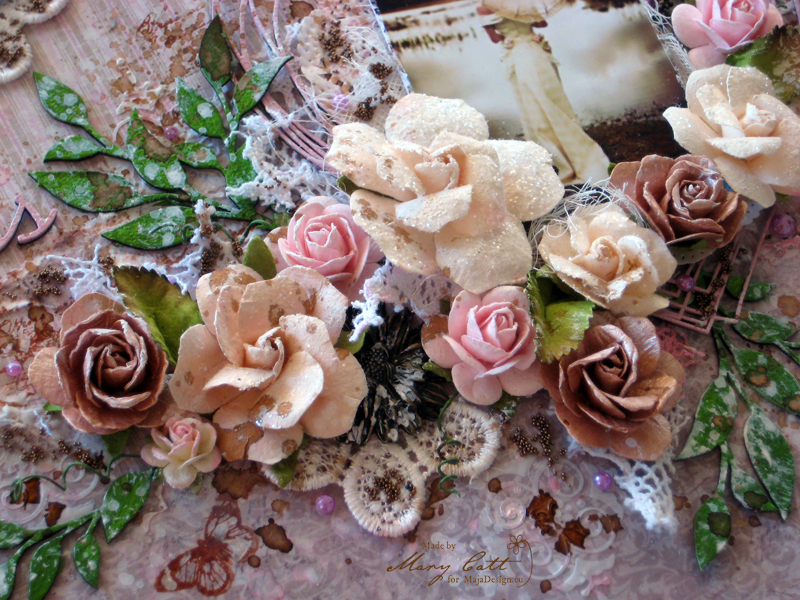
Close Up 2

When accembled the papers, I gave them a coat of clear gesso. I added texture by using modeling paste and a stencil. When everything dried, I used Lindy’s Stamp Gang mists, ”Cotton Candy Pink”, ”Salt Water Taffy” and ”Cattail Copper Brown” to color my page.

Close Up 5

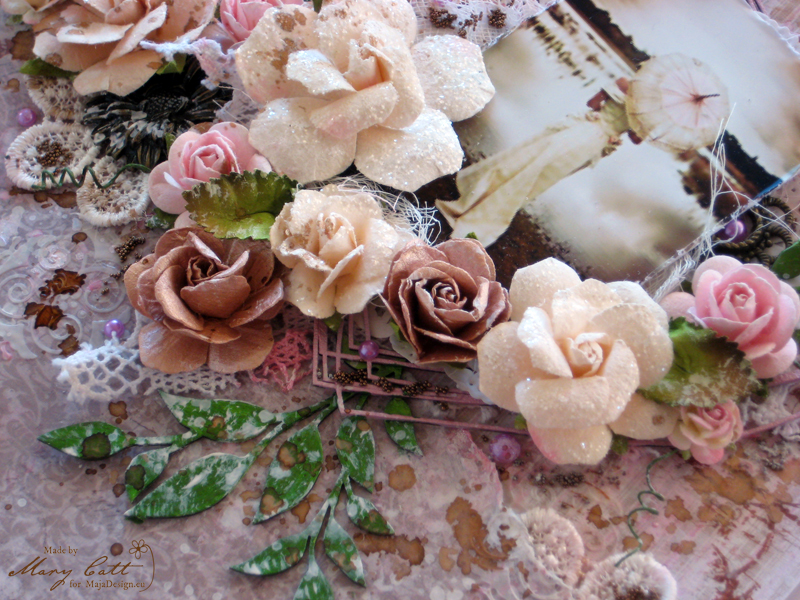
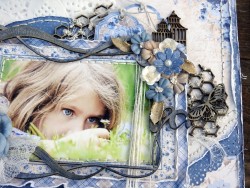
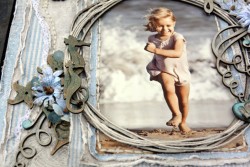
I decided to make a simple cluster for my photo… only a doily, a little cheesecloth and some lace. And, at this point, I want to give all the proper gredits to the photographer of the photo, which I found on Pinterest.

Close Up 3

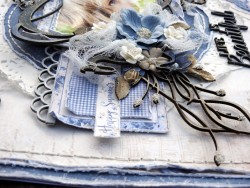
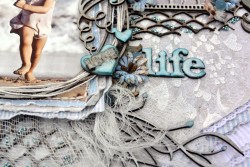
The chipboards are all 2Crafty and I painted them with Finnabair Acrylic Paints. For the title and the heart frame I used the ”Vintage Rose” and for the leaves I used two shades of green, the ”Lime Peel” and the ”Green Olive”. All flowers and embellishments are Prima Marketing.

Close Up 4

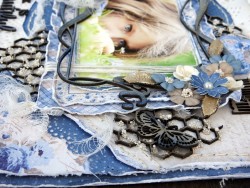
As a final touch I added some pearls and some microbeads and made some splatters with white gesso.

Papers used:

Vintage-Spring-Basics-P


Well, that’s all for today…

…see you again in two weeks!

Thank you for your time!

Mary-sign1

Κράτα το

Life is Beautiful

2

Posted by Rachelle Sigurdson

1 October, 2016 - , , , ,

Write a comment

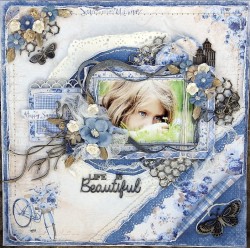
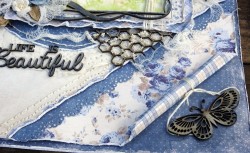
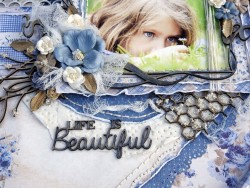
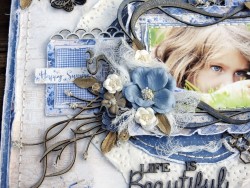
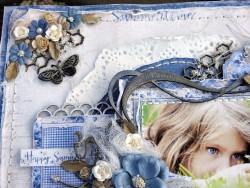
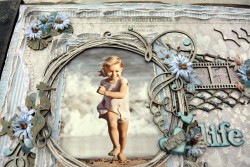
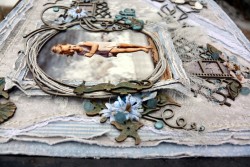
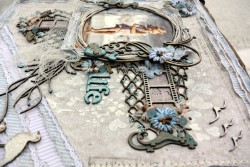
Hello, I am back after taking a summer break, to spend time in my garden. Here is a LO I did, using the Beautiful Summertime Collection, ” Life is Beautiful”…

68b6ca2e5acc483f8fd7547c2da7d2aa

Summertime-P

I used:

Is my favourite

It’s my Favorite

Having fun bs

Having Fun-BS

Gives me joy

Gives me Joy

Gives me joy bs

By the Sea Diecuts

By the sea - Diecuts

By the Sea-Diecuts-BS & a BS of a Label

The chipboard used is from Dusty Attic…

Here are a few close ups…

31fdf534e69c47eab5c04988ca84f038

I started off, with doing distressed paper layers, I also did some punch work & hand stitching…

b625115f5a8e4e54bfc497ae30900d7c

Shows a rolled up corner…

1028e85f08df4e4b96996bfc87fb604d

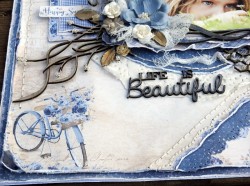
painted some of the chipboard with clear crackle varnish, once the crackle dried, I rubbed on denim & brown using a ink pad…

62cf9216509148a49846c3911cfe26da

I made a bow out of cheese cloth, some flowers out of the collection, & used Prills as the flower centers, ends of seagrass, & on the chicken wire…

cb8bed8b0a2c4b9181365eaf009e8d0f

I also used a doily in the layers….

Here are a few more close ups…

16e05f8917fe43d0a21d5e9bc756121c

09f0d4dea2cb4e5ba524acdc71e60a75

79815be1f44848189d759cb32626bc7f

My next project, a card using the Summertime Collection…

1a006e36c9cc4a50bf4eb50a9c15aa10

063a503eca504cbfaf8733a074e88134

My final project, a LO combining the Vintage Spring & Vintage Summer Collections…

4bfc236e395d46e8a42e22f79a3b7abc

3d296d4ed7e34501a7c2f2afb75aaa7e

09ec66ba2b954619ba77167015114295

bec5e9370f6047a999a1b5d3d629e95c

3a8f3ac22028437a91e182755b858de7

ae982ecb7ac34829b6da40b110f9daf7

56bce33da6b54e83b9a7b691be68b8d7

4c0d55f2c4f94e8998819134a2dbf883

b5f9fc4e469d4a4b92ae71a7806e01e1

e533c6cbf3de4da9bf2b75049baa2a0b

Thank you so much for taking the time to look…..Rachelle

Rachelle-sign


Lovely Cards

0

Posted by Amy Voorthuis

24 September, 2016 - , , , ,

Write a comment

Hi lovely friends,

Today I would like to share some cards with you using different Maja Design collections. I have to say I am totally hooked on using Maja Design papers so for every project I make I always think which of their collections will fit my theme…..all the cards I will show you today where made for my DT work at Cheery Lynn Designs {a die manufacturer}! But using my precious Maja Design papers……

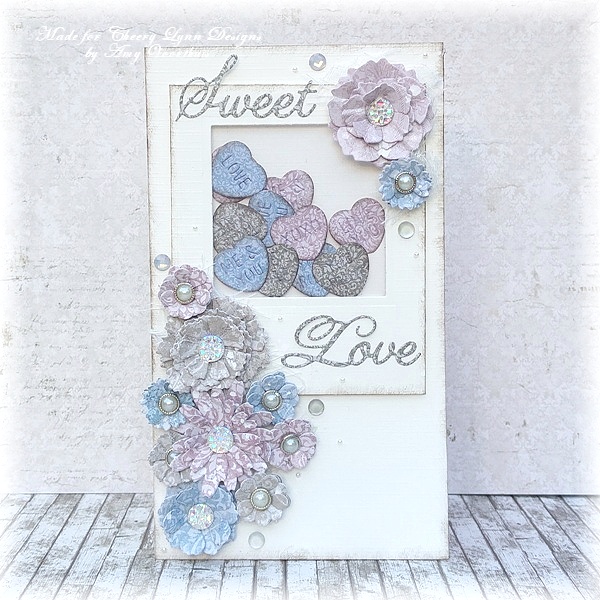
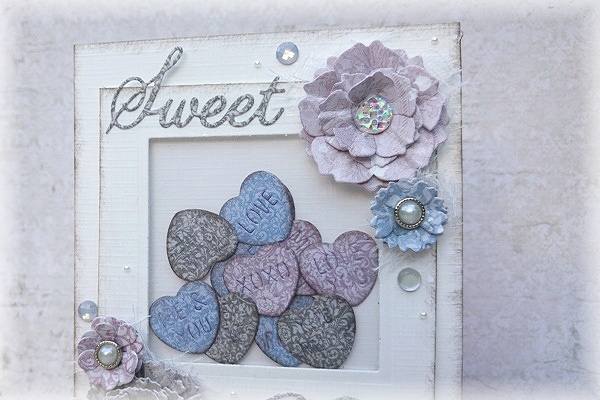
Sweet Love: 

20160830_080419_HDR

For this shaker card I used the pretty “Vintage Romance” collection and just plain creme card stock and a bunch of dies. I really love the dimension of the flowers that’s what the papers do because of the high quality they are.

20160830_080025_HDR

20160830_080020_HDR

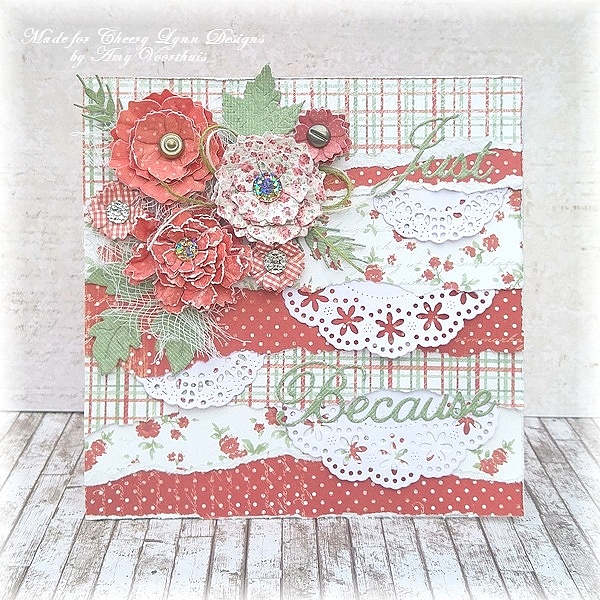
Just Because:

20160709_191758_HDR

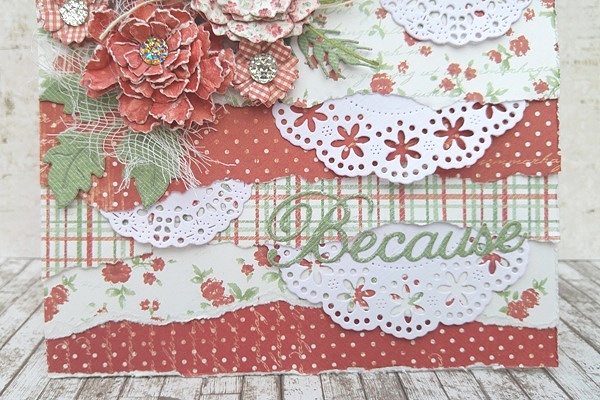
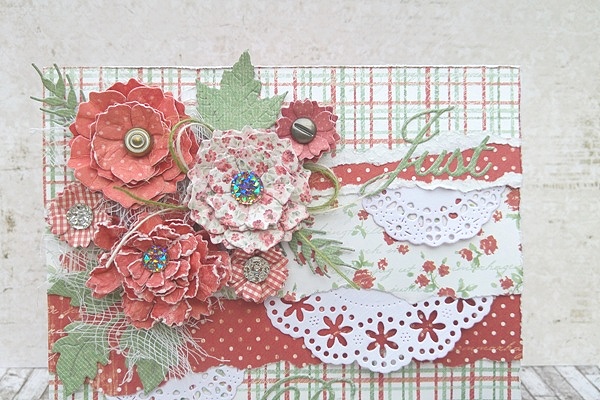
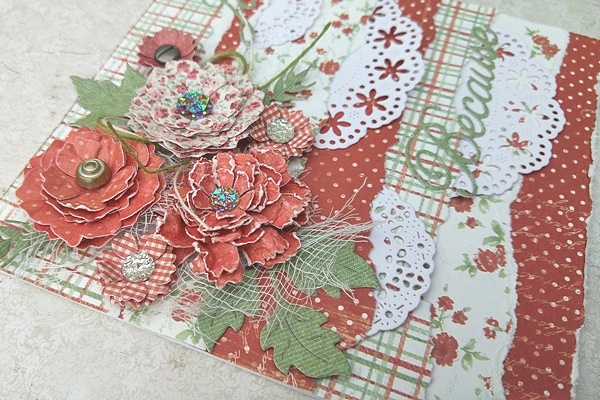
This card is made with two collections that fit so well together like all the other collections too btw hihi 😉 and all made out of leftover papers can you guess which ones?

20160709_191811_HDR

20160709_191815_HDR

20160709_191930_HDR

Birthday Wishes: 

20160908_094656_HDR

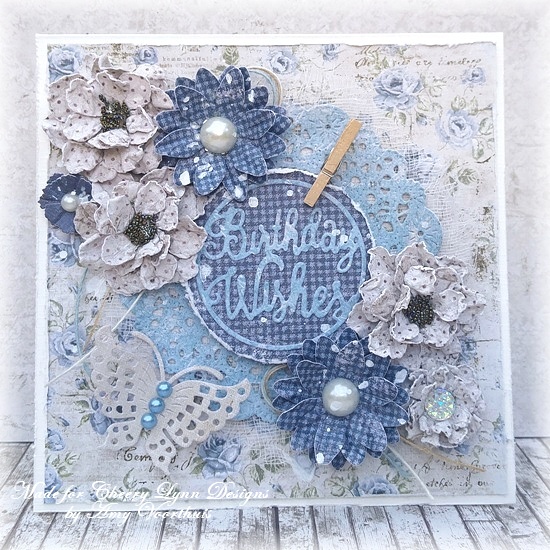
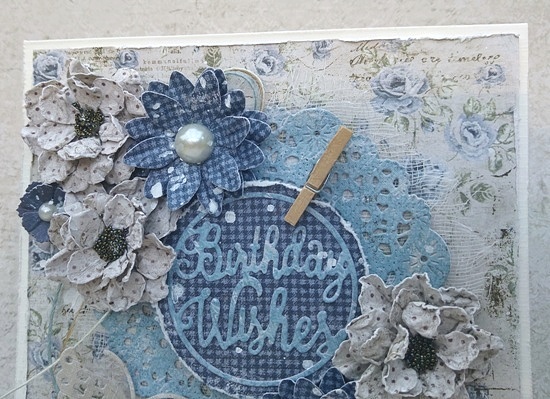
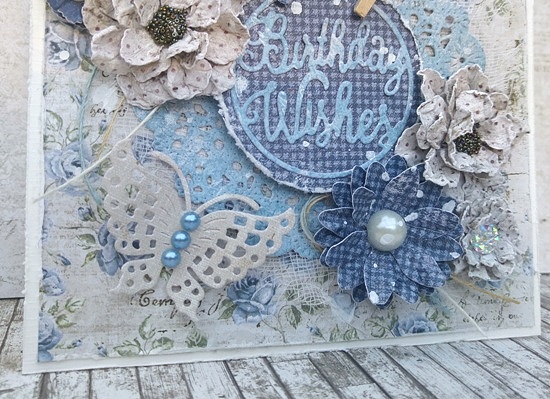
For my third card I used the amazing “Vintage Autumn Basics” collection and for the centers of my flowers I used micro beads which I think worked out really pretty. The background sheet with the blue flowers is one of my favorite papers from this collection.

20160908_091245_HDR

20160908_091241_HDR

You are Awesome: 

20160908_174007_HDR

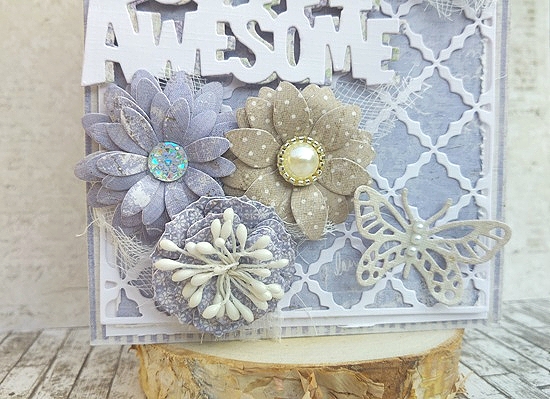
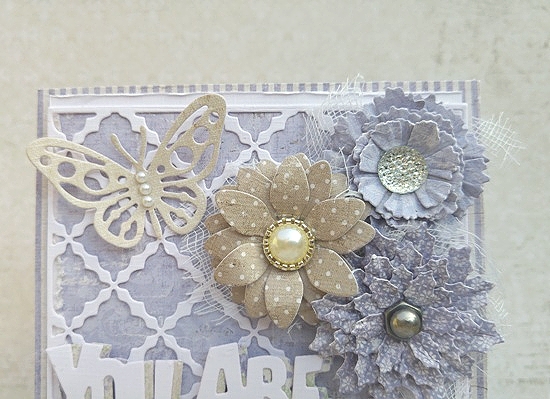
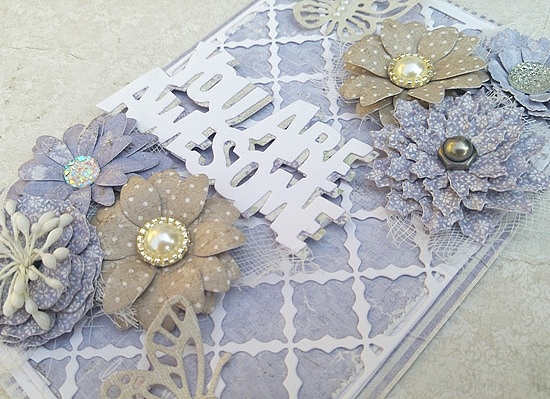
This is card is one of my favorites ever made and that is probably because it’s purple using the “Vintage Spring Basics” collection helps too and I the use of my favorite dies…..The you are awesome phrase is great too!

20160908_173957_HDR

20160908_174001_HDR

20160908_174038_HDR

Thank you so much for visiting the blog today and for leaving such nice comments every single time we really do appreciate them. I want to wish you a wonderful sunny & creative weekend and I will be here again tomorrow with a layout to share

Love

4