Guest Designer Anna Rogalska

0

Posted by Carita Ruckman

19 September, 2016 - , , , ,

Write a comment

Hi Everyone!
My name is Anna Rogalska and I’m happy to be guesting here
at MajaDesign!
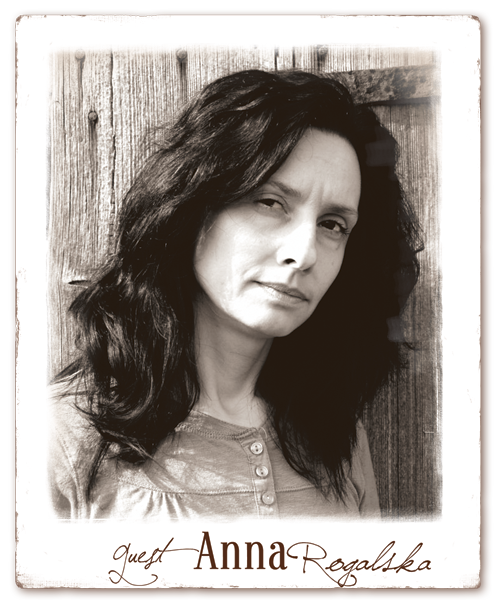
Anna-Rogalska
I live in Poland with my family. I am a landscape architect, scrapbooker
and in my spare time I am a keen runner. I’ve been scrapbooking for
nearly 7 years. My scrapping style is a little bit of everything,
romantic, shabby and mixed media. I love to try new techniques!
I make layouts, cards, tags and altered items. I am definitely a flower
addict!
I absolutely love flowers, chipboard, stencils, mists and paints which
are usually incorporated in most of my layouts.
Currently I cooperate with many teams and producers around the world.

You can find me here: annar-mojepasje.blogspot.com

Thank you MajaDesign for having me as your Guest Designer!

My first project is romantic layout.

Anna Rogalska

Anna Rogalska

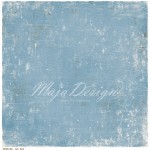
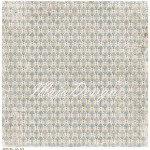
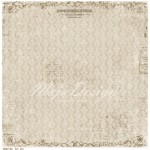
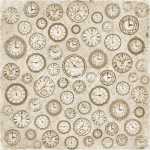
I used three papers from the Vintage Autumn Basics collection  (Heritage, no.XXII, no.XVI) and two (Minnen, 1903) from Vintage Summer Basics colection to layer together and create my background. I just love those papers!

Anna Rogalska

I added white texture paste through a doily stencil. Then I embellished with blue, green and black flowers to compliment the papers.

Anna Rogalska

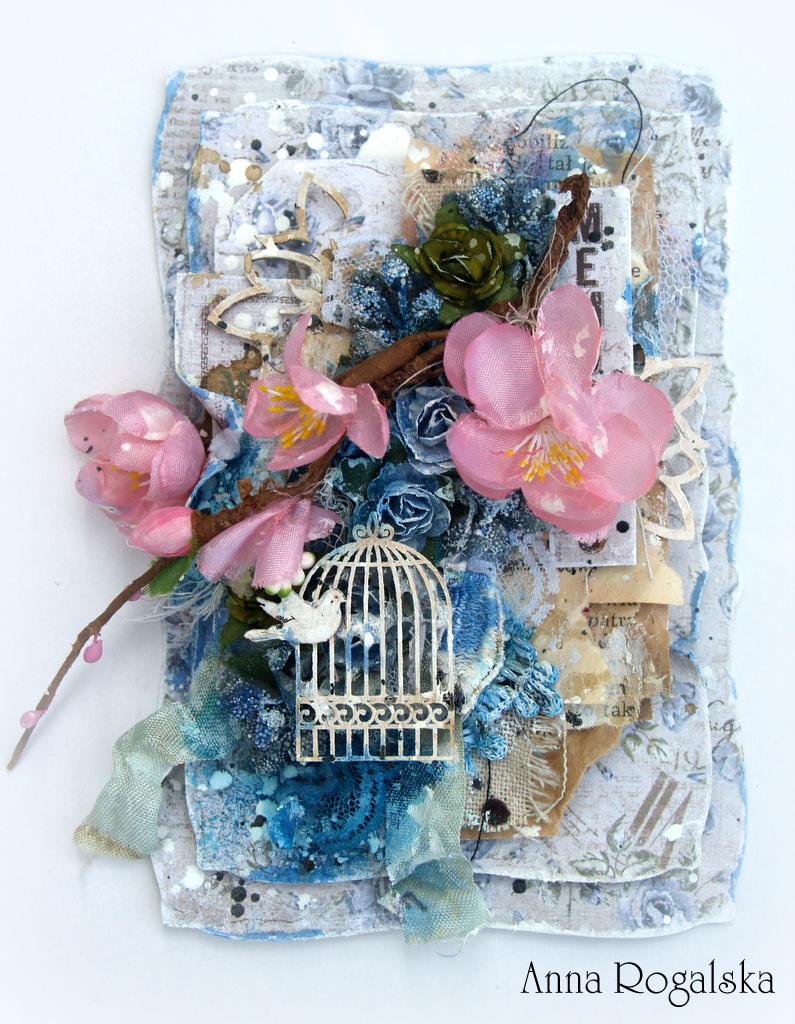
This is my second project.

Anna Rogalska

I created my tag using lovely papers: 1903 and Minnen from Vintage Summer Basics colection and Heritage paper from Vintage Autumn Basics colection.

Anna Rogalska Anna Rogalska

My two cards created with Heritage and no.XXII papers from Vintage Autumn Basics collection.


Papers Used:

Vintage Autumn Basics (Heritage, no.XXII, no.XVI)

Vintage Summer Basics Colection ( Minnen, 1903)

Also used……

13arts products.

Prima products.


Thank you so much for stopping by! I hope you enjoy it!

Anna-sign

”Always and Forever” Layout with a Video Tutorial

5

Posted by Mary Tzalla

18 September, 2016 - , ,

Write a comment

Layout

Hello Maja fans!
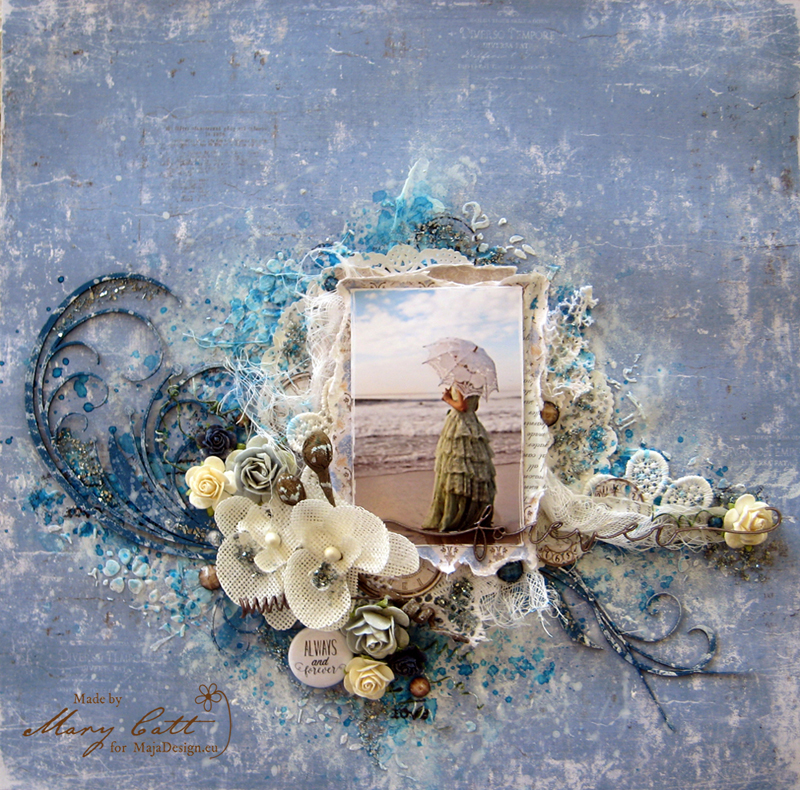
I have a new layout to share with you today. I made a mixed media vintage page using two different collections… ”Vintage Summer Basics” and ”Vintage Autumn Basics”.

I have also made a Video Tutorial…

As I always do I found this beautiful and romantic photo on Pinterest. So I want to give to the photographer all the proper credits.

Close Up 1

This photo is so romantic and inspired me to make a soft romantic layout.

For my background I choose the ”1916” paper from ”Vintage Summer Basics” collection and behind my photo I placed some torn pieces from ”1915” and ”1932” papers to make some layers.

At first, I gave my paper a coat of clear gesso and then I added some white gesso where I wanted to place my photo. I added some texture to my background with a light paste and two stencils. Then, I used Lindy’s Stamp Gang mists, ”Delphinium Turquoise” and ”Baby Blue Eyes Aqua” with some water to make a watercolor effect on my background.

Close Up 2

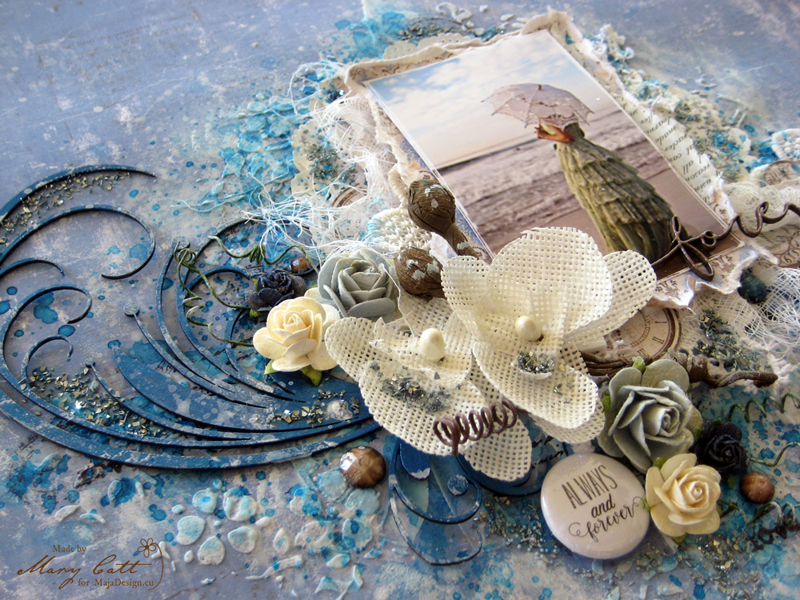
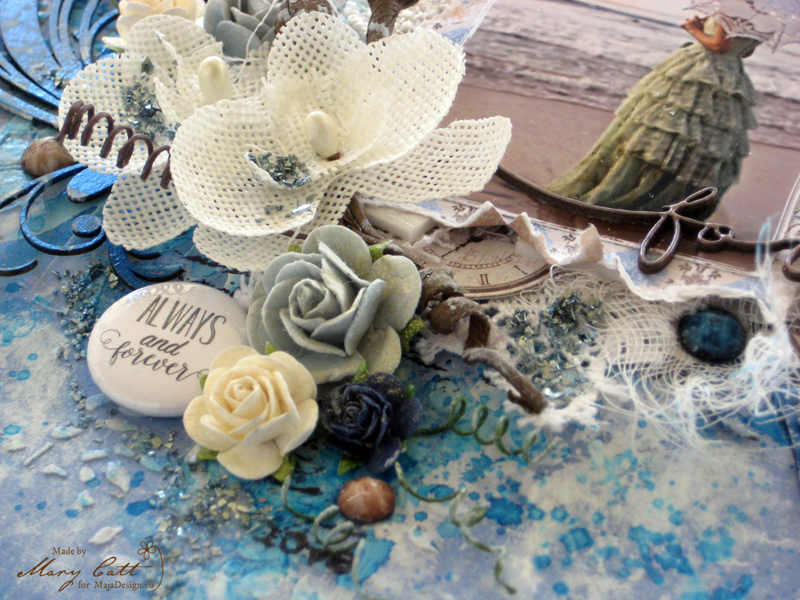
I sprayed my flowers with ”Blazing Sun” Lindy’s Glitz Spritz to make them shine. Then, I made a fussy cutting on some clocks from Vintage Autumn Basics ”No XVI” paper and added them to my clusters.

Close Up 3

All the chipboards I used are 2Crafty. I colored the two flourish pieces with ”Deep Waters” Finnabair acrylic paint and the ”Forever” title was heat embossed with ”Golden Angel Wings” Lindy’s embossing powder.

Papers used:

Vintage-Summer-Basics-P

Autumn-Basics-P

Well, that’s all for today…

Thank you so much for visiting. I hope I gave you a little bit of inspiration!

See you again in two weeks!

Mary-sign1

Baby Floral Album

1

Posted by Elena Olinevich

16 September, 2016 - , , ,

Write a comment

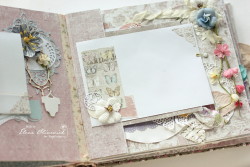
Hello Maja Friends, it’s Elena here with you today.

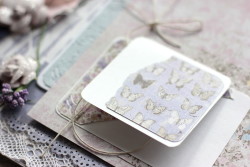
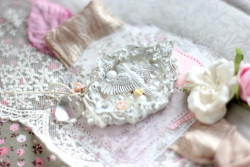
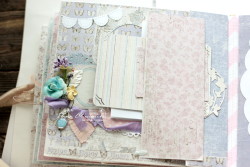
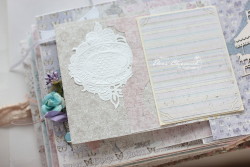
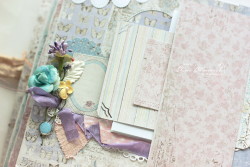
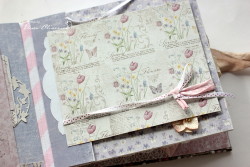
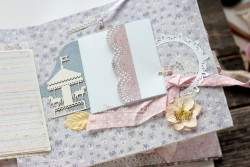
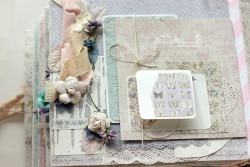
You know that I enjoy creating albums and other stuff for the babies. However I do like when it doesn’t look too baby,that is why I am searching for dig=fferent ways how to add other embellishments , flowers ,lace and so on, so that it can be used for the baby at the same time.

sneak

It’s really fun and you don’t need speacial baby papers.

cover sneak

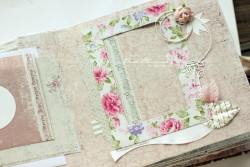
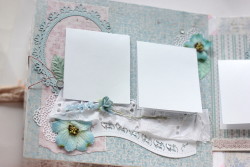
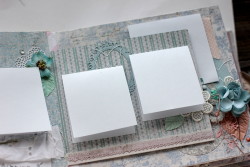
This time I combined some of my favorite papers form different collections. and I guess that still look simple and match each other perfectly.

Baby Album, by Elena Olinevich, Maja Design_01a

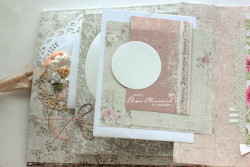
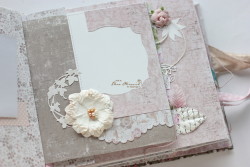
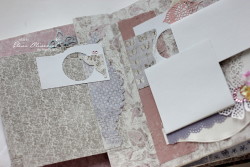
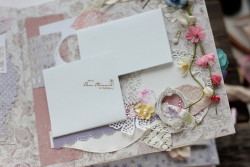
I made many flaps, envelops and tags – I do like when the album is like a Lego, you know)))

Baby Album, by Elena Olinevich, Maja Design_02

Baby Album, by Elena Olinevich, Maja Design_02a

There are many pages and details in it, I don’t want to bother you with all of them, I will show only a few.

Baby Album, by Elena Olinevich, Maja Design_03a

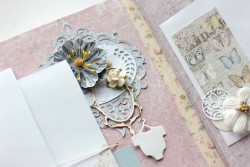
Even if you make something for the girls you don’t need to keep it absolutely pink. I like adding teal and blue too.

Baby Album, by Elena Olinevich, Maja Design_04a

However few flowers is a good adition

Baby Album, by Elena Olinevich, Maja Design_04b

Baby Album, by Elena Olinevich, Maja Design_06

Baby Album, by Elena Olinevich, Maja Design_06a

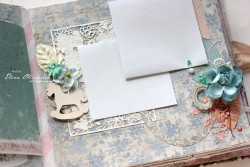
Don’t throw you negative die cuts, they can be an awesome embellishment.

Baby Album, by Elena Olinevich, Maja Design_06b

img_1338

too accents that this album is devoted to a baby

Baby Album, by Elena Olinevich, Maja Design_07

Baby Album, by Elena Olinevich, Maja Design_07a

Baby Album, by Elena Olinevich, Maja Design_07b

Baby Album, by Elena Olinevich, Maja Design_08

Purple is still my favorite color, I can not miss it.

Baby Album, by Elena Olinevich, Maja Design_08a

Baby Album, by Elena Olinevich, Maja Design_09

I hope you have enjoyed my album as I had such an excitement to create it.


You can also take a video tour

http://https://youtu.be/ibWfwze0sss

Elena-sign

Save

Happy LO

1

Posted by Delaina Burns

18 August, 2016 - , , ,

Write a comment

Hello Hello!

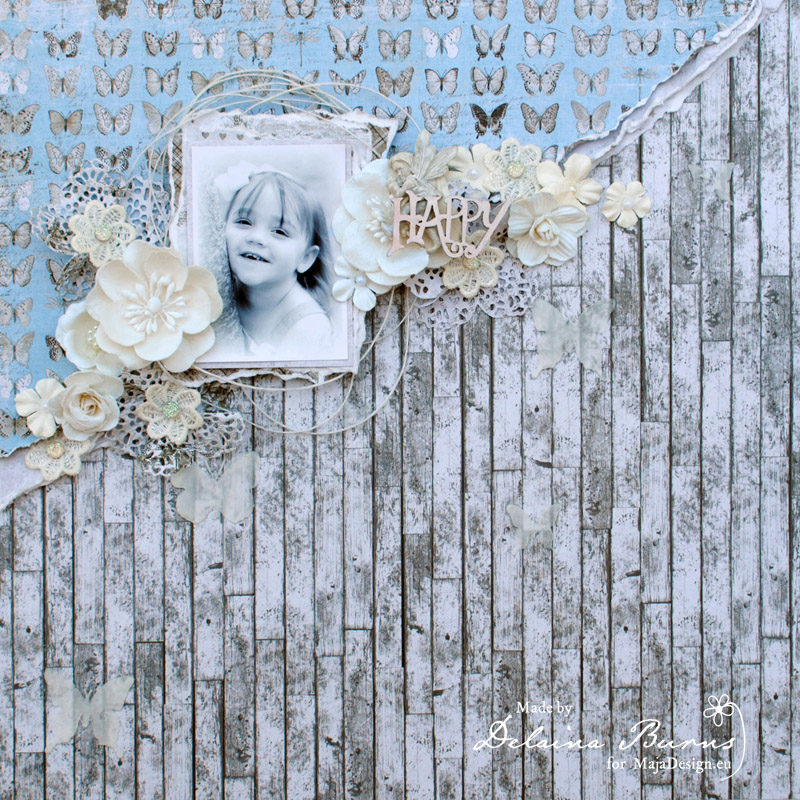
I have a LO to share today that created using 3 of Maja’s beautiful Collections.

Yet another reason I adore Maja papers… completely versatile and fabulous!

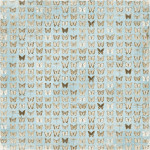
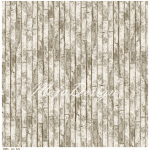
I chose the butterfly pattern paper because it happens to be one of my faves and it paired beautifully with the wood grain pattern and lots of torn edges.

Aug 19 Post (1)sized

I added jute, flowers with doilies and a bit of resin and a wood title… Lots of texture allows my

sweet Aaliyah’s photo to pop off the page…

Aug 19 Post (2)sized

Products:

Vintage Spring Basics

Vintage Summer Basics

Vintage Romance

Flowers- Prima

Jute Cord- Prima

Resin- Prima

Doily Die- Prima

Delaina-sign

Milady’s Closet

2

Posted by Nancy Dynes

9 August, 2016 - ,

Write a comment

A 2 aaa
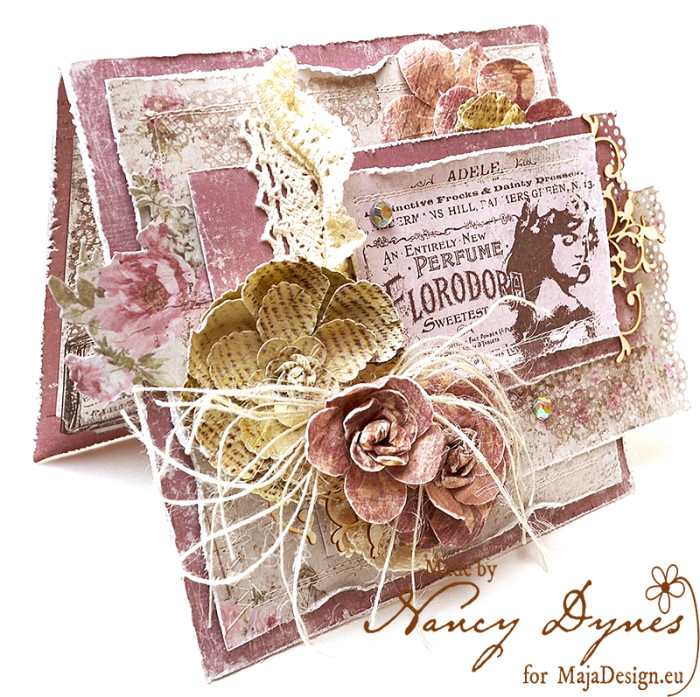
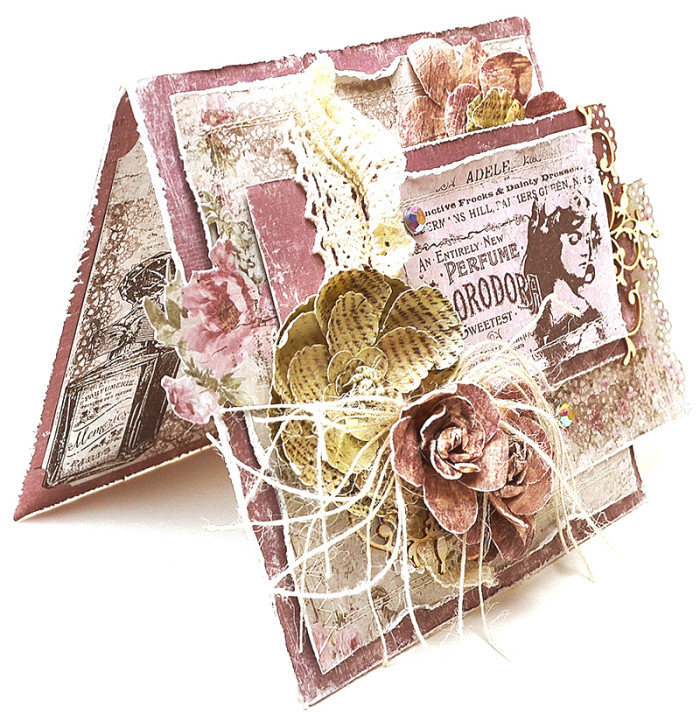
I wish you a warm welcome to the Maja Design Blog! It’s Nancy today. I’m thrilled to be here with a brand new card to share. I know I’m always saying how inspired I am by Maja Design’s beautiful papers, but I really mean it. I sit down in my craft room and look at them, and ideas instantly pop in to my head. That’s exactly what happened with today’s card.

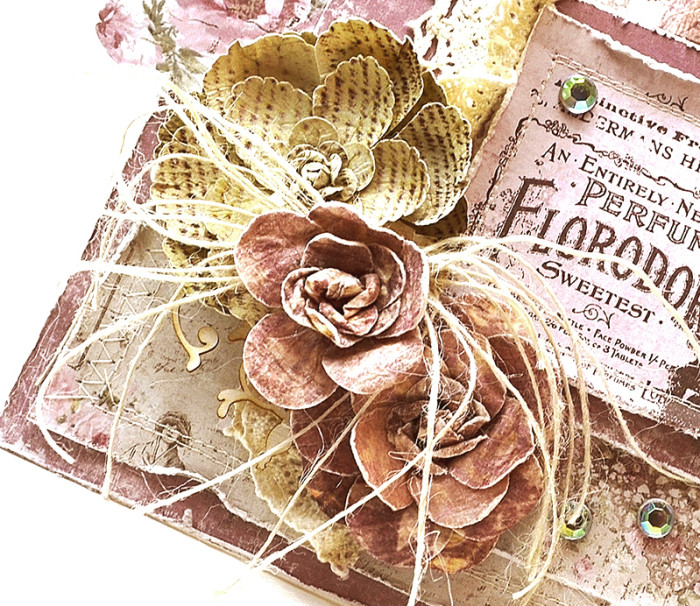
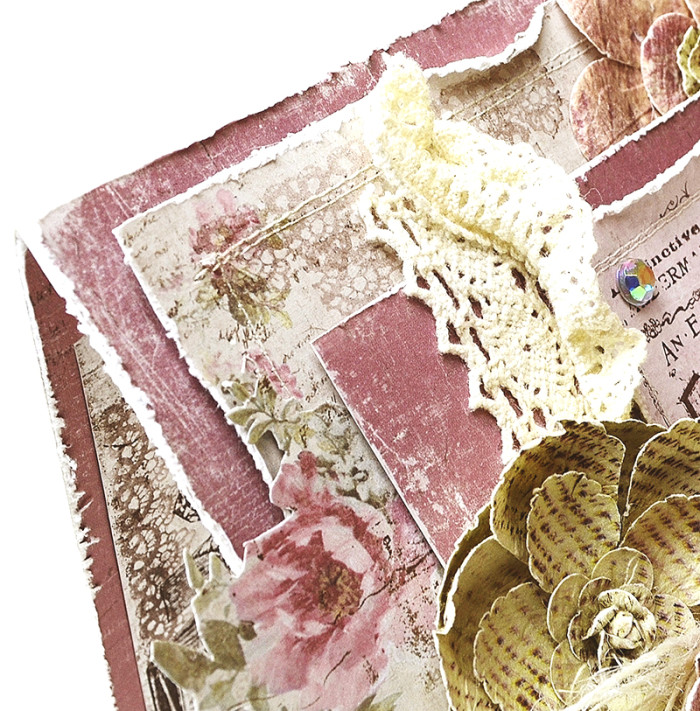
Design papers are distressed, layered and stitched for the base. Flowers are a must for this card. The flowers I’m using are from Prima, as well as fussy cut from the paper collection.

A 5

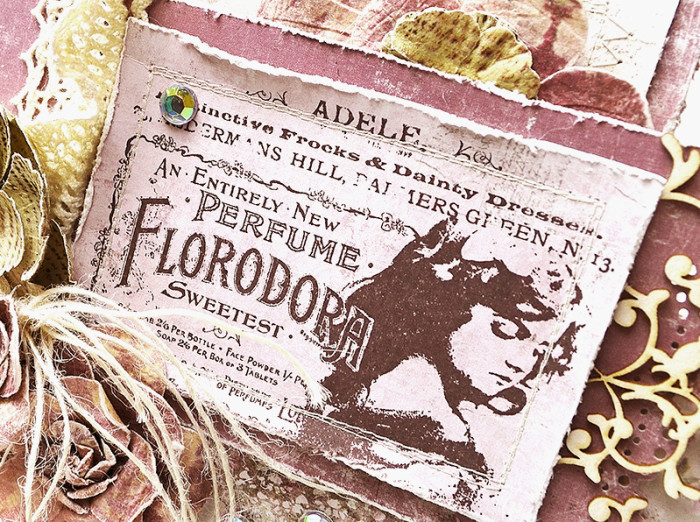
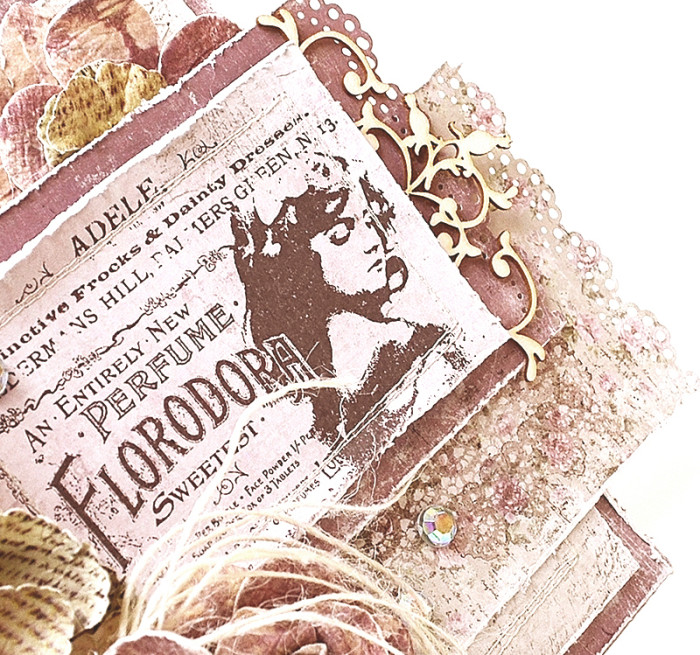
A vintage inspired stamped image provides an elegant focal point.

A 4

A 7

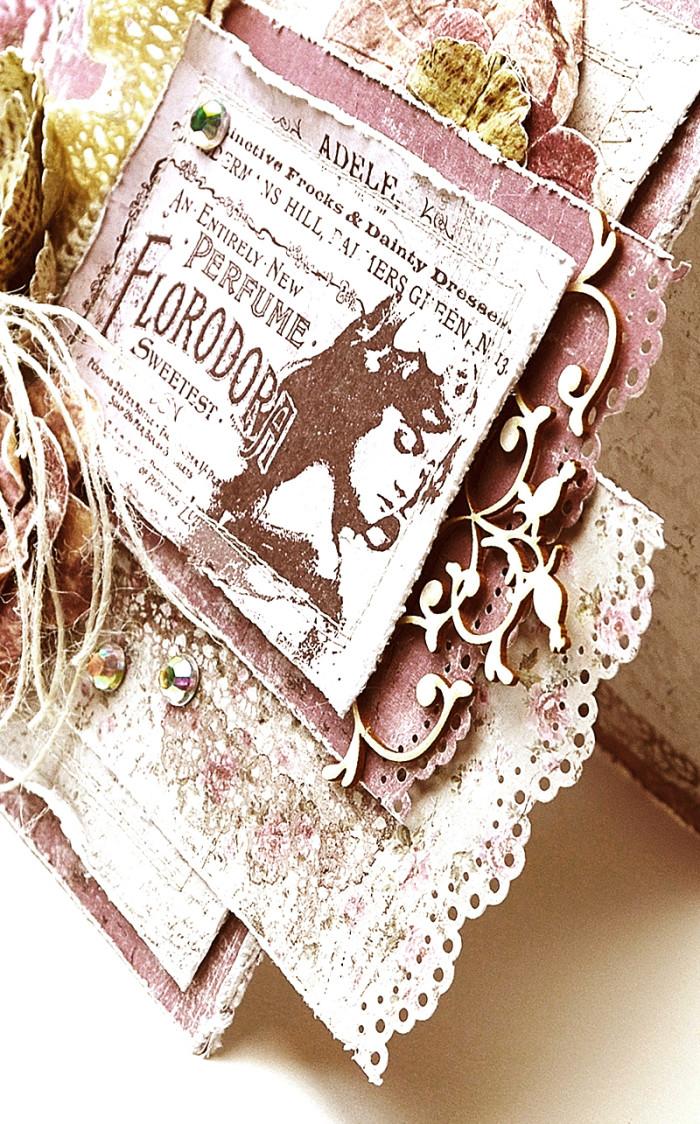
Layered papers, lace punched edges, a bit of bling, and a chipboard accent add a soft, feminine feel.

A 11

I adore lace! Here it’s layered, running down the front of the card to hug the florals at the bottom.

A 8

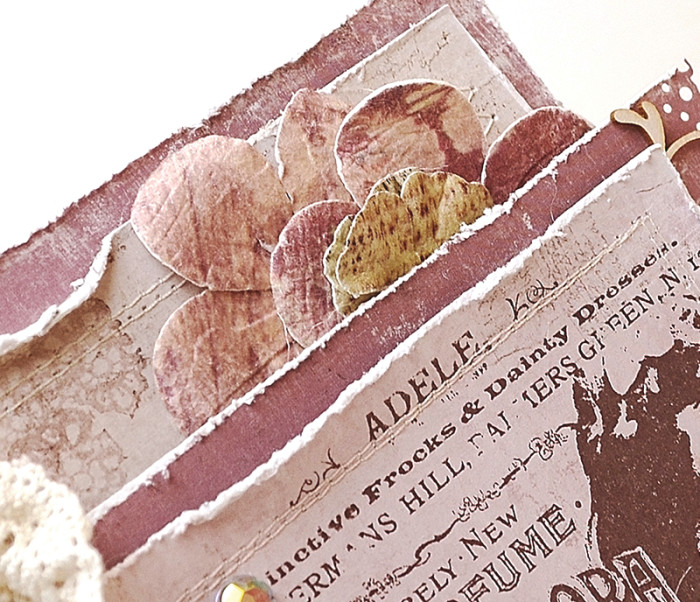
Additional petals peek out from beneath the top panel.

A 9

Below is a little look inside. A pretty stamped corner image is a nice finishing touch, while still leaving plenty of space for a personal note.

A 2 aaaa

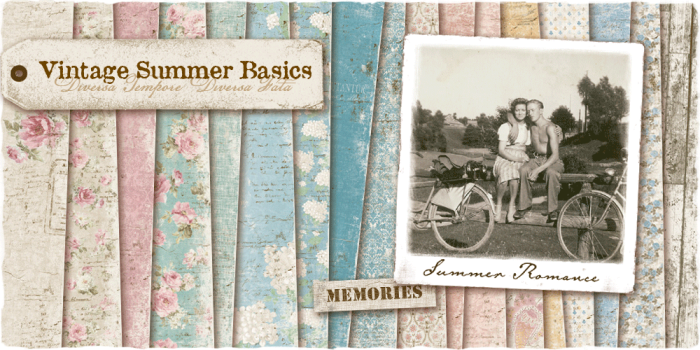
Maja Design Papers Used:Vintage-Summer-BasicsK

Additional Supplies: Tim Holtz Distress Tool, Stamps: Crafty Individuals, Blue Fern Studio’s Bottled Sentiments, Prima Finnabair Stamp. Prima Flowers, Timber Brown Archival Ink, Martha Stewart Lace Edge Punch, Twine, Chipboards, Bling, and Lace from my stash. Foam Tape, Sewing Machine, Thread. 

Thanks so much for visiting! I hope you’ll find as much inspiration from these lovely papers as I do. May your day be filled with sunshine and smiles!

Hugs,Nancy-sign