131 Search Results for baby card

Sweet New Baby Wishes

6

Posted by Ivana Camdzic

30 May, 2013 - ,

Write a comment

I’ve been anticipating the arrival of a very special little new Gemini…A very dear friend of mine is expecting and her due date is just around the corner. Actually, it just so happens to be on her very own birthday! Which means, the little one will join our little circle of Geminis.

I can’t tell you how happy it makes me that they are welcoming this brand new little addition to their family.

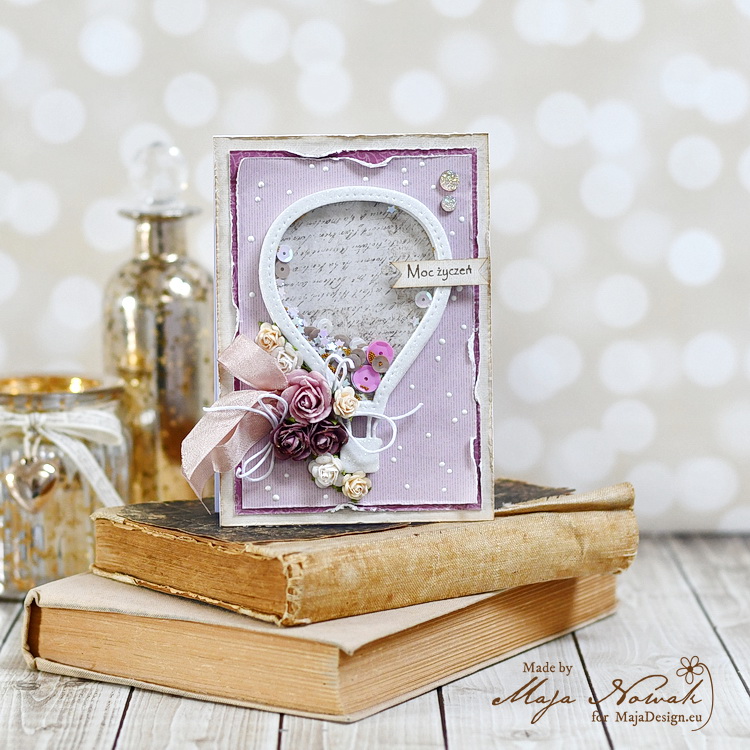
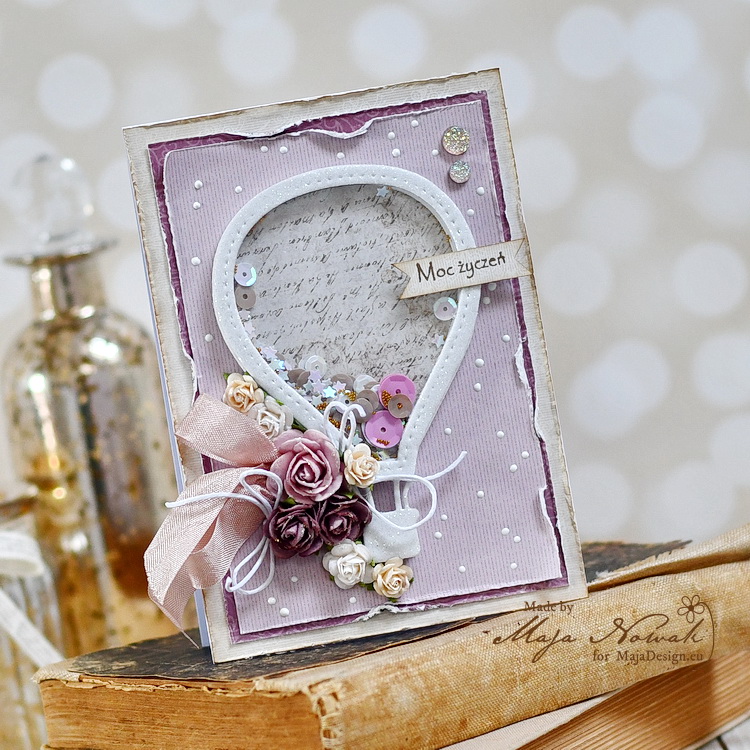
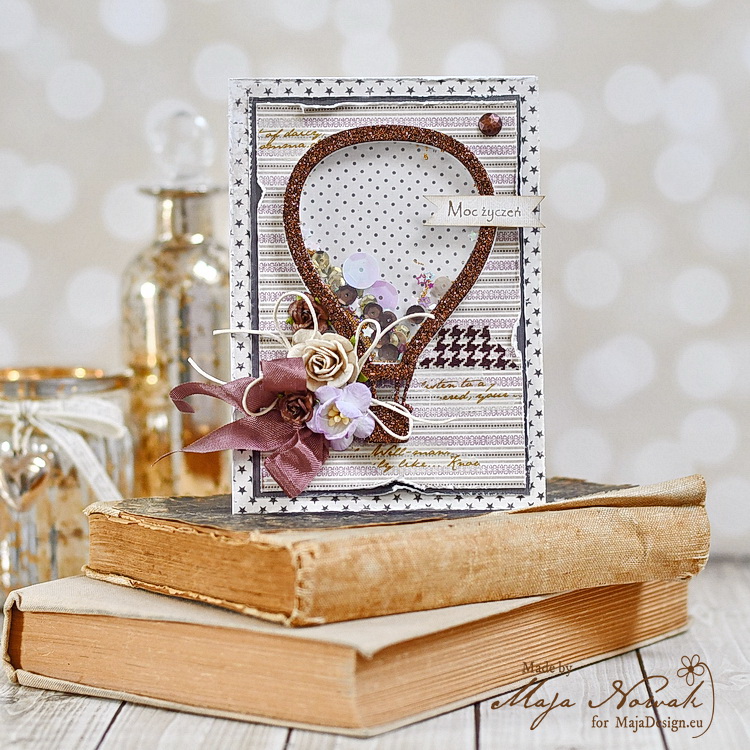
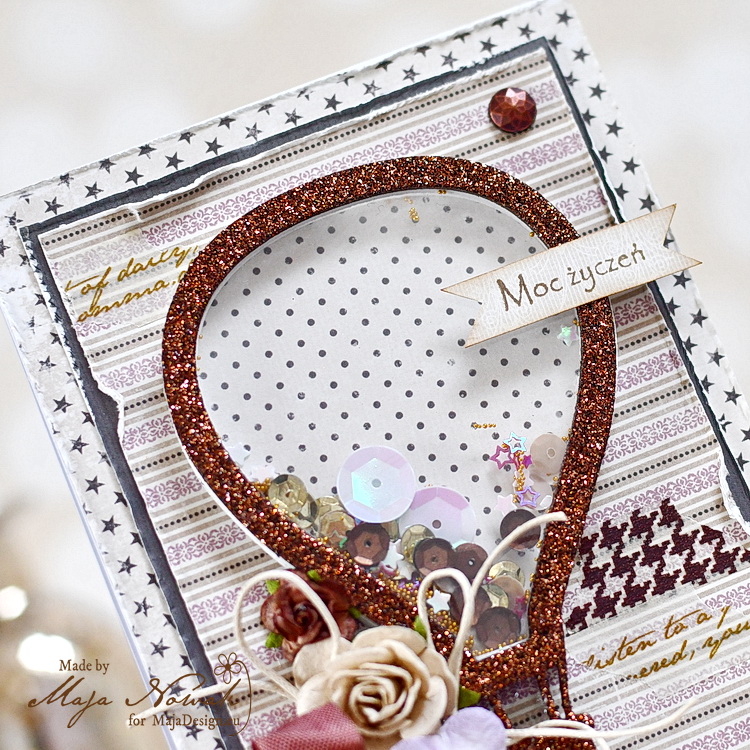
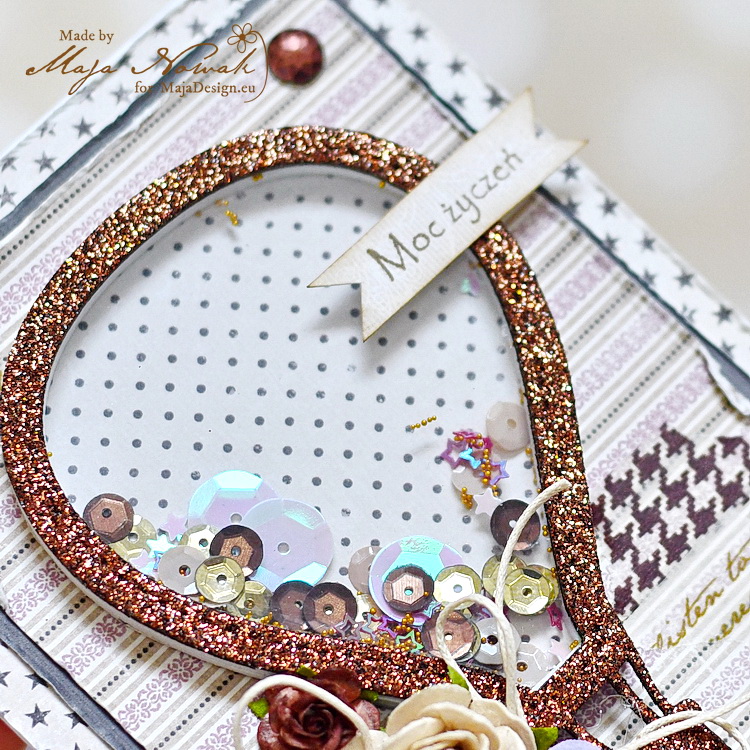
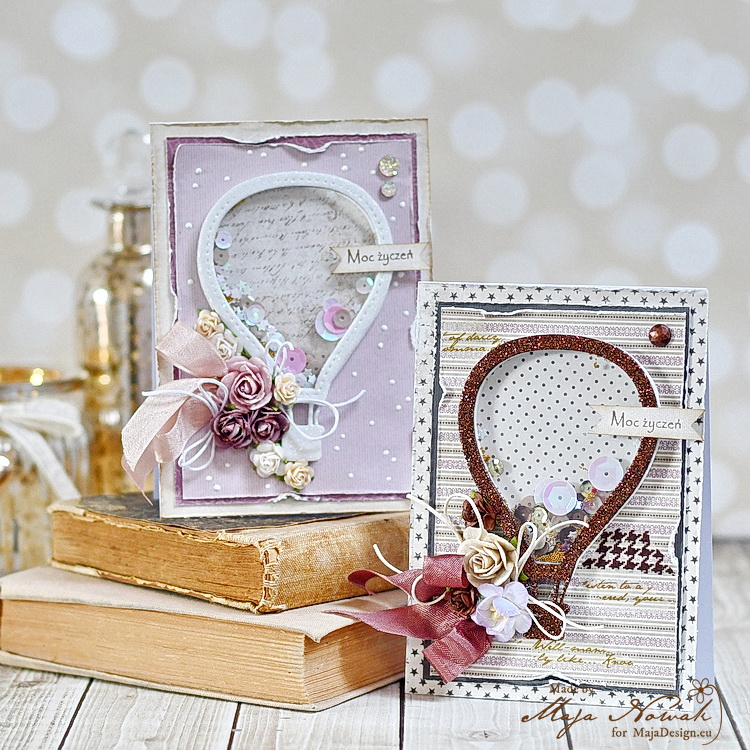
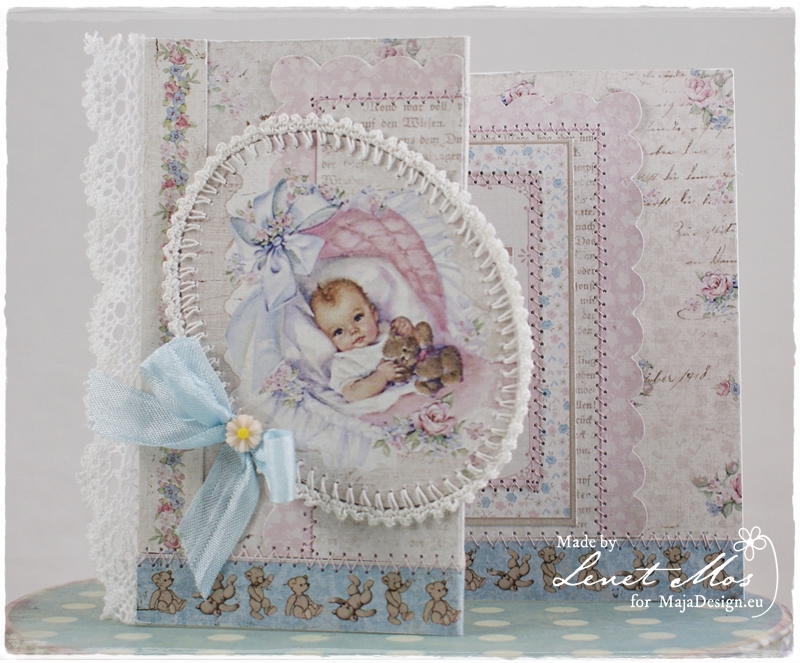
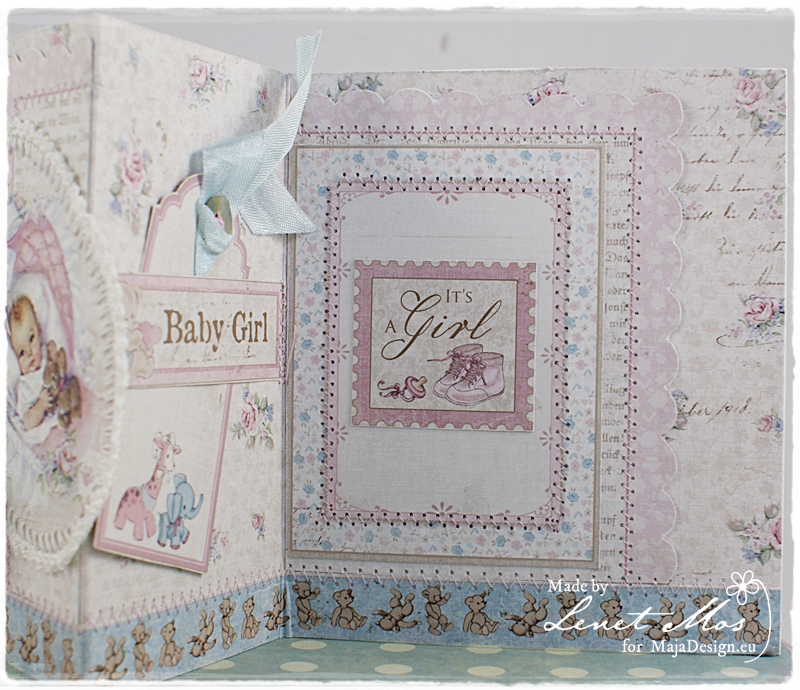
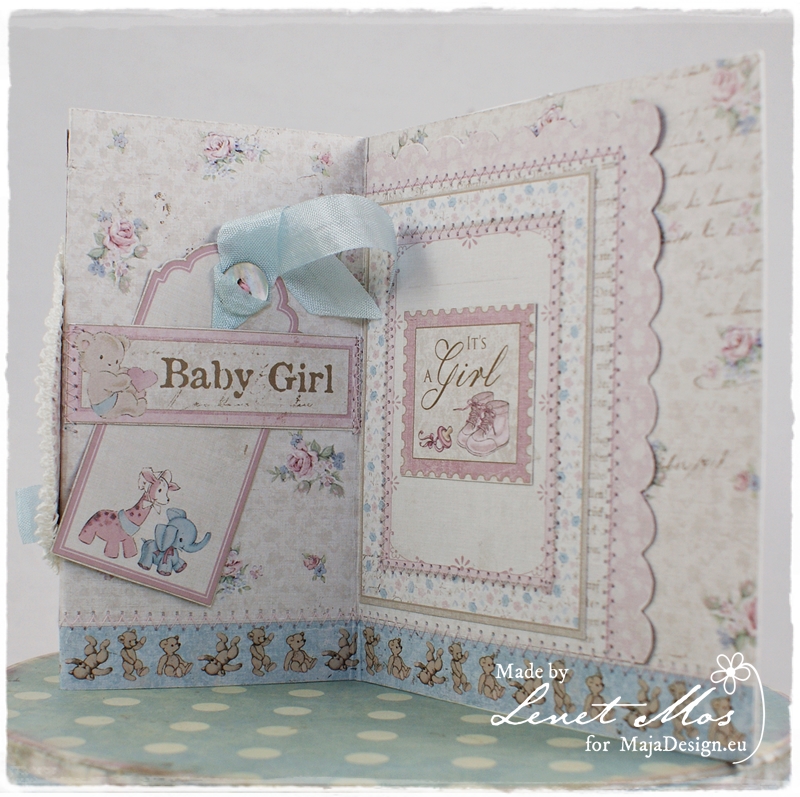
This is the card I created for them.

sweet new baby wishes

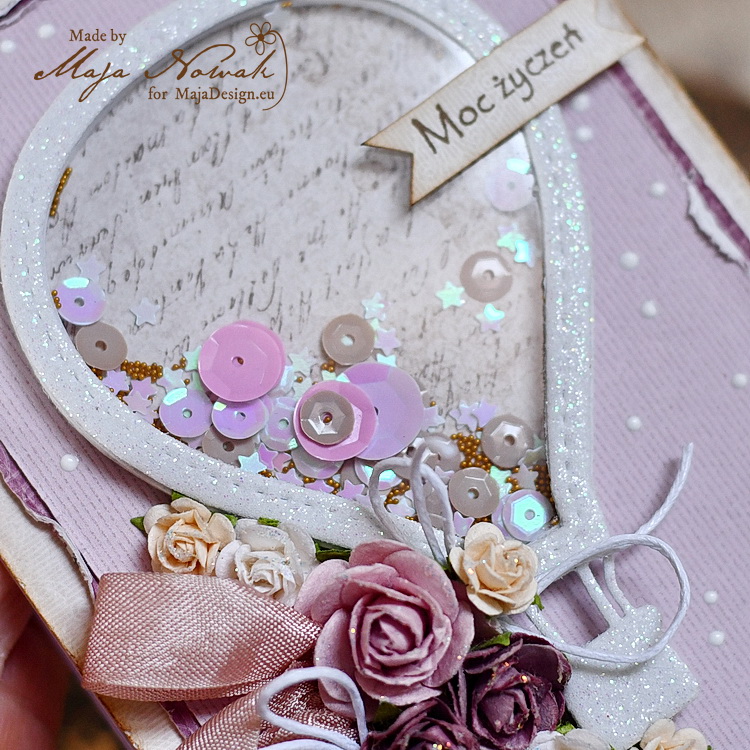
I used a few different pastel colors on the card since the baby’s gender will be a surprise. I wanted to add in a touch of blue – in case it is a boy, a touch of pink- in case it’s a little girl, and a touch of yellow – just for good measure.

All of the papers are from the Vintage Spring Basics collection (3rd of March, 4th of May, Days to Remember), and the rest of the supplies are items I have die-cut.

sweet new baby wishes 2

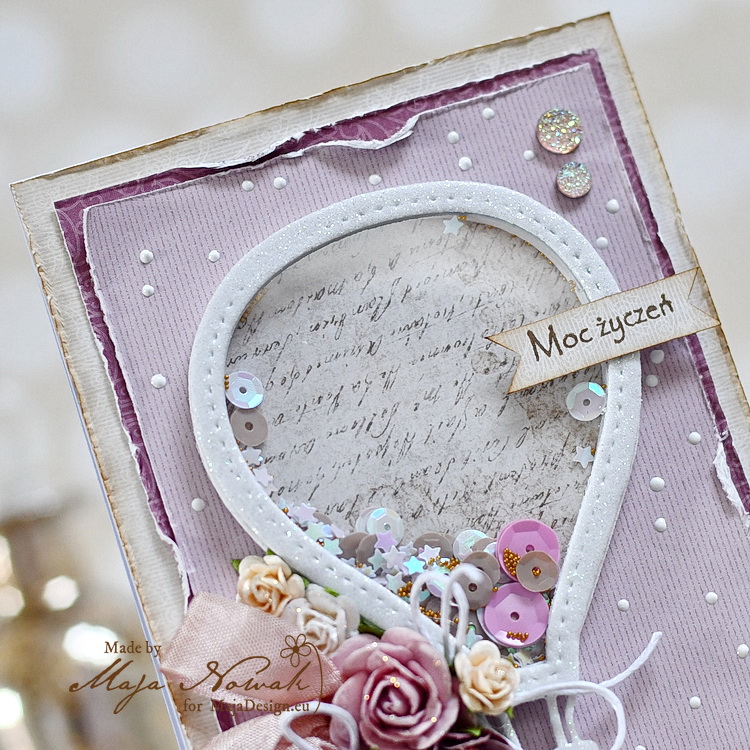
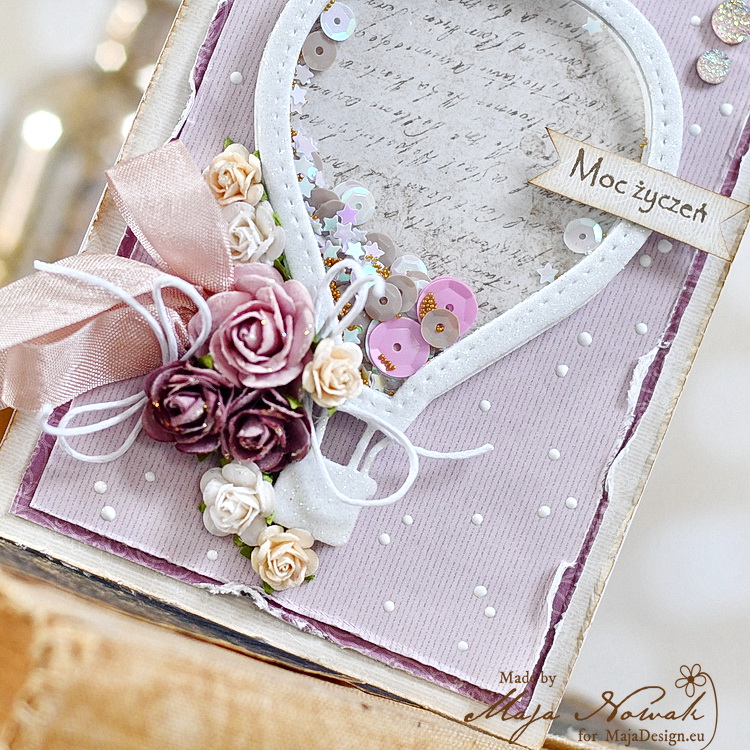
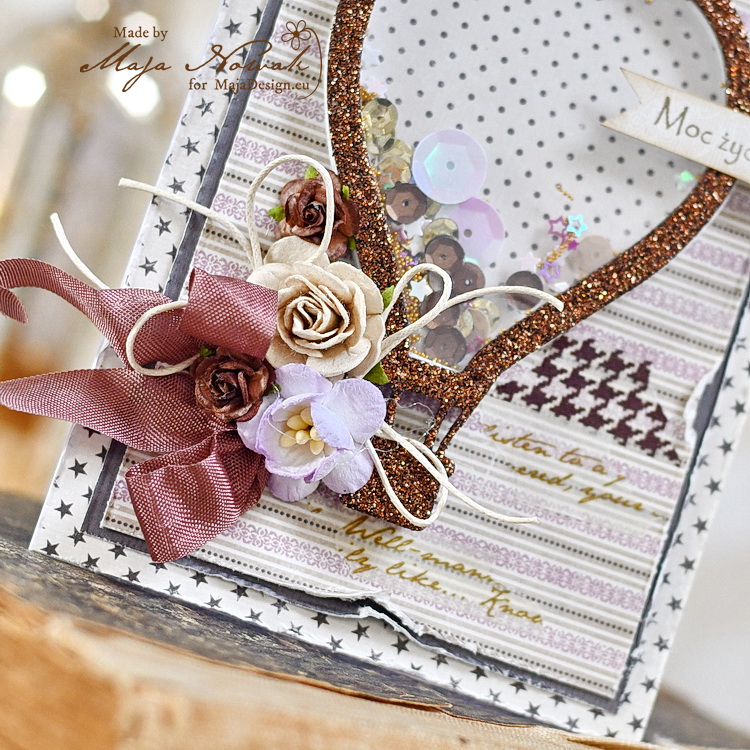
I covered the base of the white card with a soft pink print, followed by a little pocket I die-cut using the WPlus9 Vintage Envelope Die. Inside, I tucked two tickets, both cut out of the Days to Remember paper from Maja Design. I adorned the tags with sparkly buttons, hemp ribbon, and a handmade clay button.

sweet new baby wishes 3

I wanted to add a flower to this card, but didn’t want it to be too girly, so I offset the floral layers – cut with PTI’s Lovely Layers Die – with a cute little birdie. Birdies can be masculine, right?

sweet new baby wishes 4

I added three little pennants, some punched paper, hemp ribbon, and a stamped sentiment from the Purls of Wisdom stamp set from Papertrey Ink.

Supplies: Maja Design Vintage Spring Basics Collection (3rd of March, 4th of May, Days to Remember), White Cardstock, Papertrey Ink Dies (Lovely Layers), WPlus9 Dies (Vintage Envelope), Papertrey Ink Stamps (Purls of Wisdom), Buttons, Ribbon, and String from my stash.

Now I just need to patiently await the arrival of little baby…Oh its so very hard to be patient for such an exciting occasion, but I will do my very best.

Hope you are all having a great week thus far.

Ivana-sign


A Card with A Photo

3

Posted by Elena Olinevich

24 May, 2013 - ,

Write a comment

Good Day to everyone! Today I want to share with you a Card I made for my son who has just turned 12 months 2 days ago. It was quite challenging for me to create a Boyish card since I didn’t want it to be a Baby one. So I found the way to do it in my style, I just added his photo to my card.

MaiaDesignProhorBDayCard

I used Life In the Country Collection, as it is so versatile , and you can find there some papers that can be definitely called masculine, but at the same time they are so soft that are so perfect for Baby projects as well.

BottomCard

I made some cutting as well as tearing the paper. And as you know this month’s Mood Board is based on this collection, so I had some leftovers from the previous project for Mood Board Inspiration, that is why I added some of them there too.

LayersUpCard

I hope I have inspired you to use your paper scraps and small photos and incorporate them into Birthday or Any others Special Day cards

Supply List: Maja Design Papers- Life In the Country Collection: Summer Poem, Grow Strawberries, Summer Fields, Close To The lake, Peace and Quiet; 2Crafty Chipboard, Prima Stamp, Just Right paperCraft Stamp

Elena-sign

Sweet Baby

9

Posted by Ivana Camdzic

4 April, 2013 - , , ,

Write a comment

Hi friends! Today I am celebrating the news of a brand new sweet little girl. We have had such an abundance of little boys in our lives lately, that I have been busily making new baby cards..All in boy themes.

I had to dig out my stash and create something different this time around, and it was so fun. I really love girly cards, because I can get carried away with lots of feminine details and plenty of glitter, sparkles, lace and cute, tiny, hearts.

7

I think the Maja Design papers used here are just the perfect baby card colors and it was so much fun dressing them up for this card!

I used a mix of Vintage Summer Basics (#1911) and Life in The Country (In the Hammock).

{p.s. If you love the Life in The Country collection, I am currently giving away the ENTIRE 12×12 collection, all you have to do is visit my blog to enter!}

8

For the background, I used a paper from the Antligen collection (Vardagjamning) and added a piece of the lovely gingham print to the bottom. I added a smaller bit of the floral paper, and stitched it to the base of the card. Over that, I layered a die-cut doily, onto which I stamped a motif in kraft ink, as well as a round sentiment in black ink.

The teensy heart is a stamped image which I cut out, and embellished with an even smaller heart which is covered with German glass glitter.

Just above the doily, I added another layered embellishment with die-cut pieces and a strip of lace. At the very top of the card, I used a pretty pearl embellishment from a really old set of Prima pearls. I thought this was just the perfect card to use these little beauties up.

10

 Another layer of lace at the bottom, along with another little heart and sentiment, and voila!

Supplies Used: Maja Design Papers (Vintage Summer Basics – 1911, Antligen – Vardagjamning, Life in the Country – In the Hammock), white cardstock, black and kraft ink, Papertrey Ink Doily Die, WPlus9 Quilt Cuts #1 Die, Inkadinkado Stamps, Melissa Frances German Glass Glitter, Lace from my stash.

I adore the way these beautiful papers make the card so soft and delicate…Just like little baby girls. I also have to add just how much I love the round sentiment, and how much it makes me think of little girls and how we all once lived in our own fairy tales, and an infinite land of our imaginations…It is something I hope every little girl will hold onto for the rest of their lives.

 Much Love,

Ivana-sign


Best Wishes Balloons

2

Posted by Maja Nowak

24 October, 2019 - , ,

Write a comment

Good morning, dear Maja Fans, welcome to the blog today 🙂

What I love about the crafting community is that it brings together creative people willing to share their talent and support other crafters worldwide. I found some of my best friends through crafting sites and even though we’ve never met in person I feel I can rely upon them and they can really brighten my day. In my last post I shared a welcome baby card that featured a shaker element and I complained about how tiresome it was to build up the shaker window edge. And then in the comments I found a very useful tip that Maryann Laursen shared – using craft foam to die cut the shape. And that was it! Why did I never think of that? 😀

As you can see, I used a slightly more complicated shape to cut, but with the foam it was pretty easy to do and I only needed two pieces to make a decently deep window. So much easier than using foam squares or glueing at least 8 layers of paper! Then I traced the shape on the acetate with a permanent marker and cut it out by hand (now I found that diecutting acetate makes it crack like glass, and besides, craft foam die cuts a bit larger shape than paper due to its elasticity) and then for the top layer I used glitter craft foam:

I used the Celebration collection with the Monochromes papers too as I didn’t want to distract the eye with a pattern. I decorated the balloon with flowers and added some liquid enamel dots for more texture in the background:

I filled the shaker window with sequins of various colours and shapes and added some microbeads:

I was so happy with this new easy technique for shaker cards that I made another card of the same design and using the same papers, but in a more masculine colours:

This time I used a delicate stripes pattern for the background and added pieces of washi tapes to add some interest.

And I really want to give Maryann Laursen a shout-out here. If you go through the posts on our blog, you will barely see one she didn’t comment on! She is a lovely person who is always ready to appreciate creative work and share her knowledge too. Maryann – thank you for being such a loyal Maja Design fan, these cards are for you 🙂

Here is the list of supplies I used:

Maja Design papers:

Other: flowers, vintage ribbon: Wild Orchid Crafts; stamp: Lemonade; balloon die, washi tape: Action; sequins, wax string: my stash


That’s all for today – thank you for visiting and come back tomorrow for more inspiration!

It’s a girl..

1

Posted by Lenet Mos

13 September, 2018 - , ,

Write a comment

Hello sweet Maja fans.

It’s thursday again and my turn to show you what I have made with the gorgeous papers of Maja Design.

Today I bring you this Baby card. We got happy news from  friends of ours they are  expecting a baby girl .

Im so happy for them and decided to make a baby card to congratulate them.

For this card I used the uber sweet collection of  Vintage baby.

I used my spellbinders ovals to cut out the baby image of the sheet It’s a Girl! and crochet a cute little lacy edge around it.

I cut out a piece of the corner to use on the front and inside of the card.

For the back ground I used Flowers for mum and a piece of the bottom strip at the side underneath it I attached some lace.

on the inside I used a tag ,the baby girl sentiment,  the stamp with It’s a girl  from the sheet with die cuts  . The journaling card is from the sheet journaling cards pink.

At the bottom I glued the strip from First teddy bear.

To give the card a little extra pizzazz I  took my sewing machine and added some stitches to the card.

I’m really in love with this collection and think about making a minialbum  with it as well.

For now I hope you enjoy this baby card as much as I do.

Thank you very much for visiting and make shure you come back for more inspiration from the other Maja Girls