131 Search Results for baby card

Baby card

6

Posted by Camilla Støen Bakke

24 February, 2013 - ,

Write a comment

037

It is Sunday and my time to host the Maja Design blog! This time I have used the beautiful Maja Design paper from The wonderful collection Life by the SeaIt is called Morning Swim, and I have used both sides.

040Life-by-the-Sea-P

I have made a baby card for a friend of mine who gave birth to a beautiful baby boy just before Christmas. She lives in another part of Norway, but will be home for Winter holiday this week, and I am looking so much forward to meet her and her baby! And of course I had to have a card for him. 054

I have used flowers from Prima, Wild Orchid Crafts and Petaloo. The flowerberries are from Kort og Godt. Behind the cute image from Magnolia I have put some cheese cloth and a doily.052

I have cut out two Tilda Tags from Magnolia’s DooHickeys and put them in a small pocket.

050

The image is coloured with Distress Ink, markers and reinkers. The whole card is made with a Go Kreate Die.

047Hope you are having a wonderful Sunday!

Camilla-sign

Nautical Shaker Card for Baby

1

Posted by Jennifer Snyder

22 March, 2020 -

Write a comment
Jennifer Snyder with you today for some shaker card boy cuteness using a classic collection from Maja Design – Life by the Sea.  The papers featured today are:
Marina
Sailing
Bottle Message

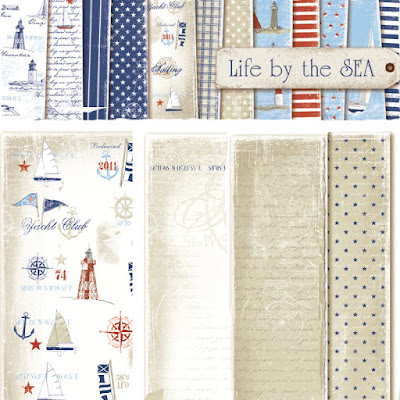
This collection has wonderful strong nautical images and colors which I adore for so many occasions but I especially adore when using on a project for a baby boy.

A little about the products used on this card:
The chipboard shaker is from Creative Embellishments and is back with some royal blue textured foil paper from Rinea. The beautiful rich shaker mix and 3D nautical themed buttons are from Buttons Galore and More.  They are the prefect finishing touch for the shaker card.


Thank you for stopping here today.

Welcome Baby Shaker Card

3

Posted by Maja Nowak

10 October, 2019 - , , ,

Write a comment

Good morning, dear Maja Fans, welcome to the blog today 🙂

I really love the look of shaker box projects. They offer some dimension and fun elements and are simply interesting to look (and play!). But I seldom make shaker box cards. And when I decided to make a welcome baby shaker card, I was quickly reminded why.
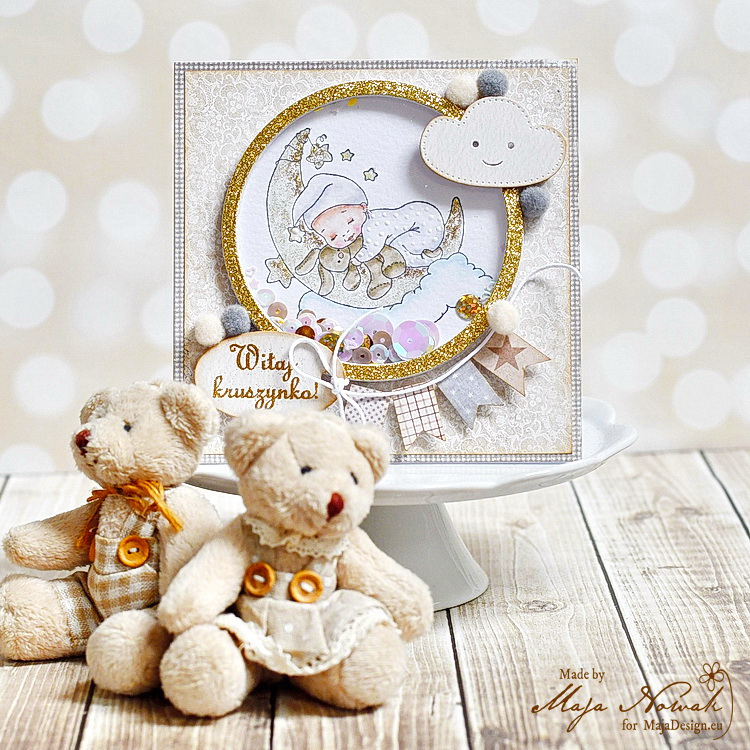
First of all, it’s easy to make shakers with square or rectangular shapes, but not so easy with other, even as basic as the circle. The capsule must be sealed tight so that the contents of the shaker do not fall out. I made many of shakers using adhesive foam squares, but with round shapes they might still leave tiny gaps, so I decided to die-cut round frames and stack them up to make the shaker box, thinking it would save me some time. Boy, was I wrong! To make a 0,5 cm high frame I had to die cut 8 pieces and then glue them one by one together. By the fourth layer the frame started to get crooked no matter how precise I tried to be! The frame is pretty thin, so that was the problem. But finally I managed to create a more or less even frame.
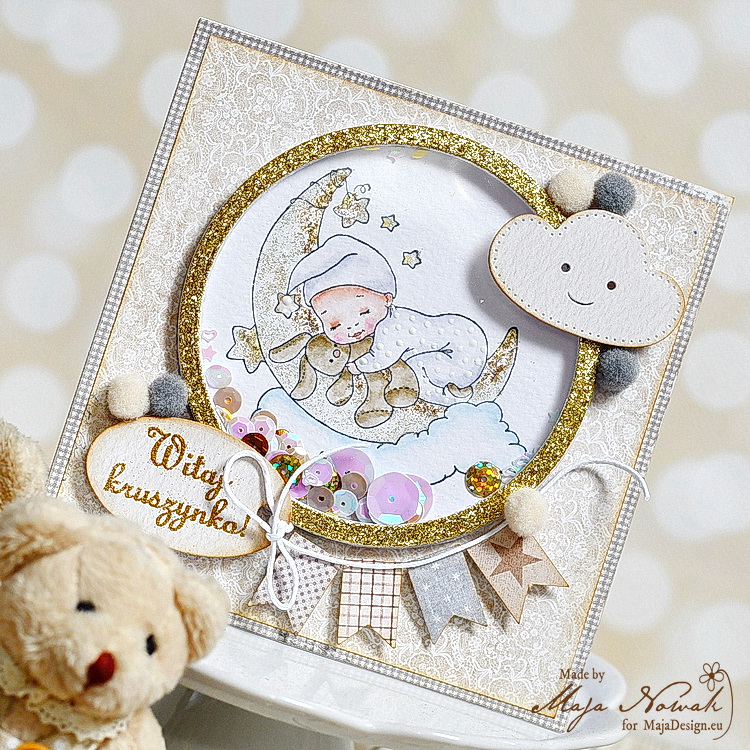
The next problem appeared with the window. I use thick laminating foil for my shakers and with smaller elements I never had any problems, but with this pretty large window the sequins I put in were jumping out or clinging to the foil due to the static electricity. I used soem anti-static spray to deal with it, some also use anti-static powders or pads that are designed for embossing. Finally I was able to assemble my card 🙂
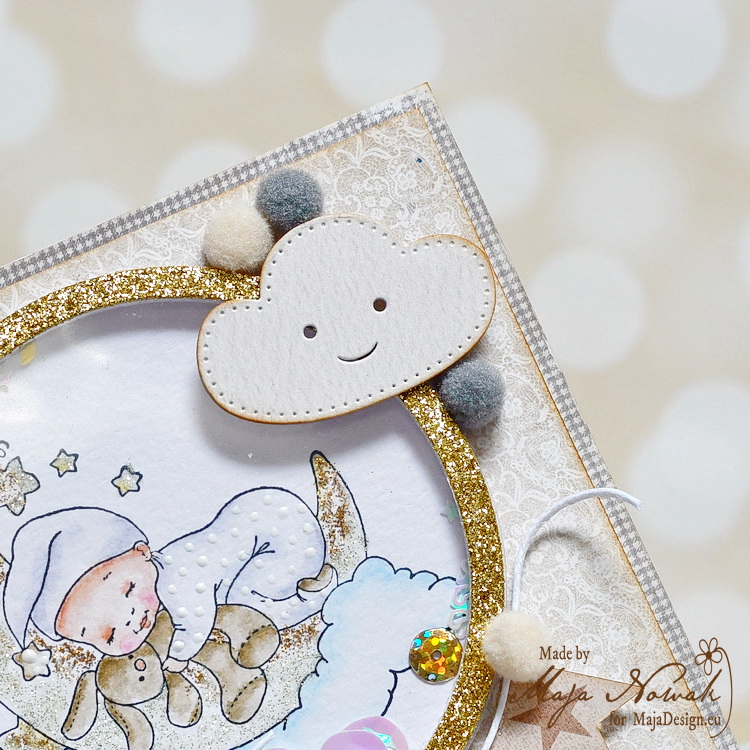
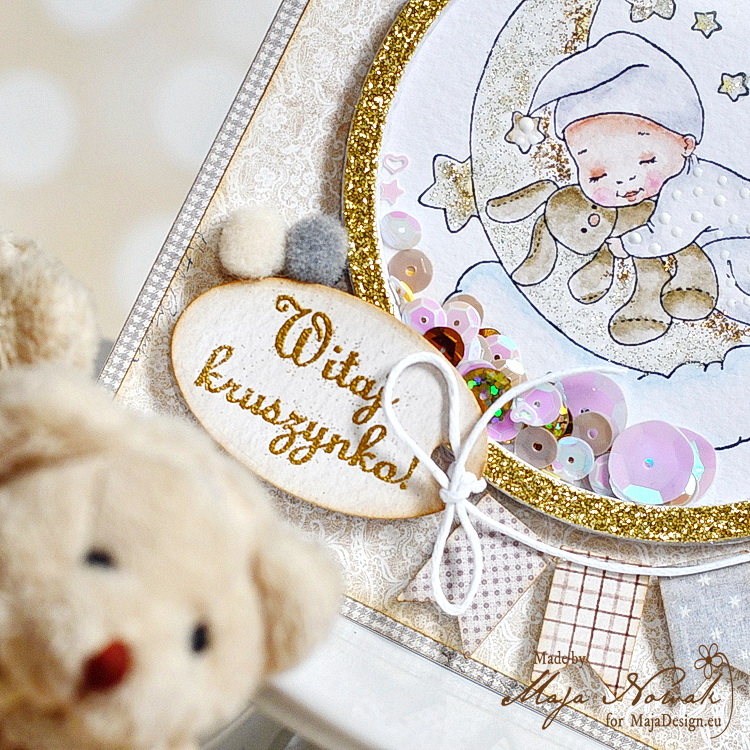
I kept the design very simple so that the shaker remains the main focus. I only added some more die-cuts and a couple of pom-poms to decorate the frame and added a stamped and embossed sentiment.
The image inside the shaker is coloured with Kuretake Twin markers. I accented the details with glitters to get an ombre effect on the moon:
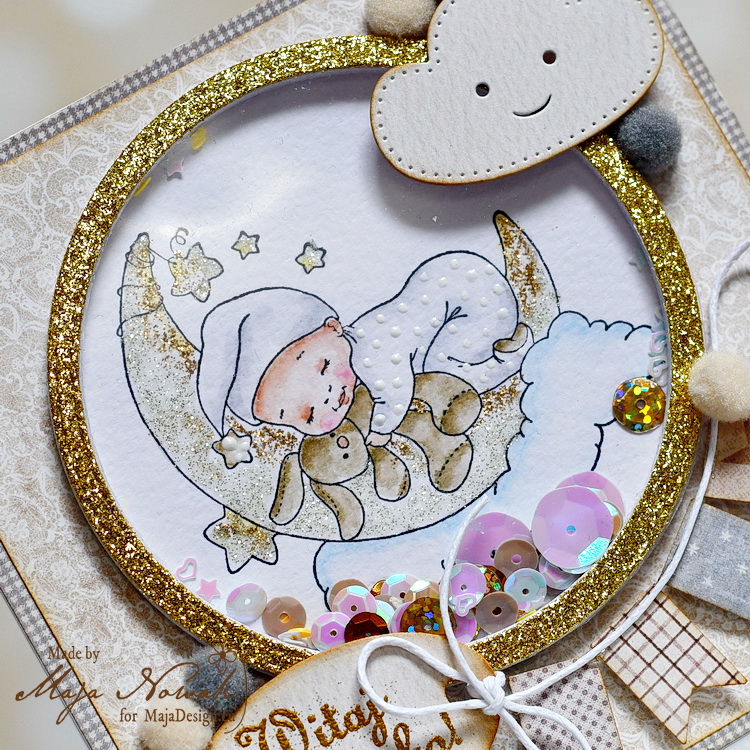
It wasn’t easy, it wasn’t quick, but I still like the result. Do you? 🙂

The list of supplies:

Maja Design papers:

Other: stamps: Whimsy Stamps, Lemonade; dies: CreaLies, ScrapMan; pom-poms, glitter cardstock: my stash.

Do you make shaker box projects?

That’s all for today, thank you for visiting and drop by tomorrow!

Baby Boy Cards

1

Posted by Elena Olinevich

27 February, 2019 - ,

Write a comment

Hello Maja Friends,

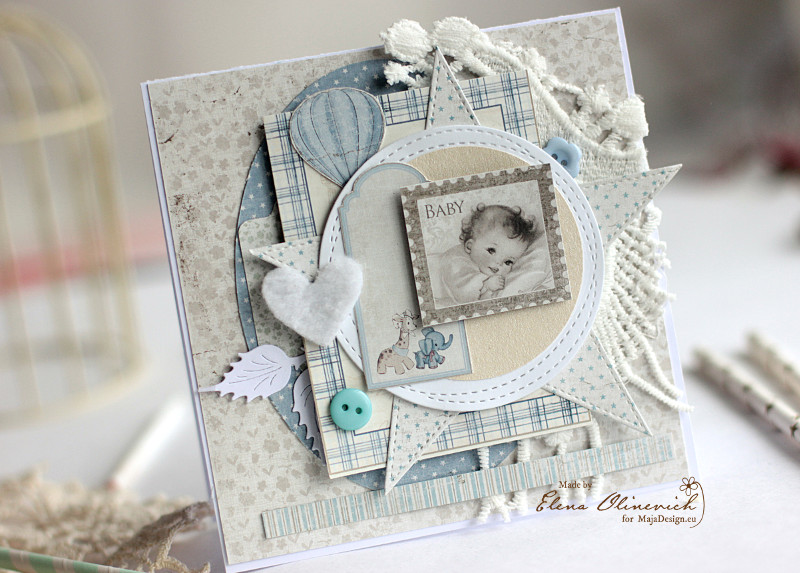
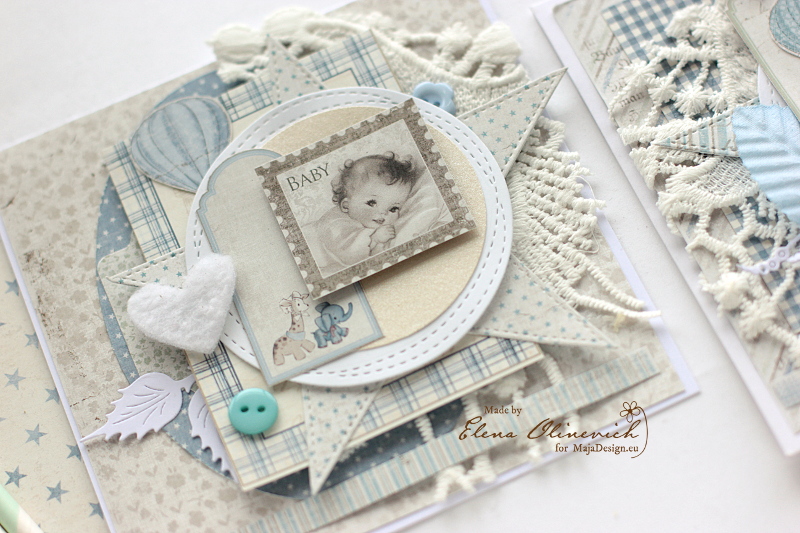
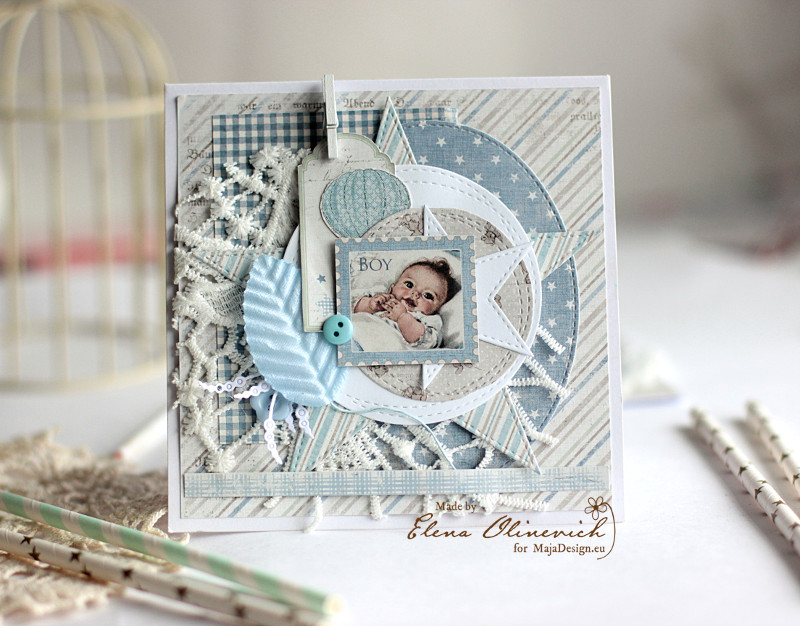
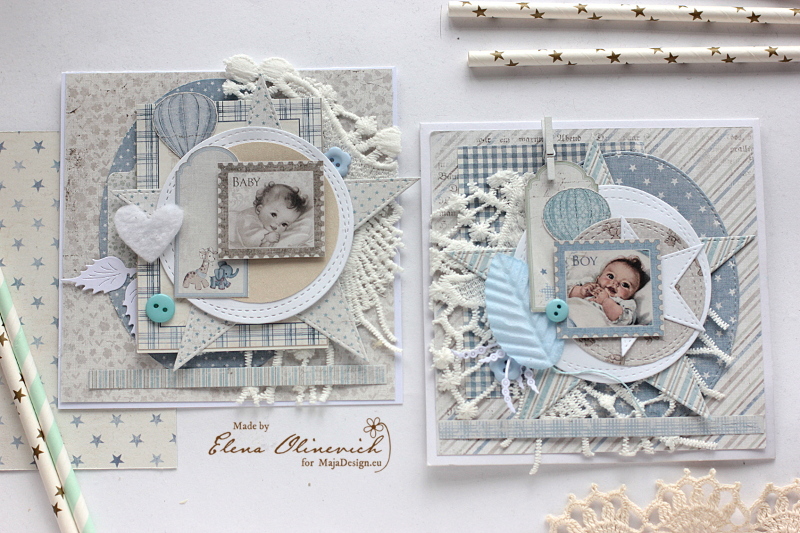
It’s Elena here to share with you the baby cards I made for the 1st Year Anniversary

Each time I play with Vintage baby collection I really enjoy the colors and the patterns it has. And since it is not easy to create for the boys with no flowers for me – I like focusing on the paper layers

I used mostly the stars, oval and circle shapes to arrange on my cards, but I mounted all the layers on the crochet lace to soften the image.

I also added a few leaves – the paper and the fabric one and for the accents I used the blue buttons – quite a rare thing that I add to my projects.

Thank you for stopping by

Products used:

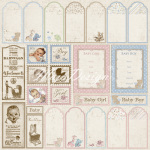
Vintage Baby – 6×6 paper pad. My Favorite Things Dies

Two baby boy cards.

1

Posted by Evgenia Petzer

11 February, 2017 - ,

Write a comment

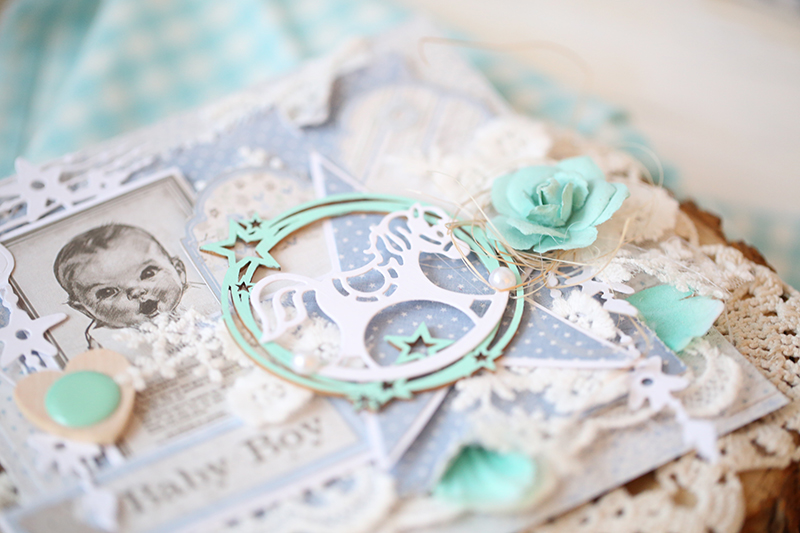
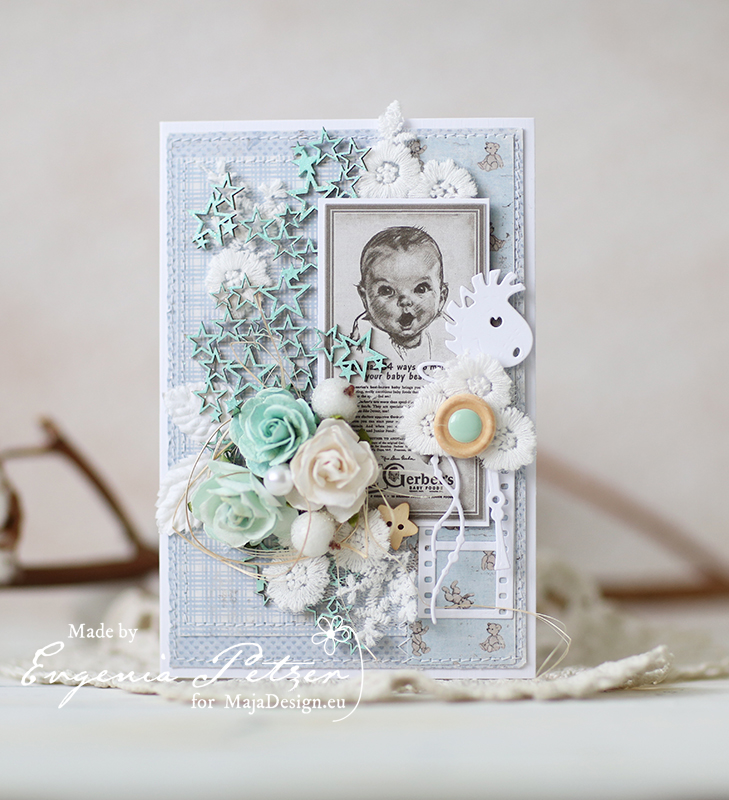
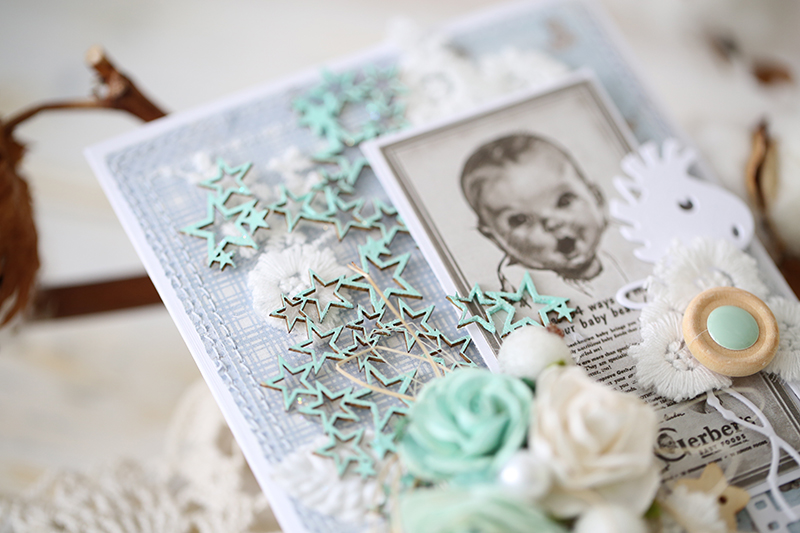
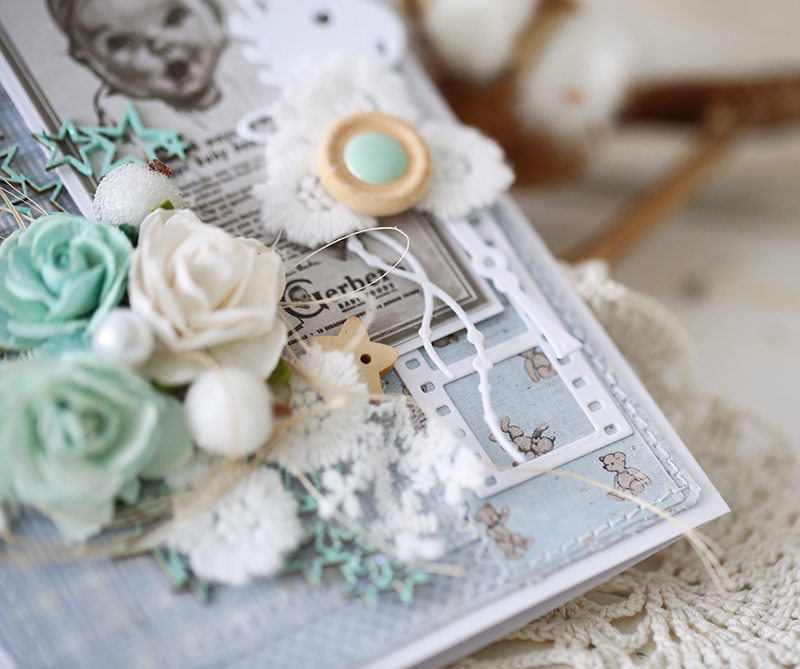
Hello dear friends! Its Evgenia Petzer with you today sharing two baby boy cards that I made using the gorgeous Vintage Baby collection.

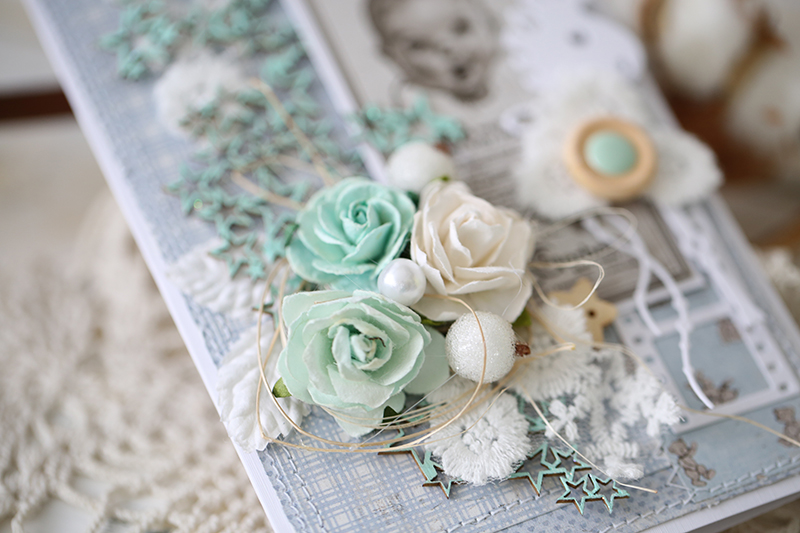
Let’s have a look? I absolutely love how beautiful the colors can be combined with a hint of turquoise.Lots of layers, lace here- everything to get the shabby look I love.

2017_MD_bfeb feb1_det

and the second card with the same palette:

MD_2017_feb_baby_1


the flowers here are from wild orchid crafts, dies are from the russian manufacturer, swell as chipboard.boy_det1 CA2A6952 CA2A6954

The Vintage baby collection used:

Have a lovely weekend,