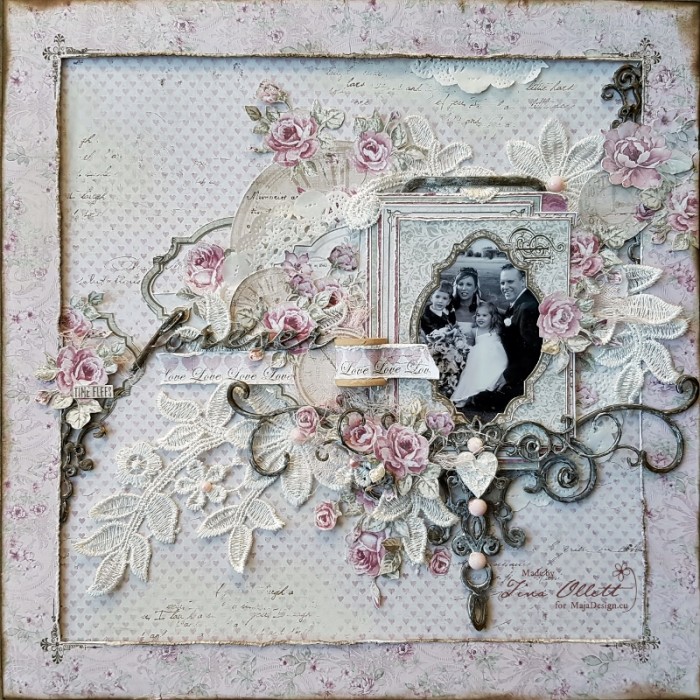
“Forever Love” by Tina Ollett

4

Posted by Tina Ollett

17 January, 2017 - , , ,

Write a comment

A huge welcome to you! It’s Tina with you today to share my next Design Team creation.

This project for January, I have titled

…..”Forever Love”….

2017-01-17 2017-01-17 001 015 (800x800)

This, for me, was a layout of love. Scrapbooking for me is about the memories and sometimes the photos from the most special days of all, aren’t of the best quality but I always insist on using them no matter what. On our special day a professinal photographer was hired, but it was very unfortunate that during the development of our photos that something went horribly wrong. Due to the developing error we we did not receive a great deal of photo’s that were of a good quality or worthy of using to hang on our walls. We depended on our family and friends to help us with photo’s they had taken and this photo is one of them. We were so fortunate to have our two eldest attend our wedding. They were so excited the whole day through. My son walked me down the aisle with my Dad, something I will never forget and treasure always.

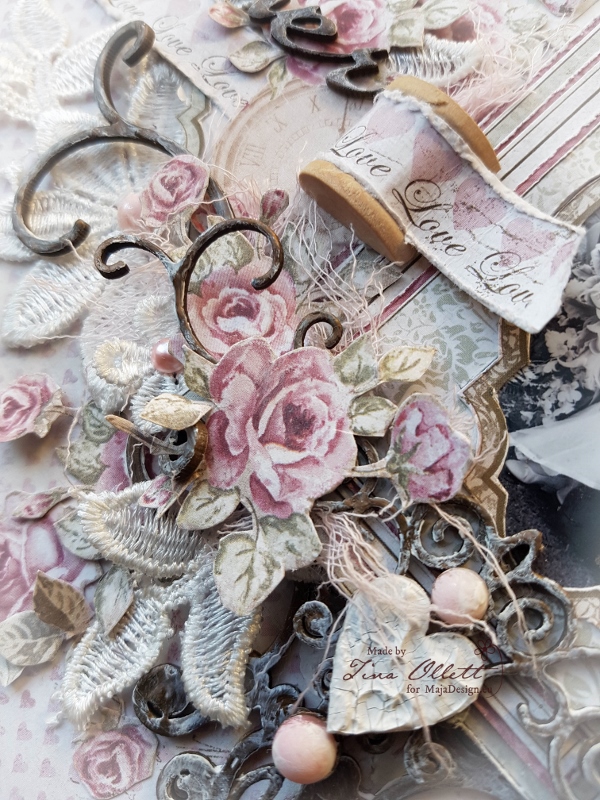
2017-01-17 2017-01-17 001 012 (600x800)

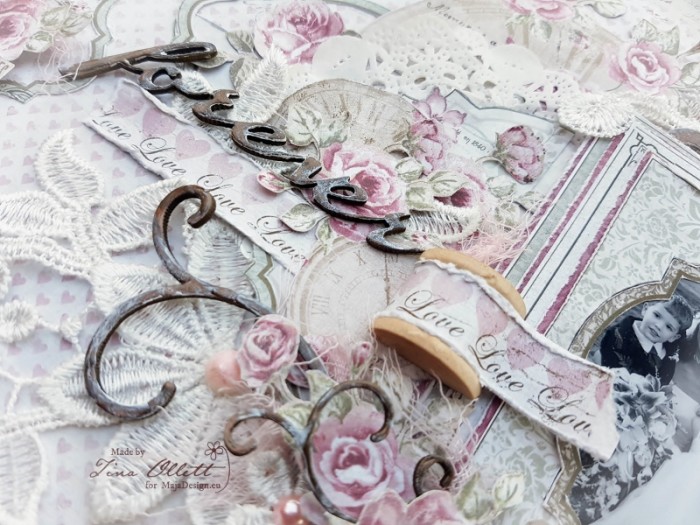
I am mad for anything at present that I can fussy cut from papers. And I found this in the Vintage Autumn Basics No. II sheet that was in my gorgeous Maja stash. I have cut at least a half of this sheet up and layered it in and around the page.

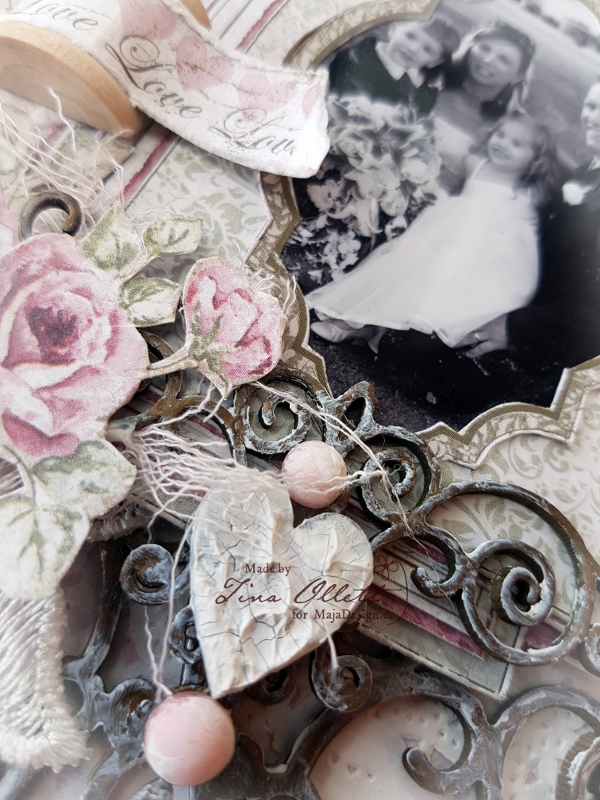
2017-01-17 Maja January 2017 031 (600x800)

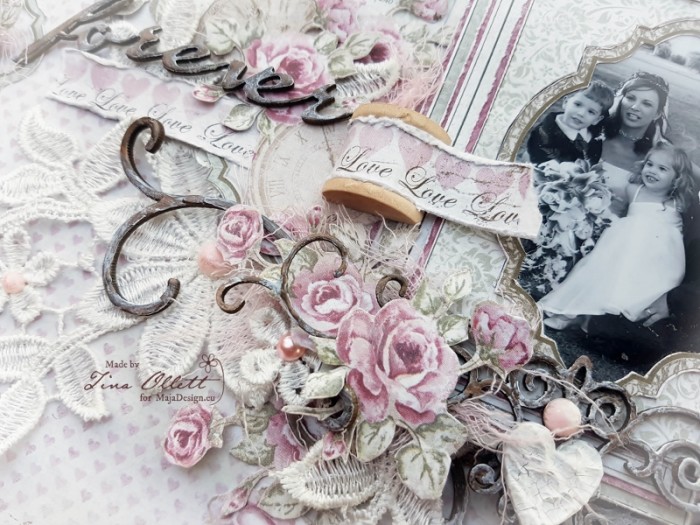
You can see above in the bottom of the photo the layering of journalling cards that I cut from Vintage Spring Basics “Days to Remember” and also from the Vintage Romance collections “Love Notes”. Amongst the several layers of journal cards I have alternated mats of “Raspberry Jam Cookies” from the Coffee in the Arbour collection. Yes I have mixed a lot of collections this time around . I find the beauty of Maja Designs ranges is that they just blend together so beautifully.
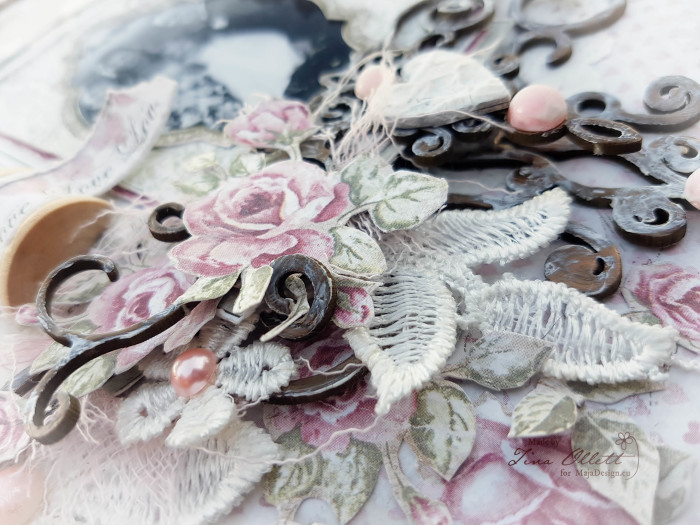
2017-01-17 Maja January 2017 032 (600x800)

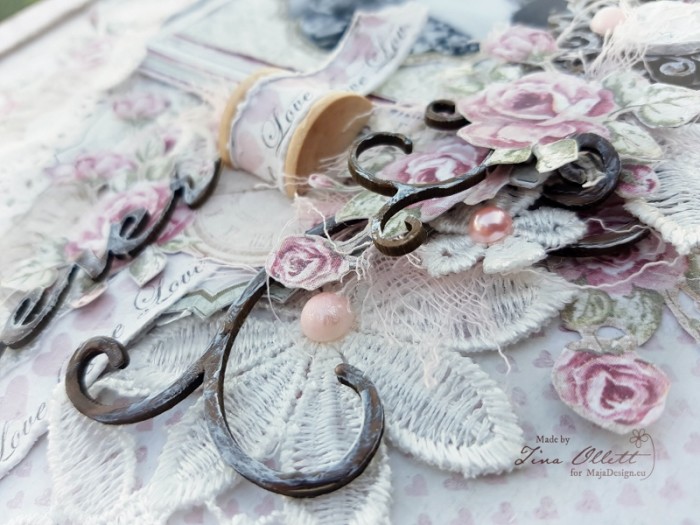
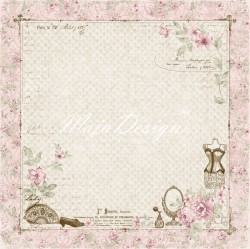
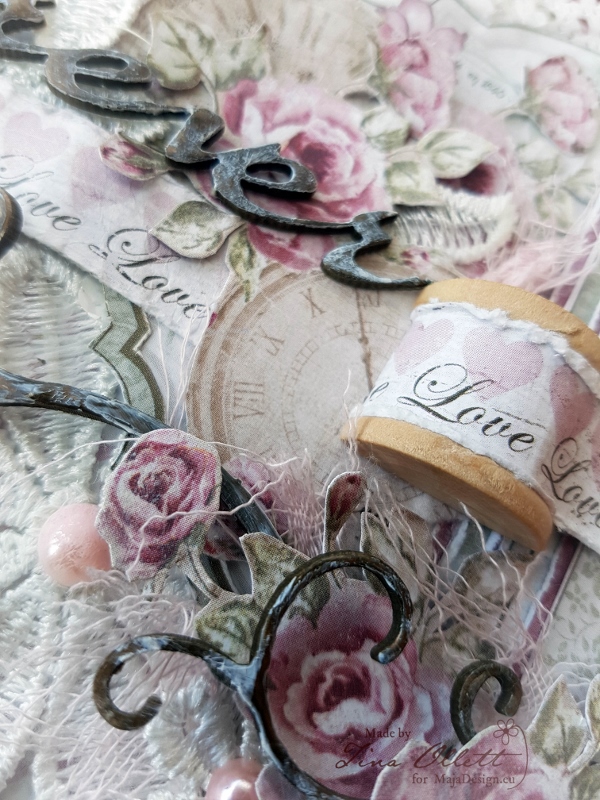
I have layered the  project with paper doilies, lace motifs, Dusty Attic’s gorgeous chipboards cut up, muslin and even a sewing spool. The sewing spool was wrapped with the bar strip from Vintage Romance’s bside of “Passion”. Passion was used as my background piece with the frame cut from Vintage Romance’s “She’s my Lady”.

2017-01-17 2017-01-17 001 060

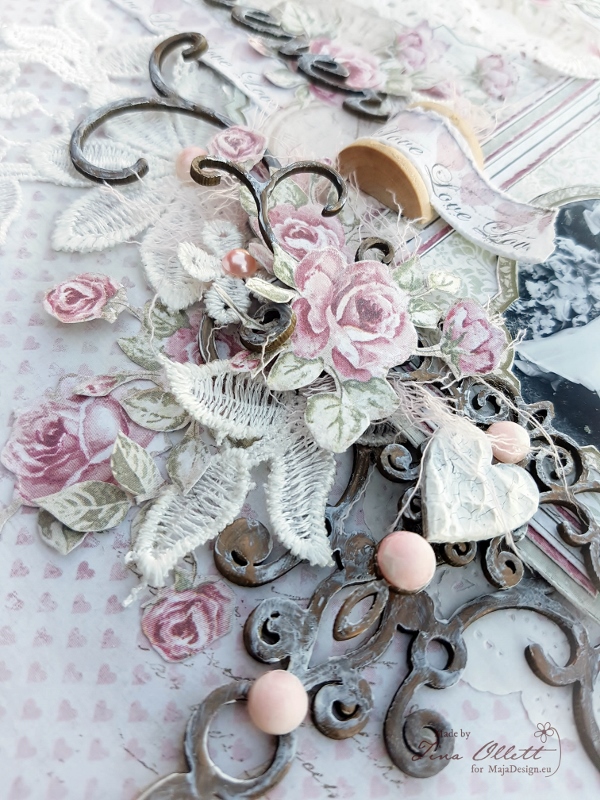
This here, is the side on view of the base of the photo. The lace motif I have used here has been cut into many many pieces and divided throughout the layout to help give it movement.

2017-01-17 2017-01-17 001 036 (800x600)

I have tucked a few doilies around to help break up the pink from the flowers and the background.

2017-01-17 2017-01-17 001 041 (800x600)

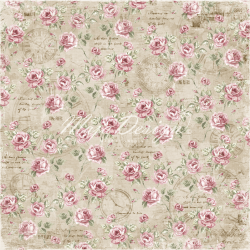
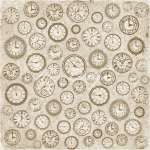
I just loved these clocks found on the Vintage Spring Basics sheet. I have used the largest of the clocks and cut it to sit behind the photo so it did not overtake the whole layout. I cut some of the smaller clocks with the roses to sit on top of the large one layered.

2017-01-17 2017-01-17 001 058 (600x800)

From another view…….

2017-01-17 2017-01-17 001 059 (800x600)

and another…..

Maja Designs Papers used for this project were:

625-Vintage-Autumn-Basics-no.II_

Maja Designs – Vintage Autumn Basics No.II

679-Raspberry-jam-cookies

  • Maja Designs – Coffee in the Arbour – Raspberry Jam Cookies

821-Passion-bs

Maja Designs – Vintage Romance – Passion -bs

822-Shes-my-Lady

Maja Desings – Vintage Romance – She’s My Lady

839-Love-notes

Maja Designs – Vintage Romance – Love Notes

Other Materials Used

Dusty Attic Ornamental Trim Set

Dusty Attic “Forever”

Wendy Vecchi Crackle Texture Paste

Art Basics Heavy Gesso

Liquid Pearls Chocolate

Ranger Distress Ink Walnut Stain, Ground Espresso, Victorian Velvet

E Line Pearl Crystal Prima Marketing Inc – Pearls and Crystals Item# 300470

A Place To Create’s Lace Motif (large)

Muslin, Wood Sewing Spool, Miscellaneous Wood Heart and Bracket

Acrylic Stamp Set Script

I so hope that you have enjoyed your time here today. If you have pieces of different Maja collections lying around in your stash, why not try combining them together like I have here today. Would love to see what you do!

Until next time take care and happy scrapping.Tina-sign

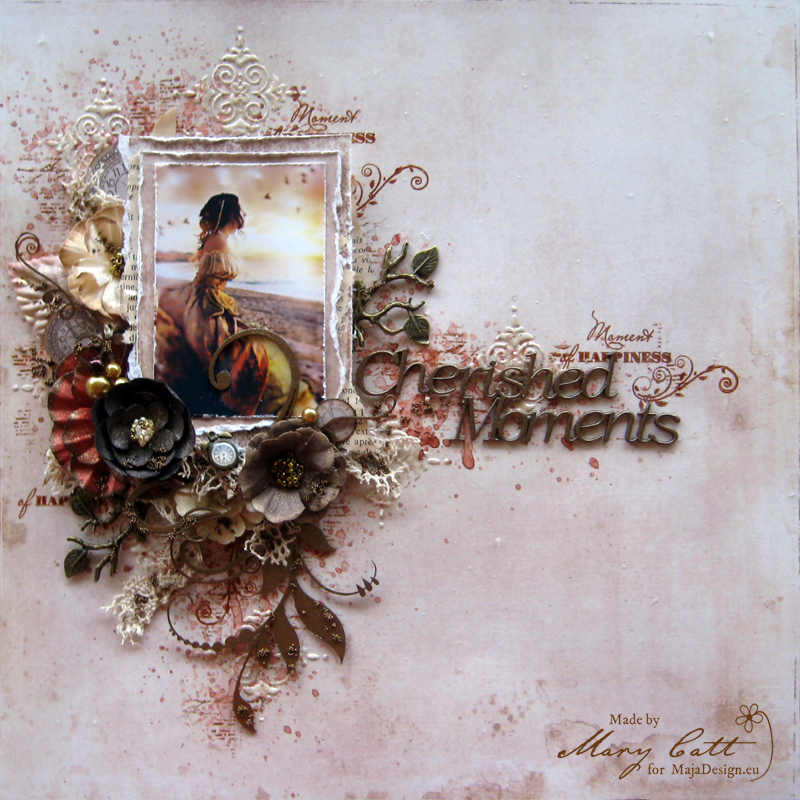
”Cherished Moments”

0

Posted by Mary Tzalla

8 January, 2017 - ,

Write a comment

Layout

Hello my friends and happy Sunday to all!!!

Mary here with you today to share my latest layout featuring the beautiful ”I Wish” collection. I really love these papers because although it is a Christmas collection can easily be used in non-Christmas pages. Take for example mine…

This time I made a soft romantic page with this beautiful photo, which as always found on Pinterest.  And, before I continue I want to give all the proper credits to the photographer.

Close up 1

For my background, I used the ”I wish to play in the Snow” paper and I made some layers behind my photo with the ”I wish you a Happy new Year”  and the ”I wish for frosty mornings” papers. I also placed some pieces from an old book and made a fussy cutting on some vintage clocks from the Vintage Autumn Basics ”No XVI” paper.

Close up 2

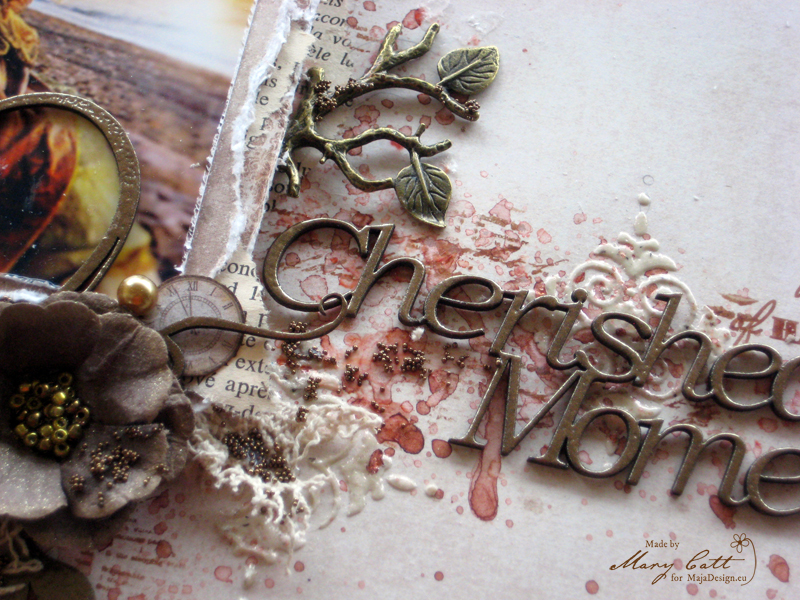
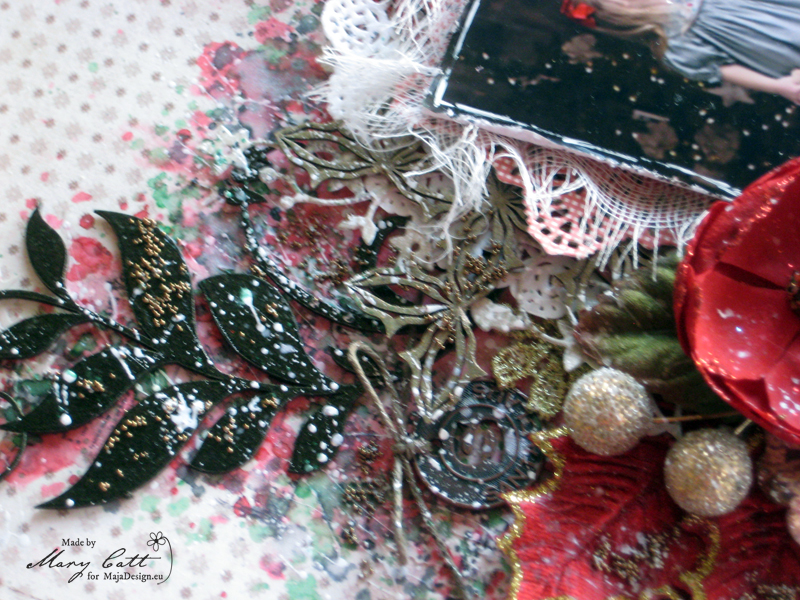
First, I gave my paper a coat of clear gesso and then I added some texture with modeling paste and a stencil. I heat embosed the paste with ”Golden Angel Wings” Lindy’s powder to make the texture more obvious. Then, I used Lindy’s Stamp Gang mists, ”Cowabunga Copper” and ”Cape Cod Coral” with some water to make a watercolor effect.

Close up 3

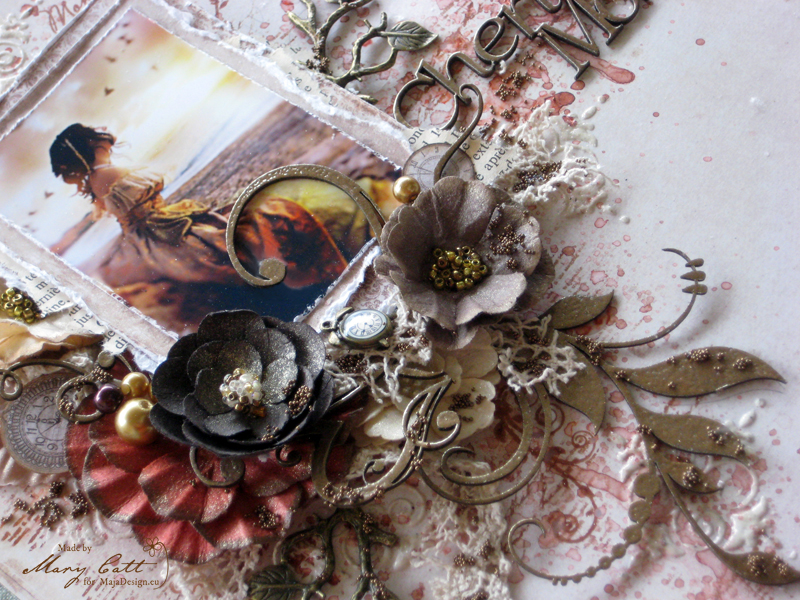
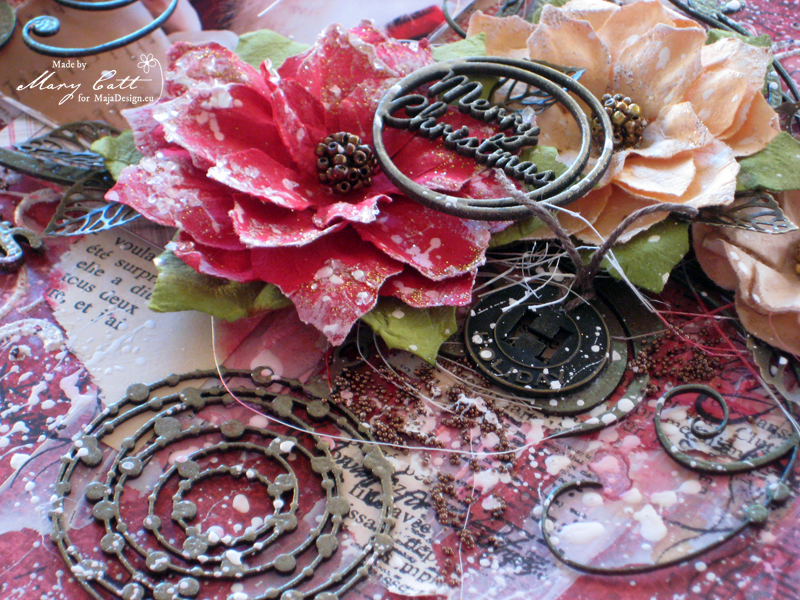
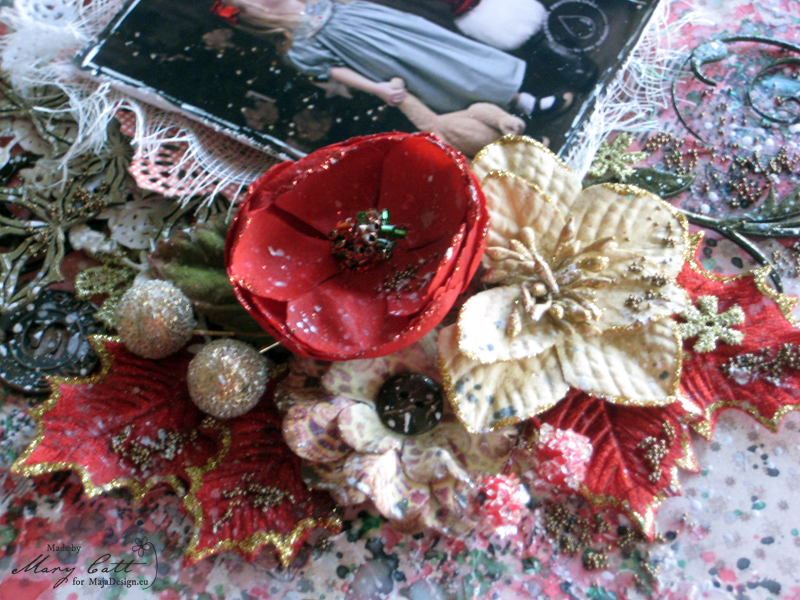
I heat embossed the floral chipboards and the title with ”Byzantine Bronze”. All the chipboards I used are 2crafty and the flowers are Prima Marketing. The metal embellishments are ”Scrap Unlimited”.
Close up 4

As a final touch, I added some bronze microbeads and some Prima Memory Hardware – Glass Pearls.


Papers used:

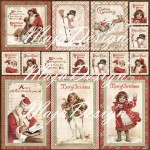
I-wish-P

Autumn-Basics-P

Well, that’s all for today, my friends!

See you again in two weeks!

Mary-sign (2)

Κράτα το

Κράτα το

”Season’s Greetings”

0

Posted by Mary Tzalla

25 December, 2016 - ,

Write a comment

Layout

Merry Christmas everyone!!!

May your Christmas be filled with lots of happiness, peace and love!

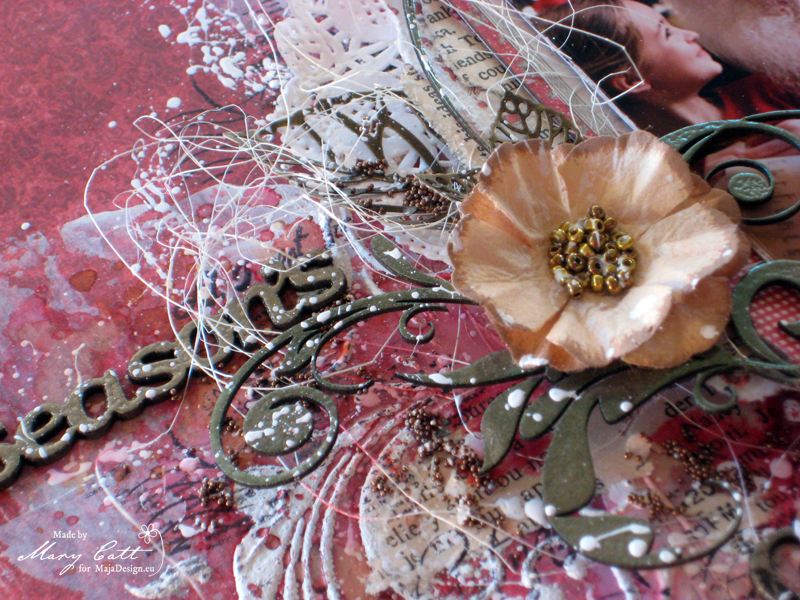
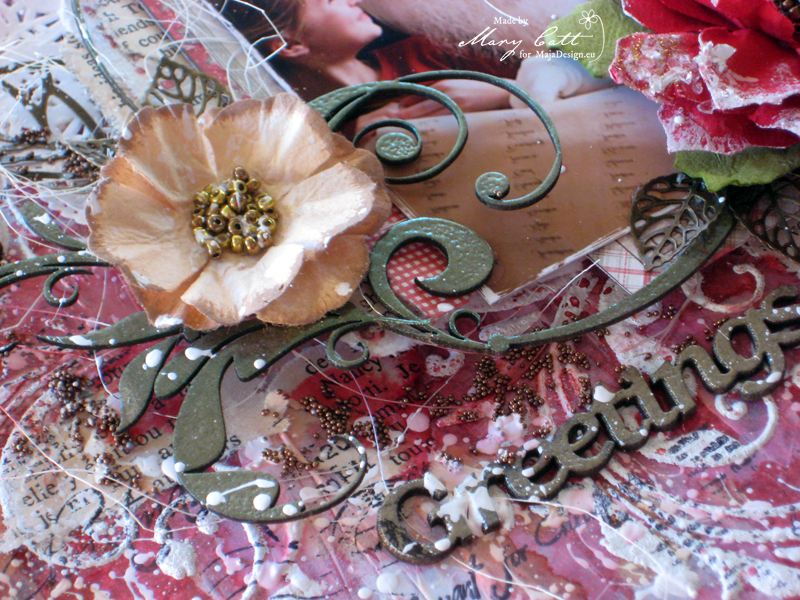
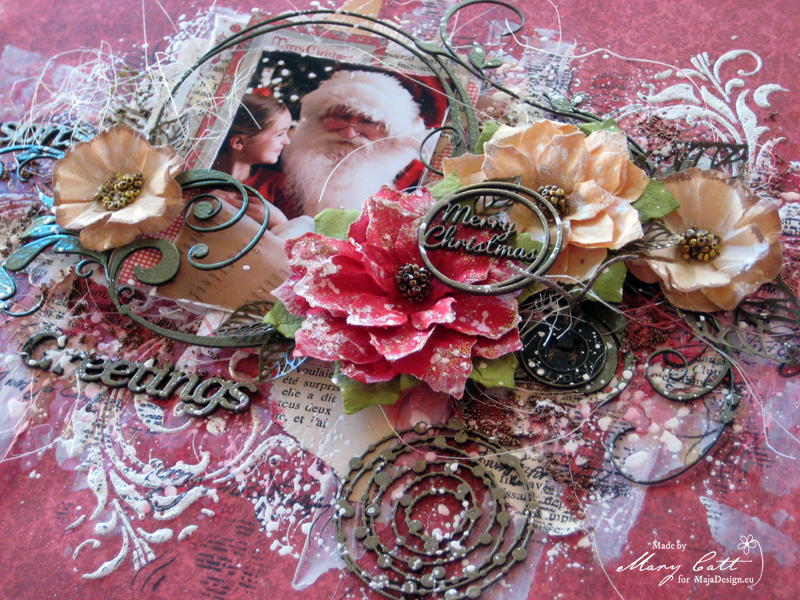
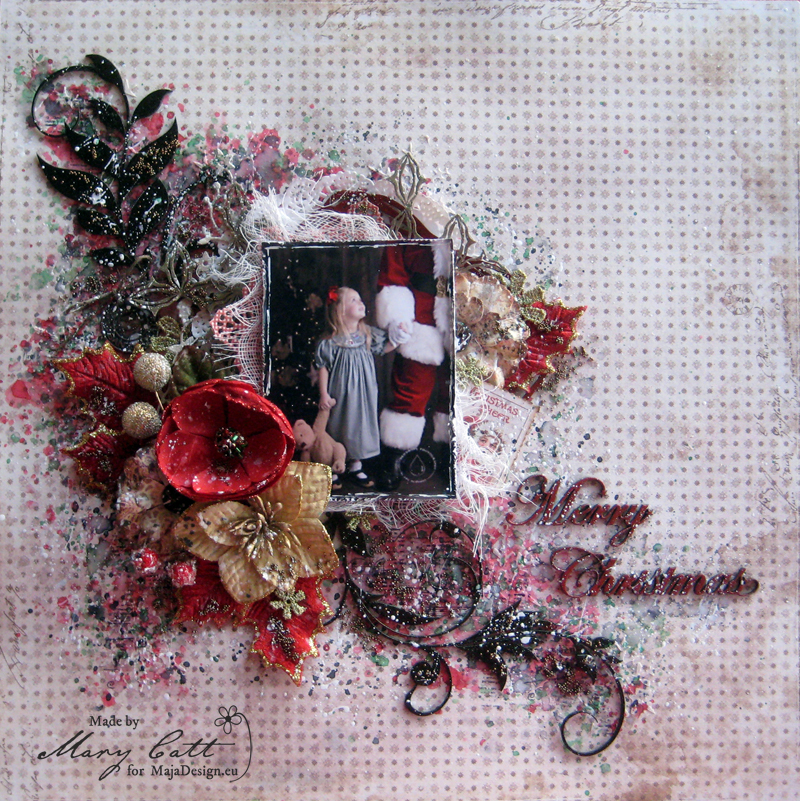
Mary here with you today and I have a layout to share with you. I used papers from the ”I Wish” collection which matched perfectly the beautiful photo I found on Pinterest. Is there anyone who doesn’t believe on Santa? I still believe… and this photo was just perfect for a Christmasy post. But, before I continue I want to give all the proper credits to the photographer.

Close up 1

For my background, I used the ”I wish you a Happy Holiday” paper and I made the layers behide my photo with torn papers from the ”I wish we will deck the halls”, the ”I wish for a holly jolly Christmas”. I also placed some pieces from an old book and two photos from the ”I wish – Ephemera”.

Close up 2

I applied on the center of my paper white gesso and then I added some texture with modeling paste and a stencil. Before it gets dried I heat embossed it with ”Purely White” embossing powder. Then, I used Lindy’s Stamp Gang mists, ”Rudolph’s Nose Red” and ”Bayou Boogie Gold” with some water to make a watercolor effect. I also added some splatters with 13arts white splash ink.

Close up 3

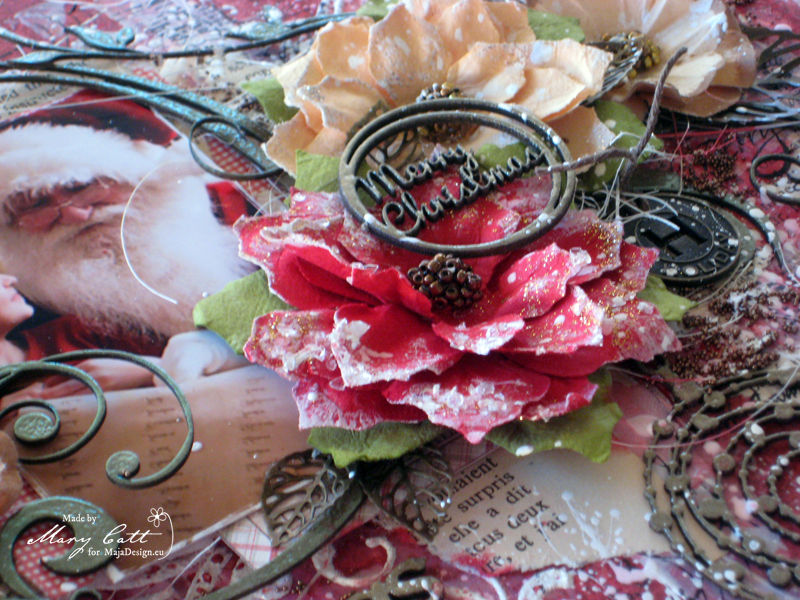
I heat embossed the frame and the floral chipboards with ”Desert Moon Copper Pine”, the words and the dotted baubble chippies with ”King Midas Gold” Lindy’s embossing powders. All the chipboards I used are 2crafty and the flowers are Prima Marketing. The metal embellishments are ”Scrap Unlimited”.

Close up 4

As a final touch, I made some splatters with white splash ink and when dried I added some bronze microbeads.

Close up 5

Papers used:

I-wish-P

Well, that’s all for today, my friends!

Wishing you a very Merry Christmas and a wonderful Happy New year!!!

See you again in two weeks!

Mary-sign (2)


Κράτα το

”Merry Christmas”

2

Posted by Mary Tzalla

11 December, 2016 - ,

Write a comment

Layout

Hello my friends and happy Sunday to all!!!

Mary here with you today to share my latest layout featuring the beautiful Christmasy ”I Wish” collection.

When I found that beautiful photo on Pinterest, I though it is time to design a Christmas layout. After all it’s that time of year, right?

But, before I continue I want to give all the proper credits to the photographer.

Photo 1

For my background, I used the ”I wish you a Merry Christmas” paper and behind my photo I placed a die cut doily made from the ”I wish for a holly jolly Christmas” paper.

Photo 2

First, I gave my paper a coat of clear gesso and then I added some texture with modeling paste and a stencil. Then, I used Lindy’s Stamp Gang mists, ”Rudolph’s Nose Red” and ”Silent Night Silver” with some water to make a watercolor effect. I also added some splatters with ”Lucky Shamrock Green” and ”Midnight Randezvous Raven”.

Photo 3

I heat embossed the floral chipboards with ”Midnight Gold”, the square frame and the title with ”Terra Cotta Rust” Lindy’s embossing powders. The little pieces of the circle lace panel were also heat embossed with ”Scotch Broom Yellow”. All the chipboards I used are 2crafty and the flowers are Prima Marketing.

Photo 4

As a final touch, I made some splatters with white splash ink and when dried I added some bronze microbeads.
Papers used:

I-wish-P

Well, that’s all for today, my friends!

See you again in two weeks!

Mary-sign (2)

Κράτα το

Montresor Castle

1

Posted by Pascale B

8 December, 2016 - , ,

Write a comment

Hello Sweeties,

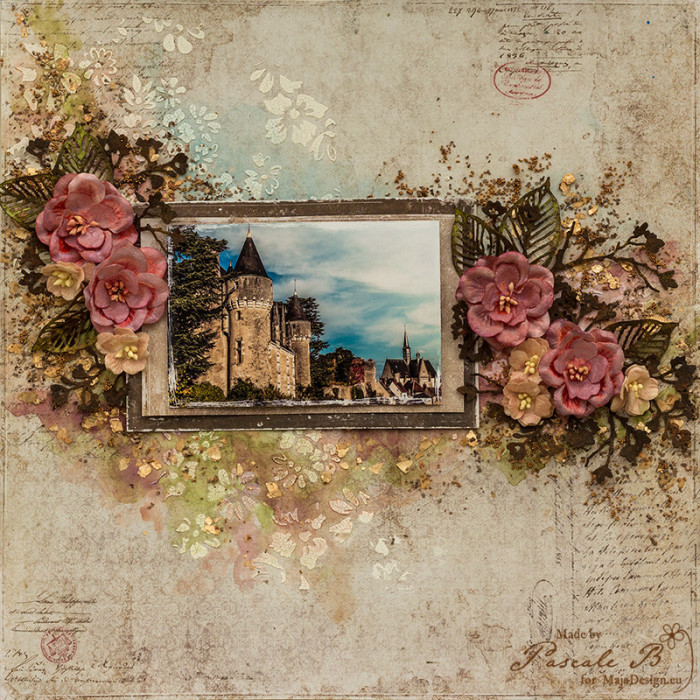
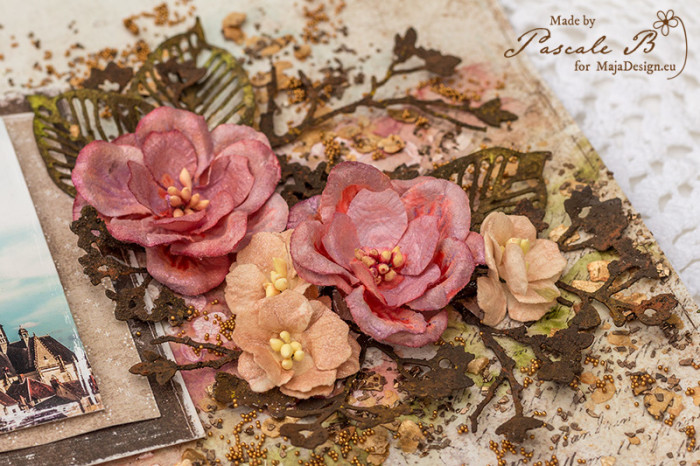
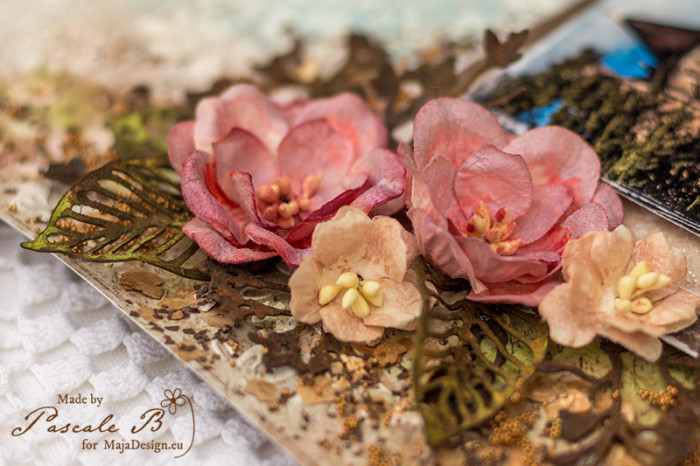
Today I’m up on Maja Design blog with a new layout featuring the “I wish” collection as well as the castle of Montresor (Loire Valley, France).

Montresor Castle by Pascale

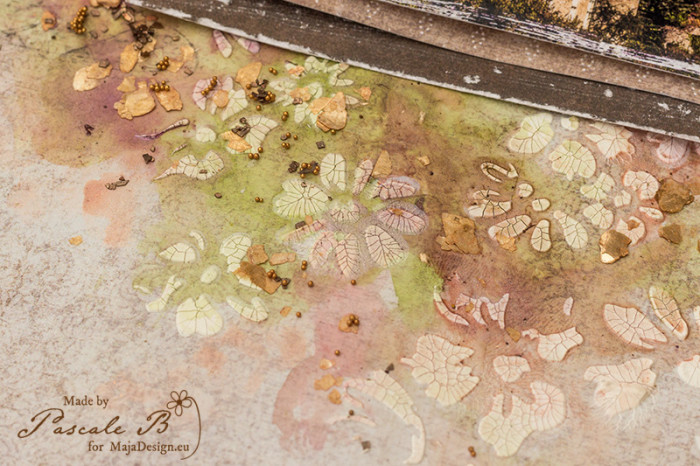
As usual, I started to apply a layer of clear gesso to the background. When dry, I added a design with a stencil and white crackle paste. I let dry naturally to obtain a better result.

Montresor Castle by Pascale

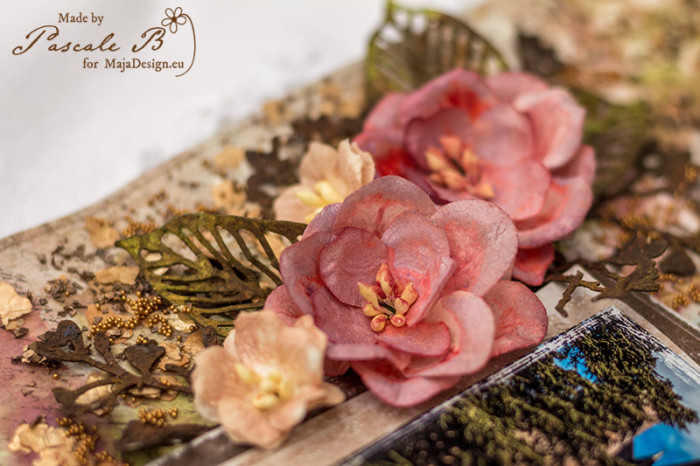
In the meantime, I colored the flowers with some Primary Elements.

Montresor Castle by Pascale

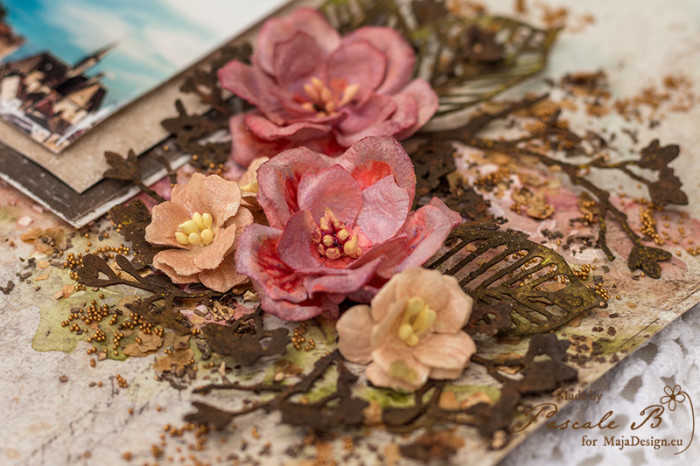
I die cut some flowers and leaves.  I altered the blooming branches with the Rust Effect Paste as well as the leaves. But I colored the last one with  a green watercolor too.

Montresor Castle by Pascale

When everything was dry, I colored the background with different colors of Twinkling H2Os. When happy with the result, I glued all the embellishments with a 3D gel.

Montresor Castle by Pascale

To finish the layout, I added some glass  glitter, some micro beads as well as some mica flakes.

Montresor Castle by Pascale

Maja Design papers:

I-wish-P
I Wish …
I wish those memories will last I wish for frosty mornings bs I Wish Paper pack

Pascale-sign

mm

Pascale B

Hello, I'm Pascale B. from France. Since I began to scrap, flowers are part of my layouts, and I gradually started to use mixed media as well. I don’t know how to define my style, perhaps something like free vintage shabby style could be a good definition. Visit me at www.pbhobby.blogspot.com