“Happiness”

1

Posted by Tina Ollett

6 December, 2016 - , ,

Write a comment

Welcome back ! Tina O with you today to share my next Design Team project.

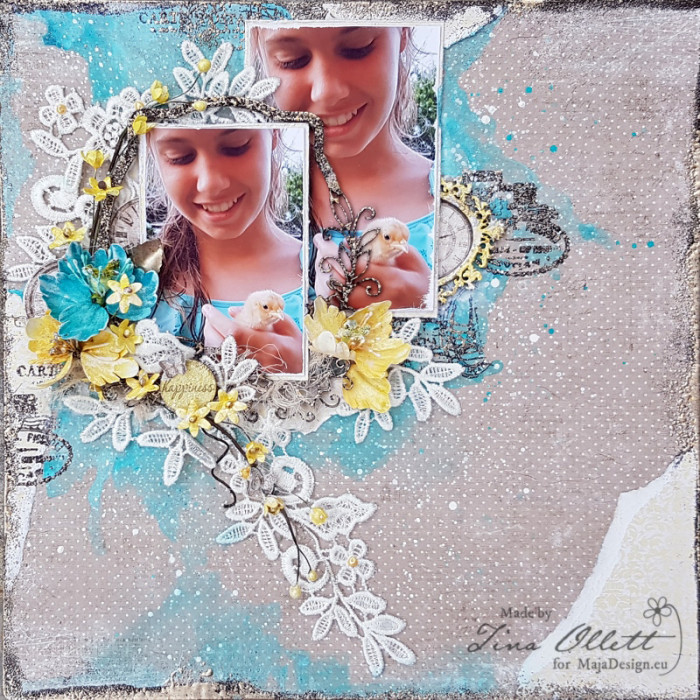
We recently celebrated our youngests 12th birthday, and thinking of what to buy her was a nightmare. It kept me awake for many nights let me tell you. But one night I had an epiphany!! Chickens!!! My husband thought that I had lost my marbles finally, but it turns out that it is the best birthday present she has ever received. This photo was taken of her a couple of days after she received all 6 of them. I think this photo captures her happiness. She is truly devoted to these little guys who may I add have grown so very quickly in the past weeks. They love to sit on her shoulder and eat from her hands. She even does her violin practice outside with them whilst they are running free under her strict supervision. It is just a beautiful memory to save. So with this I created a soft pretty page to help her remember her happiness at receiving these little guys. Oh and by the way the little fellow in the photo has been named “Duck”! So funny, but as funny as it sounds it really suits her!

2016-12-03 Happiness 009 (800x800)

Ok so now onto the layout. Like I said I wanted to create something something soft and pretty, so to do this I have used  7th of April from the Vintage Spring Basics collection teamed with the 2nd of April bs. When I started out I really didn’t have much of an idea of where I was going with it but as the days rolled on I started to lean towards more of a mixed media layout.

Vintage-Spring-Basics-P

8th of March / 7th of March and 2nd of April bs

2016-12-03 Happiness 018 (600x800)

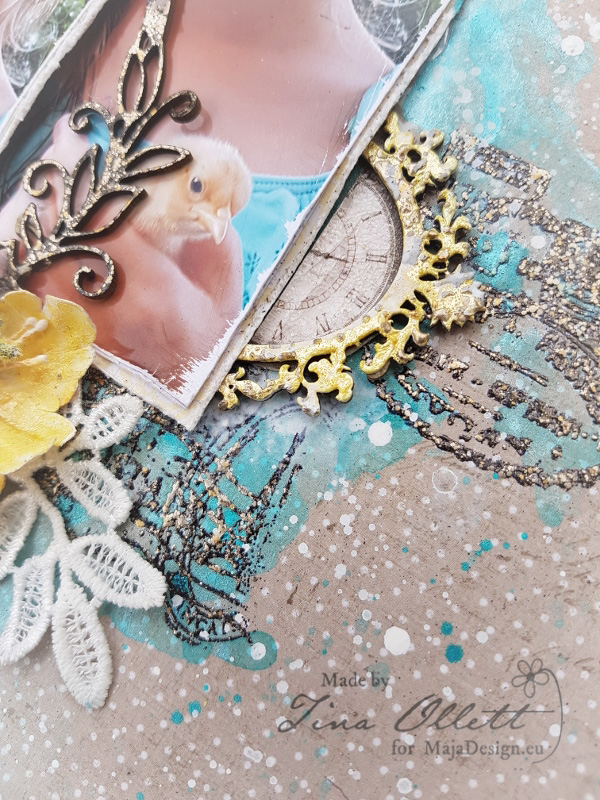
On the gorgeous 7th of April patterned paper ( I love polka dots) I have firstly embossed a favourite stamp “Postmarks’ randomly with Aged Silver embossing enamel. I dressed my Dusty Attic  chipboard ATC frame and Page Pebble #9 with a little Buttercup Liquid Pearls and then randomly added in a little of the Aged Silver embossing enamel to tie it all together.

2016-12-03 Happiness 020 (600x800)

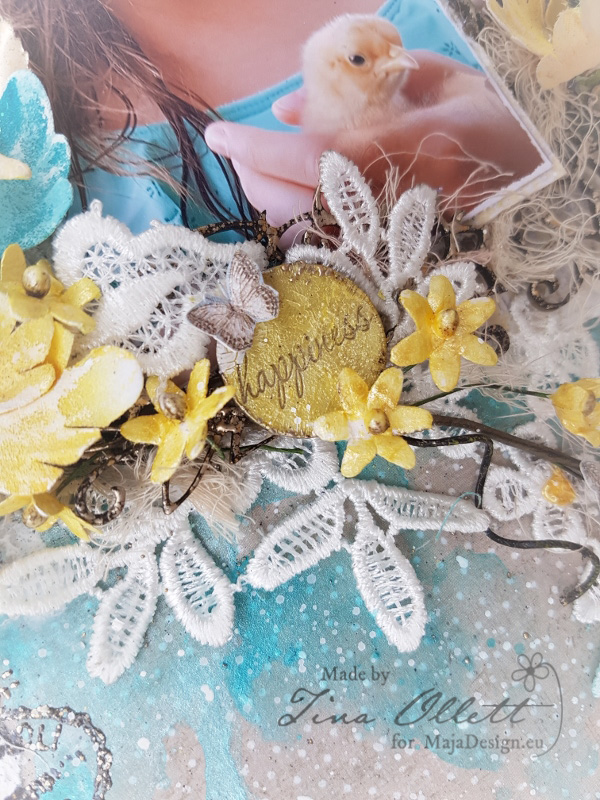
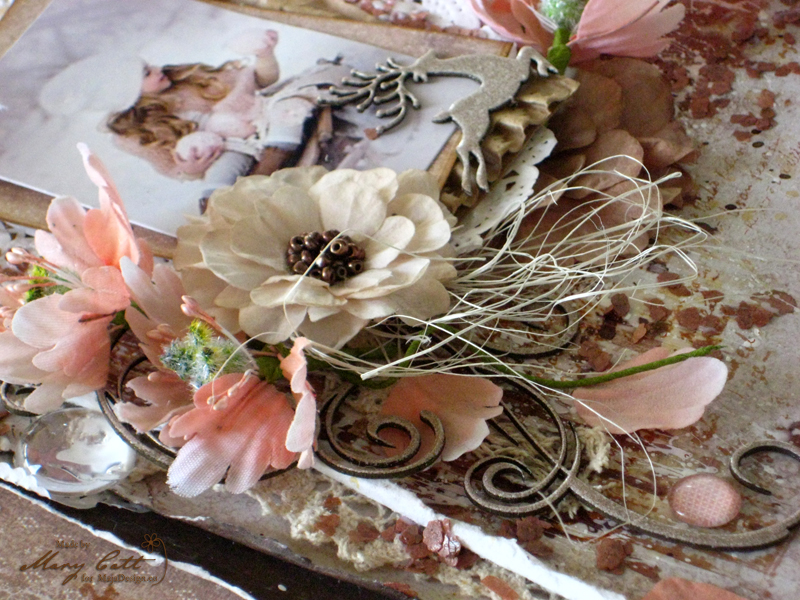
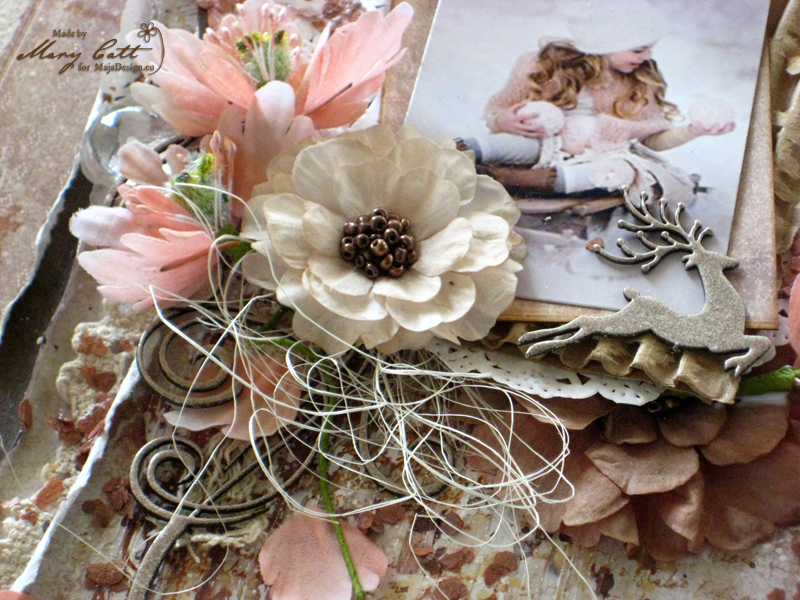
Of course to pretty this layout up I had to add in some lace to help the photos pop from the background. Also to help with this I added in some Inka Gold watered down and beautiful blooms.

2016-12-03 Happiness 021 (600x800)

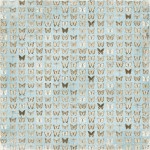
Vintage Spring Basics 8th of March was used for my little additions of those tiny tiny butterflies….they are just so adorable. And of course and yet again you might say, the clocks from The Vintage Autumn Basics sheet XVI. Love me some clocks to represent time! Always a great addition to any page I think. These have been dressed in Distress Crackle Paint.

2016-12-03 Happiness 022 (600x800)

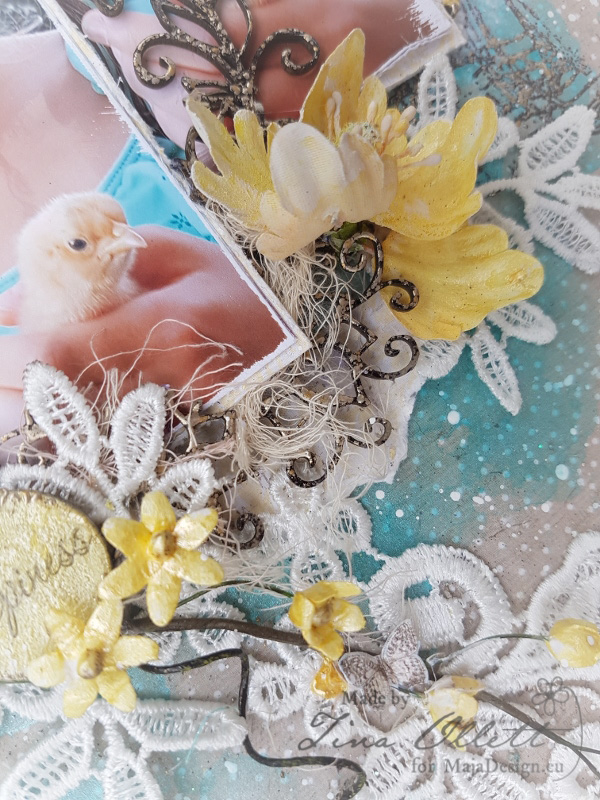
You can see more of the lace here and also the chipboard floral frame #2. The effect the Aged Silver embossing powder creates is more than stunning!

 Other Materials Used to complete this project are:

Dusty Attic Floral Frame #2, Page Pebbles #9 & ATC Frame

Versamark Embossing Ink

Stampendous Aged Silver Embossing Powder

Tim Holtz Distress Crackle

Viva Inka Gold Turkis Turquoise

Liquid Pearls (Buttercup)

Kaisercraft Clear Stamp – Postmarks

Large Lace Motifs

Flower Stems

Well that is all I have for you today. I am already working on my next layout. Hope I can surprise you with something a little different!! Until next time take great care of yourselves. x

Tina-sign

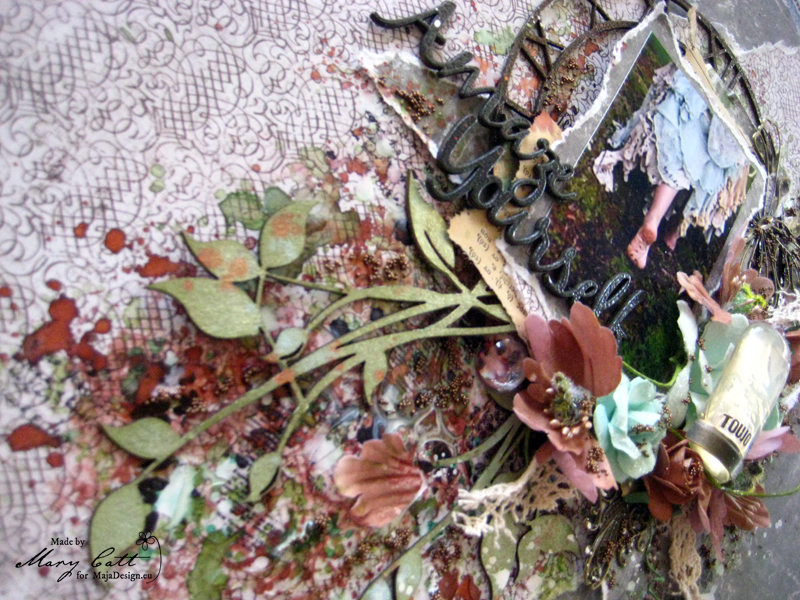
”Amaze Yourself”

2

Posted by Mary Tzalla

27 November, 2016 - ,

Write a comment

Layout

Hello my friends and Happy Sunday to all!!!

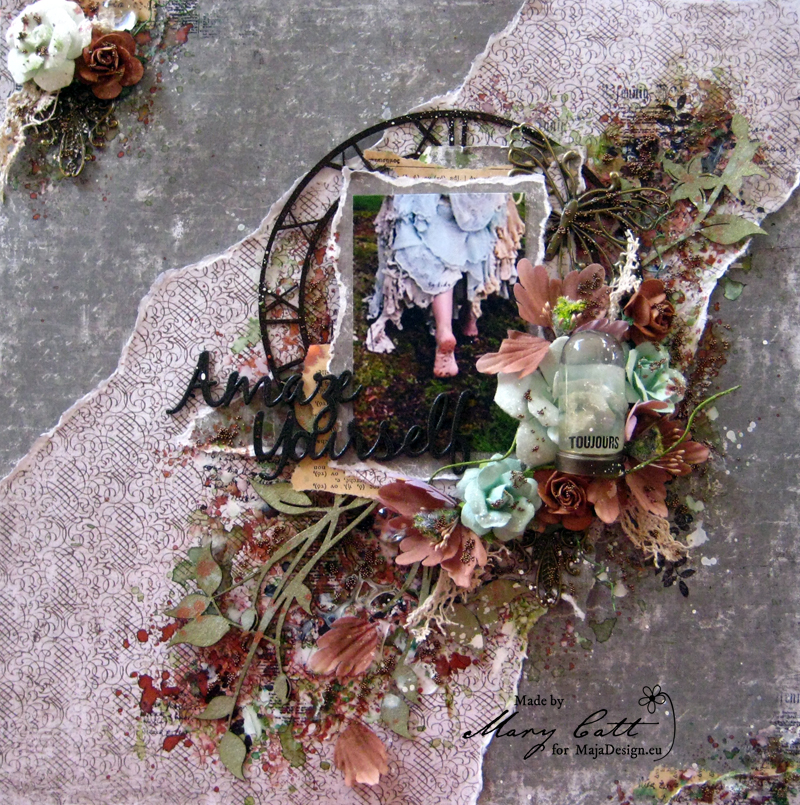
Mary here with you today to share my latest layout featuring the beautiful ”Vintage Autumn Basics” collection.

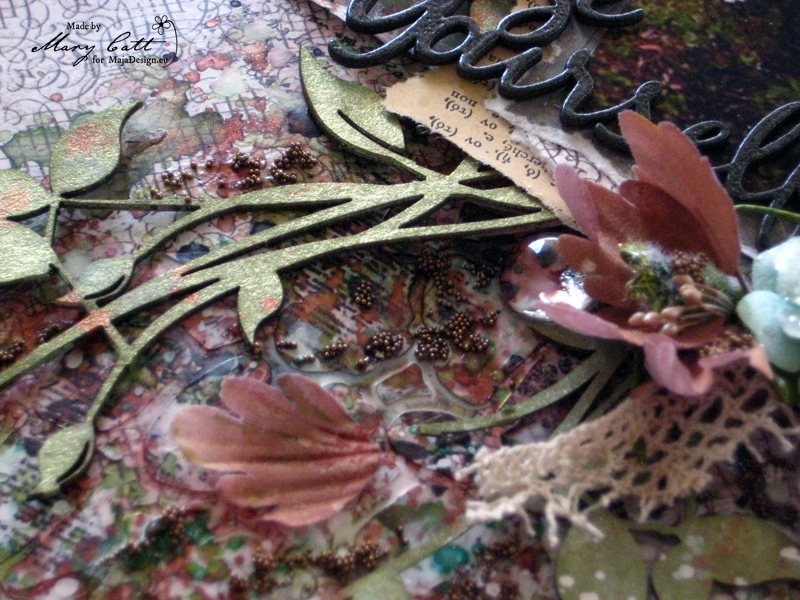
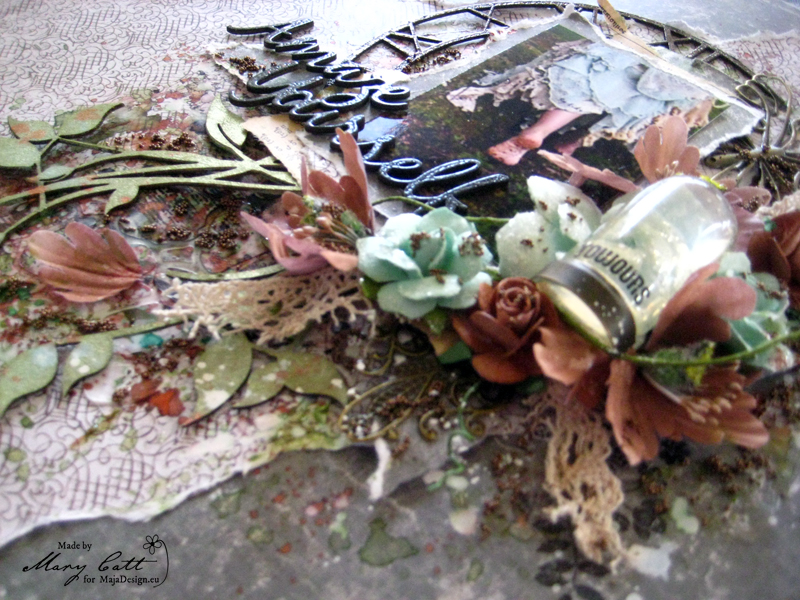
Close Up 1

The photo I found on Pinterest made wanna design a mysterious and dramatic layout. Before I start I want to give to the photographer all the proper credits for that awesome photo.

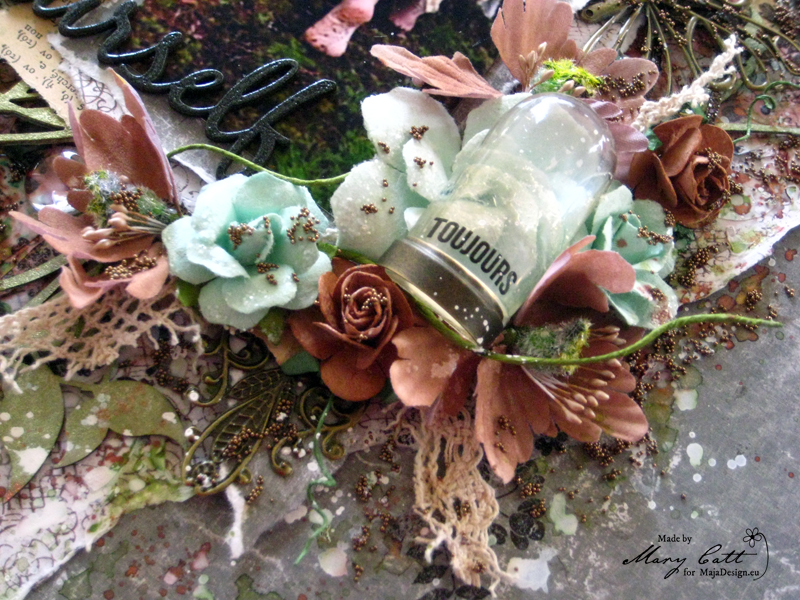
Close Up 2

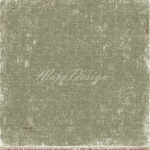
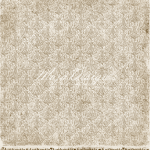
For my background, I used two papers. The ”no.VII” as the main one and a torn piece of the ”no.XVIII” which I glued it above the other.

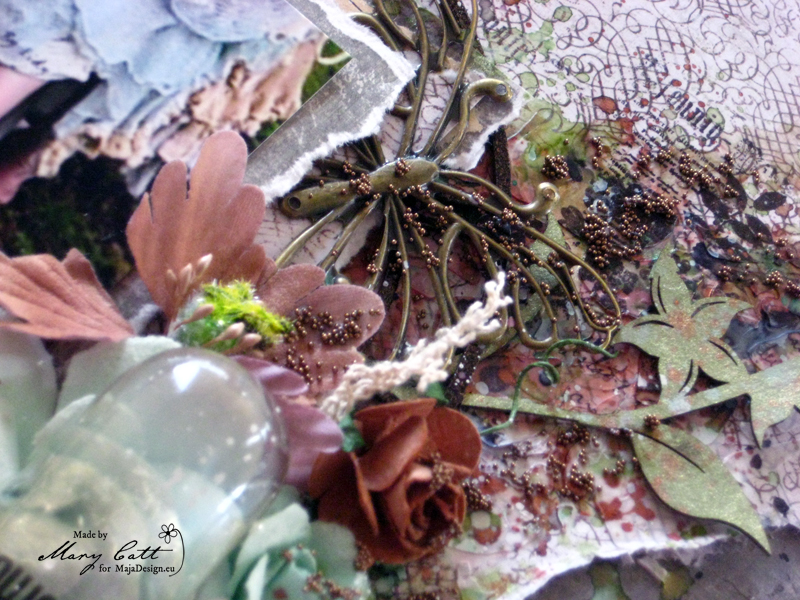
Close Up 3

I gave texture to my background with modeling paste and a stencil. I used Lindy’s Stamp Gang mists, the ”Cocoa Bean Copper”, ”Lucky Shamrock Green”, the ”Endelweis Moss Green” to color the spot where I placed my cluster. Some splatters with ”Midnight Randervous Raven” and a little stamping completed my background.

Close Up 4

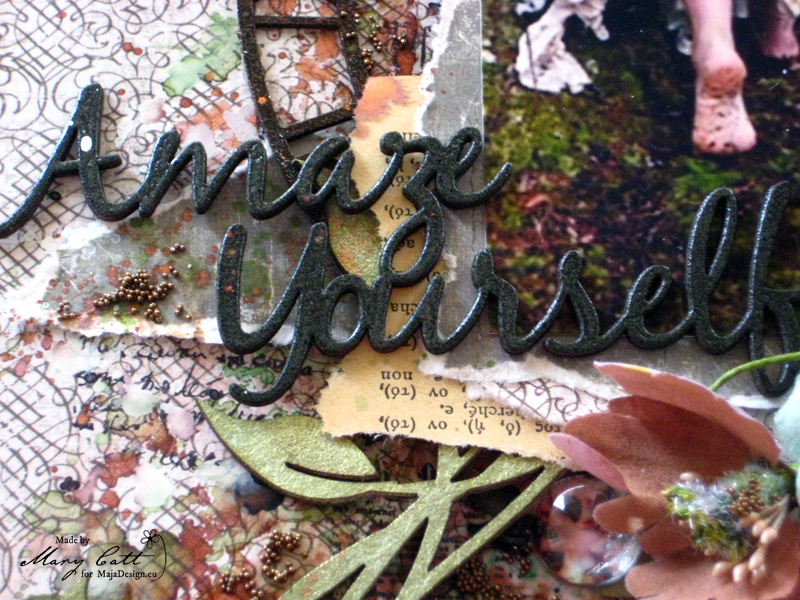
I heat embossed the ”Amaze yourself” title with ”Midnight Pewter” lindy’s powder and the ”Skeleton Clock Frame” with ”Midnight Copper”. The ”Viney page frame”, (from which I used only some pieces), was sprayed with ”Endelweis Moss Green” mist. All the chipboards I used were 2Crafty.

Close Up 5

I made my clusters with Prima Marketing flowers and I added some ”Scrap Unlimited” embellishments to accomplish them.

Close Up 6

Some splatters with white gesso and microbeads in ”copper” to match with the earth colors to finished my layout.

Papers used:


Autumn-Basics-P


Thank you so much for stopping by!!!


Mary-sign (2)

”Cherish”

2

Posted by Mary Tzalla

13 November, 2016 - ,

Write a comment

Layout

Hello Maja fans and welcome to the blog today!

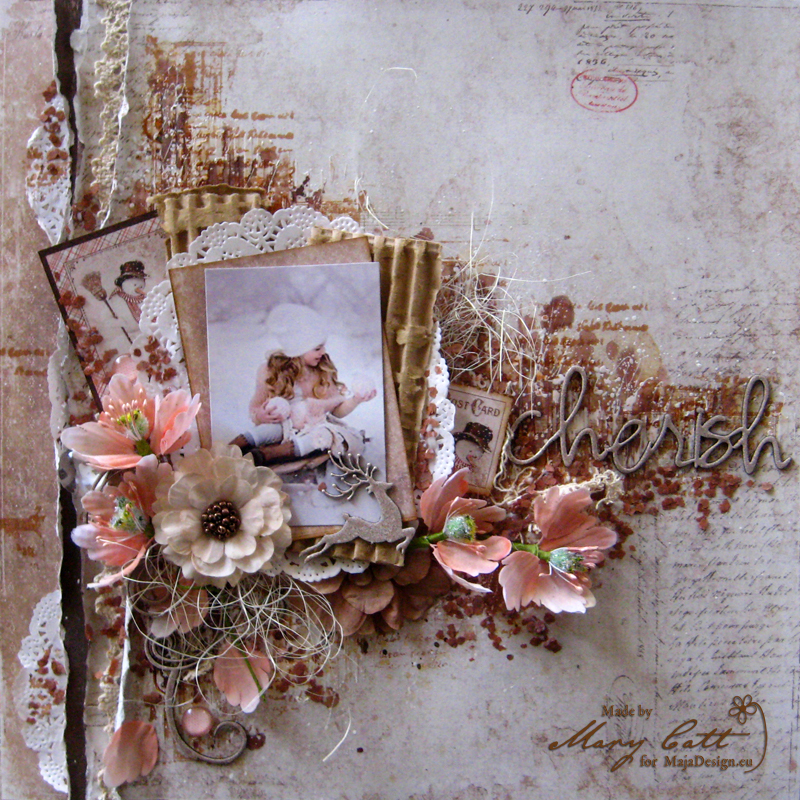
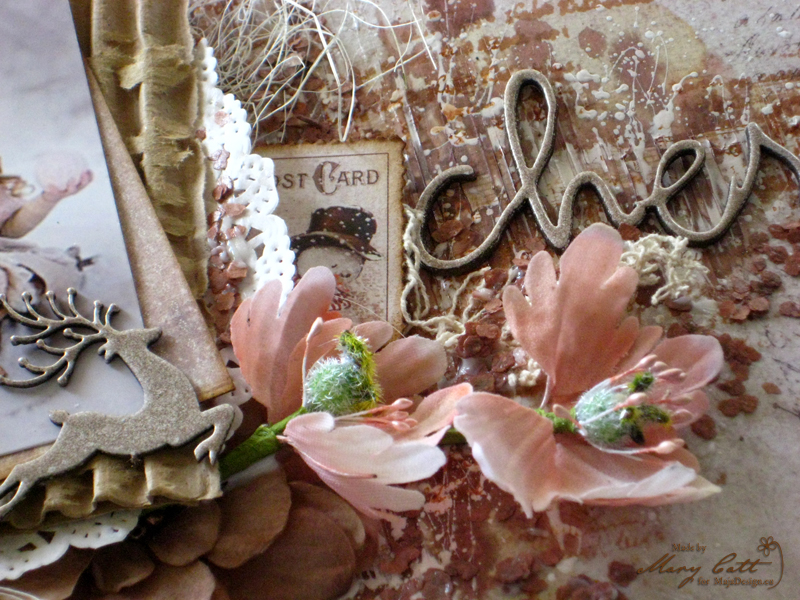
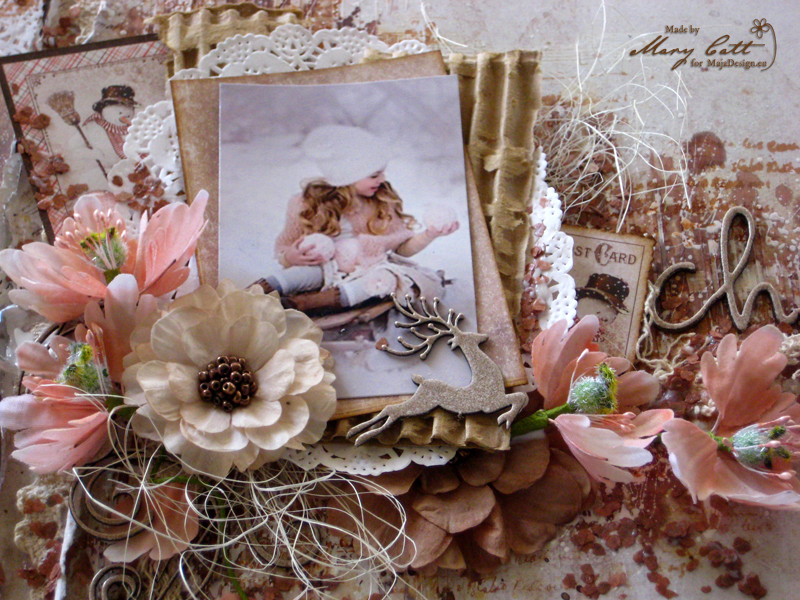
This my second christmasy project using the ”I wish” collection and this time I made a layout. I can’t believe that we are already so close to Christmas… I love that season and I’m full with the Christmas spirit! And, that beautiful photo from pinterest was just perfect for the layout I had in my mind… of course, I want to give all the proper credits to the photographer.

Close up 1

I used the ”I wish those memories will last” as my main paper and I torn it vertical on the left side. I placed under it, three layers of two papers, one from the same paper, one from the backside of the same paper and lastly one of the ”I wish for frosty mornings”.  Among the papers Ι added some lace and a few pieces of doilies.

Close up 4

I designed my background with modeling paste and a stencil over a coat of clear gesso.  I colored it with ”Dark Chocolate Truffle” and ”Clam Bake Beige” Lindy’s Stamp Gang mists.  I also made splatters with white 13arts Splash ink to highlight it a little bit. When dried I made some random stamping and the background was ready to glue everything down.

I heat embossed the chipboards with two powders, first with the ”Desert Moon Copper Pine” and then with the ”Cafe au Lait”.  All the chipboards I used are 2crafty and the flowers are Prima Marketing.

As a final touch, I added some mica flakes in ”Henna” and some ”Melange Art Pebbles”.

Papers used:

I-wish-P

Thank you so much for stopping by!!!

Mary-sign (2)

Bad luck

0

Posted by Pascale B

10 November, 2016 - ,

Write a comment

Hello Sweeties

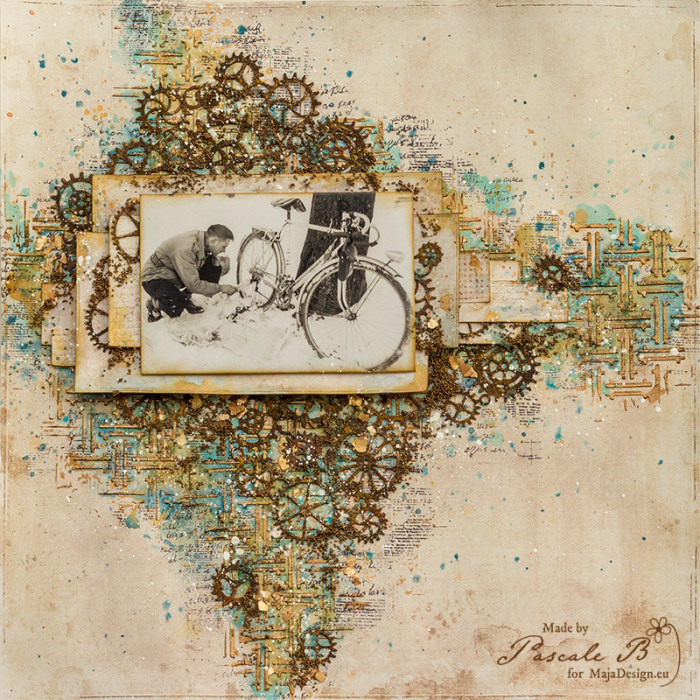
Today I’m up on Maja Design blog with a new layout featuring the I Wish collection. I chose an old photo of my father struggling to repair his bike on a snowy day. I think that the photo was taken in the 50’s.

Bad Luck by Pascale

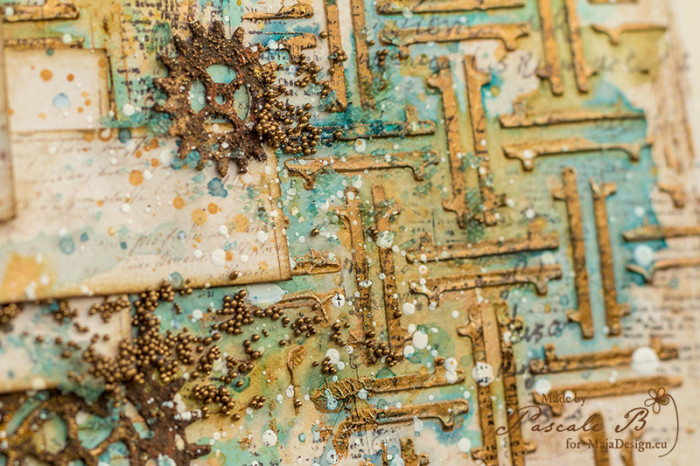
First I primed the background with clear gesso. Then I added the first design with a colorful Archival ink and a stencil. I stamped with a black Archival ink randomly around my design.

Bad Luck by Pascale

I mixed a metallic acrylic paint with 3D Gloss Gel to add a second design. I let dry before adding some colors.

Bad Luck by Pascale

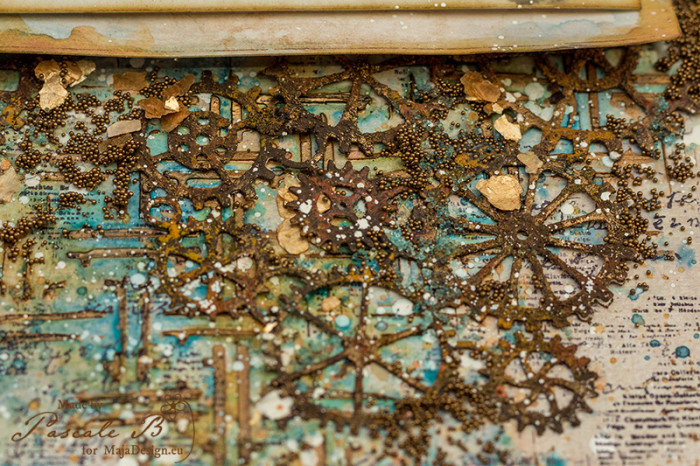
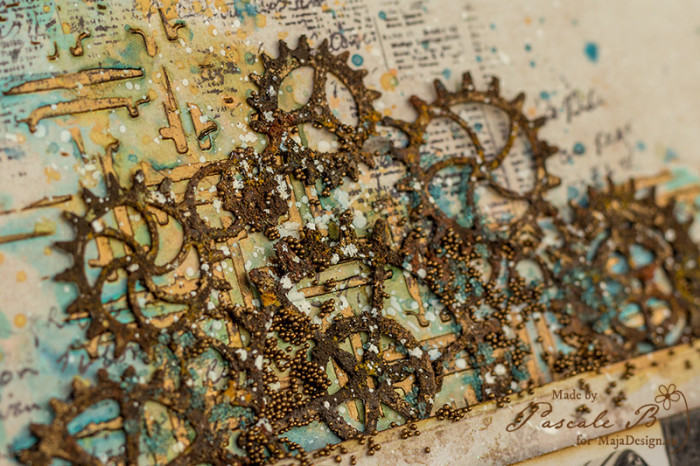
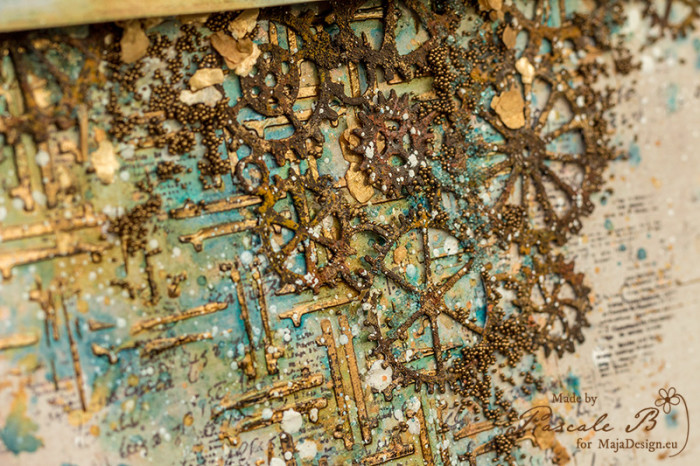
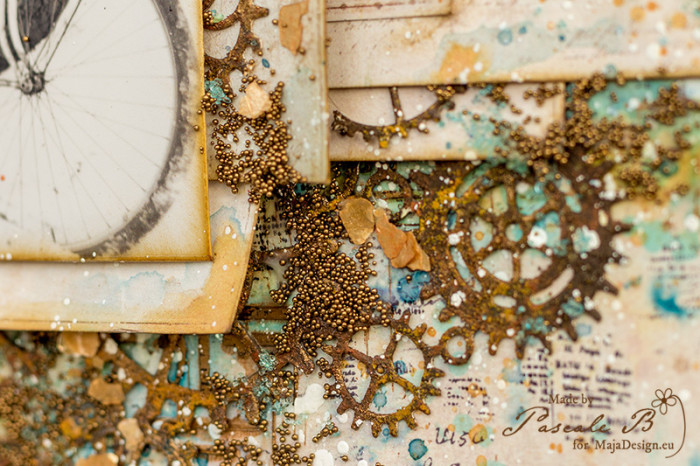
While the background was drying, I die-cut some gears in a heavyweight watercolor paper. I painted them with the Rust Effect pastes and added a light touch of the metallic paint.

Bad Luck by Pascale

I glued all the elements and splattered some white ink.

Bad Luck by Pascale

To finish the layout I added some micro beads and mica flakes.

Bad Luck by Pascale

Maja Design papers:

I-wish-P
I Wish collection
I wish to play in the snow bs I wish those memories will last I Wish Paper pack

Pascale-sign

mm

Pascale B

Hello, I'm Pascale B. from France. Since I began to scrap, flowers are part of my layouts, and I gradually started to use mixed media as well. I don’t know how to define my style, perhaps something like free vintage shabby style could be a good definition. Visit me at www.pbhobby.blogspot.com

Montresor Castle

5

Posted by Pascale B

27 October, 2016 - , ,

Write a comment

Hello Sweeties,

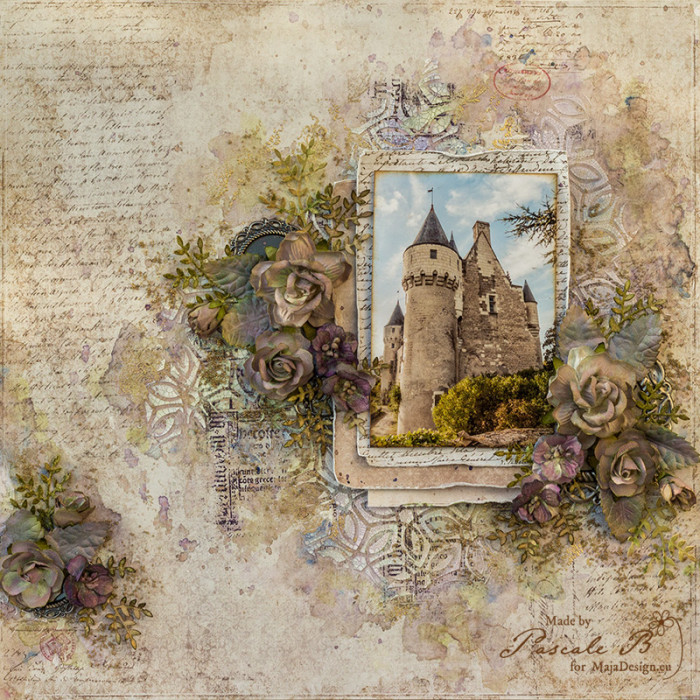
Today I’m up on Maja Design blog with a new layout featuring the I Wish collection. I chose a photo of the castle of Montrésor. (Loire Valley, France).

Montresor Castle by Pascale B.

I primed the background with clear gesso. Then I used two stamps to add some texture. I embossed the prints with two different embossing powders.

Montresor Castle by Pascale B.

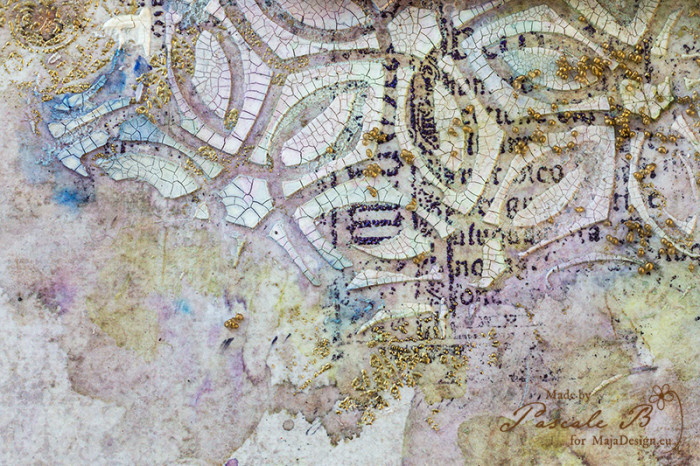
Then I added a design with a stencil and white crackle paste. And I let alone to dry.

Montresor Castle by Pascale B.

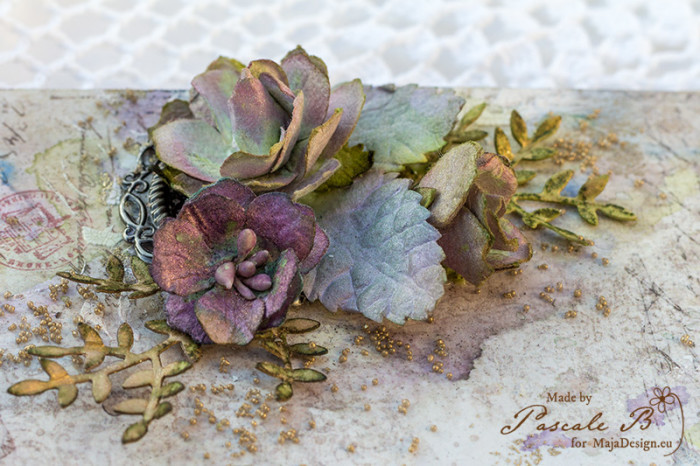
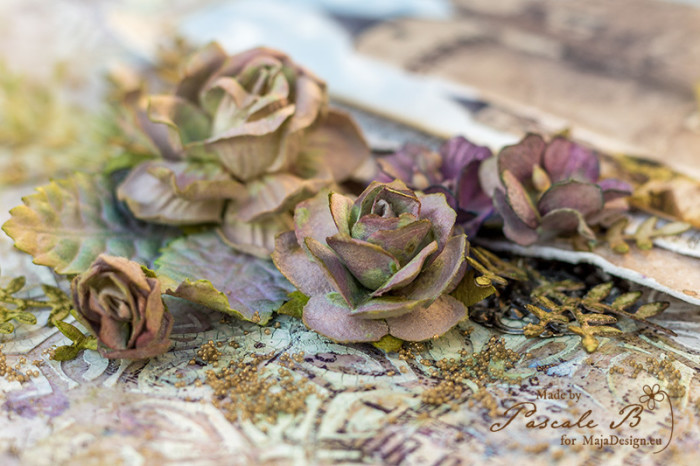
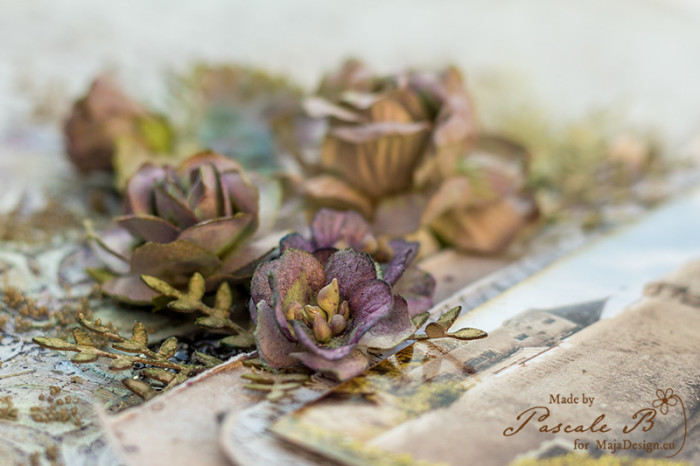
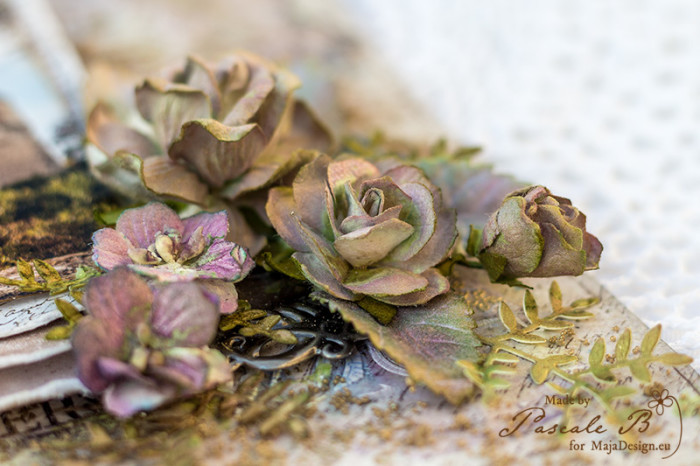
In the meantime, I die-cut some small sprigs in a watercolor paper. I colored them as well as the flowers and the leaves.

Montresor Castle by Pascale B.

I colored the background with the same colors I used to color the flowers and the leaves.

Montresor Castle by Pascale B.

I glued all the embellishments with a 3D gel and added some micro beads to finish the layout.

Montresor Castle by Pascale B.

Maja Design papers :

I wish those memories will last I wish for frosty mornings bs I Wish Paper pack Love notes bs
I Wish … Vintage Romance
… those memories will last … for frosty mornings bs Paper pack Love notes bs

Pascale-sign