Good Morning, Maja Friends,
How are you going to spend your summer? as for me , we have planned a trip by car to Europe and we will visit some beautiful places there. I hope I will make tons of phots to scrap during the year.
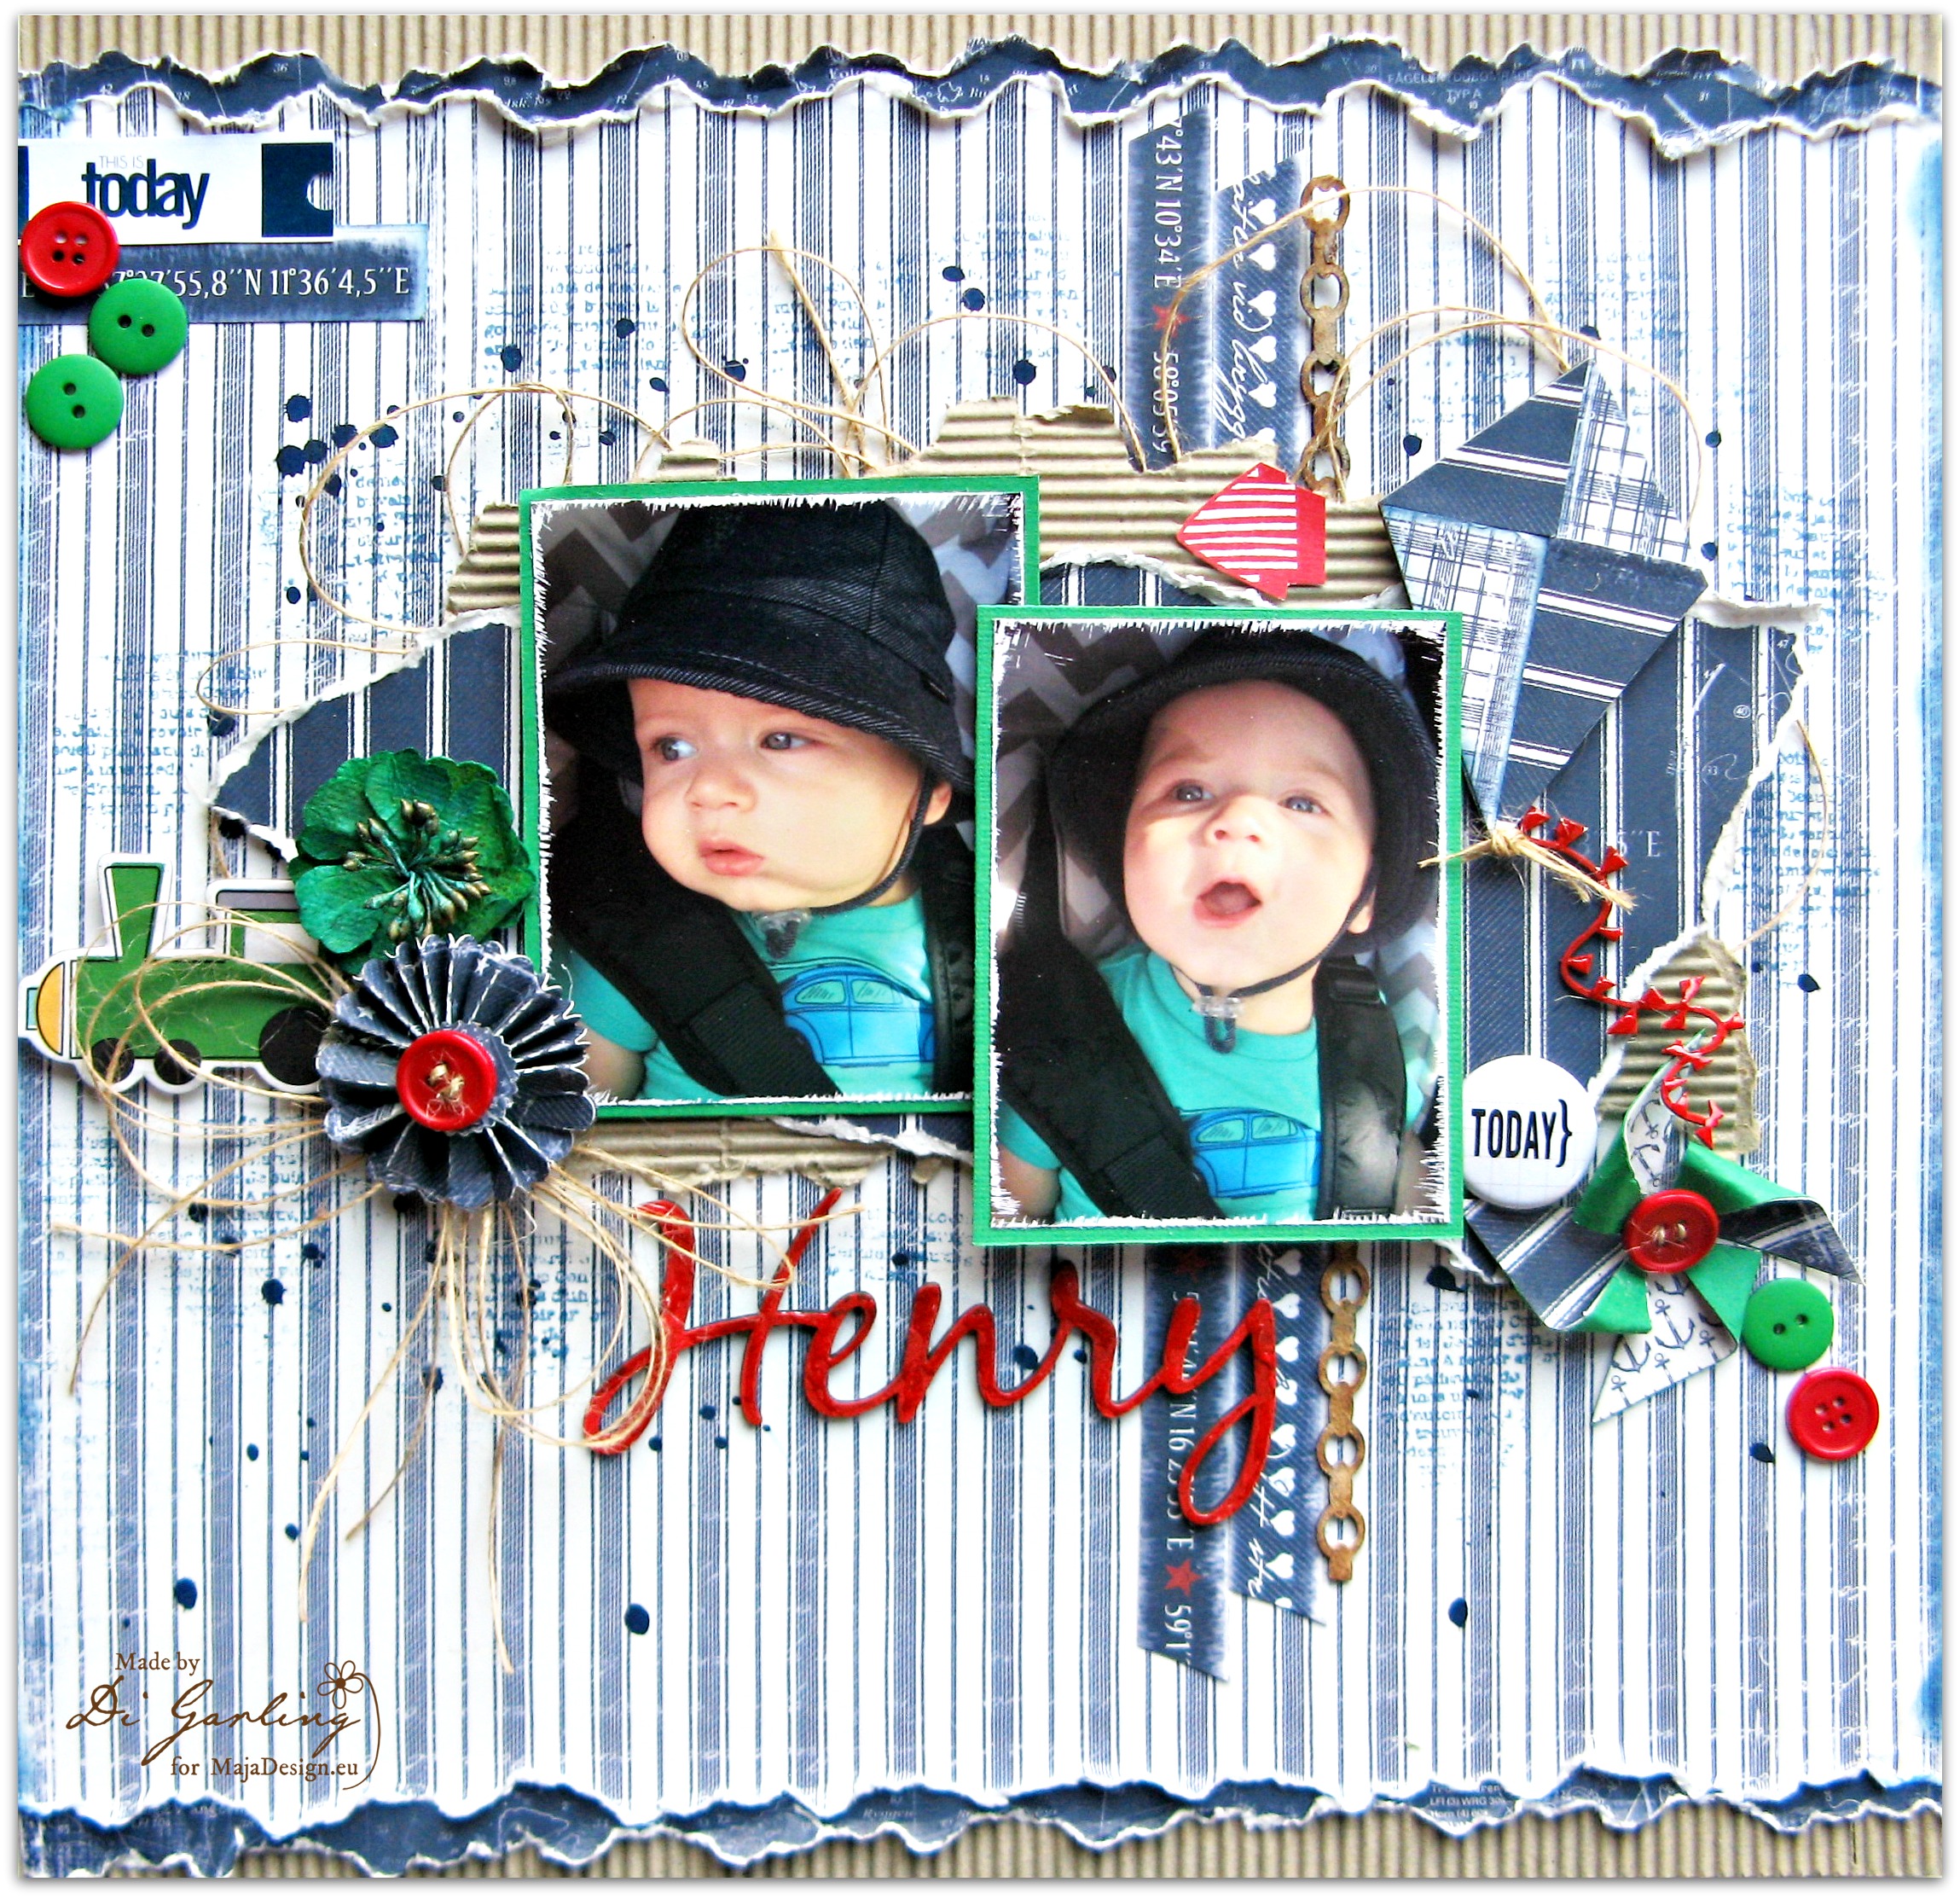
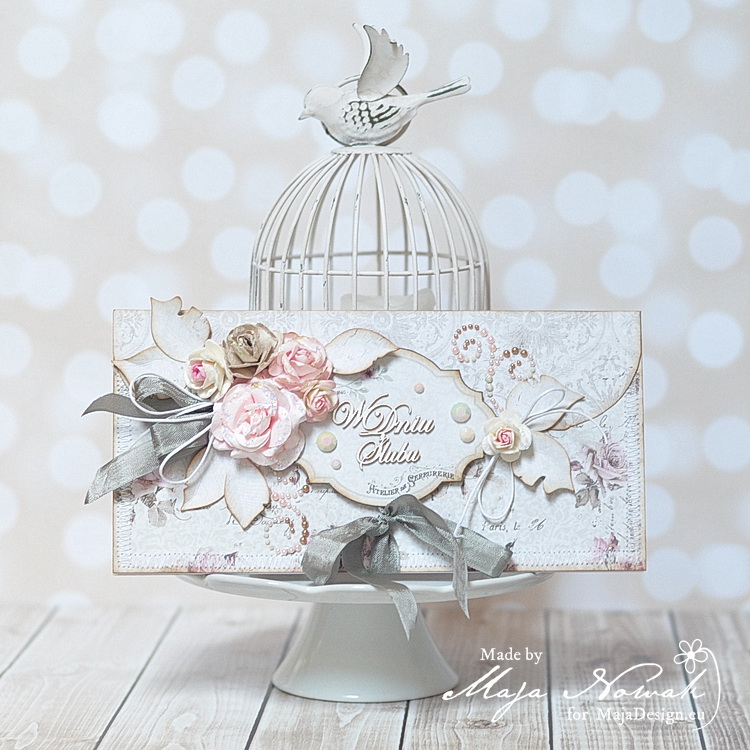
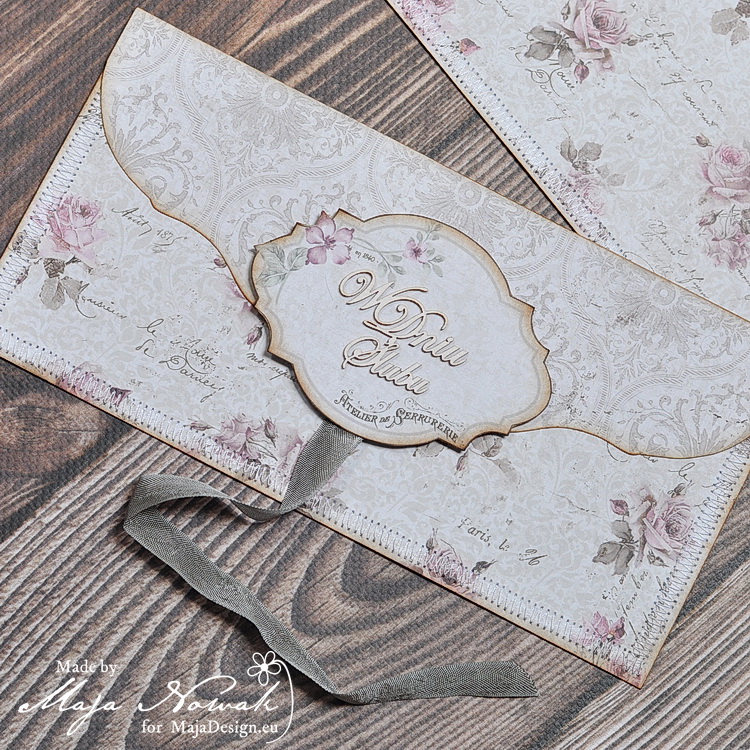
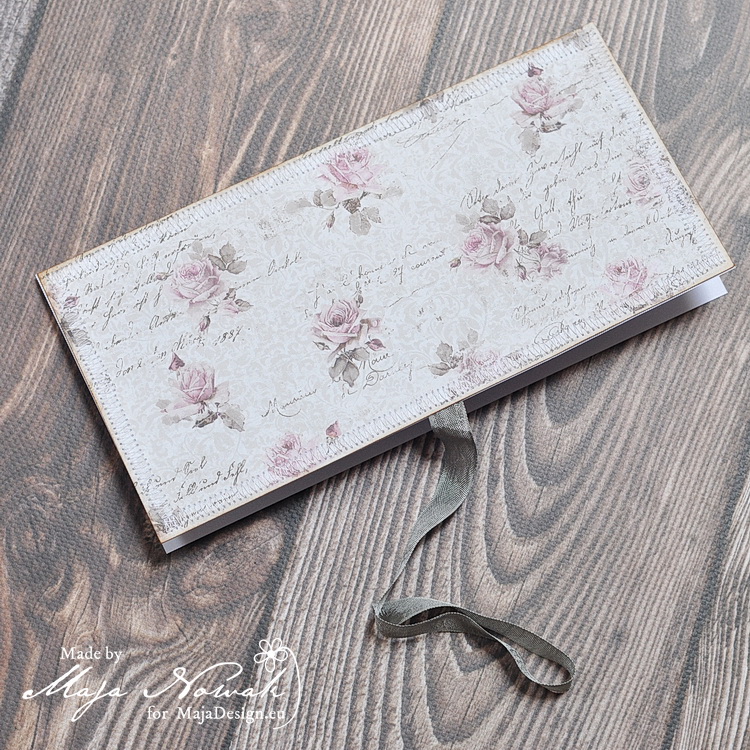
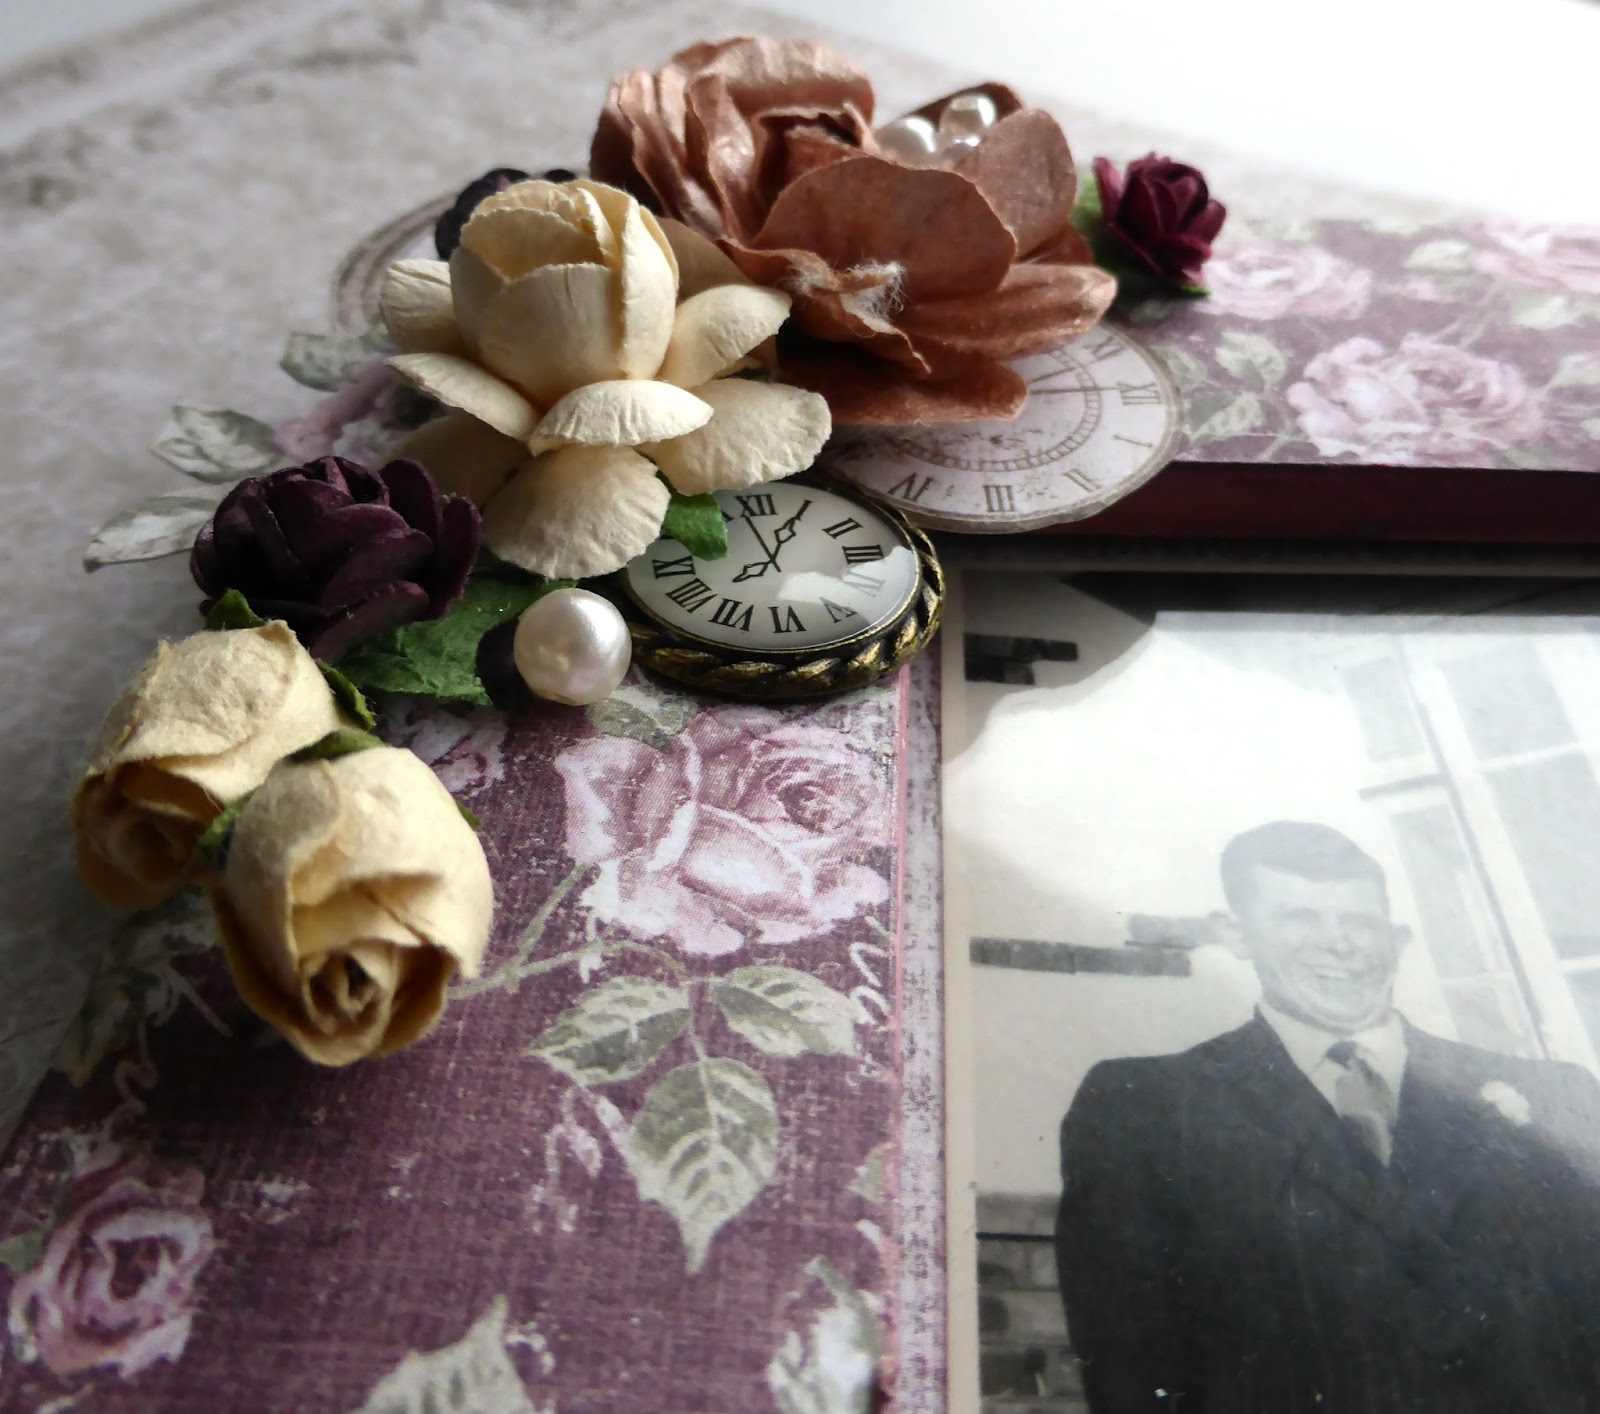
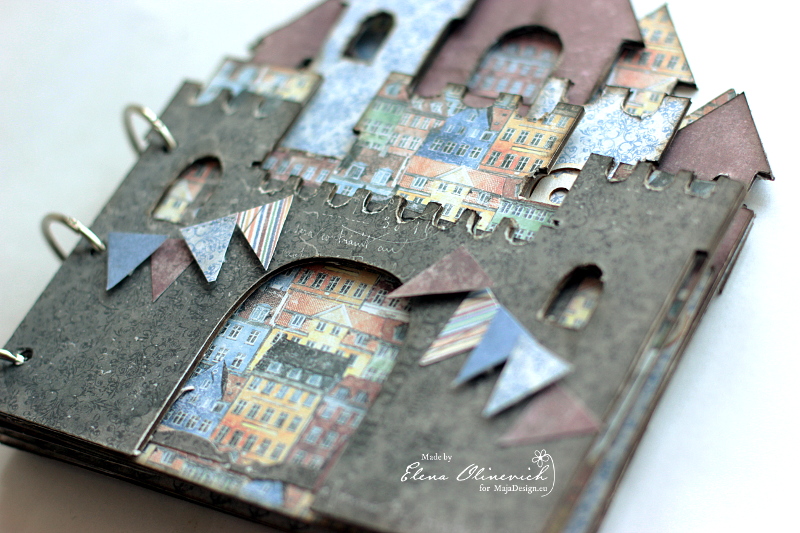
So that is why I decided to make something, that will be perfect for a trip theme. Here is my Castle Mini Album

I found a fancy chipboard mini album, castle shape in my stash. so I thought it would be a nice idea to use it finally.
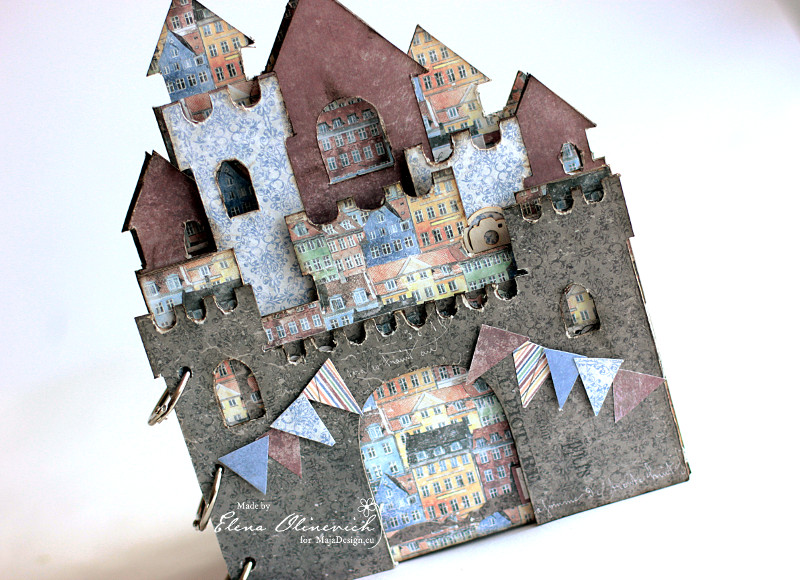
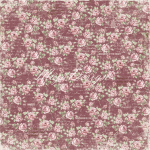
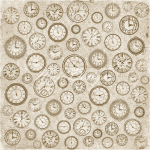
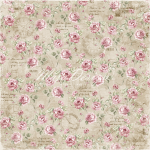
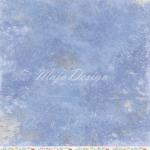
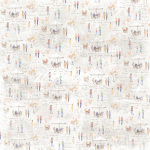
My choice was for Nyhavn collection, so great for your trip and travel projects. Once I have laready made the album with it, this time I had a very interesting shape for it.
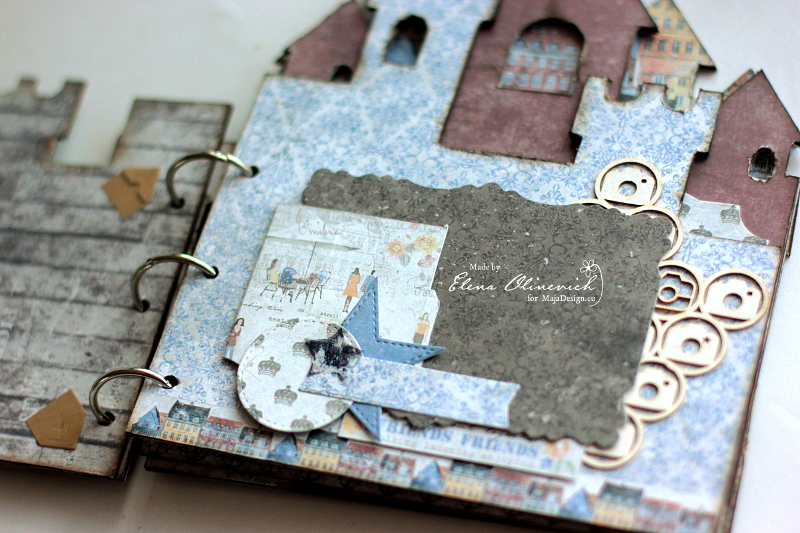
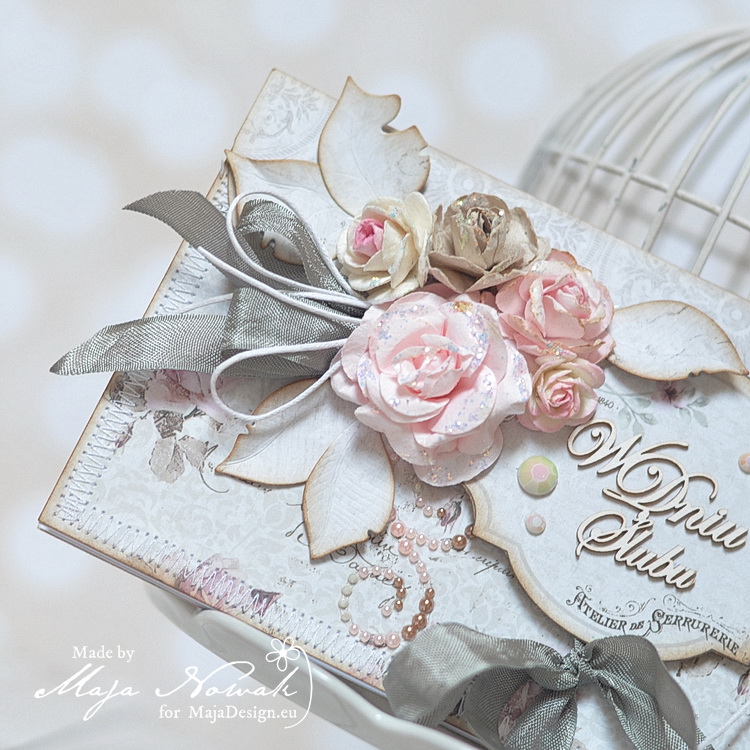
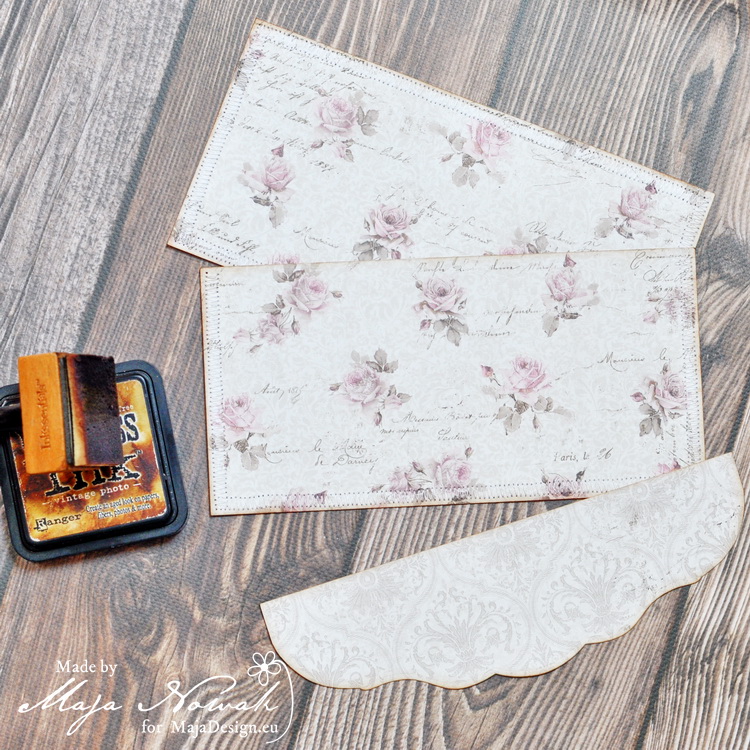
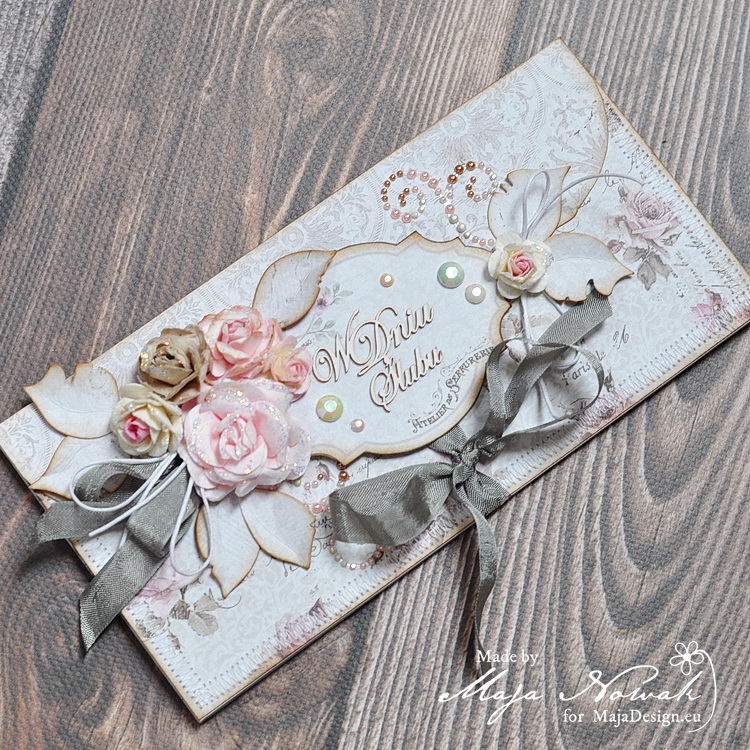
I used only paper die cuts and some chipboard pieces, I didn’t want it to be a busy one, as I am still planning to add some pages for making the notes, so it’s a kind of travel book I would say.

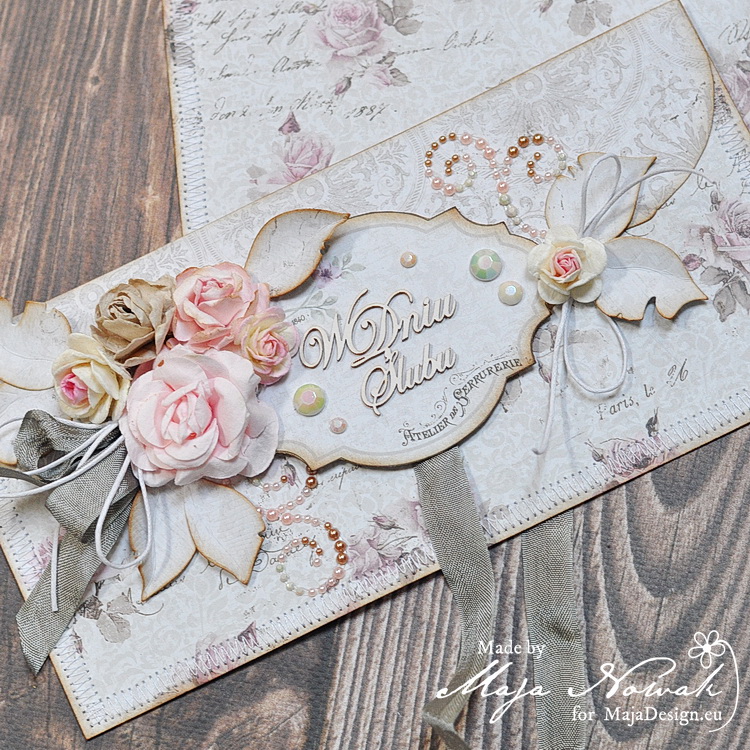
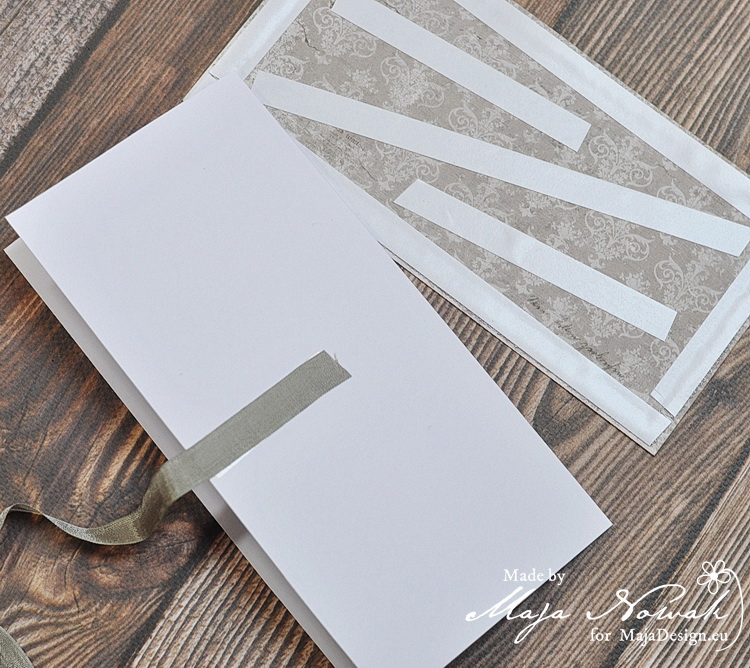
However I made some flaps and photo frames, to fill it with the future pictures.
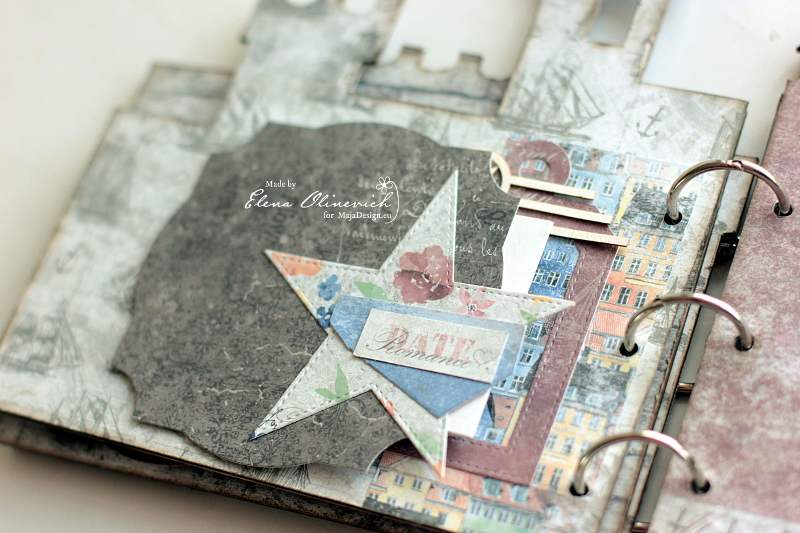
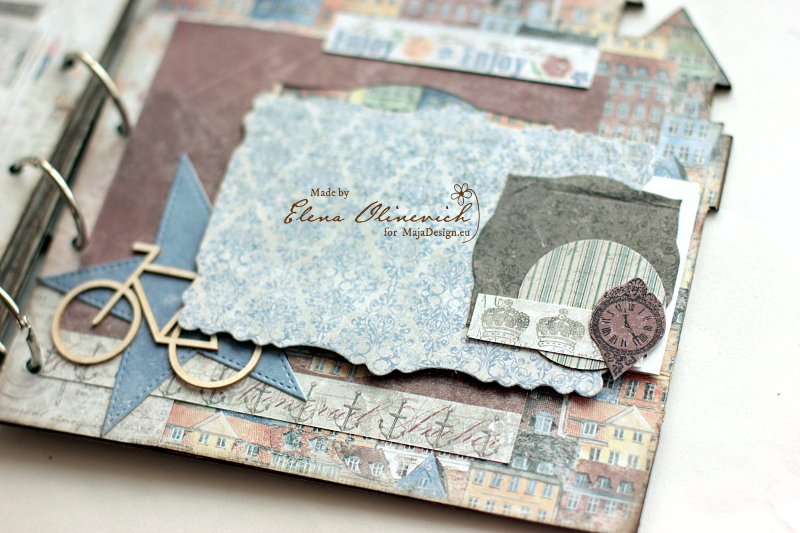
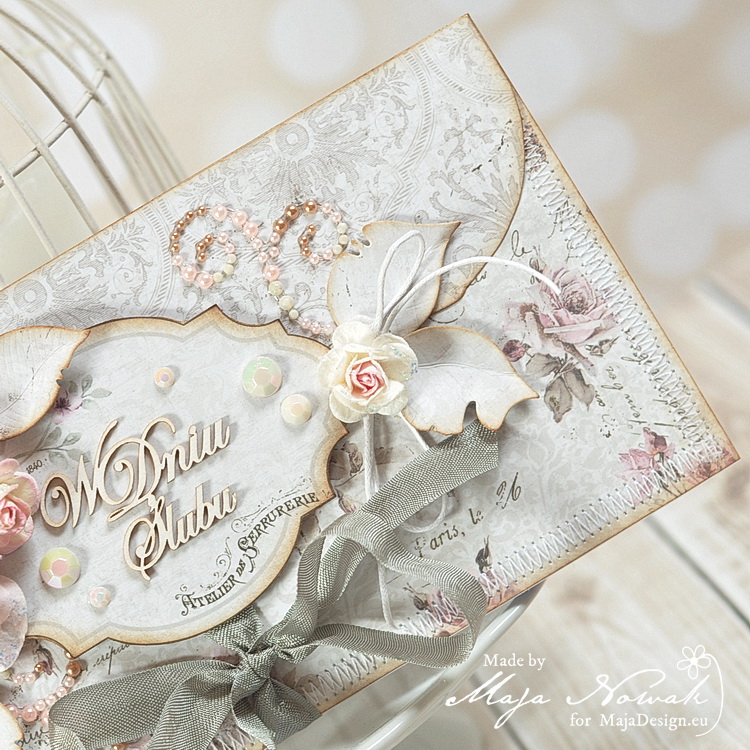
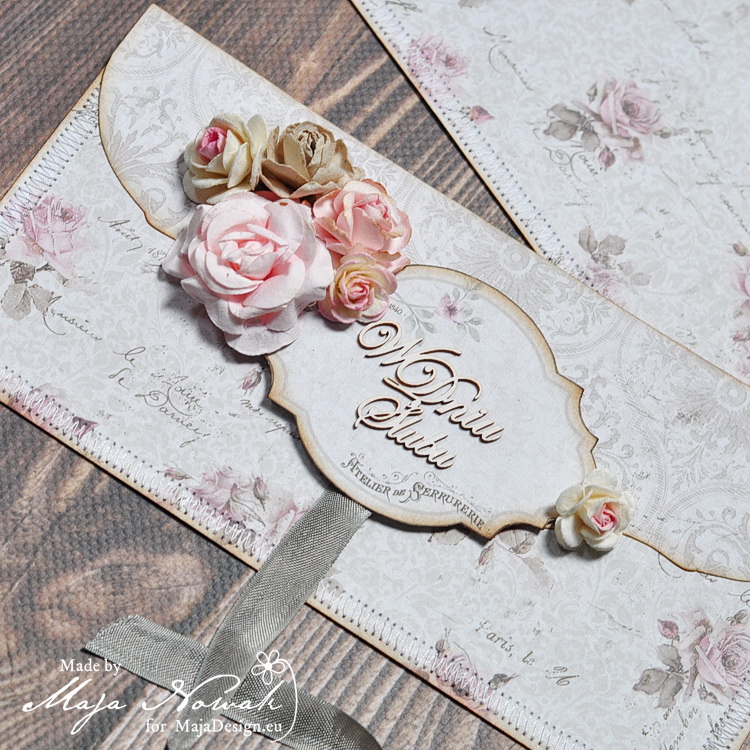
I also made some stamped embellishments, so easy and fast.
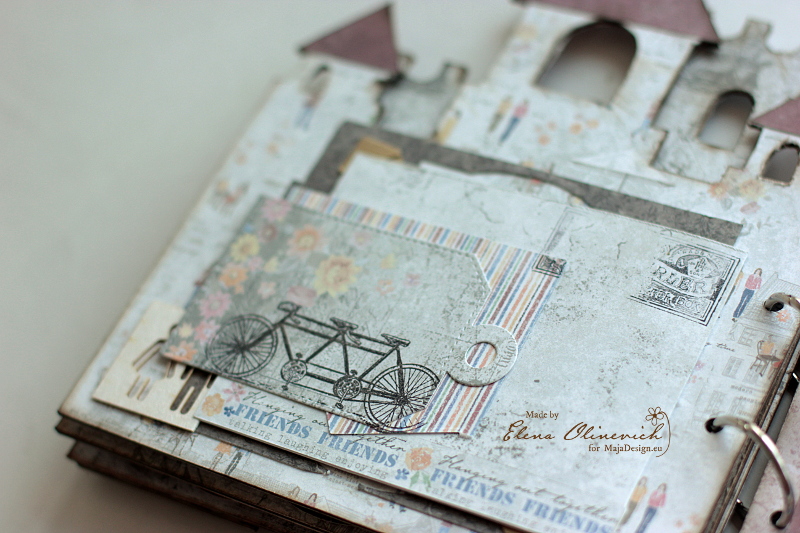
and stamped on the background as well.
Hope you have liked my mini album. I also have a video clip, so if you like to check it, here it is
http://https://youtu.be/cHUQV_lmjZA
Products used:
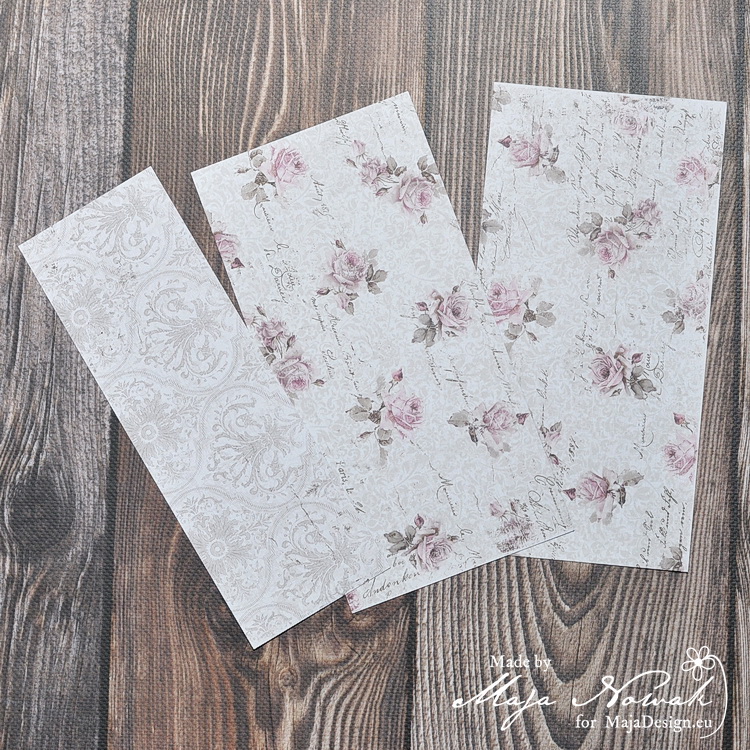
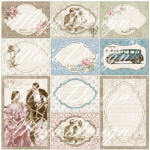
Nyhavn collection
-
- Old Townhouses
-
- Old Townhouses bs
-
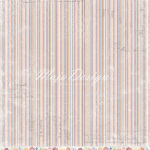
- Like a colourful bouquet bs
-
- Historical atmospher
-

- Historical atmosphere bs
-
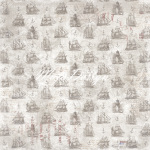
- Veteran ships
-
- Veteran ships bs
-
- King’s square
-
- King’s square bs
-
- Sitting at the dock
Clear Scraps – Castle Shape Chipboard Album, Spellbinders and My Favorite Things Dies, Wycinanka Chipboard, Prima Marketing Stamps.
![]()
Save