Hi there, Maja Fans! Welcome to the blog today 🙂
Last time I went back to some older collections, but this Vintage Romance just won’t go off my mind! 😉 And so I’m back with a wedding card today:
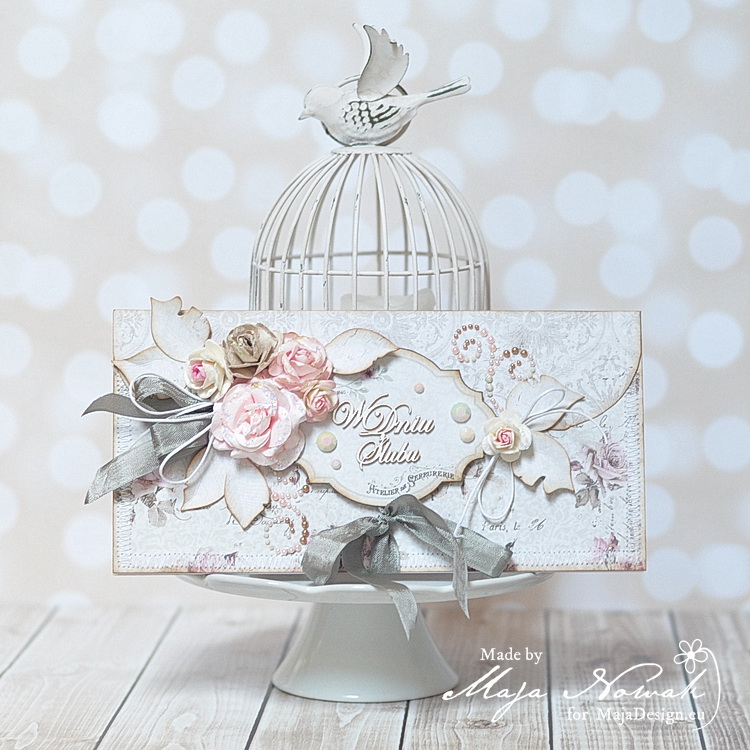
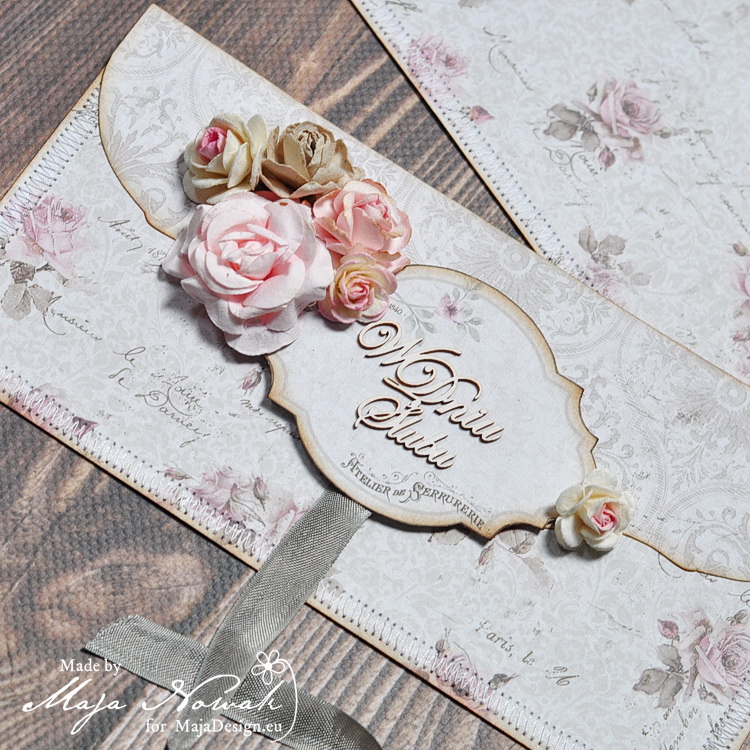
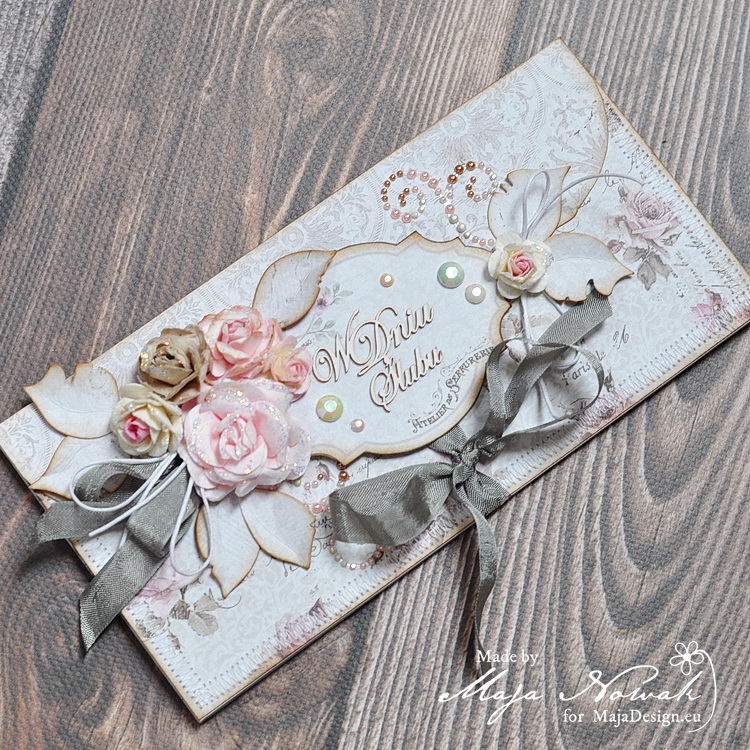
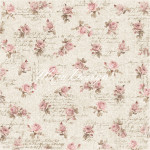
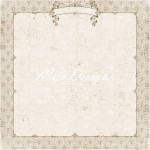
I chose neutral tones of papers with a delicate pink touch for a subtle, romantic card that would be perfect to give to the newlyweds. I matched the dimensional roses with the printed ones…
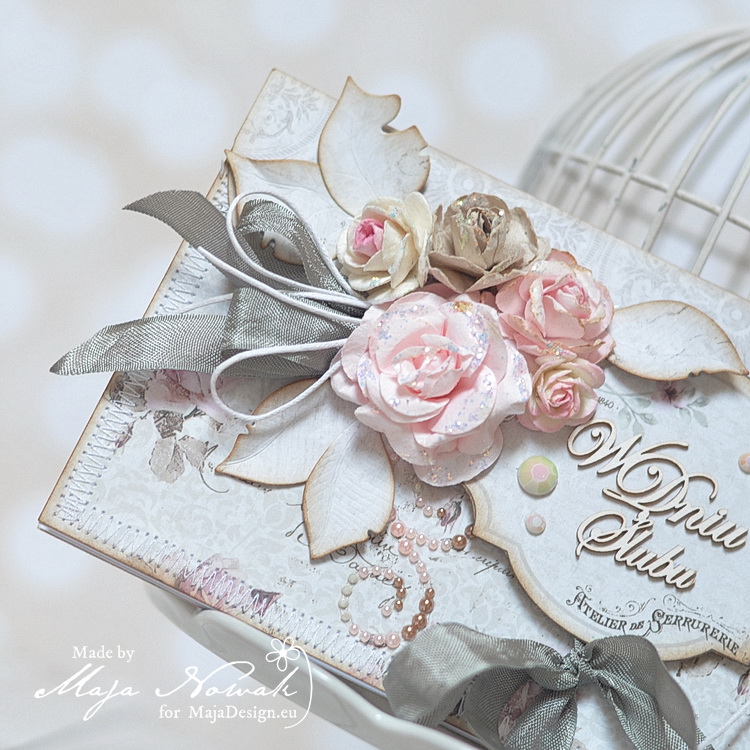
…and added some ribbons and string bows to complete the flower cluster:
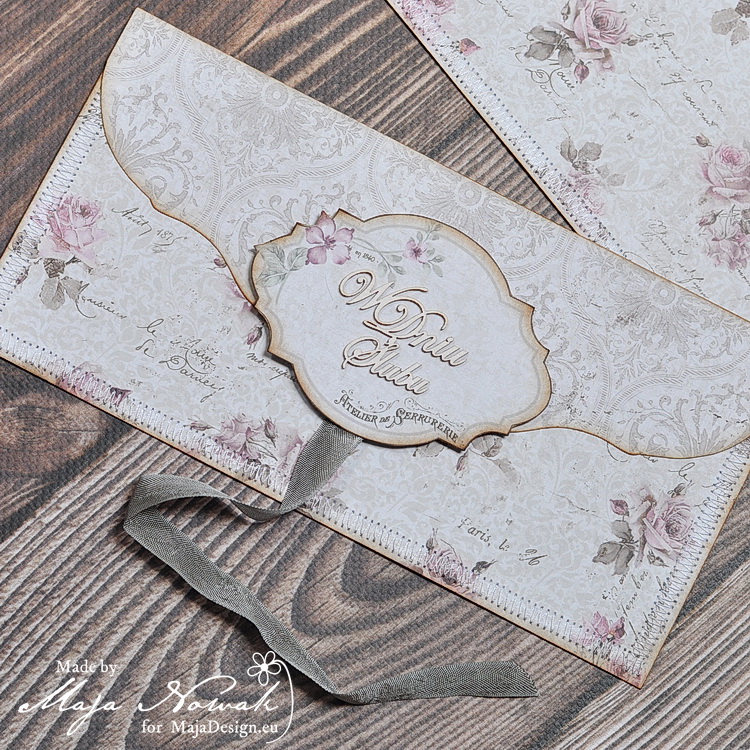
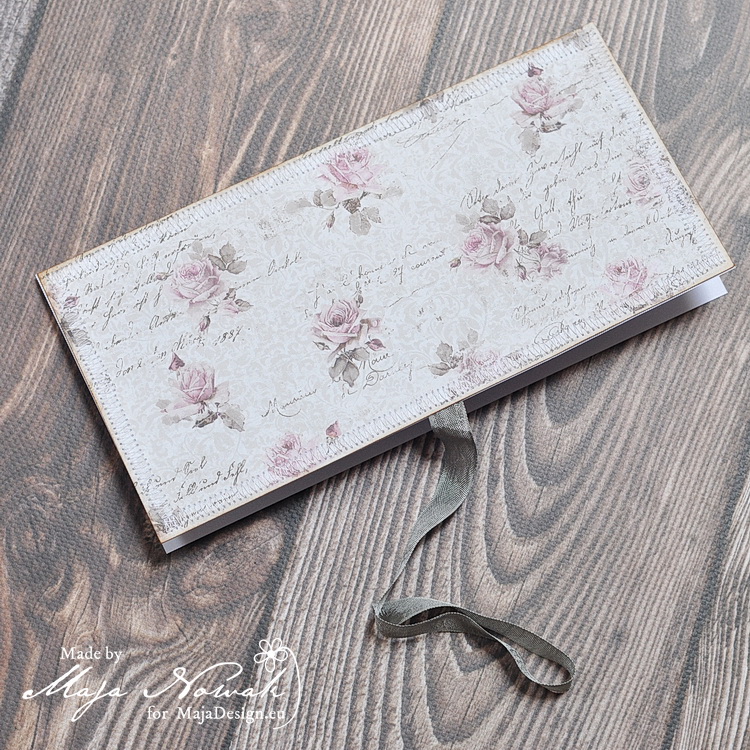
The card looks like an envelope card, but it’s not! When you untie the ribbon, it opens like an ordinary card 🙂

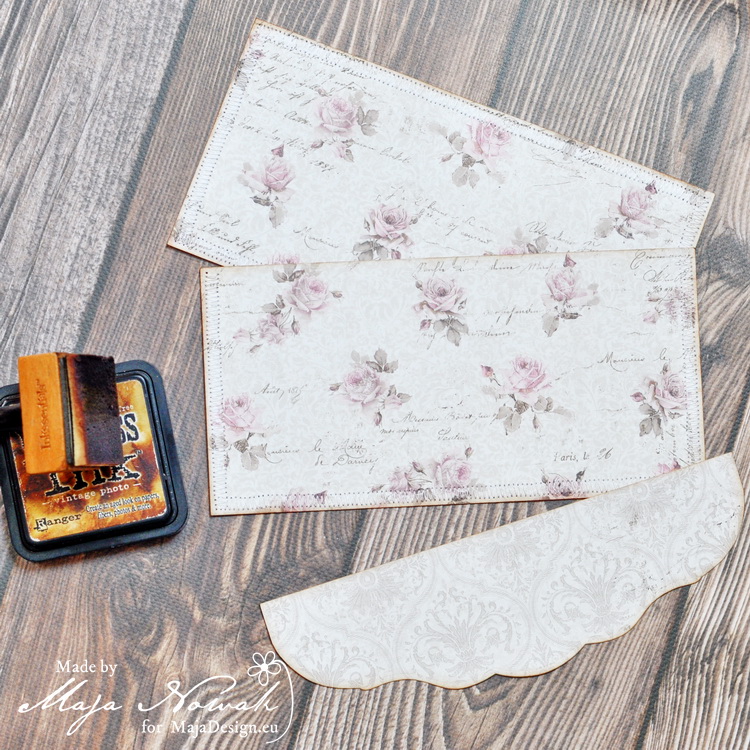
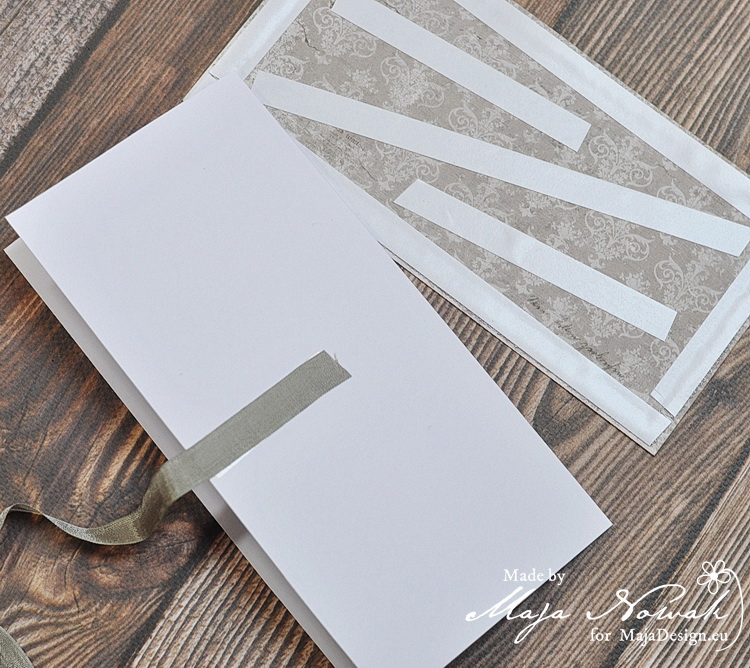
I used to make classic envelope card using one sheet of 12×12 paper, folded so it was made into an envelope. But this form is not very good with thick, sturdy Maja papers as there’s a lot of layers of folded paper, the envelope thus being too stiff, and the paper also sometimes breaks along the folds. And so I used the faux envelope idea, which is both paper-saving and super easy to make! You don’t believe? Just take a look! I cut two 4×8″ pieces and one 2,5×8″ strip:
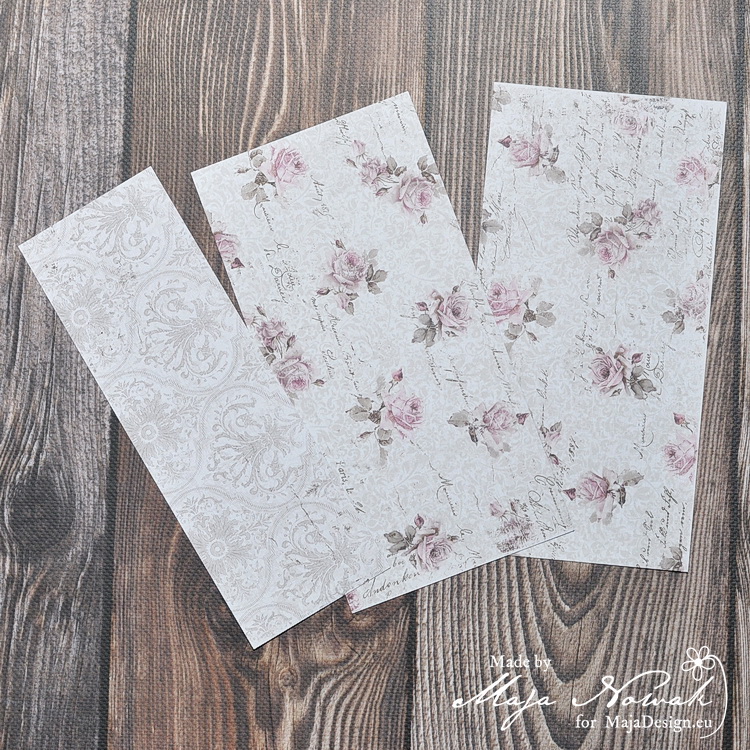
That’s it 🙂 Not even one full sheet of patterned paper used, and even if you are going to make your flowers or other embellishments yourself, you can use up scraps or even the leftovers of the papers you chose for your background 🙂 I inked all the edges and then I machine-sewed around the larger pieces and die-cut a decorative edge from the smaller piece (which of course it not necessary, you can use it as it is, or use an envelope to trace along the triangular shape):
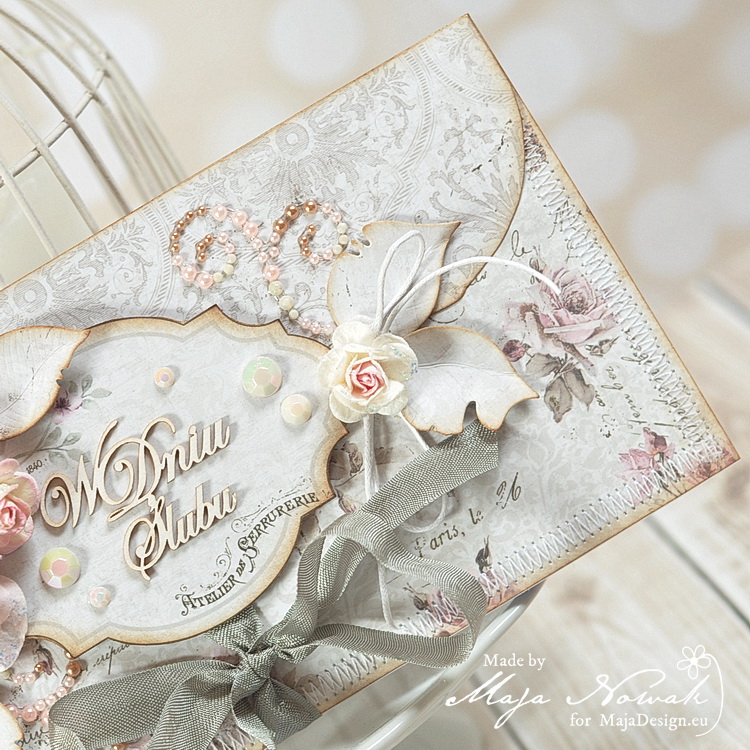
One of the pieces is for the back side. I layered the smaller piece (which will work as the faux envelope flap) over the front piece, added a piece of ribbon and covered it with an ornate label I cut out from the Love notes sheet.
I added some flowers:
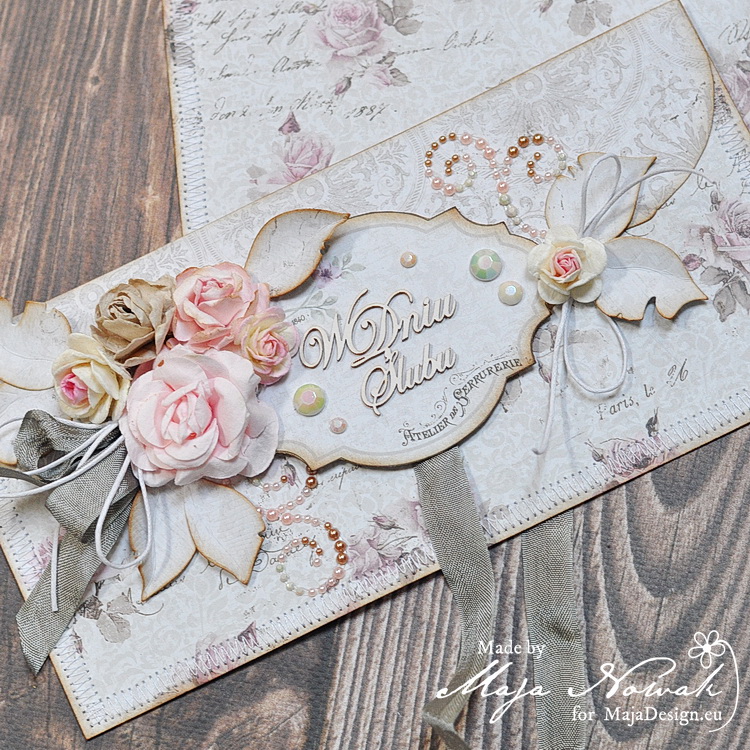
…leaves, ribbon and string:

…and some bling 🙂
Then I attached another piece of ribbon to the cardstck card base and added some double-sided tape to the back side piece:
The back of my faux envelope card was done 🙂
I only needed to attach the front piece to the card base – and it was all ready 🙂
See? Easy peasy 🙂 I hope you like it 🙂
Here’s what I used:
-
- Love notes
-
- Love poetry
-

- Champagne
-
- Marriage proposal
Flowers, ribbon: Wild Orchid Crafts; dies: Magnolia; chipboard: Scrapiniec; waxed string: my stash.
See you later!

1 Comment
WAUW this is so beautiful and sooo romantic. I love what you´ve done here. And thanks sooo much for the tut too, very easy to follow.