Winner of the February Mood board

3

Posted by Marie

28 February, 2019 - ,

Write a comment

Hello MajaDesign friends!

I hope you have had a great February filled with Valentine love and happy crafting time. We’ve had a happy time here at the office because of the great response to this, the first, challenge of this year. You really gave us a hard time picking a winner 🙂

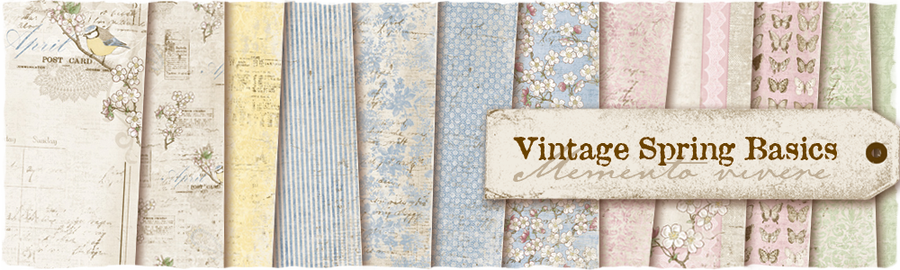
Every challenge has to have a winner though… and the time has come to let you know who it is…  First, a little reminder of what the mood board looked like:

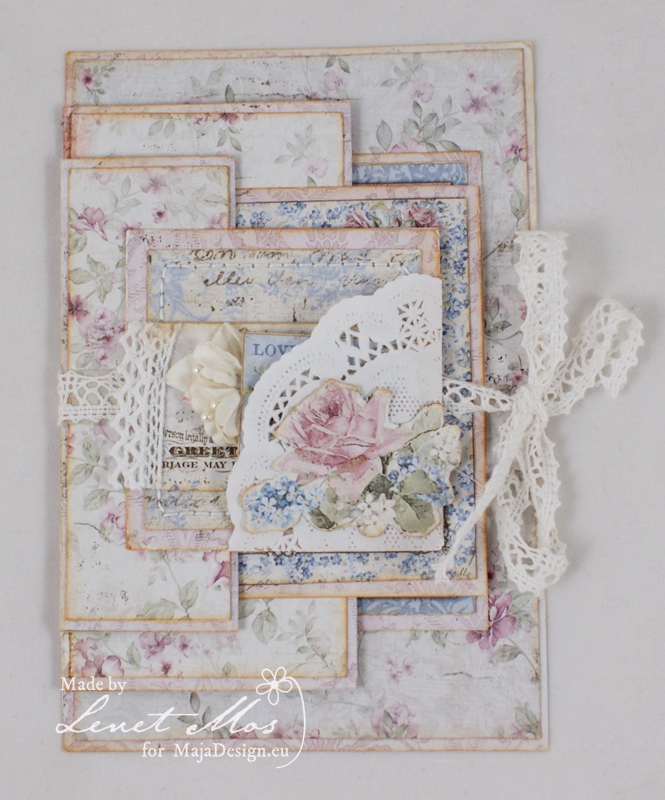
And here are the beautiful entries:

Benthe Nygaard, Denmark

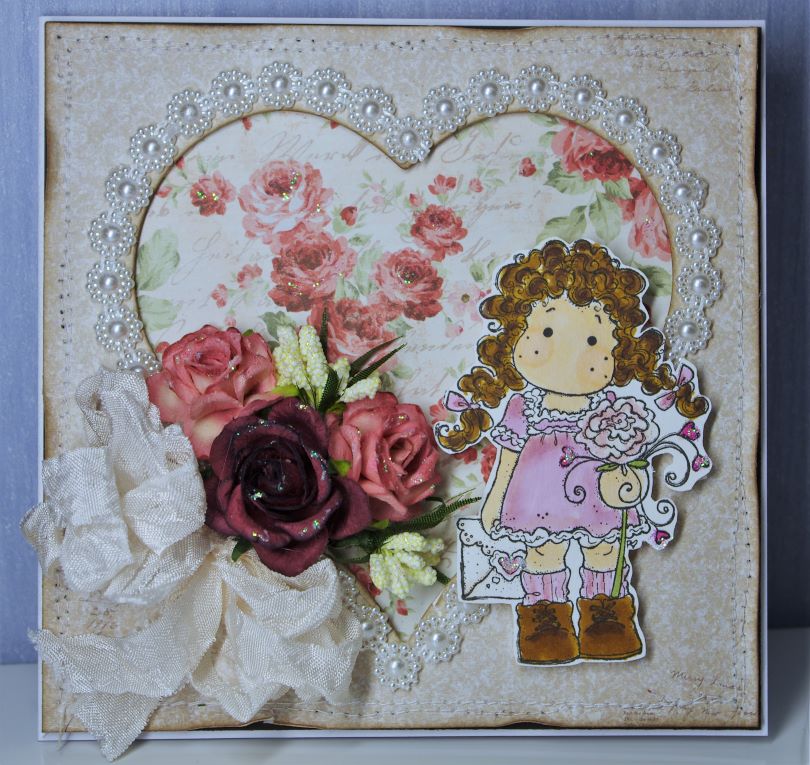
Caroline van Sluis, The Netherlands

Carolyn Haswell, Australia.

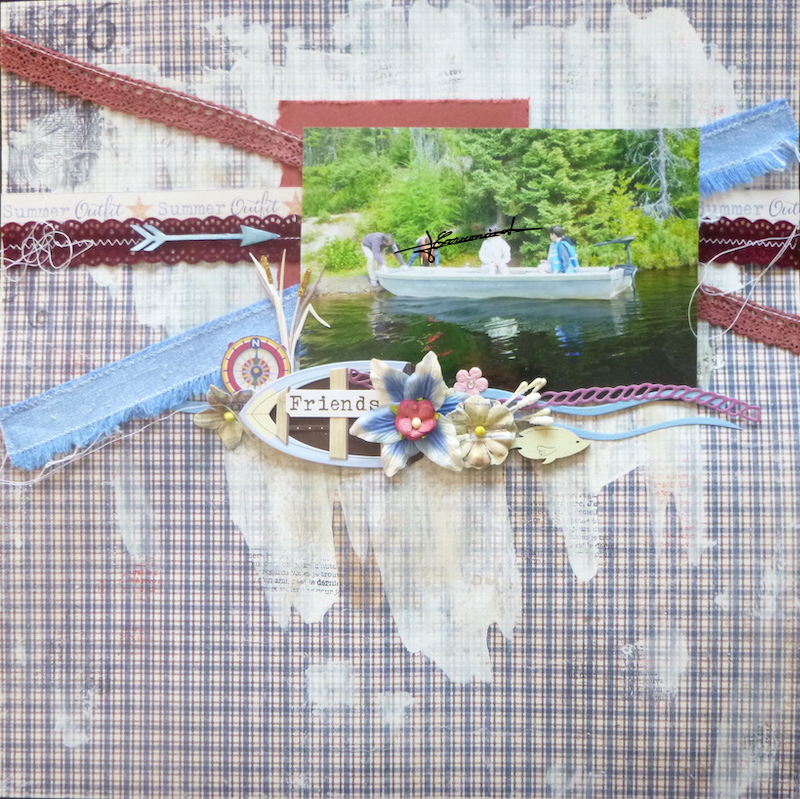
Corine Caraminot, Canada

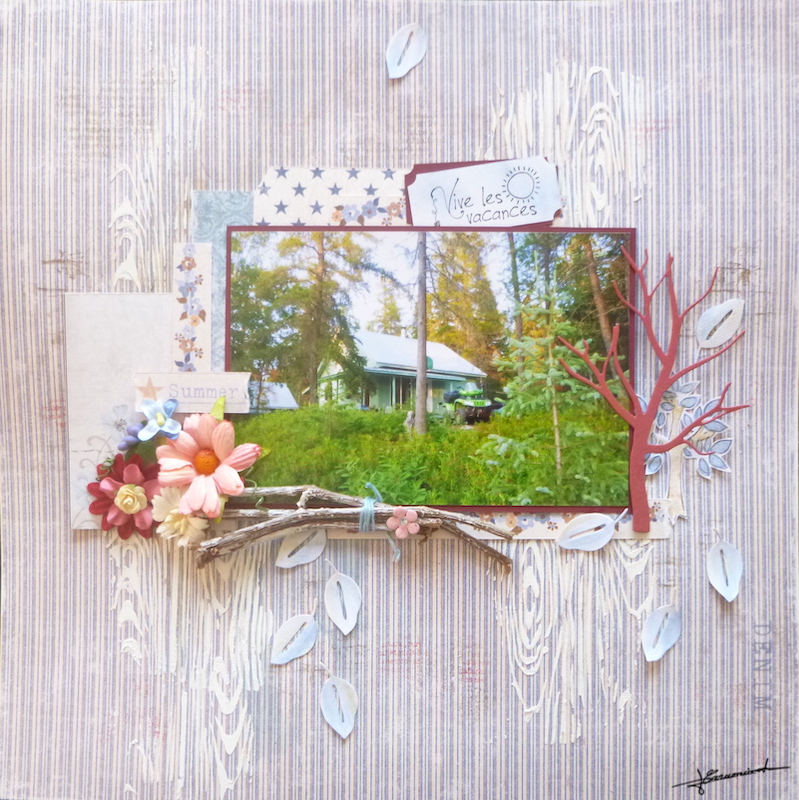
Corine Caraminot_2, Canada

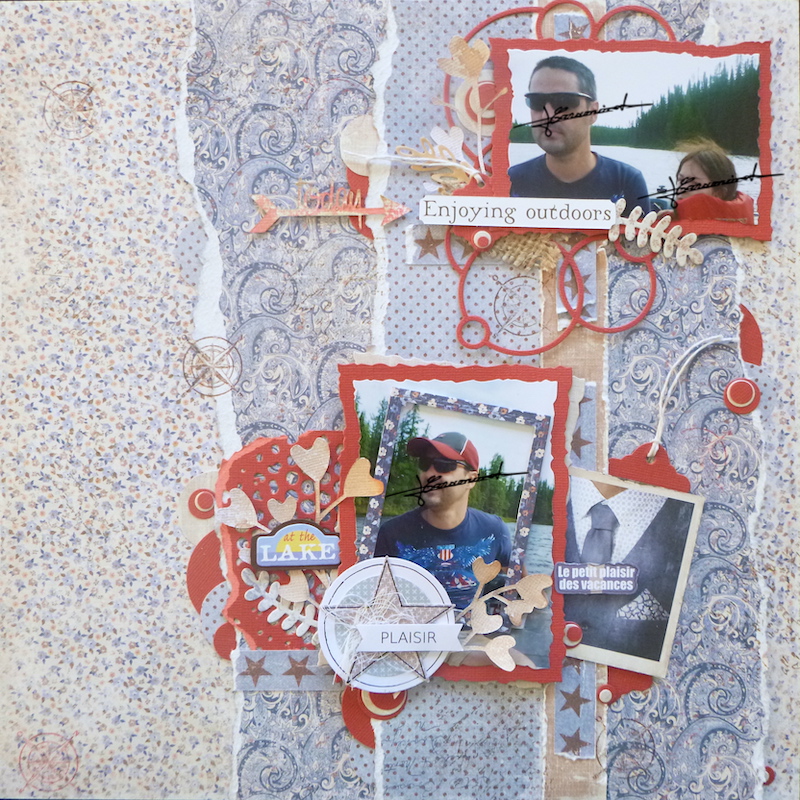
Corine Caraminot_3, Canada

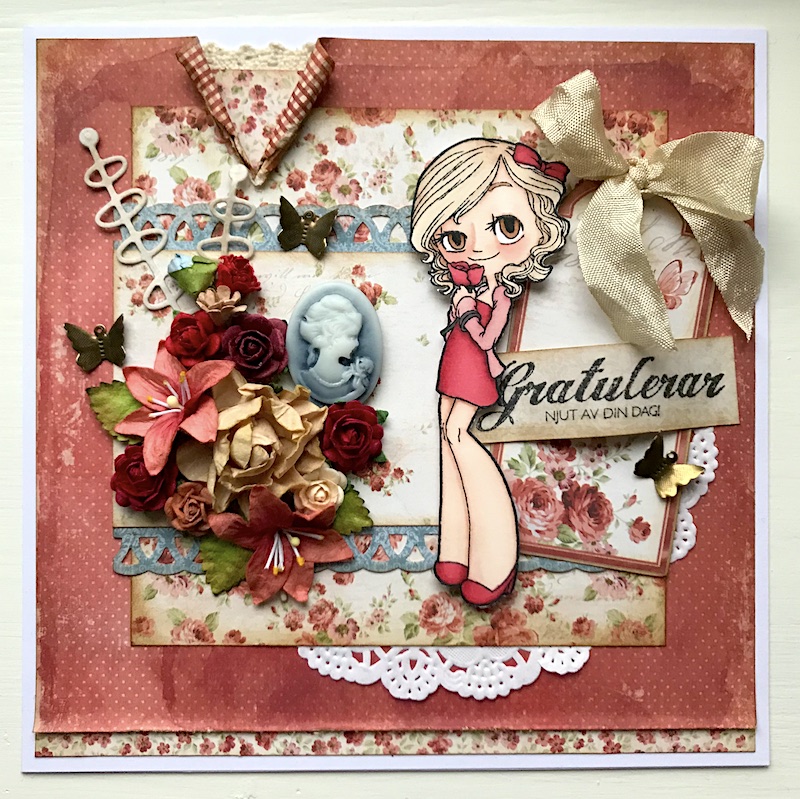
Corine Caraminot_4, Canada

Debbi Dolphin, Germany

Heidi Turcios, Denmark

Helen Jansson, Sverige

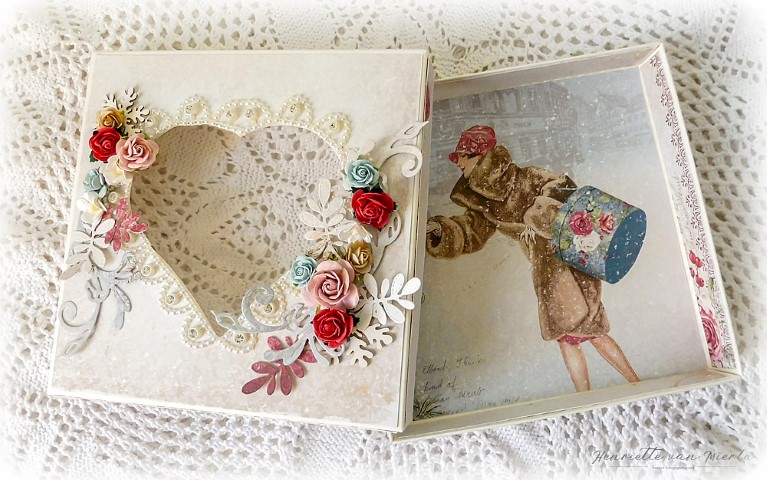
Henriette van Mierlo, The Netherlands

Jane Johnson, UK

Karita Vainio, Finland

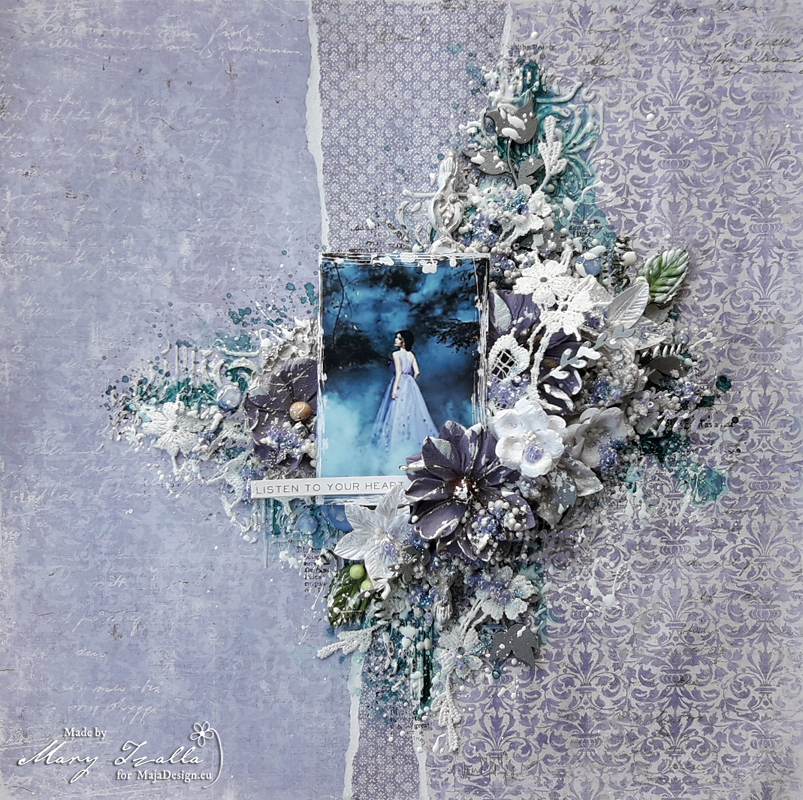
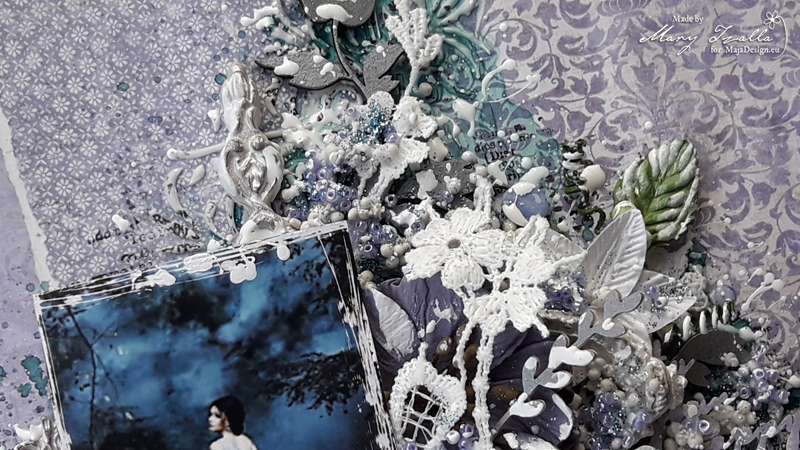
Katie Kempton, Canada

Laura Corkill, USA

Lizzy Hill, Australia

Majda Pur, Slovenija

Marjut Laine, Finland

Nicole Lacoste, Canada

Olesya Erankevich, Russia

Kristina Peshko, Russia


And the winner is…

*

*

*

*

*

*

*

*

…with great interpretation of both theame and colors…

Katie Kempton from Canada!!!!

Congratulations Katie! Your chosen collection will soon be turning up at your place.

Thank you to all the other participants! We are so happy you wanted to play along and we hope to see you back for the next challenge that will be published on the 1st of March.

Love,


Baby Boy Cards

1

Posted by Elena Olinevich

27 February, 2019 - ,

Write a comment

Hello Maja Friends,

It’s Elena here to share with you the baby cards I made for the 1st Year Anniversary

Each time I play with Vintage baby collection I really enjoy the colors and the patterns it has. And since it is not easy to create for the boys with no flowers for me – I like focusing on the paper layers

I used mostly the stars, oval and circle shapes to arrange on my cards, but I mounted all the layers on the crochet lace to soften the image.

I also added a few leaves – the paper and the fabric one and for the accents I used the blue buttons – quite a rare thing that I add to my projects.

Thank you for stopping by

Products used:

Vintage Baby – 6×6 paper pad. My Favorite Things Dies

Listen to your heart

1

Posted by Mary Tzalla

26 February, 2019 - ,

Write a comment

Hello dear friends!

Mary with you today and I have a new layout to share with you made for my February inspiration. I used papers from the gorgeous ”Vintage Spring Basics” collection along with some of my favorite Dusty Attic chipboards and 49 and Market flowers which I placed around a beautiful photo I found on Pinterest. But, before I continue more I want to give all the proper credits to the ”unknown” photographer.

I choose for my page the ”9th of April” paper and made two layers on it using both sides of the ”11th of April” paper from the gorgeous  ”Denim & Friends” collection. I started by applying a coat of clear gesso on the background and then I created texture with modeling paste and a stencil.

Made some stamping here and there and used a Lindy’s Gang spray to add color.

Next, I painted all the chipboards with Finnabair acrylic paints.

When everything was glued down I added some art stones and glass beads. The final touch was made with some splatters with white acrylic ink.

Papers used:


I hope you enjoyed my project!

Thank you for stopping by!


Trifold card with tutorial.

3

Posted by Lenet Mos

25 February, 2019 - ,

Write a comment

Hello Lenet here again ,

Today I bring you this card, with a little tutorial.

For this card you need a piece of paper of  6 by 12 inches.

Score it at 1,5″ – 3″ – 5,5″ and 8 inch. and fold it like the picture below

Than measure  1 inch from top and bottom of the first fold and 0,5 inch from the second like you see in the picture below.


than cut away those parts and you get  what you see on this picture.

Now we can start decorating the card.

I took 20 inch lace and glued it in the middle to the front of the first flap.  With this I’m going to close the card.


For the front I took a square piece of paper of 2.5/8 inch , and gave it a little pocket by folding a doily around one corner.

And made a little ticket to put in it.


For this card I used the vintage romance collection and took two diecuts  from the diecutsheet.

The one  with the doves is glued to one half of the second flap /fold , just like the top square other wise you can’t close the card.

of course you can decorate it to your own liking but keep in mind not to use bulky embellishments .

I hope  you like my card and my tutorial , happy crafting and till next time.

Confirmation Cards

3

Posted by Maja Nowak

24 February, 2019 - ,

Write a comment

Good morning, Maja Friends, welcome to the blog today 🙂

This week my elder son will ccelebrate his Confirmation. And suddenly I realised I have never made a Confirmation card before! 🙂 So today I bring you two cards for this occasion, one for a girl and the other for a boy.

I kept the design pretty simple, with light background papers, delicate flower combos and filigree chipboard pieces. I decided not to use patterned papers in the background and instead added some texture with die-cut doilies.

The girl’s version features traditional pink tones:

… and the boy’s card goes with blue:

I think they turned out quite nice, delicate and fit for the occasion. And I really like the subtle look with Monochrome papers in the background, with just a hint of a pattern and still very decorative. What do you think?

And here’s what I used:

Maja Design papers:

Other: dies: Prima, Cheery Lynn Designs; flowers: Wild Orchid Crafts; chipboard: SnipArt; acrylic stones: Prima.

That is all for today, thank you for visiting and come back tomorrow for more inspiration from my DT friends 🙂