Hello Lenet here again ,
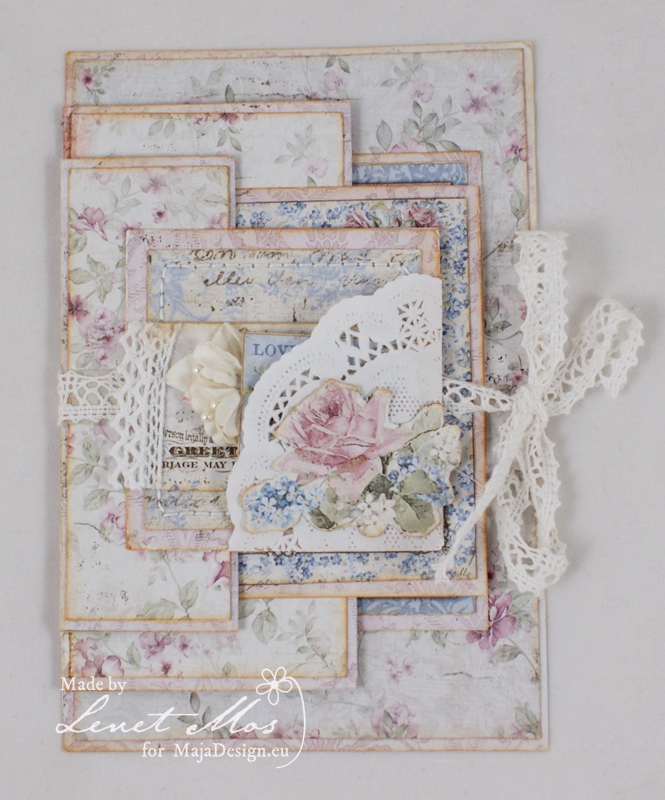
Today I bring you this card, with a little tutorial.
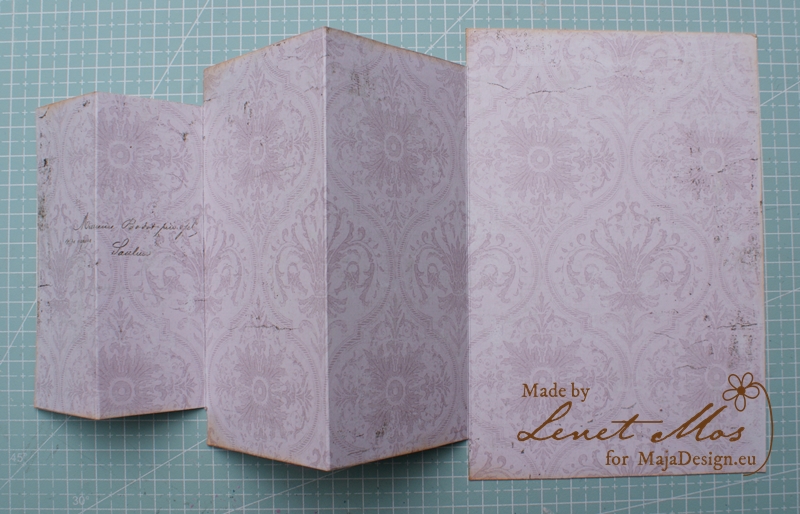
For this card you need a piece of paper of 6 by 12 inches.
Score it at 1,5″ – 3″ – 5,5″ and 8 inch. and fold it like the picture below
Than measure 1 inch from top and bottom of the first fold and 0,5 inch from the second like you see in the picture below.

than cut away those parts and you get what you see on this picture.
Now we can start decorating the card.
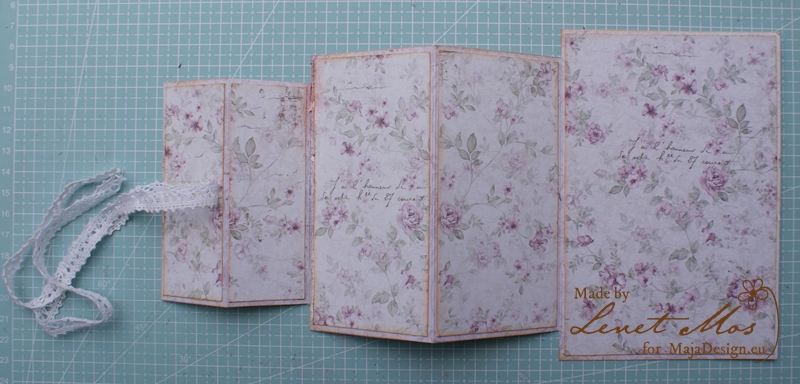
I took 20 inch lace and glued it in the middle to the front of the first flap. With this I’m going to close the card.
For the front I took a square piece of paper of 2.5/8 inch , and gave it a little pocket by folding a doily around one corner.
And made a little ticket to put in it.
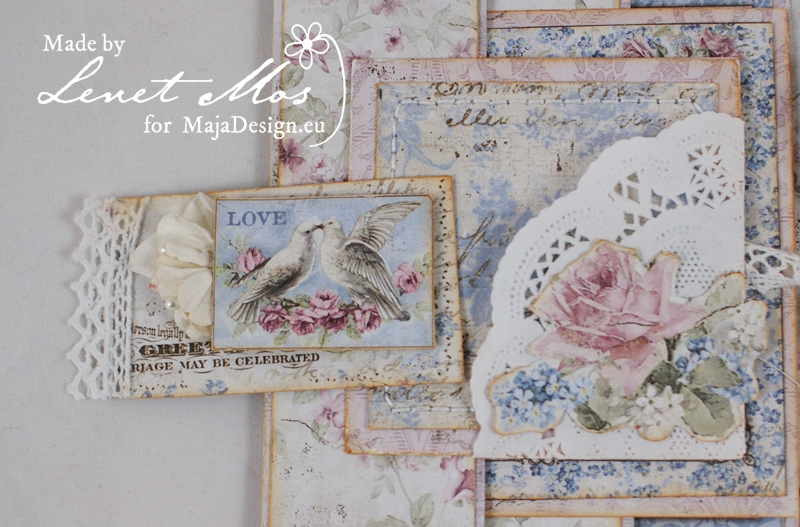
For this card I used the vintage romance collection and took two diecuts from the diecutsheet.
The one with the doves is glued to one half of the second flap /fold , just like the top square other wise you can’t close the card.
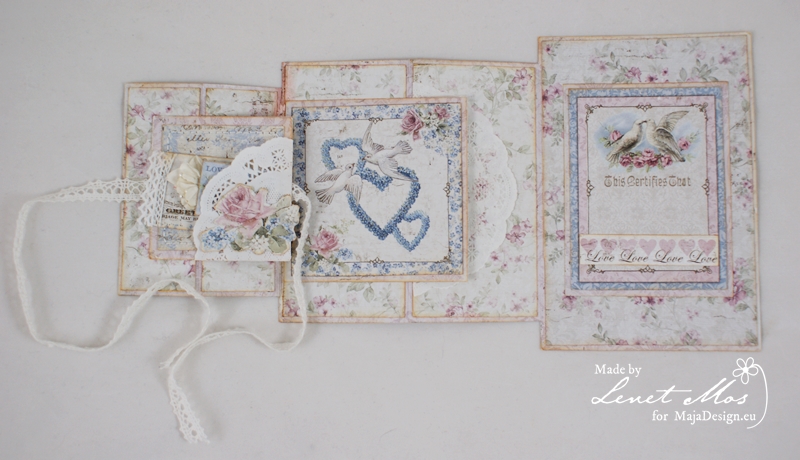
of course you can decorate it to your own liking but keep in mind not to use bulky embellishments .
I hope you like my card and my tutorial , happy crafting and till next time.


3 Comments
Such a beautiful card, and thanks sooo much for the template for this great fold here too. It looks amazing and we´re always on the look for new ways to fold or open the cards, as my granddaughters have always had a small competition between them, who got the cards with the most movement or funny folds, and it begins to be a bit hard to keep comming upo with new ones, when you have 9 grandkids ha ha ha, so this is soo cool and will definitely be tryed out soon, as we have 2 more birthdays here in the next couple monts. Thanks again and have a wonderful week aheads here now
Prachtig Lenet! En dank je wel voor de uitleg.
Groeten, Aartje
This is lovely. Thank you for sharing it.