Hello dear friends! Its Evgenia Petzer with you today and I will show you how to make the covers for the sticker pad notes. The covers are long-lasting, as once the notes are finished you can simply attach the new block on the same place.
One cover I have decorated using the paper and another one is with fabric covering.
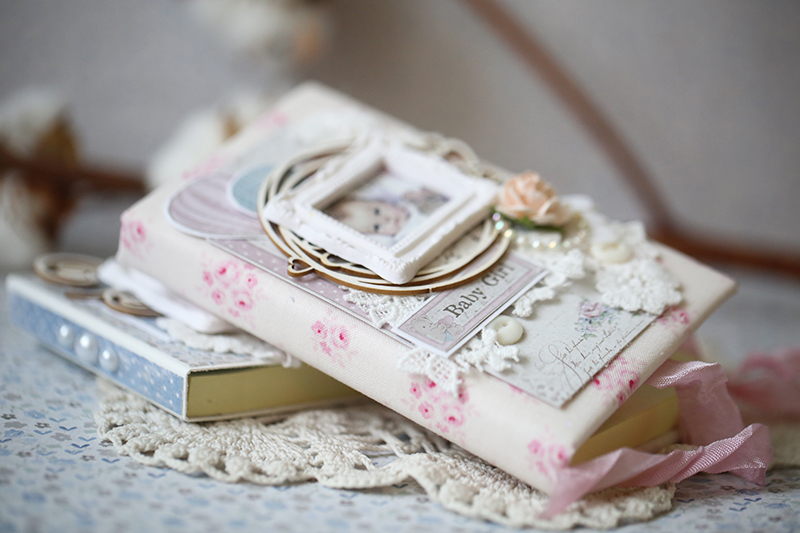
Here is the result:
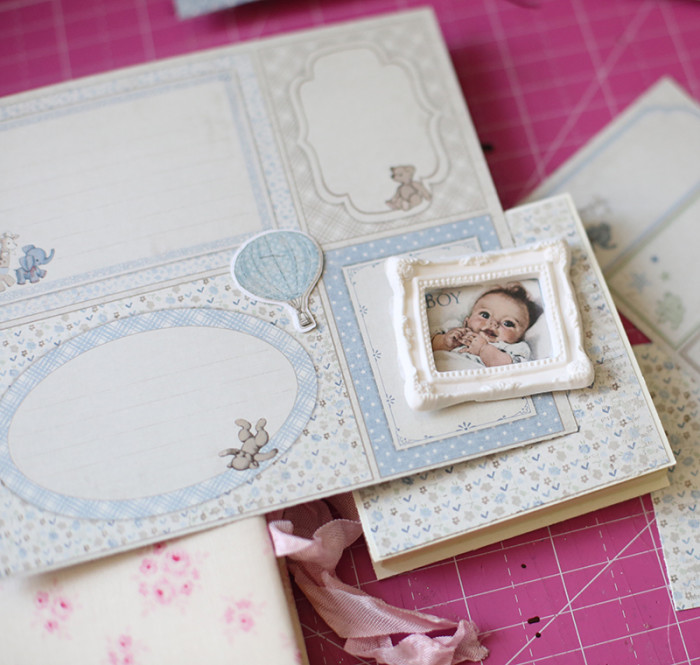
The one for the boy uses the paper: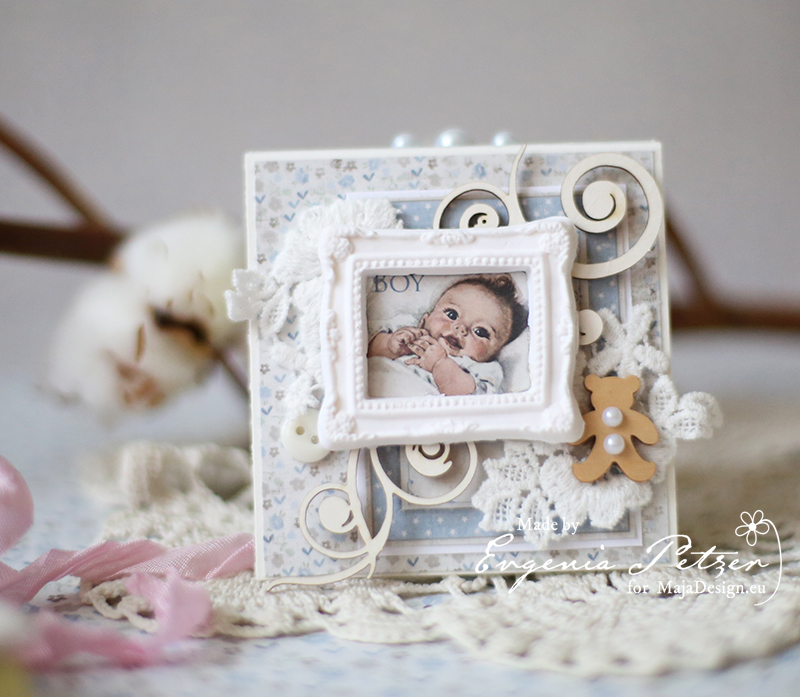
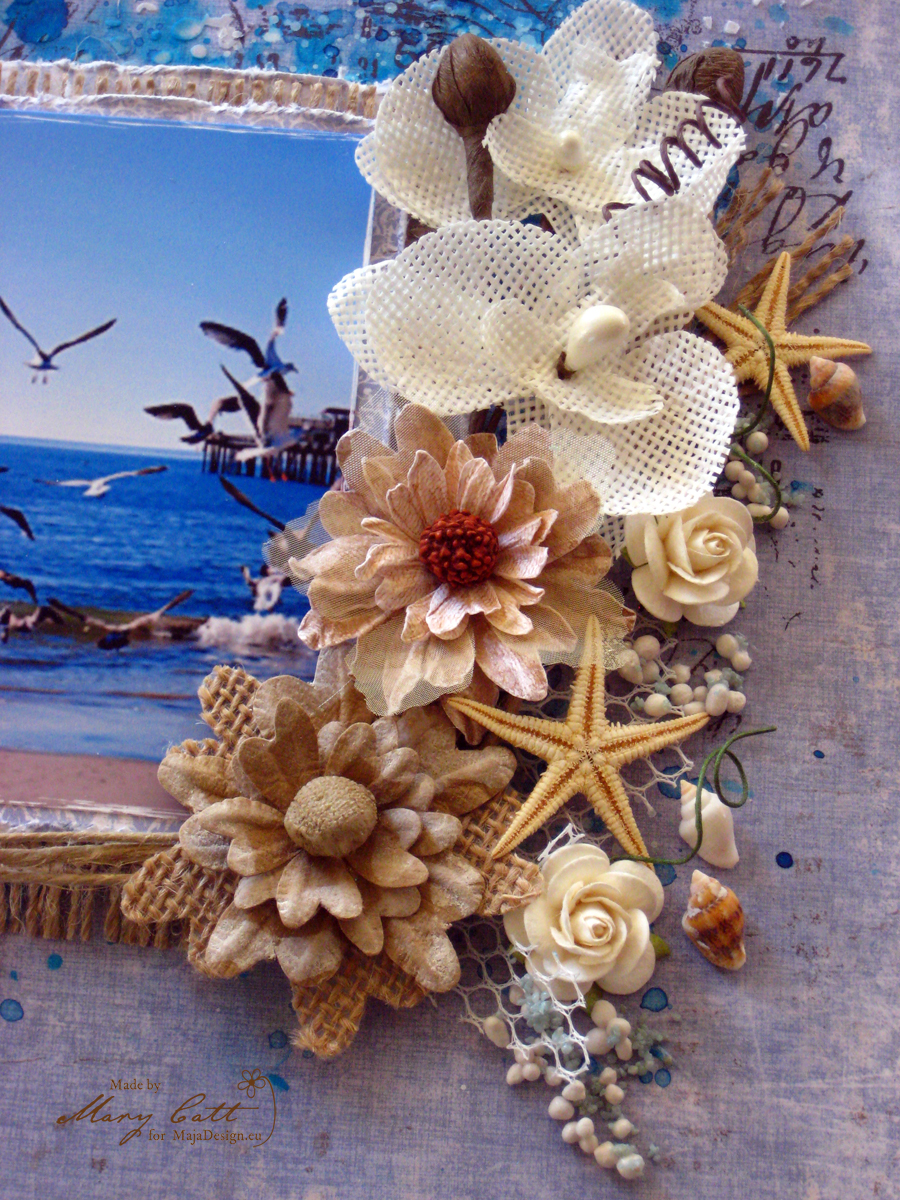
some close ups:
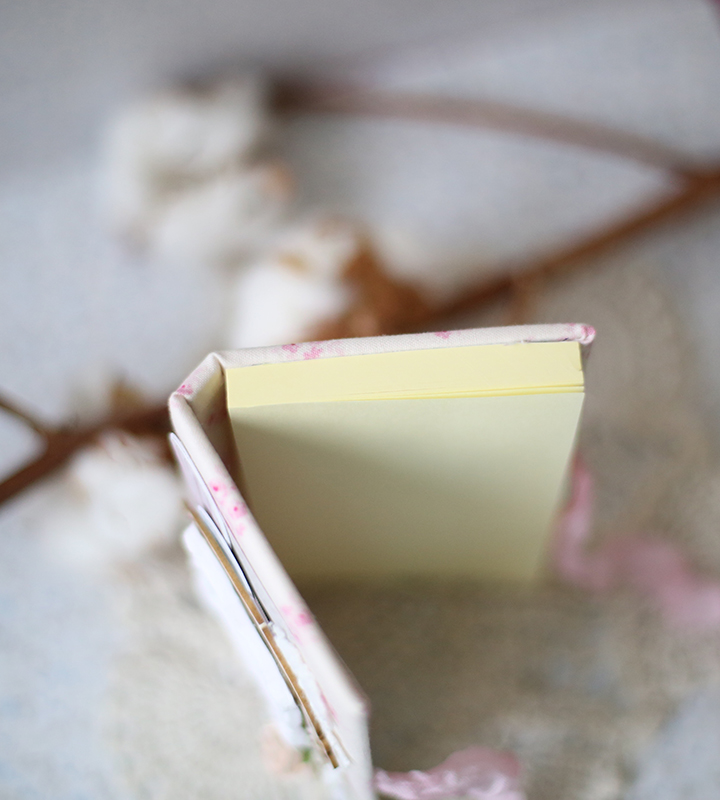
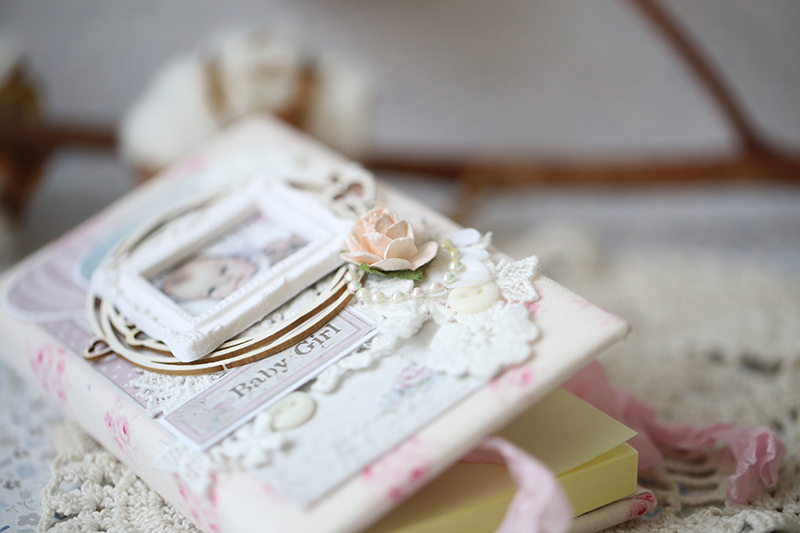
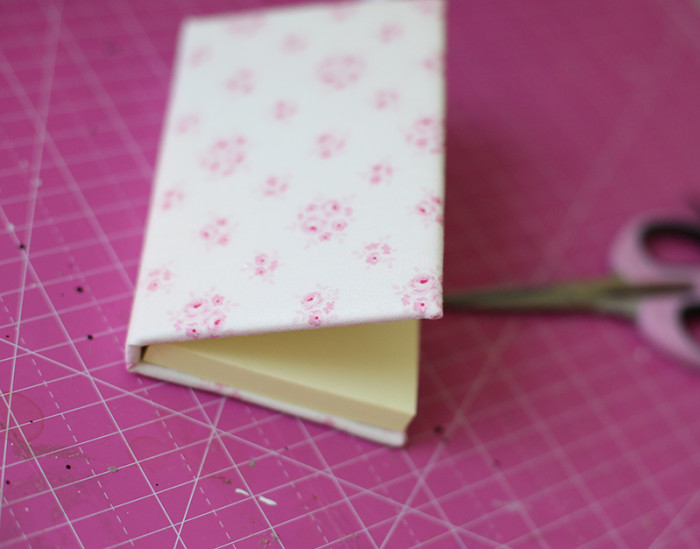
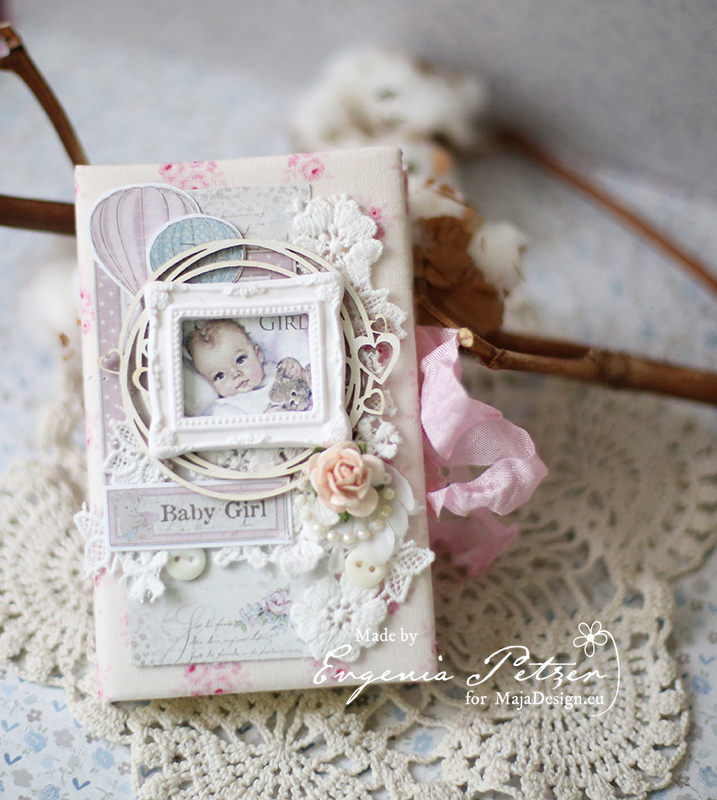
and the girl’s one is made out of fabric
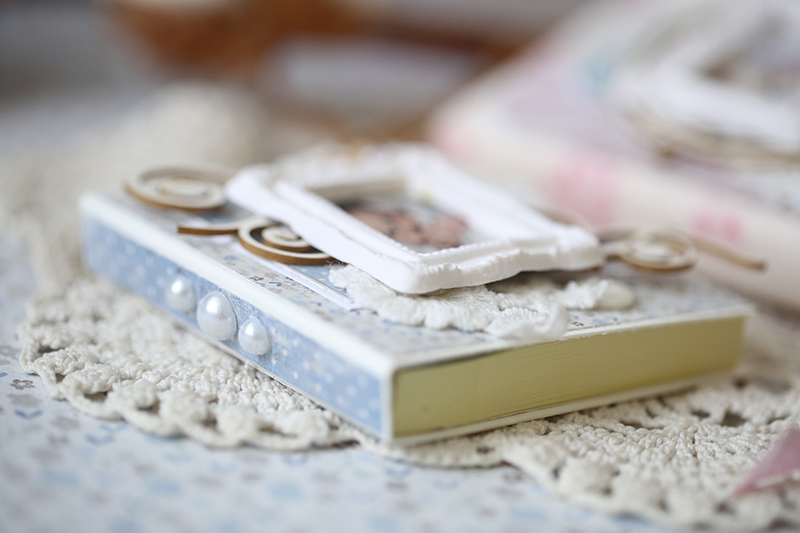
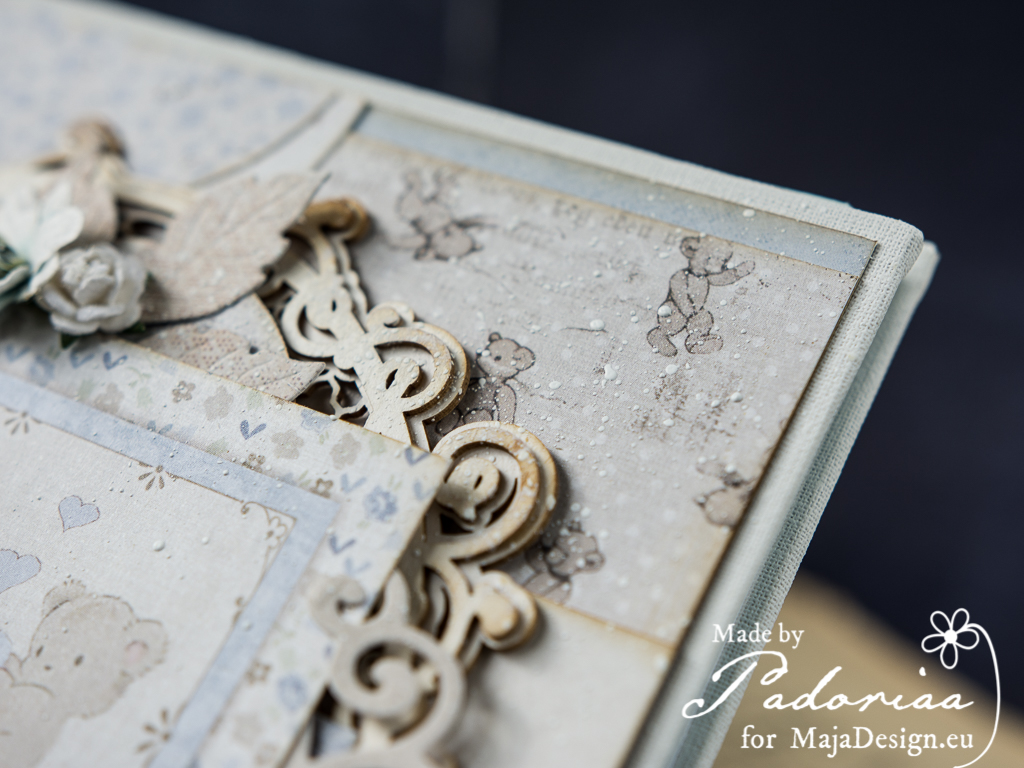
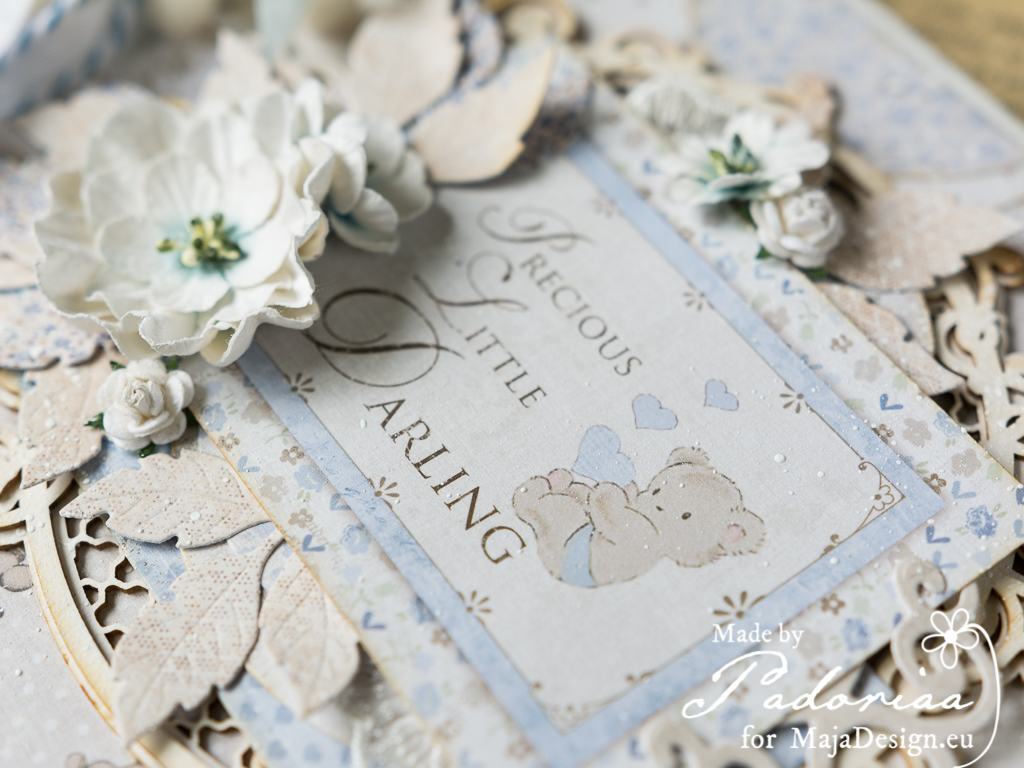
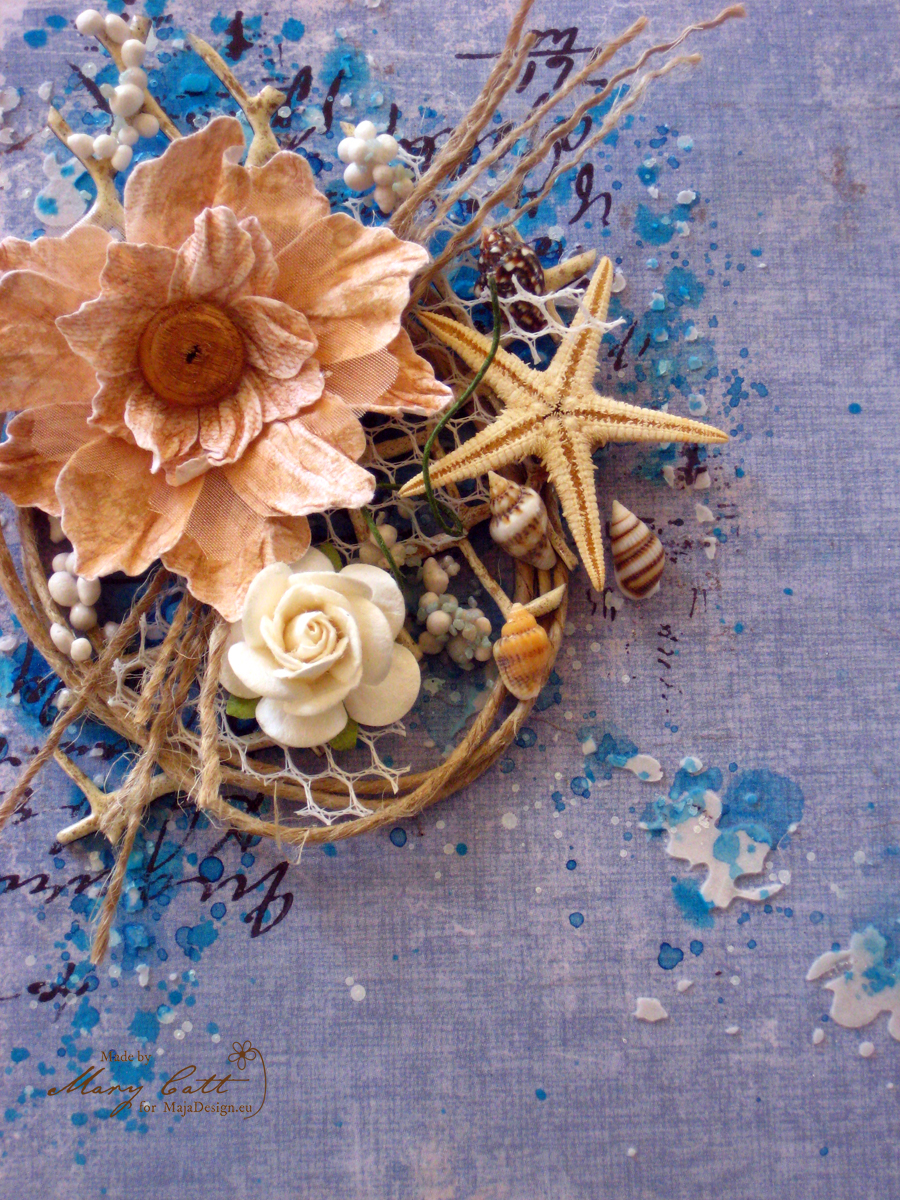
some close ups:
So lets start: Thats basically what we will need (if you decide to go just with the paper decorations)
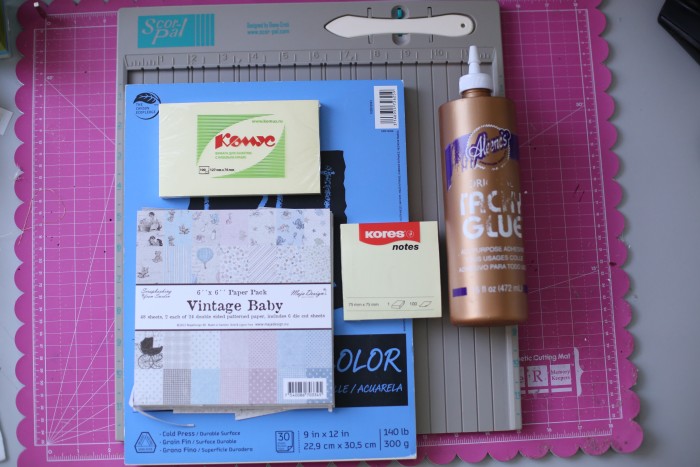
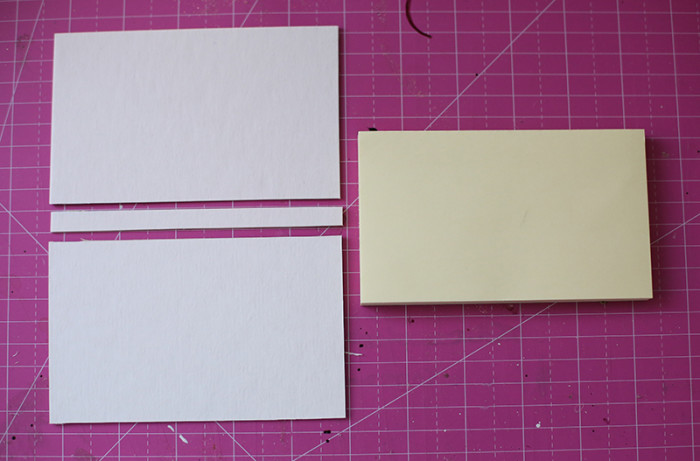
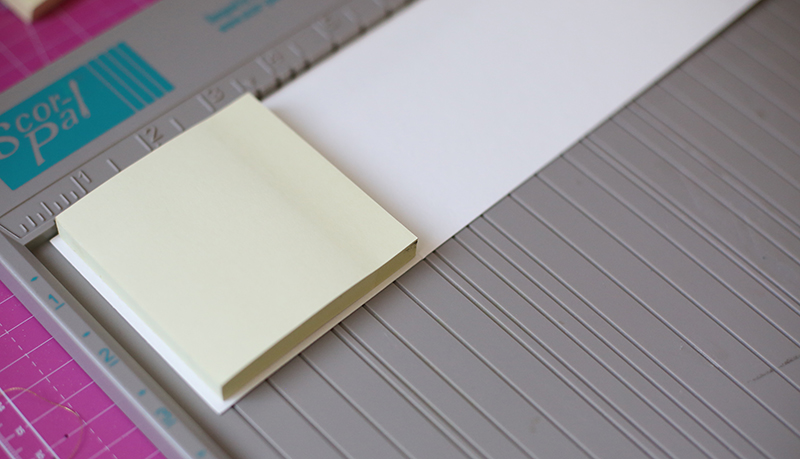
I am not providing the certain measurements here as your sticky blocks may vary… I cut the piece of the thick yardstick (or the watercolour paper as I am using here) the width is about 5 mm bigger than the block itself.

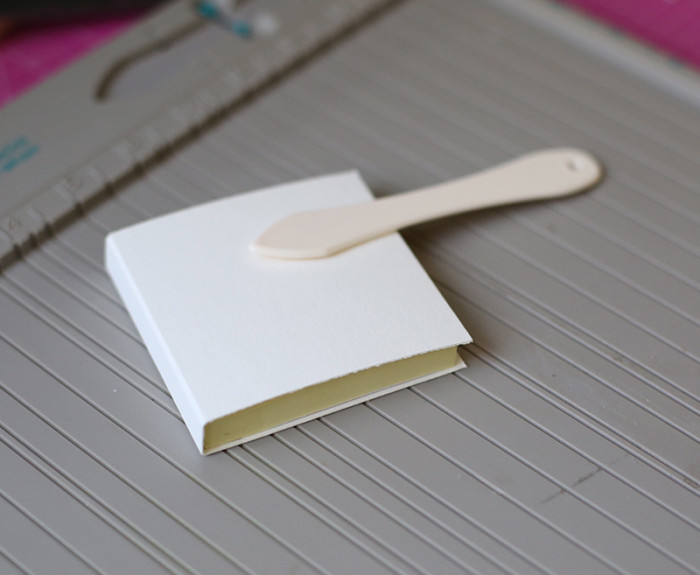
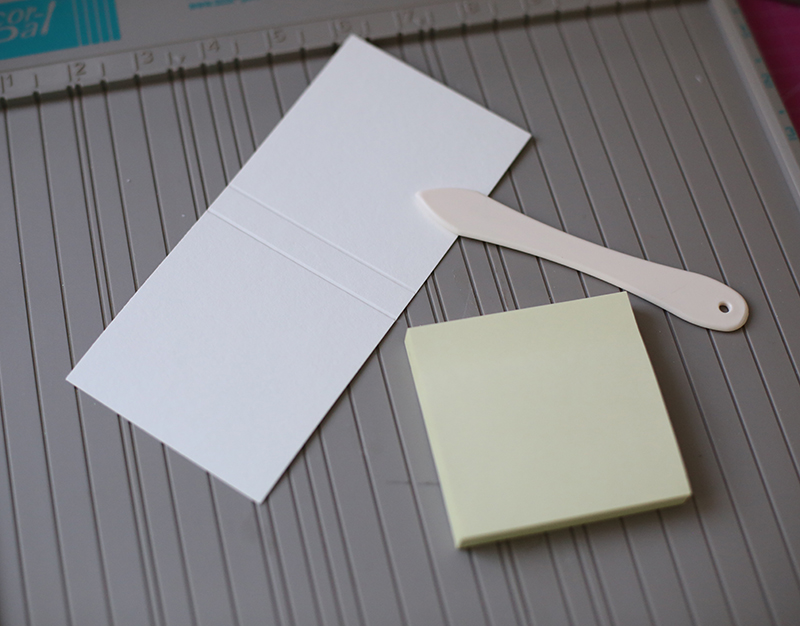
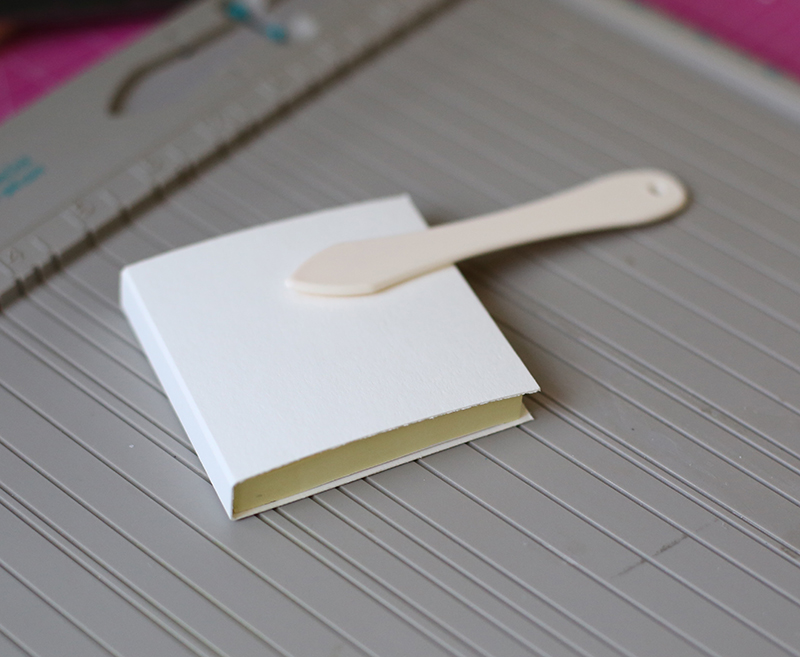
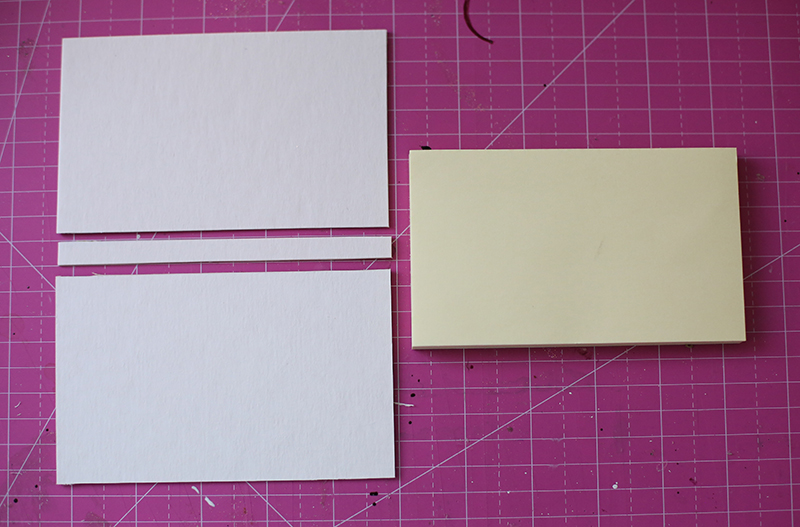
after you score it, you cut the extra length off and here is what you will need to get.
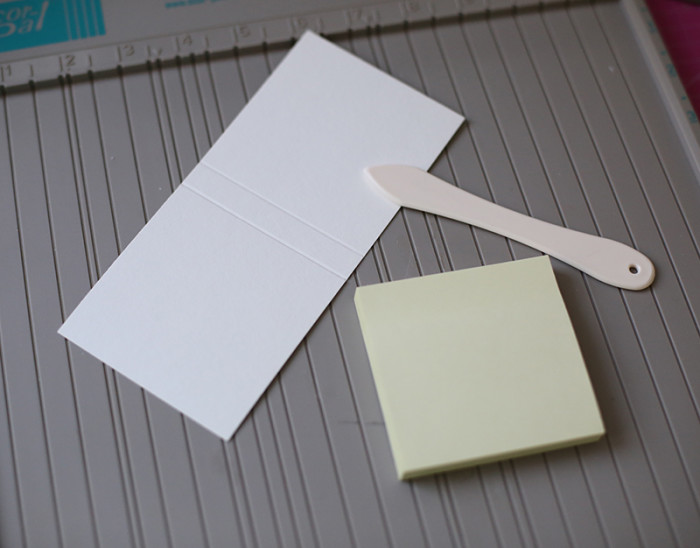
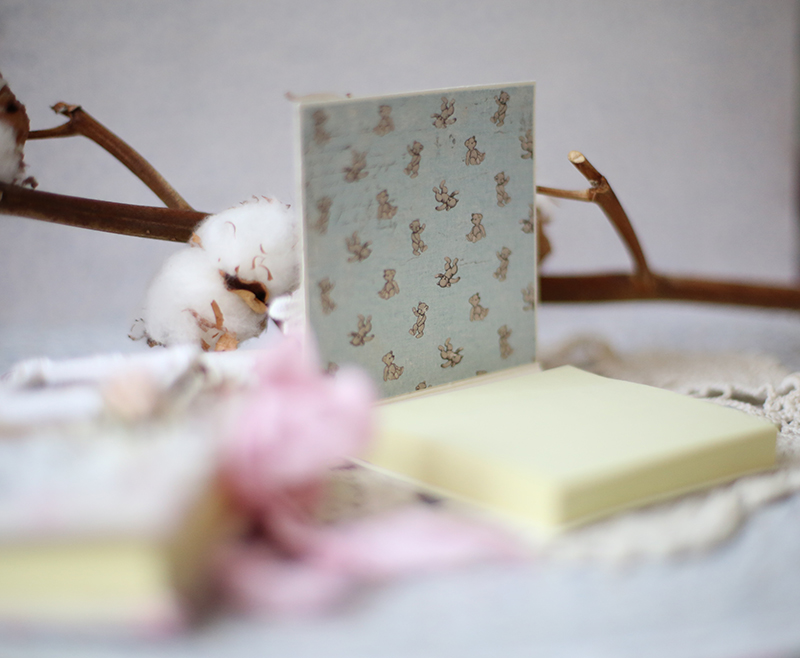
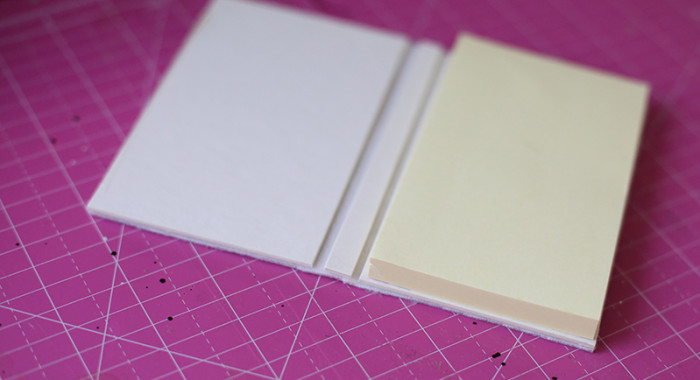
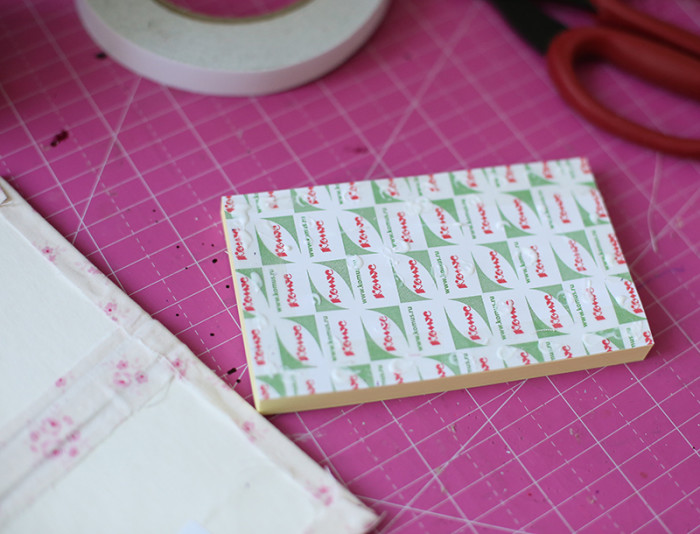
The block inside looks like this.
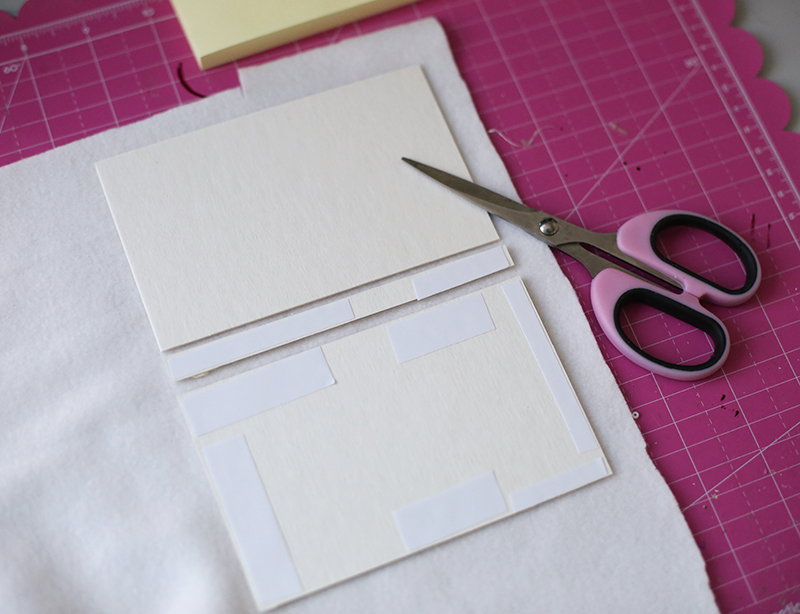
for the fabric covering, we do it slightly different, I use the cardboard for it, to make it even firmer. The larger rectangular are slightly bigger then the block itself (add about 2 mm for each!!! side), where as the inner, thin part is thinner than the block’s part (to make the cover open nicely and smoothly)
Than we need to attach these three parts to the fleece material (I actually buy the fleece throughs from the IKEA and use them for these type of things)

Than you cut all the extra length away and get this:
then you need to pick the fabric, I prefer cotton one and the designs that match my papers that I will use fro the decoration,
Using the glue, you adhere the fabric inside (start from two opposite sides, than another 2 opposite sides, that will make the fabric lay straight and nice)

the corners of the fabric you can cut as shown, that will help you to get the corners look more nicer.
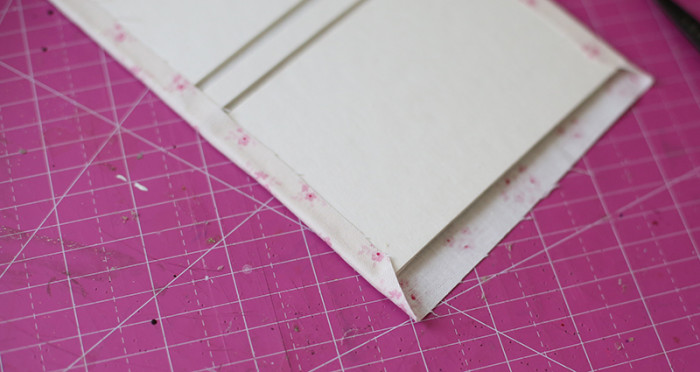
after bending the corners inside, it will look like this:
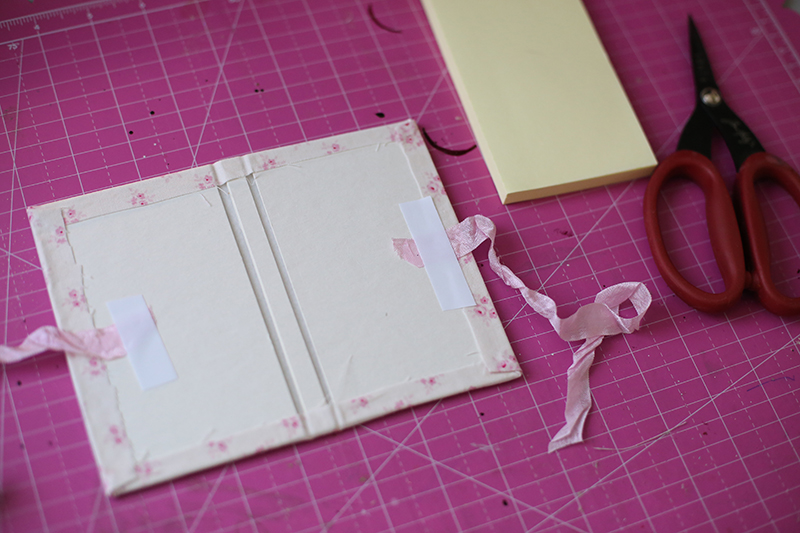
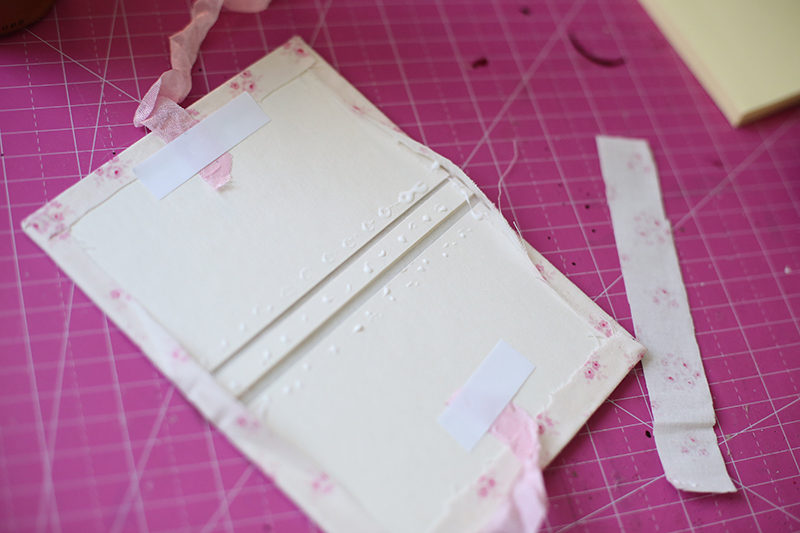
This time I also will put some ribbons to get the more appealing look, the ribbons you attach with the glue and then can also add some sticky tape.

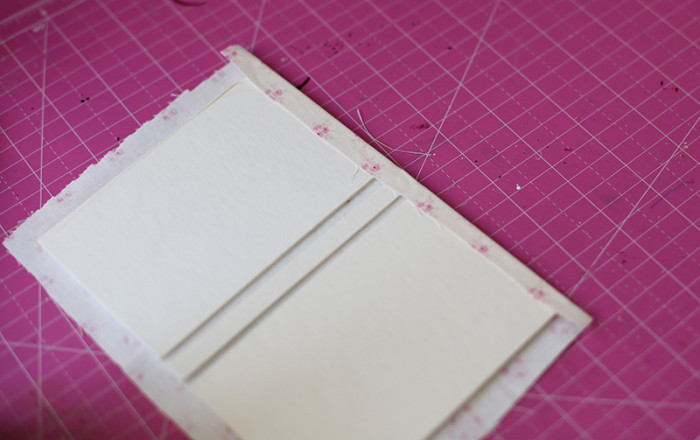
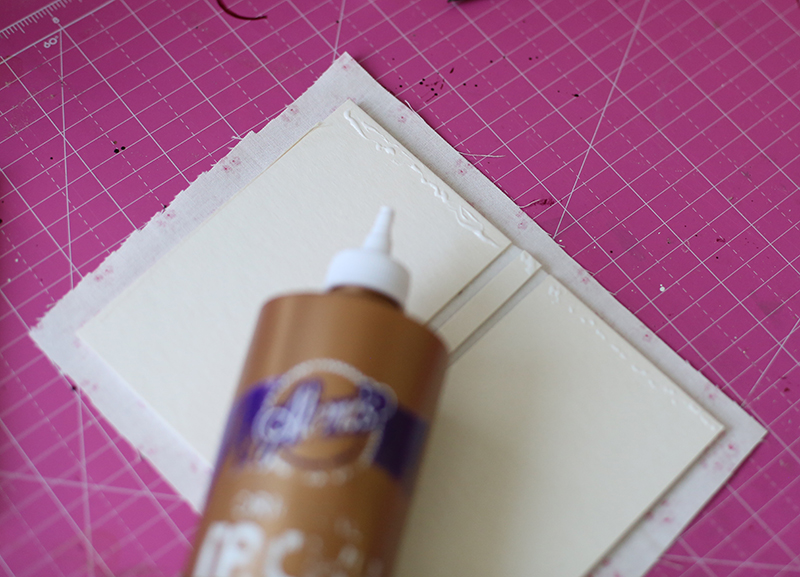
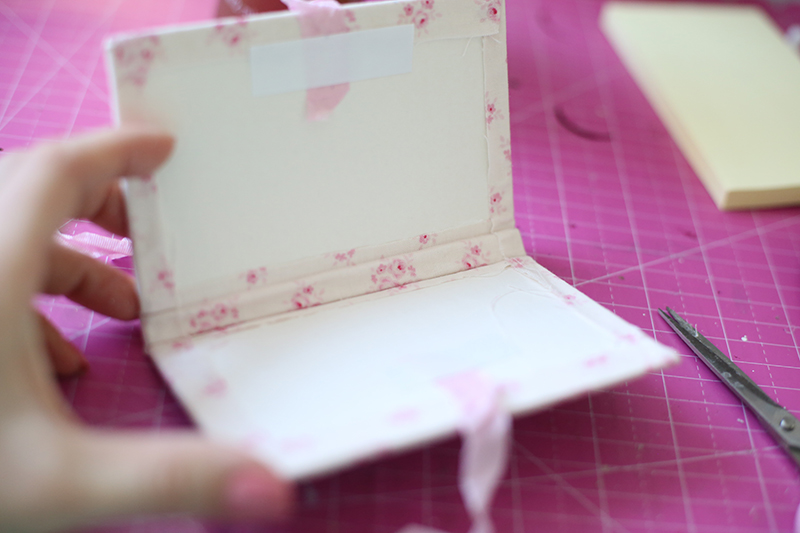
Now we will need to cover the inner part also with the same fabric

here is what we get, you can help yourself with the scoring pen for those two lines.
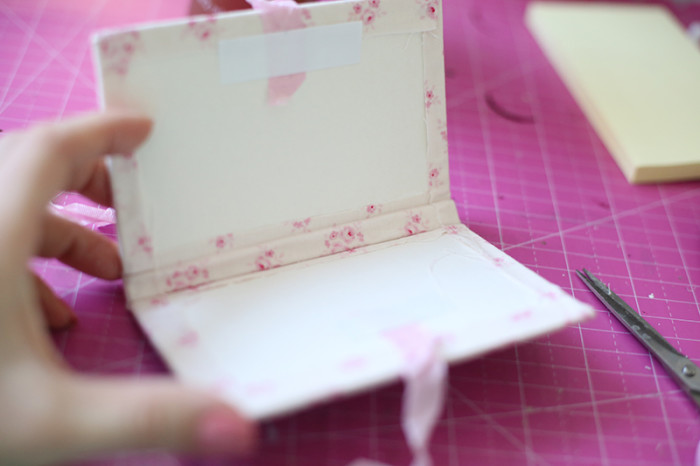
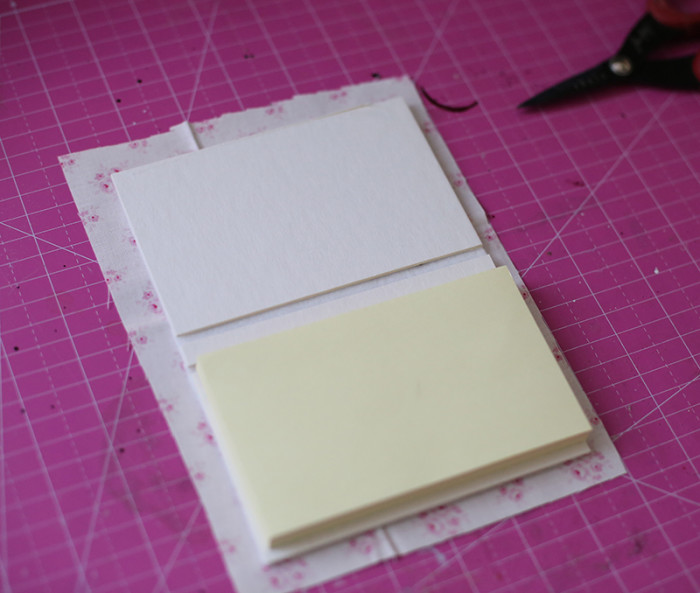
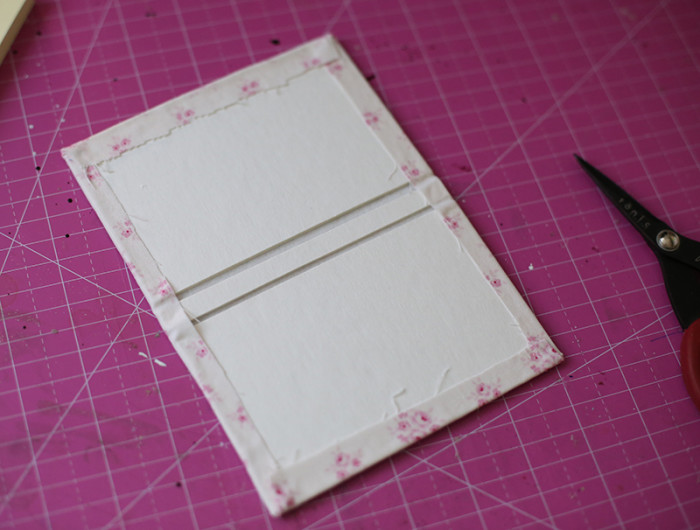
than you put some glue on the stick note pad and adhere it inside of this cover.
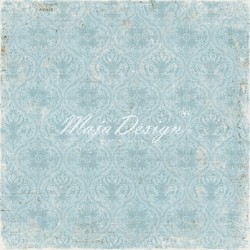
Now the nicest part begins- decoration! I pick the paper for the covering.
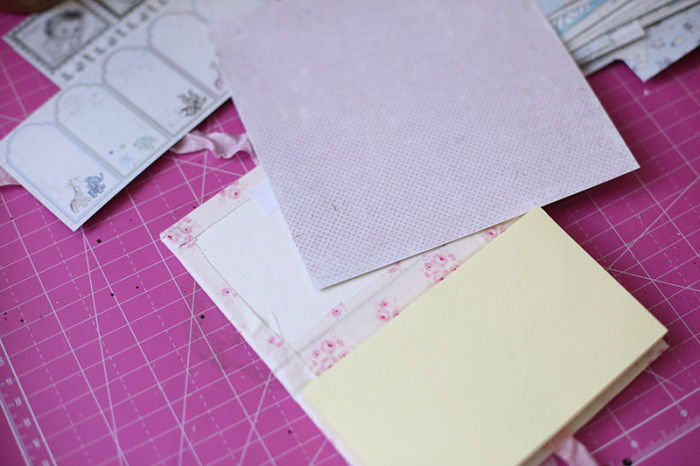
using the wet glue you adhere it inside.
*****
with the paper decoration for the boys’ sample its even easier… I picked two papers for the outside decor and you need to adhere it as shown.
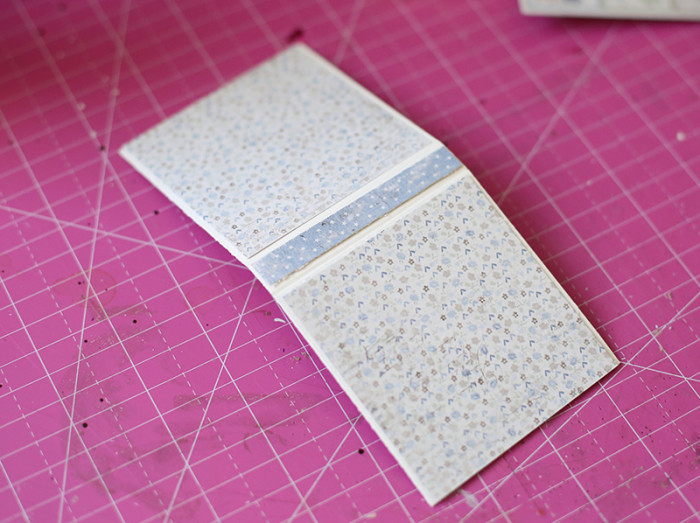
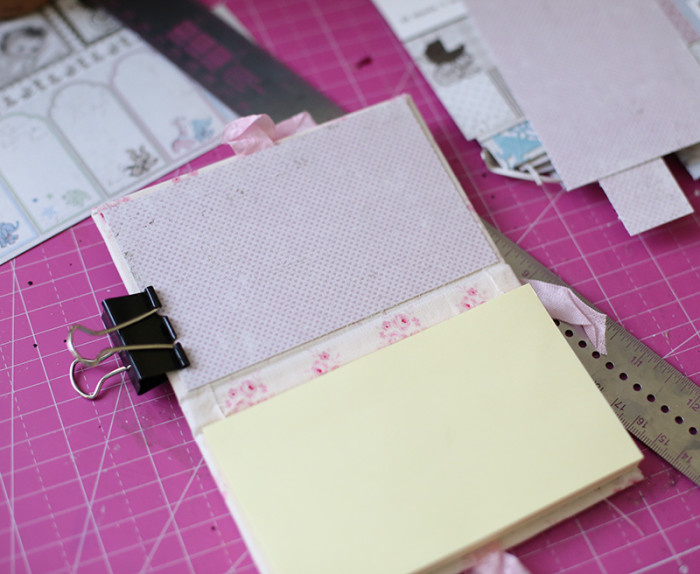
then you just need to decorate your projects as you wish, I always start by picking the main element.
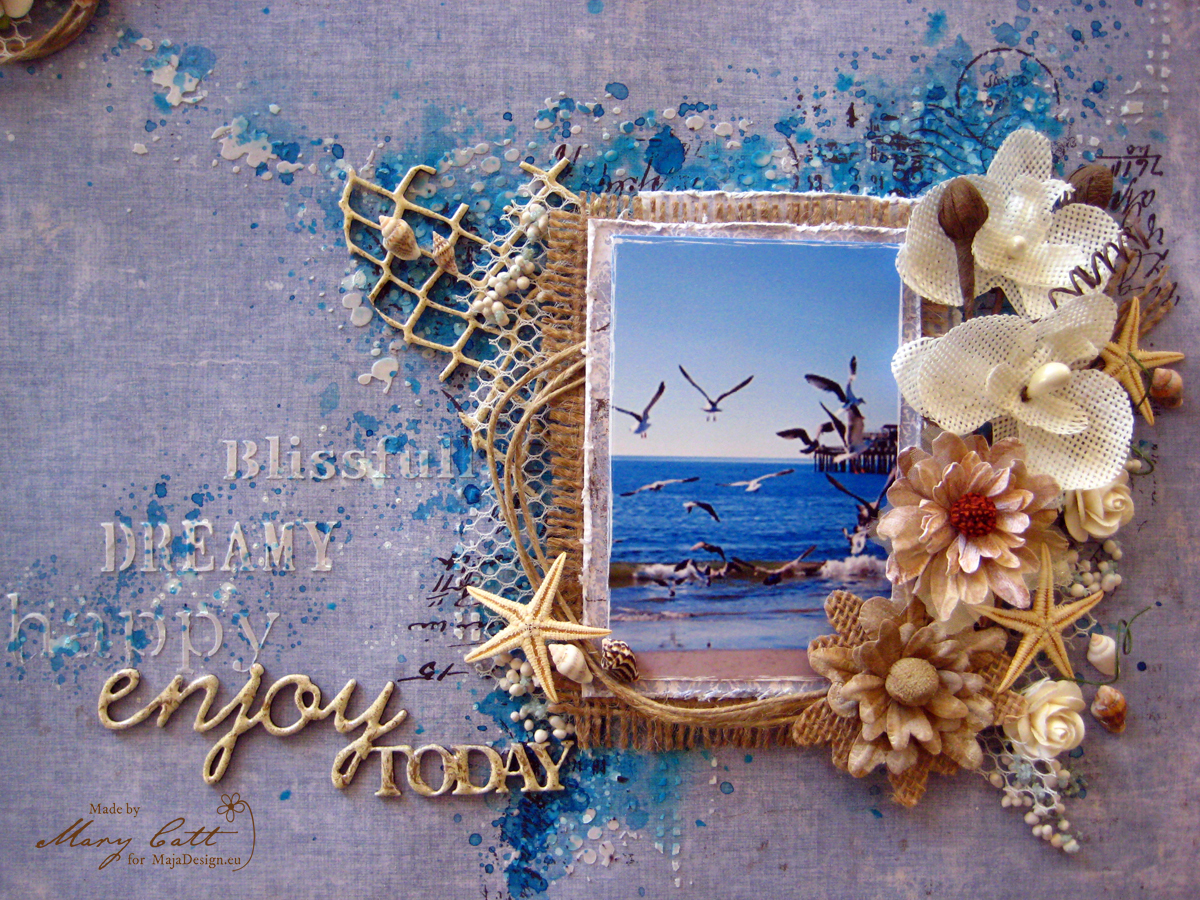
 Once again- here is the outcome result!

Hope that you have enjoyed this little tutorial and these paper pads can become small nice gifts even for the teachers, if you go with more neutral decor theme.
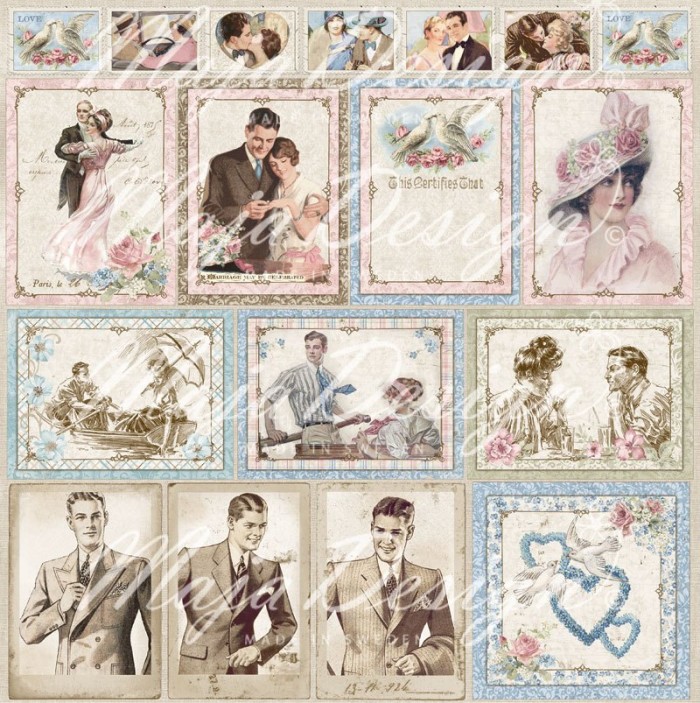
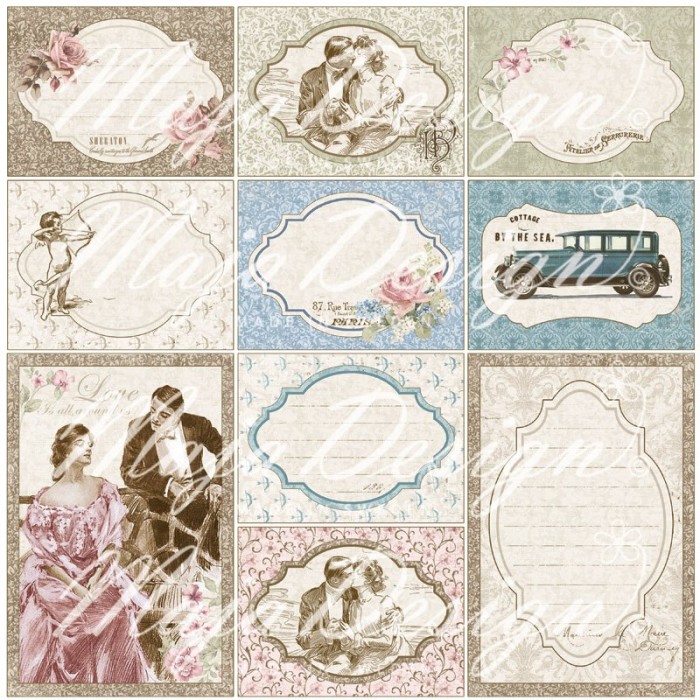
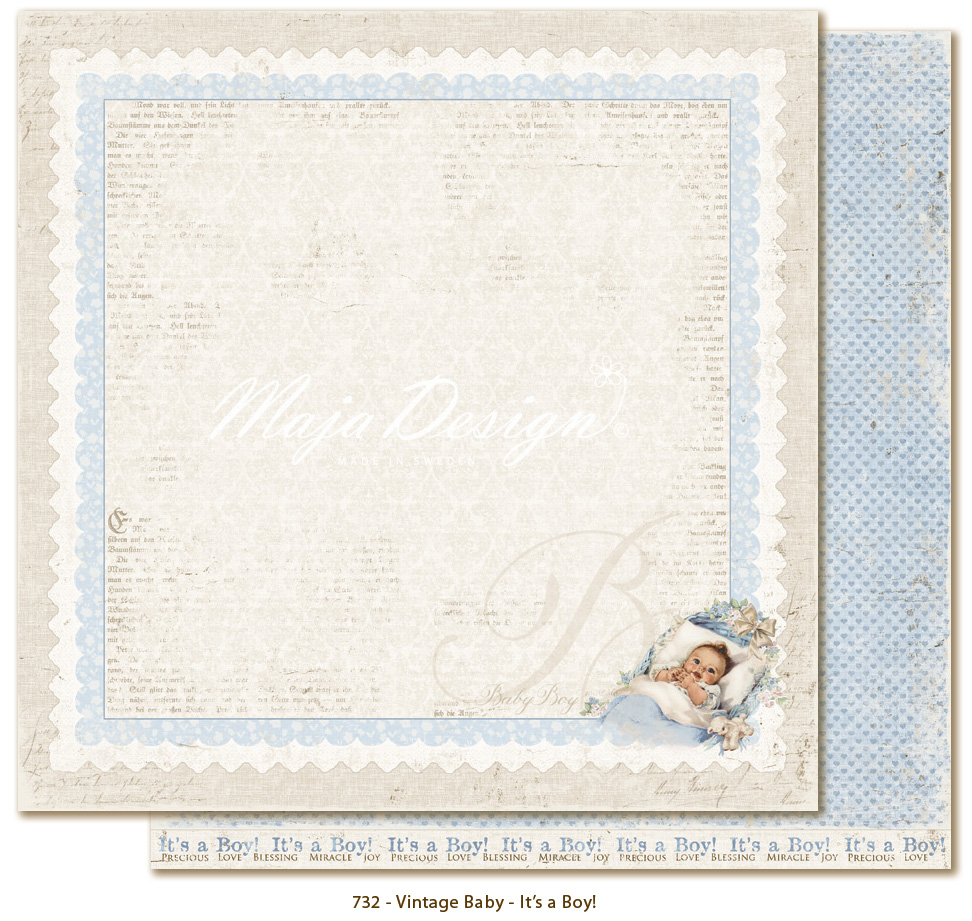
I have used the paper pad of The Vintage Baby Collection

and the sheet with hot air baloons (New Arrival) for the fussy cutting:

Have a lovely day, 
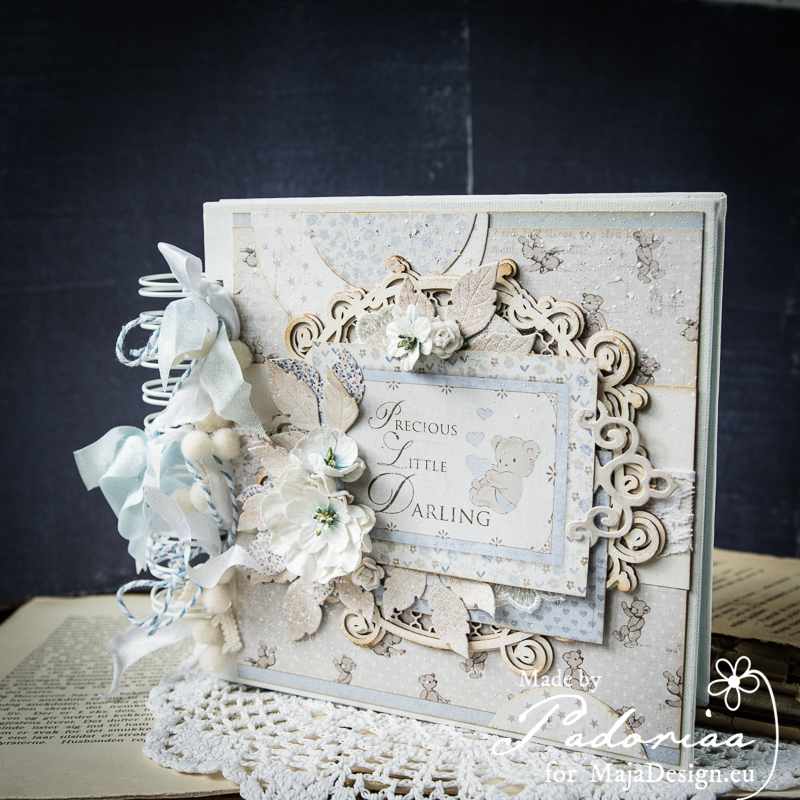
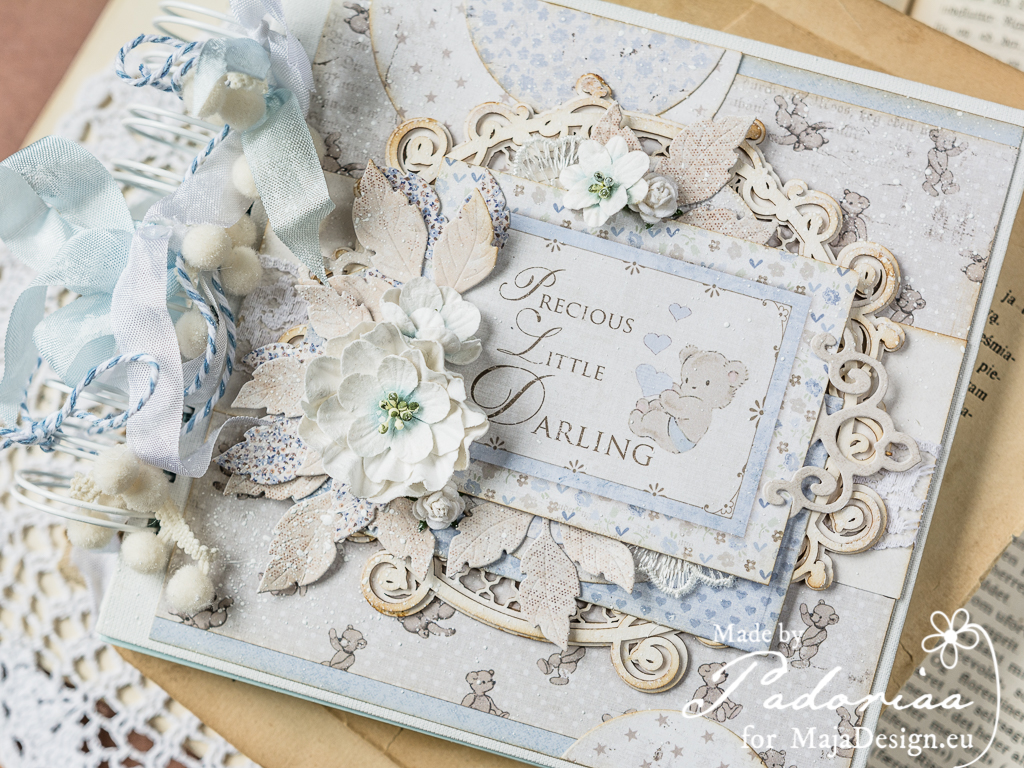
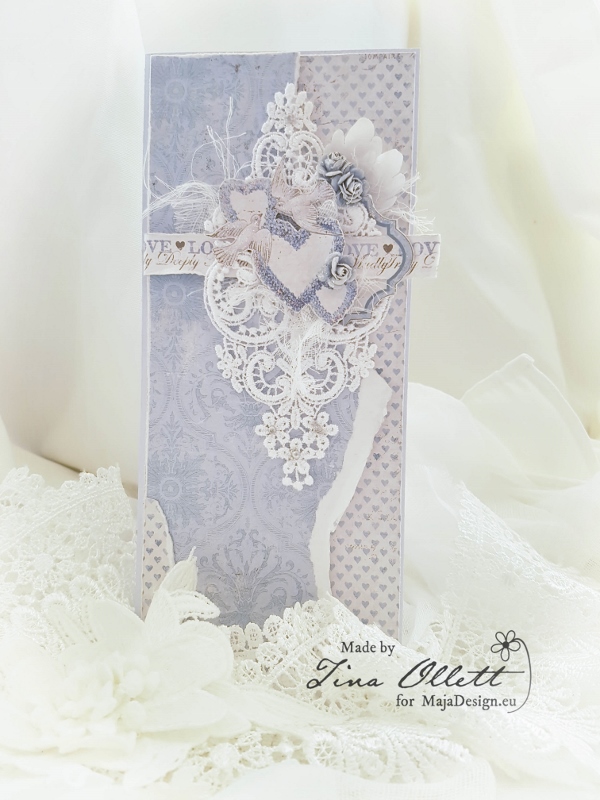
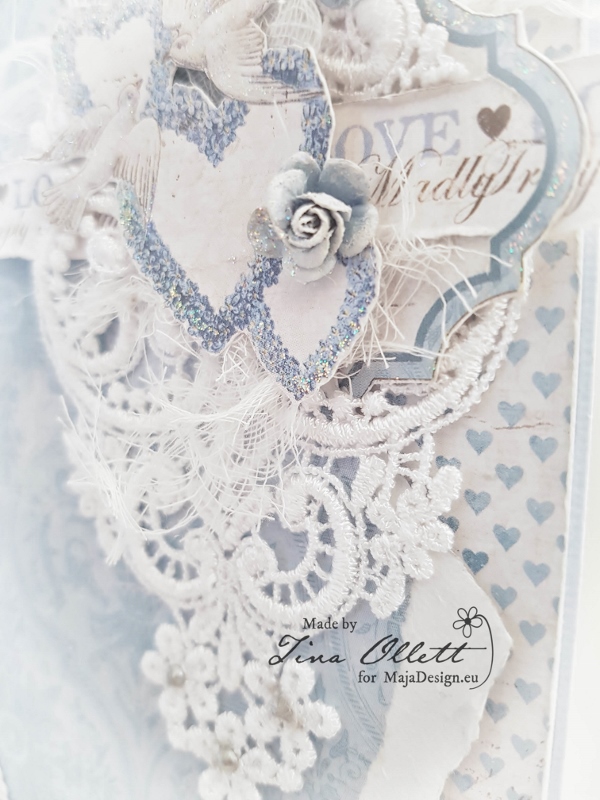
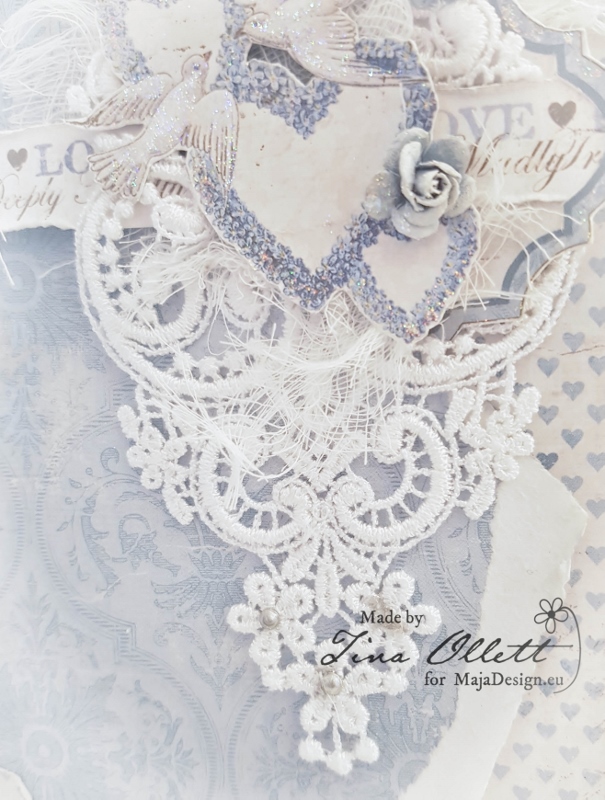
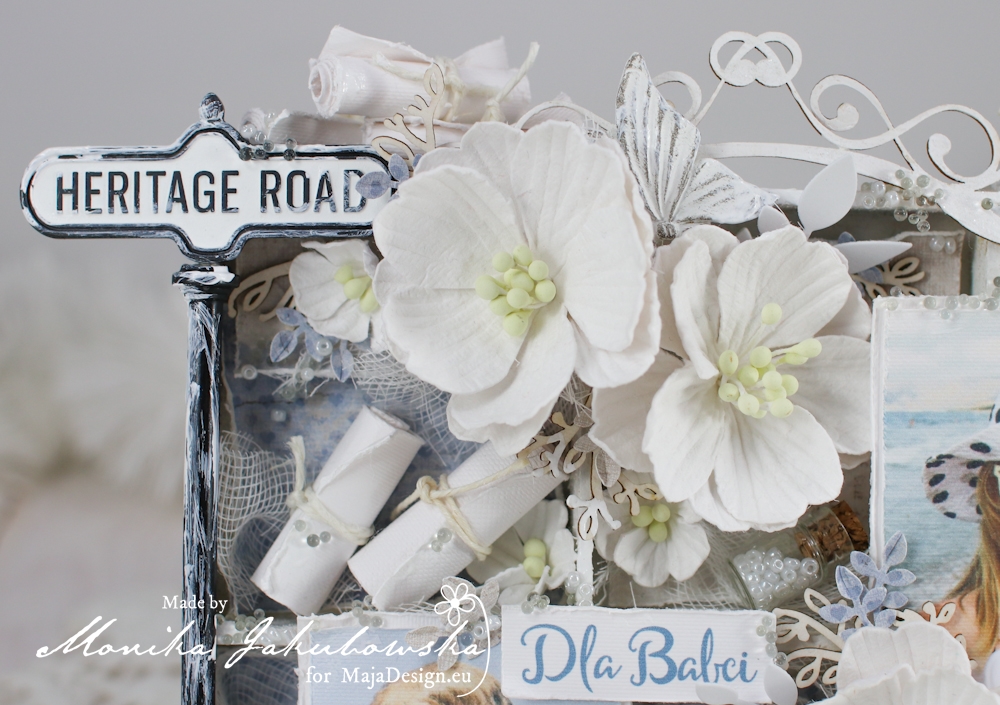
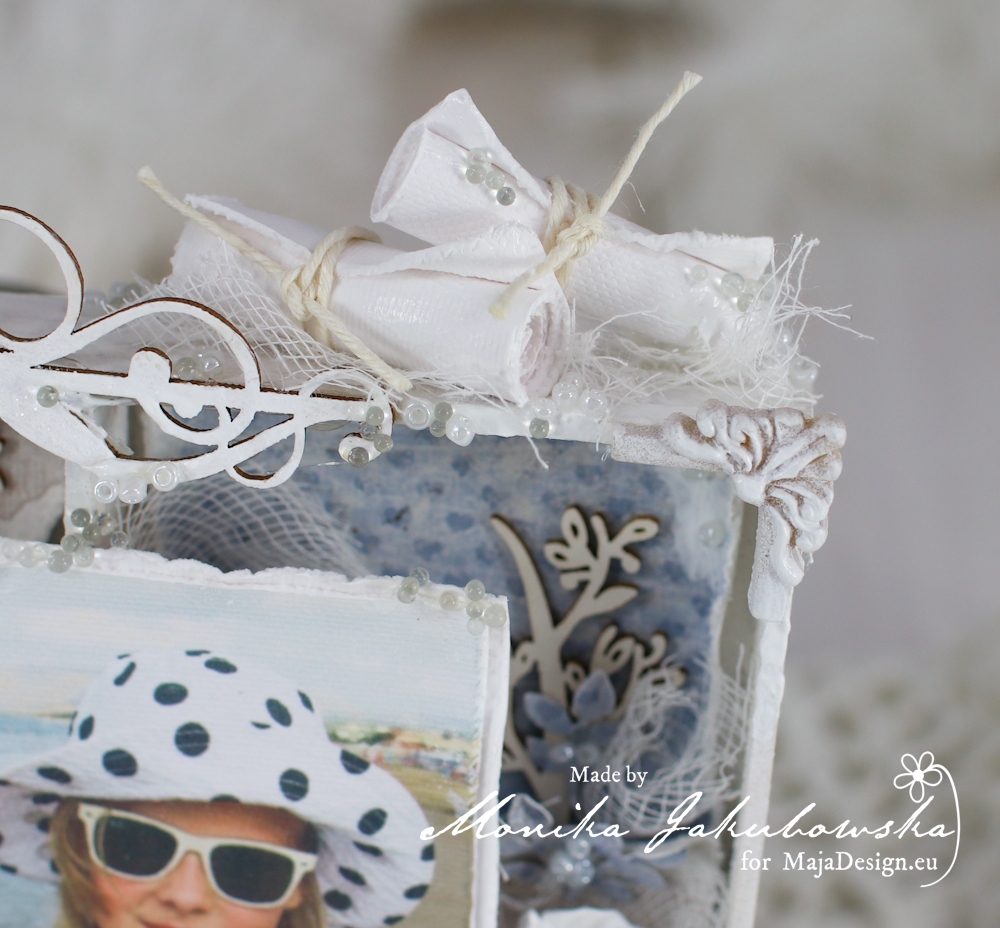
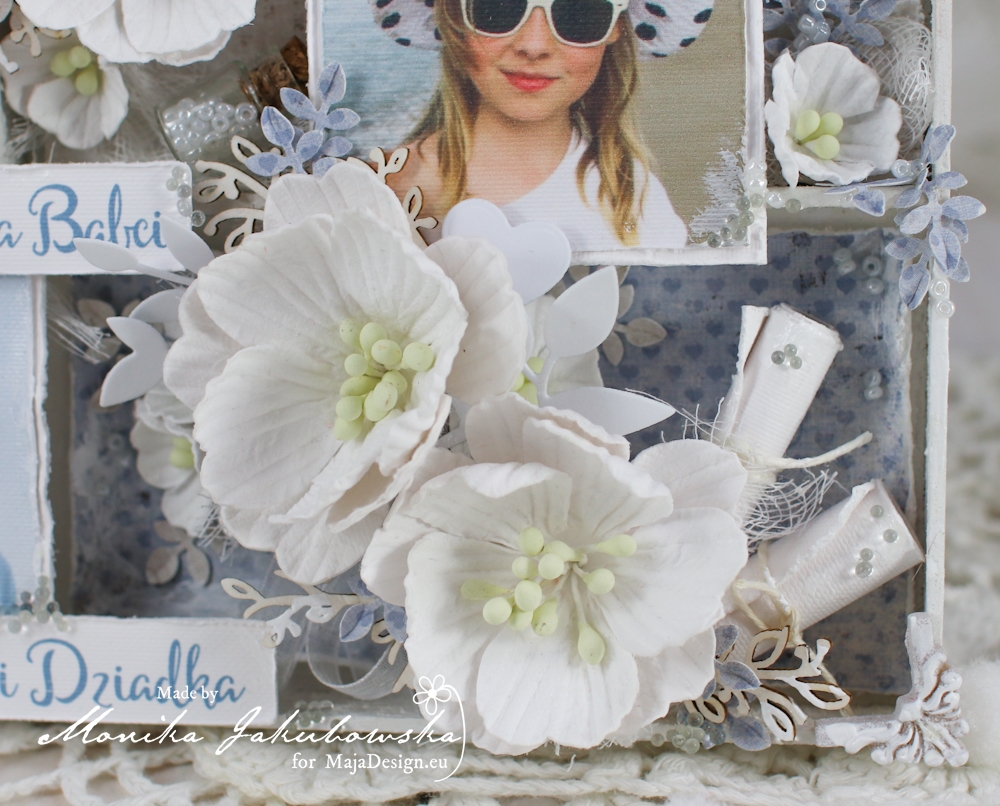
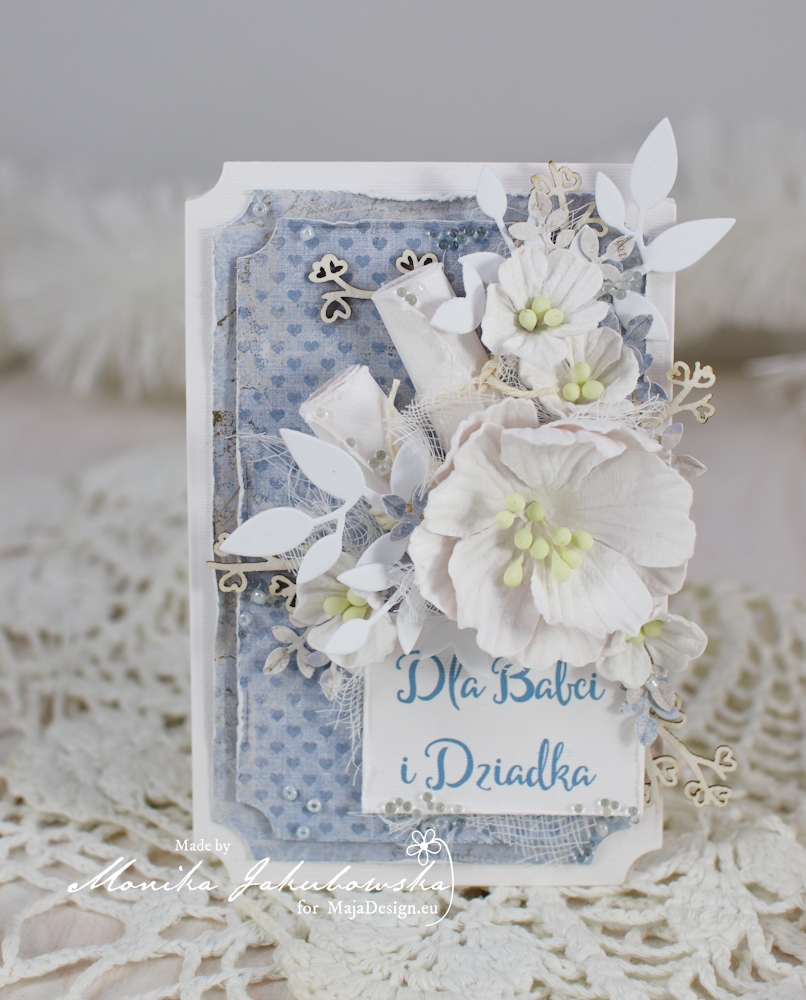
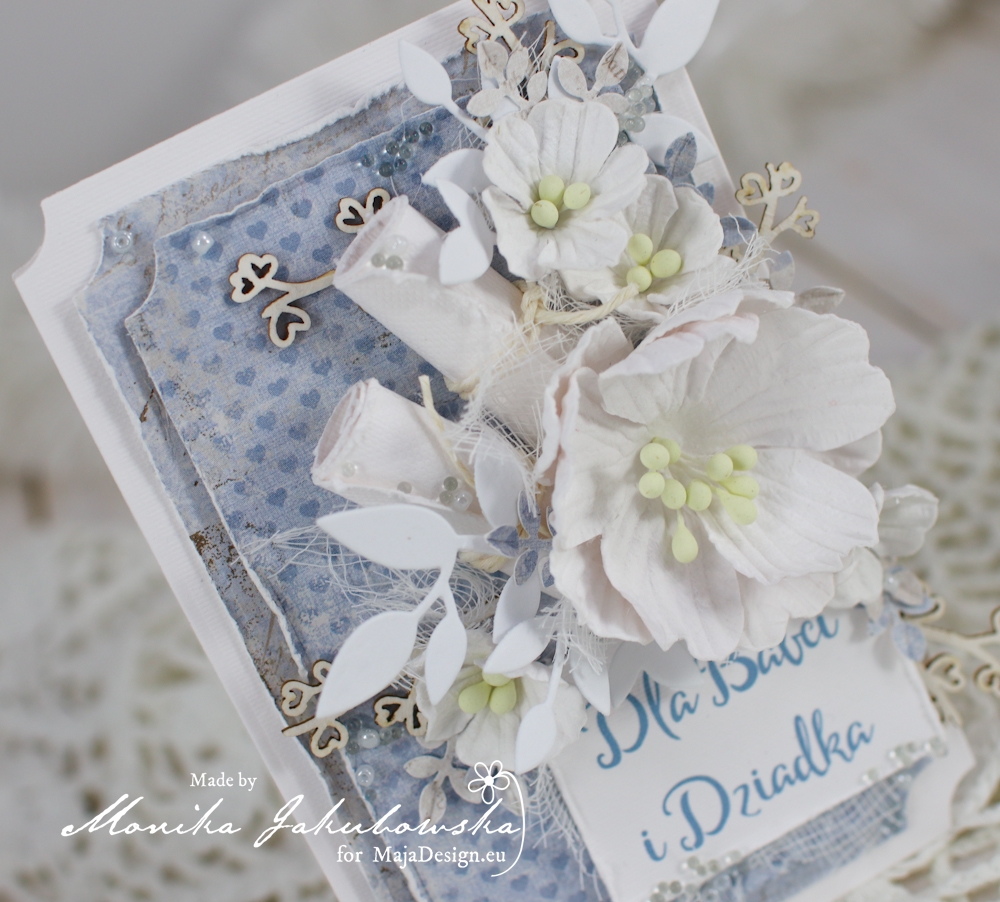
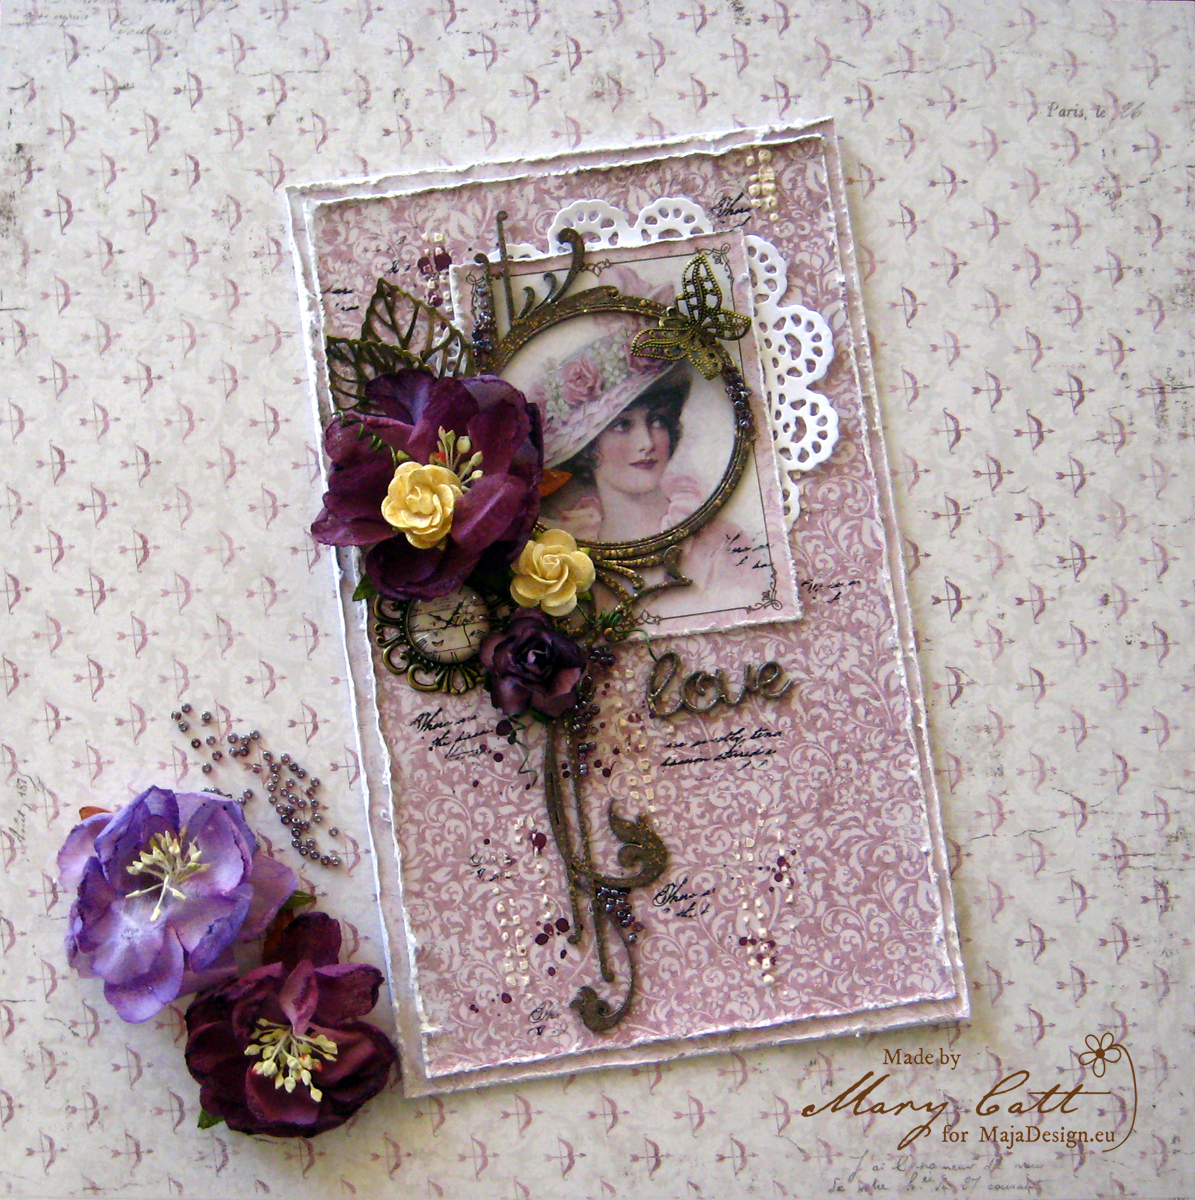
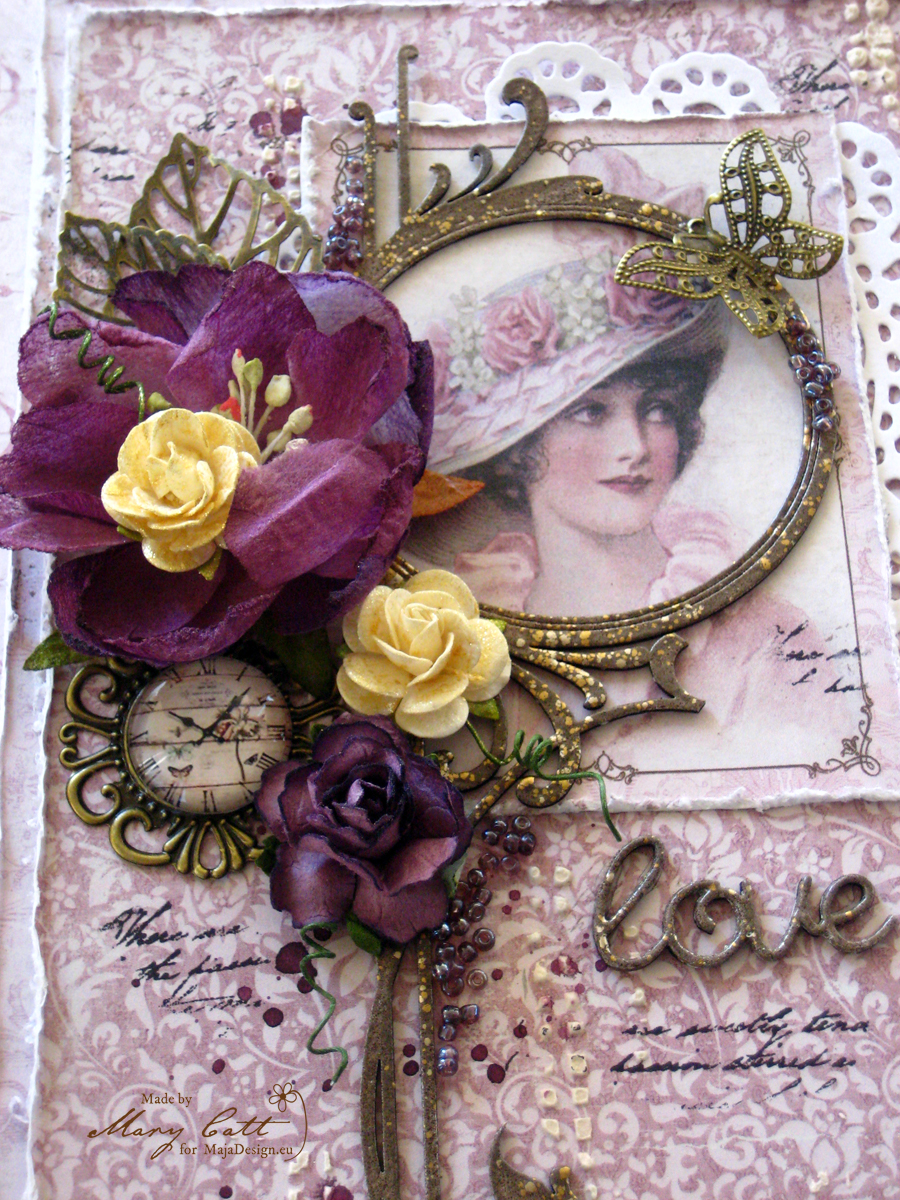
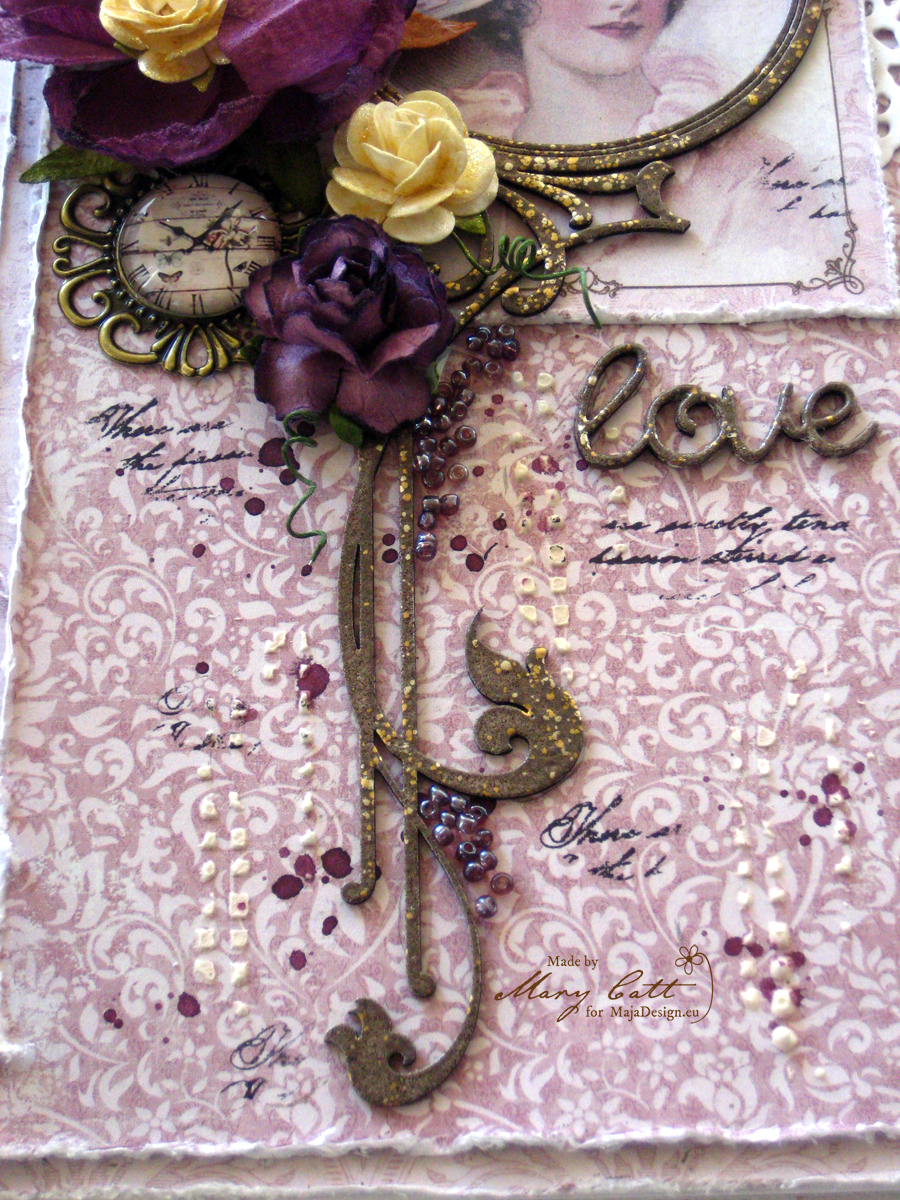
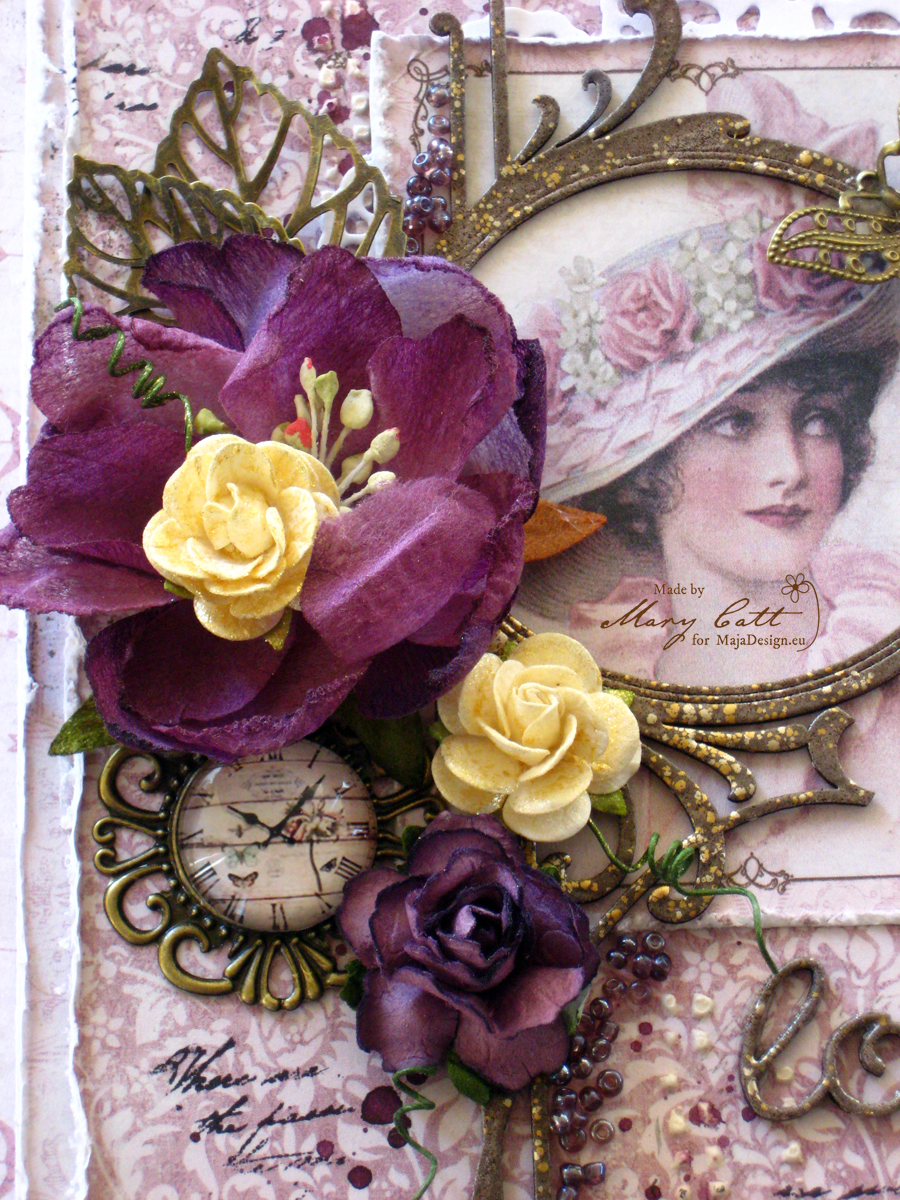
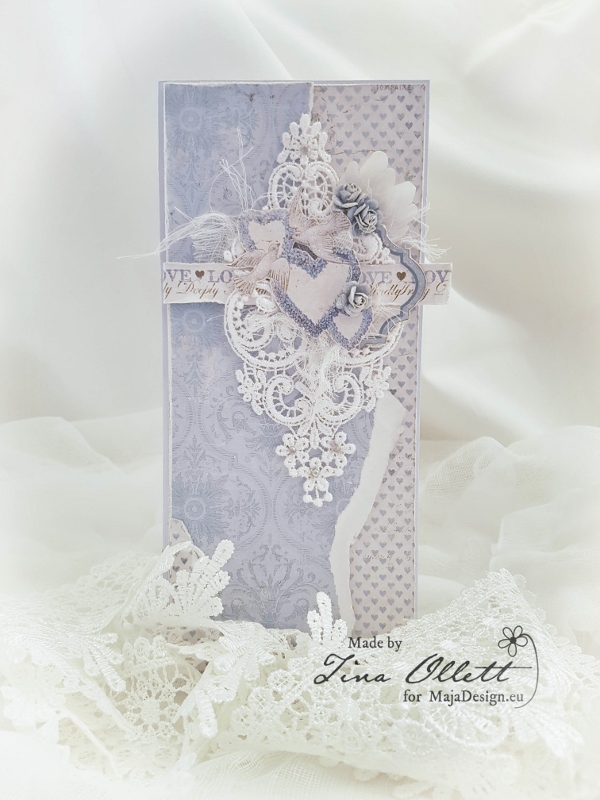
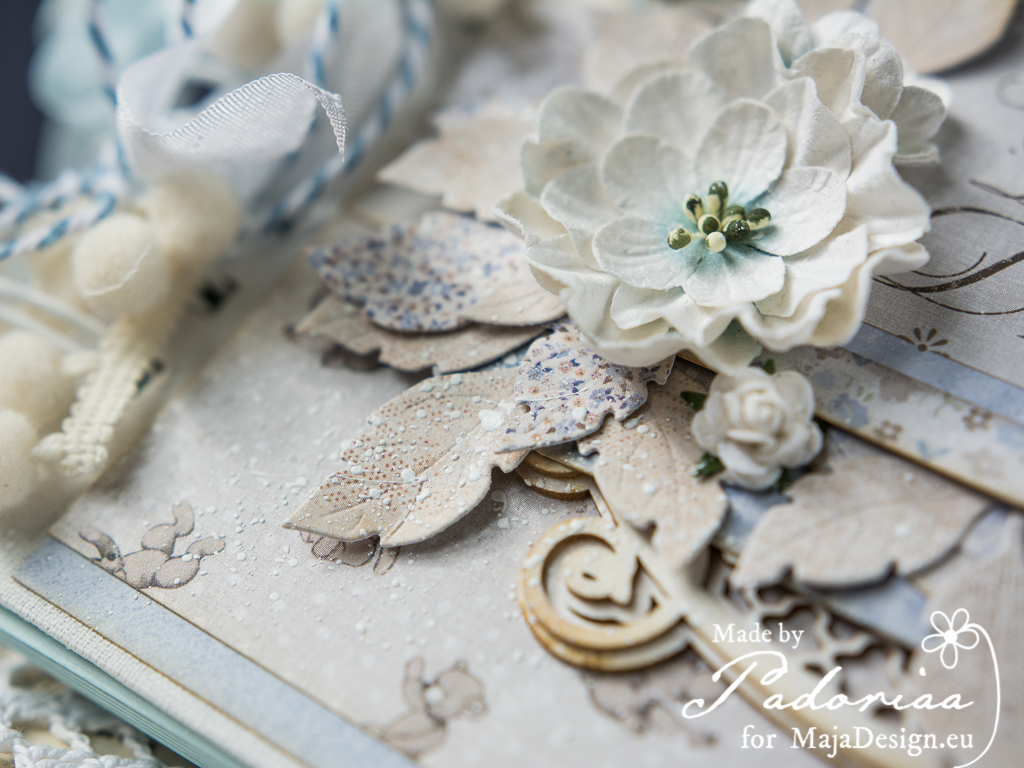 The main element on the cover it’s die cut from this collection. It is so useful when in a collection you have also some die cuts. It makes our work much easier and faster ! The next element it is a big chipboard frame from Scrapiniec. Some Petaloo flowers and ordinary roses, leafs and splashing. It is not too complicate but really impressive.
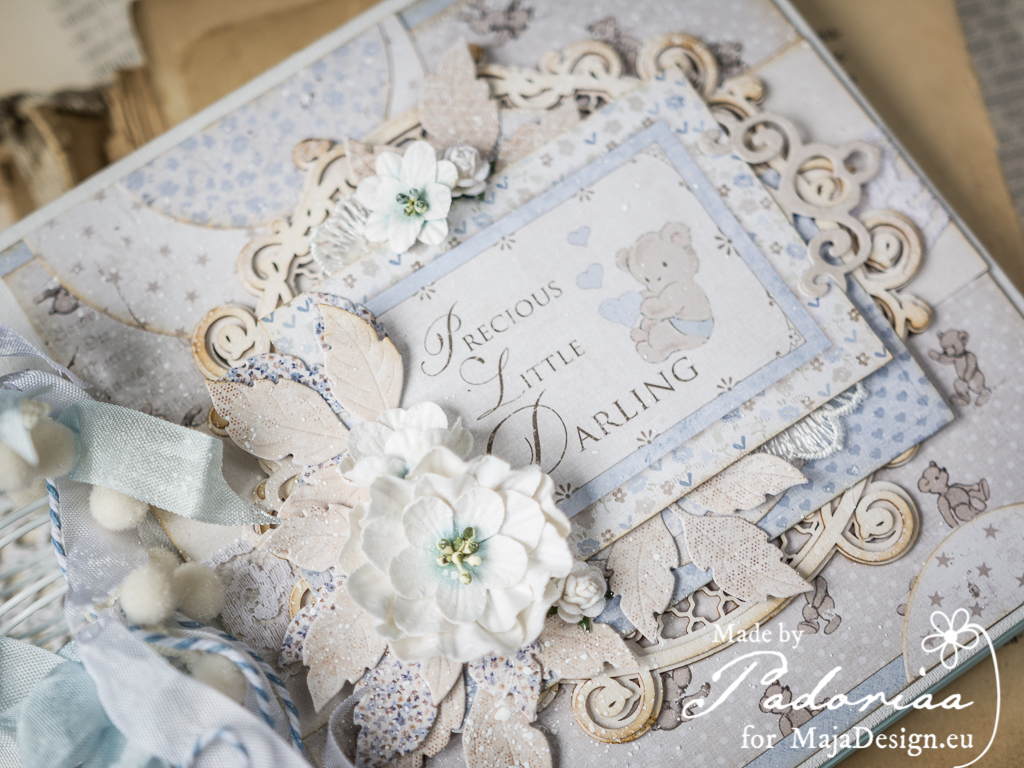
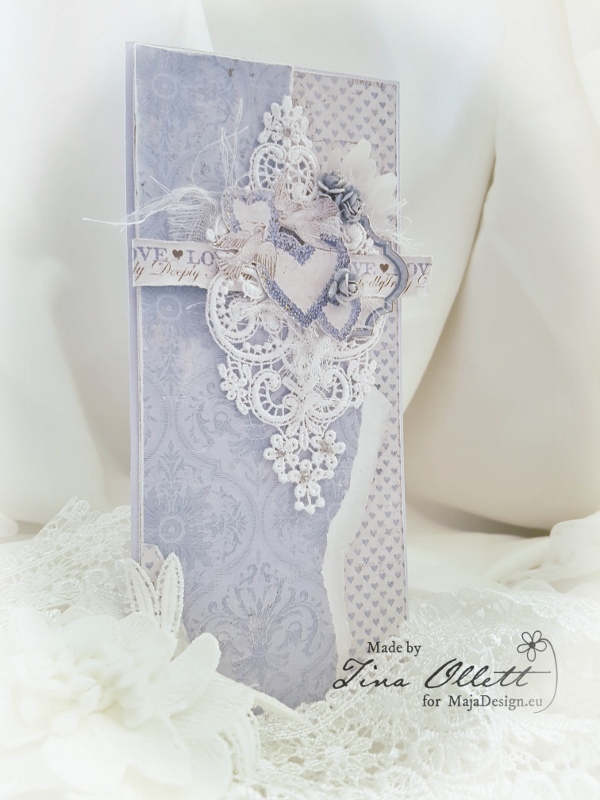
 Hope you will like my project. It is a please to show you my work here. Thank you for each visit and your comments. Hugs,Paulina
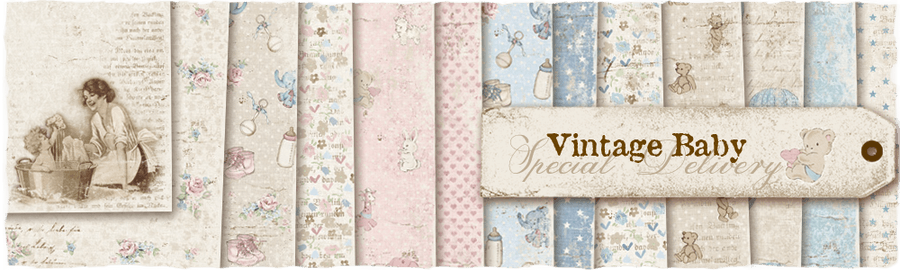


