Chocolate Hearts at Christmas

1

Posted by Silje Kristin Aunan

20 November, 2016 -

Write a comment

Hello Everyone ? I hope you all having a wonderful weekend ?

Today it is me, Silje Kristin that are reay with some Christmas inspiration, made with some lovely Maja Papers  ?

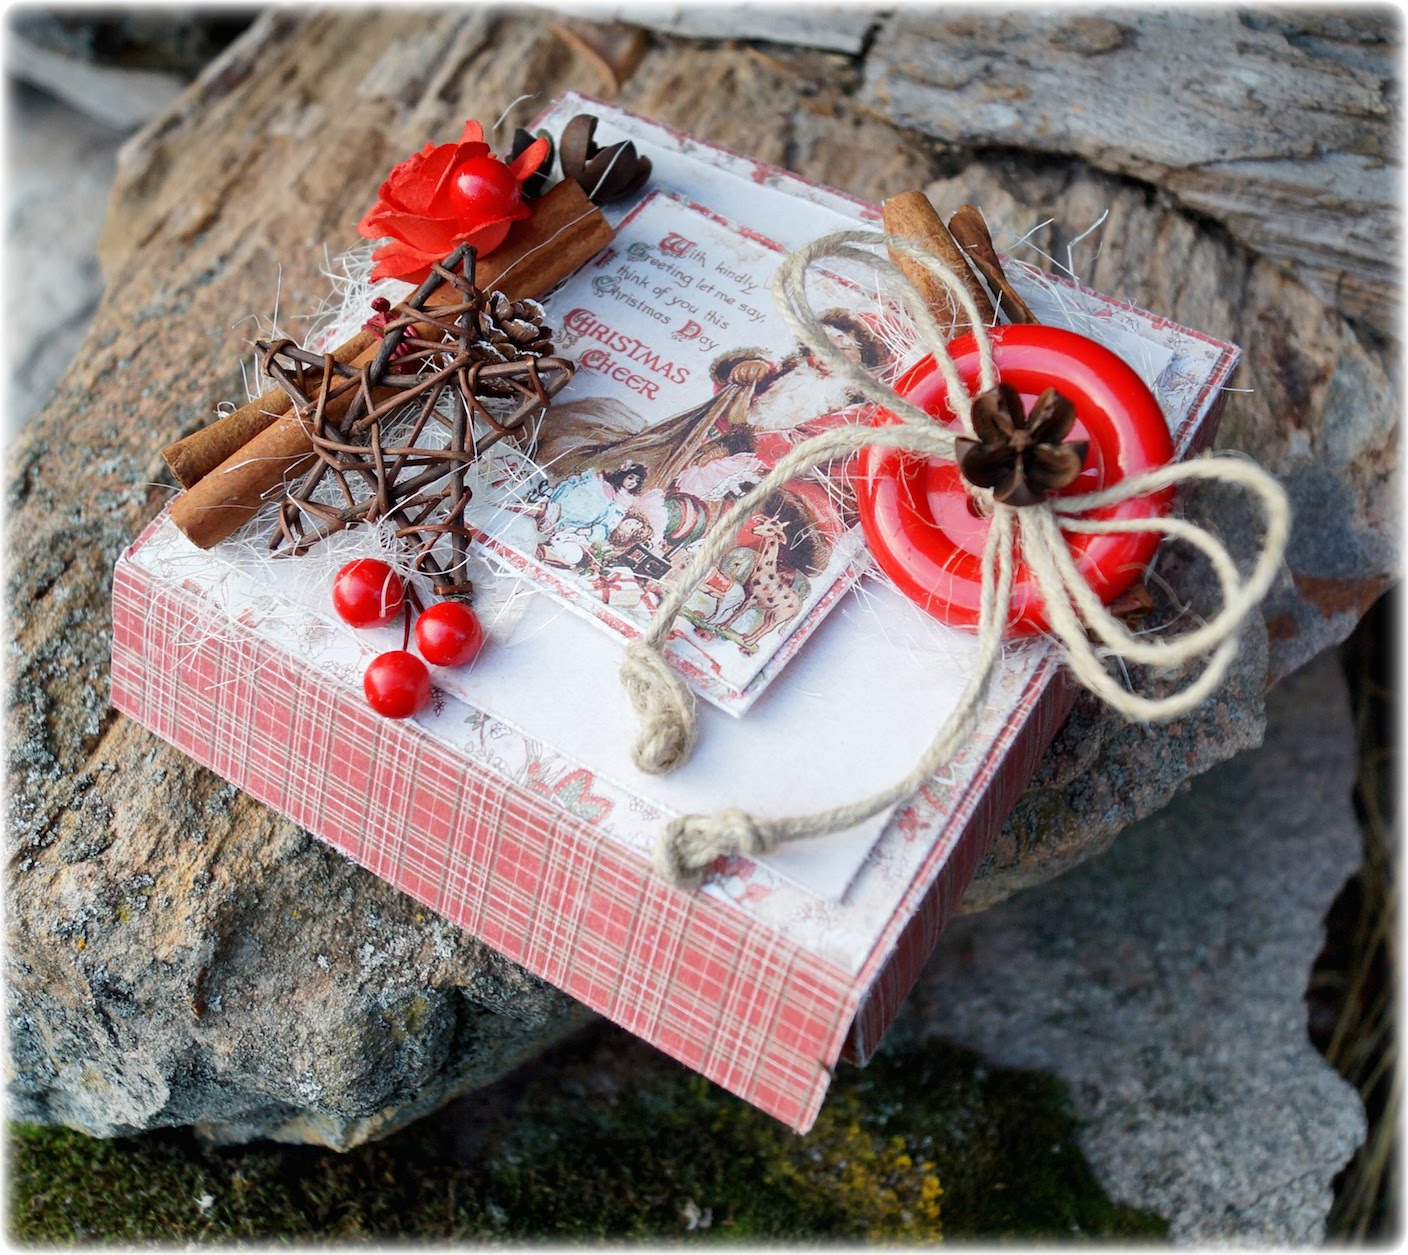
It has bean many Christmas gifts lately and this is no exception. I have this Sunday decorated a box of chocolate hearts, which you can buy in the Norwegian food stores. Maby you have a box with some sweets in your country that you can turn in to a beautiful Christmas Gift like I did 🙂

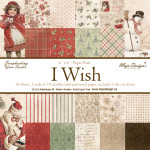
I like many others have is in love with the new collection to Maja Design – I Wish. I’ve spent more of the gorgeous sheets that can be found in the collection. The sheets I used on this project is: I Wish Christmas was Today, I Wish Santa will Remeber Me, I Wish we will deck the Halls and I Wish to play in the Snow.

I’ve made a box where I can get the box with chocolate hearts inside. The box fits the dimensions of the box with the chocolate hearts. 

 On the top of the box I’ve chosen to decorate with details that remind us of Christmas. Cinnamon stick, red berries, stars of wood, pinecone, big red button with ribbon and a red flower.

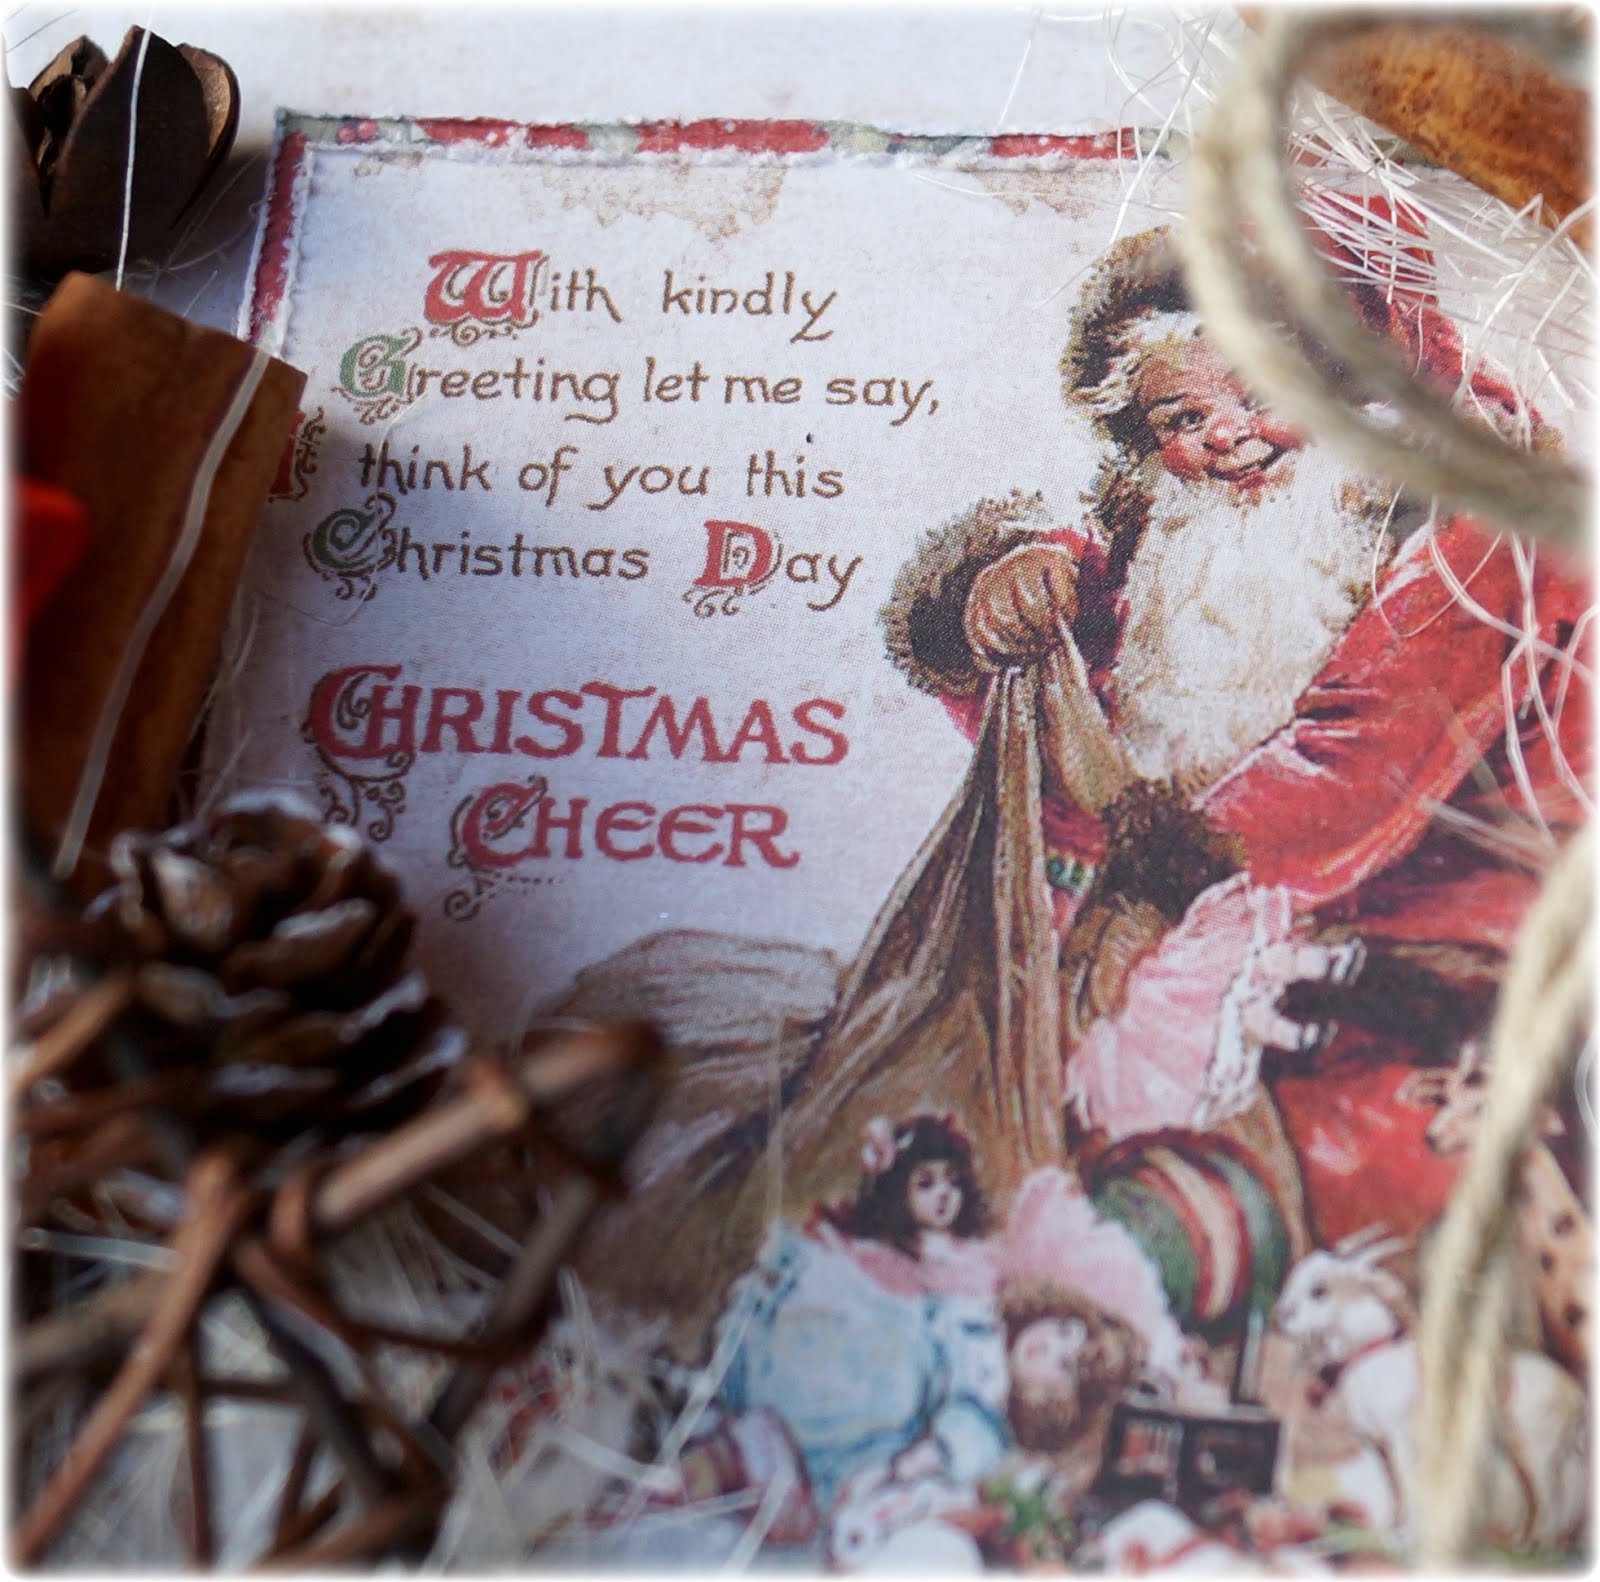
The image on the chocolate box is taken from the sheet called I Wish – ephemera. This is a sheet with some lovely Christmas designs. I have used the Santa Claus, with the text: With kindly Greeting let me say, I think of you this Christmas Day. Christmas Cheer. 

Seems this text fits perfectly to the lucky one that get this Christmas gift ?

Around the box, I have red wax tread which is attached with a ribbon and button in the front. Taking this away, you can peek to see what’s inside ?

The Stamp I have chosen to use seys Merry Christmas only on Norwegian, the stamp is from kaBoks. I’ve used black embossing powder from Ranger.

A easy, but lovely Christmas gift from me today ?

SiljeKristin-sign

A decorated giftbag for Christmas

2

Posted by Camilla Støen Bakke

16 November, 2016 - ,

Write a comment

IMG_5948

Hi there! Still in the middle of November, but I am in the Christmas mood. When it comes to cardmaking, that is. Who could resist with the gorgeous papers from I wish.

I-wish-P

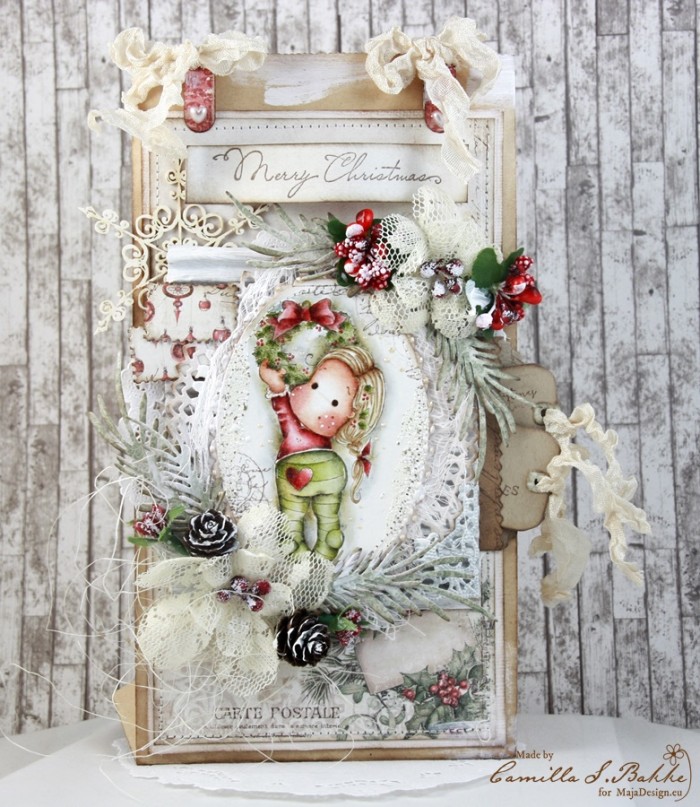
Today I will show you a giftbag that I have decorated.

IMG_5954

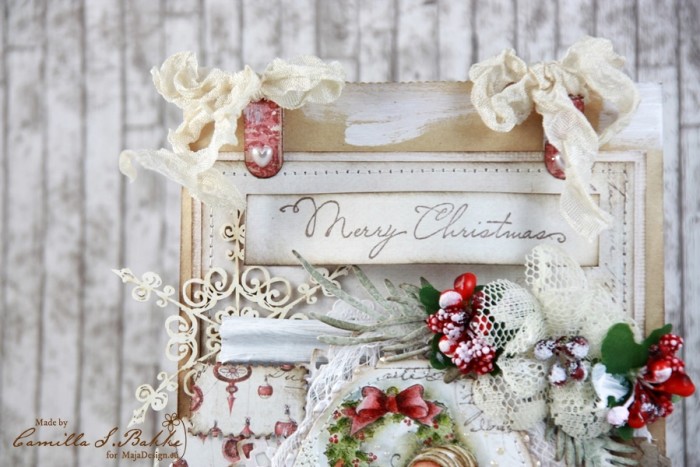
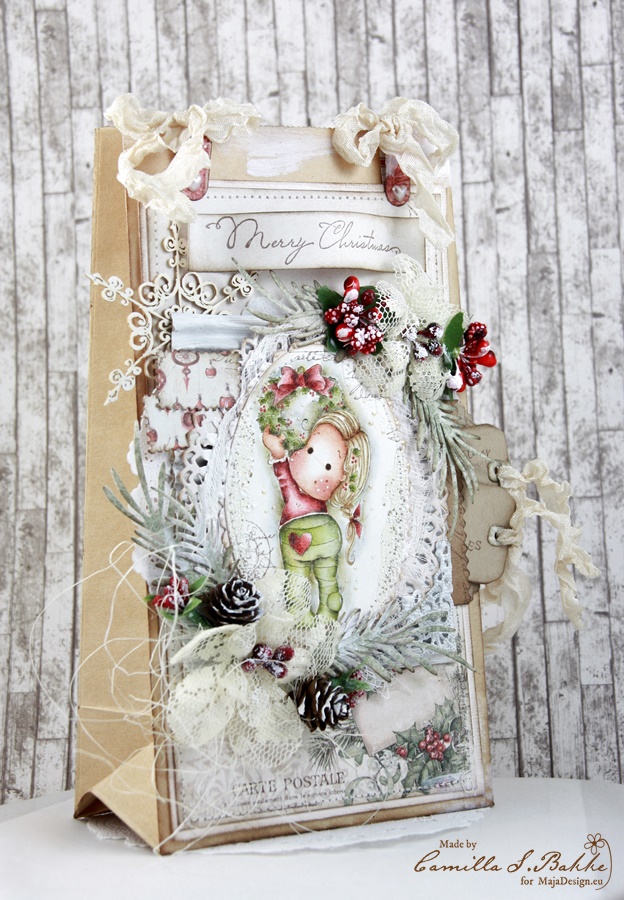
I have coloured the sweet image from Magnolia called Holly Wreath Tilda, with Distress Inks re-inkers, in the same colours as the I wish papers I have used. I love these warm nostalgic colours. The Merry Christmas text is also from Magnolia. The postmark stamps around the image are from Stempelglede.

IMG_5965

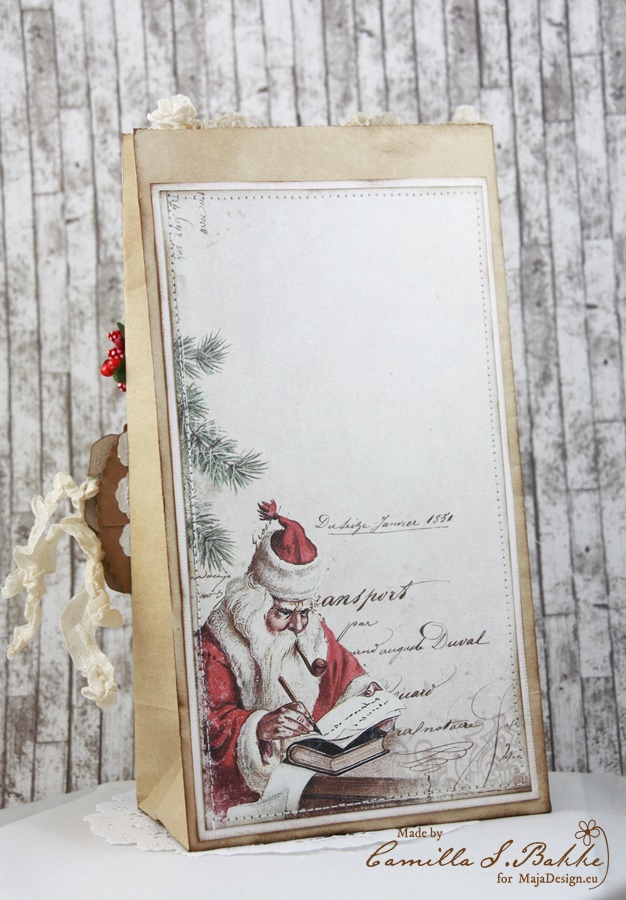
Under you see the back of the bag.

IMG_5968

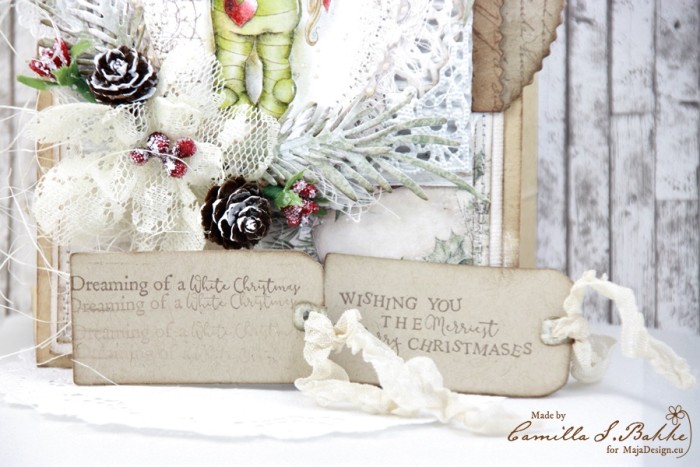
The texts on the tags (Magnolia).

IMG_5980

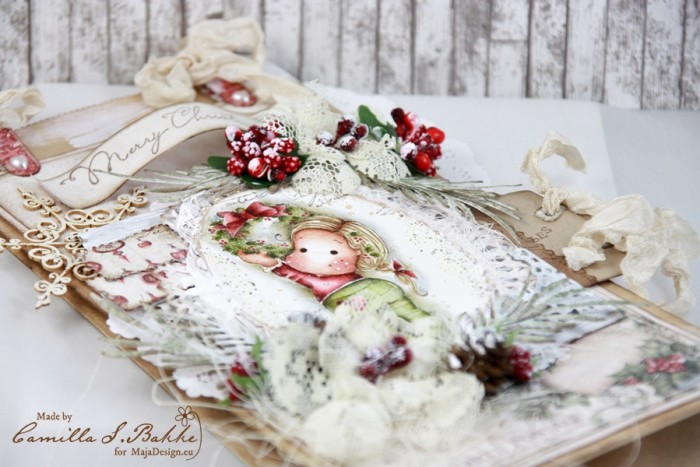
You get a better view on the different layers on the picture under.

IMG_5985

Here is the list of the paper used:

Thank you so much for visiting the blog today!

With love,

Camilla

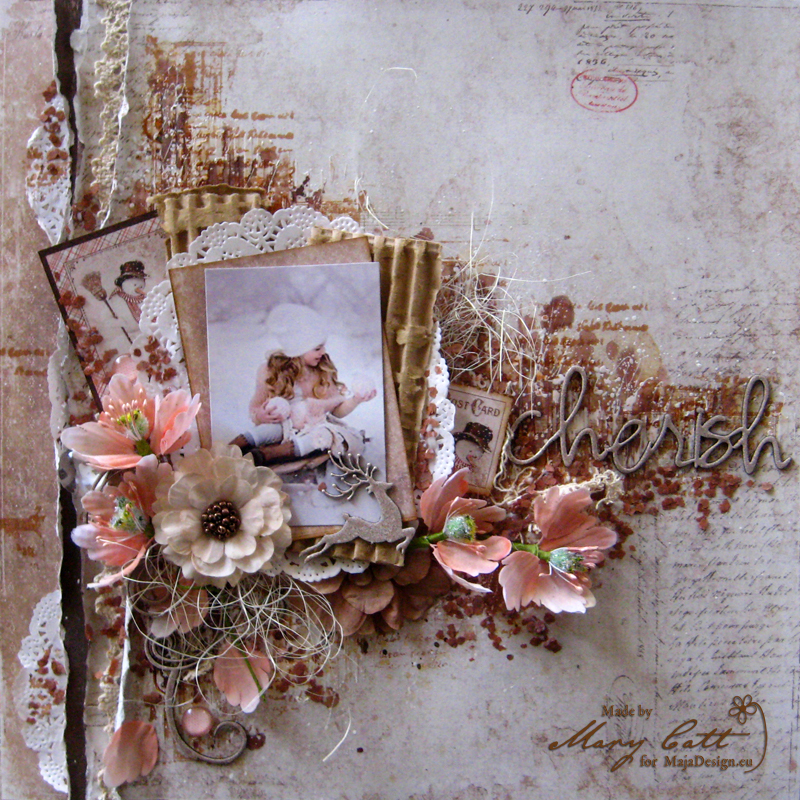
”Cherish”

2

Posted by Mary Tzalla

13 November, 2016 - ,

Write a comment

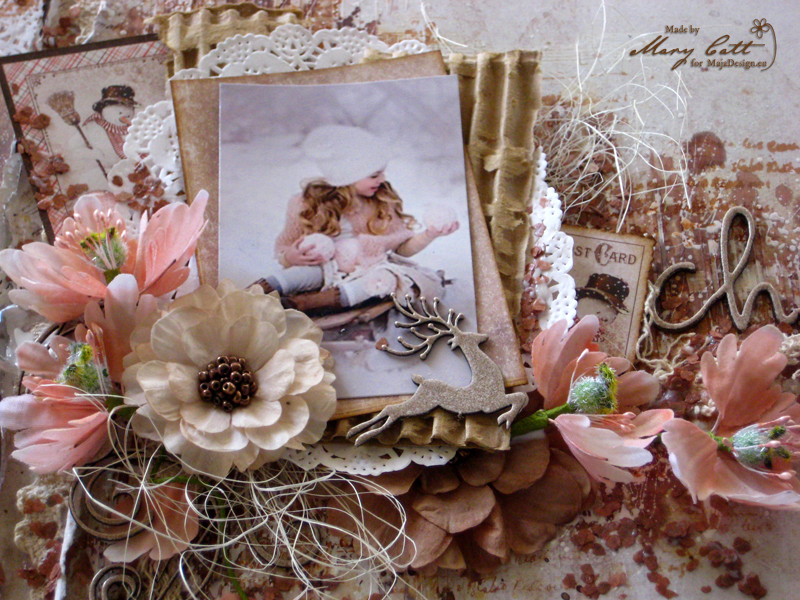
Layout

Hello Maja fans and welcome to the blog today!

This my second christmasy project using the ”I wish” collection and this time I made a layout. I can’t believe that we are already so close to Christmas… I love that season and I’m full with the Christmas spirit! And, that beautiful photo from pinterest was just perfect for the layout I had in my mind… of course, I want to give all the proper credits to the photographer.

Close up 1

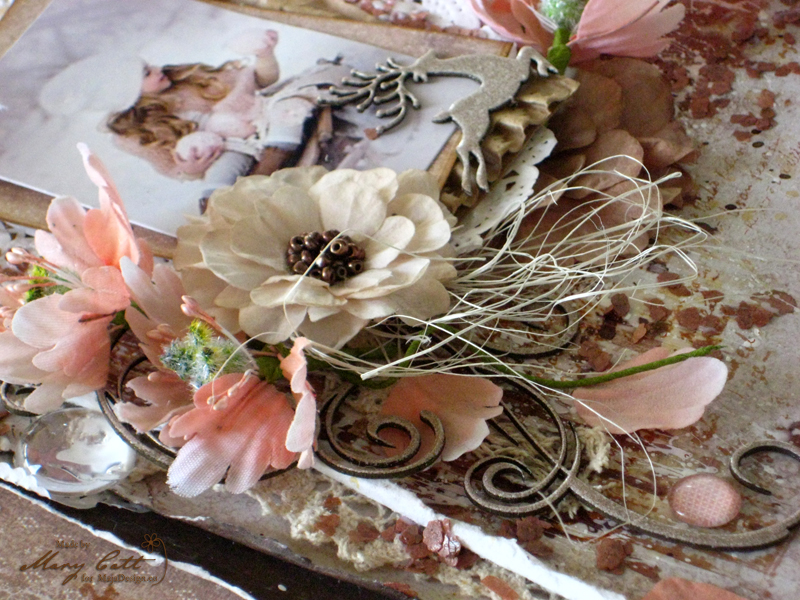
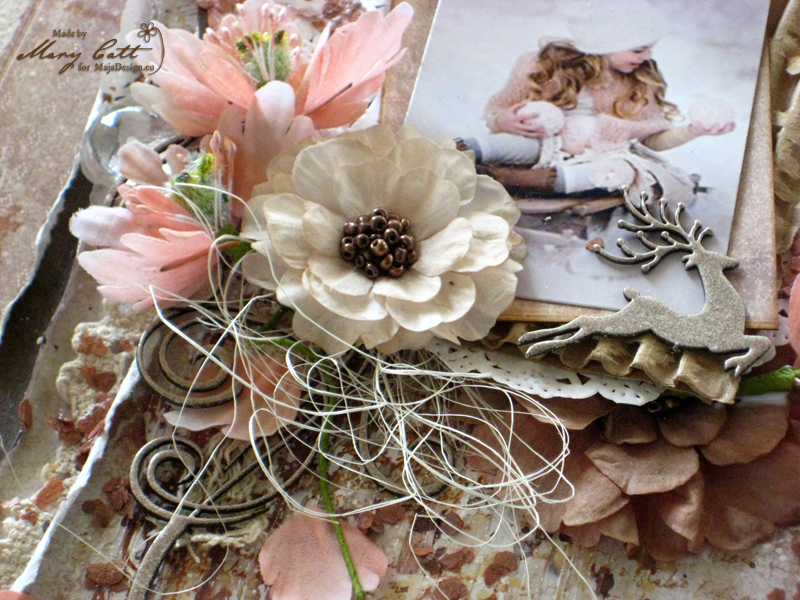
I used the ”I wish those memories will last” as my main paper and I torn it vertical on the left side. I placed under it, three layers of two papers, one from the same paper, one from the backside of the same paper and lastly one of the ”I wish for frosty mornings”.  Among the papers Ι added some lace and a few pieces of doilies.

Close up 4

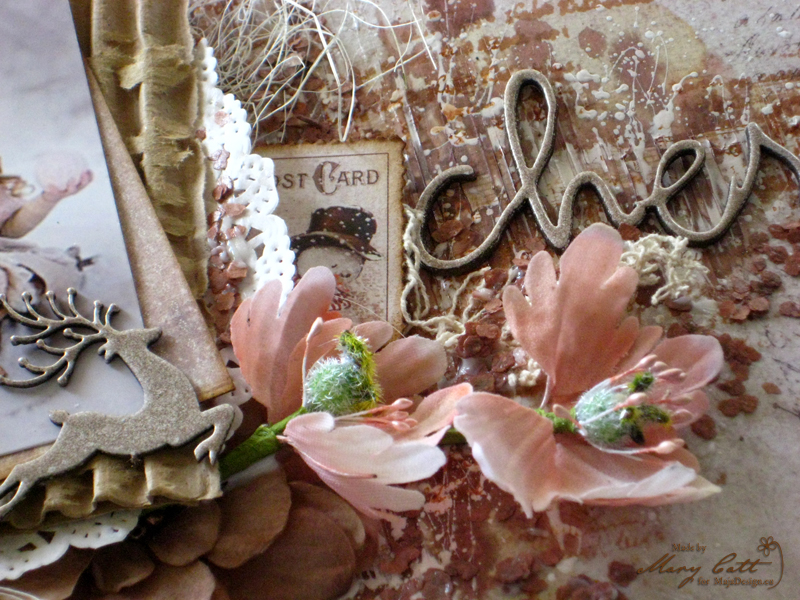
I designed my background with modeling paste and a stencil over a coat of clear gesso.  I colored it with ”Dark Chocolate Truffle” and ”Clam Bake Beige” Lindy’s Stamp Gang mists.  I also made splatters with white 13arts Splash ink to highlight it a little bit. When dried I made some random stamping and the background was ready to glue everything down.

I heat embossed the chipboards with two powders, first with the ”Desert Moon Copper Pine” and then with the ”Cafe au Lait”.  All the chipboards I used are 2crafty and the flowers are Prima Marketing.

As a final touch, I added some mica flakes in ”Henna” and some ”Melange Art Pebbles”.

Papers used:

I-wish-P

Thank you so much for stopping by!!!

Mary-sign (2)

Winter is Magic Mini Album

3

Posted by Elena Olinevich

11 November, 2016 - ,

Write a comment

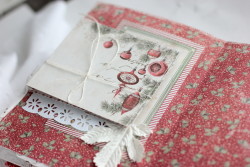
Hello crafters, the winter is officially has come to my place, so I hope that it will give me more inspiration for Christmas and Winter projects.

and today I’ve got a mini album I made using brand new collection I wish.

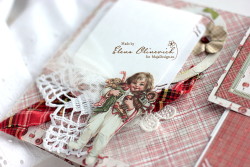
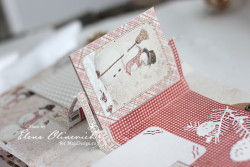
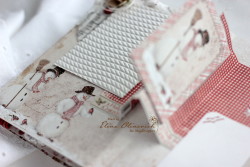
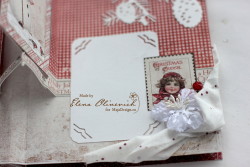
Winter is Magic Mini Album, by Elena Olinevich, Maja Design, photo2

I wish there would be Spring and Fall Seasons all year round, however in some cases Winter is beautiful too.

Winter is Magic Mini Album, by Elena Olinevich, Maja Design, photo1

I wish I could spend all 3 months in a wooden house in the Forest, however I live in a busy city.

Winter is Magic Mini Album, by Elena Olinevich, Maja Design, photo3

So my mini album is all about my small wishes and I enjoyed creating it.

Winter is Magic Mini Album, by Elena Olinevich, Maja Design, photo4

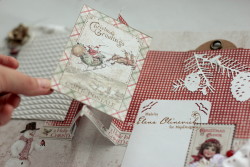
I cut out some of the images, added crochet and fabric trims to make it look more cozy and soft.

Winter is Magic Mini Album, by Elena Olinevich, Maja Design, photo5

I also added a rotating element, when there is some intercative things in my albums.

Winter is Magic Mini Album, by Elena Olinevich, Maja Design, photo6

The paper sheet with the cards is perfect for filling your album with the images.

Winter is Magic Mini Album, by Elena Olinevich, Maja Design, photo7

The snowmen are what the kids like most of all in my mini.

Winter is Magic Mini Album, by Elena Olinevich, Maja Design, photo8

However I added some flowers and leaves, to make it look more festive.

Winter is Magic Mini Album, by Elena Olinevich, Maja Design, photo9

I think I need to create more minis this season. and what about you, do you like making mini albums?
Supplies:

Elena-sign

Christmas Cards

3

Posted by Maja Nowak

9 November, 2016 - ,

Write a comment

Good morning, Maja Design friends, welcome to the blog today!

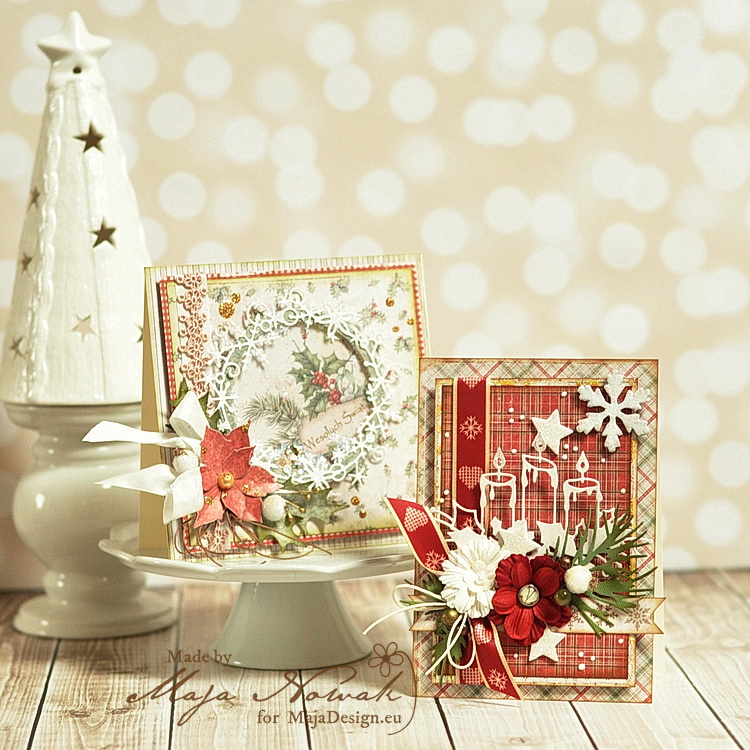
I can’t believe we’re already a decade into November – when has this year flown by? We’ve just been on summer holidays, got ready to school a moment ago, and now it’s time to begin making Christmas cards not to be too late with it 😉 And so for my today’s post I have two warm-up Christmas cards I made using – of course – our latest Christmas collection, I Wish.

mdchrist

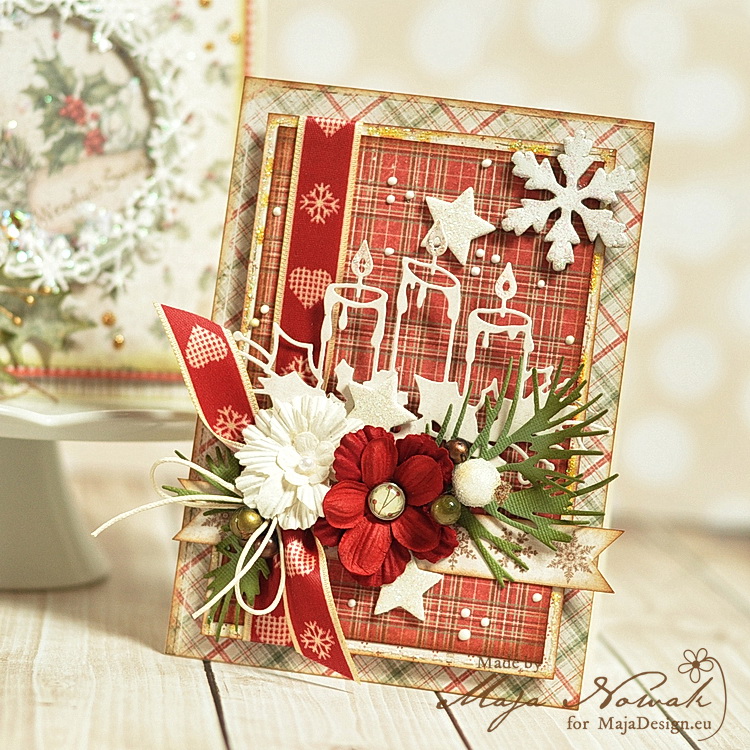
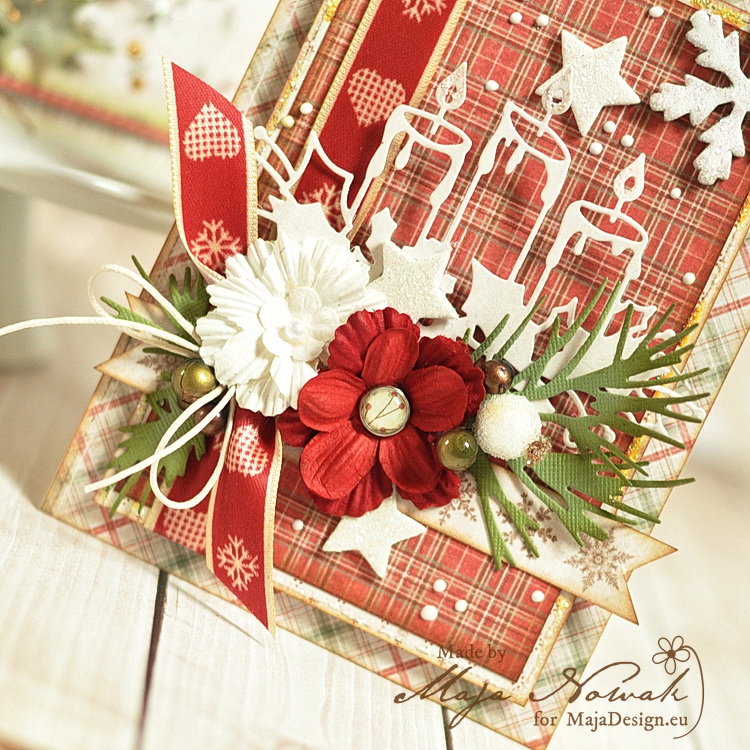
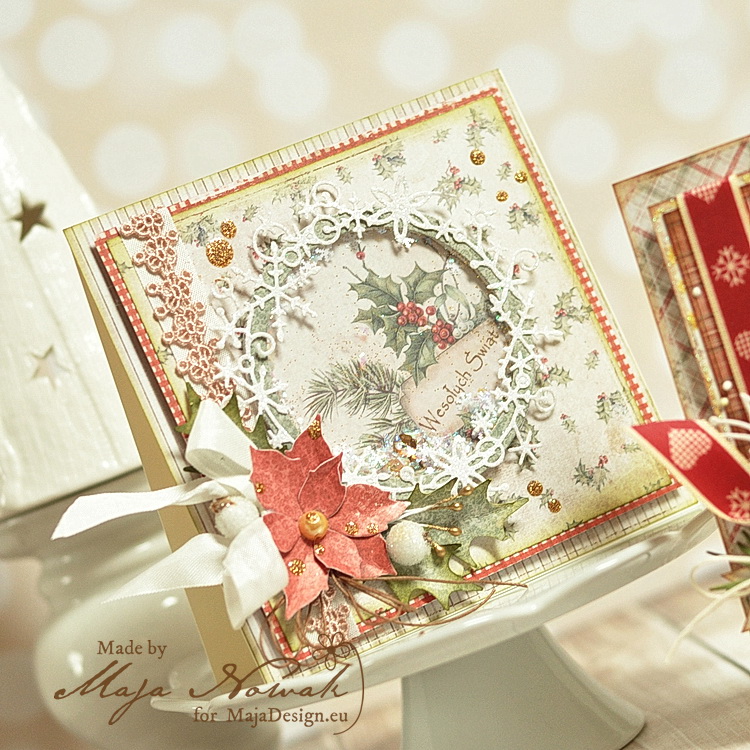
For my cards, I combined both 12×12″ and 6×6″ papers so that the patterns are best visible. One of the cards features a die-cut candle table decor that is very popular in Poland 🙂

mdchrist1

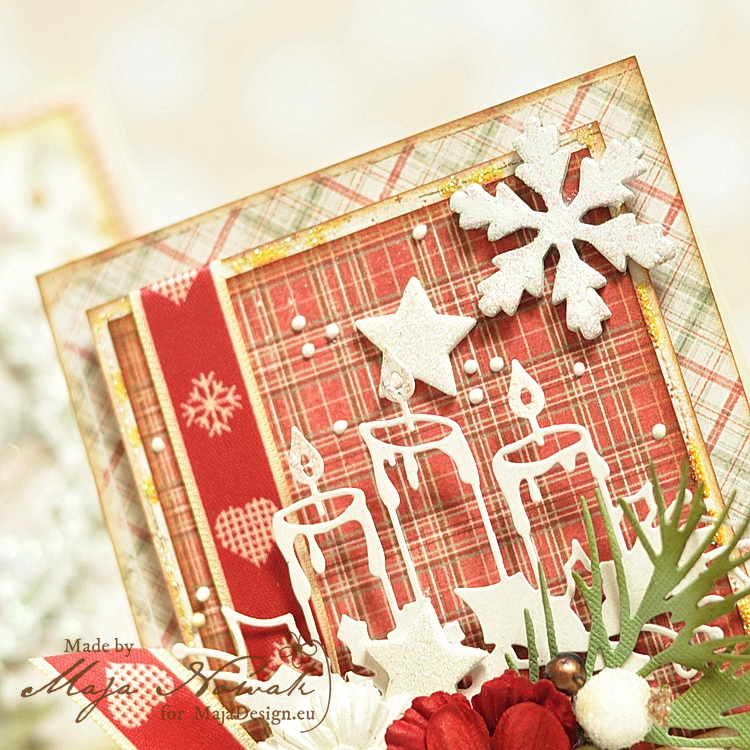
I chose the classic plaid pattern for the background so that the white diecut would be standing out:

mdchrist2

I covered the mistletoe wreath of the diecut with a more dimensional flower cluster. I just love small details such as the berry twig image brad!

mdchrist3

The other card features a lighter colour palette and a shaker box in the centre:

mdchrist4

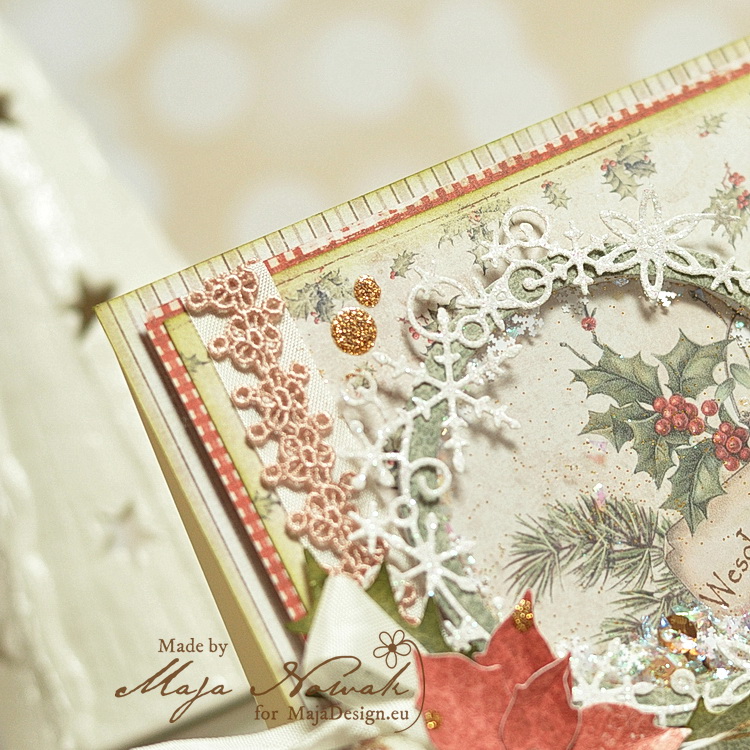
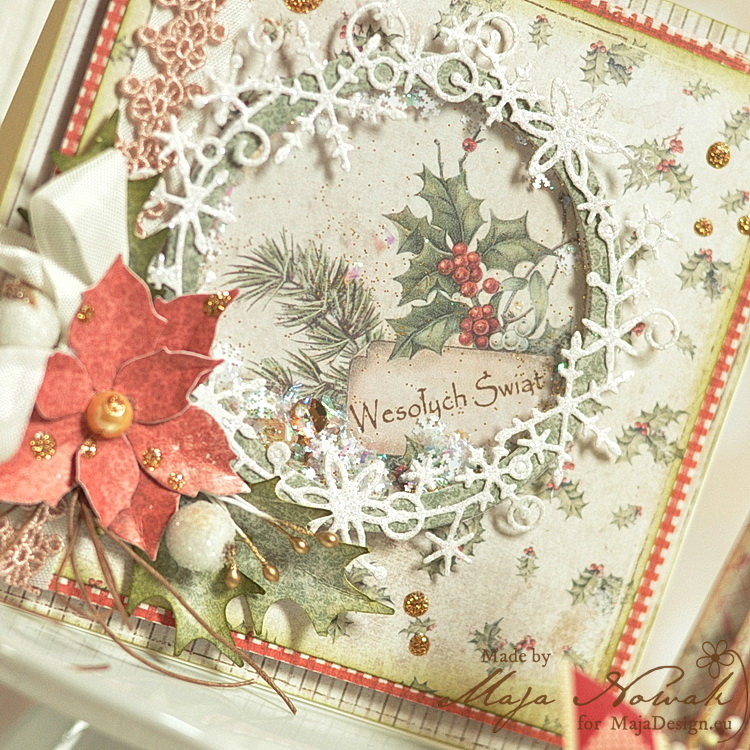
The shaker box is not very “high”, as I wanted the card to fit into an envelope so that it can be mailed. I chose the mistletoe pattern for my background and wrapped paper layers with ribbon and lace:

mdchrist5

For the image inside the shaker box, I chose the I Wish Santa Got My Letter paper, or its right hand lower corner, to be precise 😉 and stamped my sentiment onto the tag. Then I added some glitter, snowflakes and sequins before closing the shaker. I also die-cut the poinsettia from one of the papers so that it matches the colour perfectly:

mdchrist6

And here’s what I used to make my cards:

Other: dies: Poppy Stamps, Magnolia; flowers: Prima, Wild Orchid Crafts; glitter stars: DP Craft; ribbon, lace, string: my stash.


And what about you – have you already began making Christmas cards, or is it still too early for you? 🙂

Maja-sign

Zapisz