Happy Summertime Smile!

1

Posted by Amy Voorthuis

26 August, 2016 - , , , ,

Write a comment

Goodmorning lovelies,

Oh boy is it stinking hot here in The Netherlands with temperatures above 30 degrees feels like Turkey all over again! God is good 😉 We had a great time on our vacation destination but it is also really nice to come home. I have to admit I am very lazy the last couple of days my head wants to scrap but my hart is not letting my head to do so…..So for today I have a simple layout for you all it’s a 8×8 inch one I love making those because they take lass space in my scrap room.

20160826_1036301

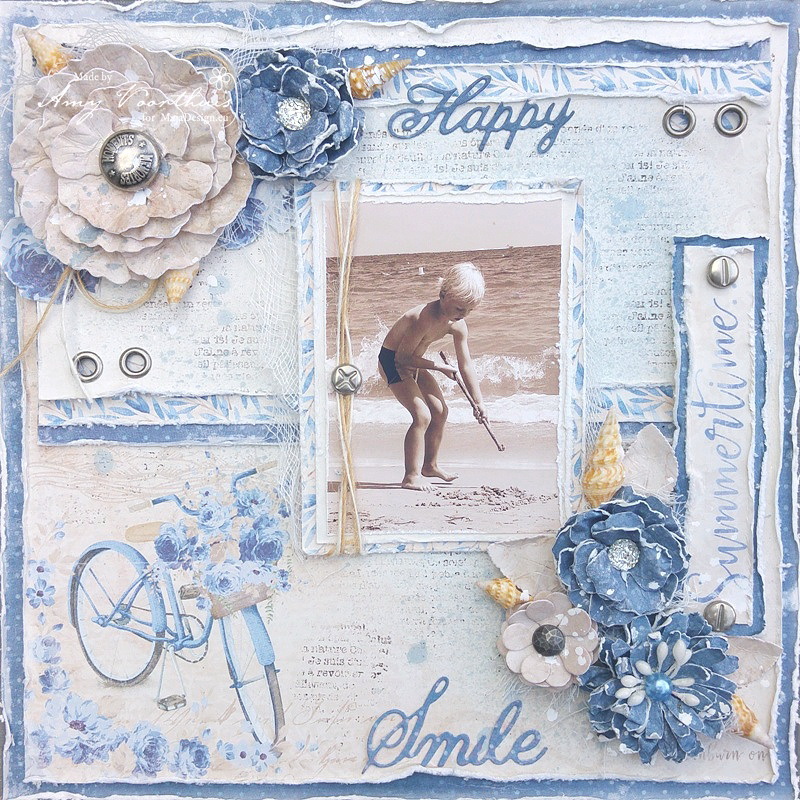
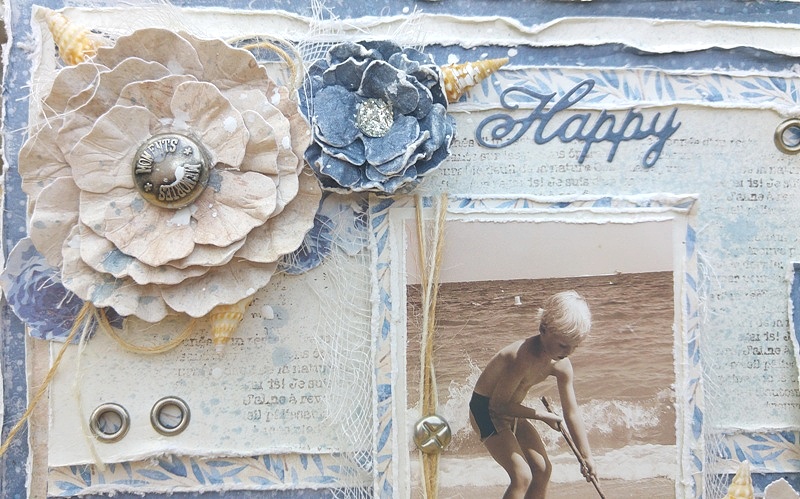
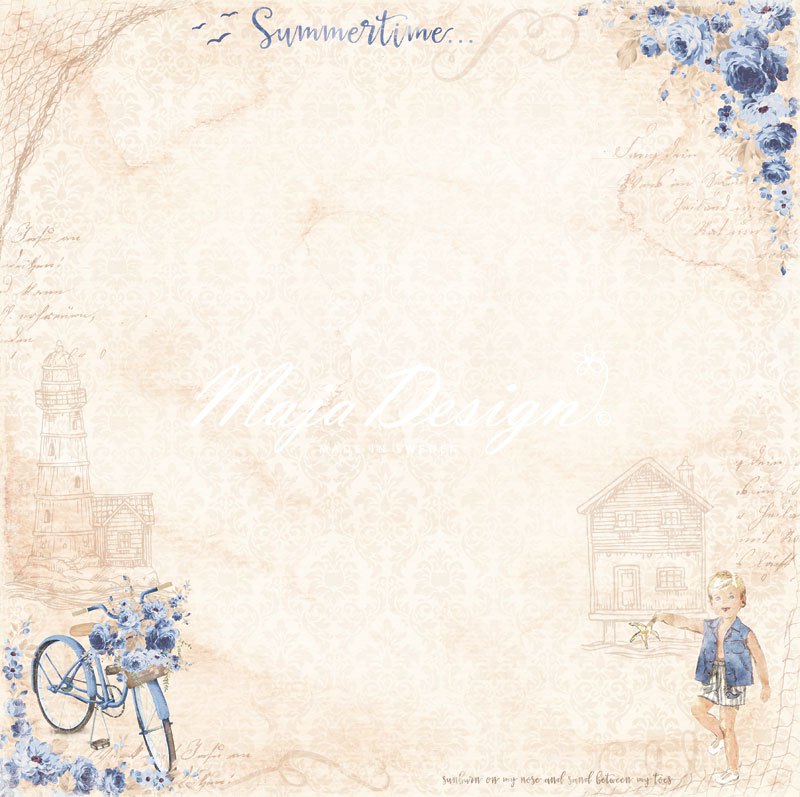
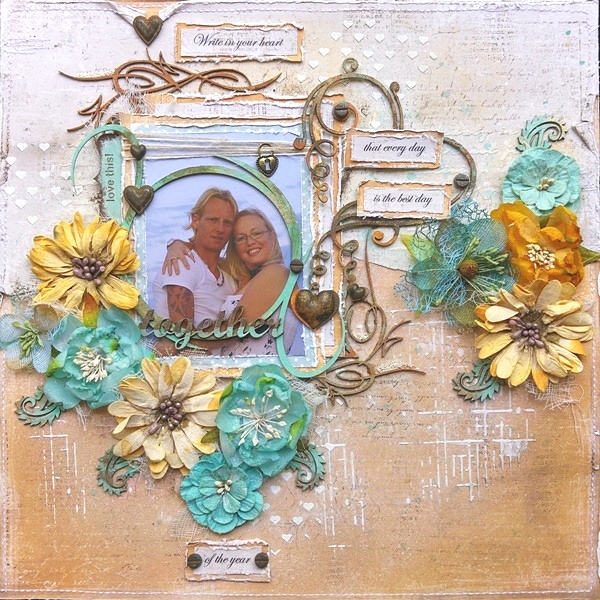
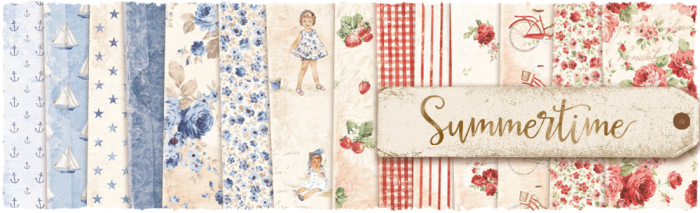
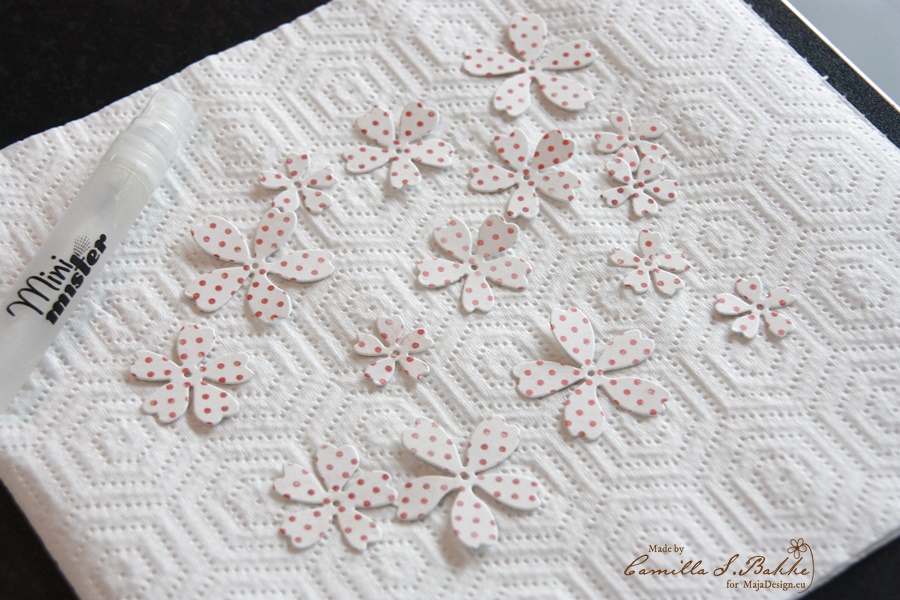
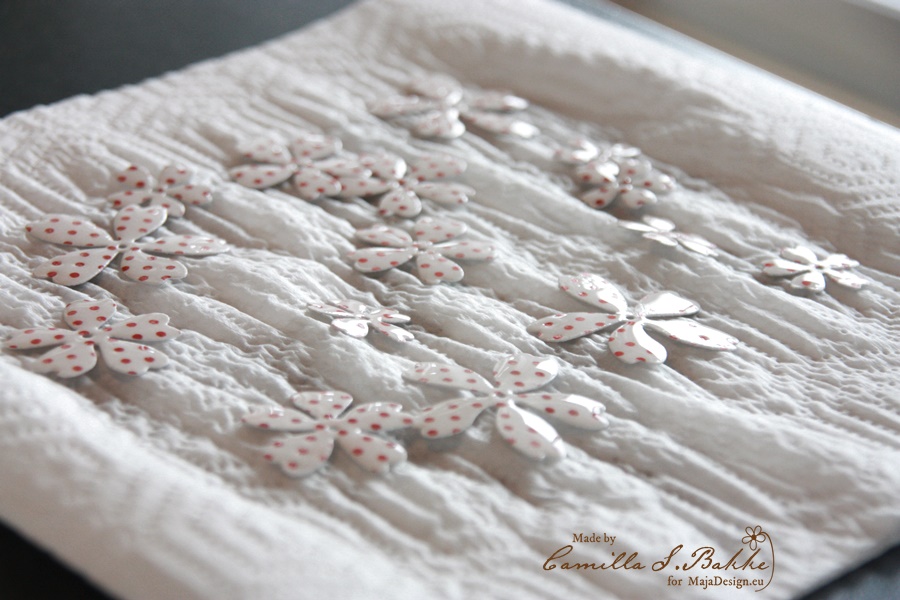
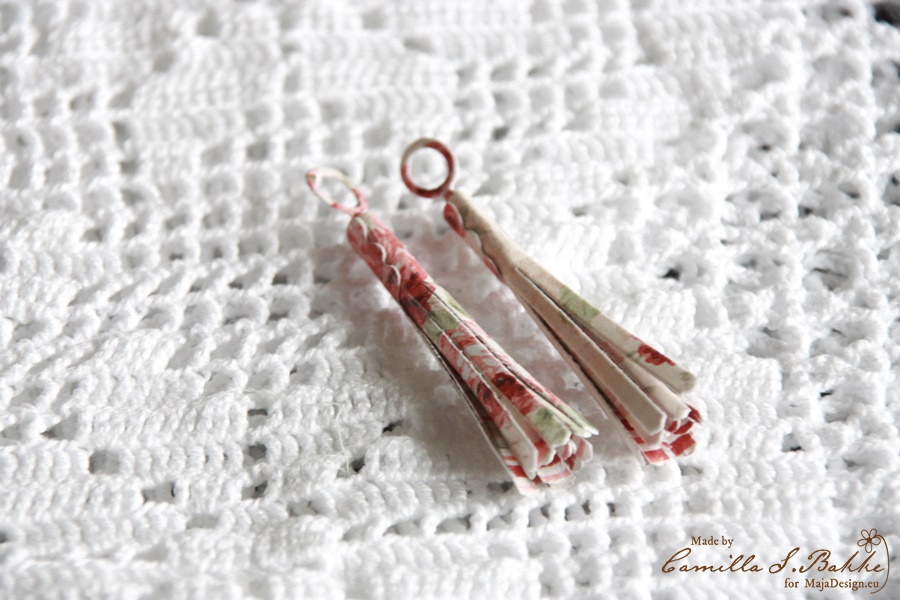
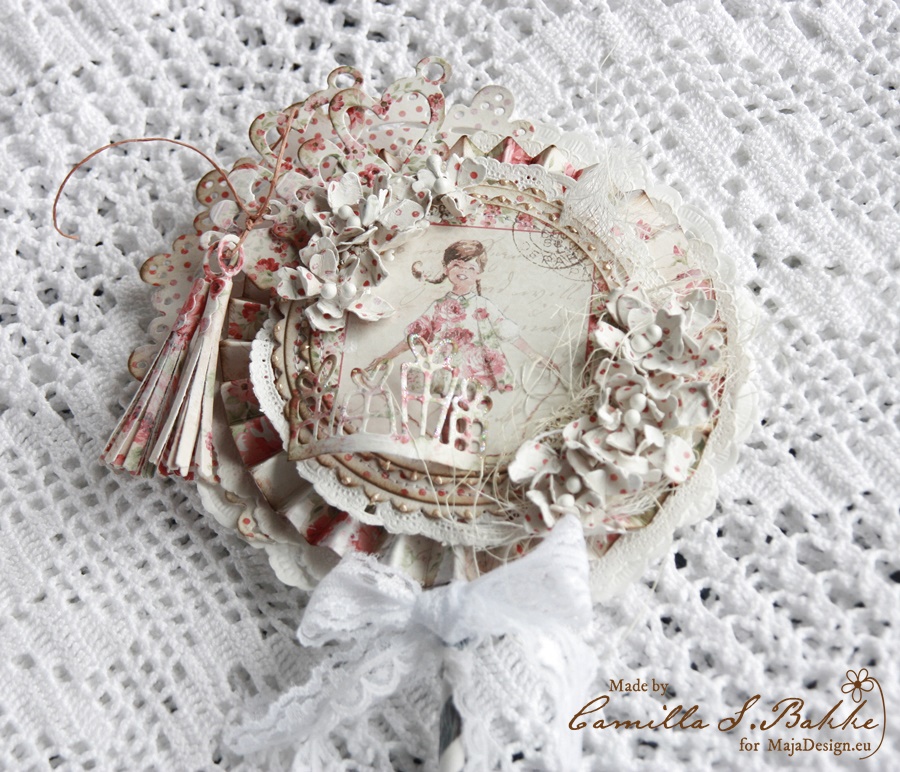
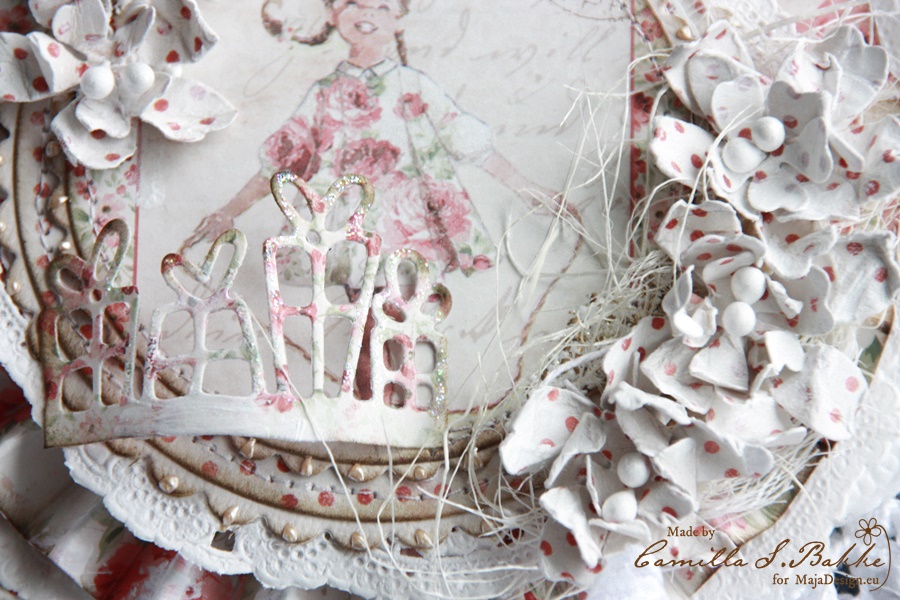
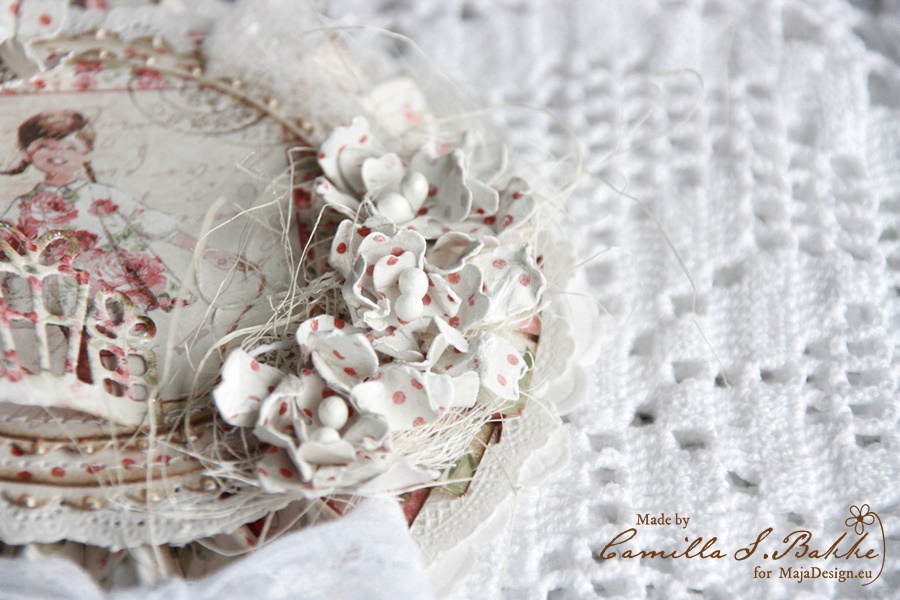
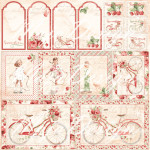
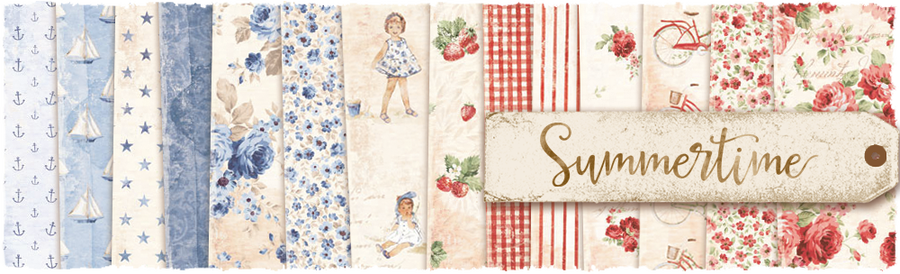
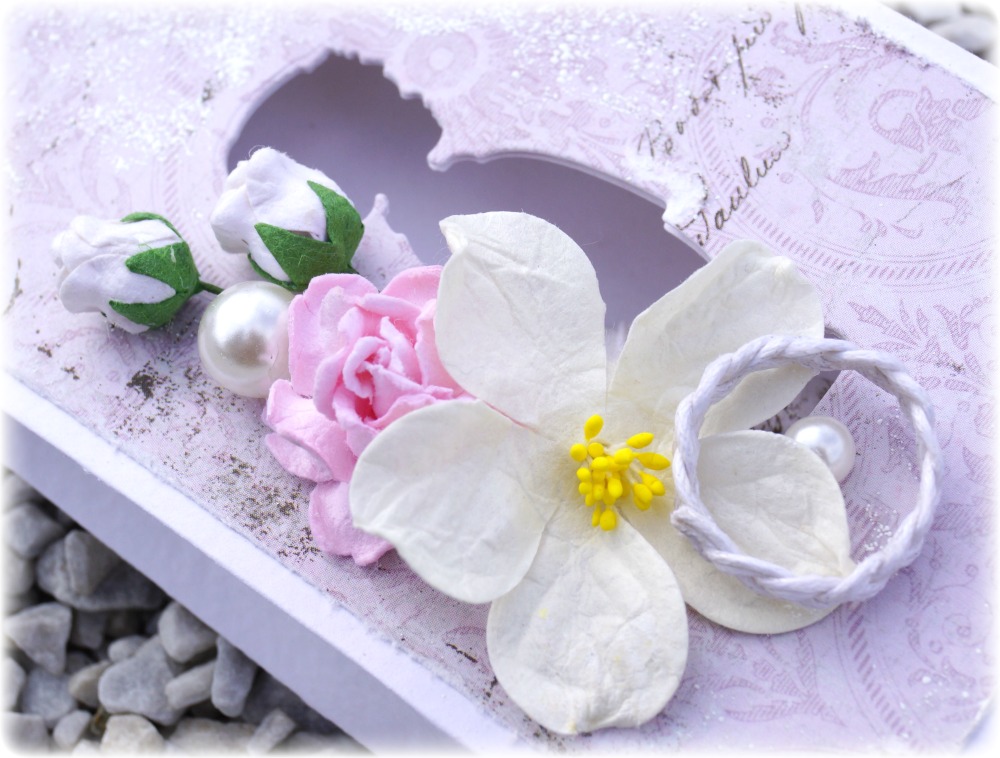
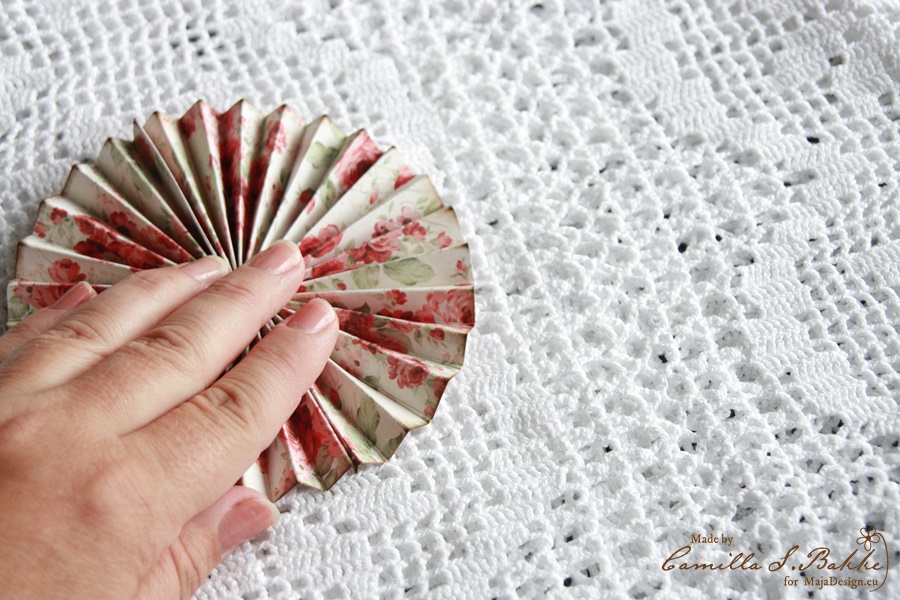
Since my printer is acting up I had to use another picture for this layout. Don’t you just love the new Summertime collection as much as I do. As you see on this layout I hand made my own flowers again. I will also show you a layout that I made for my other design team I am on using as much handmade flowers as I could on a 8×8 layout. Hopefully you will enjoy my work.

20160826_094507+

20160826_094709

20160826_094657

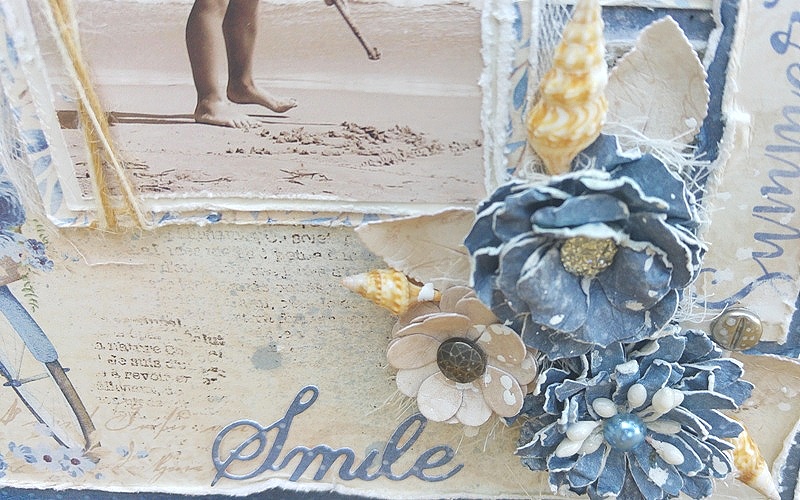
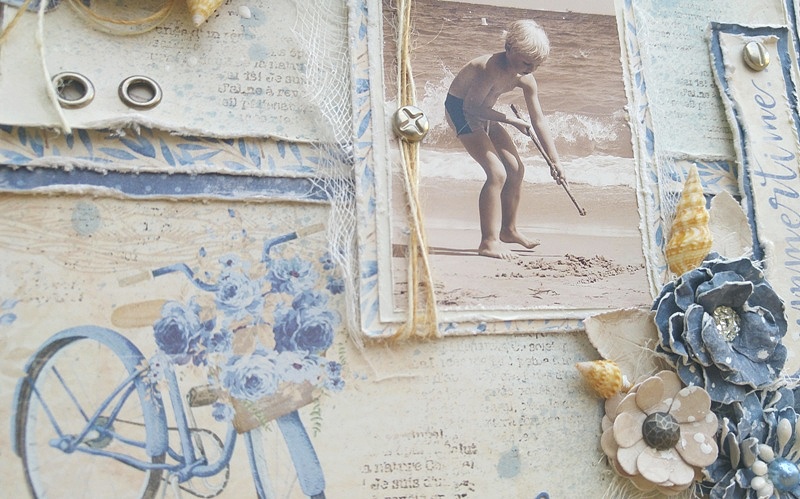
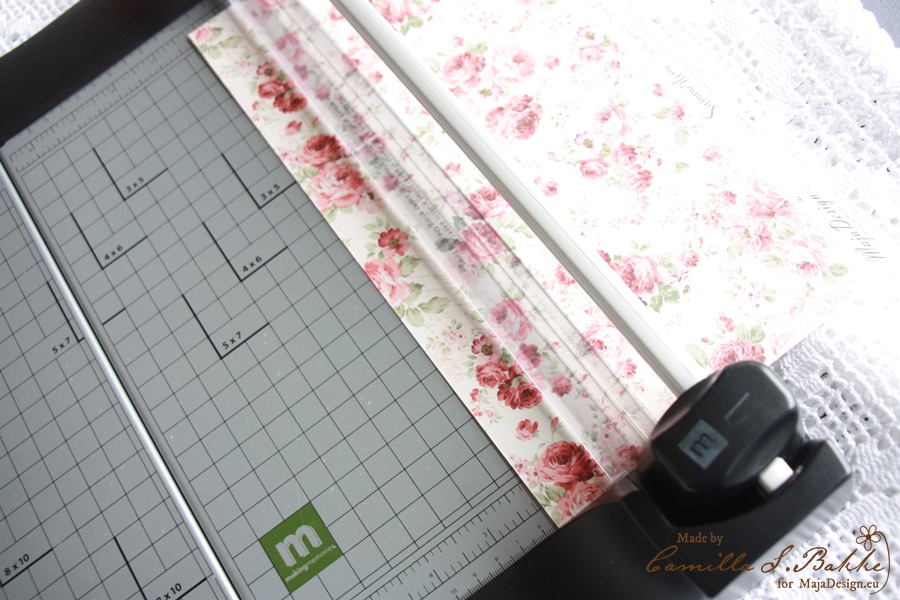
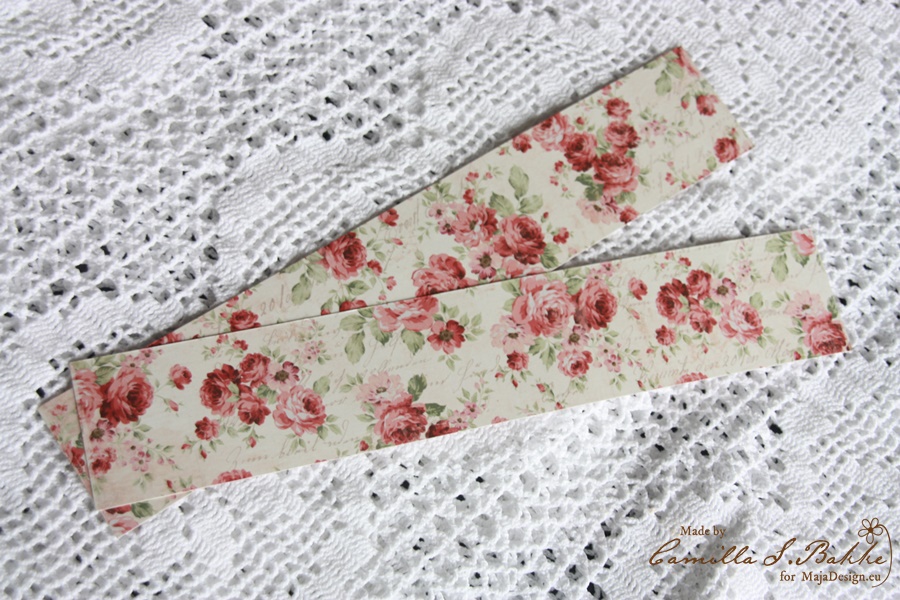
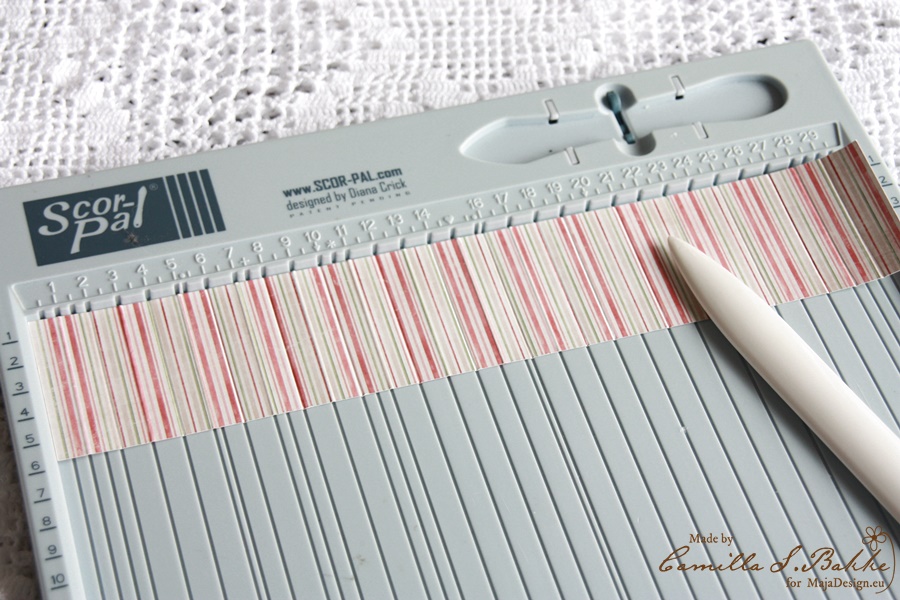
The picture was take back in 2010 and he was writing his name in the sand. I really love the bikes in this collection so I did not cover it up with flowers. To finish my flowers clusters I used some real sea shells.

20160826_094646

20160826_094704

20160826_094651

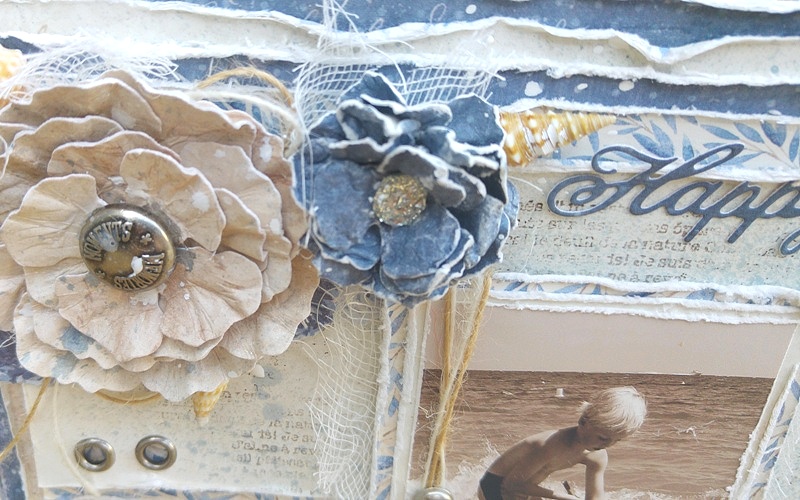
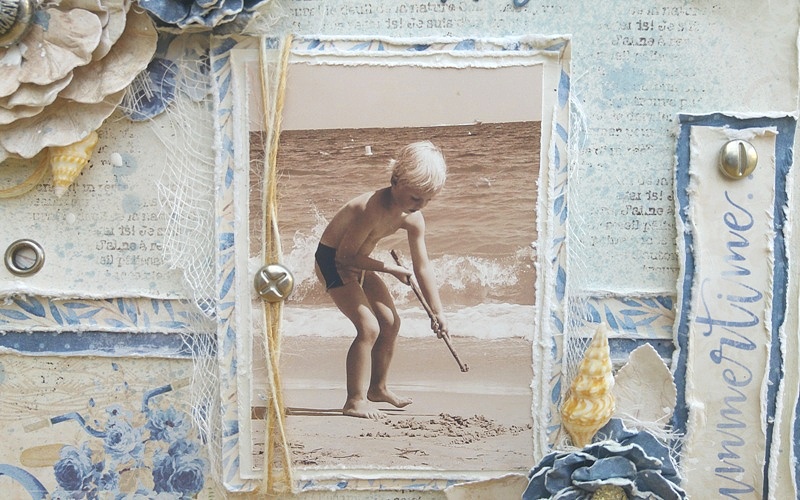
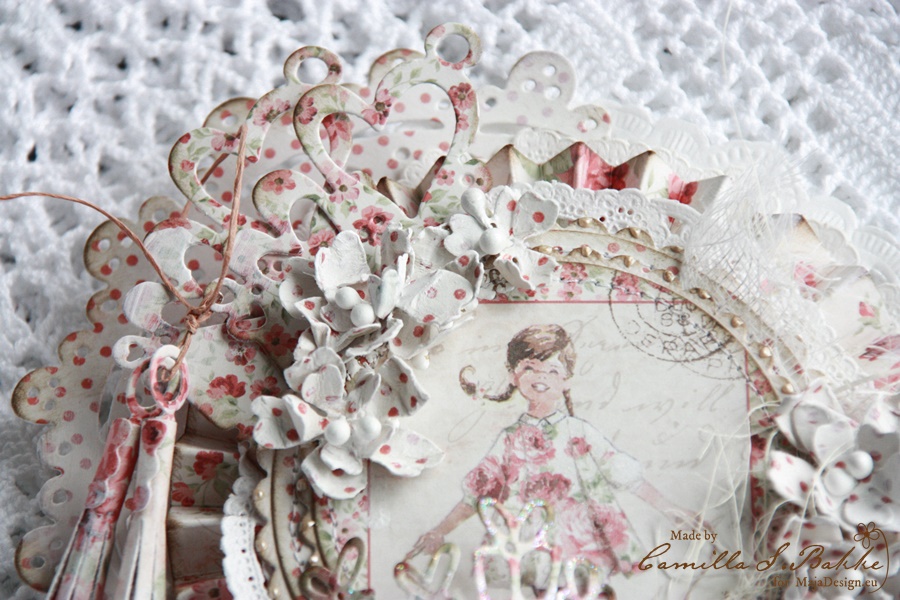
Maja Design papers used: {by the sea} Is my favorite, Is my favourite bs, Having fun bs, Wind in my hair bs.

Summertime-P

850-Is-my-favourite 850-Is-my-favourite-bs

857-Having-fun-bs 853-Wind-in-my-hair-bs

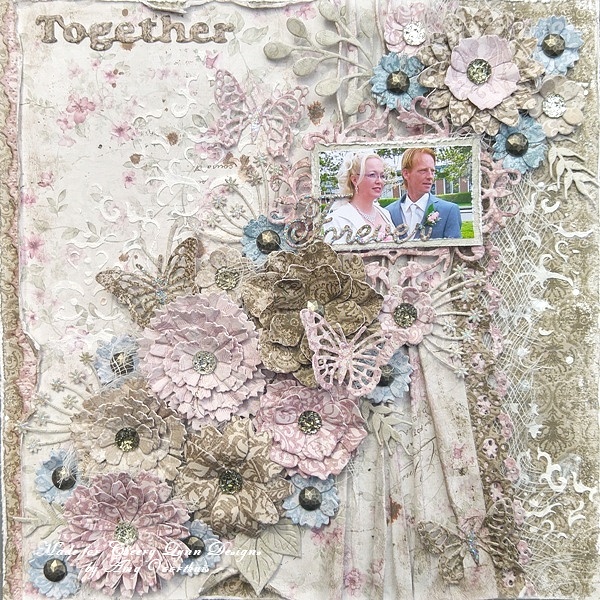
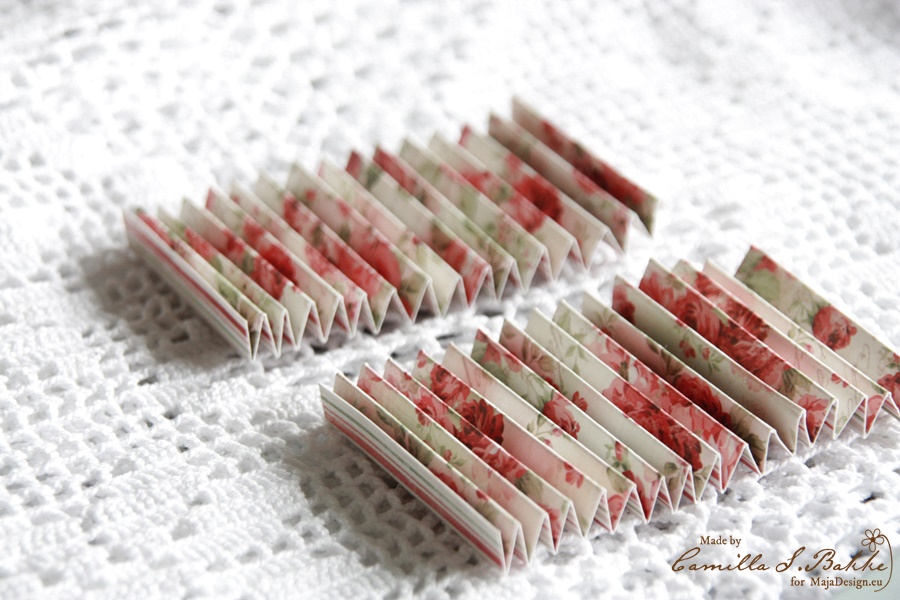
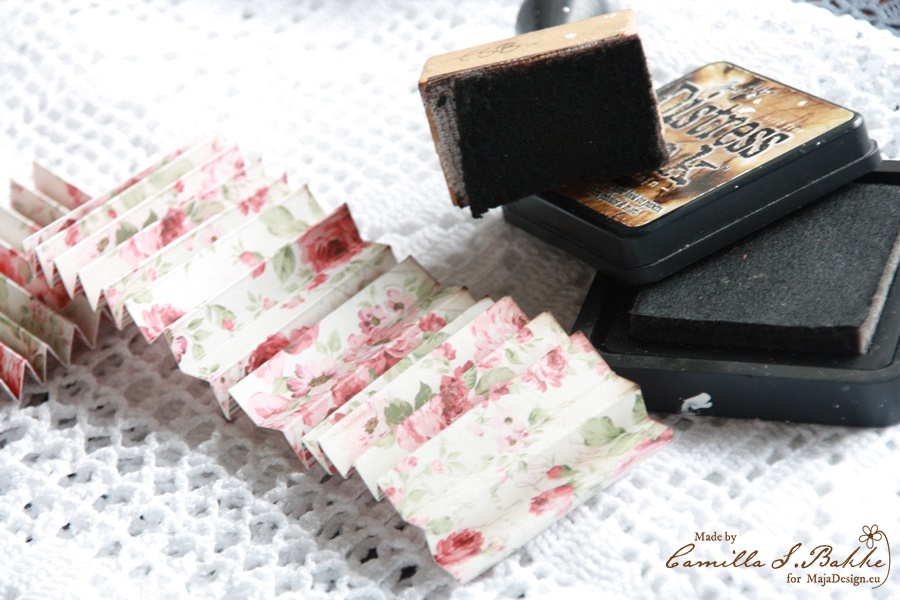
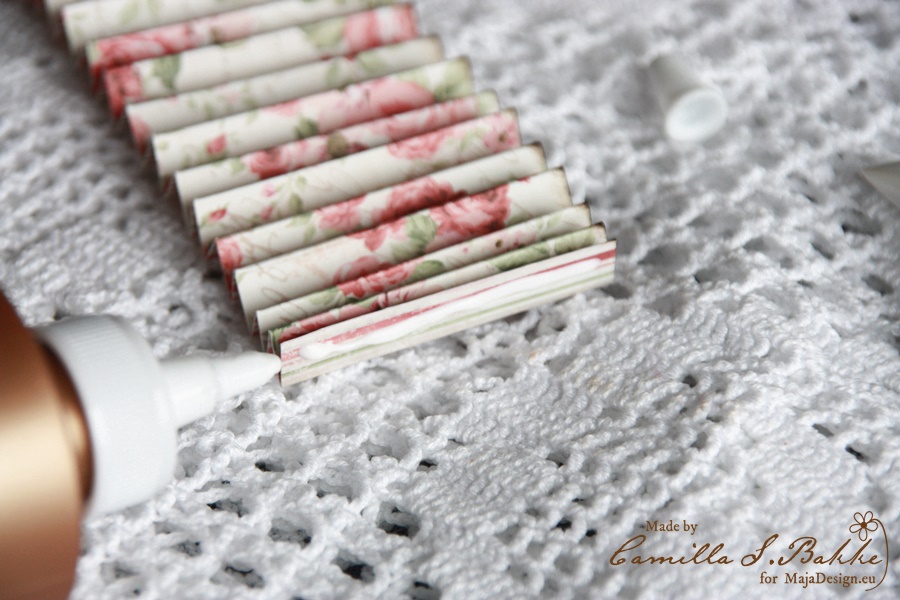
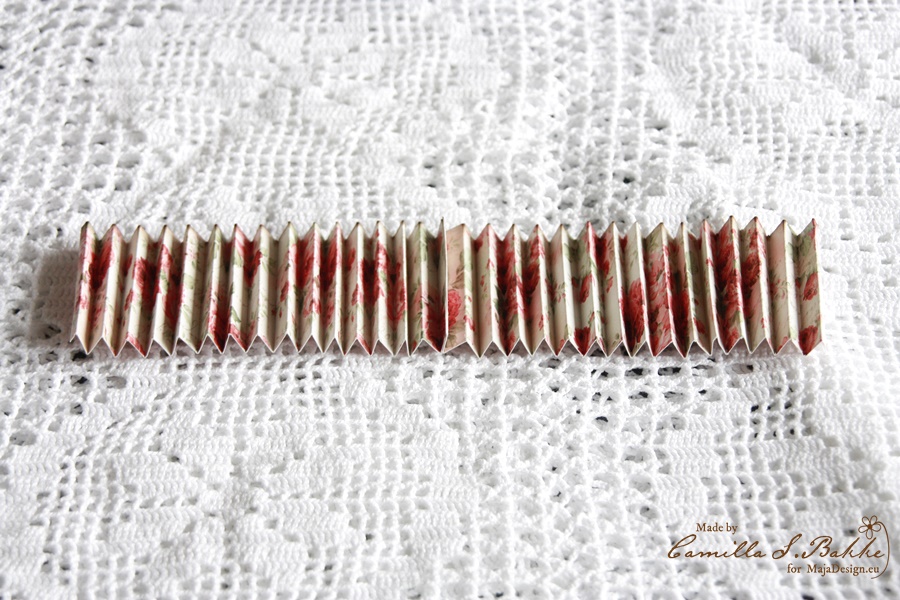
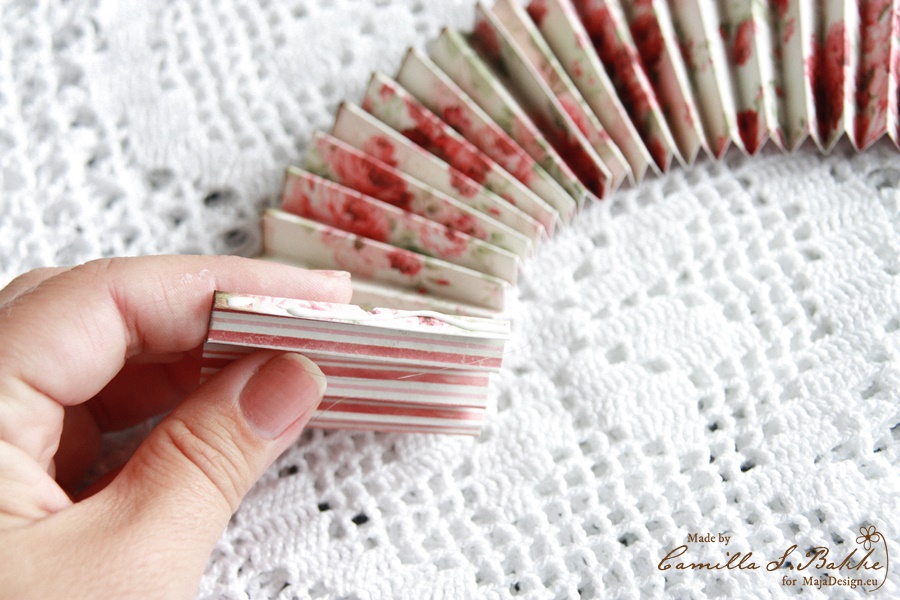
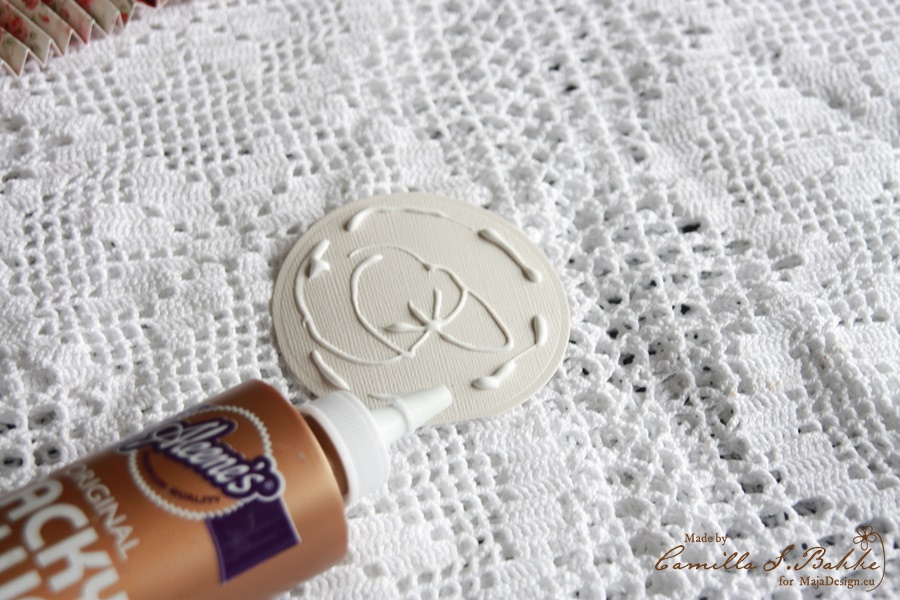
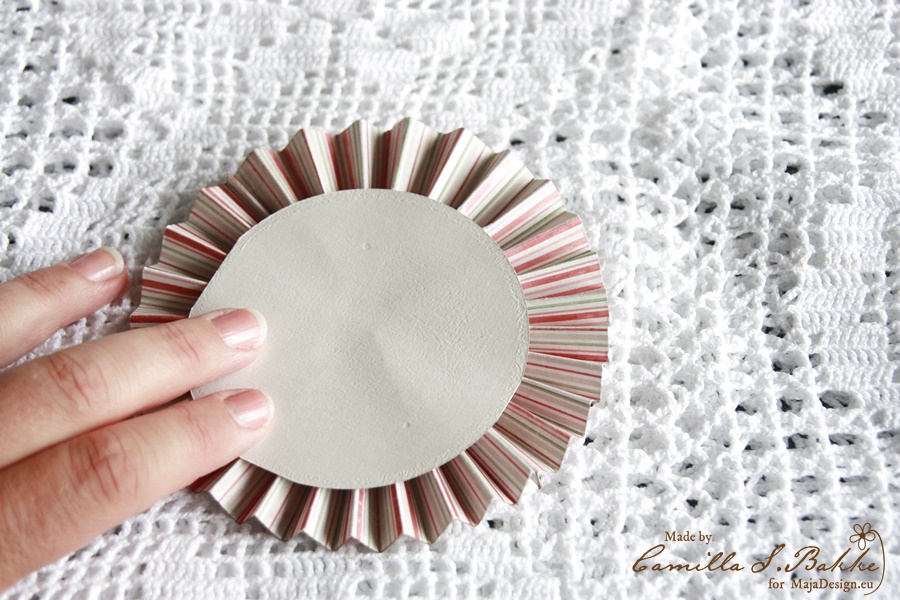
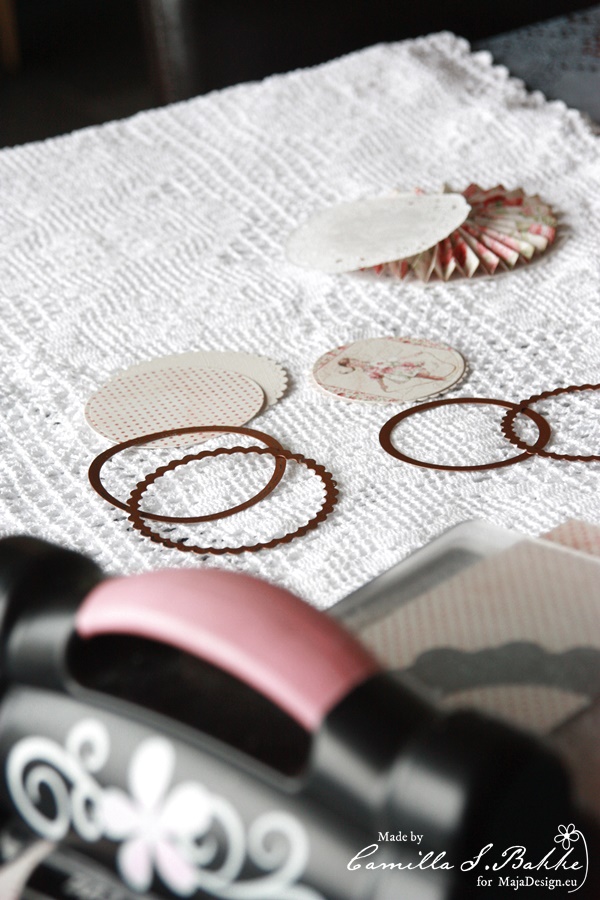
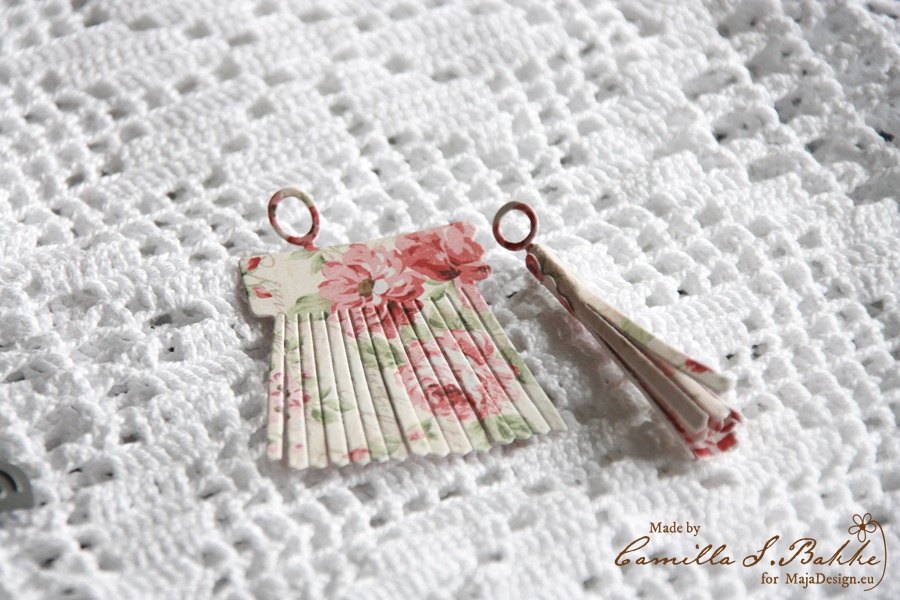
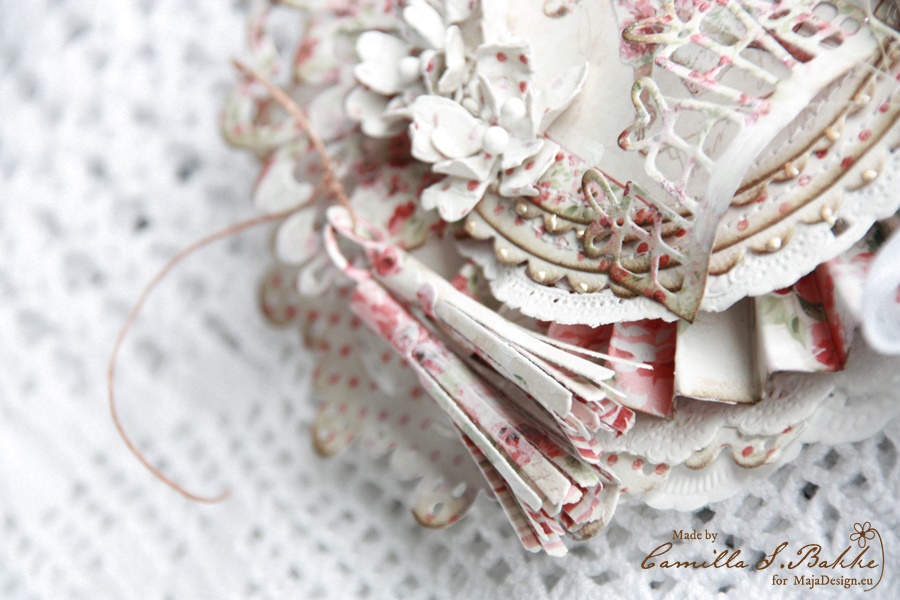
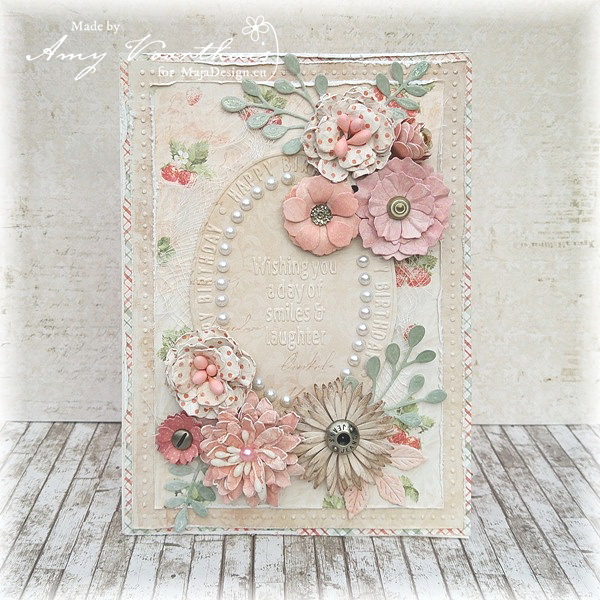
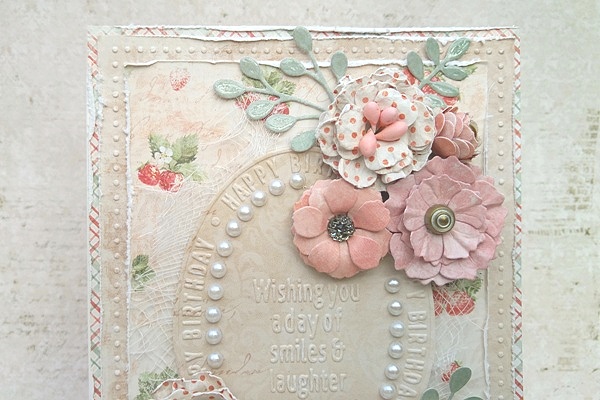
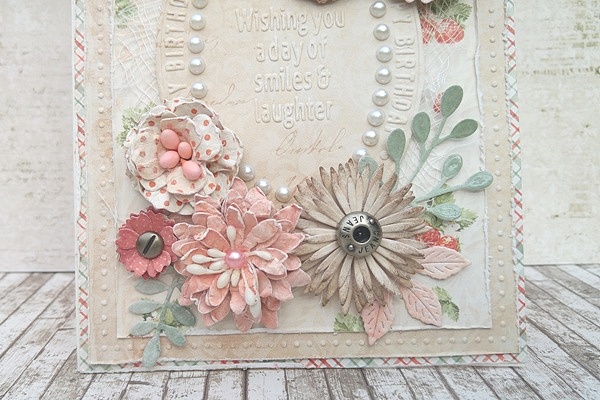
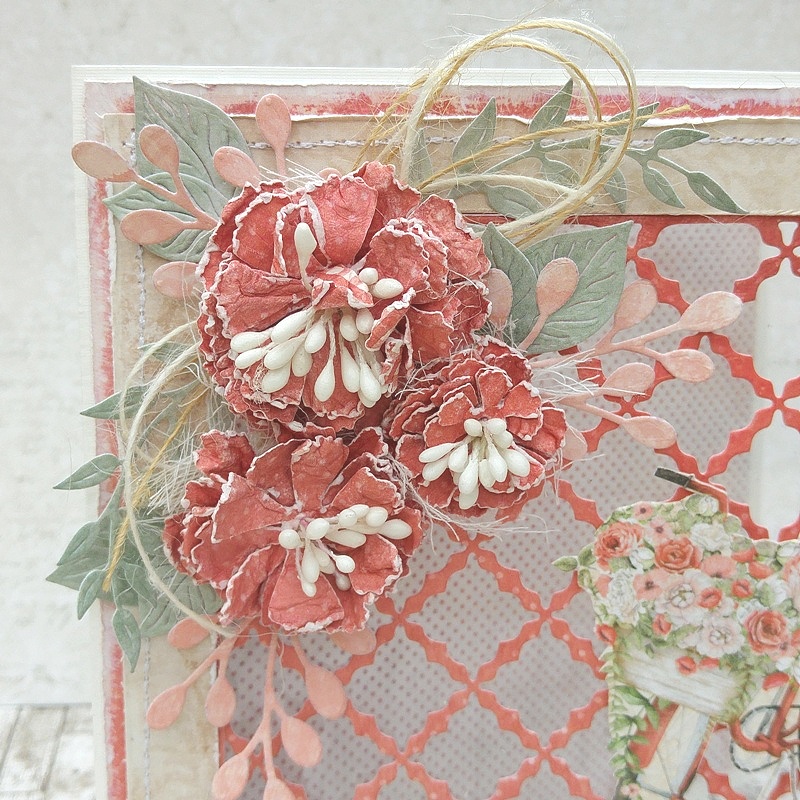
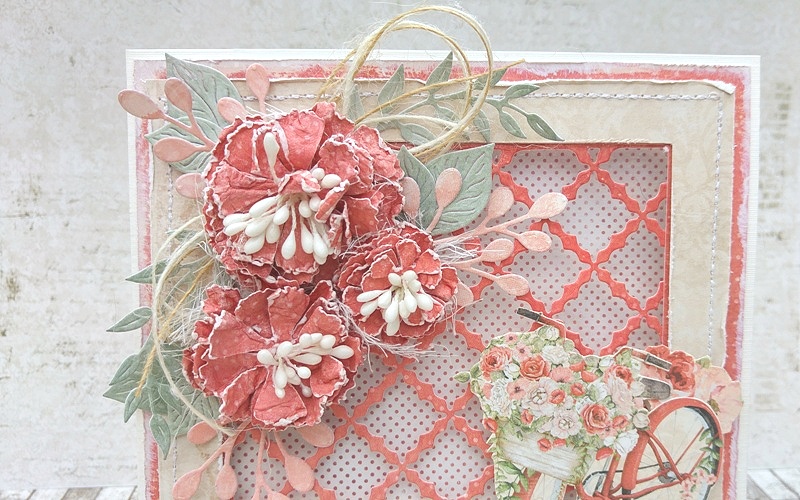
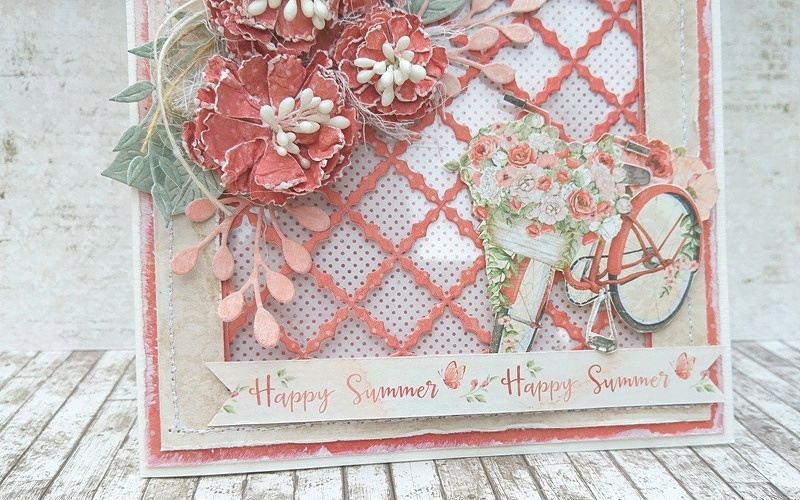
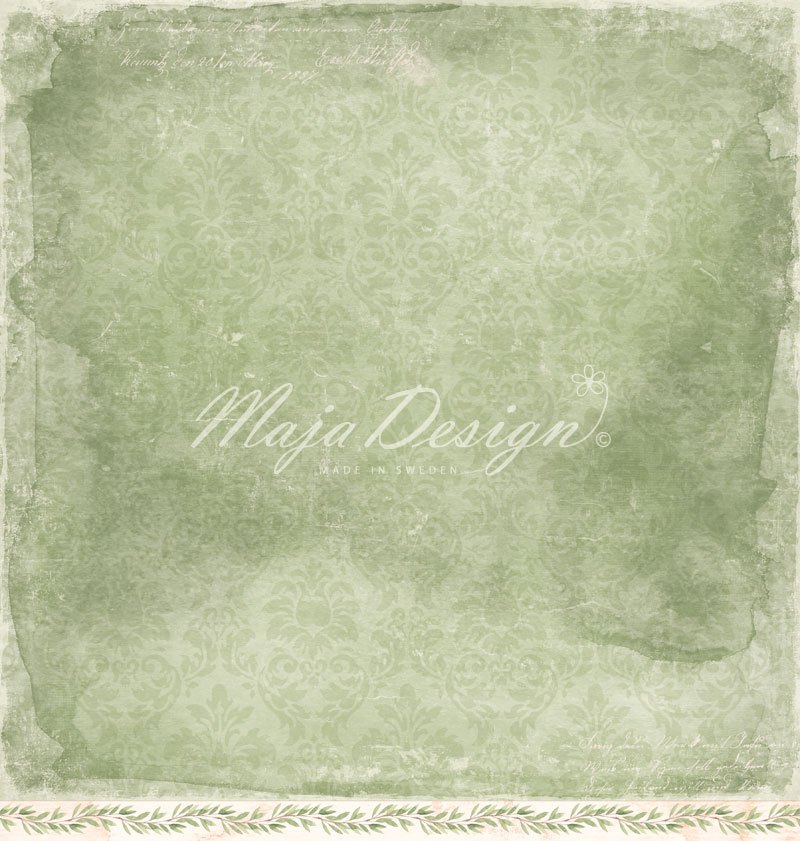
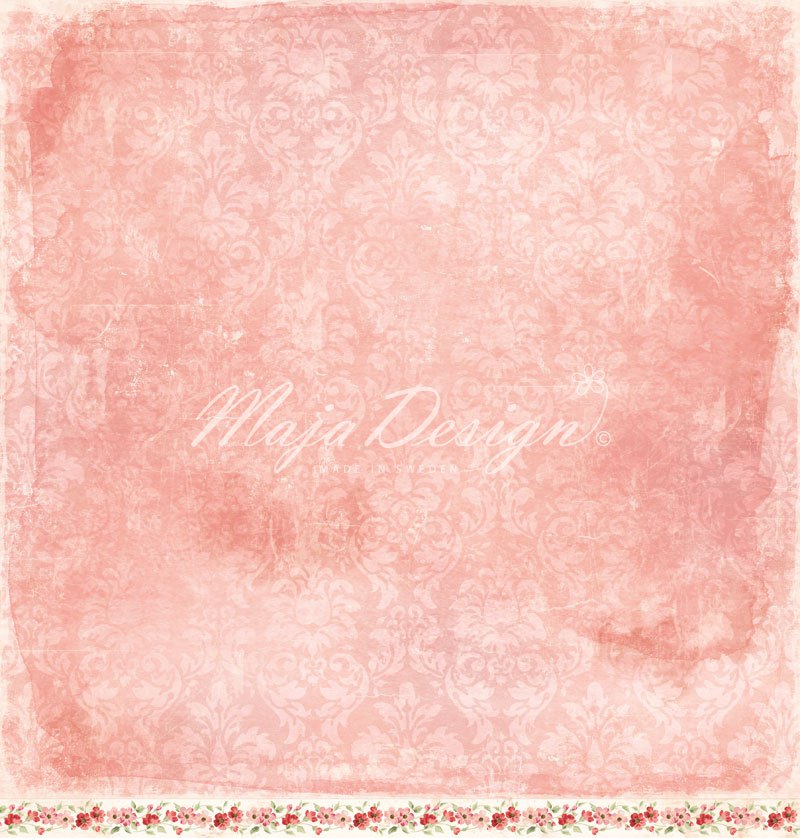
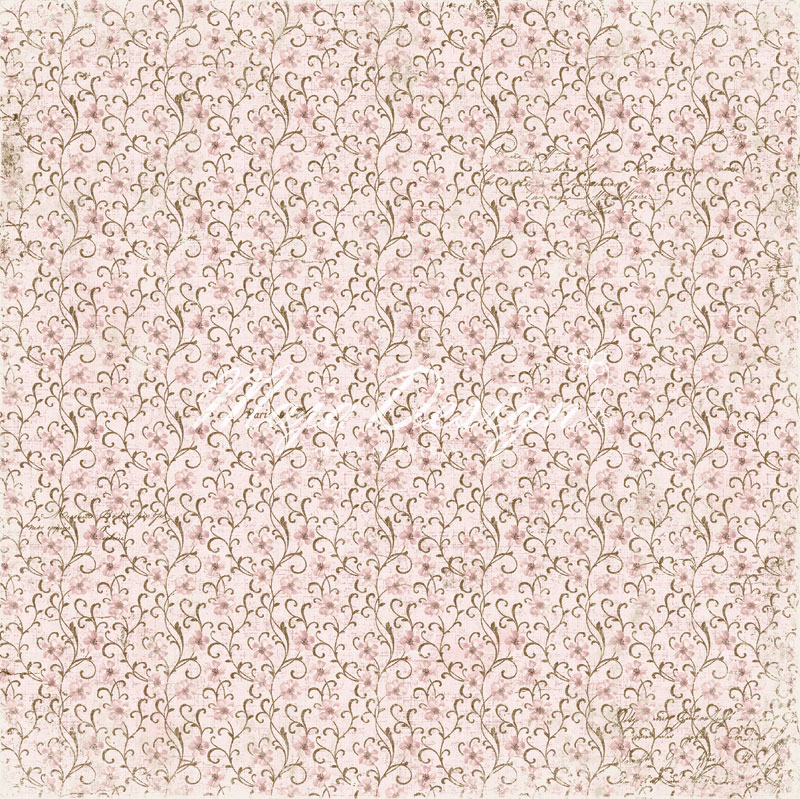
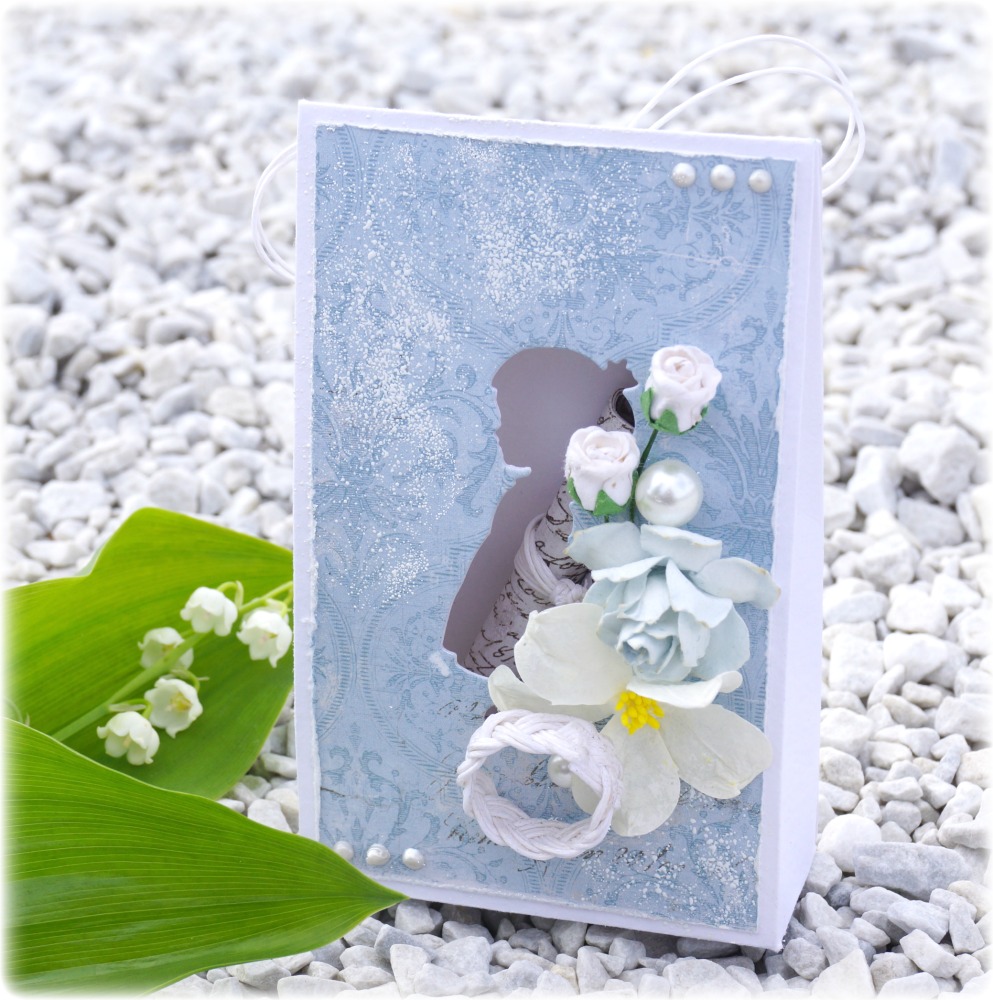
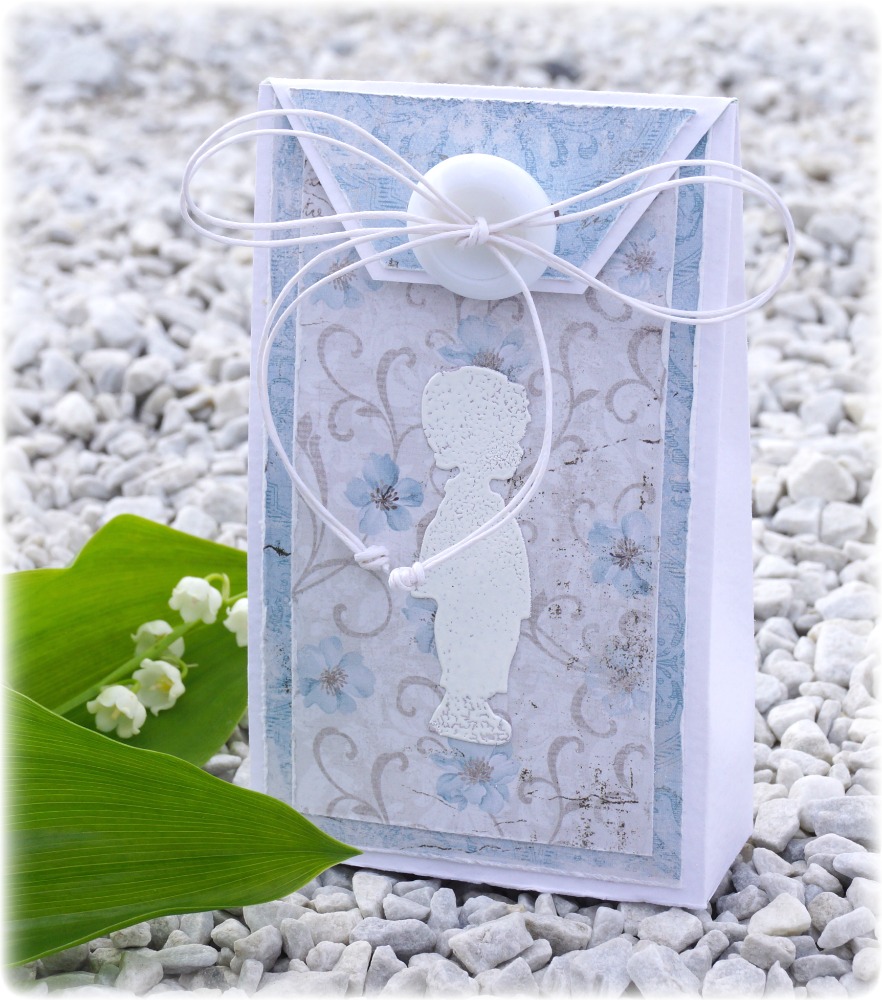
Now I would like to show you two other layouts that I made with a couple of other gorgeous Maja Design collections! The pretty “Vintage Romance”and mixture off two collections for my other layout! The first layout was made for Cheery Lynn Designs and the other one for The Dusty Attic 😉

20160809_131359_HDR

20160721_160739_HDR16

Thank you so much for visiting the blog today I hope you have enjoyed my work…..and I will see you in two weeks with another project. Have a marvelous weekend everyone.

Hugs

4


Lollipop card with Maja Design papers {tutorial}

8

Posted by Camilla Støen Bakke

10 August, 2016 - , ,

Write a comment

IMG_4239

Hi there! Today I will show you how I make my lollipop cards with the beautiful Summertime papers from Maja Design. The collecion has two main colours to work with, blue and red. I have chosen the red colour scheme for my card.

Summertime-P

Here comes my step by step:

IMG_4077

Above you see a collection of dies, papers, doilies, cheese cloth, paper straw, liquid pearls and sissal grass that I have used for my card. The dies are DooHickeys from Magnolia (mainly the club kit vol 5-the blue ones) and Spellbinders (the circles).

IMG_4091

I start with making the main base in the lollipop card, the rosette 🙂 I cut a whole length (12″x 12″) measuring 5,5 cm.

IMG_4092

You will need two of theses.

IMG_4095

Then I fold the papers using my score pal. If you don’t have one, just fold it with your fingers. I fold every second cm (as you see at 1, 3, 5.. cm).

IMG_4097

Then I turn the paper around, and fold at 2, 4, 6 … cm. Then I will fold it at every cm.

IMG_4103

When you are finished, the papers will look like this, two accordians.

IMG_4110

I use my inking tool to ink the edges with the colour Walnut Stain.

IMG_4113

Then I glue the two parts together. I use Tacky glue.

IMG_4114

Now it looks like this.

IMG_4118

Then I glue the two outher parts together. Press it untill it is fasten together.

IMG_4120

You will now experience that the paper rosette will not lay the way you want 😉

IMG_4117

So you will need a piece of paper to attach it to. Use more glue…


IMG_4125

Place it on the back of the rosette. And press untill it is fasten.

IMG_4127

Now your rosette will look like this.

IMG_4128

I will use this gorgeous girl as the main image.

IMG_4139

I will now cut out all the other parts.

IMG_4142

Here they are. The papers are so beautiful! Like as all the parts are small treasures.

IMG_4152

To make the flowers crumpled, I first spray them with water.

IMG_4155

..like this 🙂

IMG_4159

They are thick papers, so you will need some water.

IMG_4162

Then curl them together, and let them dry.

IMG_4166

Meanwhile I prepare the back of the card, where I will place a piece of paper to write a greeting on.

IMG_4168

I am also making the tassels. Just love them! Too cute 🙂

IMG_4170

Here they are both, rolled together.

I will now show you how the lollipop card turned out:

IMG_4199

I have also added some white gesso on the flowers and the rest of the papers. And also put stamens inside the flowers.

IMG_4229

And under comes some detail photos:

IMG_4241

IMG_4193

IMG_4195

And at last a detailed list of the paper used:

I hope you liked my card, and that you got inspired to make one or two yourselves! Thank you so much for stopping by, and I wish you a lovely day!

With love,

Camilla

Summertime!

4

Posted by Amy Voorthuis

18 July, 2016 -

Write a comment

Goodmorning lovelies,

Are you all enjoying your summer? Well for me that starts in little under one month, hopefully all will be better in Turkey by then as we leave to go on our vacation. For today I would like to show you some more projects showing of the newest “Summertime”collection! I am not sure what it is but this is such “must create” with collection that I just can’t put my finger on it hihihi. For my projects I used all pretty dies by Cheery Lynn Designs what better way to show off that gorgeous collection right?

Amazing Summertime:

20160709_074140_HDR

As you can maybe see this card looks a lot like the card on my last post but only here I used a different color scheme more of a beach feeling. The pictures in this collection are super cute that it draws you to fussy cute them and create any kind of project with it.

20160709_074145_HDR

20160709_073955_HDR

Maja Design papers used: Only the blue and creme papers plus the 6×6 paper pad & It’s my favorite, Cute summer dress, Playing at the beach bs, Glittering water, Having fun bs, Wind in my hair bs.

Summertime-P

For the other card I used the other pretty colors in this collection and made a birthday card which is a very large card by the way the flowers on this card are also handmade. And I used a pretty new embossing folder and lots of dies. I am very pleased with how both cards turned out so very differently while using the same collection.

Happy Birthday: 

20160709_191457_HDR1 (1)

This card was made with lots of layers as you can see and I probably used all the papers in this collection for the flowers. For the flowers I mostly use scraps because then I use my scraps because when I don’t the pile of scraps will become massive. What do you do with your scraps I wonder???

20160709_191509_HDR

20160709_191503_HDR

Maja Designs papers used: Only the red, pink, green and creme papers plus the 6×6 paper pad & Wind in my hair bs, Taste the strawberries, Light scarlet, Taste the strawberries bs, Flowers everywhere bs, Is always the best bs, Is always the best, Greenery bs.

Summertime-P

Thanks for being here with us today and I hope you will visit my blog later today ==> “HERE” <== for your chance at winning this gorgeous collection….. next time I will have a layout to show you 😉 have a lovely weekend everyone!

Hugs

4

Happy Summer

7

Posted by Amy Voorthuis

1 July, 2016 - , ,

Write a comment

Goodmorning Maja fans,

I am delighted that you are here because I’d like to show you a card that I created with the super cute new “Summertime”collection! This collection has wonderful images on it and lovely new prints it screams summer…..also it has different color schemes for instance blue/cream, red, pink/cream and also a little green so you can make all sorts of different projects that you prefer. Today I went for the pretty red/green/cream palette. For this card I used a bunch of dies too 😉

21

It’s a card with a see through part. Behind the French Lattice die I put a piece of transparent  sheet you see that on my detailed pictures more then here. I just love that bike so much that I had to fussy cut it and use it on my card.

6

The flowers are handmade with dies and all the leaves you see are also dies! This collection is for sure going to be one that I will be using a lot more in my future projects. You can also have a chance on working with this amazing collection because later today I will be hosting this months give away on winning this paper collection on my blog…..so if you want a chance please visit my blog later today 😉

3

4

Maja Designs papers used: 6×6 Summertime paper pad, Wind in my hair {by the sea}, Greenery, Light scarlet, Is always the best & Flowers everywhere {In the garden}

853-Wind-in-my-hair-bs 849-Greenery-bs

847-Light-scarlet 842-Is-always-the-best

844-Flowers-everywhere-bs

Summertime-P

Thanks for being here with us today and I hope you will visit my blog later today for your chance at winning this gorgeous collection…..have a lovely weekend everyone!

Hugs

4

The Wedding Vows

0

Posted by Silje Kristin Aunan

13 June, 2016 -

Write a comment

Good Morning Everyone, and thank you for visiting the Maja Design Blog 🙂

I have in the past few weeks think about weddings and the ideas just come by themselves all the time. I feel inspired to create several different weeding projects, filled with Romance, details, bright colors and love. 

The project I am going to show you today is actually taken from one project I made ​​a little while ago. Today I’ll show you some paper bags  made ​​to the Bride and the Grom. I also made ​​a step by step in pictures, which are published in my blog tomorrow.

The paper sheets I’ve used on the bags are from Maja Design’s new collection Vintage Romance.

Vintage-Romance-P

I have used two sheets in a blue tone and two papers in a pink tone. Both sheets are similar in pattern, only the color that separates them.

Happy Ever After

Happily ever after

Together Forever

Together forever

Passion


Passion

Just You and Me

Just you and me

I have not done so much with the paper sheets, the only thing I have done is to use a pair of scissors on the edges to make them worn. This is to make the project a little more Shabby Chic.

The idea of ​​doing the front with a girl and a boy, came when I found one set of dies from Frantic Stamper – Silhouette Kids.

These are just so cute and fits just as perfect, if you want to make something romantic. I have intentionally used the boy on the front of the bag that is in pink and the girl on the one in blue. 

The idea is that the bags may have the marriage promises. In the one from the man, in the pink bag as a gift for the woman, and the one that is written by the woman is a small gift to the man. This is also a great way to preserve the vows <3

On Back of the bags is the other one. What I mean by this is that the blue bag with a girl in the front, there’s a boy on the back side and on the pink bag it is a boy.

Each of the bags are decorated with flowers, rings and Embossing powder. 

The pink bag with the boy, has pink and white flowers, a lady ring which is braided of white woks tread and pearls.

The bag in the blue have the same details, only that here there is a larger ring and instead of flowers in pink, these are blue. The flowers are from Wild Orchids and Papirdesign.

If you looking through the silhouette of the boy and the girl, you can see the promises that lies inside of the bags. This Paper sheets is also from Vintage Romance, and called Words of Love.

On the back side of the bag, you can see that the bag are closet with a large bow, with a lage white button. The great thing with this bag is that it is not necessary to open the bow to have something inside the bag. You can do this at the bottom of the bag. 

Both the boy and the girl are embossed with white powder from Ranger. Here I have tried to bring out some of the color underneath, so it gets a little pink on the blue bag and a little blue on the pink bag. 

I’ve also made ​​it so that the back of the bag with the girl on, it’s a boy and vice versa on the other. This I have done because I wanted it to be a boy and girl on both bags, as a couple.

On the front I have also used white Embossing powder to create an special effect and I want to bring up some of the items that I’ve used on the back of the bags. 

The half pearls are created by Nuvo – Crystal Drops, the color I have used is called Ivory Seashell. These bottles are absolutely wonderful and come in many beautiful colors. I really recommend them.

Now I have shown you my bags with the wedding vows, a romantic way to preserve the romance <3

SiljeKristin-sign