Well hello to you and a very very Happy New Year!! I certainly hope 2017 is kind to you and blesses you with many wonderful suprises.
Tina O with you today to share with you my first Maja Project for the year!!
Unfortunately the start of 2017 has not been so kind to me. I had a small incident whereby I dislocated my shoulder…..arghhhhhh. So this typing is done one handed (lefthanded) with my other in a sling. Scrapping has been somewhat difficult and let’s just say it takes twice as long to do things! So I am hoping for a very speedy recovery. But with that being said I still got to meet my deadline and here it is…..
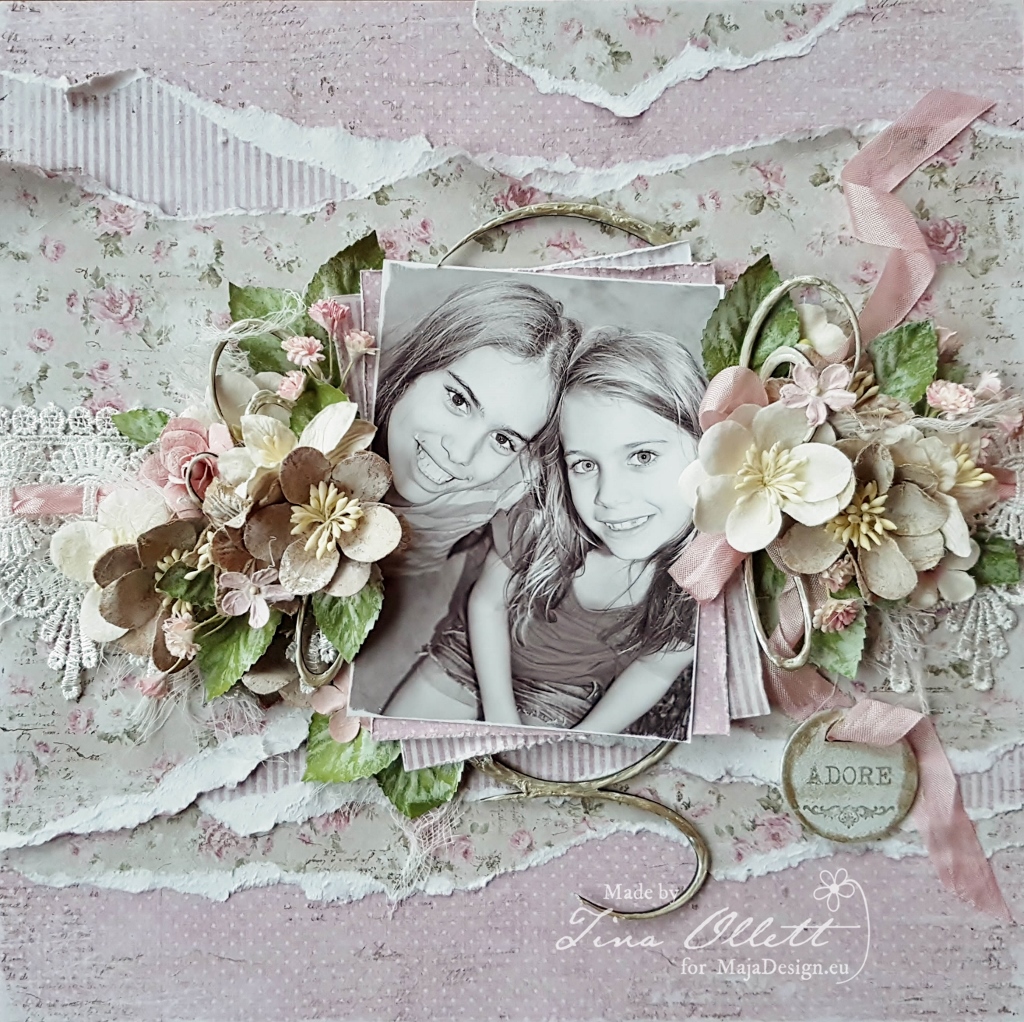
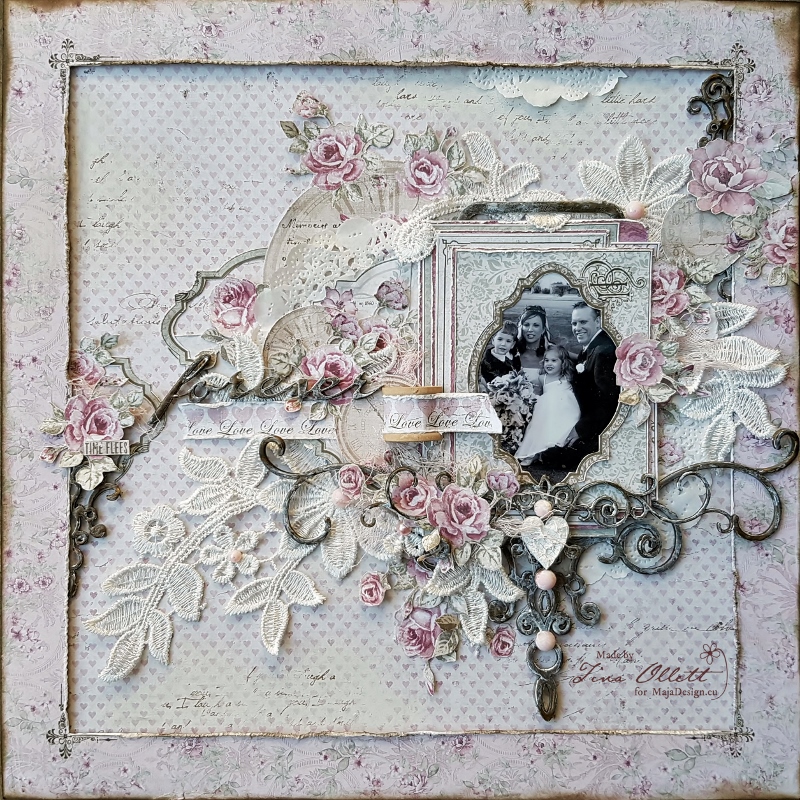
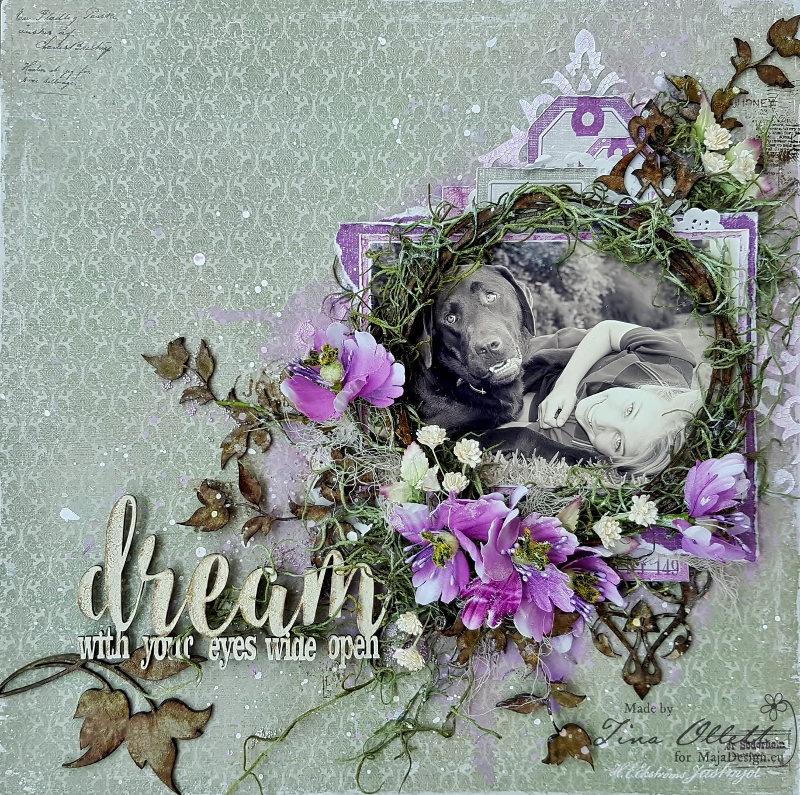
“Dream with your eyes wide open”

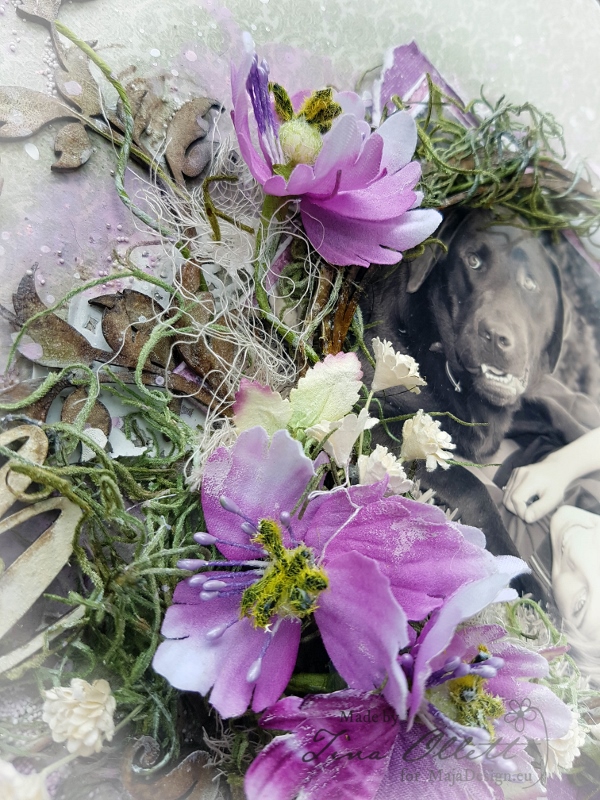
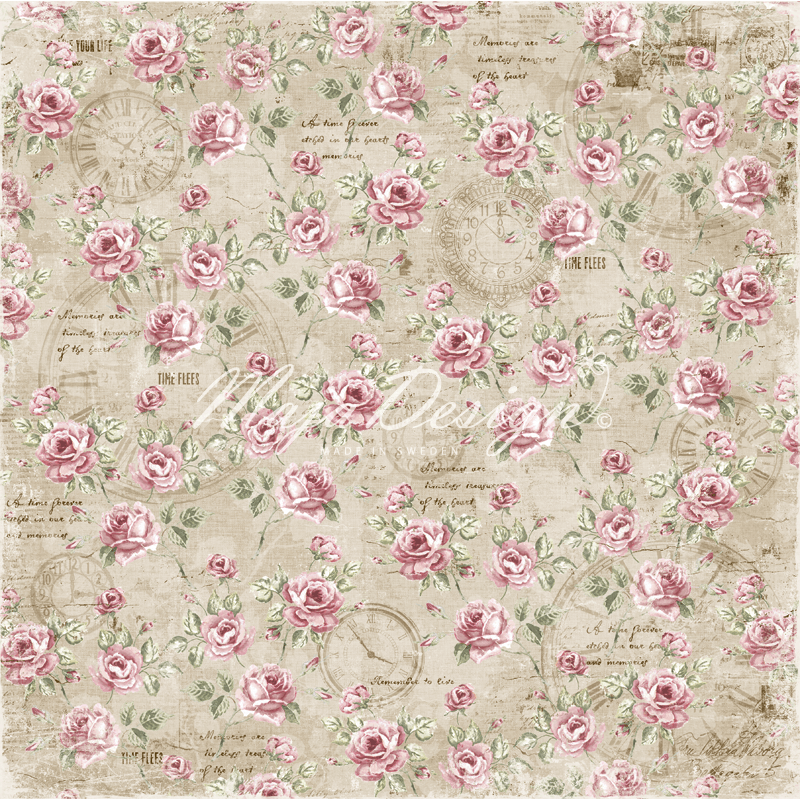
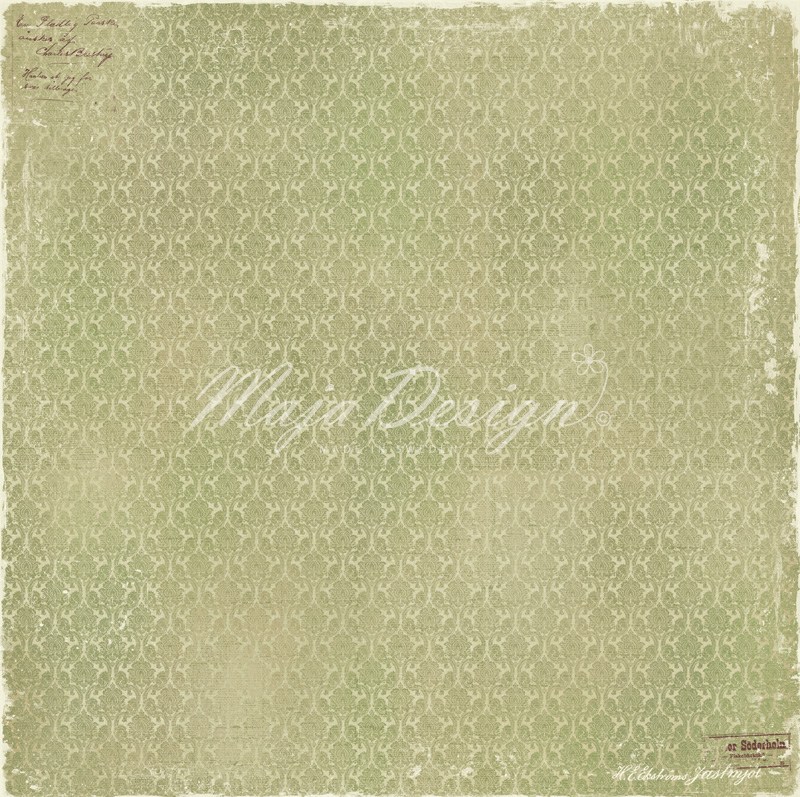
My youngest girl just adores our fur family and every chance I get, I photograph her with them. I shot this photo last week with our beautiful boy Rafael and I just adore it. My project here today was created using Maja Design’s “Enjoying Outdoors” collection. This was one of my very first collections to choose when I first come on board Maja. I so love all the earthy tones combined with the pinks and purples. For my background I chose to use “Woodlands”. I preped the background with clear gesso and some Crackle texture paste through the Kaisercraft 12 x 12 Damask Stencil. I also did a small amount of stamping with some Walnut Stain distress ink.
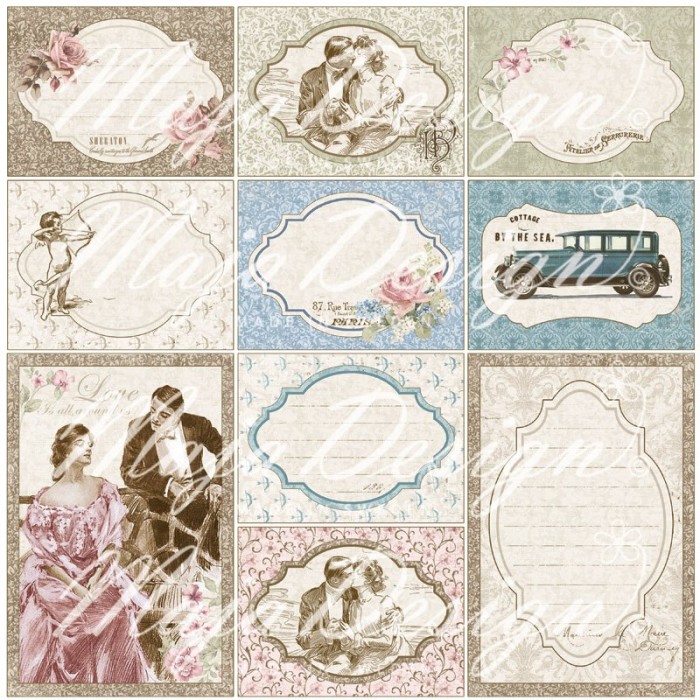
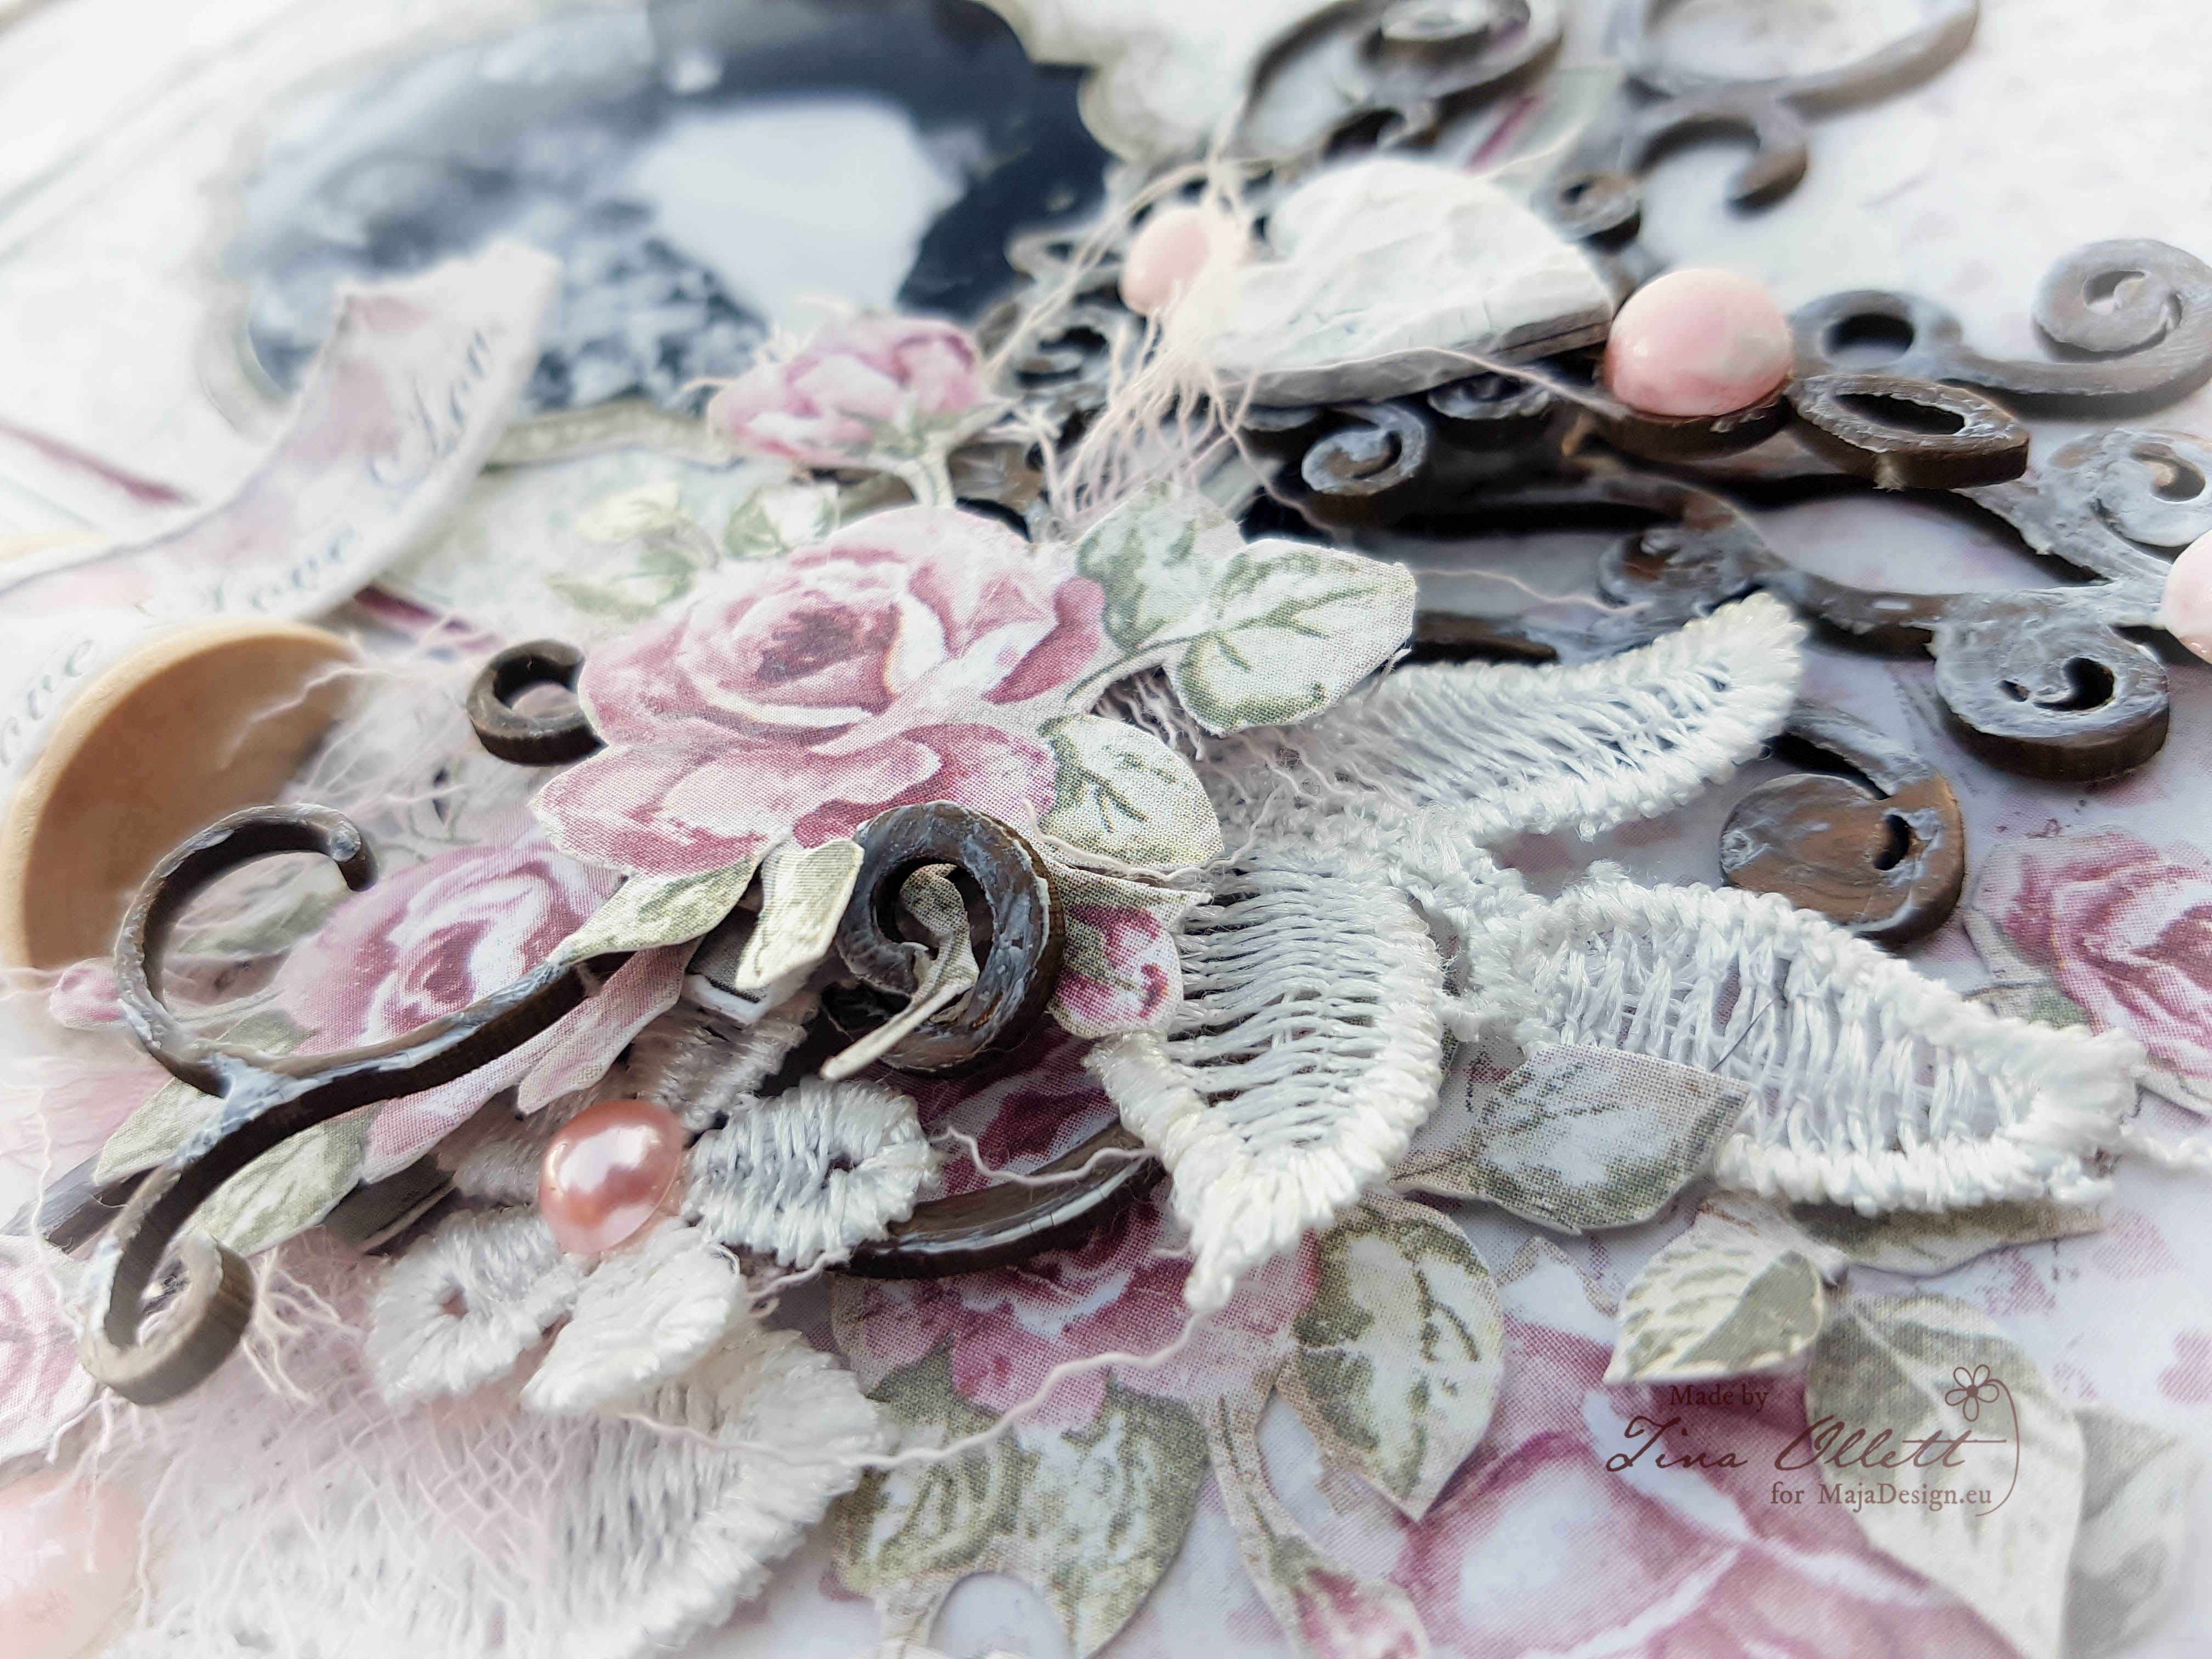
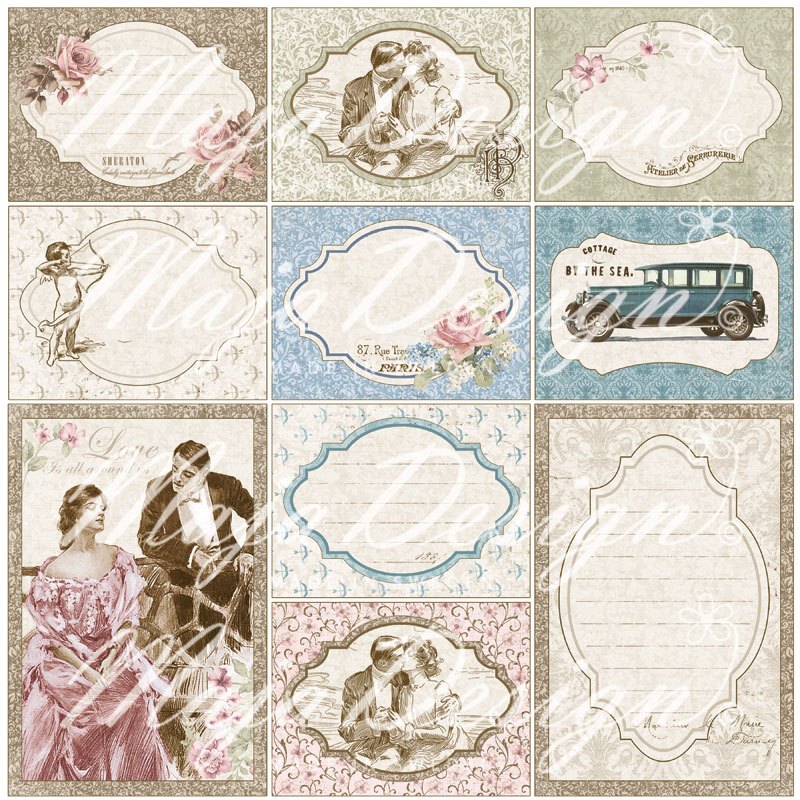
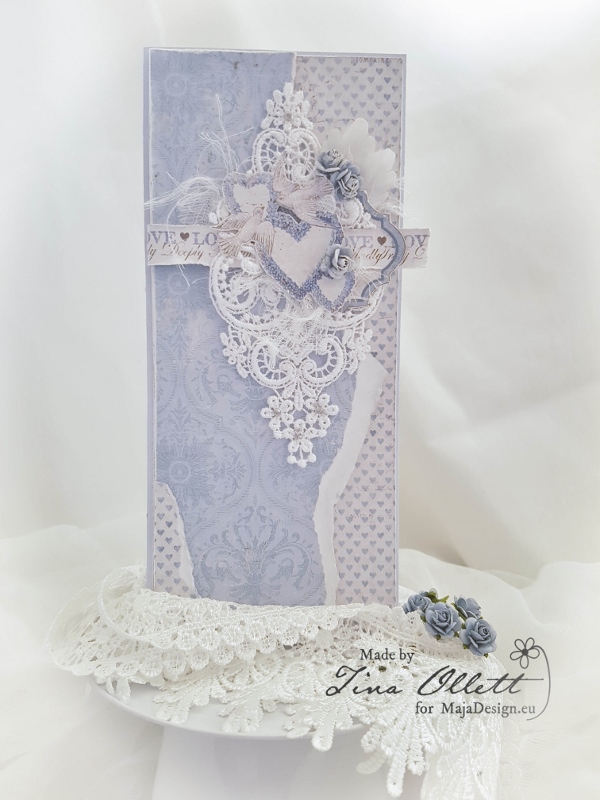
I used Maja Designs Enjoying Outdoors both front and back to create my layered background for the photo. I tore and distress these papers and I also added in torn journaling cards and tags from the Enjoying Outdoors Tags & Journaling sheet. I tucked in some torn paper and white doilies around the photo matting to help start my page off. You can see some of the layering I did above.
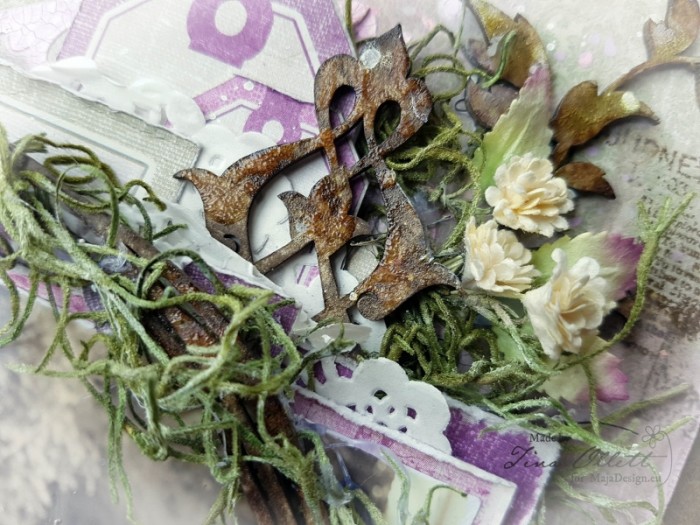
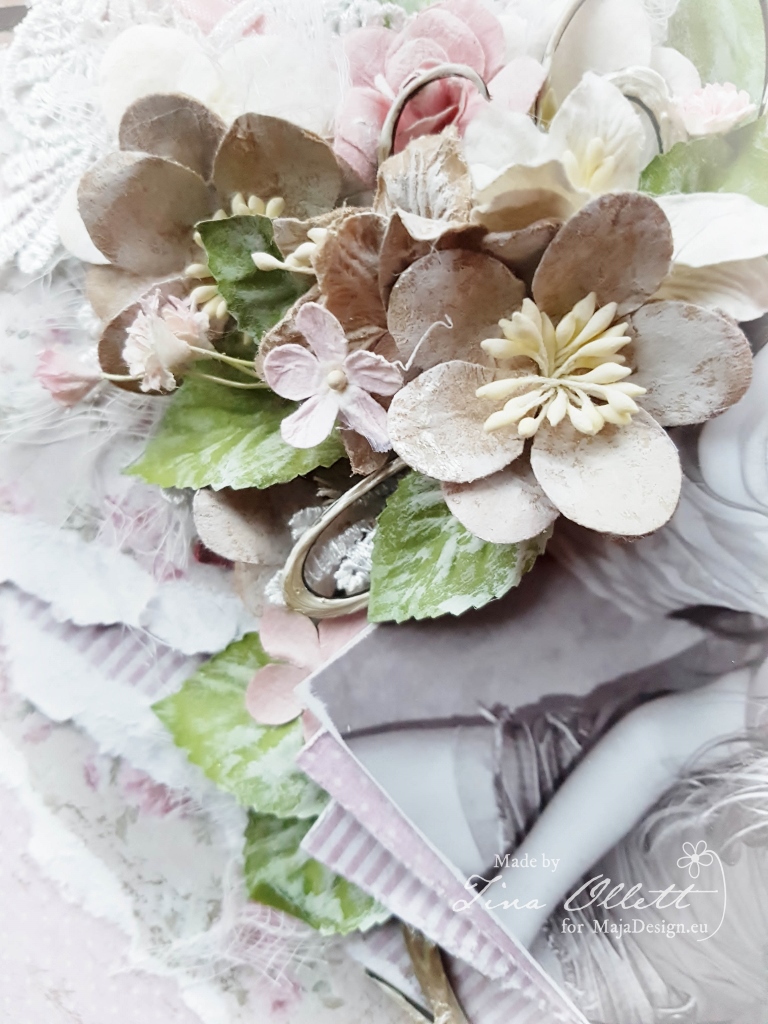
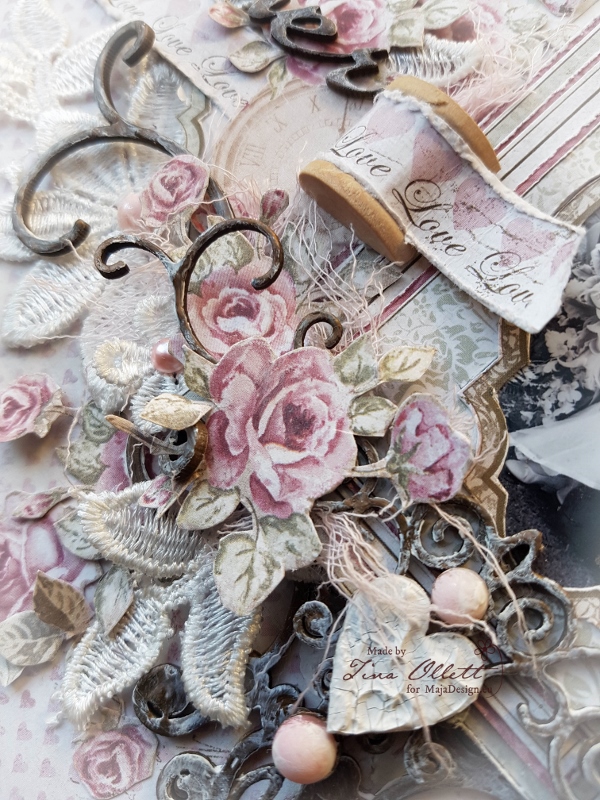
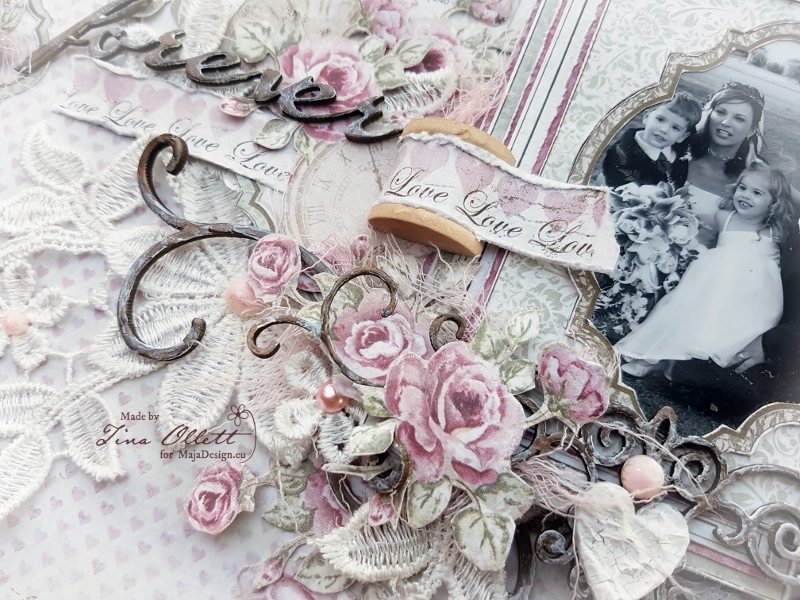
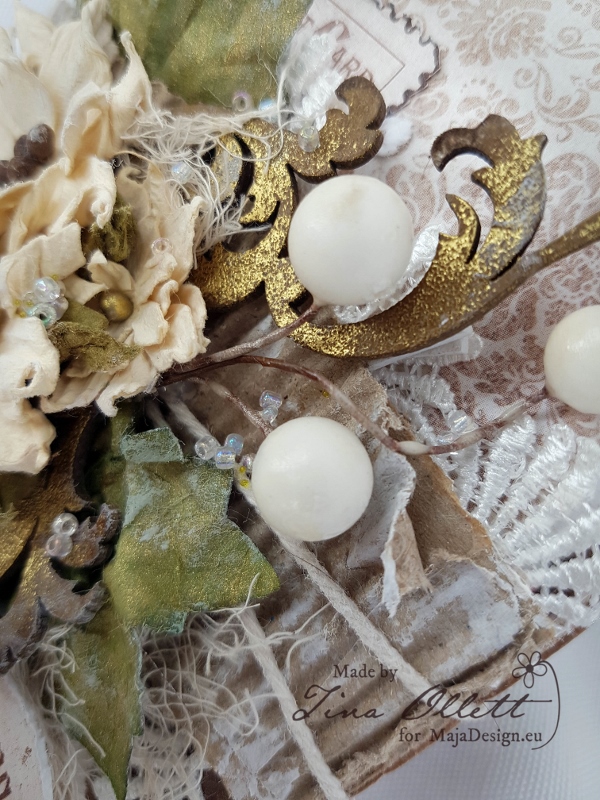
Above and below you will see that I have used quite a bit of chipboard . I used the Dusty Attic String Frame to frame my photo which I printed off in a sepia tone. The String Frame was inked in Walnut Stain Distress Ink and coated with a small amount of Distress Crackle Paint to highlight and deepen the colour. I then wrapped moss and green florists wire around the String Frame. This was then adhered to the photo.
You can see the string frame above.
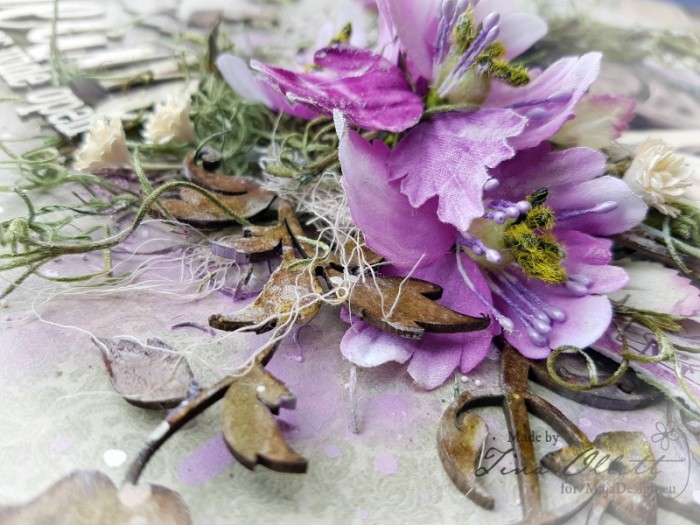
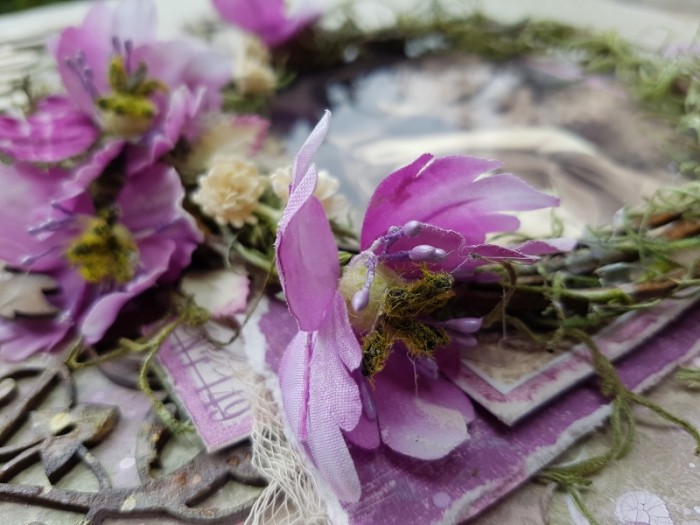
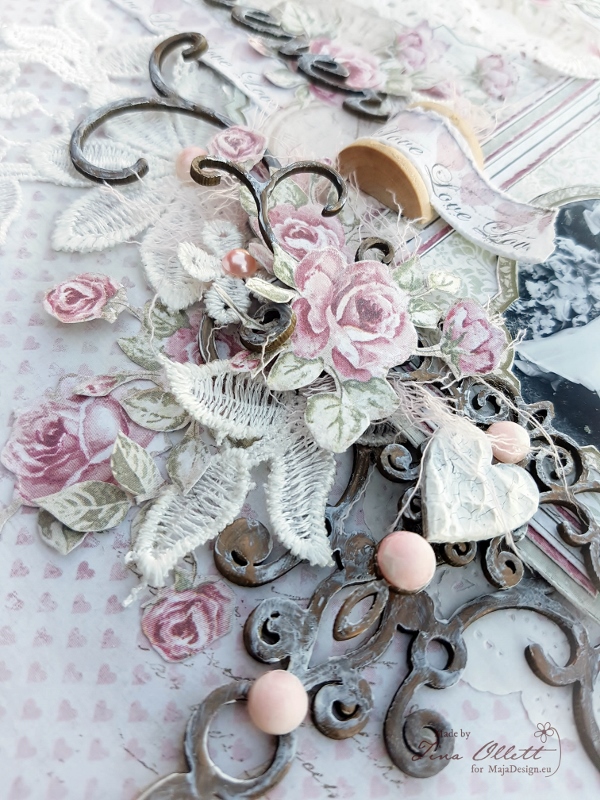
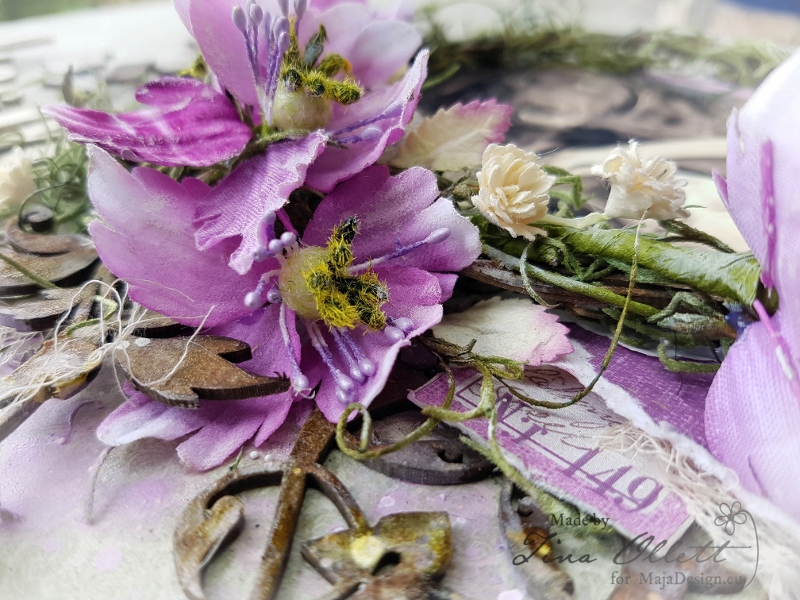
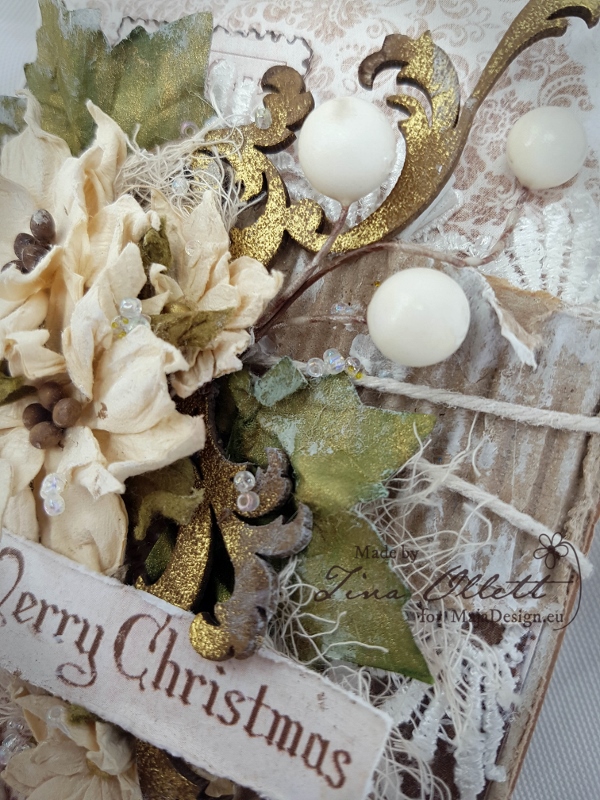
Another view of the string frame wrapped in moss. You can also see here some of the foliage chipboards that I added into the flower cluster. These were dressed the same as the string frame but with just a hint of Forest Moss Distress Ink added in.
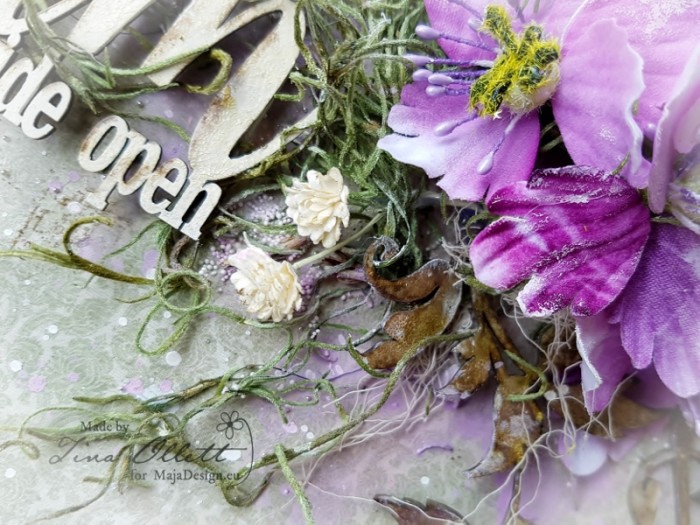
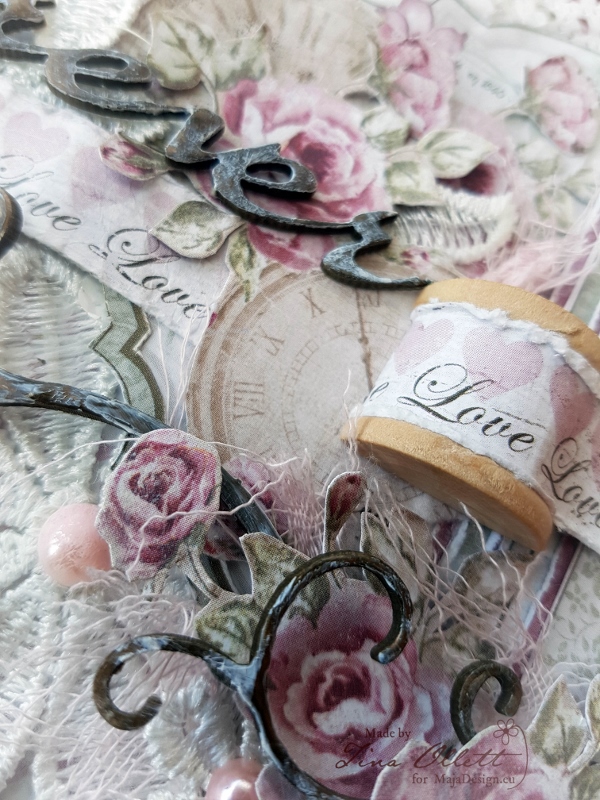
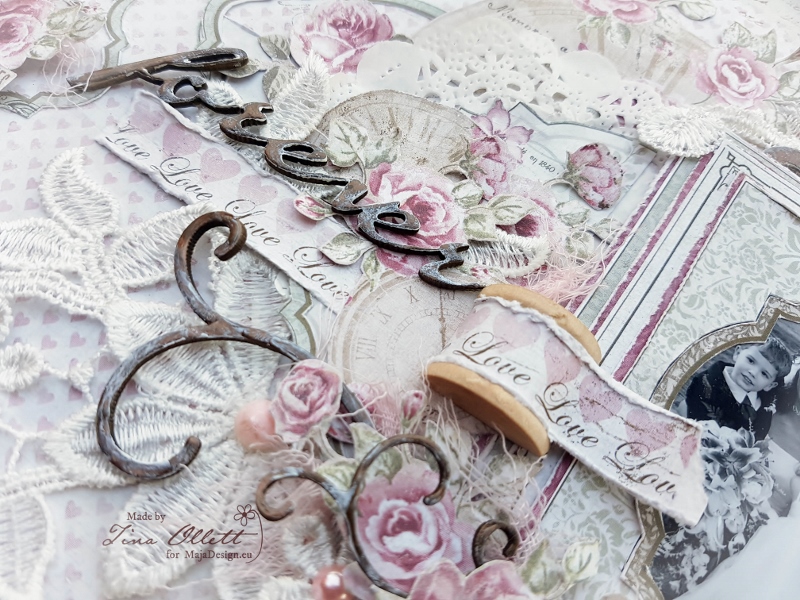
I love this title chipboard I have used here…..It would have to be a favourite quote of mine.
“Dream with your eyes wide open”
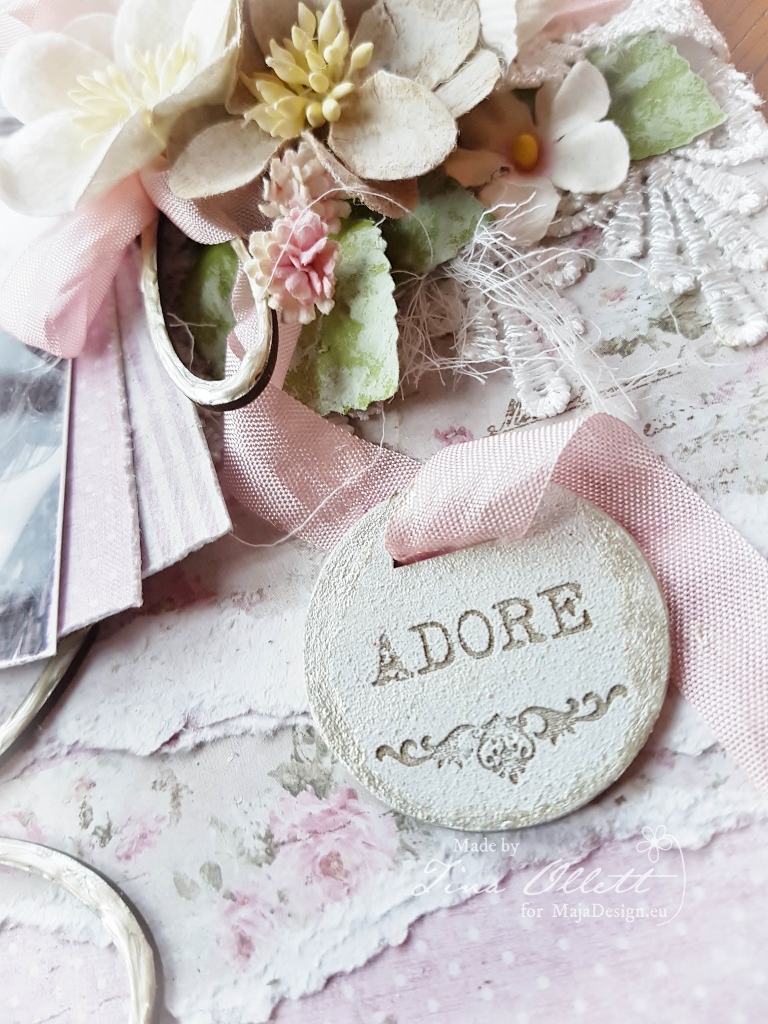
This was dressed in Antique White acrylic and then I inked the edges with some Walnut Stain and Forest Moss to compliment the rest of the project.

These little tags from the Tags and Journaling sheet are just gorgeous and I love adding in little elements with numbers that just don’t mean anything, but is a lovely addition to add interest.
Below I have listed a complete materials list for your convenience.


Maja Designs Enjoying Outdoors Colourful
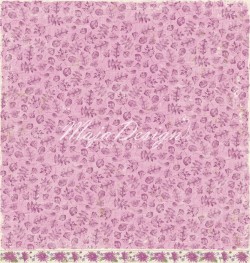
Enjoying the Outdoors Colourful bs
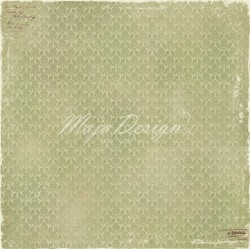
Maja Designs Enjoying Outdoor Woodlands

Maja Designs Enjoying Outdoors Tags & Journaling Cards
Other Products Used
Dusty Attic Fancy Flourish DA0349
Dusty Attic Foliage #5
Dusty Attic Foliage #2
Dusty Attic String Frame Small DA1185W
Dusty Attic leaves
Kaisercraft Damask Stencil
Prima Marketing Inc. Flowers
Miscellaneous Small flowers Cream
Distress Inks Forest Moss, Walnut Stain and Ground Espresso
Distress Crackle Paint
3D Gloss Gel
Wendy Vecchi Crackled Texture Paste
Dylusions White Linen
Kaisercraft Antique White Acrylic Paint
Teastained Muslin
Moss
Art Basics Heavy Gesso
Liquitex Clear Gesso
ArtExtravagance Mini Art Stones
Inka Gold Hydrangea
Well that is all from me today. I hope you have enjoyed visiting me here.
Until next time.


