Chocolate Box by Padoriaa

1

Posted by Paulina Monasterska-Tronina

5 October, 2017 - , ,

Write a comment

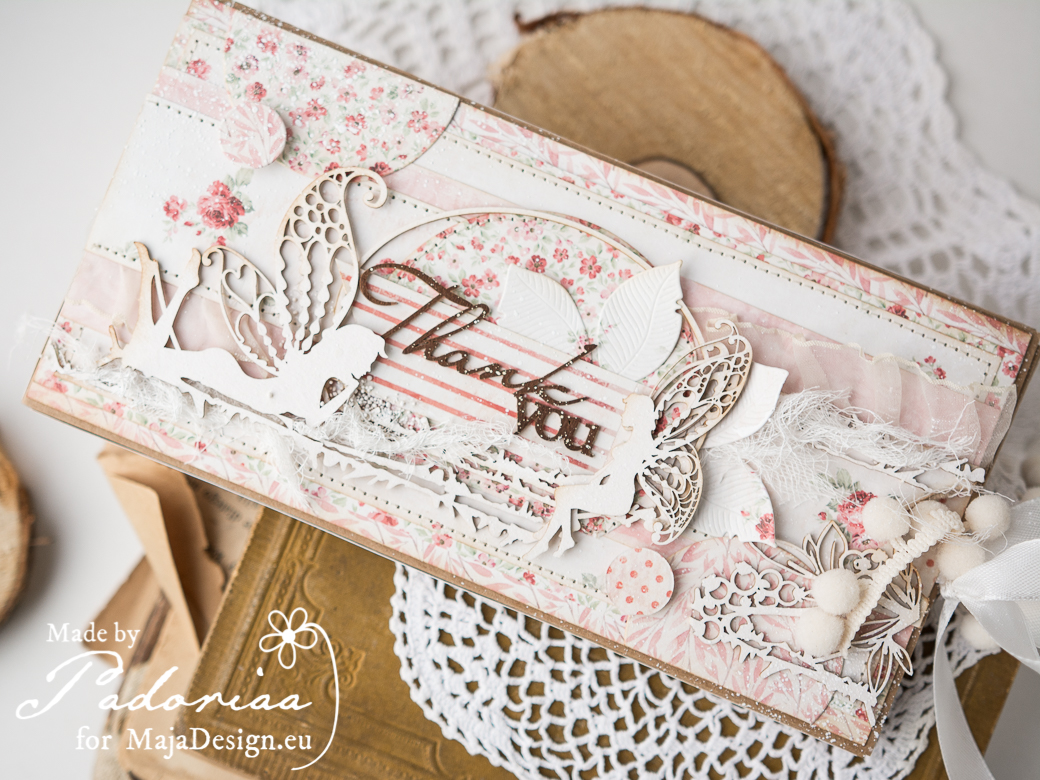
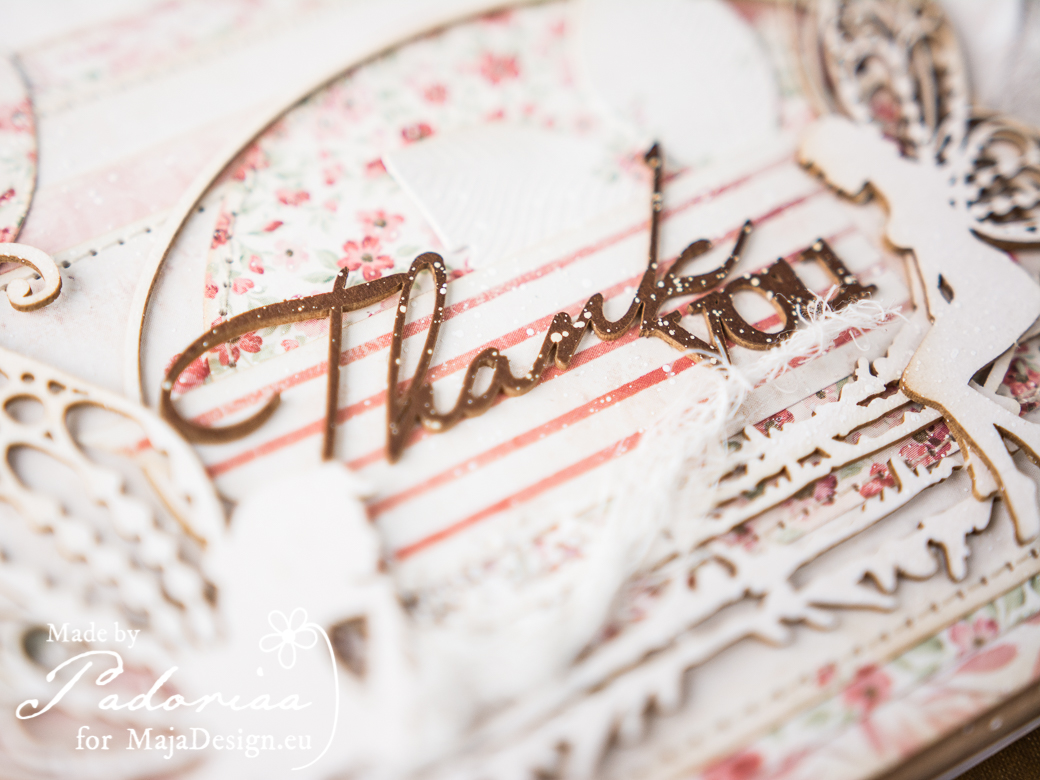
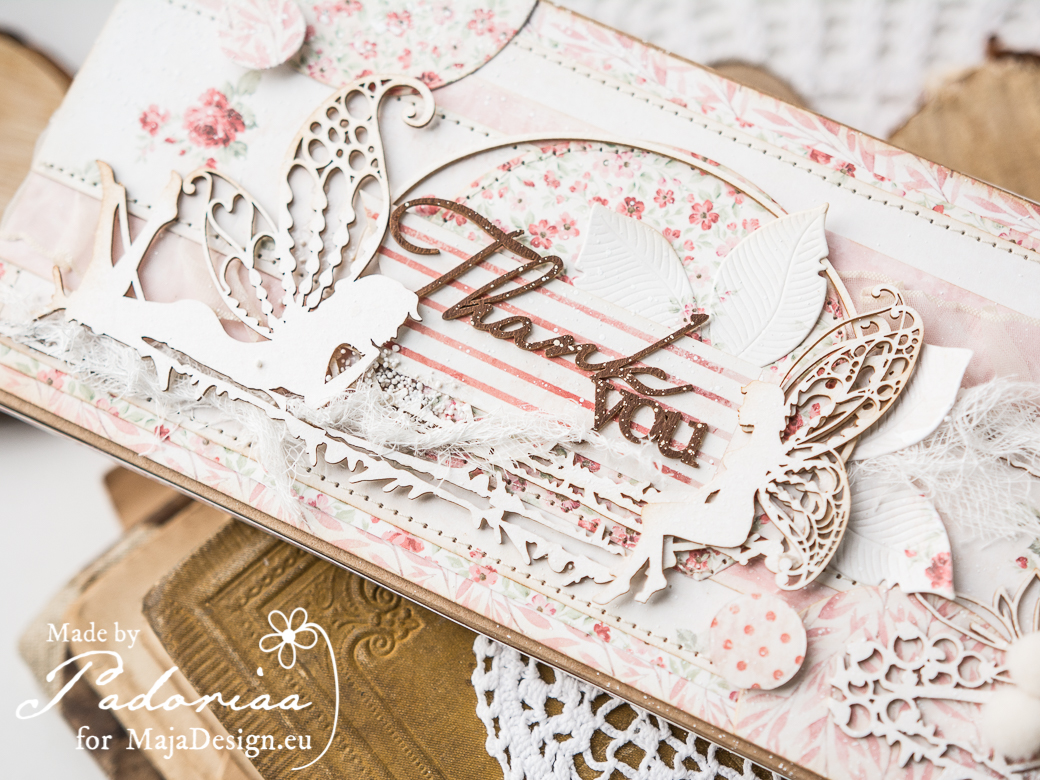
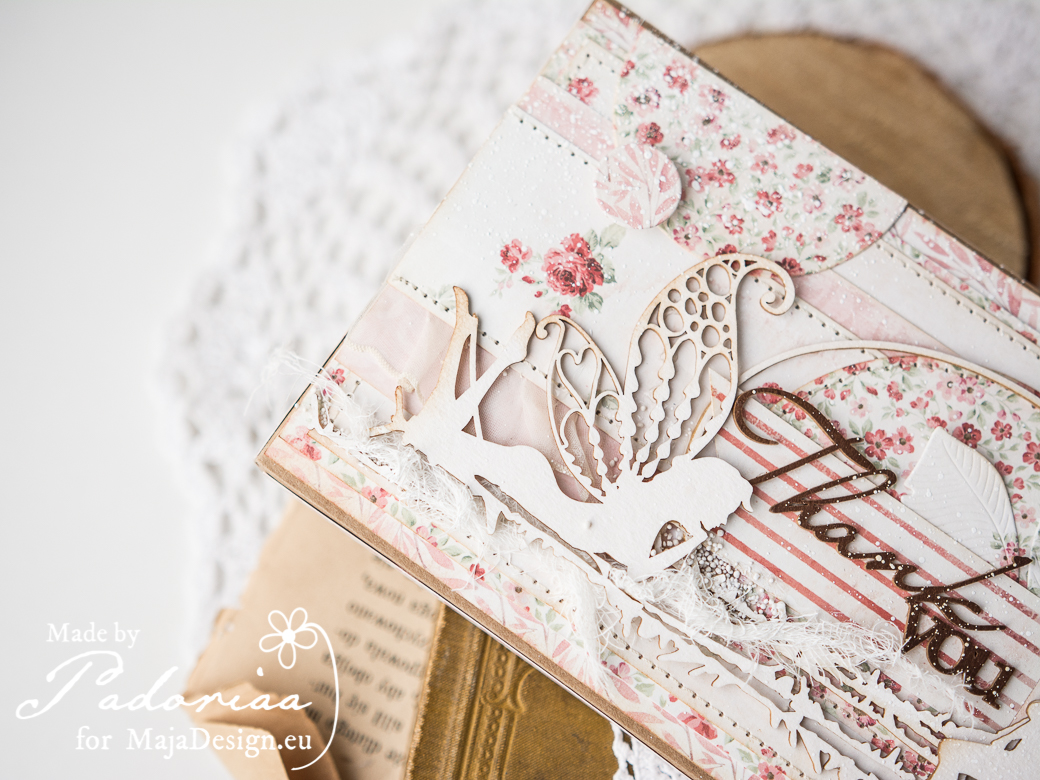
Hello our blog friends. Today I would like to present something a little bit different. It is a first chocolate box decorated by me. It’s gonna be a perfect way to say “Thank you” with the sweet surprise inside.

Chocolate Box

Simple and easy composition, cause “Thank you” is the main element here.

DSC_1484Chocolate BoxChocolate Box

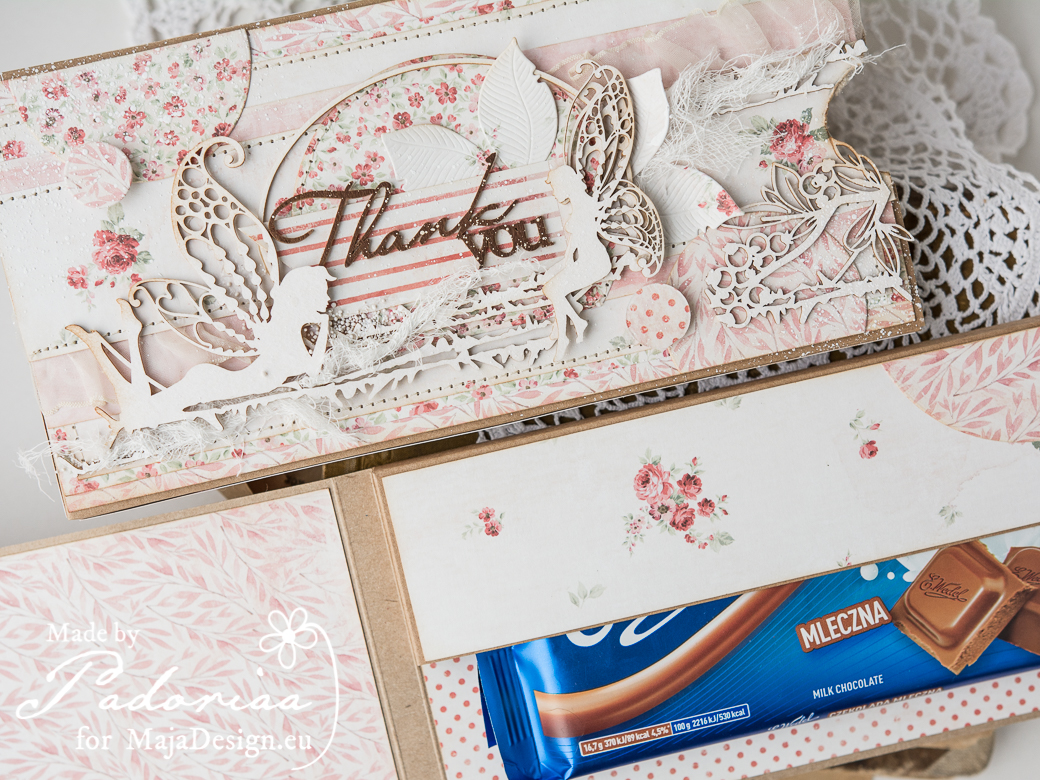
When you open the box on the left you will find the chocolate. On the right you can write some wishes, words just from the bottom of your heart. Simple ideas are often the best.

Chocolate Box

Paper base is the box from Eco-Scrapbooking and  chipboard from Scrapiniec. Paper – Summertime Collection from Maja Design of course. My favourite mix of the best products.

Hope you like it. Hugs, Paulina

Summertime-PPadoriaa-sign

Timeless Memories

0

Posted by Mary Tzalla

1 October, 2017 - ,

Write a comment

Layout

Hello my dear friends!!!

It’s Mary here with you today and I have a new layout to share with you.

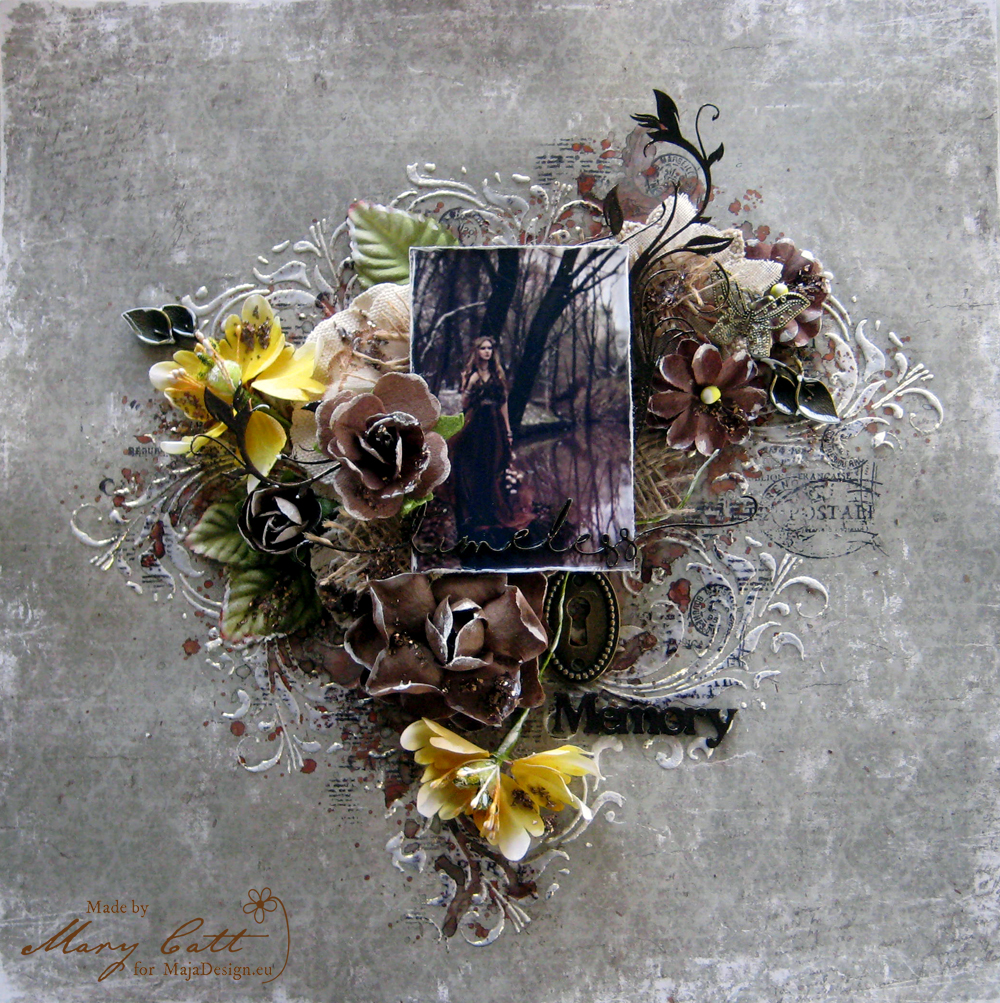
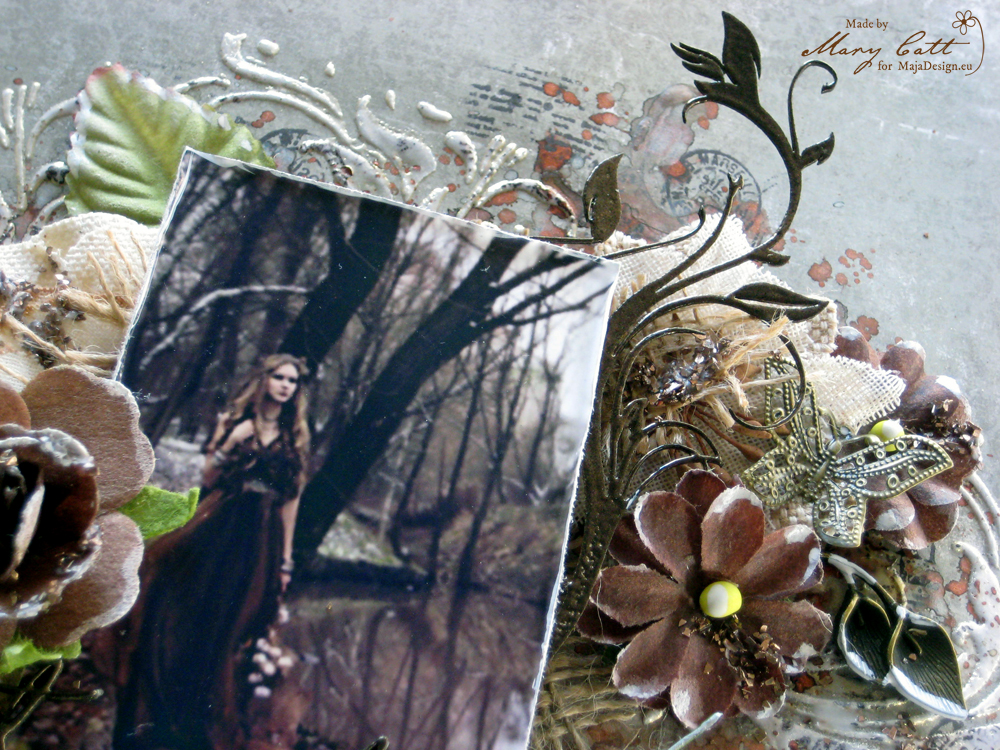
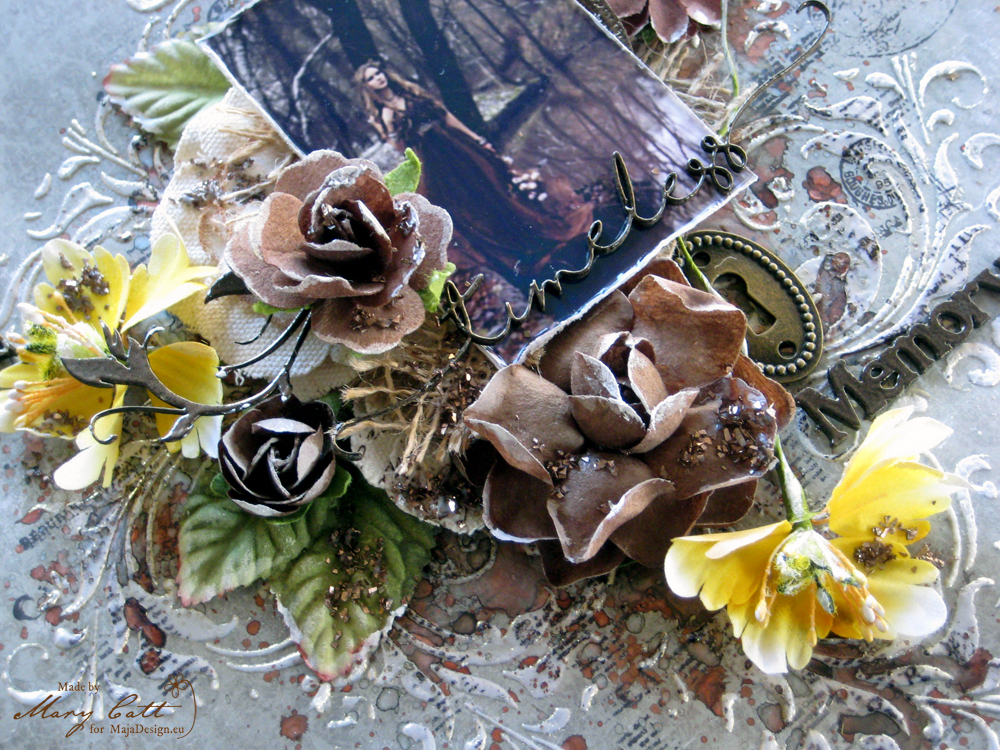
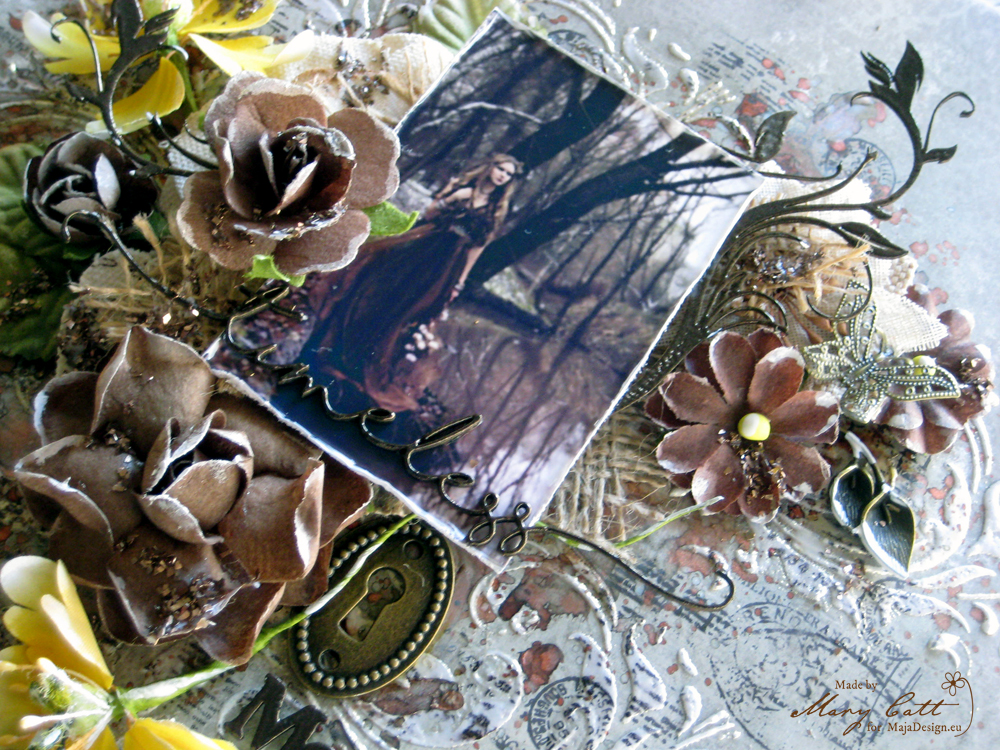
When I found on Pinterest this beautiful photo imediately came to my mind the ”Vintage Summer Basics” collection with the beautiful romanting papers.  So, I choose the ”1921” paper and combined it with some beautiful flowers and a few metal embellishments. But, before I continue more I want to give all the proper credits to the ”unknown” photographer.

Closer 1

I gave my background a coat of clear gesso. When it was dried I added some texture with modeling paste and a stencil and I heat embossed the pattern with the ”Angel Wings Gold” Lindy’s Stamp Gang embossing powder. I continued by coloring my page with Lindy’s sprays ”Cattail Copper Brown” and ”Sea Grass Green”.

Closer 2

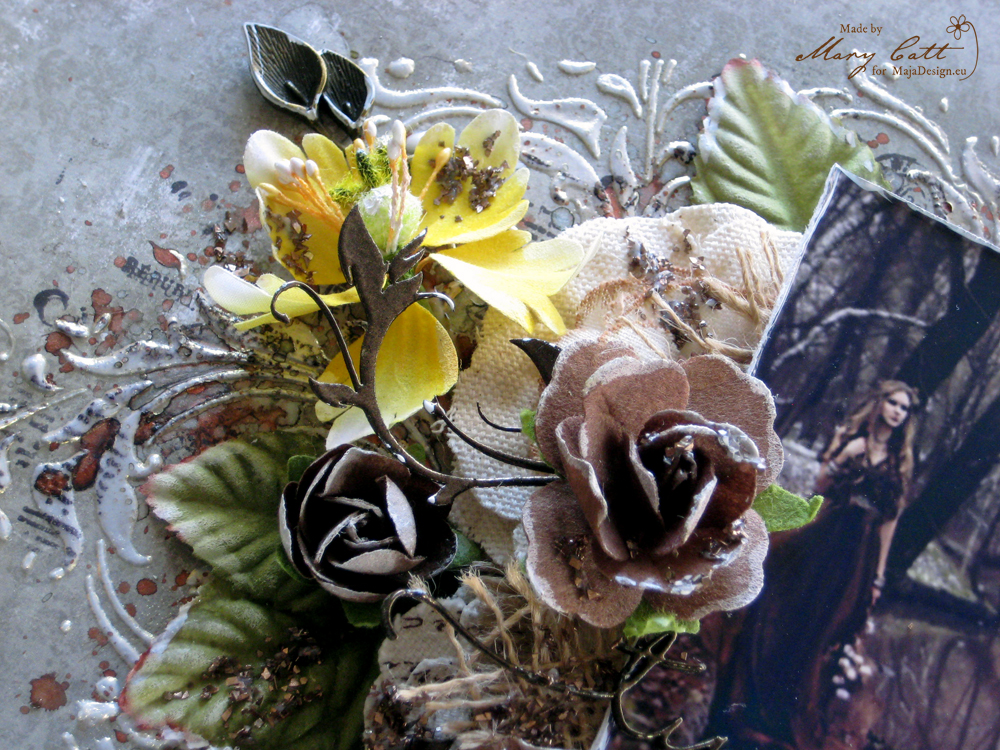
I heat embossed all the chipboards with the ”Midnight Bronze” Lindy’s embossing powder. As usual all the chipboards I used are 2crafty.

Closer 3

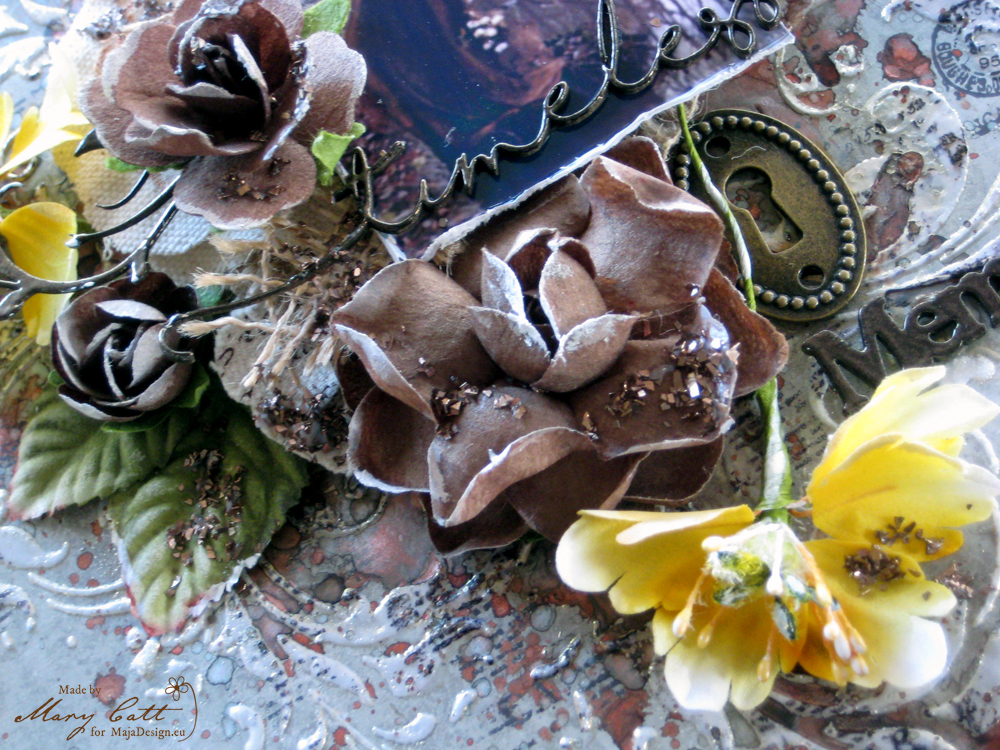
When everything was glued down, I added some Copper glass glitter.

Closer 4

Closer 5

Paper used:

504w1921-bs

Vintage-Summer-Basics-P

That’s all for today, my friends!

Thank you for stopping by!

Mary-sign1

Κράτα το

mm

Mary Tzalla

Hello! My name is Mary and I live in Greece. I met scrapbooking five years ago. I love creating layouts but I also design tags, cards, mini albums, canvases and altered items as well. My style is mixed media, with a little vintage and some shabby chic touches. If you want you can see more of my work here: https://artdesignsbymary.blogspot.com/

First Christmas card by Padoriaa

3

Posted by Paulina Monasterska-Tronina

28 September, 2017 - ,

Write a comment

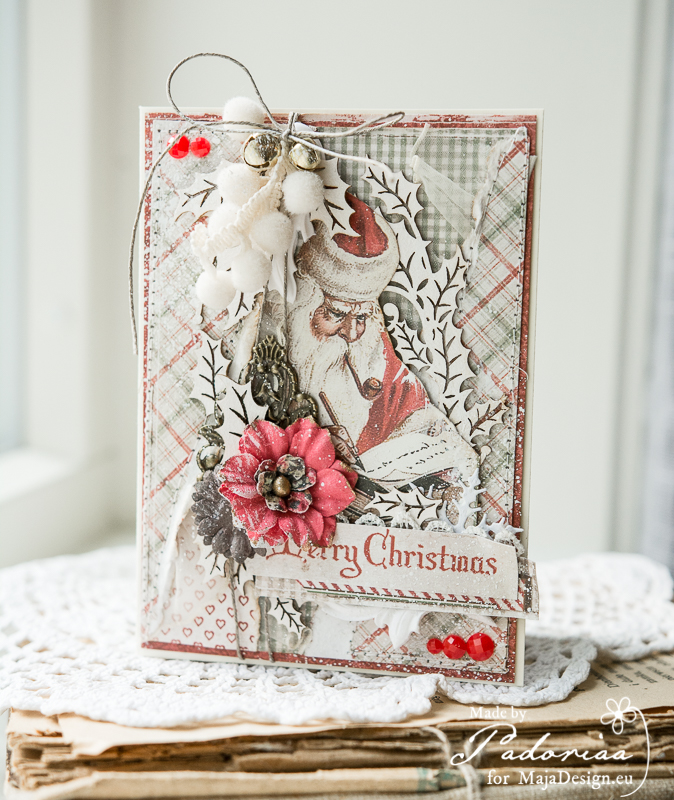
Hello our blog friends. This time I would like to show you my first Christmas Card. I received the Christmas paper collections a long time ago. Couldn’t wait to use them! Finally I can say – the season for the Christmas cards has started ! 🙂 Here is my first proposal :

Christmas Card

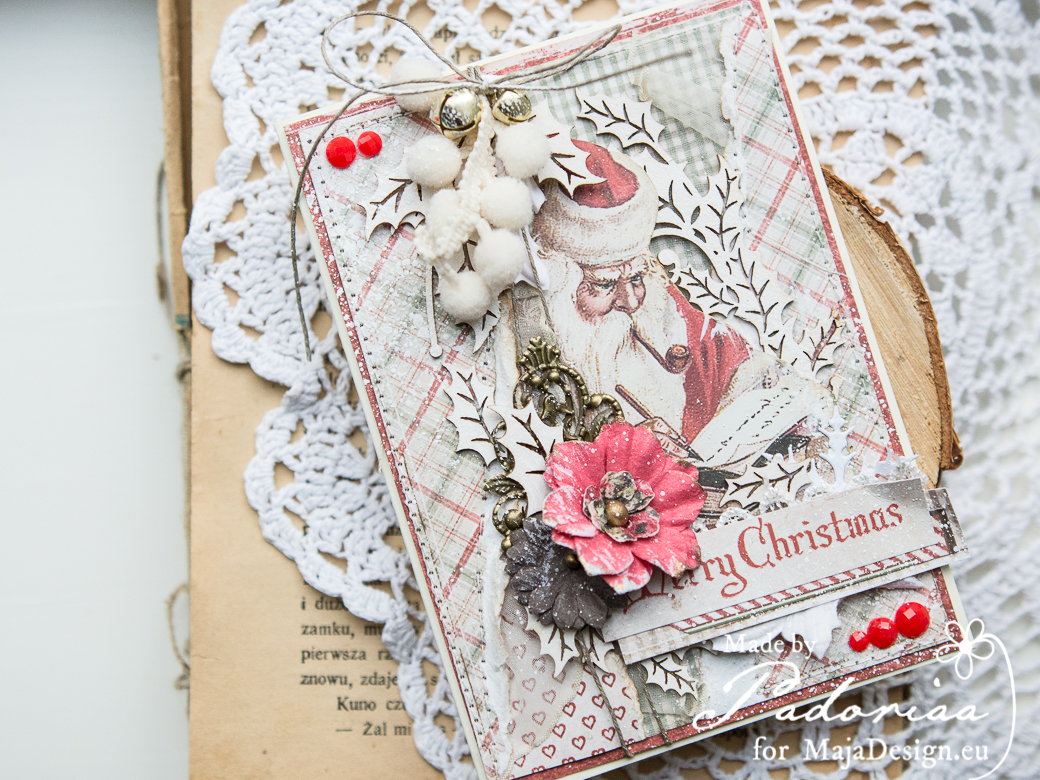
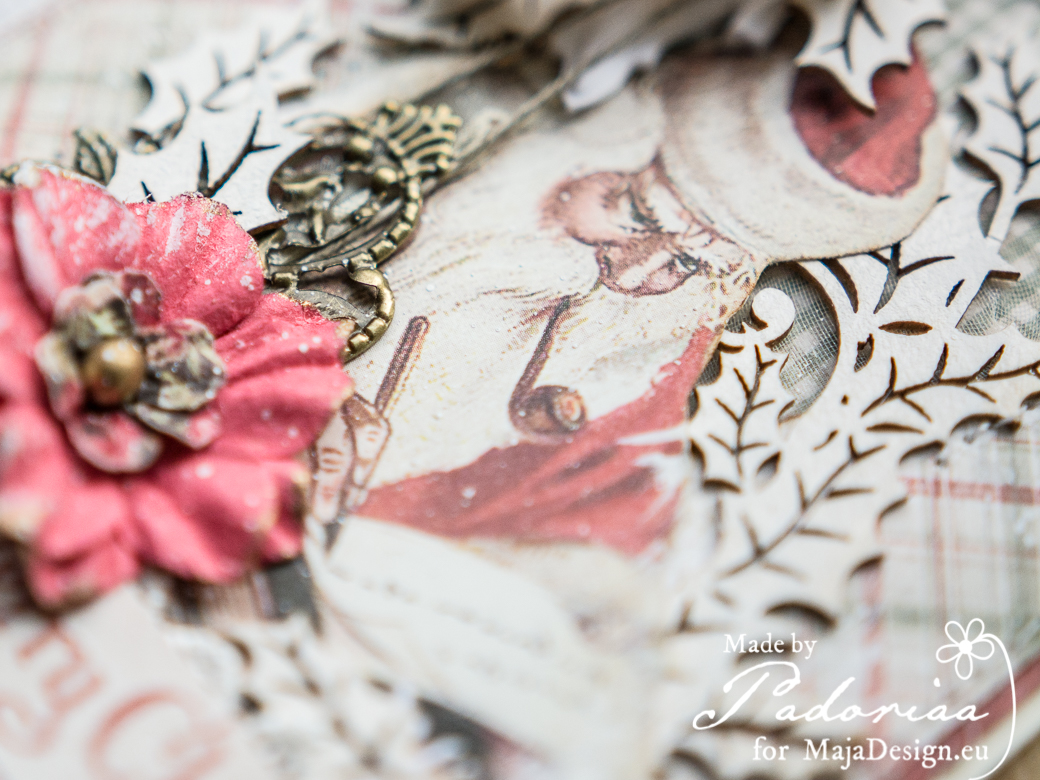
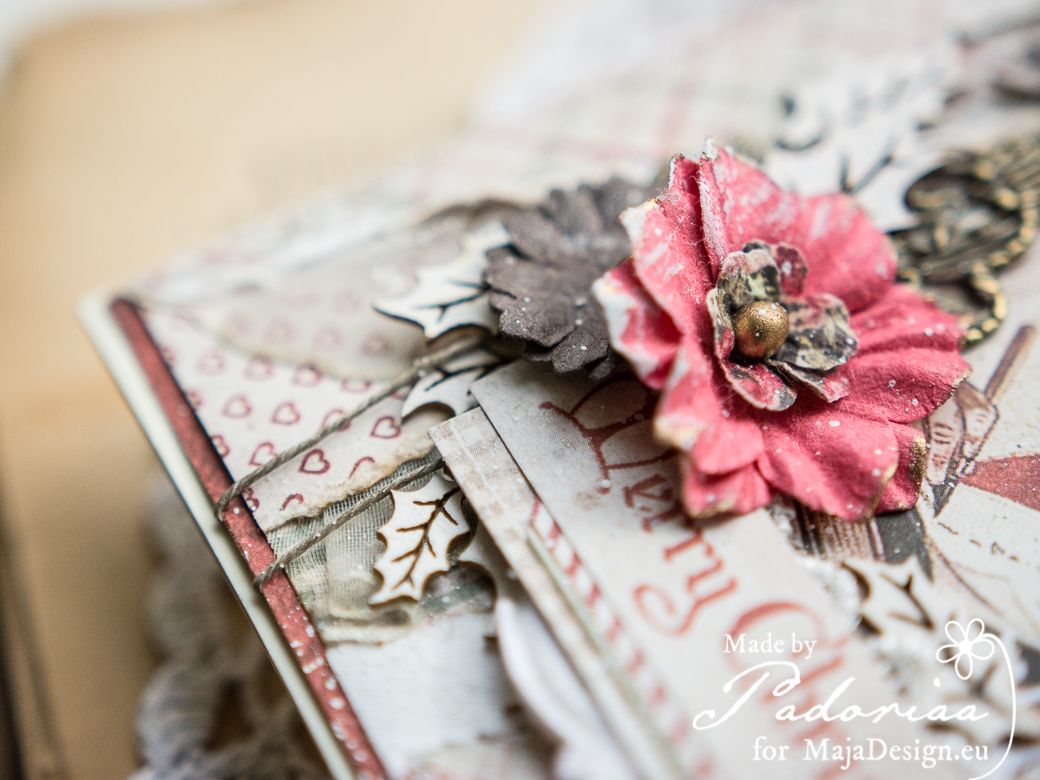
I cut out the Santa Claus from the “I wish – Ephemera” paper sheet, then created the background by adding layers one by one. Chipboard, paper flowers, some soft pom-poms and little bells.

Christmas CardChristmas CardChristmas CardChristmas Card

Do you feel this magical atmosphere of Christmas here  ? I do 🙂 Hope I will inspire some of you to  creating the Christmas cards, decorations etc. a little bit earlier. Hope this card is a good sign and I will find time to create more projects like this. Hugs, Paulina

I-wish-P

Padoriaa-sign

Discover

0

Posted by Mary Tzalla

17 September, 2017 - ,

Write a comment

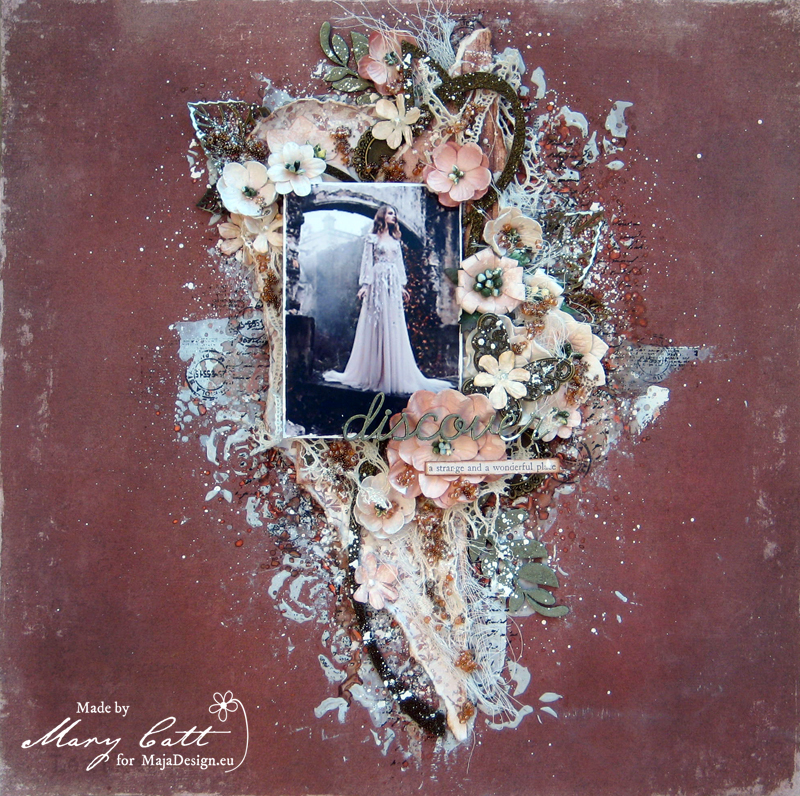
Layout

Hello my dear friends!!!

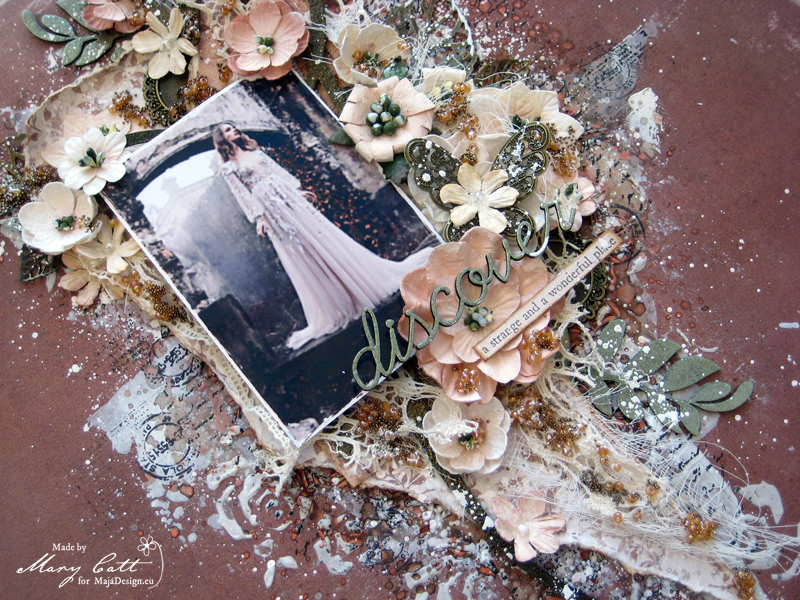
It’s Mary here with you today and I have a new layout to share with you made with the awesome ”Denim & Friends” collection.

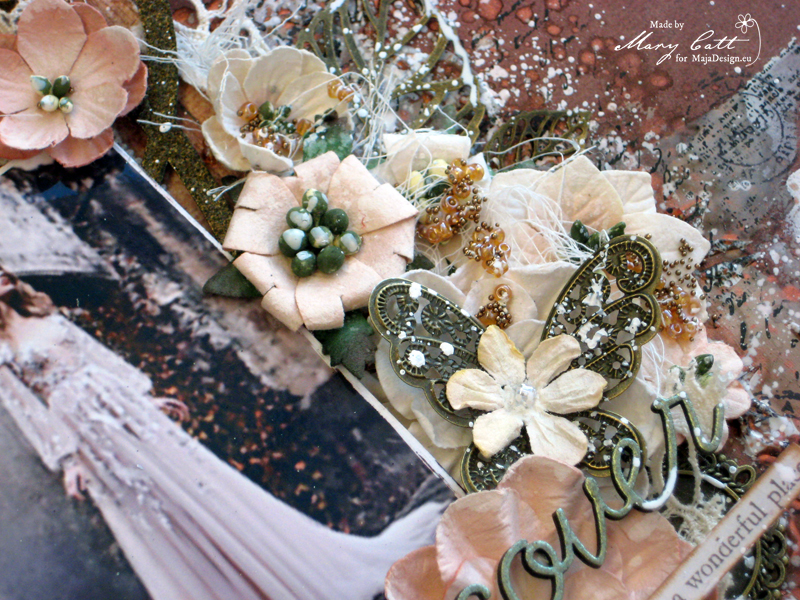
When I found on Pinterest this beautiful photo of a girl with a mysterious feeling I knew that I had to scrap it with these gorgeous papers. So, I choose the ”Leather” paper and combined it with some beautiful flowers from Petaloo by Floracraft. I have also used some torn pieces from the ”Wood” paper to make some layers behide my photo. But, before I continue more I want to give all the proper credits to the ”unknown” photographer.

I have also made a VIDEO TUTORIAL with the procedure…


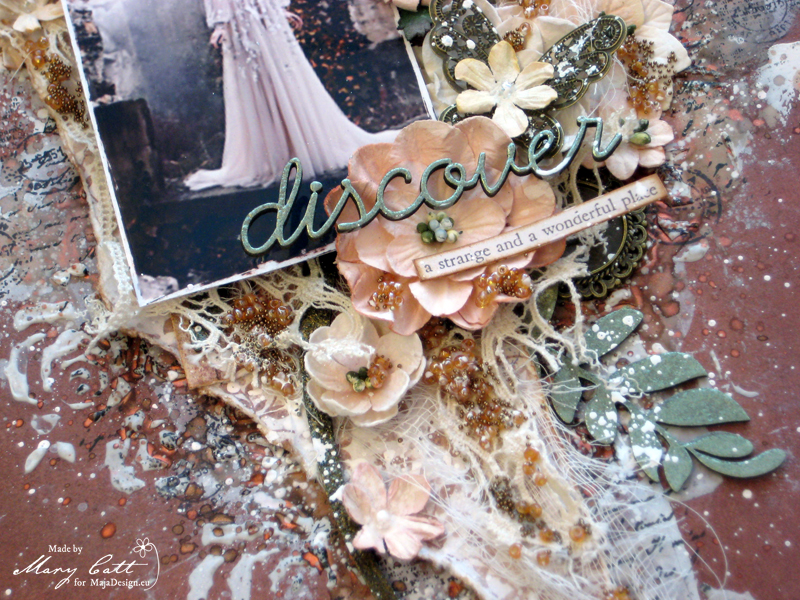
Here are some close ups…

Closer 1

I gave my background a coat of clear gesso and also applied some white on the center of the paper to highlight the spot where I placed my cluster.

Closer 2

Then, I added some texture with modeling paste and a stencil. I continued by coloring my page with Lindy’s Stamp Gang sprays ”Cattail Copper Brown” and ”Dark Chocolate Truffle”.

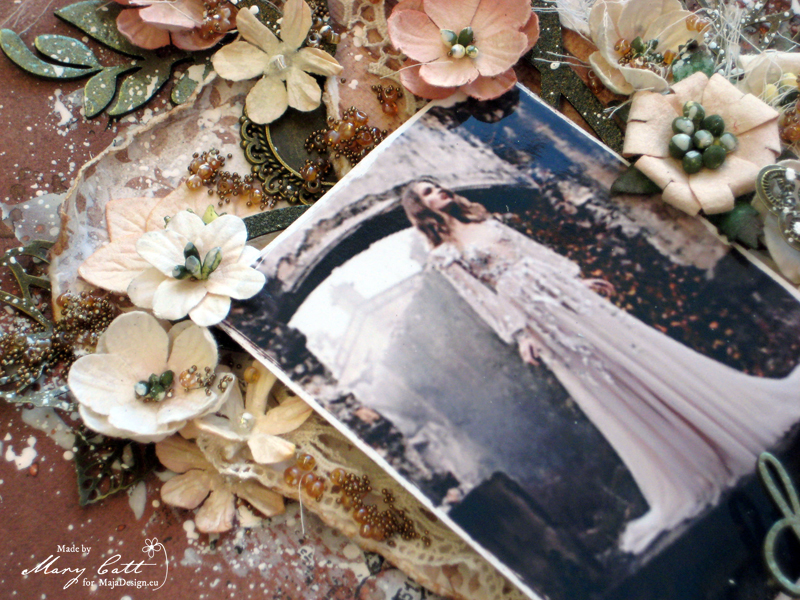
Closer 3

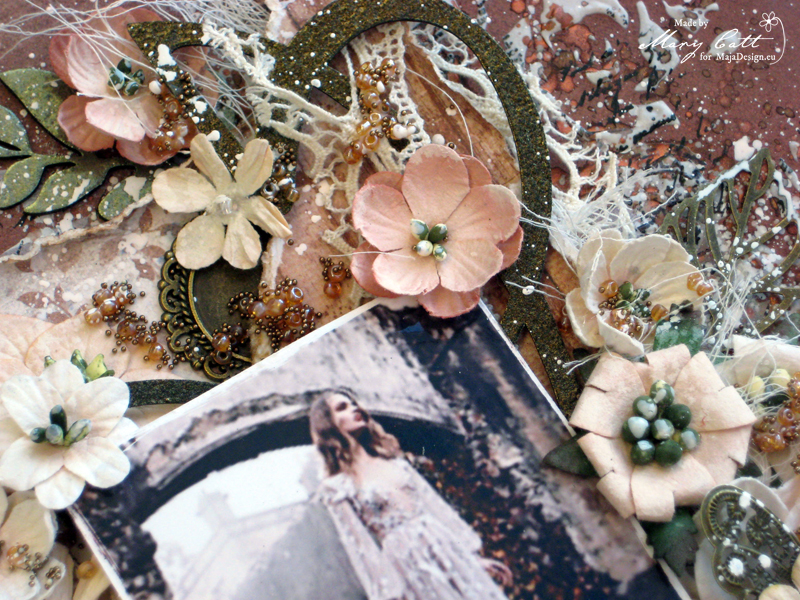
I heat embossed the ”Flourish 2” chipboard with the ”Midnight Gold” Lindy’s embossing powder. The ”Foliage Set 1” and the title from the  ”Mini Travel Word Set 2” were also embossed with the ”Spanish Moss Green” powder. As usual all the chipboards I used are 2crafty.

Closer 4

To finish my page, I added some Bronze micro beads & Plum glass beads with gel medium and made some splatters with White Artist Acrylic Ink.

Closer 5

Papers used:

Denim-P


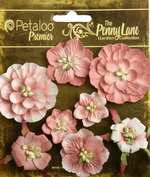
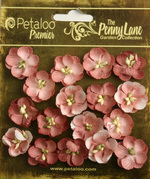
Petaloo Flowers used:


That’s all for today, my friends!

Thank you for stopping by!

Mary-sign1

“Dream” by Tina Ollett

0

Posted by Tina Ollett

12 September, 2017 - ,

Write a comment

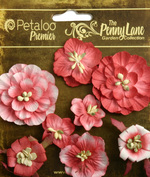
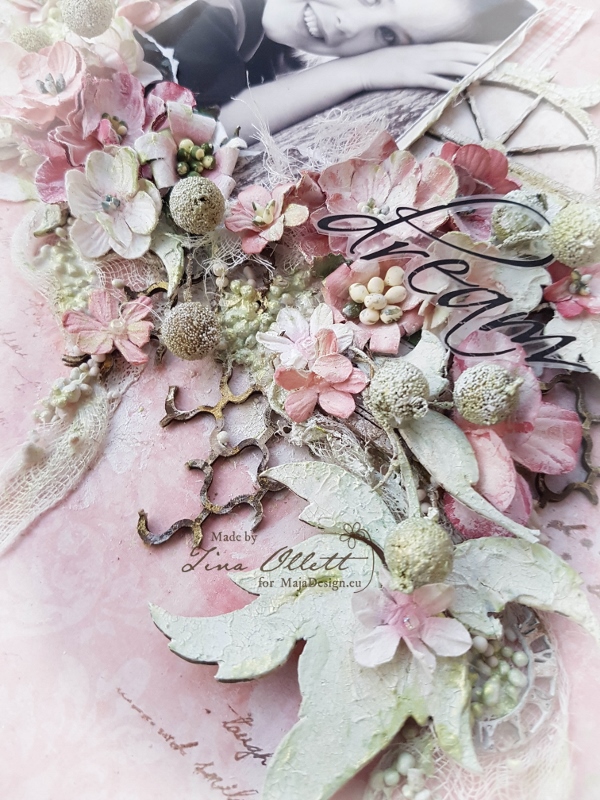
Hello friends. Tina Ollett with you here today to share my newest Maja Designs creation. I have reverted back to a favourite collection this time around……. “Summertime”. With this beautiful collection I created a soft shabby layout full of gorgeous Petaloo flowers from Penny Lane Garden Collection. Petaloo are sponsoring Maja this month with their wonderful flowers…… thank you Petaloo !!
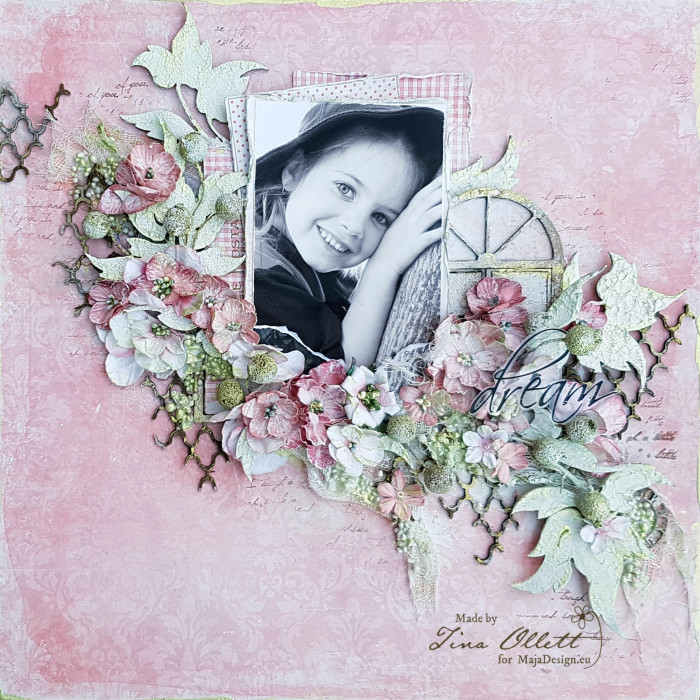
2017-09-12 Dream - Maja Design Creation - September 040

……………”Dream”………….

Oh how I loved this collection I think I have already mentioned that but it definitely is a favourite for me. As always my layout evolved slowly and didn’t finish off how I had imagined by I was quite happy with my end project. Below are all the papers I used from this collection. Some of the papers were gessoed to help with the effect I was looking for. I have used lots of media and paints to colour my papers and Dusty Attic chipboards.

Summertime-P

Cat586389

2017-09-12 Dream - Maja Design Creation - September 080 (600x800)

My background papers was firstly primed with gesso and then I laid down a run of 3D Gloss gel and over that some very distressed muslin. This was my starting point and from here I layered my page with photo matting papers from the Summertime collection and then the sepia toned photo over the top.
2017-09-12 Dream - Maja Design Creation - September 032

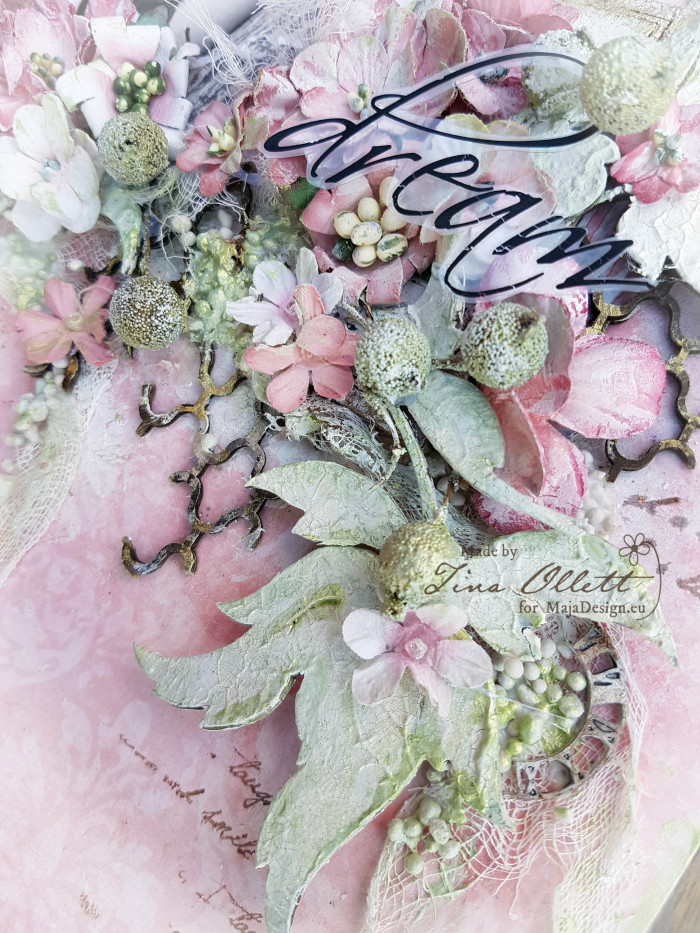
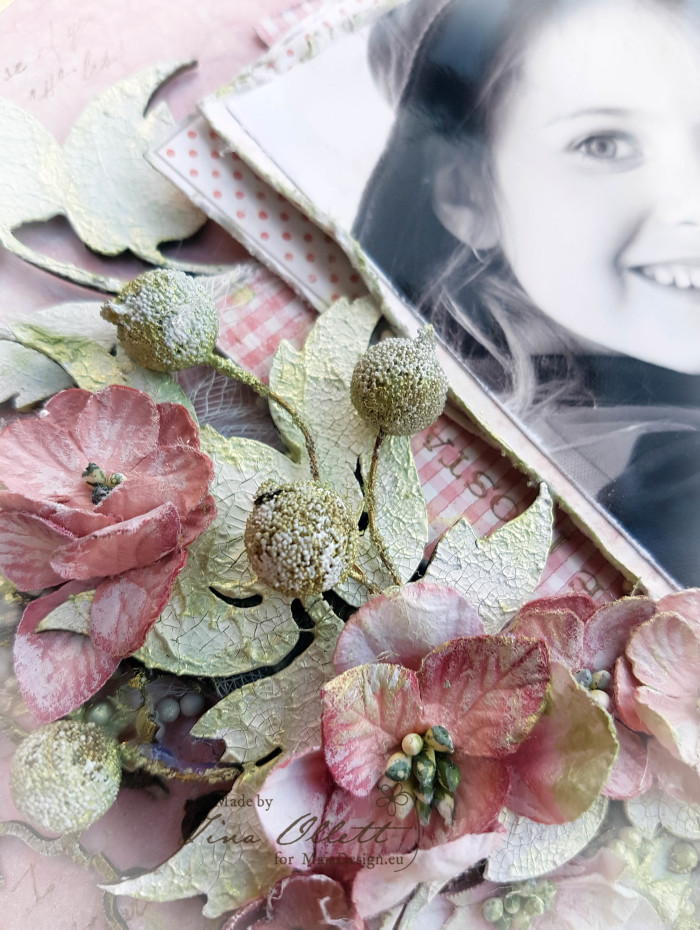
Around my photo I used some beautiful Leafy Stem Dusty Attic chipboards. To the right of the photo I added in a Arch Window also from Dusty Attic. These were all dressed in Crackle Pastes, inks (Distress Inks) and Prima Art Alchemy Green Gold Acrylic Paint. You can see above that I also added in some Art Stones.
2017-09-12 Dream - Maja Design Creation - September 034

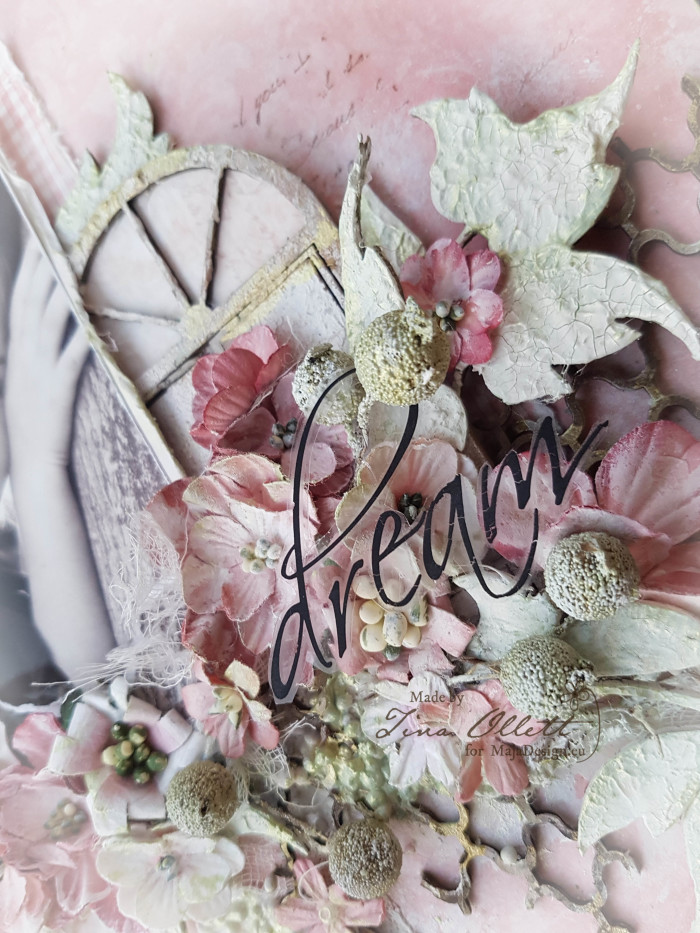
I did a little stamping with a Carte Postal stamp at the side of my photo and very randomly with a script stamp.
2017-09-12 Dream - Maja Design Creation - September 084

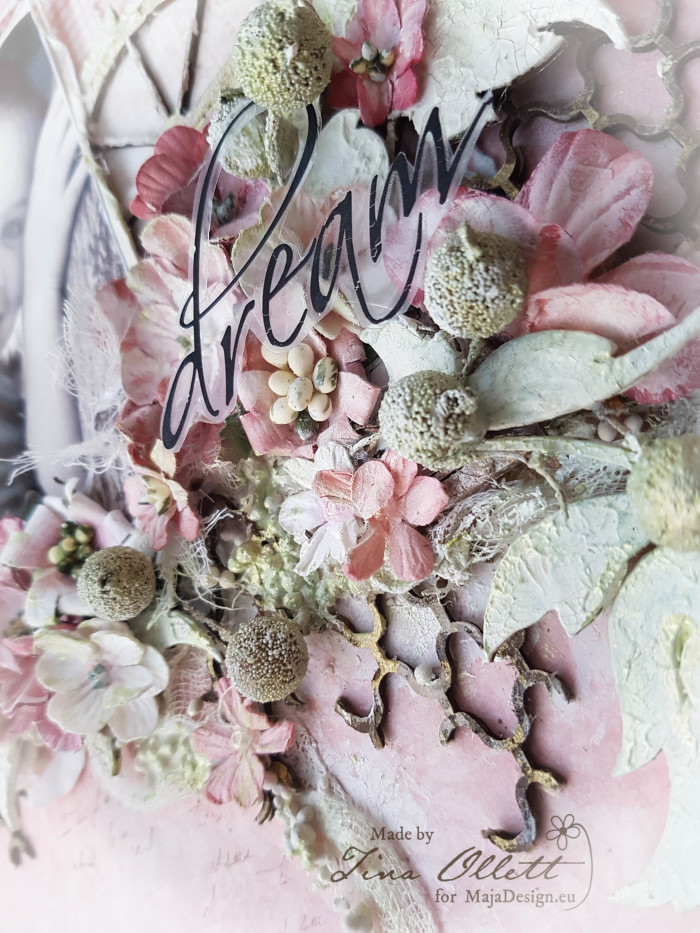
For my title I have used a very old rub on that I added to some transparency paper and cut out. I have the hugest collection of rub-ons that I just can’t get enough of!!
2017-09-12 Dream - Maja Design Creation - September 085

You can see above that I also added some Texture Crackle Paste to my background page to help bring the project together. Lastly I went over my whole project dry brushing with white gesso to help keep this very muted and to of course keep the photo the centre of attention. This photo is of my youngest daughter which was taken by a friend at a school excursion a few years back now when she was only in prep. How time flies she is now a highschooler!!

Well that is all from me today. I so hope that you enjoyed my project and I hope to see you back here again very soon. Stay tuned for more design team prettiness tomorrow.

Take care and happy crafting!!Tina-sign