Hello my friends and Happy Sunday to all!!!
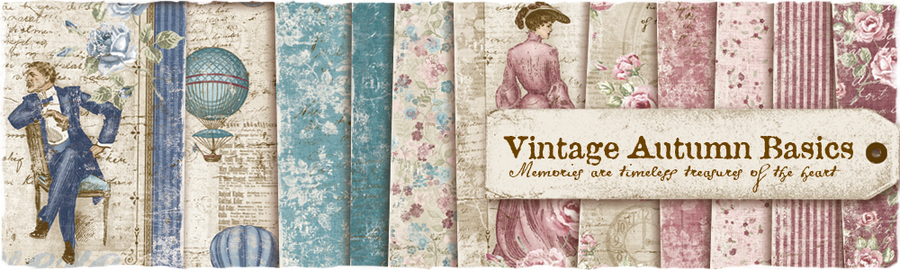
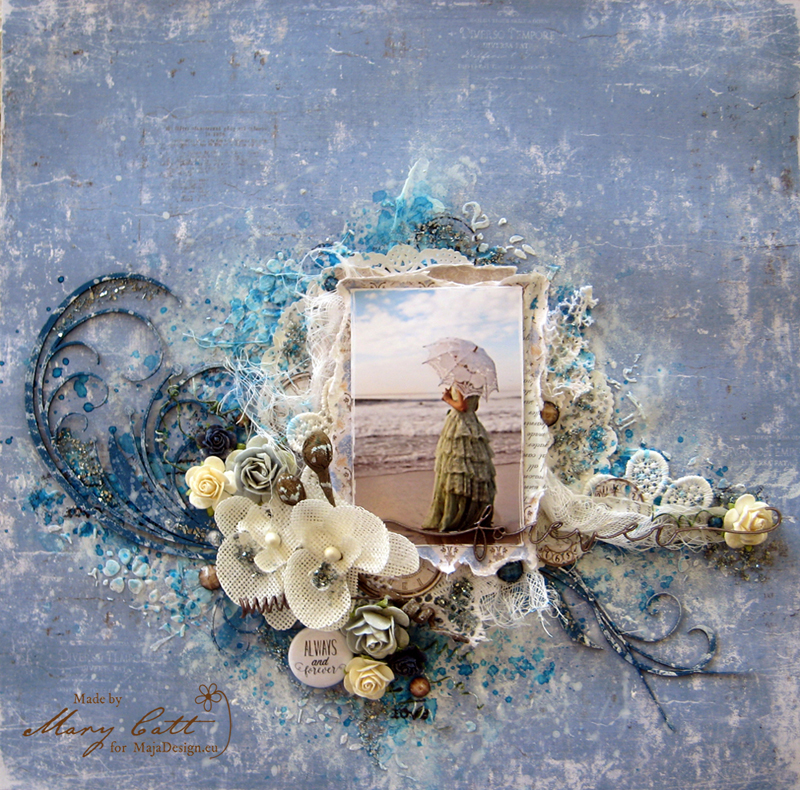
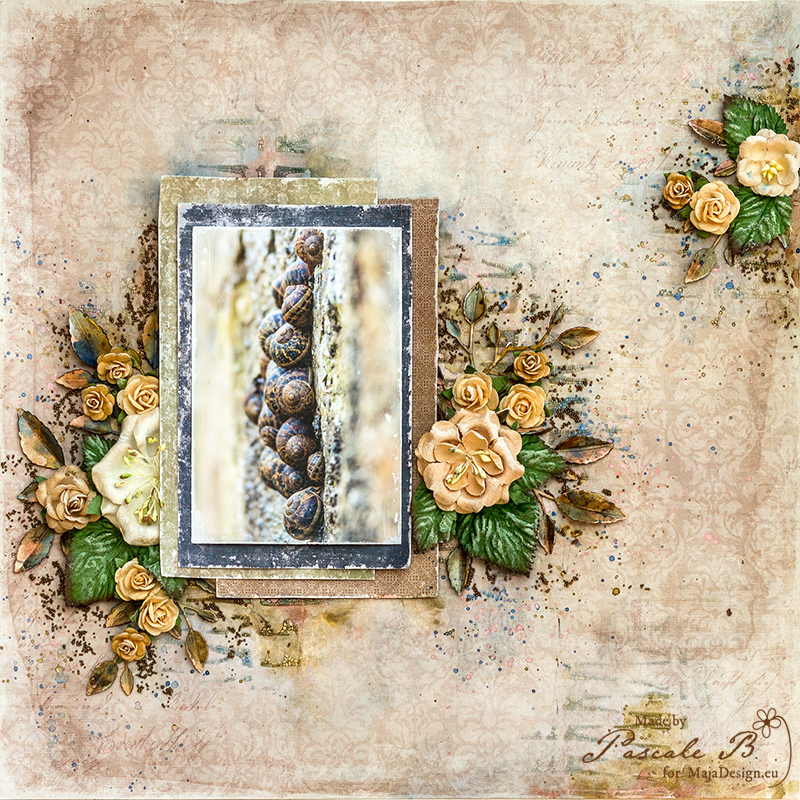
Mary here with you today to share my latest layout featuring the beautiful ”Vintage Autumn Basics” collection.
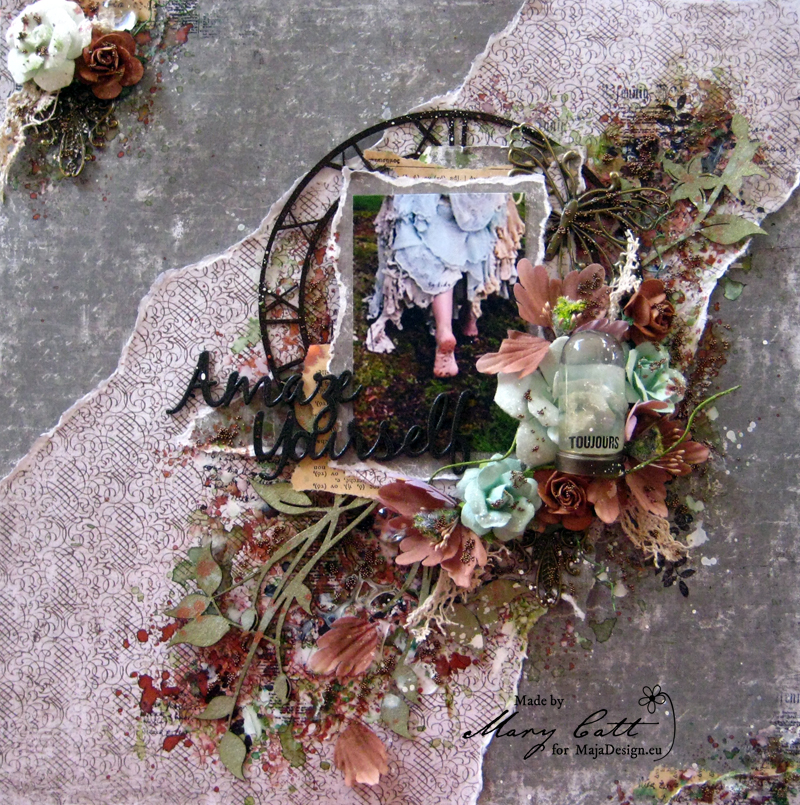
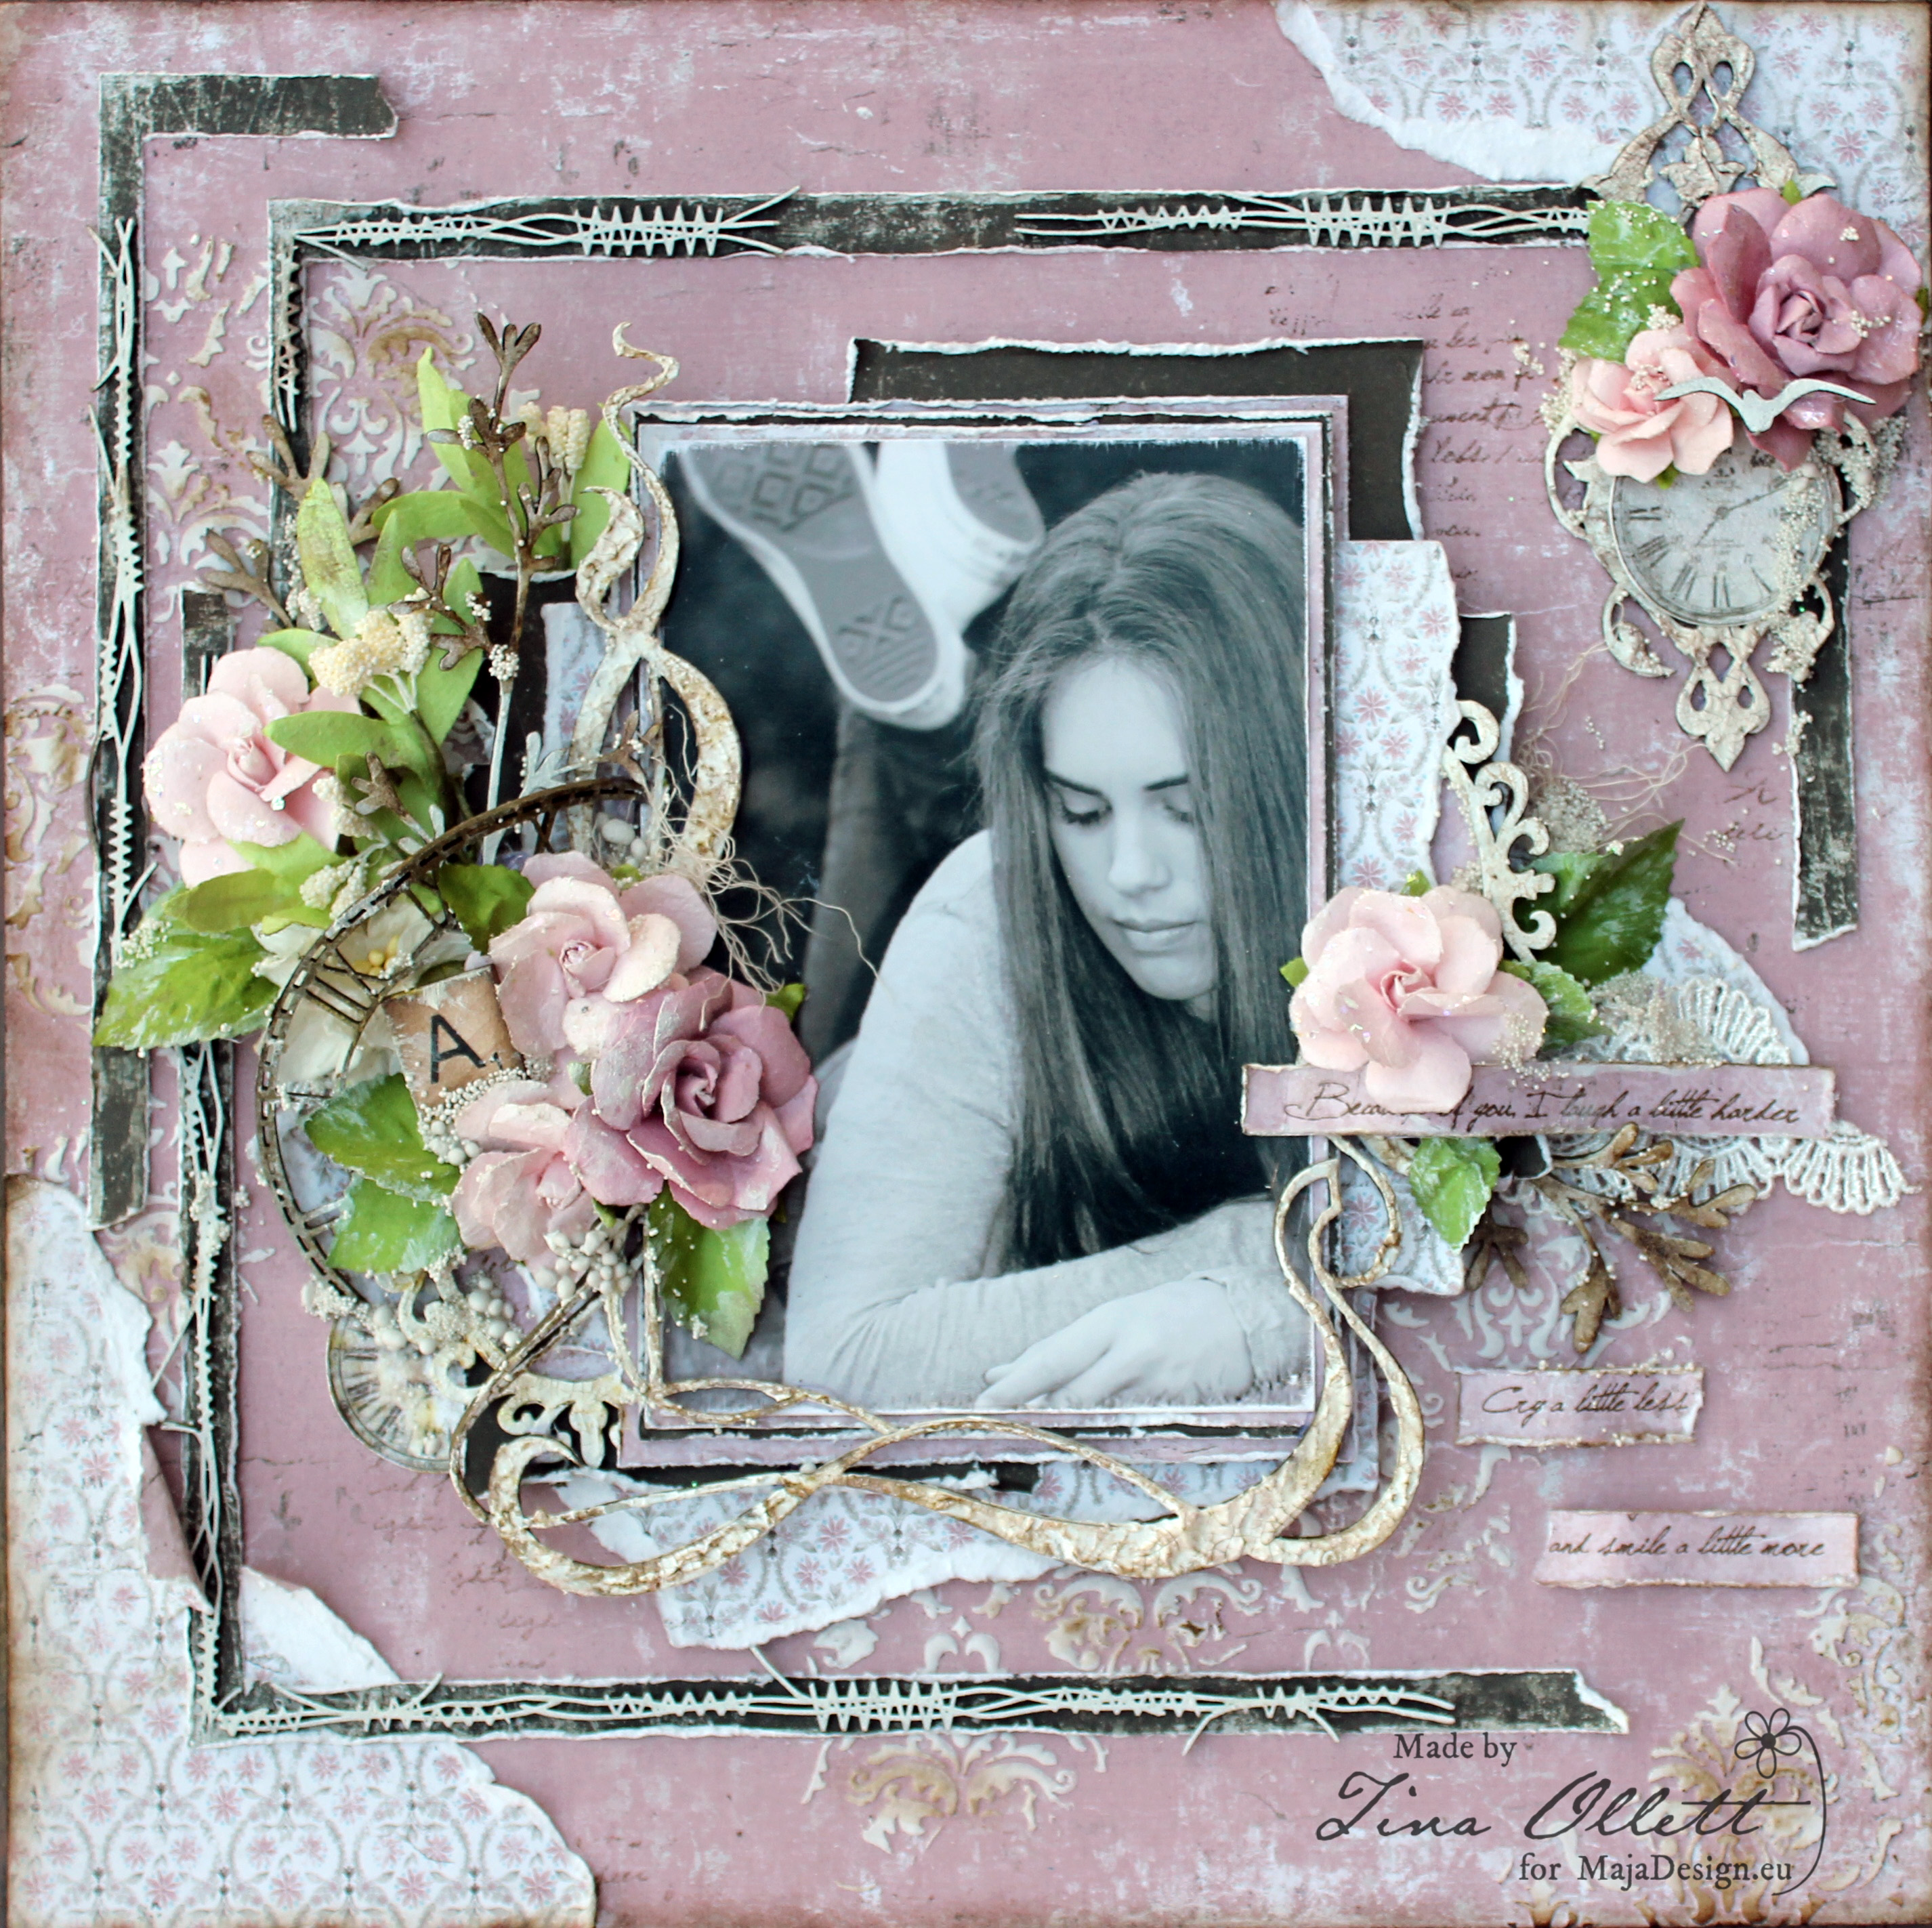
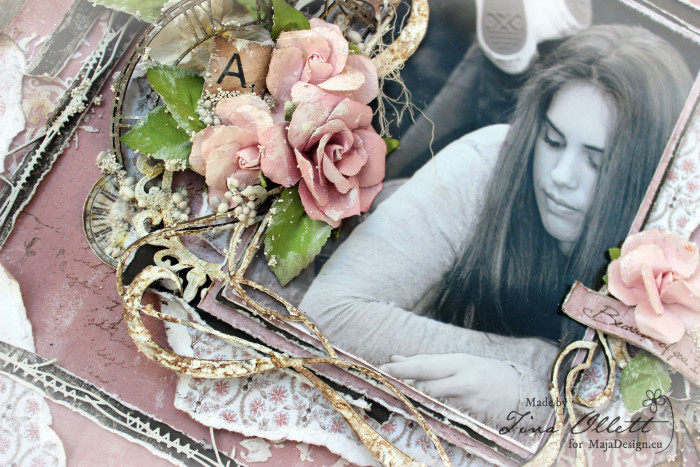
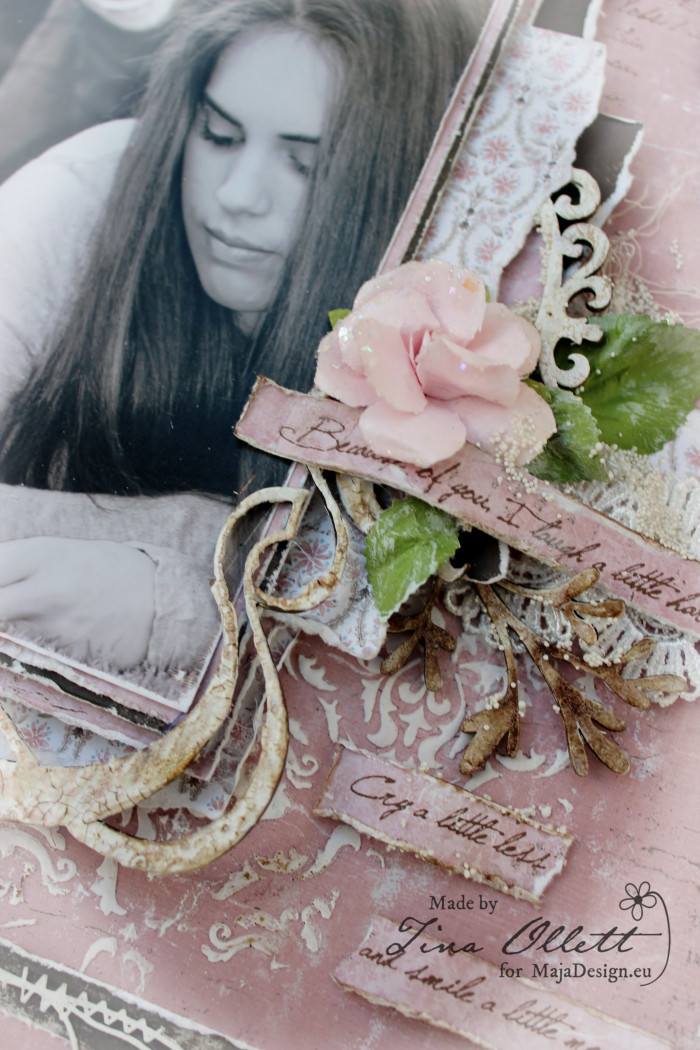
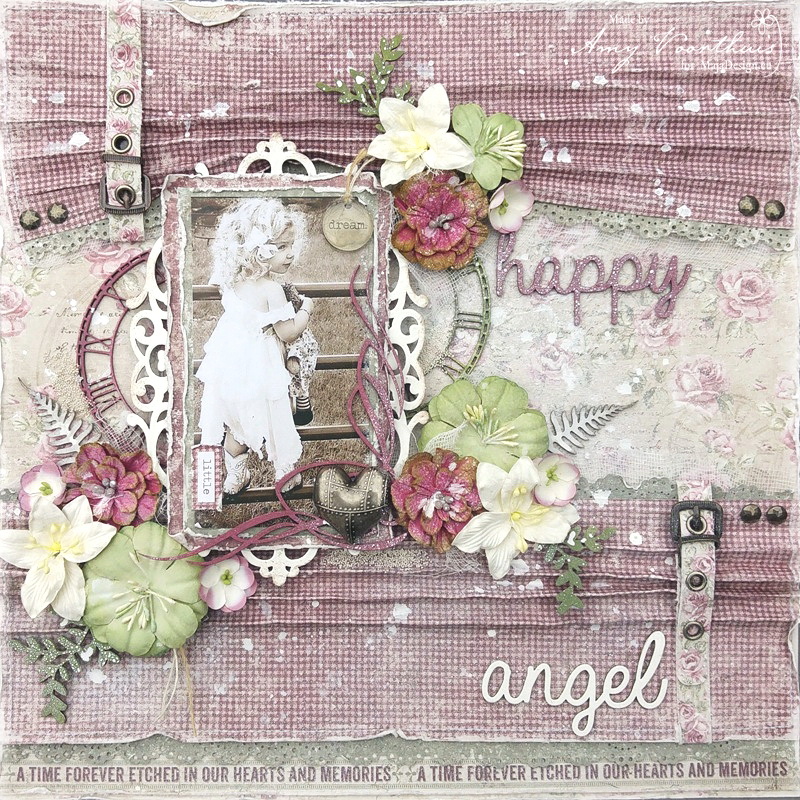
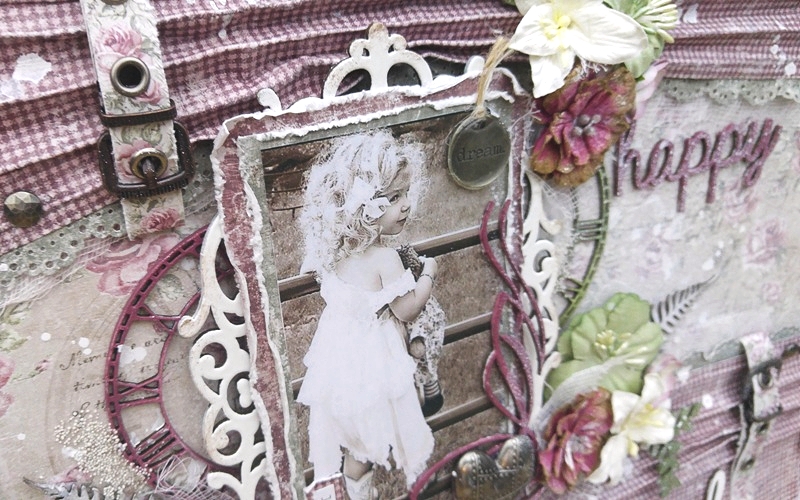
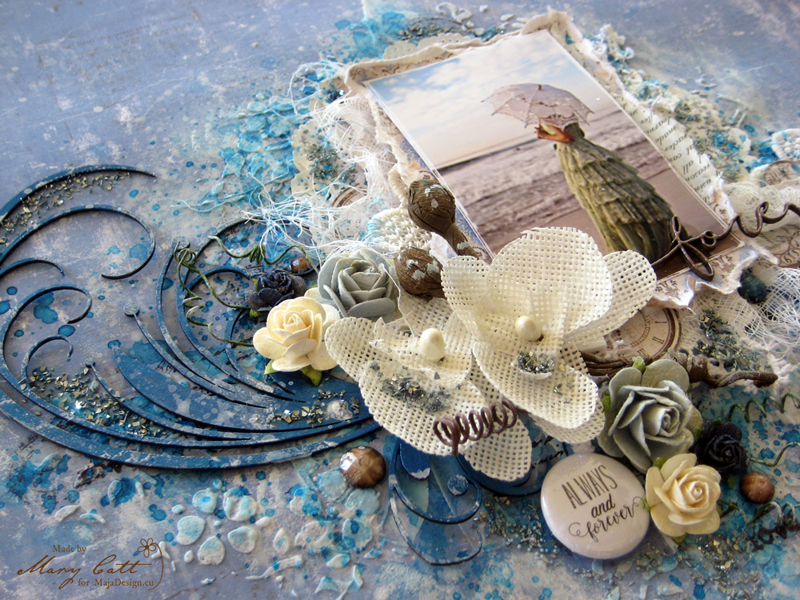
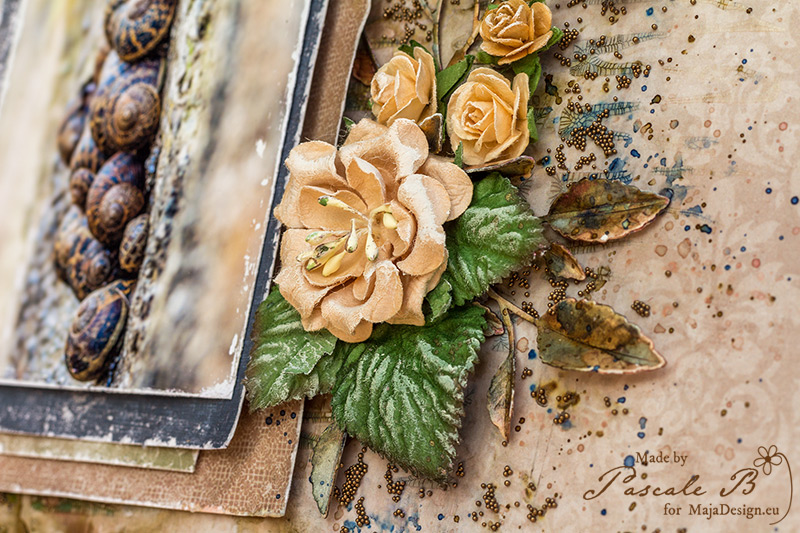
The photo I found on Pinterest made wanna design a mysterious and dramatic layout. Before I start I want to give to the photographer all the proper credits for that awesome photo.
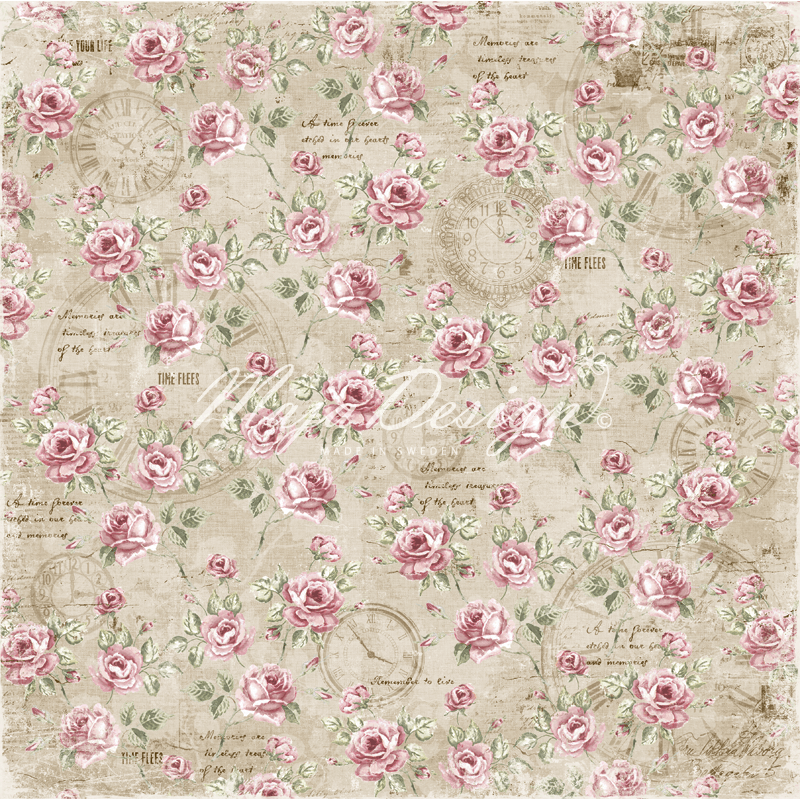
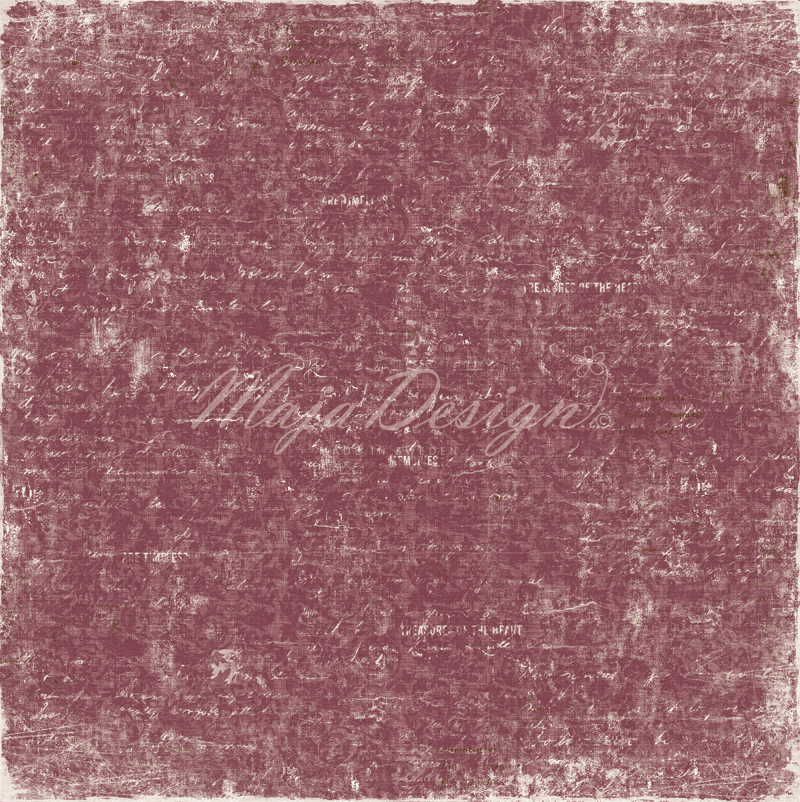
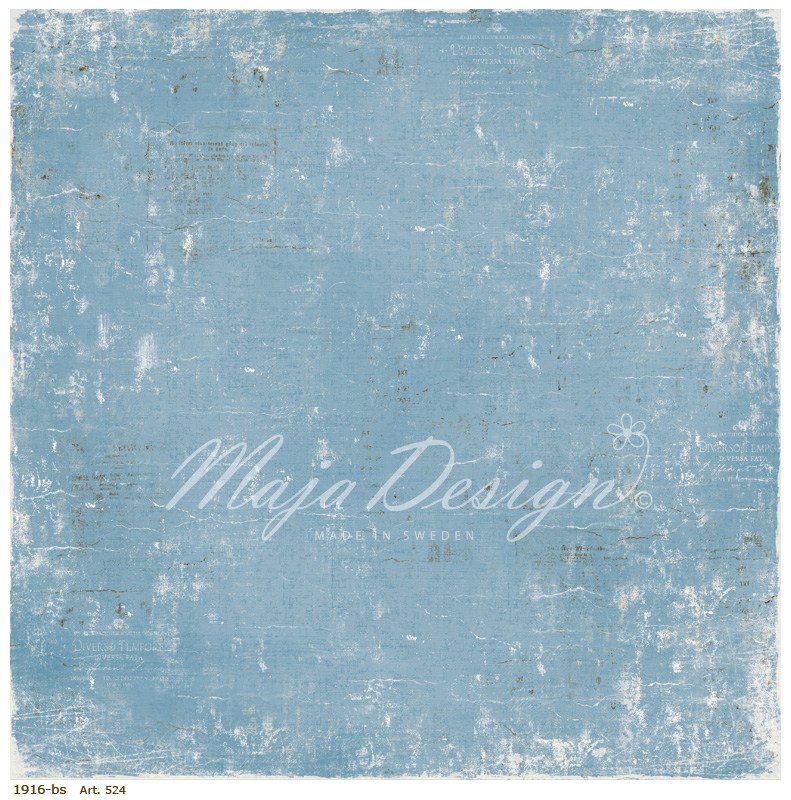
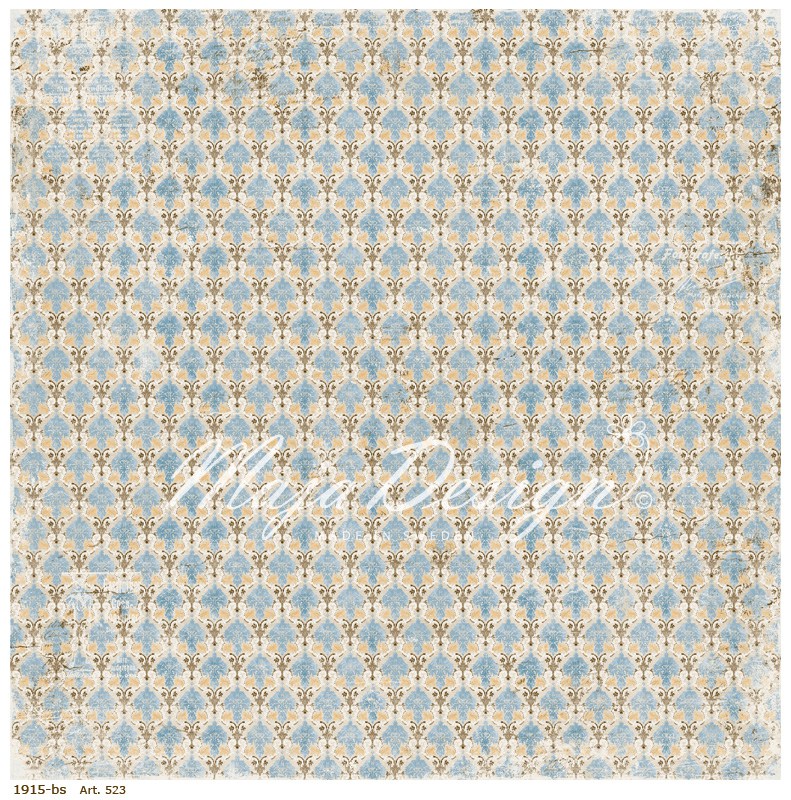
For my background, I used two papers. The ”no.VII” as the main one and a torn piece of the ”no.XVIII” which I glued it above the other.
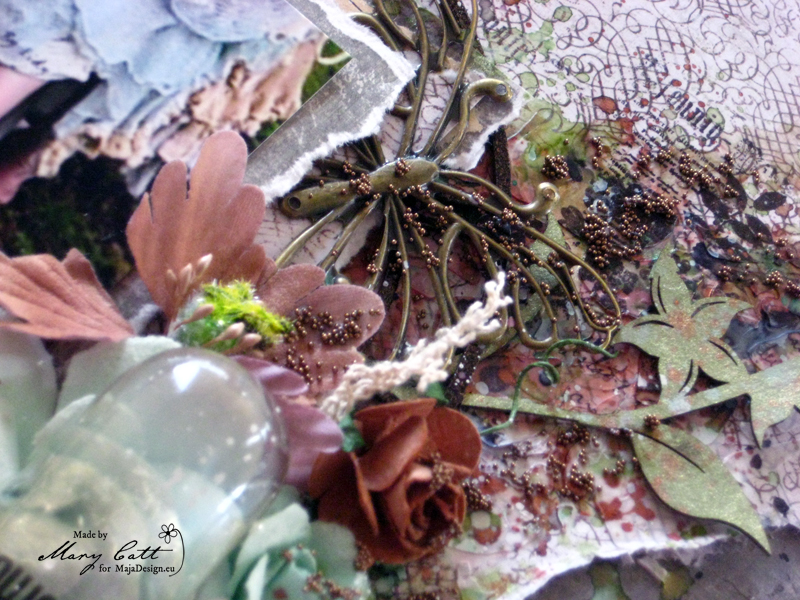
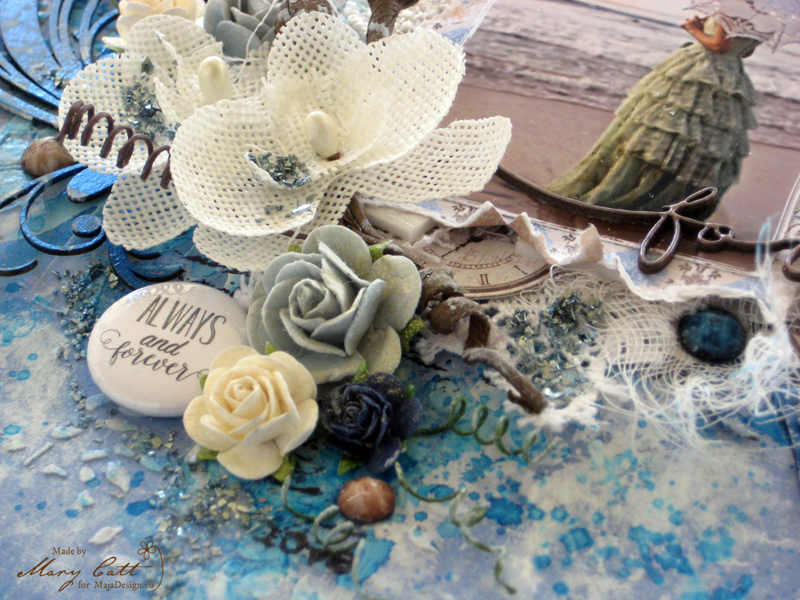
I gave texture to my background with modeling paste and a stencil. I used Lindy’s Stamp Gang mists, the ”Cocoa Bean Copper”, ”Lucky Shamrock Green”, the ”Endelweis Moss Green” to color the spot where I placed my cluster. Some splatters with ”Midnight Randervous Raven” and a little stamping completed my background.
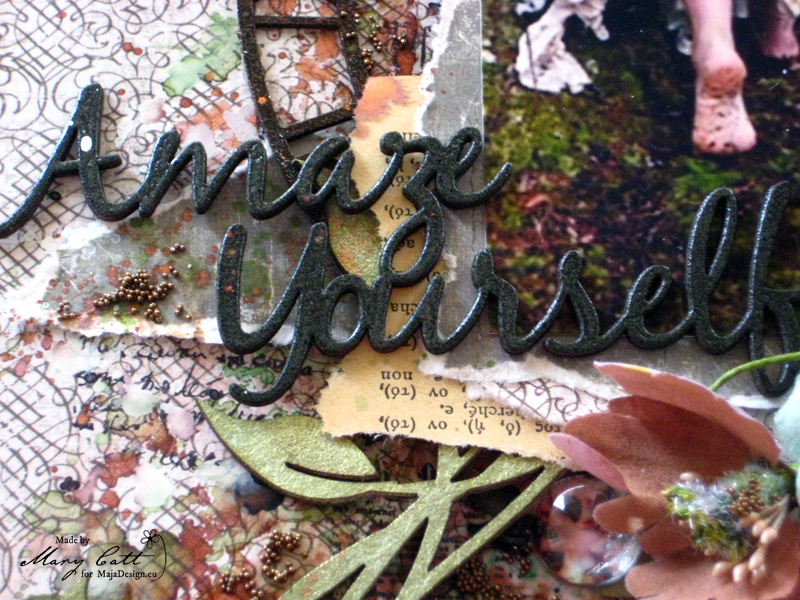
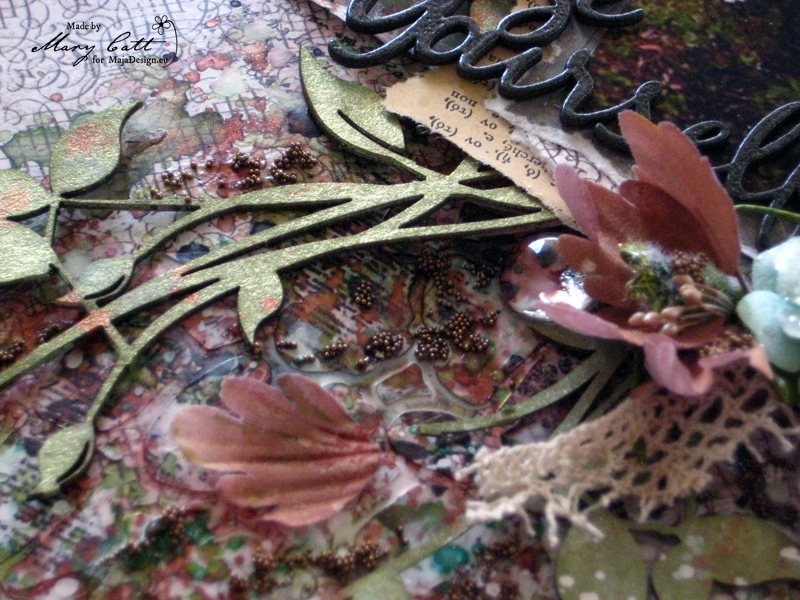
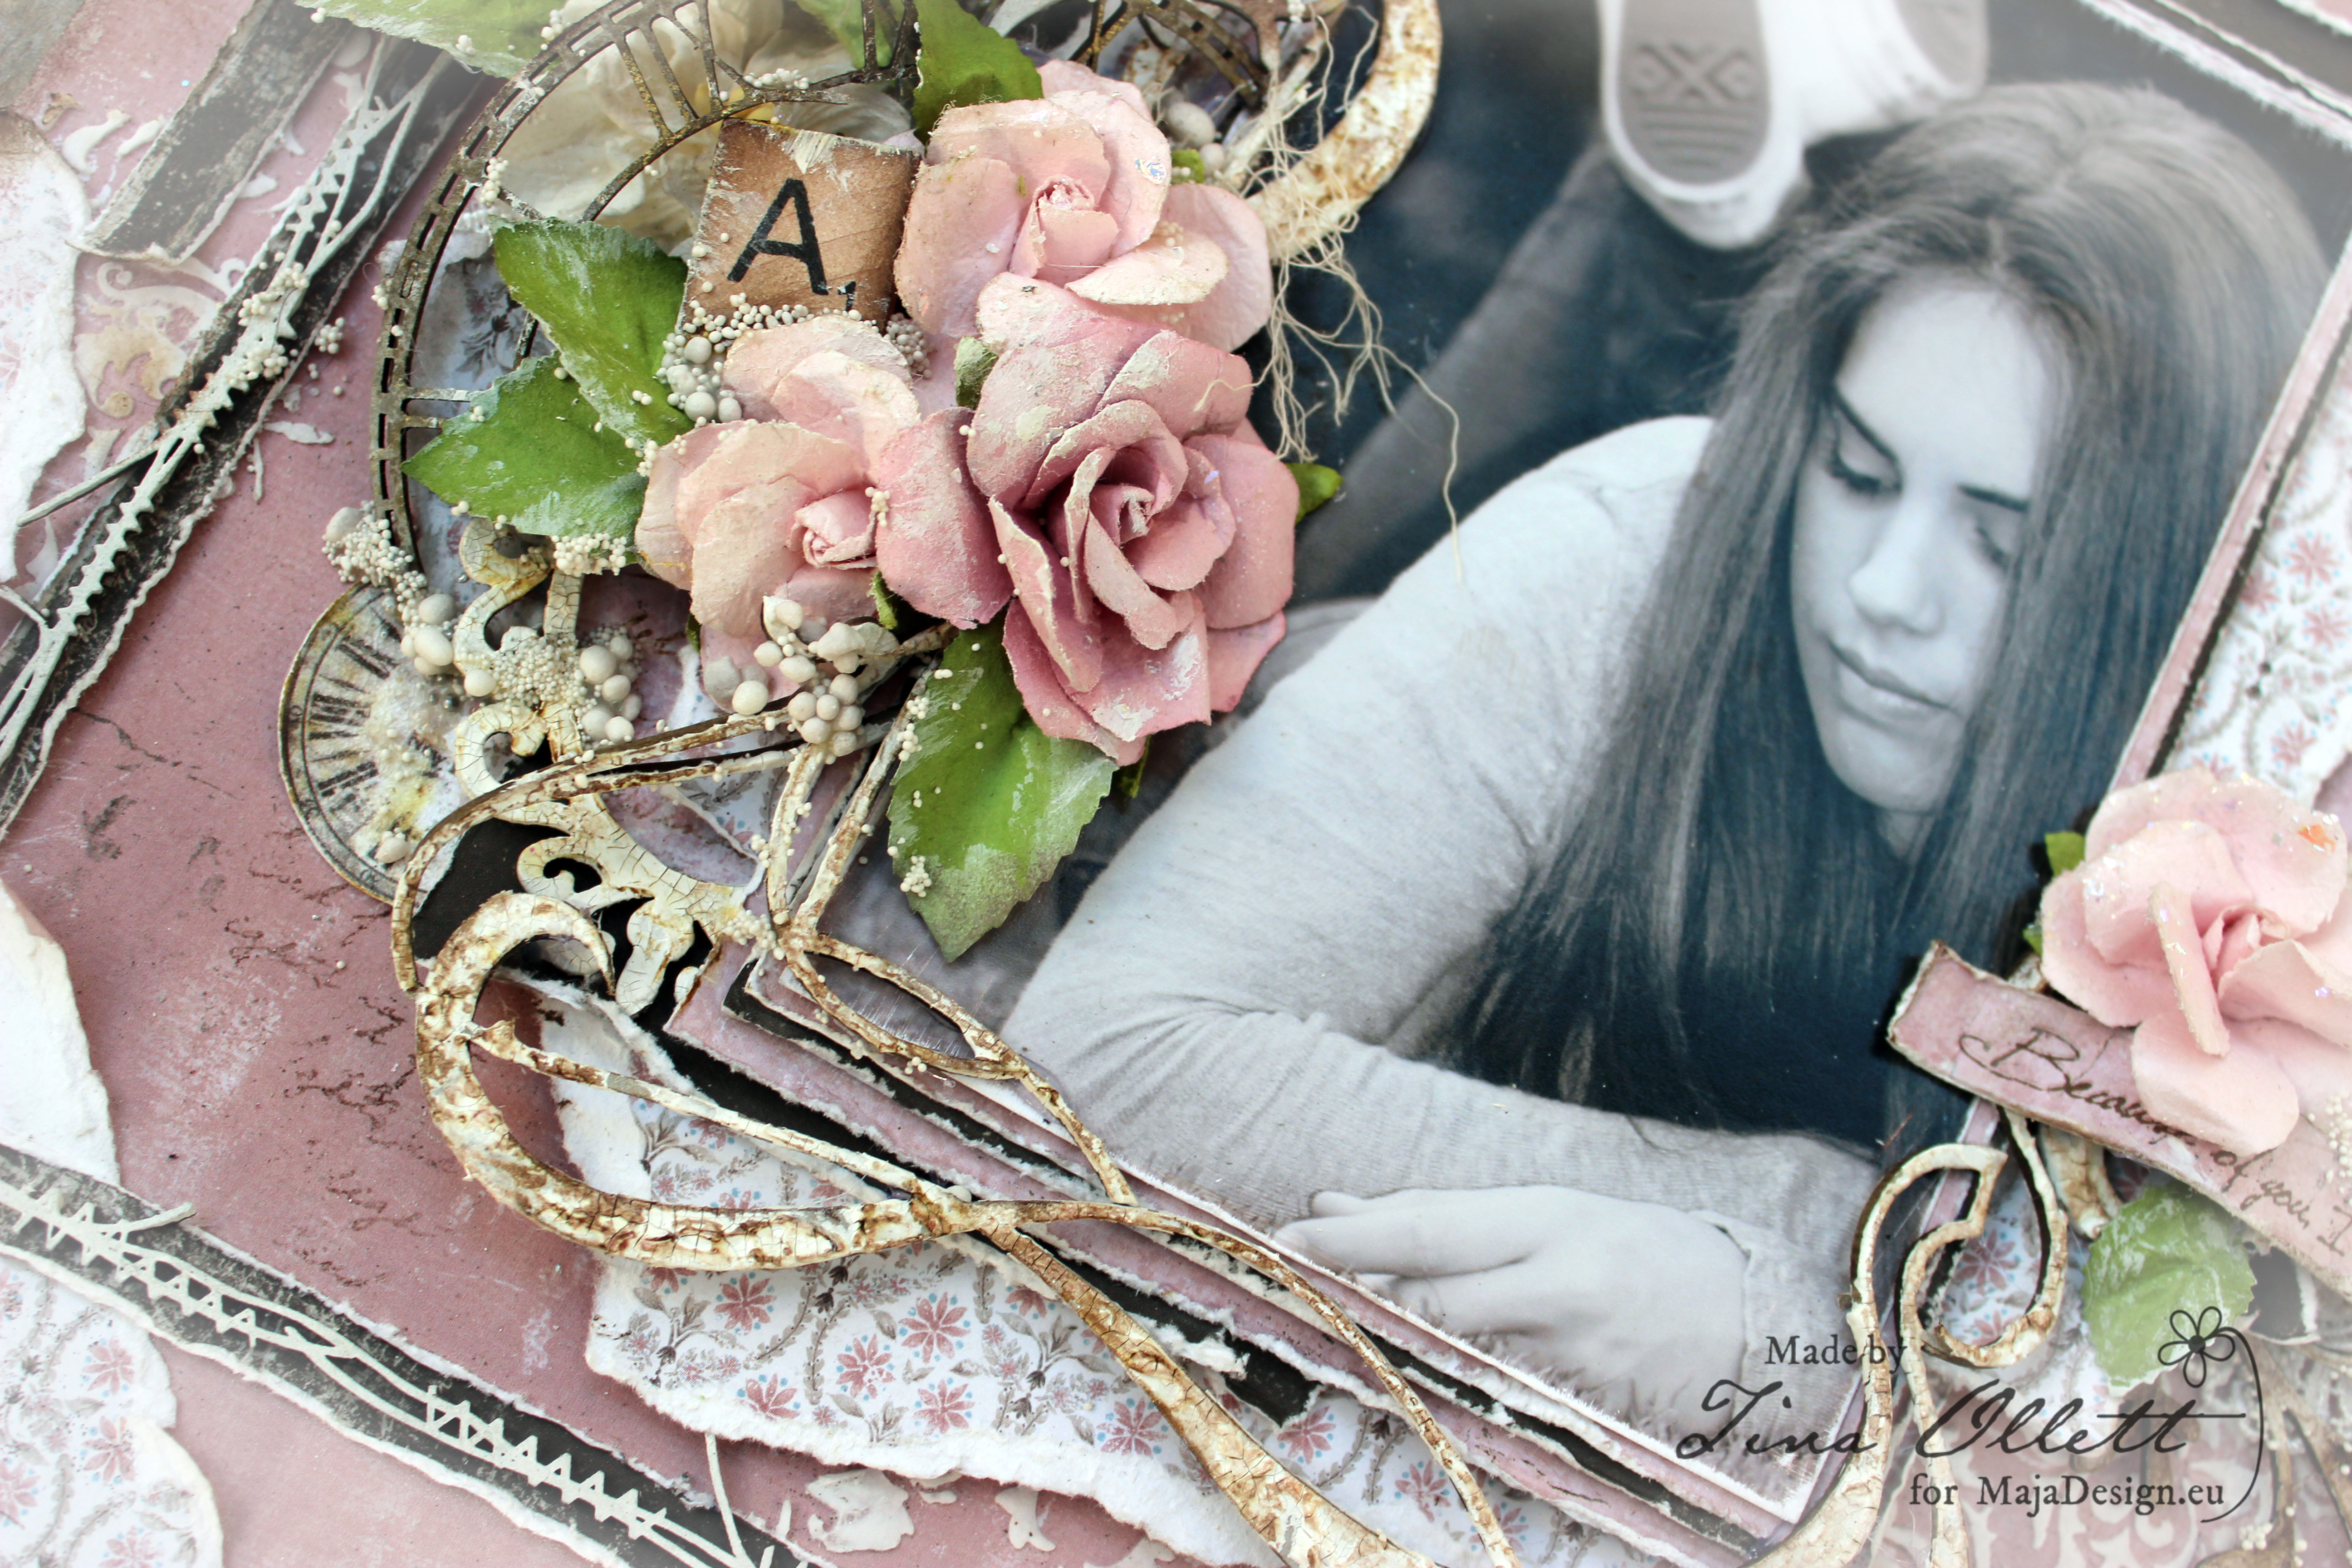
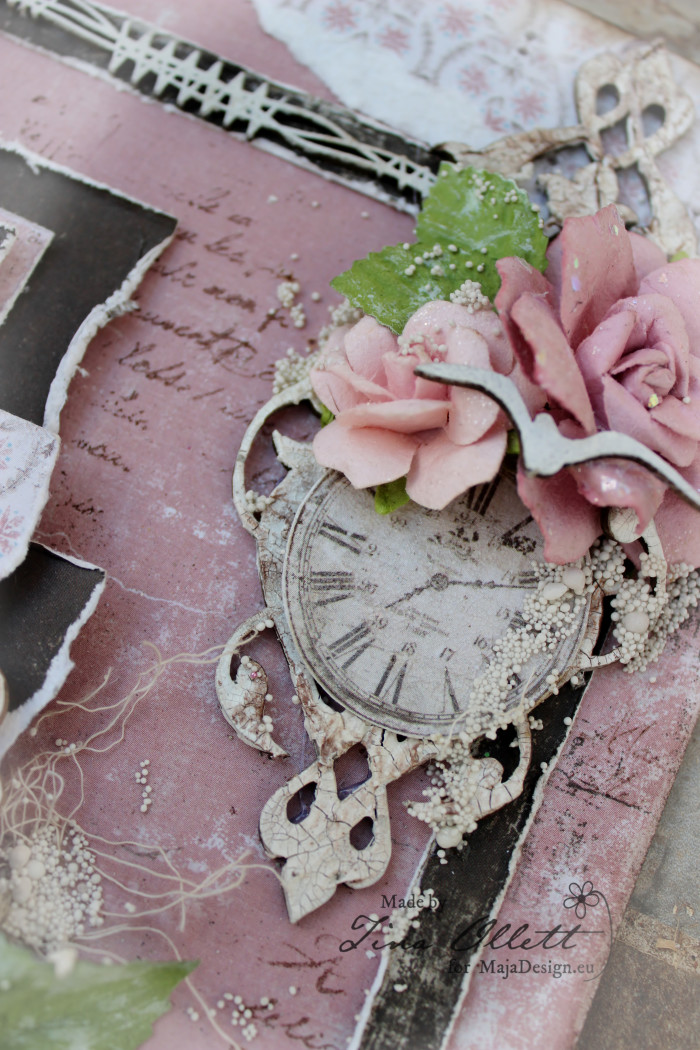
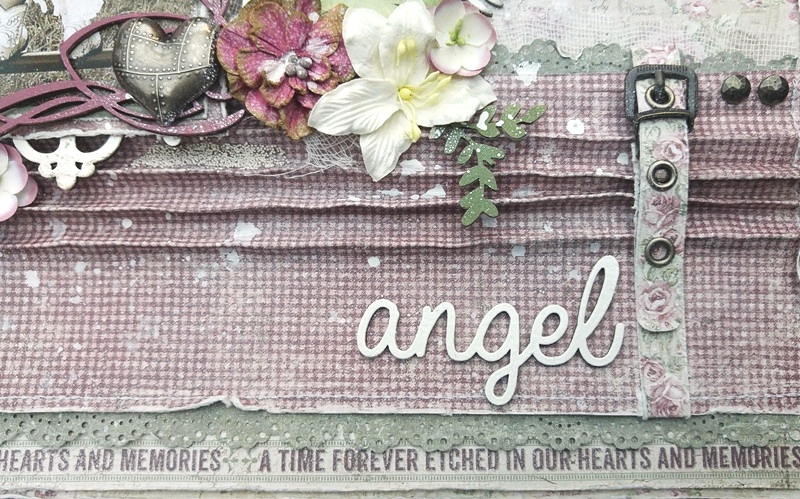
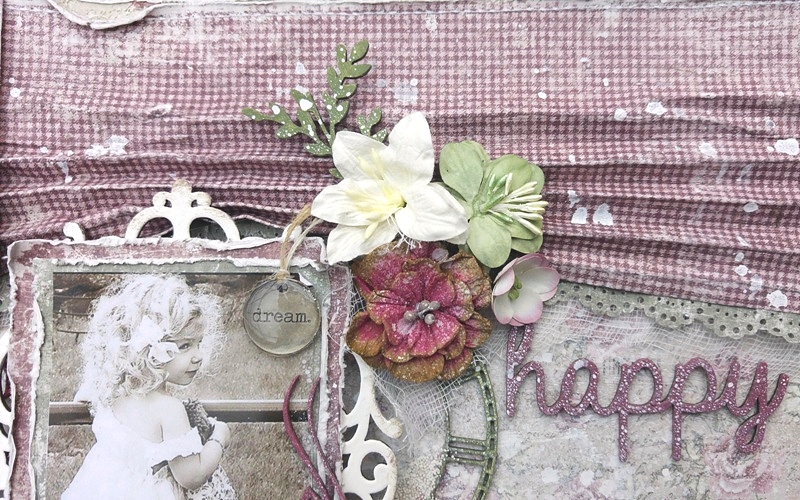
I heat embossed the ”Amaze yourself” title with ”Midnight Pewter” lindy’s powder and the ”Skeleton Clock Frame” with ”Midnight Copper”. The ”Viney page frame”, (from which I used only some pieces), was sprayed with ”Endelweis Moss Green” mist. All the chipboards I used were 2Crafty.
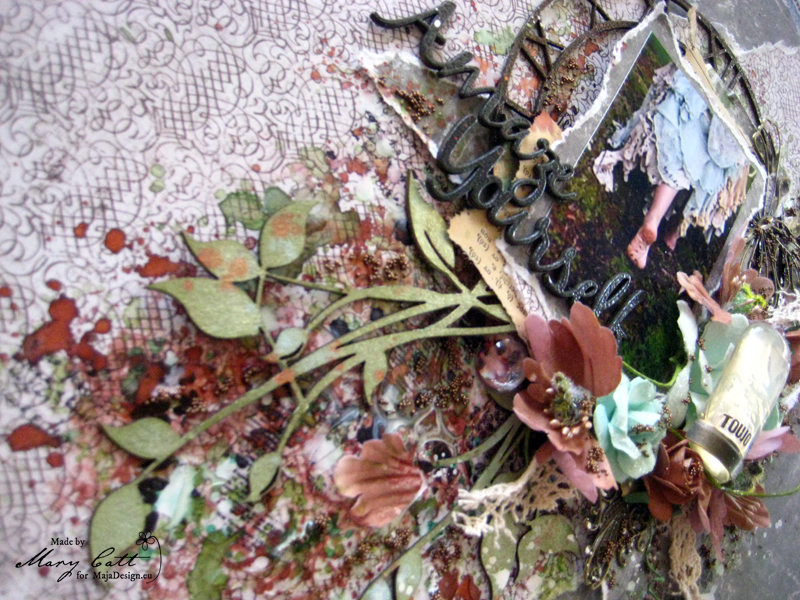
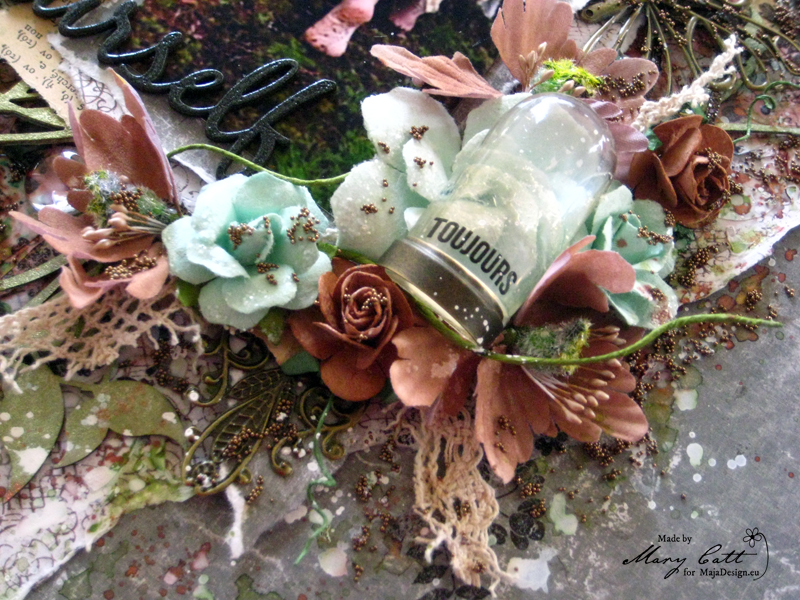
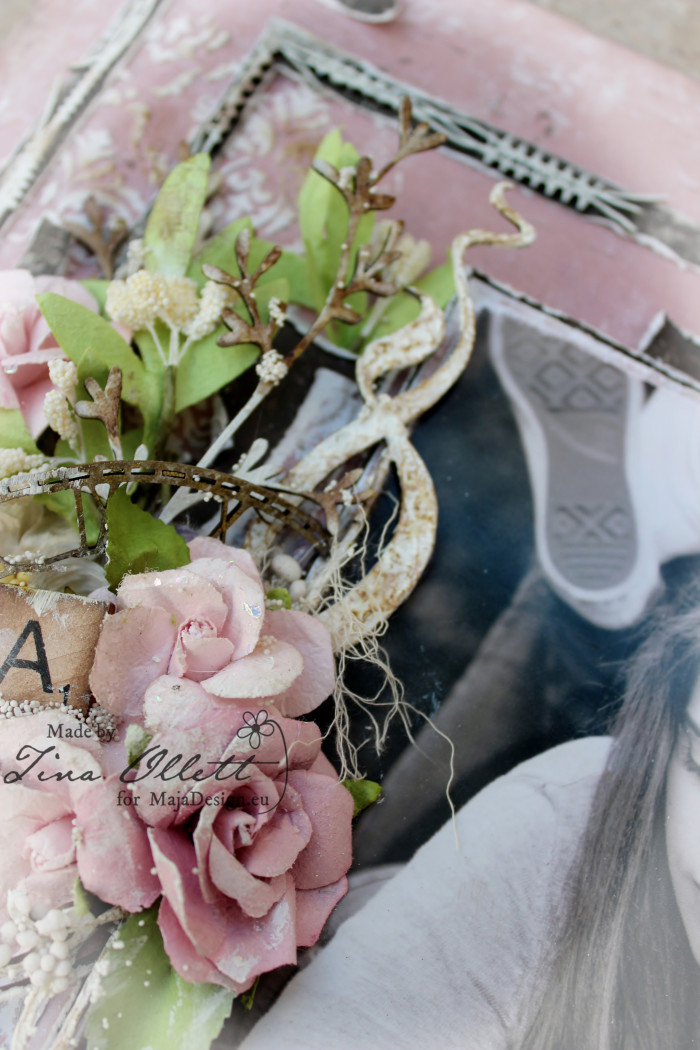
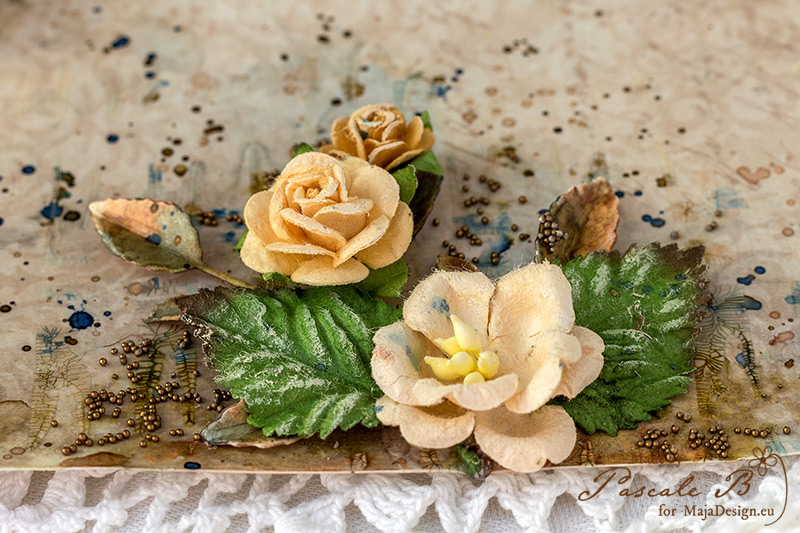
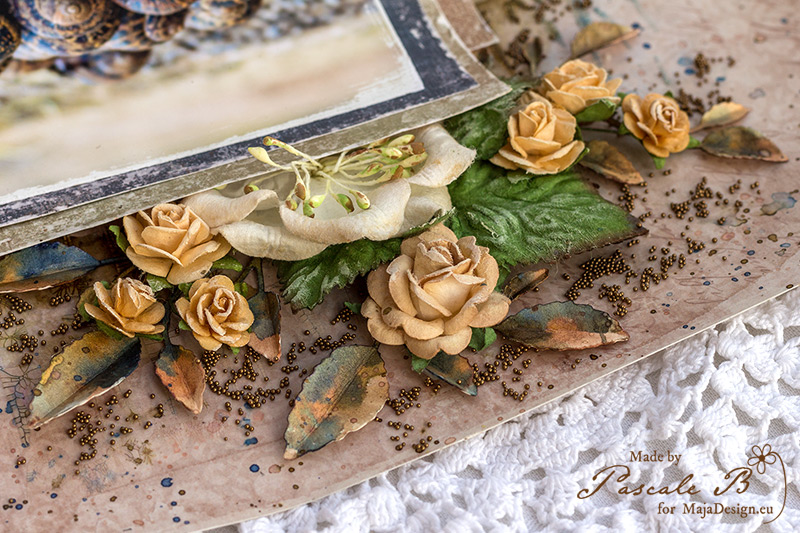
I made my clusters with Prima Marketing flowers and I added some ”Scrap Unlimited” embellishments to accomplish them.
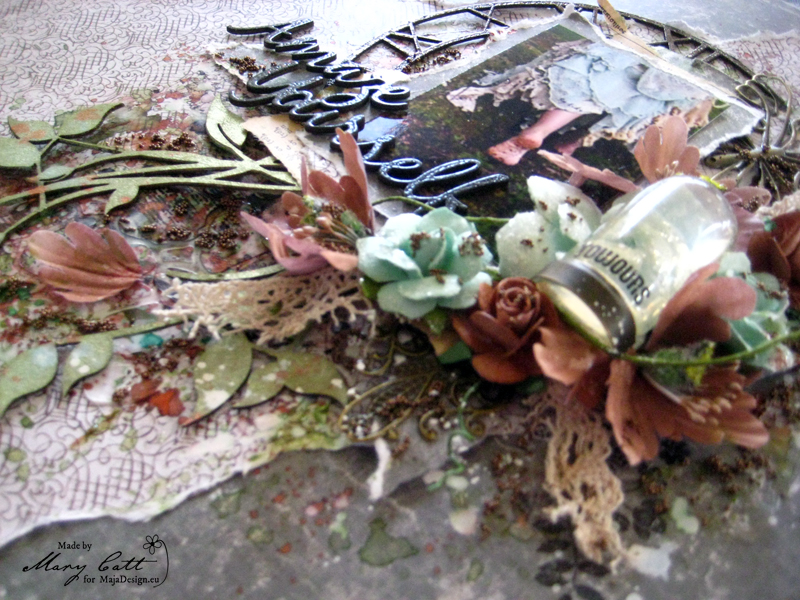
Some splatters with white gesso and microbeads in ”copper” to match with the earth colors to finished my layout.
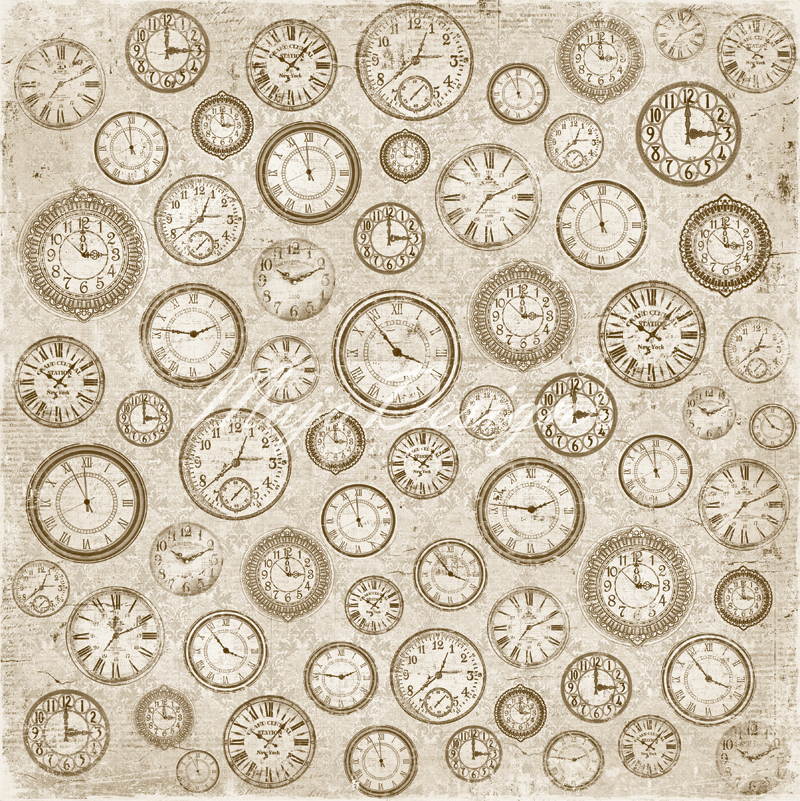
Papers used:
-
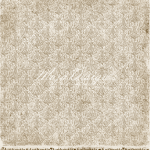
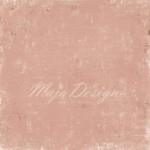
- no.VII BS
-
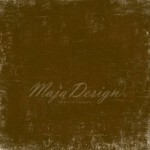
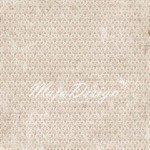
- no.XVIII BS
Thank you so much for stopping by!!!


