A Celebration tag

1

Posted by Camilla Støen Bakke

18 February, 2018 - ,

Write a comment

Hi everyone! I am back with a tag this time. And of course with the gorgeous  new papers, and this time in more pinkish tones.

I have added white gesso and Frantage on the papers. The postmark stamps are from Stempelglede. The image is from Magnolia. The image is coloured with Distress Ink, re-inkers and Markers on the Langton paper.

I have cut out the text and the glasses with Maja papers.

The flowers are from Wild Orchid Crafts.

I have added some frantage which I have melted, on the roses.

The sentiment on the tag is from Stempelglede.

Thank you so much for visiting the Maja Design blog today!

Here are the papers used:

With love,

I’ll Adore You Forever

1

Posted by Jennifer Snyder

17 February, 2018 -

Write a comment
Jennifer Snyder here today with a sweet romantic layout celebrating two events.  The first event is my niece’s wedding. The second event is the 10th Anniversary of Maja Design.  Happy Anniversary.
That’s why I’m using the gorgeous new Maja Design Celebration collection.
Did you know that Maja Design has also added a new line of coordinating Monochrome papers that include all those solid colors you love from the recent collections? Maja Design – Monochromes Shades of Celebration include all those gorgeous rich colors prefect for matting, die cuts, and backgrounds.

New from Sweden, it’s the Celebration collection from Maja Design.  This layout uses the following sheets shown below:
Jubilee (A and B side)
Birthday (B side)
 I used chipboard from Creative Embellishments to help accent and decorate my page with loving touches painted to match the papers.

 Thanks for stopping by to visit.  

Where to shop? 
You can shop for Maja Design papers using the Store Finder link  right here. 
You can see the entire Celebration Collection right here.


Spring is in the Air

3

Posted by Elena Olinevich

16 February, 2018 - ,

Write a comment

Hello Maja Friends,

February is almost over, and I can’t wait when the Spring comes. I say it each year, but I can hardly bear the winter for so long. So from now I am ready for Spring Floral creations

I really love the Vintage Spring Basics collection, it’s so easy to create with it.

I used mostly one sheet for one card, and used both sides of it.

However the butterflies are so fun

But actually I’ve added the bright colors for the flowers

To my second card I also added the ribbon and lace

Products used:

Vintage Spring Basics 6×6 Paper pad

Sweet

2

Posted by Lenet Mos

15 February, 2018 - ,

Write a comment

Hello  dear Maja fans.

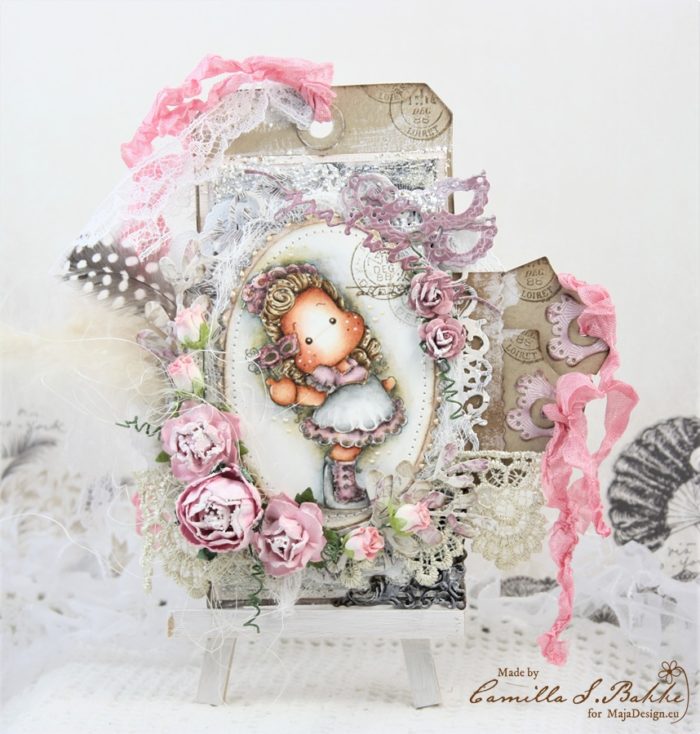
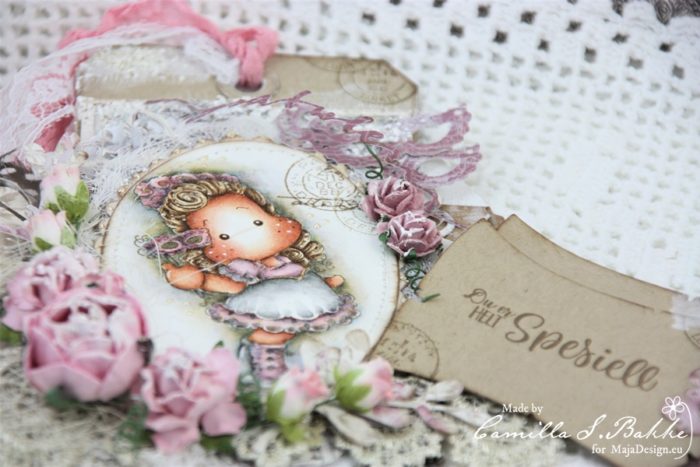
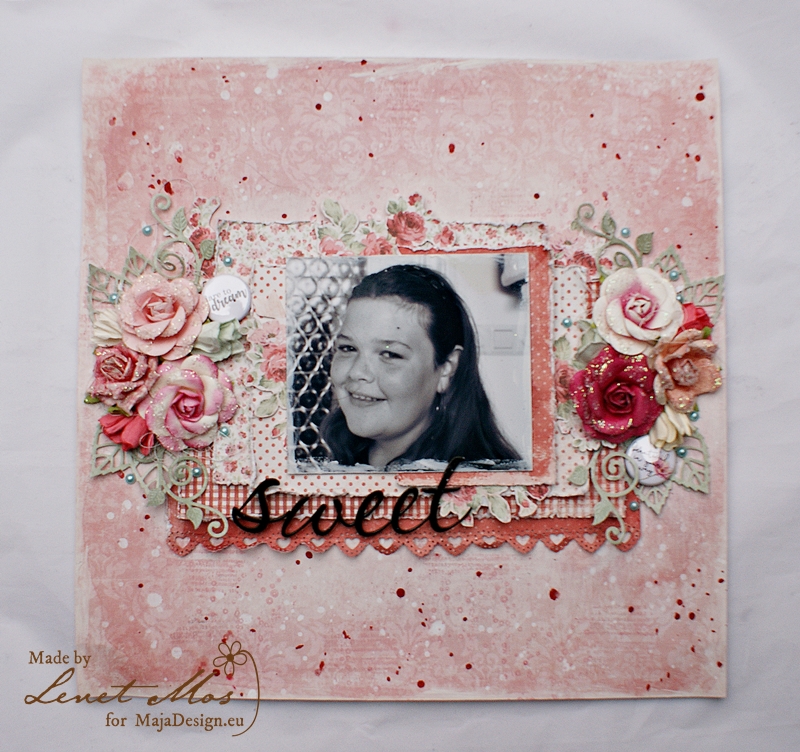
Today it’s my turn again to inspire you and this time I have a tutorial of how I made this lay out for you.

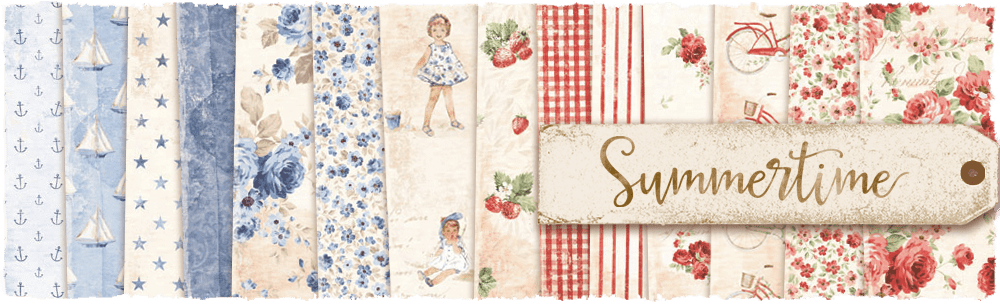
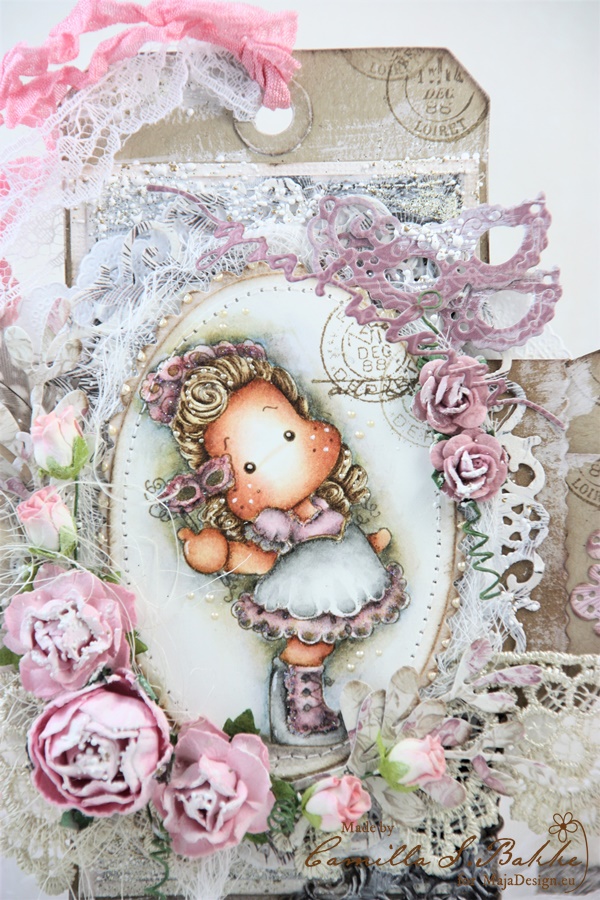
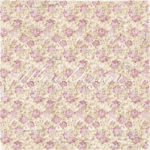
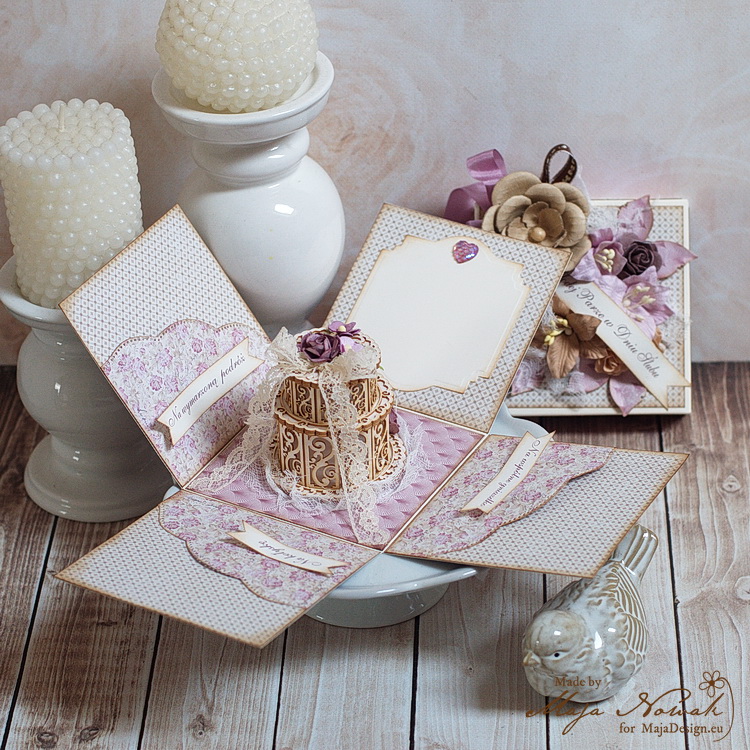
For this one I used the beautiful papers of the summertime collection.


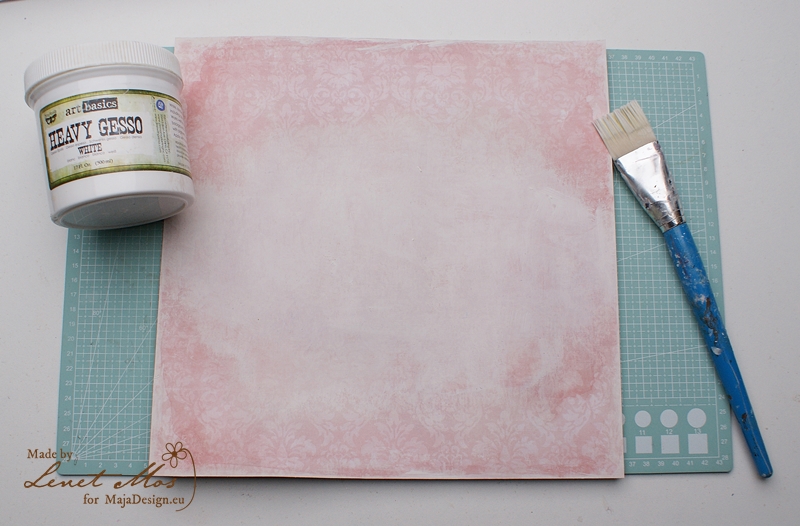
For the background I used the backside of Flowers every where. I high-lighted the area where want my to make my composition with some gesso

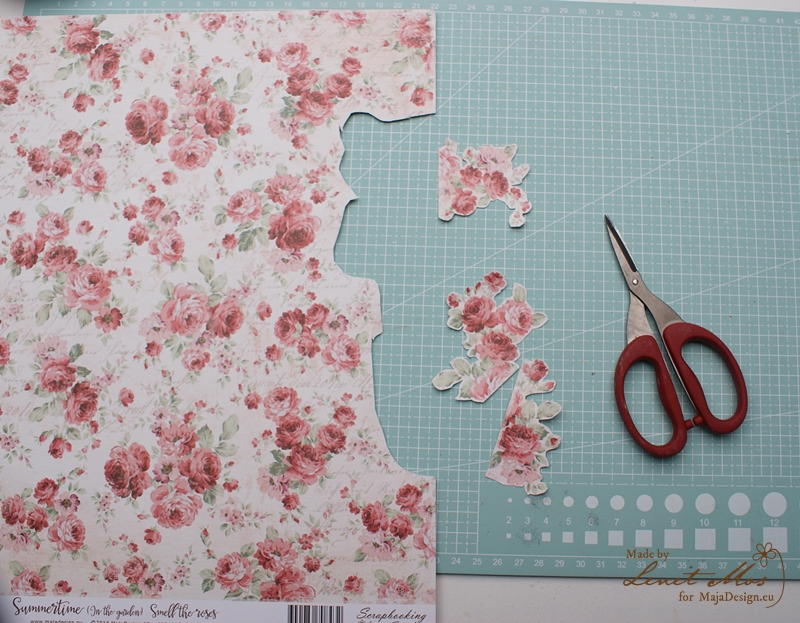
While the gesso is drying  I cut out some roses out of the smell the roses sheet, those I will tuck behind the picture and papers later.


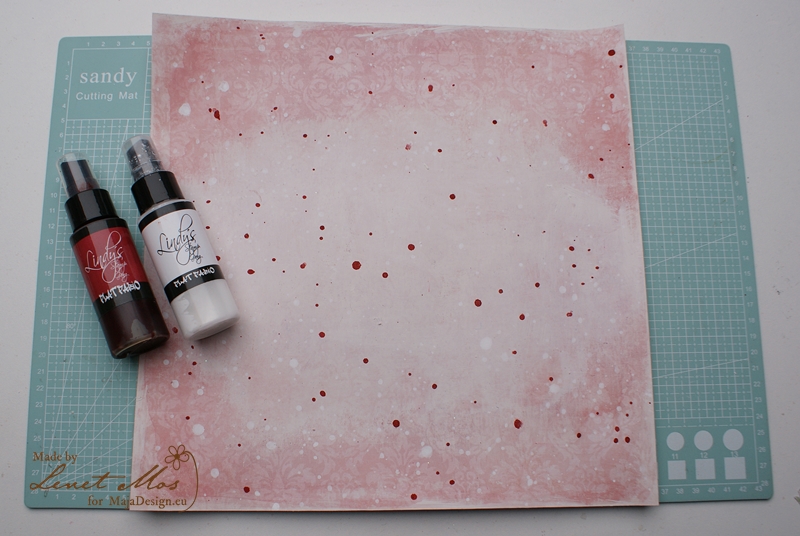
When the gesso is dry  I made splatters with  Lindy’s flat fabio”s sidewalk chalk and queen of hearts red.

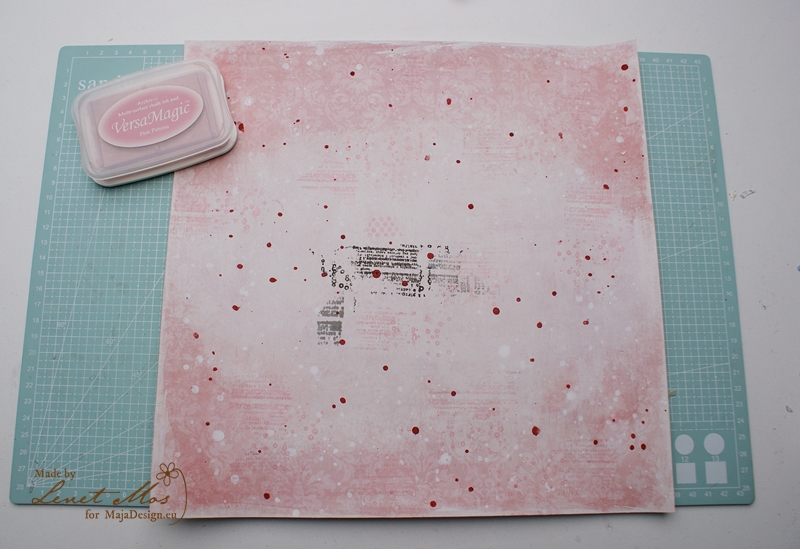
Than I added some random stamping when the splatters were dry.  To see what  the stamp and what color ink I like and want to use,

I did some test stamping at the place that will be covered with the papers. This way I can have a better look at what feels right for me.

I decided to use Pink petunia from versaMagic.

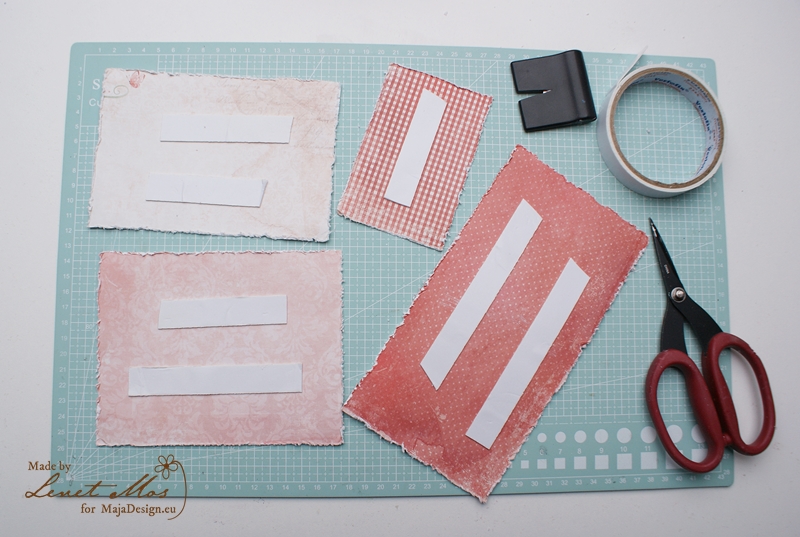
After choosing the papers I want behind my picture, cutting them in the right size I distress the edges with mt paperdistresser from Making Memories

I have this one for I think 10 years used it a lot and really love it. I tried other distressers  when the were introduced  but always went back to using this one.

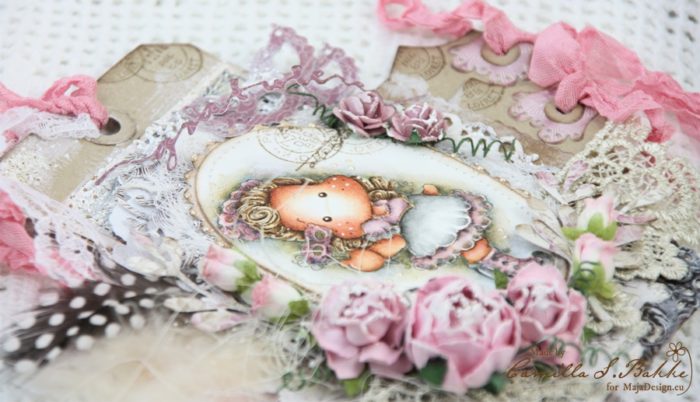
For sticking the papers on to the papers I use  foamtape because it gives your layout some demension.

I always stick it in the middle so you can tuck flowers or other embellies behind it later on.

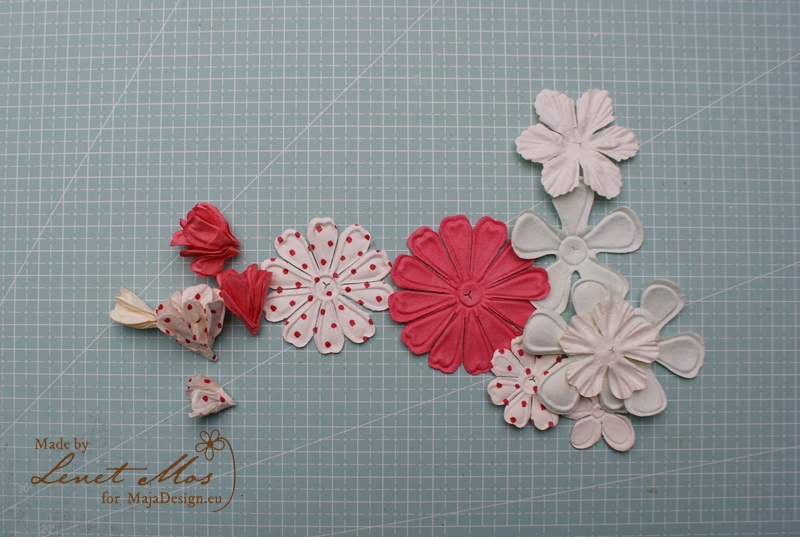
Because i own a lot of supplies I never used I gave myself the challenge to try to use some oldies on every project I make from this layout on..

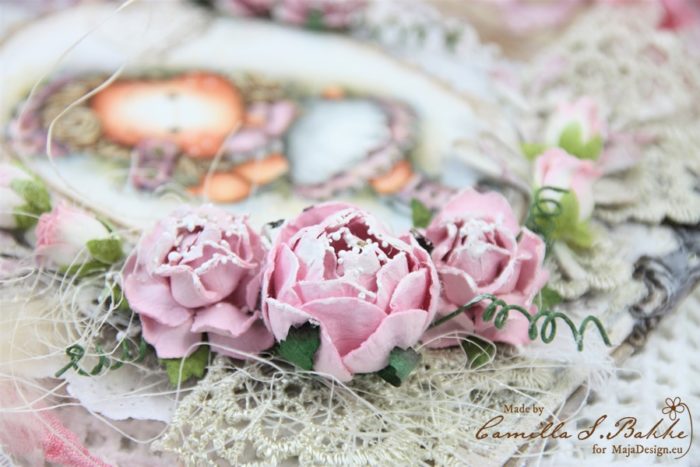
This time I took these Prima flowers. I crunched them to these flowers and  tucked them with the roses .

I love the the way the look now so I’m sure I will use this more often in the future.


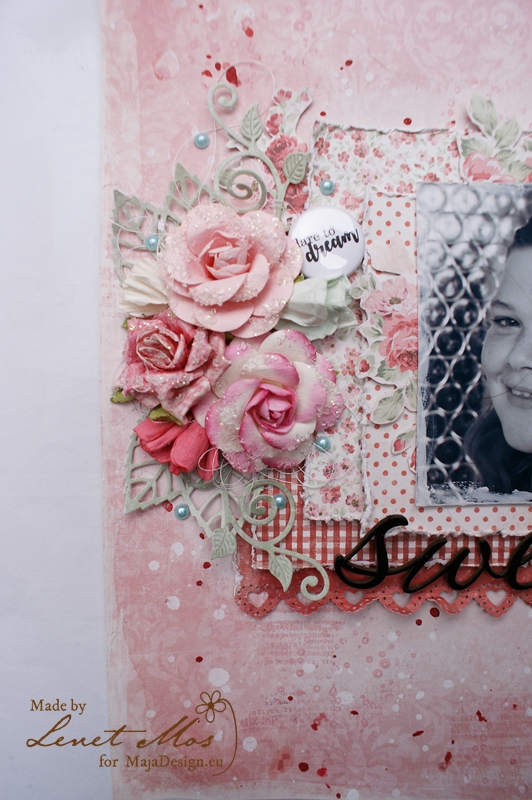
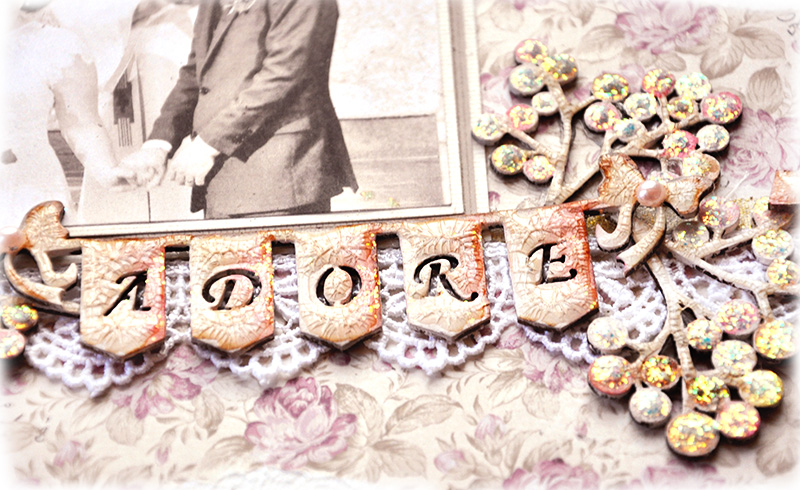
After sticking the papers and picture on to the background , I embellished  it with roses from Prima, badges from cuts2luv , pearls from the dollarstore.

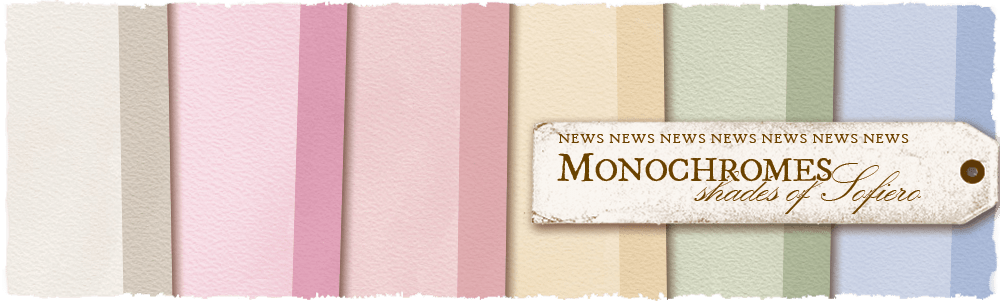
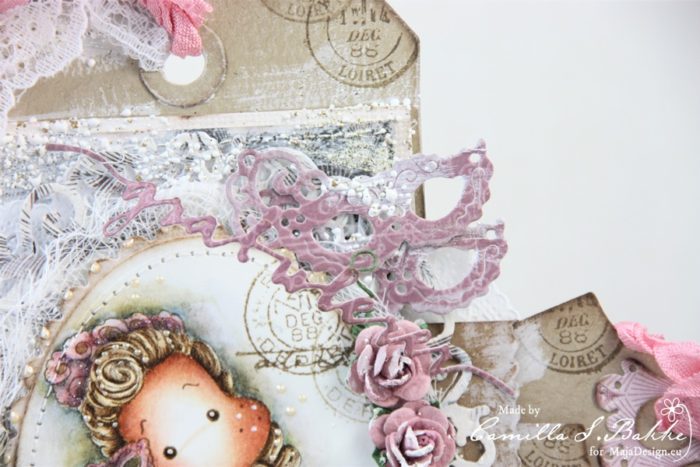
The leaves are made using  Monochromes shade of Sofiero – Celery/Sage with dies from My favorite things and the swirly ones I think from Marianne Design.. and l tucked the roses I cut out earlier between the layers of the papers.

The edge with the little hearts is made with a punch from Martha Stewart. the word Sweet is a chippy from dusty attic that I colored with black embossing powder.

I hope you enjoyed this tutorial and that it inspired you .

Celebration Exploding Box

4

Posted by Maja Nowak

14 February, 2018 - ,

Write a comment

Good morning, Maja Friends, welcome to the blog today 🙂

Today is St. Valentine’s Day, a celebration of love and devotion. What a better way to celebrate love and devotion than a marriage? And what a better way to celebrate a marriage than to use the Celebration collection? 🙂 And so I combined the two and created this wedding exploding box:

Perhaps the colour palette I chose is not a typical wedding set of colours, but they look so elegant to me! For the outer sides I decided on the dark brown roses pattern and added a mauve-sand flower cluster on the top lid:

Traditionally, inside walls are decorated with delicate patterned papers and have little theme pockets to put money gifts into: for a new house, for a honey moon, for a crib and the fourth wall is for writing in wishes:

In the centre I placed an intricate chipboard cake that I decorated with a lace bow and mini roses in matching colours:

I really like the way the box turned out, elegant and light! What do you think?

And here’s the list of my supplies:

Maja Design papers:

Other: flowers: Wild Orchid Crafts; dies: Spellbinders; chipboard: Wycinanka.pl, ribbon, lace: my stash.

And that’s all for today, thank you for visiting and see you soon!