“Seaside” by Tina Ollett

8

Posted by Tina Ollett

25 October, 2016 -

Write a comment

Hello and a very warm welcome to Maja Design.

It is Tina here with you today to share my next layout. I have been playing with the “Summertime” collection which I have fallen madly in love with, so don’t be surprised if you see me using this again and again!

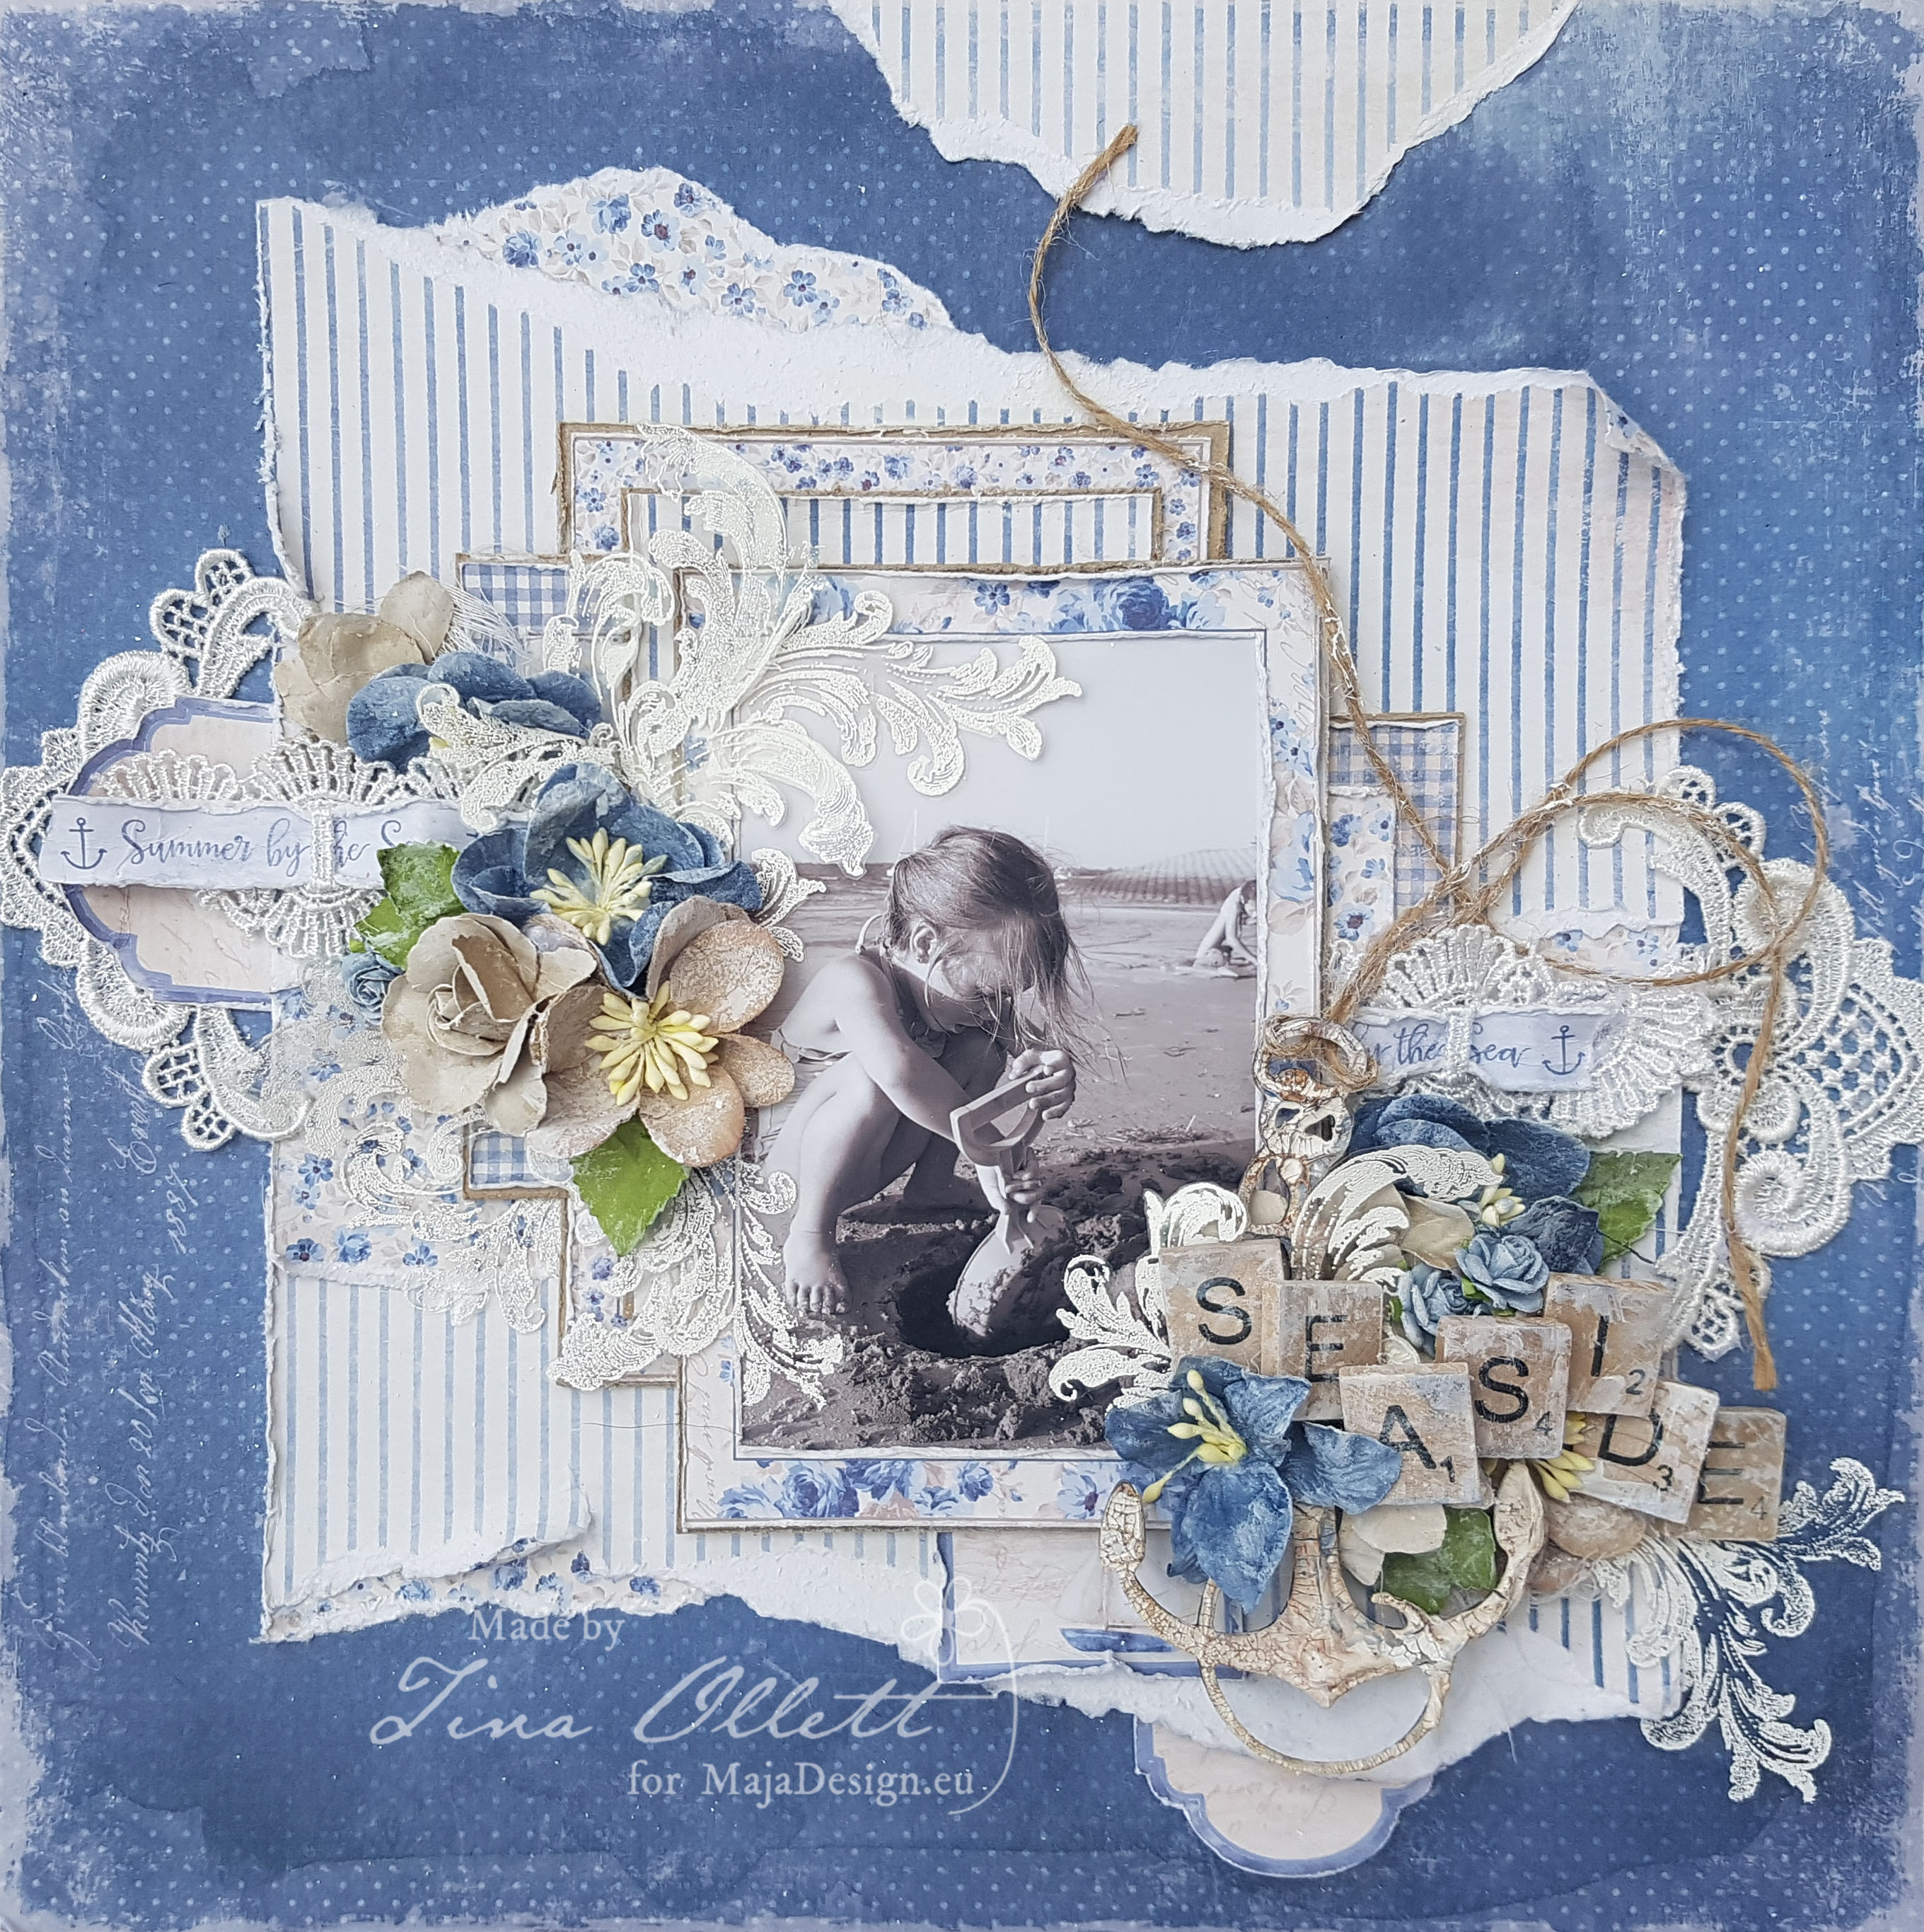
I have titled this ….“Seaside”…..

2016-10-24 Seaside 015

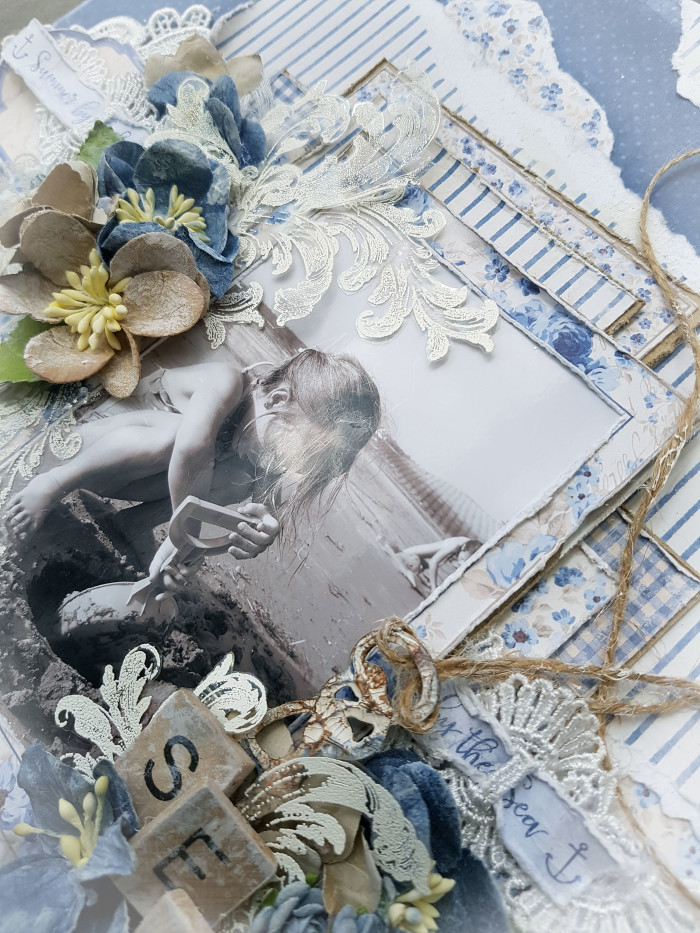
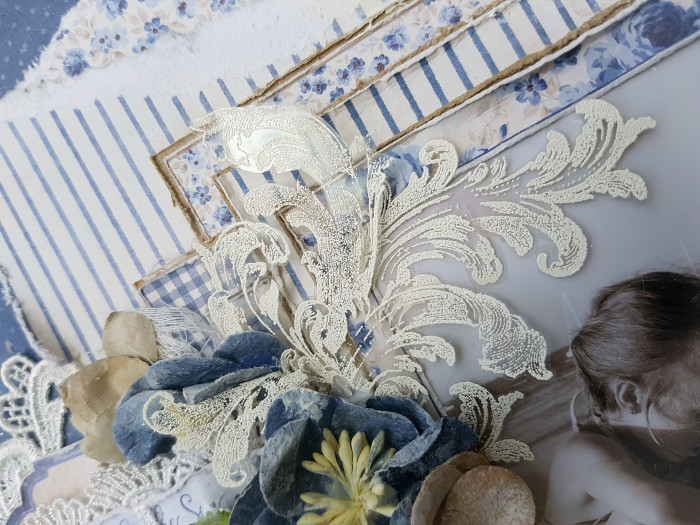
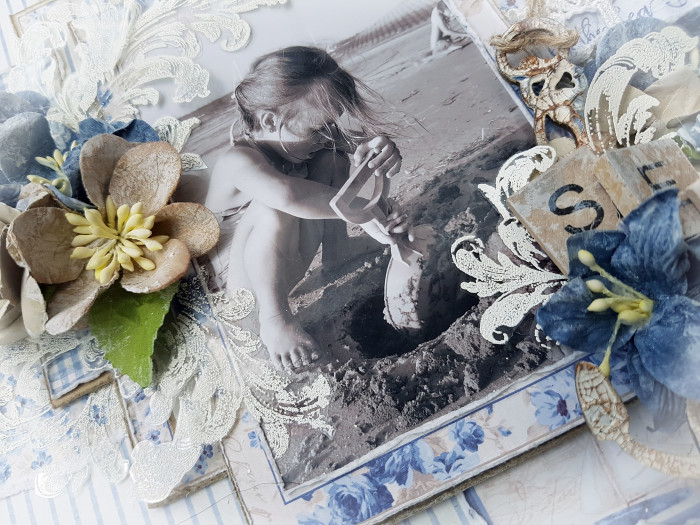
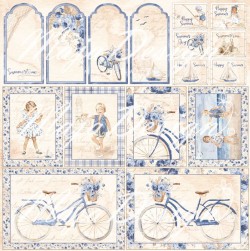
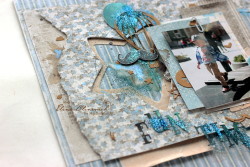
I found this photo of my youngest a few weeks back and put it to the side and it wasn’t until I pulled it out again that I noticed my eldest daughter was also in the picture in the background ……so I just had to use it! I have kept the layout soft and softened it more by tearing the “Cute Summer Dress” a and b sides allowing the core to show through., They have been layered up with a little Kraft Cardstock. I have also cut the frames from “By the Sea” a side and reversed some to show the b side. I also saved the strip from the paper to thread through the lace at the left and right of the layout. You can see this below.

2016-10-24 Seaside 023

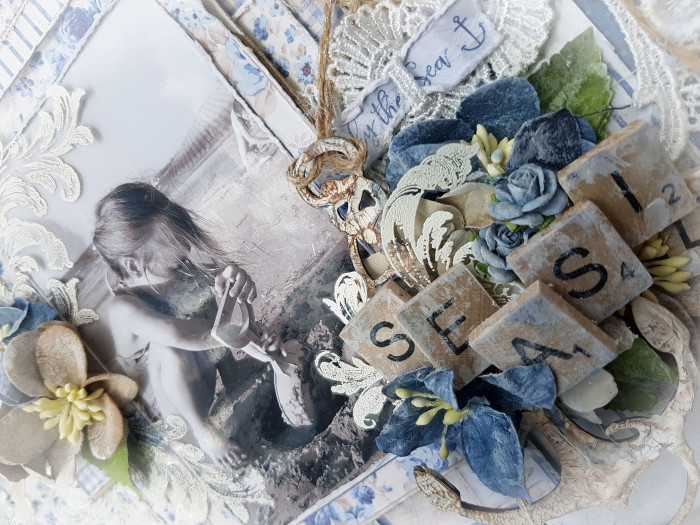
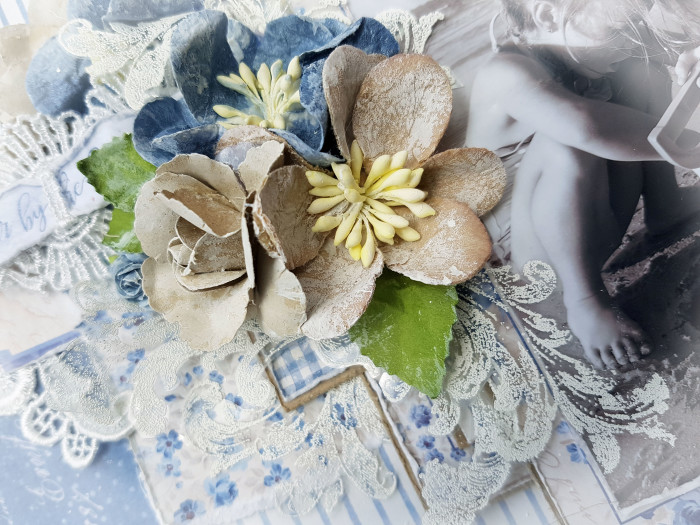
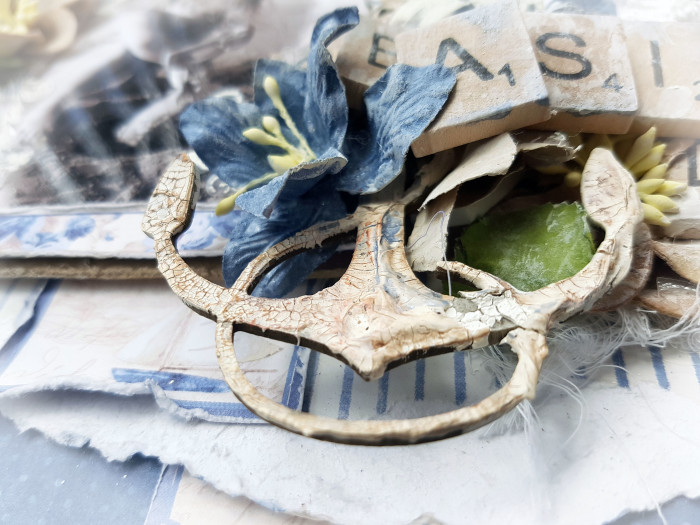
I love nothing better than to do a little op shopping to find odd bits and pieces to add to my layouts. And this is where the scrabble pieces come from. I made them a little shabbier by added a dry brush of gesso to them and then layered them up through the middle of my flower cluster and large anchor at the right of the layout.

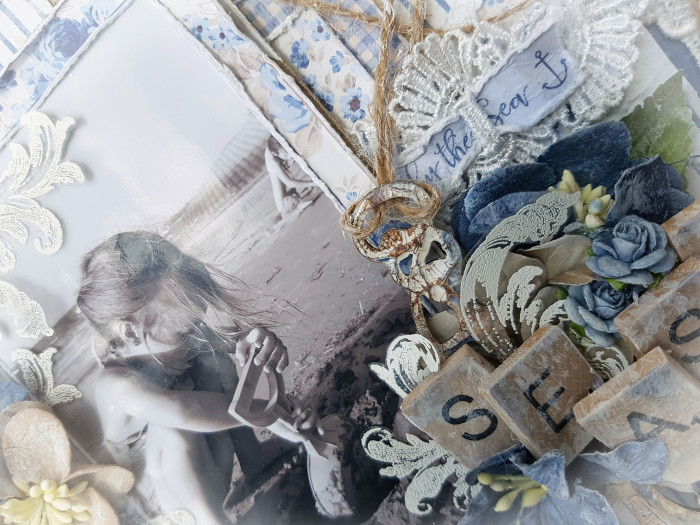
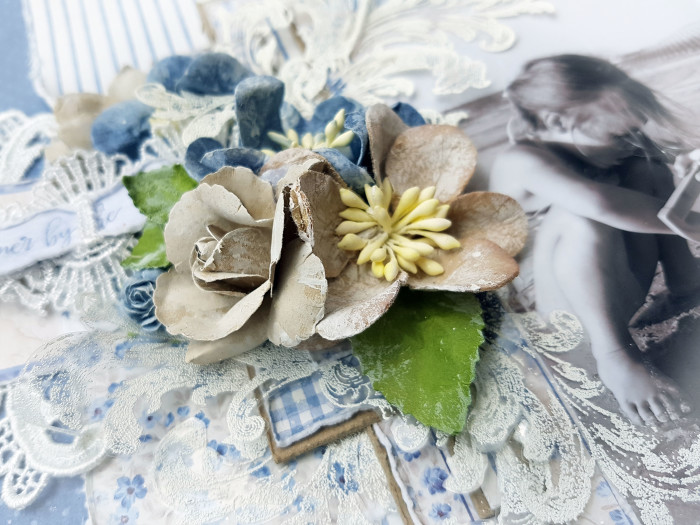
Above and below are a few more close-ups for you. I had thought I was finished and took photos went to bed and come back the next day to find that I thought it needed a little more, so I then made some flourish transparencies using a stamp and Seafoam embossing powders. I fussy cut these and cut them down smaller to add around my layout.

Summertime-P

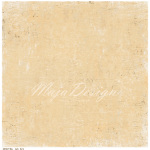
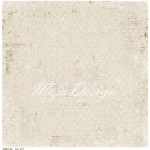
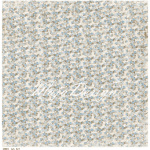
Below are the papers that I have used from the Summertime collection to complete my layout.

You can see the Dusty Attic chipboard anchor below. It was dressed with a little Crackle Paste and then I rubbed in some Distress Ink and wiped it over with a little Glimmer Paint.
2016-10-24 Seaside 025

Other Products Used

Kraft Cardstock, Acetate

Flowers – 49andMarket, Prima and Miscellaneous

Chipboard – Dusty Attic

Scrabble Pieces

Leaves – Kaisercraft

Lace, Lace Motifs, Muslin, Jute

Gesso, Finnibair Crackle Paste, Walnut Stain Distress Ink, Glimmer Paint, Seafoam Embossing Powder, Versa Mark Ink.

That is all for me today. I hope you have a most beautiful week and I will see you back here again very soon.

Happy Scrapping !xo

Tina-sign-250x33

”Believe” Layout

0

Posted by Mary Tzalla

16 October, 2016 - , ,

Write a comment

Hello Maja fans and welcome to the blog!
It’s Mary here with you today! I would like to share a new layout I made with papers from two collections… ”Enjoying outdoors” and ”Vintage Summer Basics”.

Layout

When I found that beautiful photo on Pinterest I decided to use it for my new layout… It’s so mysterious and so magical at the same time and I couldn’t resist! Of course, I want to give all the proper credits to the photographer.

Close up 1

The green paper is the ”Beautiful trees” from the ”Enjoying outdoors” and the brown is the ”Minnen” from the ”Vintage Summer Basics” collections. I tore the brown one in the middle and glued it on the green paper. Have I ever tell you how much I love to tear and distress those papers? They look amazingly gorgeous that way!

Close up 2

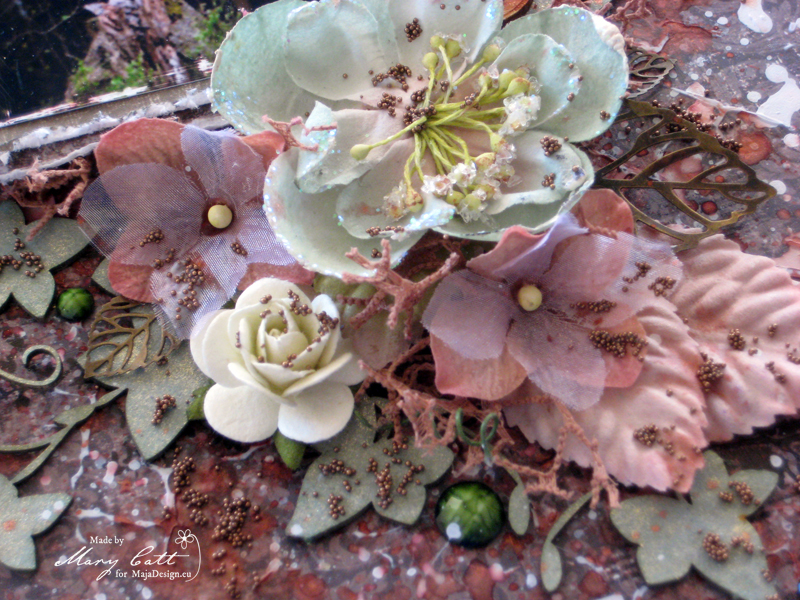
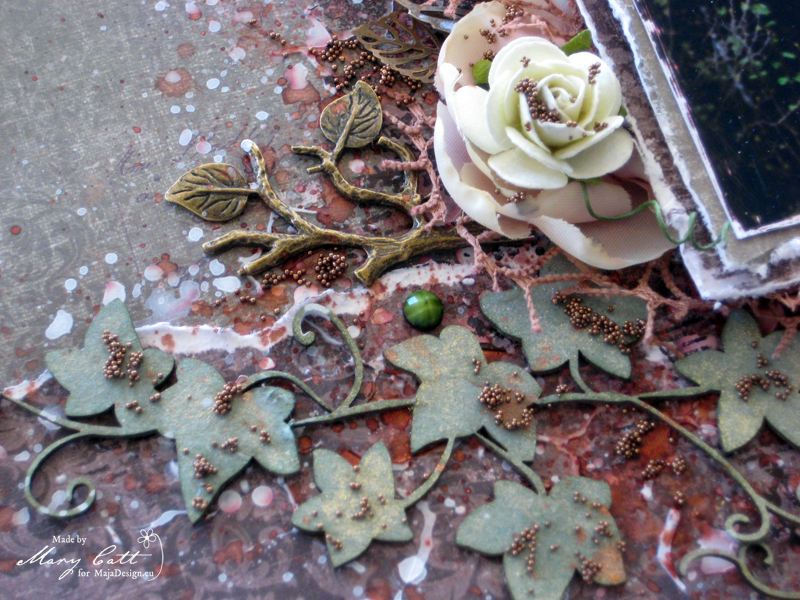
I made my background by using modeling paste and a stencil over a coat of clear gesso. All the mediums I used are Finnabair’s. This time, I prefered to play with magical powders (Red Hot Poker Orange, Cowbunga Copper and Cattail Copper Brown) from Lindy’s Stamp Gang to color my page. I made my own mist with ”Ponderosa Pines Olive” magical and misted the 2crafty chipboards.

Close up 3

I made my clusters with Prima Marketing flowers and I added some ”Scrap Unlimited” embellishments to accomplish them.

Close up 4

Some splatters with white gesso, microbeads in ”copper” to match with the earth colors and a few gems to finish my layout.

Papers used:

Enjoying-Outdoors-P

Vintage-Summer-Basics-P

Thank you for your time my friends!

Mary-sign

Fun Time Layout

2

Posted by Elena Olinevich

14 October, 2016 - , ,

Write a comment

Hello Maja Friends. It’s Elena here today.

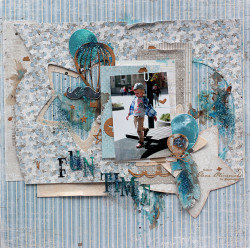
All of you know how beautiful Maja Design papers are, it’s such a pleasure to embellish it with the flowers, however it’s always a challenge for me to create something for the boys – with no flowers, with no lace  or ribbons. And yes, I have to confess it takes me much more time to invent what to add. The gears, arrows are too boring, what else can be used?

Fun Time Layout, by Elena Olinevich, Maja Design_01

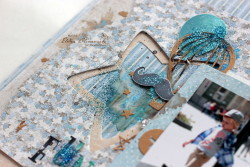
Ok, I tried to find new ways. First, try to experiment with  die cut negative shapes

Fun Time Layout, by Elena Olinevich, Maja Design_02

You can do several layers. Moustashes and air ballons are still my favorite die cuts while creating something for the boys, however I like adding the birthday balloons too.

Fun Time Layout, by Elena Olinevich, Maja Design_03

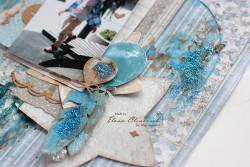
The feathers are one of my all time favorite die cuts that can be easily used everywhere. Just add some glitter – and they are not so boring.

Fun Time Layout, by Elena Olinevich, Maja Design_04

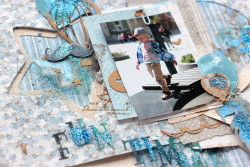
However I still like to use blue and craft colors for the boyish layouts, I know they look classy and more traditional one.

Fun Time Layout, by Elena Olinevich, Maja Design_05

Meanwhile I still like to make the papers look vintage and torn and distressed edges work great especially when you create for the boys.

I hope that some of my ideas how to create for boys with no flowers will be useful and if you have more ideas to share , okease, you are welcome to leave the comments bellow.

Supplies:

Spellbinders Dies, Prima Marketing Glitter

Elena-sign

Chenonceau

1

Posted by Pascale B

13 October, 2016 - ,

Write a comment

Hello Sweeties,

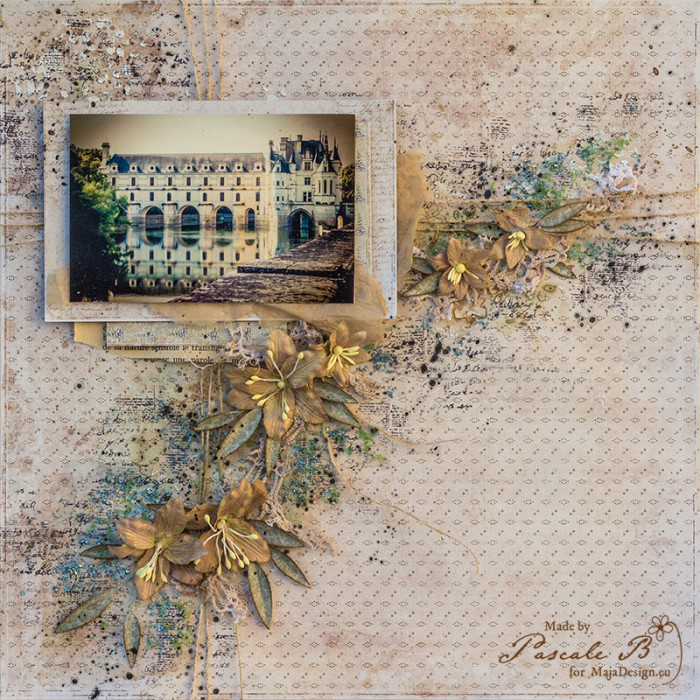
Today I’m up on Maja Design blog with a layout featuring the new collection « I wish … ». I chose a photo of the beautiful castle of Chenonceau: one of my favorite (Loire Valley, France).

Chenonceau by Pascale B.

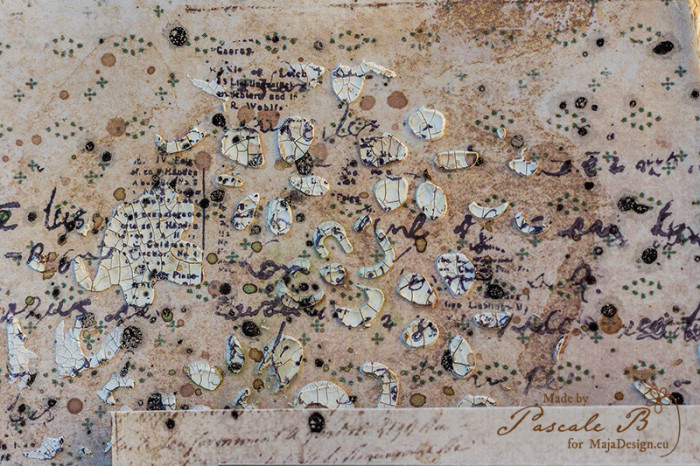
As usual, I primed the background with clear gesso. Then I added a design with a stencil and a white crackle paste.

Chenonceau by Pascale B.

When dry, I added different colors using Twinkling H2o: brown, blue and green to match the colors of the photo.

Chenonceau by Pascale B.

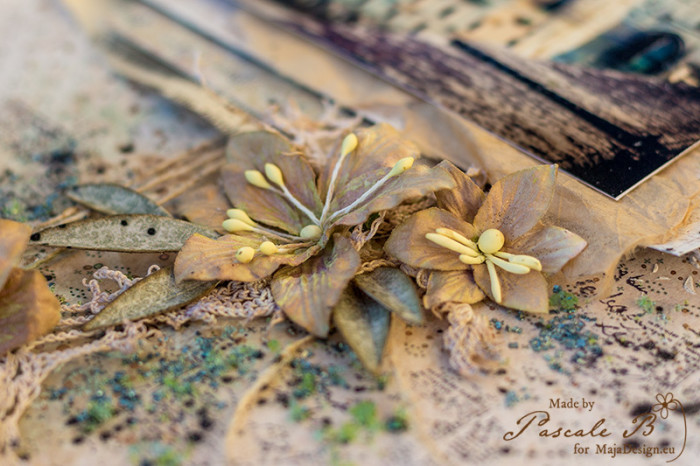
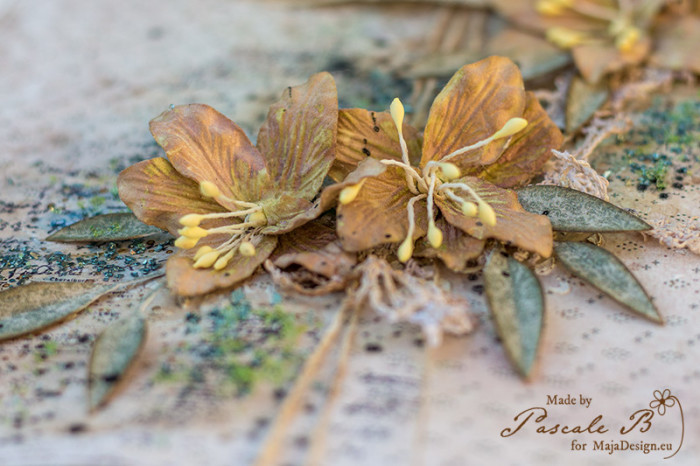
I also colored the lilies and die-cut some leaves in the “I wish for peace and joy” paper. I glued the flowers, the leaves and added a few strip of doily.

Chenonceau by Pascale B.

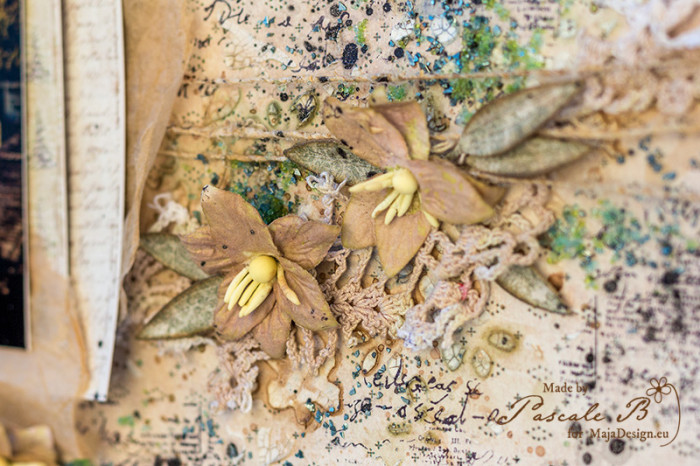
I added some random stamping, as well as some splatters of black ink.

Chenonceau by Pascale B.

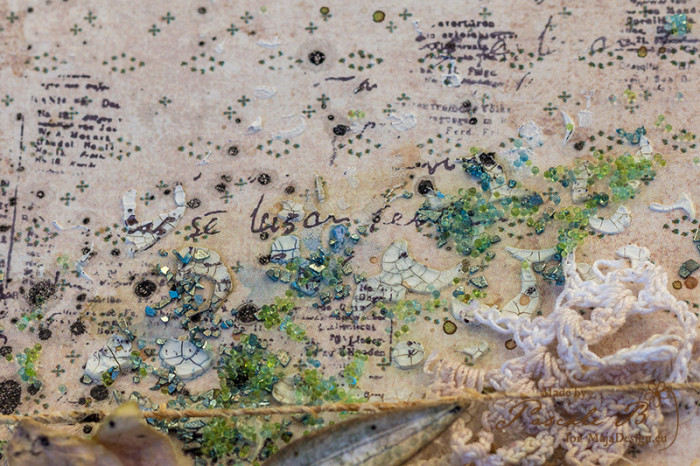
To finish the layout, I added some micro beads and some glitters.

Chenonceau by Pascale B.

Maja Design papers:

I-wish-P
I Wish
I wish we will have a tree bs I wish those memories will last I wish for peace and joy I Wish Paper pack

Pascale-sign

mm

Pascale B

Hello, I'm Pascale B. from France. Since I began to scrap, flowers are part of my layouts, and I gradually started to use mixed media as well. I don’t know how to define my style, perhaps something like free vintage shabby style could be a good definition. Visit me at www.pbhobby.blogspot.com

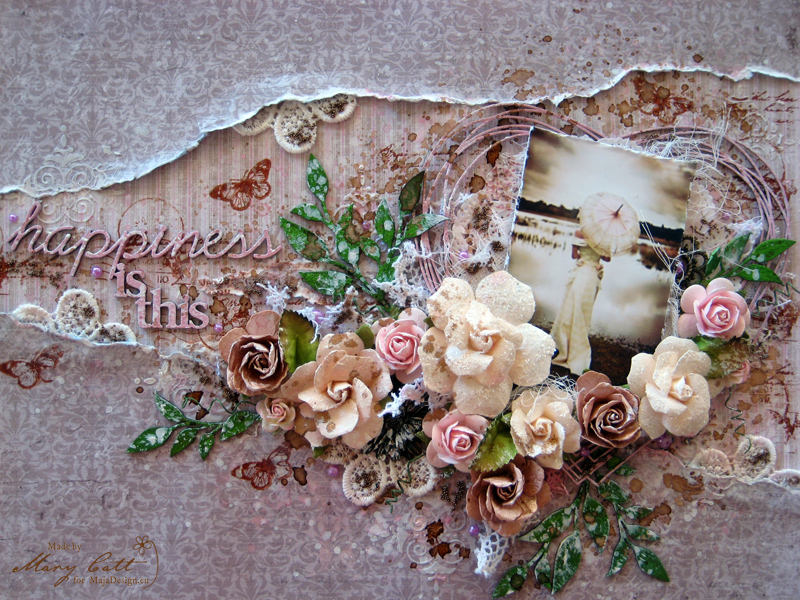
”Happiness is This”

2

Posted by Mary Tzalla

2 October, 2016 - ,

Write a comment

Layout

Hello my friends!

It’s Mary here with you, today, and I have a new layout to share with you. I made a romantic page, again, using papers from the ”Vintage Spring Basics” collection.

Close Up 1

The main paper on the background is the ”2nd of May”. I tore the ”8th of March” paper into three pieces and then I glued down the top piece on the top edge of the main paper. The lower torn piece of paper was glued on the bottom of the main paper, leaving the middle spot empty.

Close Up 2

When accembled the papers, I gave them a coat of clear gesso. I added texture by using modeling paste and a stencil. When everything dried, I used Lindy’s Stamp Gang mists, ”Cotton Candy Pink”, ”Salt Water Taffy” and ”Cattail Copper Brown” to color my page.

Close Up 5

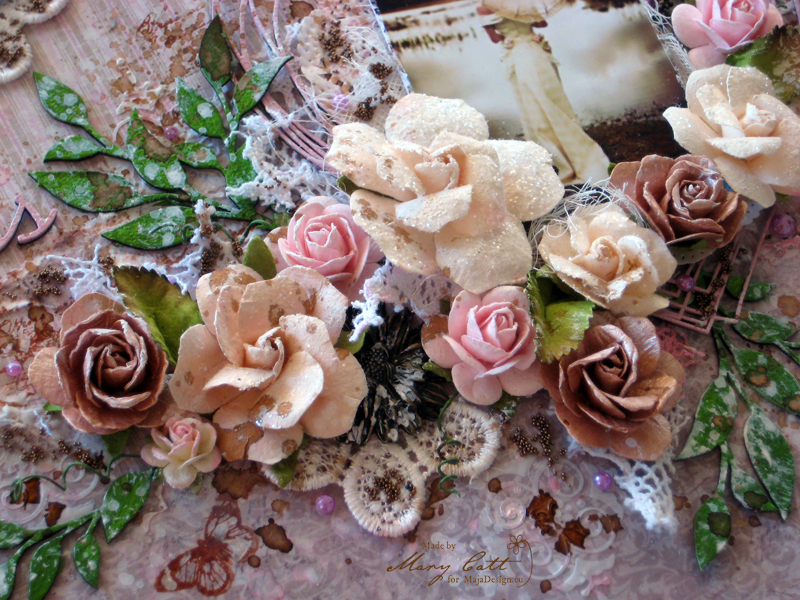
I decided to make a simple cluster for my photo… only a doily, a little cheesecloth and some lace. And, at this point, I want to give all the proper gredits to the photographer of the photo, which I found on Pinterest.

Close Up 3

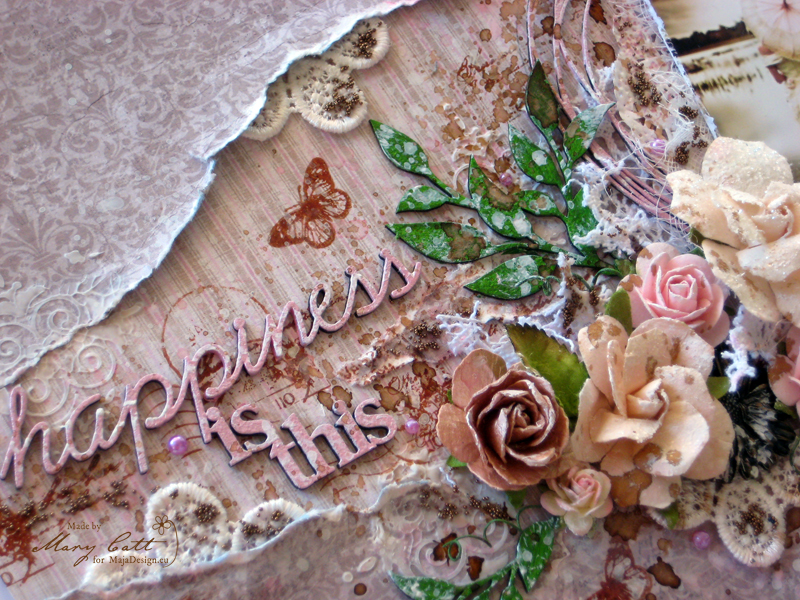
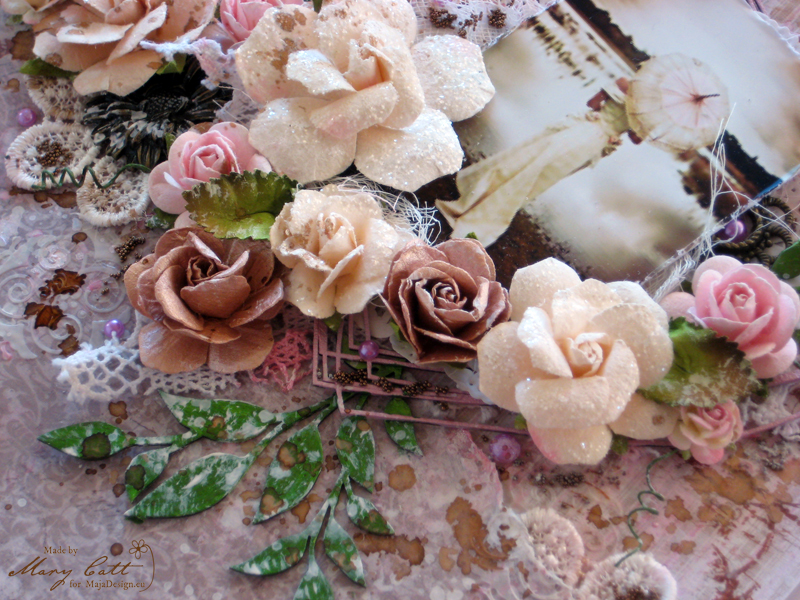
The chipboards are all 2Crafty and I painted them with Finnabair Acrylic Paints. For the title and the heart frame I used the ”Vintage Rose” and for the leaves I used two shades of green, the ”Lime Peel” and the ”Green Olive”. All flowers and embellishments are Prima Marketing.

Close Up 4

As a final touch I added some pearls and some microbeads and made some splatters with white gesso.

Papers used:

Vintage-Spring-Basics-P


Well, that’s all for today…

…see you again in two weeks!

Thank you for your time!

Mary-sign1

Κράτα το