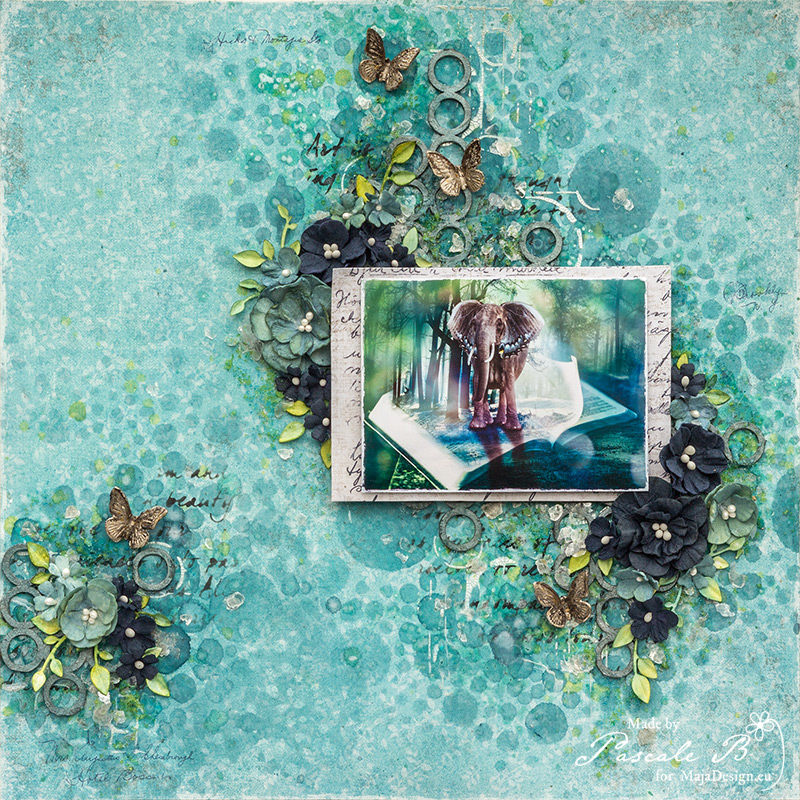
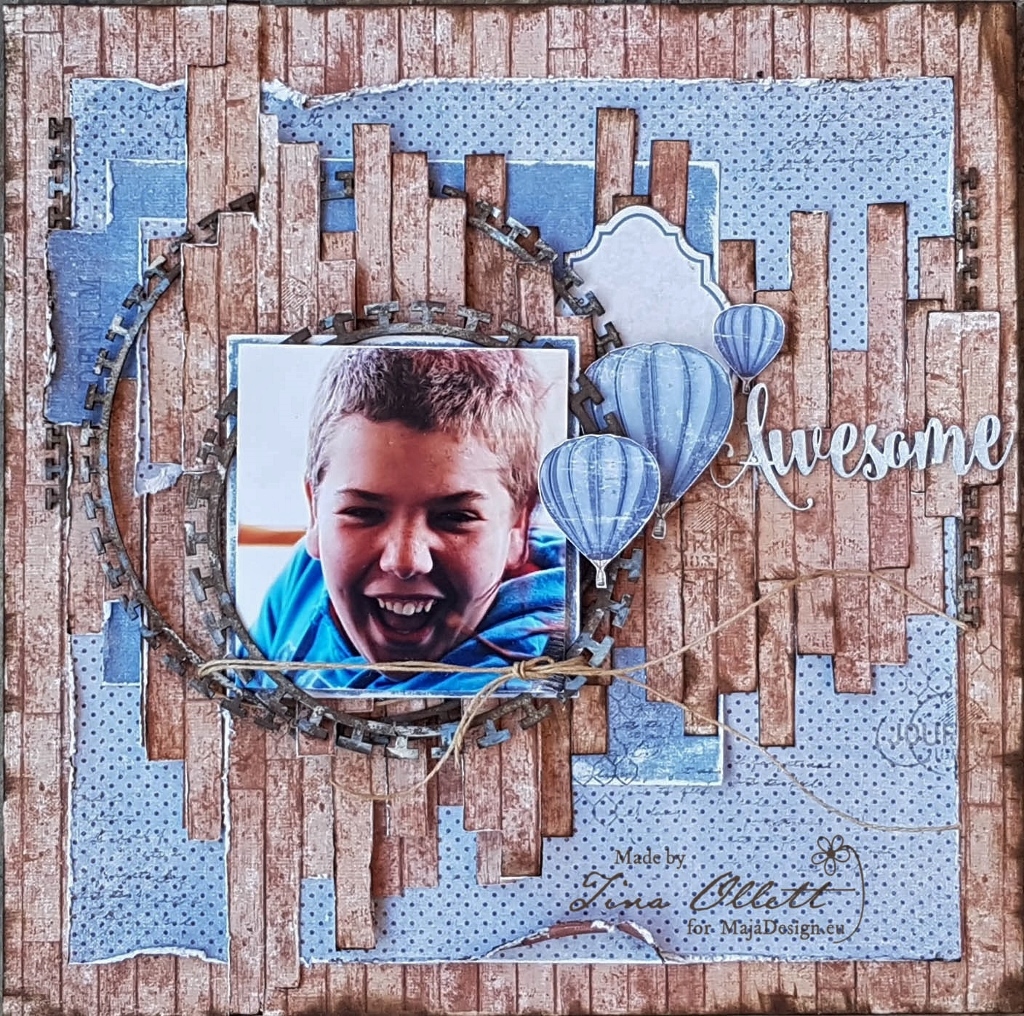
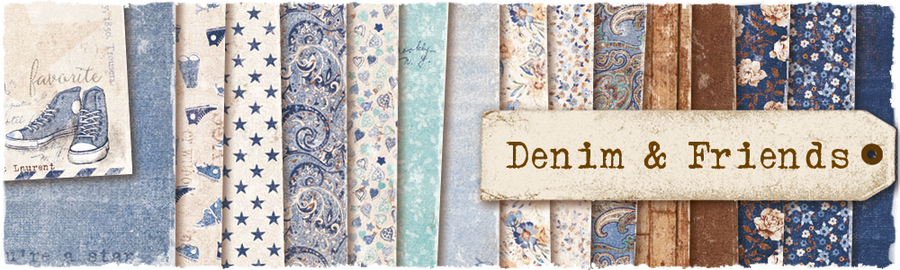
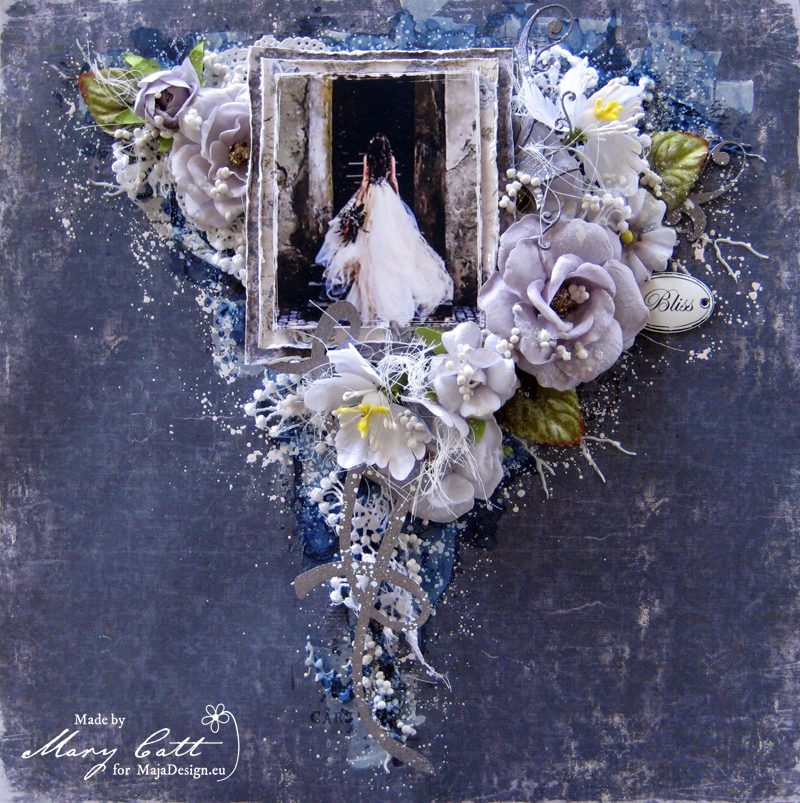
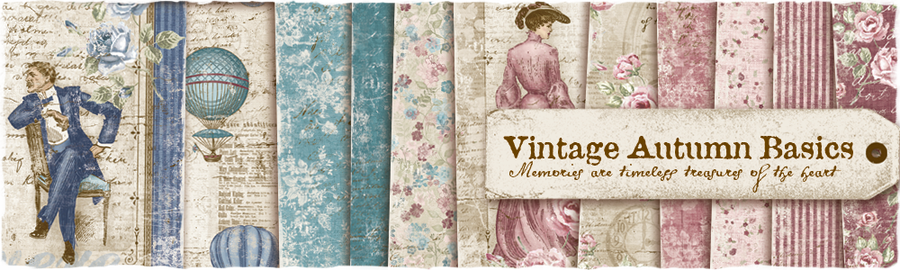
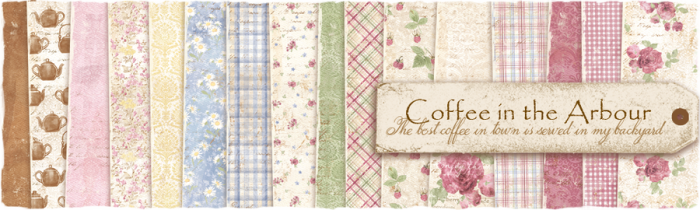
Hello and a huge welcome to you! Today I am here to share my next project which I created using Maja’s gorgeous Vintage Spring Basics combined with Coffee in the Arbour. If you keep scrolling I will share a few close-ups and more details of how I used these beautiful papers.
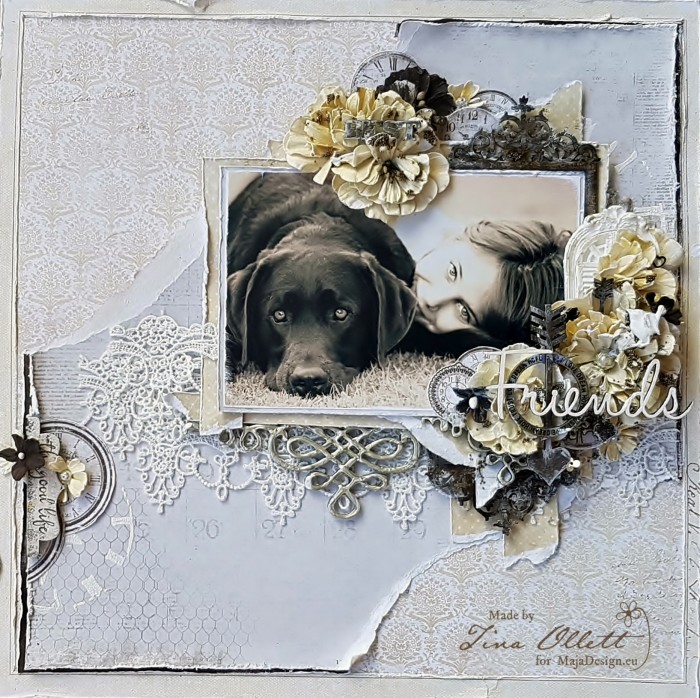
“Best Friends”
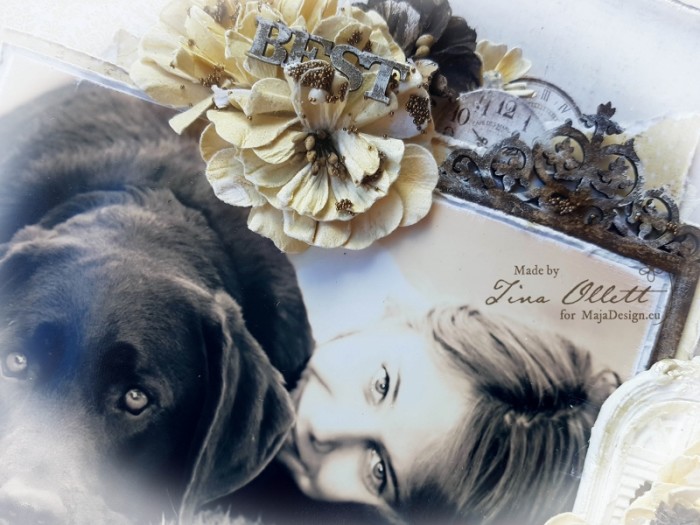
I love yellows…….. and browns just seems to be the thing I go to next! So for this creation I came across this photo of my gorgeous youngest daughter and our furbaby Rafael some time ago in the back yard at home. It was one of those lucky shots that it was fortunate that they were looking my way at the correct time. I had printed this photo off a few times and I never liked the way this came out in the sepia tone so I had stashed it away. But for these project the colours fit beautifully, wouldn’t you agree?
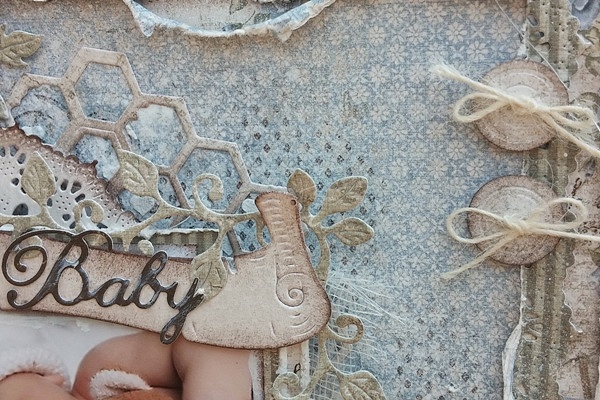
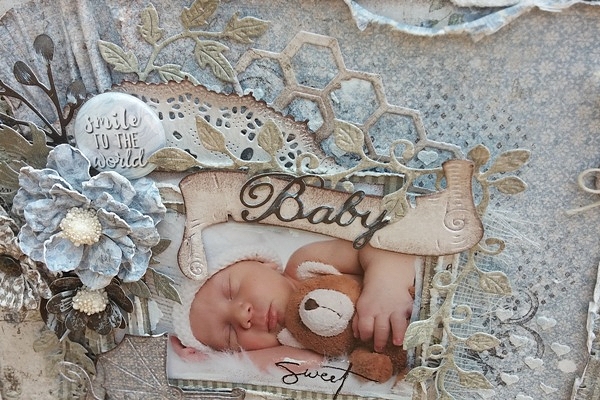
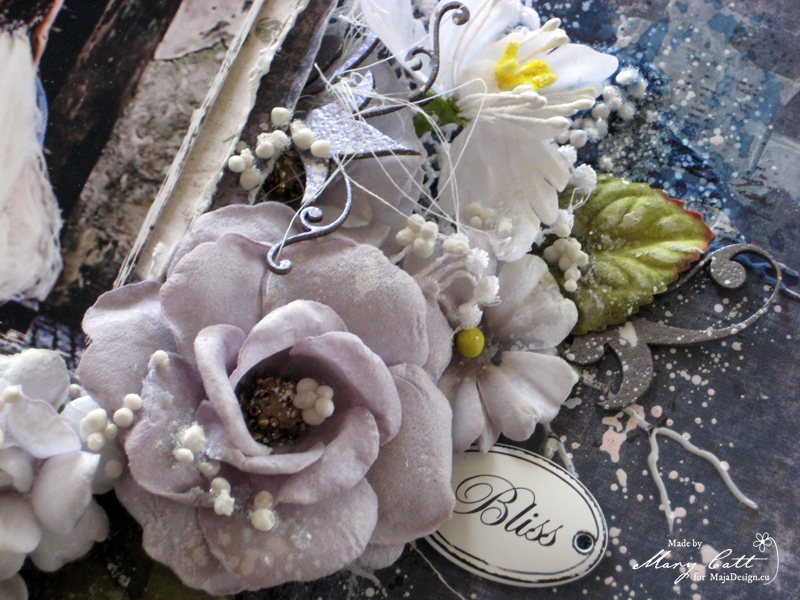
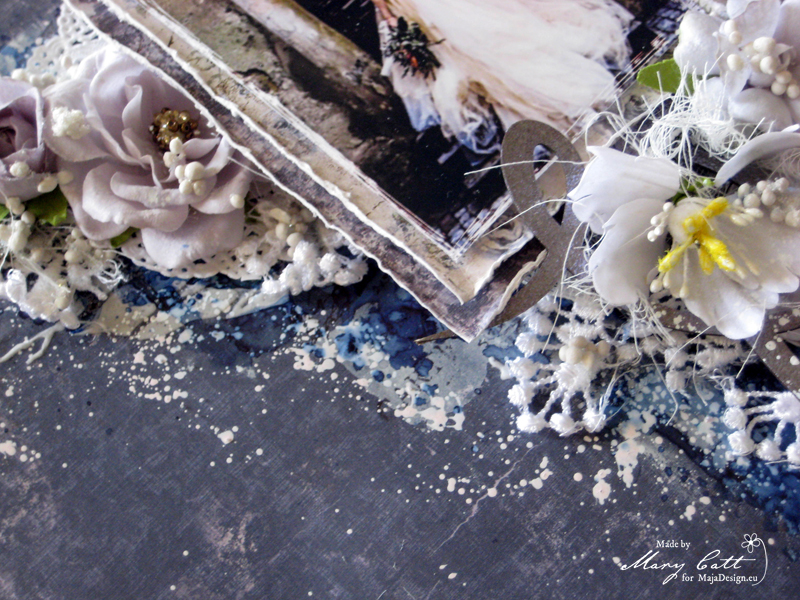
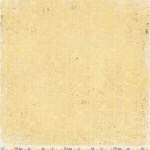
With papers tearing seems to be a natural progession. My first sheet (background sheet) was Coffee in the Arbour’s Lemoncurd. The soft tones to this paper drew me to it instantly. I did a little stenciling on it but mainly left it’s beauty remain. I then cut the frame from the Vintage Spring Basics 1st of March Sheet. Did some distressing and adhered it to the background piece. With the remainder of the 1st of March I did some tearing and adhered the torn middle section to the page. I love the images of the calender and other elements that are this sheet. They are just gorgeous and really lend itself to my project!
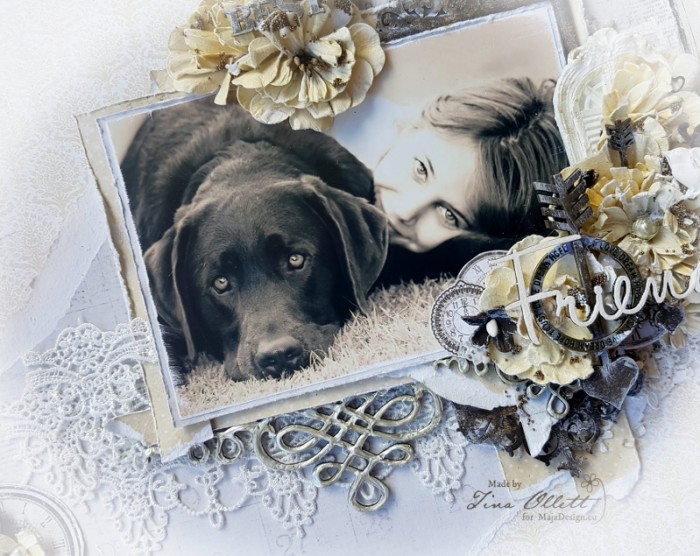
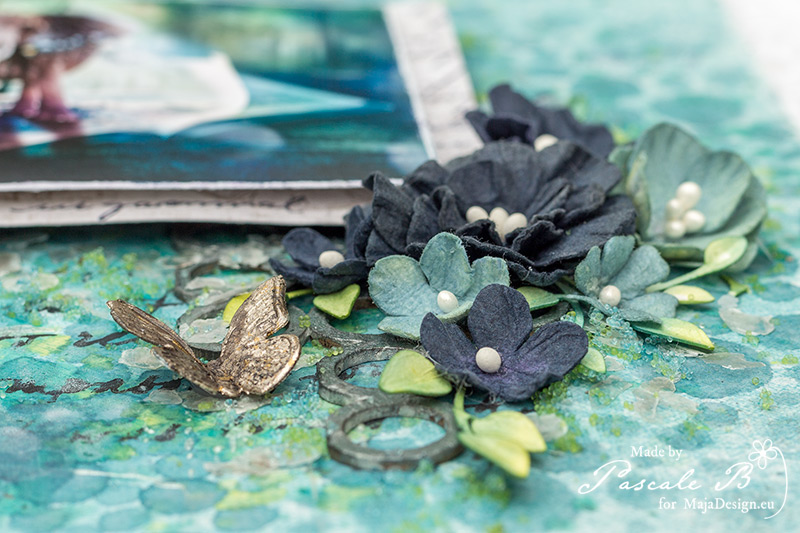
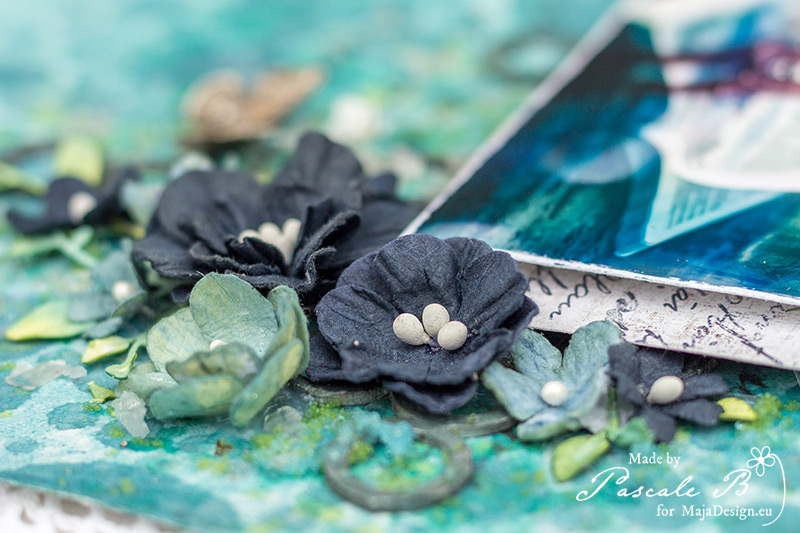
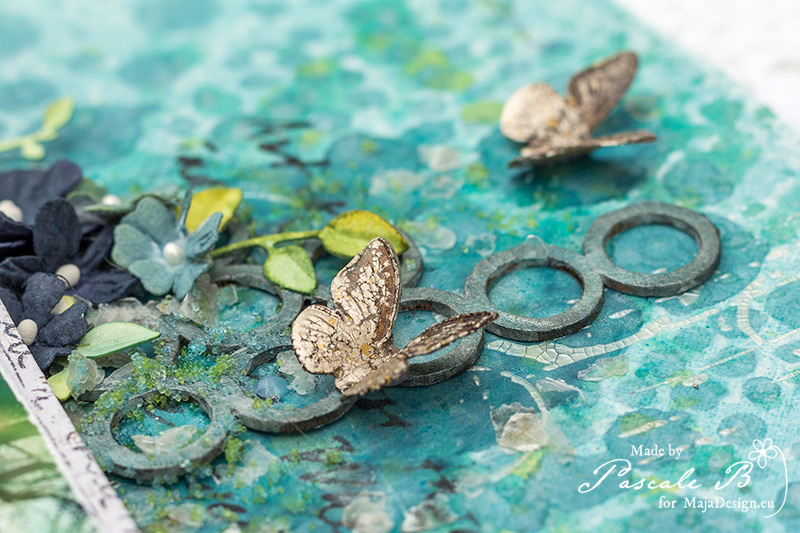
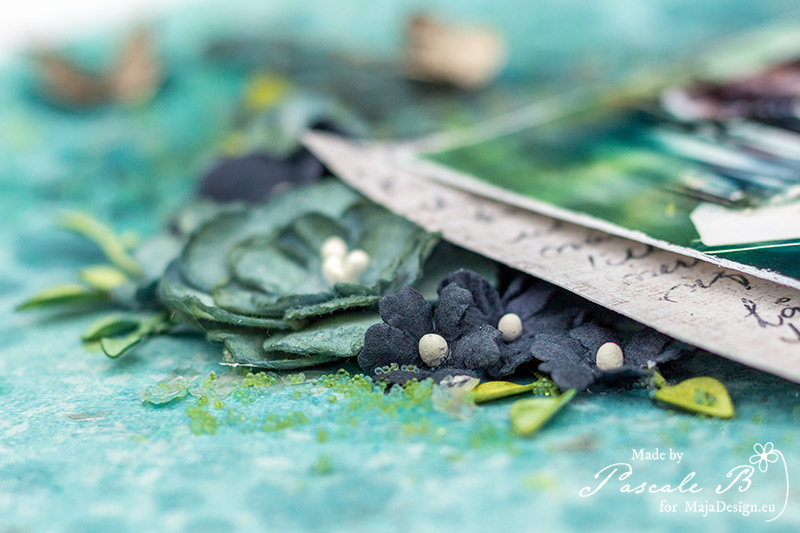
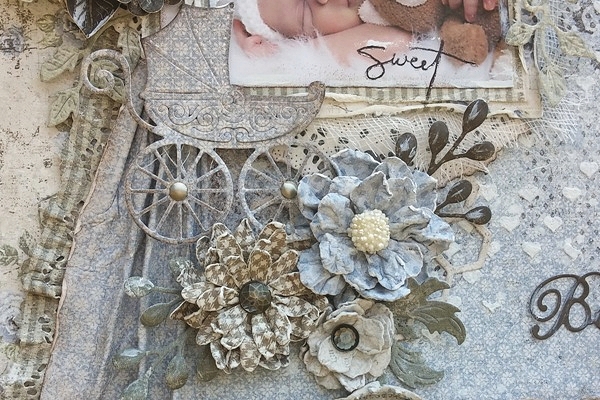
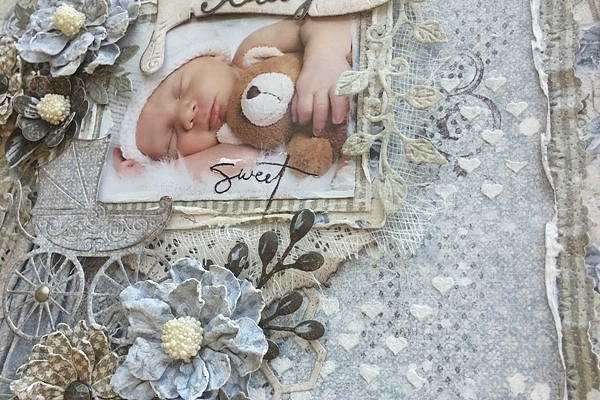
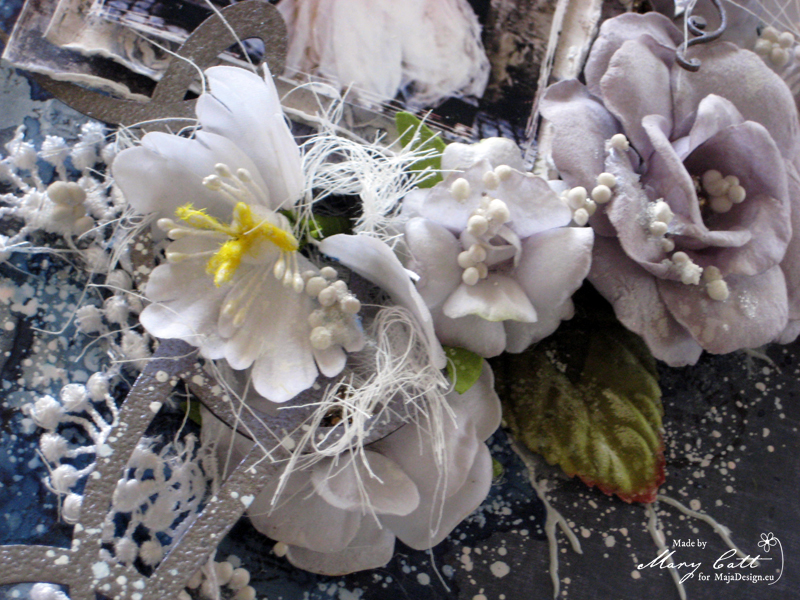
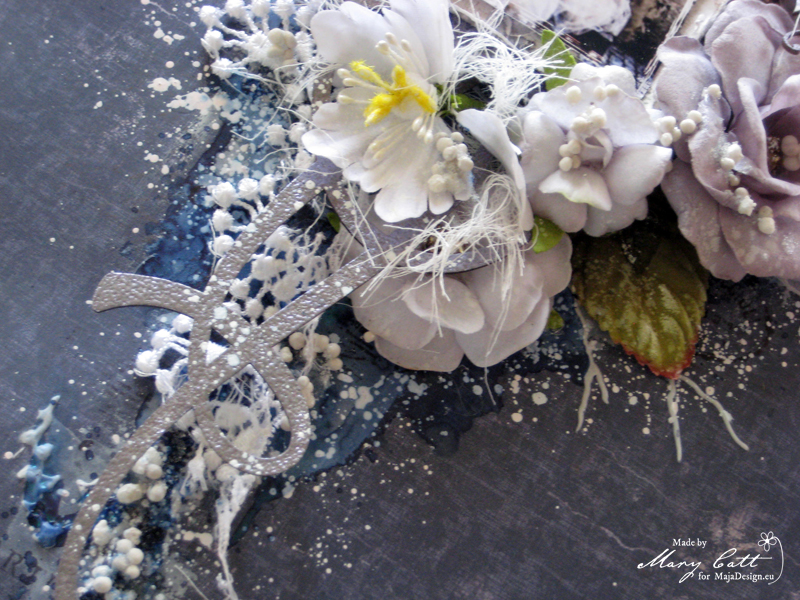
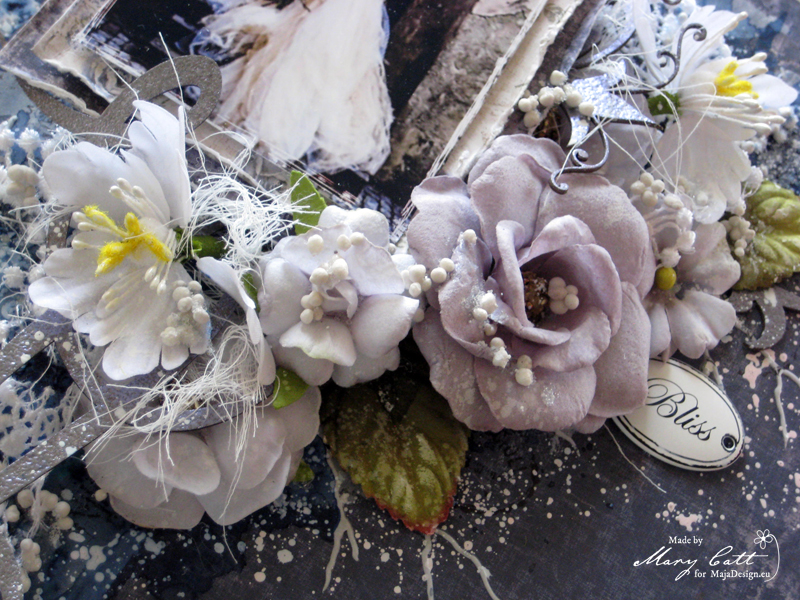
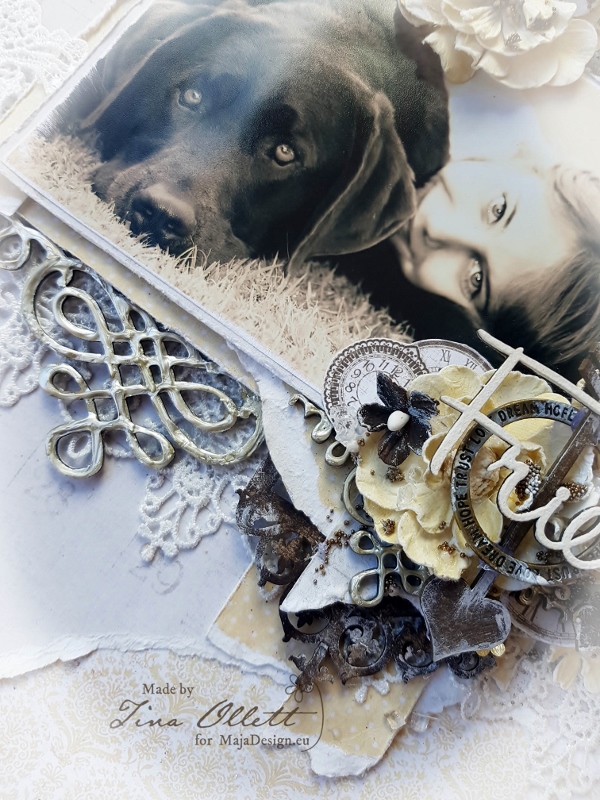
I also used the back of 1st of March to help the photo pop a little. Again tearing papers to fit the matting of my photo. The other torn pieces were layered amoungst the chipboards and flowers and clocks that I cut from from the Vintage Autumn Basics No.XVI. These were cut carefully and sanded and distressed to give that worn feeling.
I used some Dusty Attic chipboards inked with Distress Inks and also some paper moulds that I made a few weeks back along with a charm that I picked up in my travels to Taiwan a few months back. I love the simplicity of it. When everything was layered I then dry brushed my elements to soften the page and then added in a few microbeads with some 3D Gel.
Materials Used
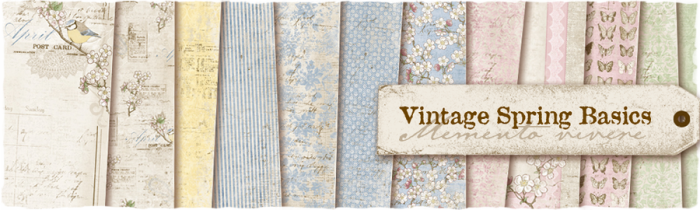
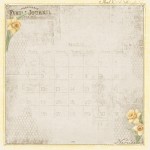
Maja Design Vintage Spring Basics 1st of March
Maja Design Vintage Spring Basics 1st of March bs
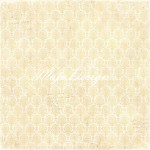
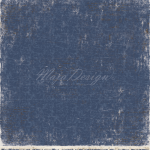
Homemade Lemoncurd
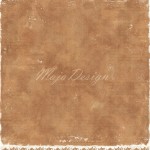
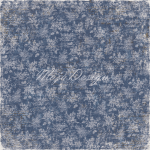
Smell of Coffee bs

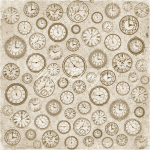
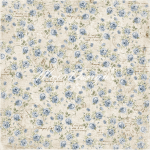
No.XVI
Well that is all from me today. I so hope you have enjoyed my project today. I will see you back here in a couple of weeks! Until then take care and happy scrapping. xo