Winter is Magic Mini Album

3

Posted by Elena Olinevich

11 November, 2016 - ,

Write a comment

Hello crafters, the winter is officially has come to my place, so I hope that it will give me more inspiration for Christmas and Winter projects.

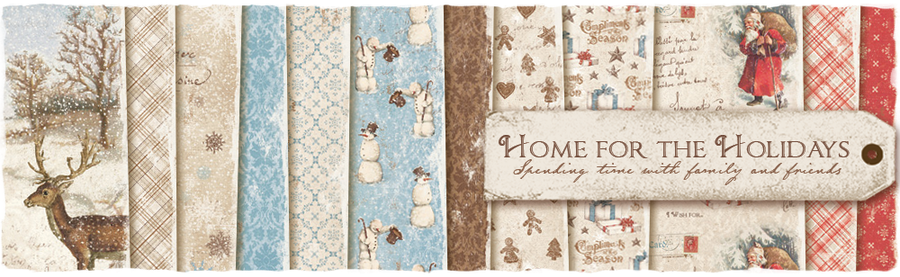
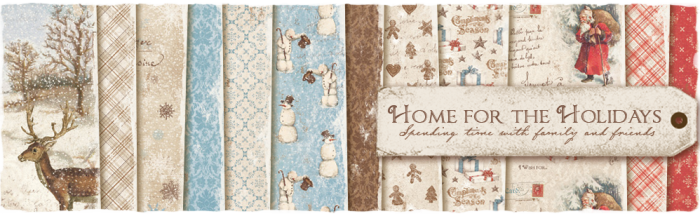
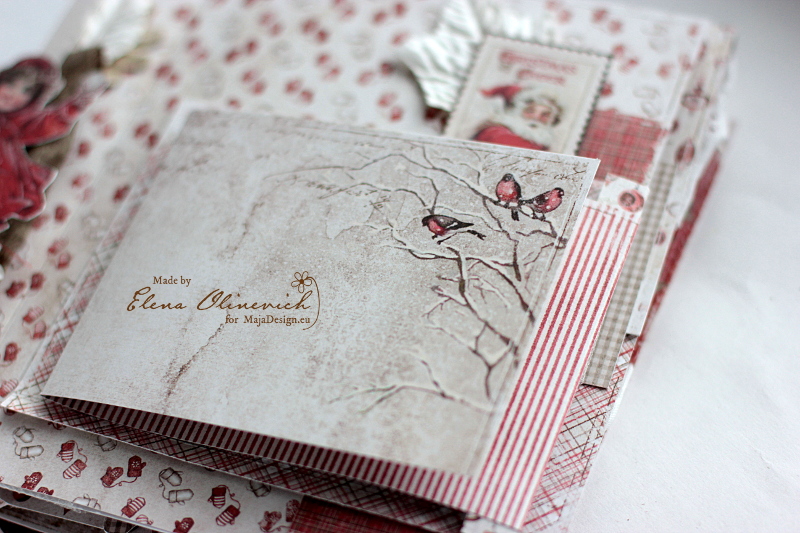
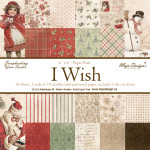
and today I’ve got a mini album I made using brand new collection I wish.

Winter is Magic Mini Album, by Elena Olinevich, Maja Design, photo2

I wish there would be Spring and Fall Seasons all year round, however in some cases Winter is beautiful too.

Winter is Magic Mini Album, by Elena Olinevich, Maja Design, photo1

I wish I could spend all 3 months in a wooden house in the Forest, however I live in a busy city.

Winter is Magic Mini Album, by Elena Olinevich, Maja Design, photo3

So my mini album is all about my small wishes and I enjoyed creating it.

Winter is Magic Mini Album, by Elena Olinevich, Maja Design, photo4

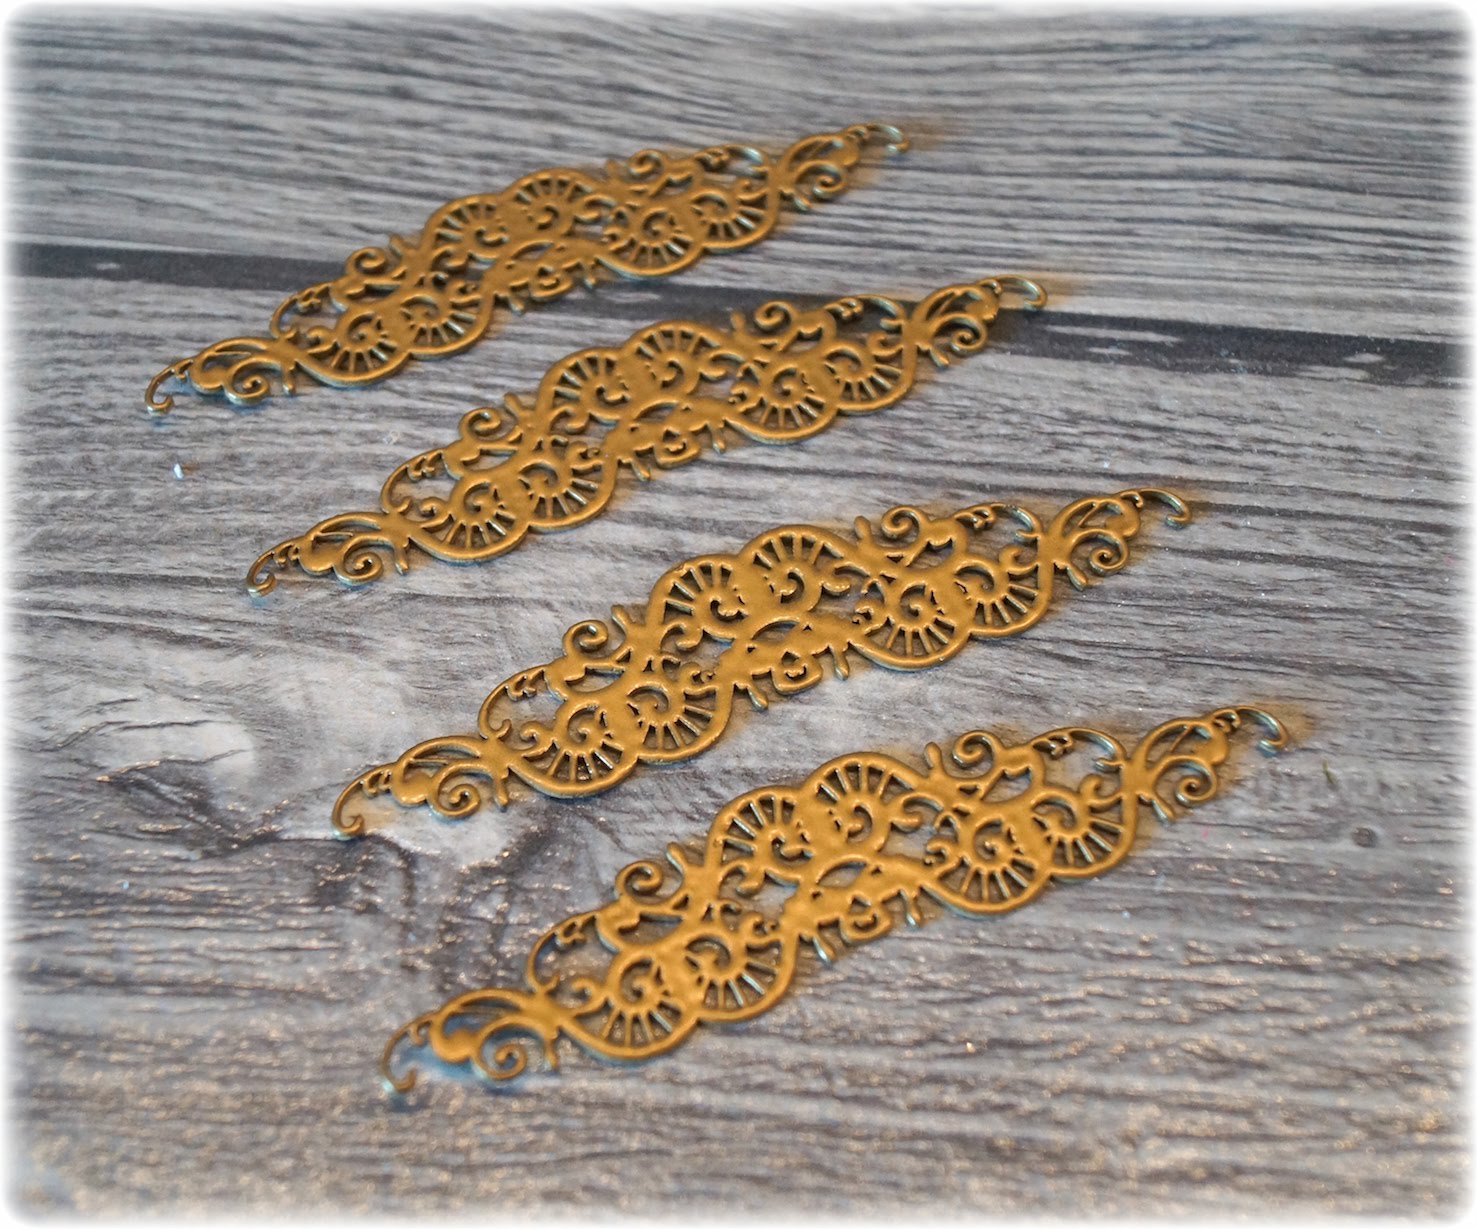
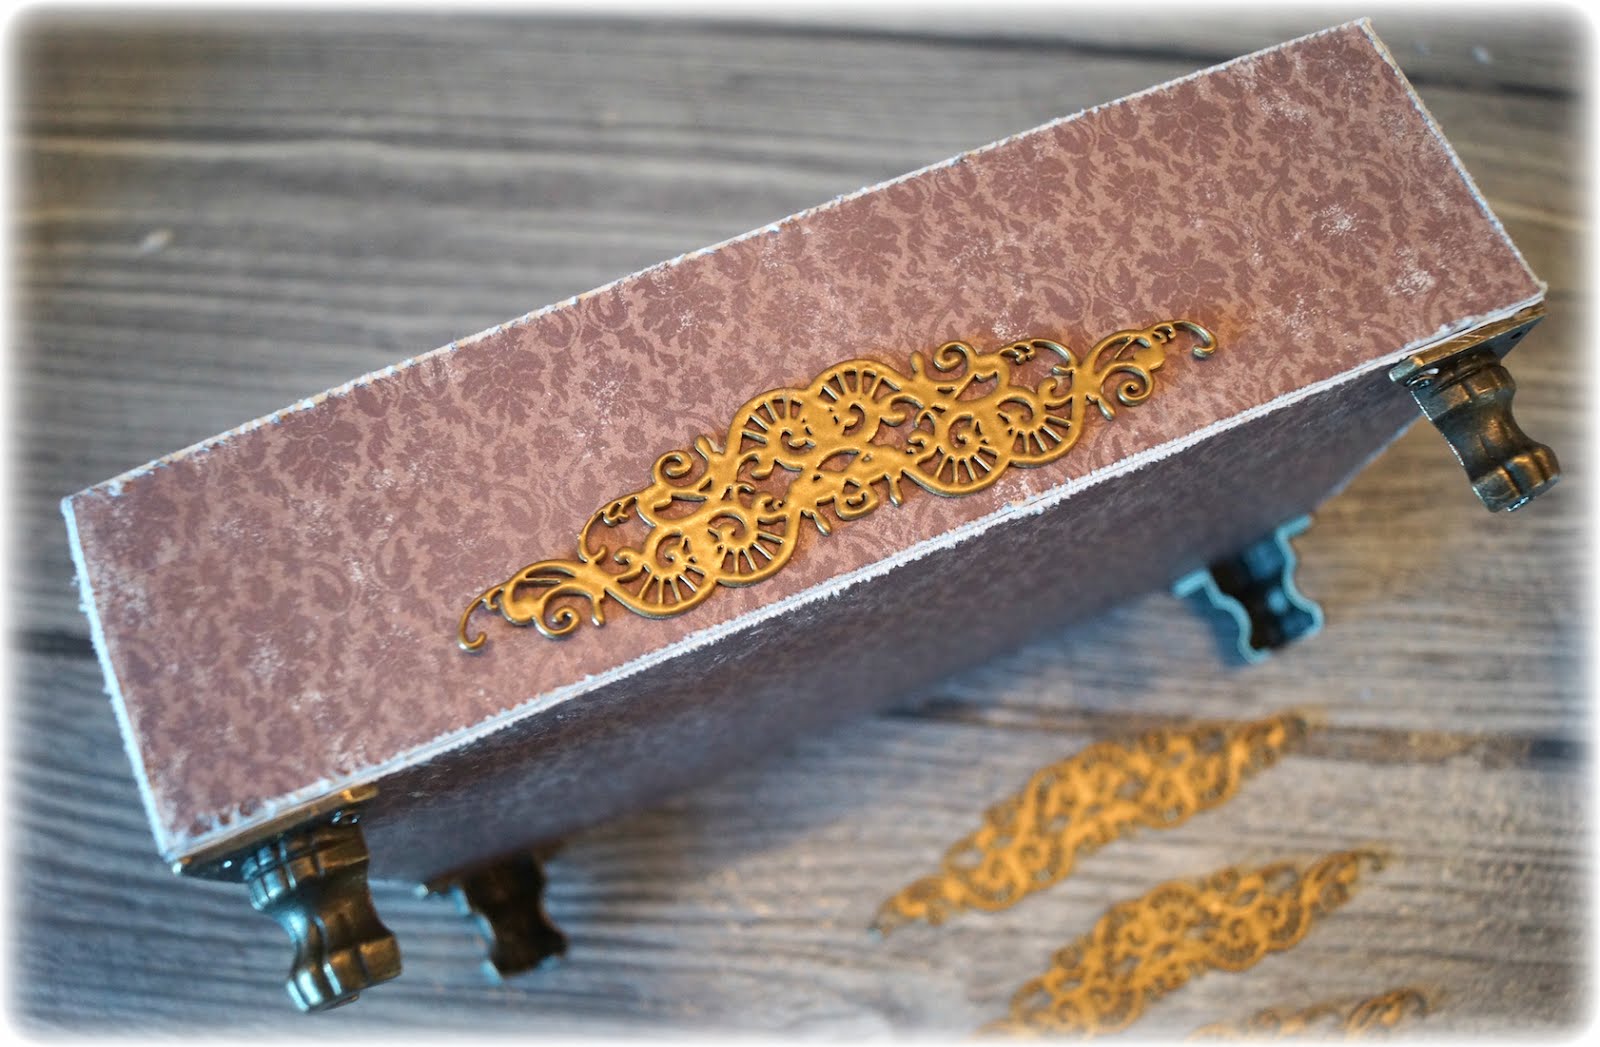
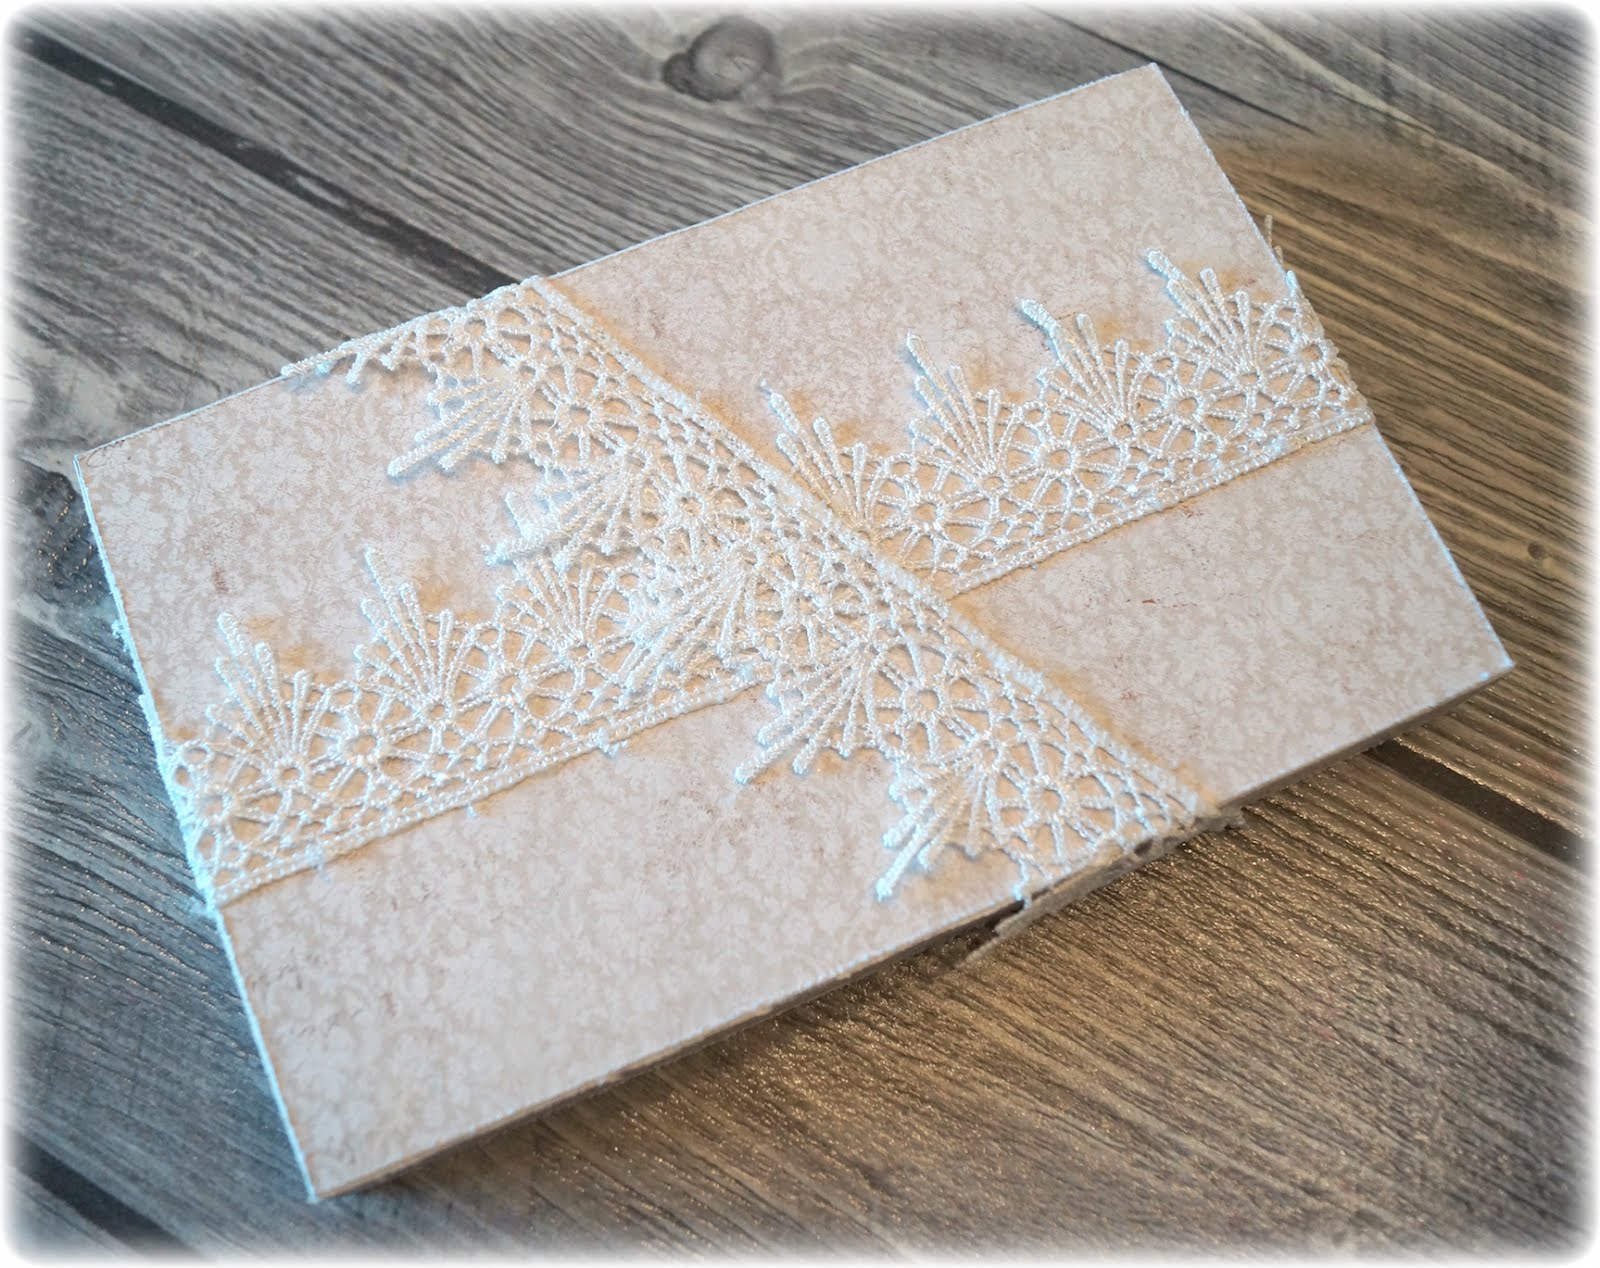
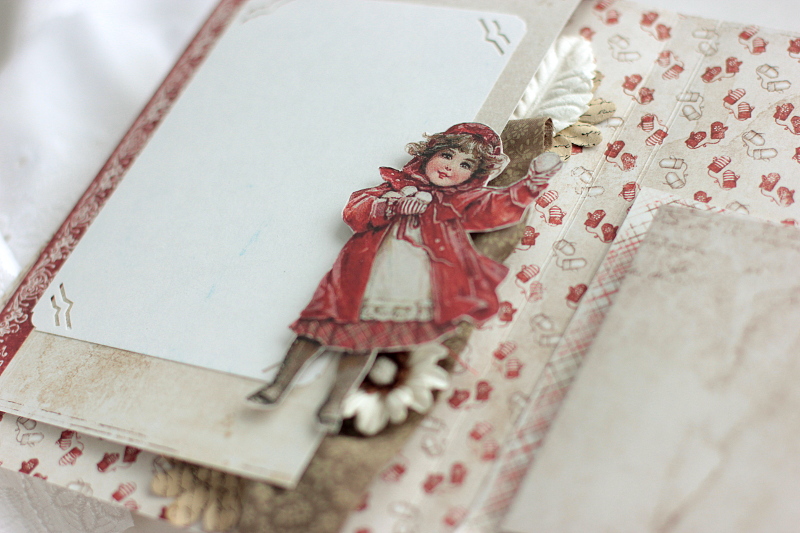
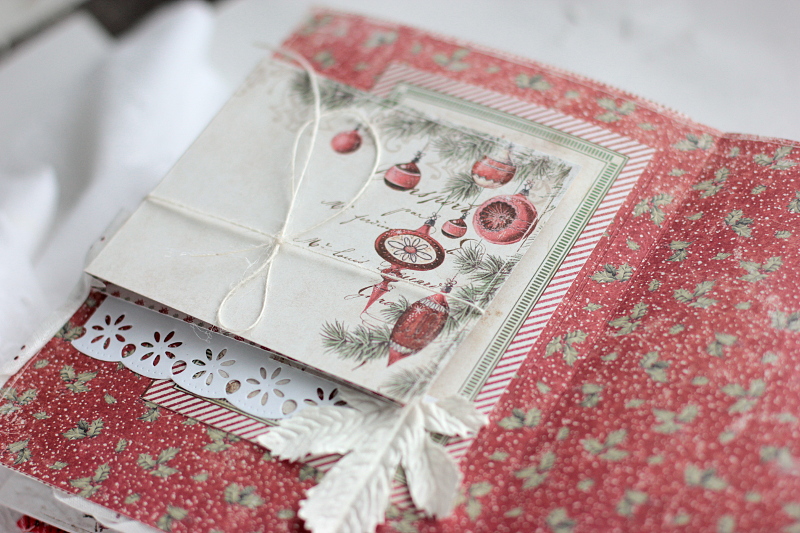
I cut out some of the images, added crochet and fabric trims to make it look more cozy and soft.

Winter is Magic Mini Album, by Elena Olinevich, Maja Design, photo5

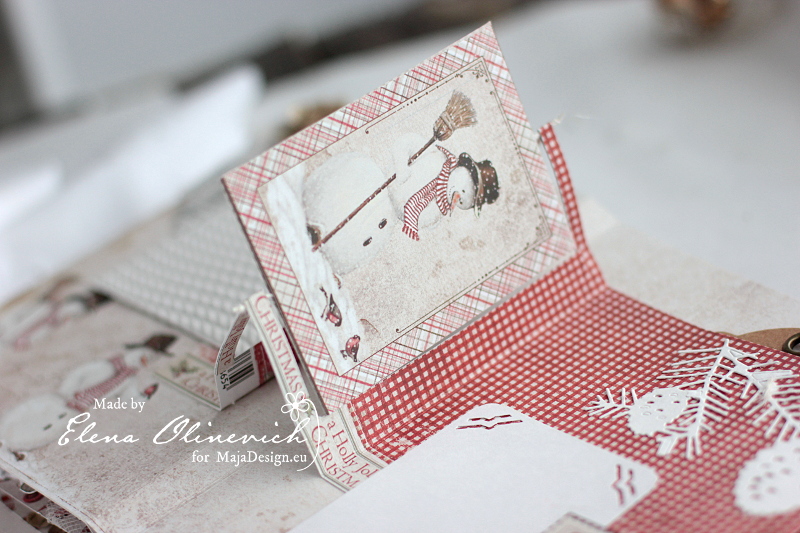
I also added a rotating element, when there is some intercative things in my albums.

Winter is Magic Mini Album, by Elena Olinevich, Maja Design, photo6

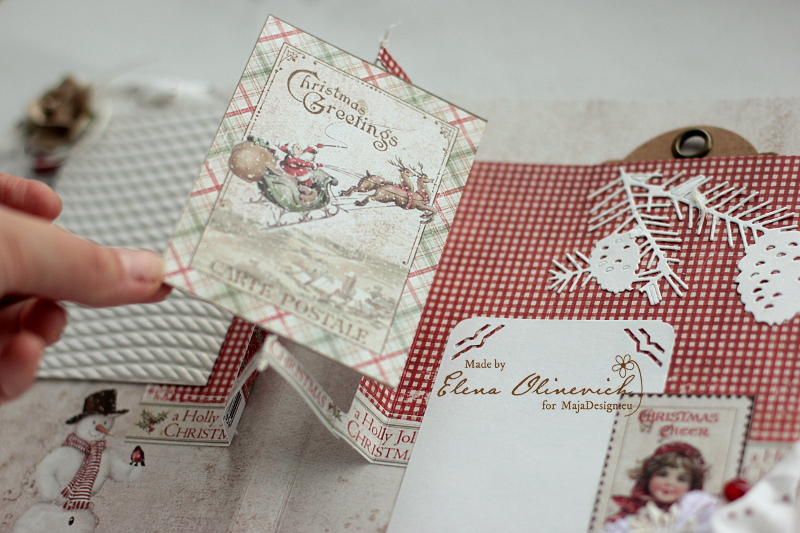
The paper sheet with the cards is perfect for filling your album with the images.

Winter is Magic Mini Album, by Elena Olinevich, Maja Design, photo7

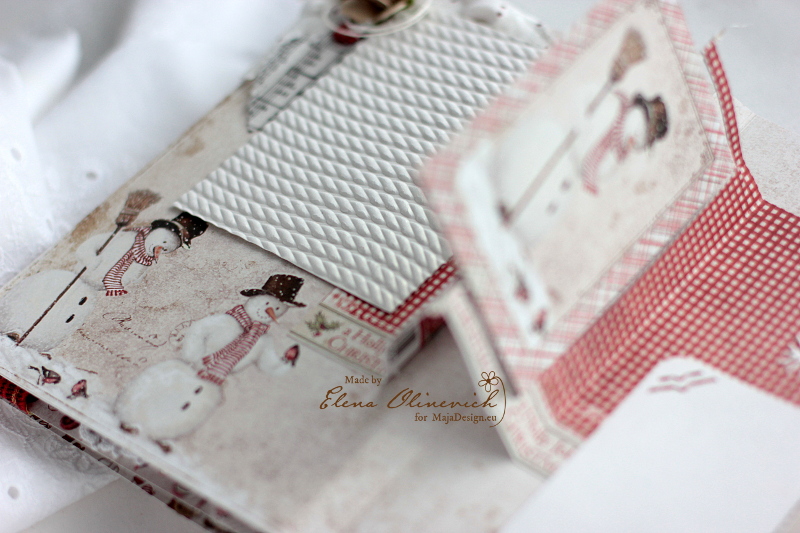
The snowmen are what the kids like most of all in my mini.

Winter is Magic Mini Album, by Elena Olinevich, Maja Design, photo8

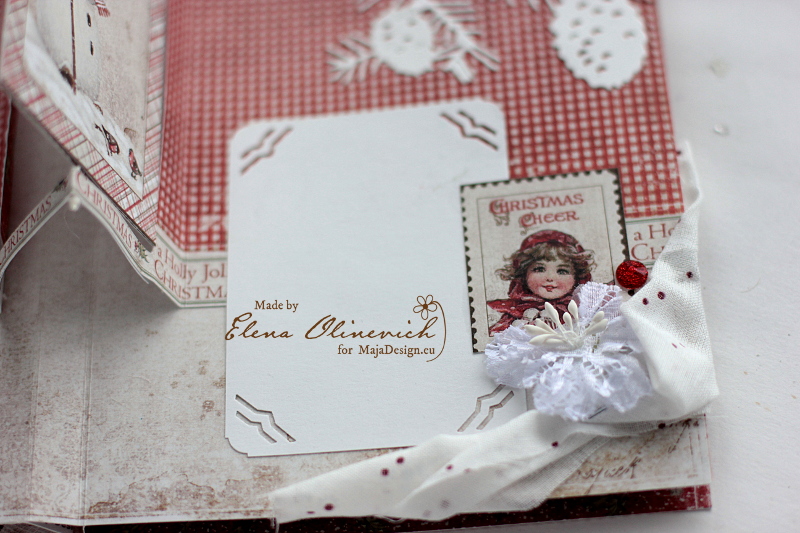
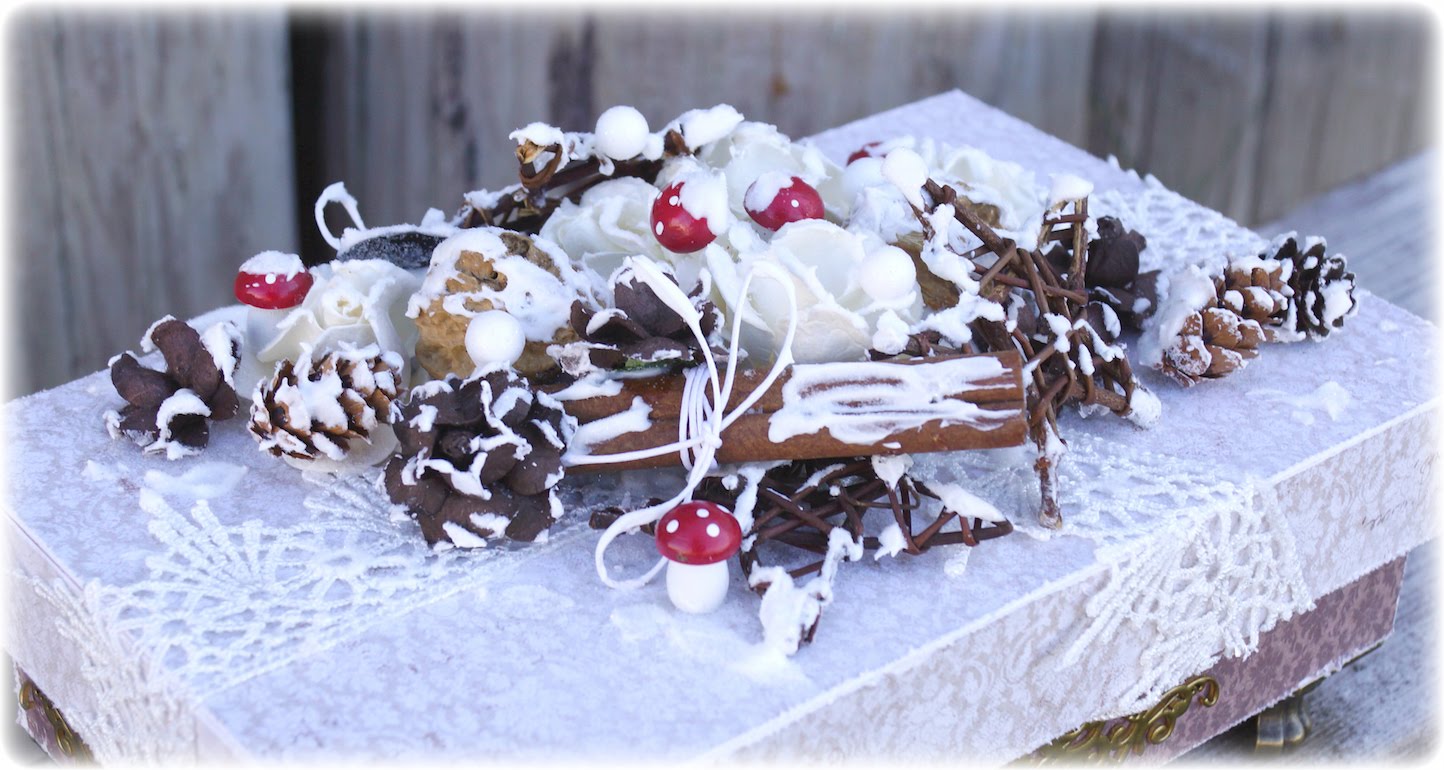
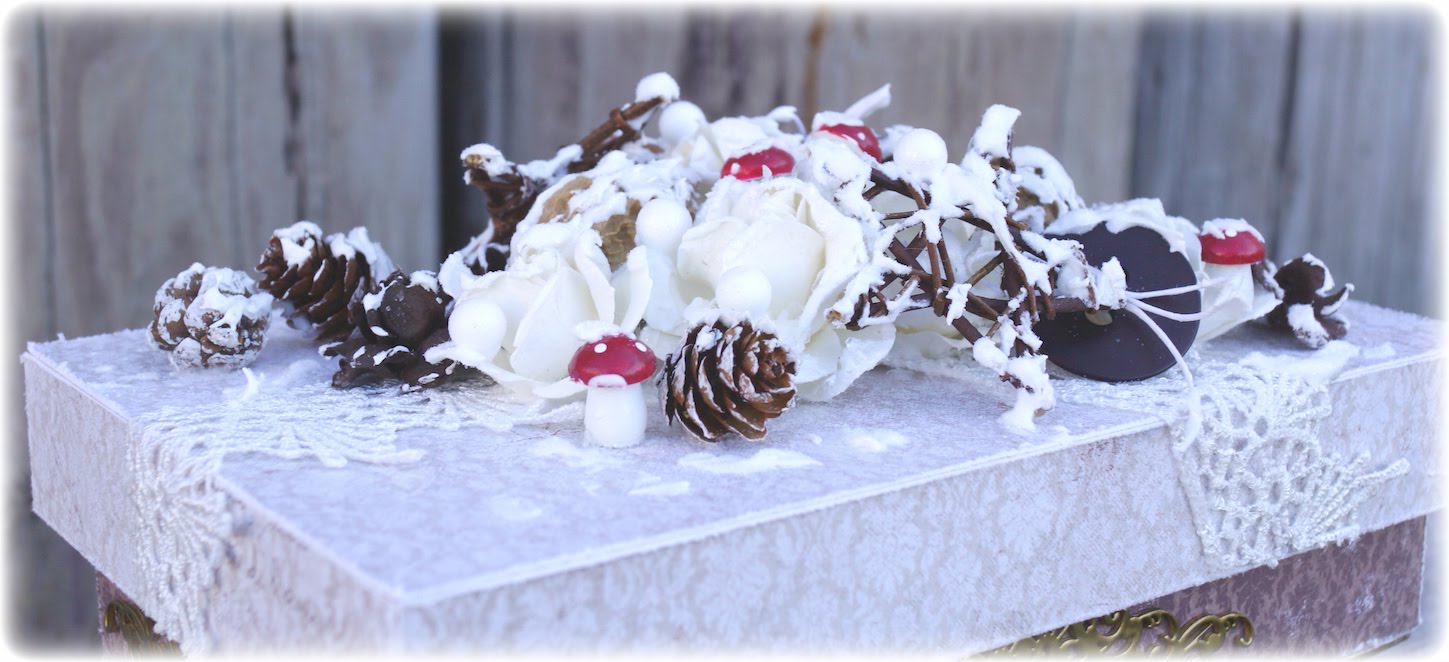
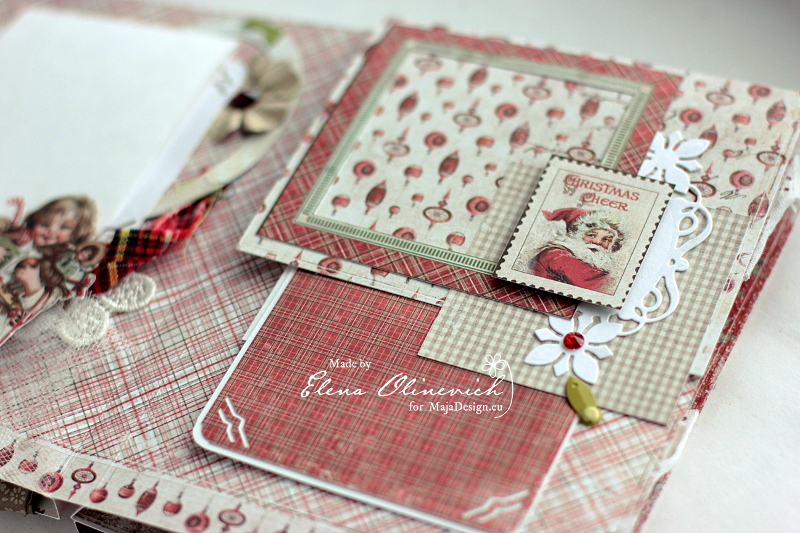
However I added some flowers and leaves, to make it look more festive.

Winter is Magic Mini Album, by Elena Olinevich, Maja Design, photo9

I think I need to create more minis this season. and what about you, do you like making mini albums?
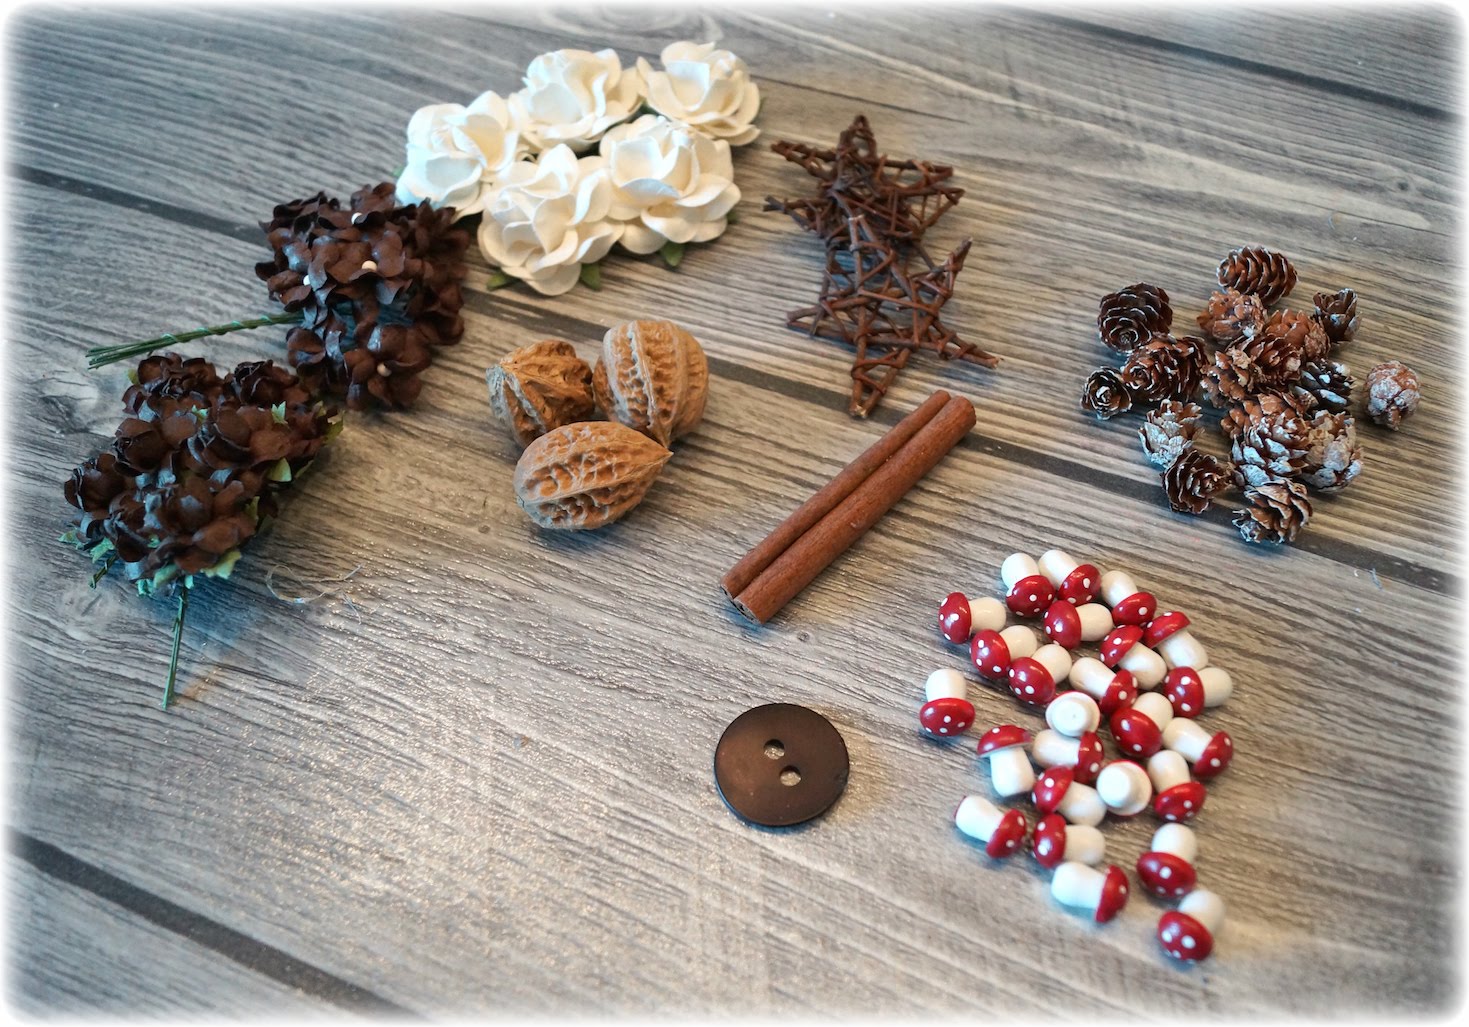
Supplies:

Elena-sign

Vintage Winter Box (Tutorial)

2

Posted by Silje Kristin Aunan

9 October, 2016 -

Write a comment

Hello Everyone 🙂

Today I am ready with a step by step made for Maja Design, I intend to show you how you can decorate various boxes in a easy way.

I’ve created a easy box using two papersheets from Home for the Holidays: Traditions and Together.

The explanation of how you can make this box, standing under eatch picture 🙂

STEP ONE:

This is the wooden box I have chosen to use. I have used double sided tape on all the edges on the lid and the bottom.

STEP TWO:

When I make these boxes, I use not a cutting board. I remove the paper off the tape, I put down the page with the tape down on the sheet and use a Knife for cutting around. I do this to the box is covered. It’s an easy way to decorate boxes on, you do not have a measuring the paper and use your cutting board.

STEP THREE:

The bottom part of the box, I turn, then I attach the feet in bronze under. In this way the box have something to stand on.

STEP FOUR:

Use a knife to go over all teh edges and scratch the paper. Then you get a vintage look without using ink.

STEP FIVE:

I’ve spent four shipboards from Wycinanka, I’ve embossed them with gold powder before I glue them on the sides of the box.

STEP SIX:

On the lid I have attached some white cotton ribbon.

STEP SEVEN:

On the top of the lid I have used flowers, walnuts, mushrooms, cinnamon stick, stars and one button. These I have covered with True Snow, Plastik Snow and Glitter.

It’s really difficult to take images along the way while placing flowers and details, because I constantly had to move them around along the way. But I’ve done is I’ve just built around three large white flowers until I was happy with the lid.

Then the box is finished. A simple box, but at the same time full of lovely winter details covered with snow and Glitter <3

SiljeKristin-sign


The Silver Deer

0

Posted by Silje Kristin Aunan

13 December, 2015 - ,

Write a comment

Good Morning Everyone <3

It’s Sunday, and it is my turn to inspire you with a project created with the new collections, Home for the Holidays <3

Home-for-the-holidays-P

I have collected the blue sheets from the collection and made one wintry project in blue, white and silver.

I am very fond of the new collection to Maja Design and I have been inspired by the deer that can be found on some of the sheets. When I came across a silver deer in a store, I new that the deer was just perfect for the new collection. The entire project is designed, so I can use the deer in silver.

Next to the deer I have three packages. These packages I have covered with True Snow and Glitter. Round them I have a bow in silver with a white button on top.

The flowers I have put together is one set of dies from Creative Expressions called Poinsettia.

On all the flowers I have a thin layer of true snow and glitter. Both sides of the box are decorate the same.

In between the flowers I have used pine needles, frozen berries, Christmas balls and apples in silver.

On the box I’ve spent a lot of True Snow and glitter.

Silver colors runs through the whole box, with derr on the top, silver thread on the presents and the buttons to the four silver feet the box stands on.

This is the last box I’m making to you as an inspiration for you this year <3

Nesxt time I will tell you abute a speciall project that means a lot to me and many other people <3


SiljeKristin-sign


Christmas Carols in the Snow

2

Posted by Silje Kristin Aunan

21 November, 2015 - , , , ,

Write a comment

Hello Everyone <3

Today I’m here with a little extra Christmas inspiration to you <3

About two weeks ago I made a box with 8 sides. I made the box my self using thick cardbord also known as chipboards 12×12. When I made this box I would give it a little extra Christmas spirit <3

On the side of the box, I used a Martha Stewart Punch called Eyelet Lace, this is a new personal favorite of mine. The snowflakes are a dies set from Tim Holtz called Mini Snowflake. The set is two snowflakes, and on my box I have placed some of them on top each other. I also decorated these with snow from a box and plastic snow.

The lid of the box is also cut out from chipboards and both sides have patterned paper, even at the edges. The top lid I’ve covered with alot of snow from a box and snow made from plastic. I have made my self a  little Christmas story on the top. Christmas Carols in the Snow <3

On the lid I’ve used several dies from Tim Holtz. The Christmas tree in the background is put together with a dies named Evergreen <3 The Deer is from a set with two, called Reindeer Fligthe and the pair where the lady sings and the man plays, named Victorian Carolers. The other details are mushrooms, packages with some bullfinks. The bullfinks is a dies from kaBoks.

The Christmas tree is made from 16 trees that two and two are glued together. This is to get the patterned paper on both sides. In the tree you can see that I have used several Bullfinch.

Below the tree I have 3 red mushrooms and on the other side you’ll find a deer.

The packages I’ve put together myself without a tutorial. Also these are covered with snow and two of them I have placed some birds on.

When you remove the lid, you will see that I have covered the inside with patterned paper and pearl string.

The idea for the project I got when I saw the dies set with the lady and the gentleman from Tim Holtz. I just knew I had to make one project with this and give them the right Christmas atmosphere they deserve <3

For this box I have used paper from different collection from Maja Design:

A-gift-for-you-P

Its-Christmas-time-P

Frojdefull-Jul-P1

Gammaldags-Jul-P

I wish you all a great weekend <3

SiljeKristin-sign

The Frozen Playground

5

Posted by Silje Kristin Aunan

15 November, 2015 - ,

Write a comment

Hi all 🙂

Today it is me, Silje Kristin, who can not wait to show you a new project that I have made with paper from The Vintage Frost Basics.

I asked the others in the Design Team if any of them had an idea for a BIG project I could make. Lovly Camilla, suggested children furniture, and with this two words, I decided to create my own kids playground 😉

When I made the kids playground, I chose to use the pink pattern papers from the collection. I make several different elements, you will find in a real playground. When I was finished with the elements I used snow and glitter on them.

Frost-Basics-P

On this playground you will find a swing, slide, sandbox and a toy I dont remeber the name on. All the items are made by hand and withut a tutorial, the entire project took 15 hours to create.

The fist thing I made was the swing, here you can see is room for two <3

Afther the swing, I made the slide.

A playground is not the same without a sandbox 🙂 In the sandbox you can find two buckets that I have made and on the edge on the sandbox sits a bullfinch, which is a dies sett with 3 sizes from kaBoks. I also placed a bullfich up pn the swing.

And finally there is the small special toy that you can sit on.

The deer is one dies from Memory Box and the sled is a dies from Marianne Design.

Since this is a frozen playground, I have also made a pyramid of snowballs, in norway kids have candle inside of them.

The entire project is built on the back side of a wooden frame and in the corners I have some silver feet.

Maybe you wish you were four inches, so that you could play in my frozen playground, like I do <3

SiljeKristin-sign